Last updated on
Here are 34 different ways to make a stand for your phone, using things you probably have around the house.
With a little creativity, you can have a stand that’s both functional and stylish.
There are many ways to build a DIY phone stand, but these tutorials can help you create one with just a single piece of cardboard, wood, fabric, or even just a humble paper clip.
In less than an hour, you can have a sturdy and reliable phone stand that can easily be stored in your pocket or case. Most of these projects will cost you less than $10 and even as little as $1.
Let’s begin!
How to Make a Cardboard Phone Stand
Tutorial: instructables.com
Expected cost: less than $1.
Materials:
- 1 piece of cardboard
- 1 phone case
- 1 sharp knife
- 1 cutting board
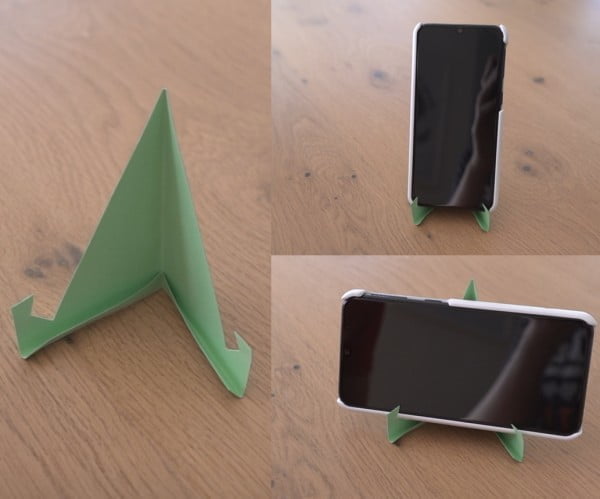
This project is a 1-Minute Cardboard Phone Stand that requires no glue. It is made out of a single piece of cardboard, and can be easily stored in your phone case when not in use.
The project is rated easy to complete, and should take less than an hour from start to finish.
Tutorial: tomboweurope.com
Materials:
- Greyboard
- Colored paper or wrapping paper
- Ruler
- Cutter
- Scissors
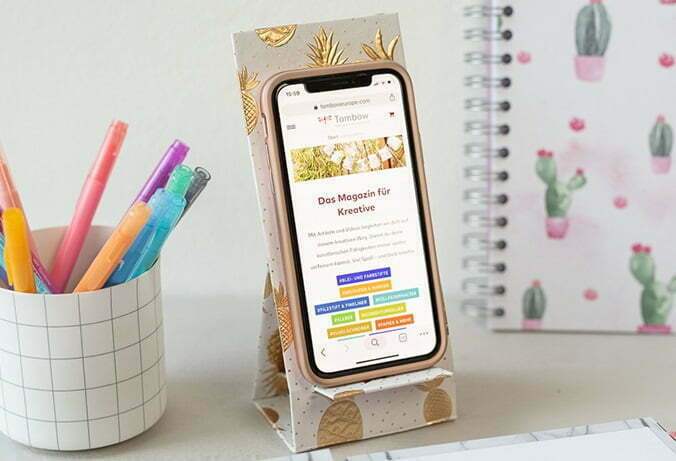
This project is a mobile phone holder that you can make yourself in just 5 steps! You will need some greyboard, colored paper or wrapping paper, a ruler, cutter, and scissors. It is relatively easy to complete, although you may need some help with the cutting and gluing.
Tutorial: ohohdeco.com
Expected cost: $10-$20
Materials:
- Cardboard
- X-acto knife
- Ruler or measuring tape
- Pencil
- Sandpaper
- Paint
- Plaster
- Water
- Bowl or container
- Sponge
- Paintbrush
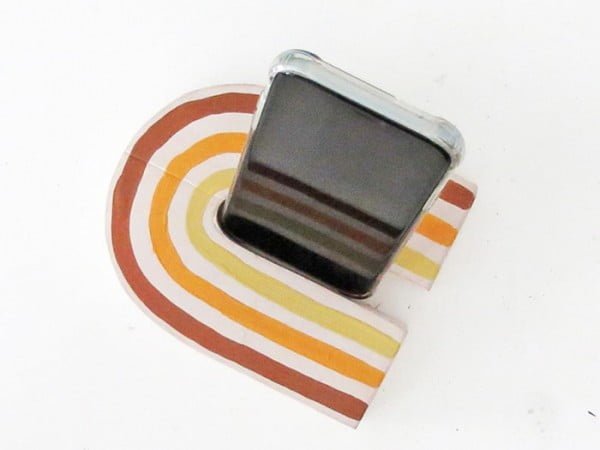
This project is a bit more difficult than some of the others, but it’s still doable for most people. You’ll need to be able to cut and sand cardboard, as well as mix plaster and paint.
The end result is a cute and functional phone stand that will brighten up any room.
Tutorial: lifehacker.com
Materials:
- Cardboard or thick stock paper
- Scissors
- Tape
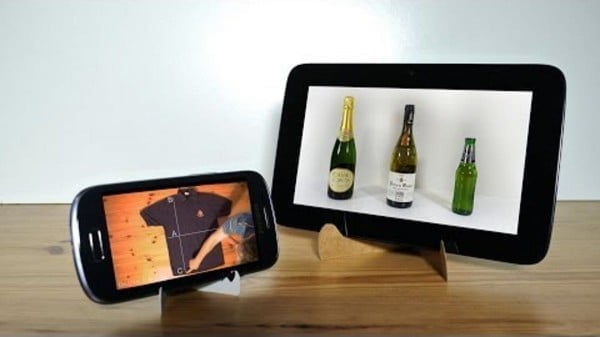
This project is very simple and only requires a piece of cardboard or thick stock paper, a pair of scissors, and a little time. It should only take about a minute to complete.
How to Make a Phone Stand from an Egg Box
Tutorial: dezeen.com
Expected cost: This project should cost less than $1.
Materials:
- Egg box
- Scissors
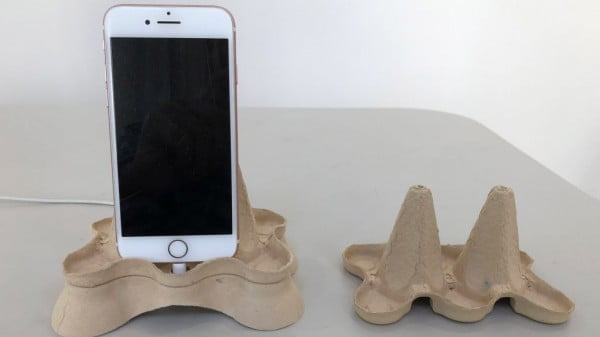
This project is a simple hack for making a smartphone stand from an egg box. It requires no tools other than a pair of scissors and can be made in under two minutes.
How to Make a Phone Stand with Paper Rolls
Tutorial: theseamanmom.com
Materials:
- 1 sheet of cardboard
- 1 sheet of construction paper
- 1 sheet of tissue paper
- 1 bottle of white glue
- 1 pair of scissors
- 1 pencil
- 1 ruler
- 1 marker
- 1 piece of string or yarn
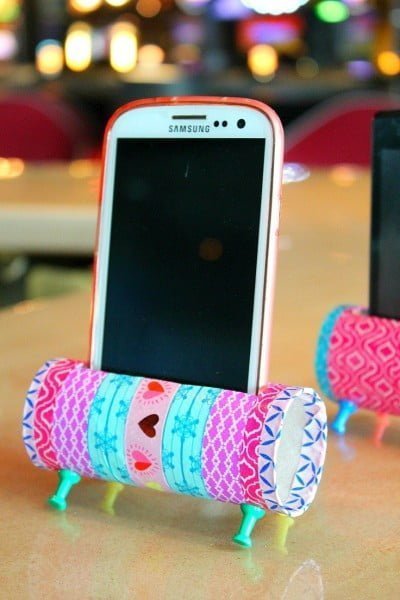
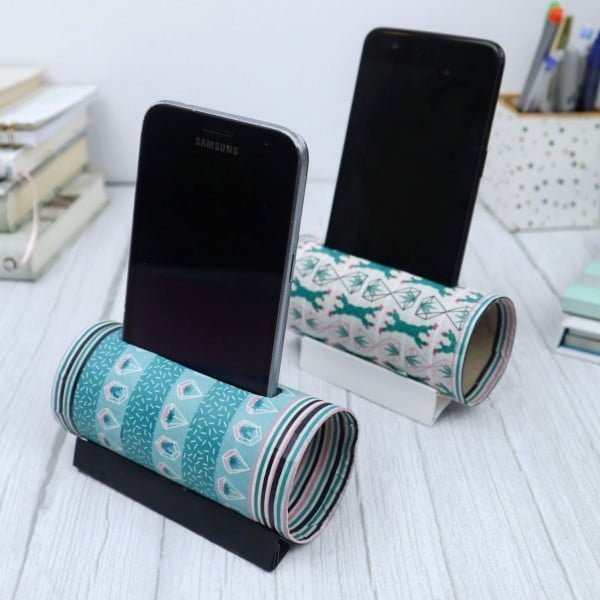
This project is very easy to complete and only requires a few materials that you most likely have on hand already. It is a great project to try with kids to stimulate their creativity by adding any fun decoration they like and add a personal touch to their room.
Tutorial: craftsyhacks.com
Expected cost: This project should cost less than $5.
Materials:
- A phone
- A piece of cardboard
- A sharp knife
- A pen or pencil
- A ruler
- A hot glue gun
- A piece of string or ribbon
This project is easy to complete and only requires a few supplies that you likely already have at home. It’s a great project for kids, teens, or even adults who want to add a personal touch to their phone holder.
Tutorial: krokotak.com
Expected cost: This project should cost less than $5.
Materials:
- Toilet paper rolls
- Scissors
- Tape
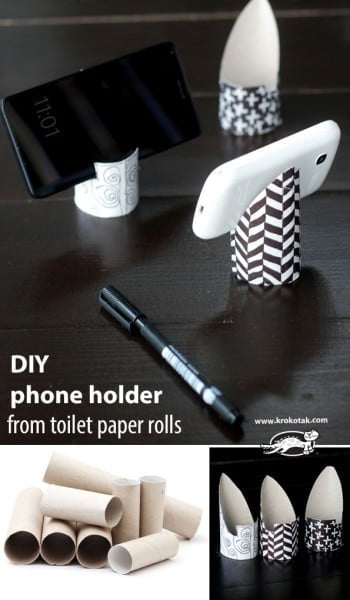
This project is very easy to complete and only requires a few materials. You will need toilet paper rolls, scissors, and tape.
First, cut the toilet paper rolls into thirds. Next, take two of the pieces and tape them together at the seam.
Repeat this step with the remaining piece. Once all three pieces are taped together, you have your phone holder!
Tutorial: craftyourhappiness.com
Materials:
- Cardboard tube
- Paper
- Scissors
- Glue
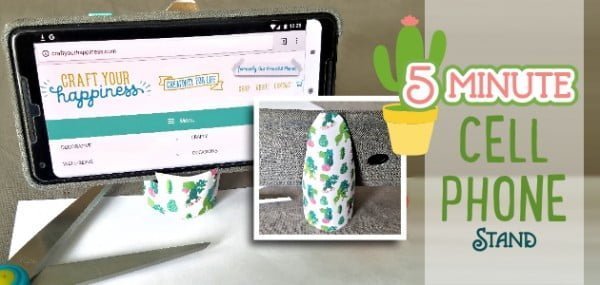
This project is one of the simplest and no cost ways to make a DIY cell phone stand. It takes less than 5 minutes to complete, and all you need is a cardboard tube, some paper, scissors, and glue.
You can use any type of paper you like, and we even provide a free cactus print and stand template to get you started.
Origami Phone Holder
Tutorial: gatheringbeauty.com
Materials:
- Origami paper or lightweight cardstock
- Scissors
- Ruler or measuring tape
- Pencil
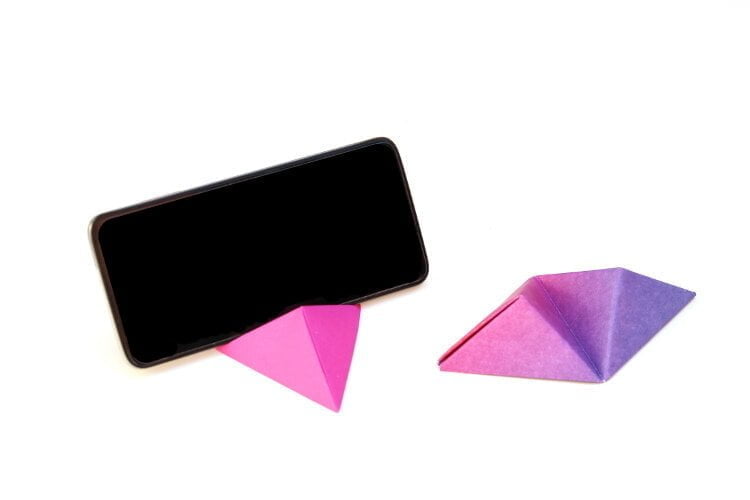
This project is a bit more difficult than some of the other origami projects on my blog but it’s still doable for beginners. If you get stuck on a step, make sure to scroll down to the bottom for the full video tutorial.
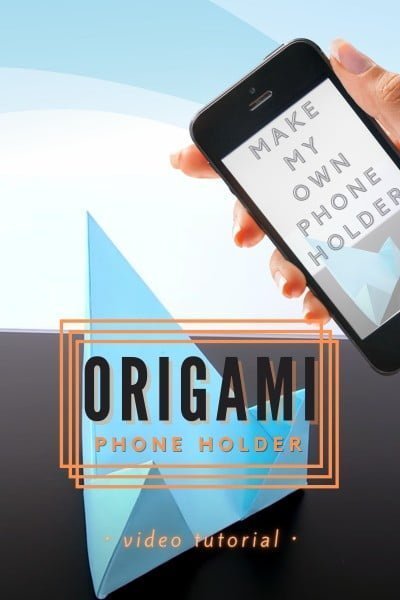
Tutorial: paperpapers.com
Materials:
- Only paper to fold into an origami phone stand.
This project is a bit more difficult than some of the others, but it is still doable for most people. It will take some time and patience to complete, but the end result is worth it.
How to Make a Phone Stand with Binders
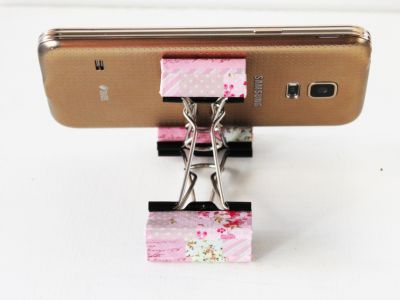
Tutorial: akamatra.com
Expected cost: $1-$2
Materials:
- Binder clips
- Scissors
- Tape
This project is a phone stand made with binder clips. It is a relatively easy project that should only take a few minutes to complete.
How to Make Phone Stand from Wood
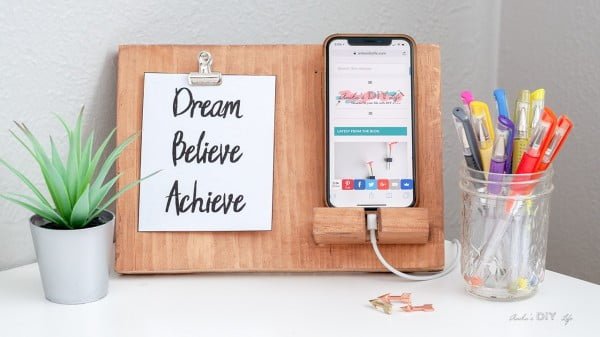
Tutorial: anikasdiylife.com
Expected cost: $5-$10
Materials:
- 1/2 inch plywood
- 1×2 lumber
- Kreg jig
- Drill
- 1 inch hole saw
- Paint or stain
- Polyurethane
This project is a bit more difficult than some of the others, but it is still manageable for most people. It requires some woodworking skills and knowledge of how to use a Kreg jig (or similar tool).
The project should take around 1-2 hours to complete.
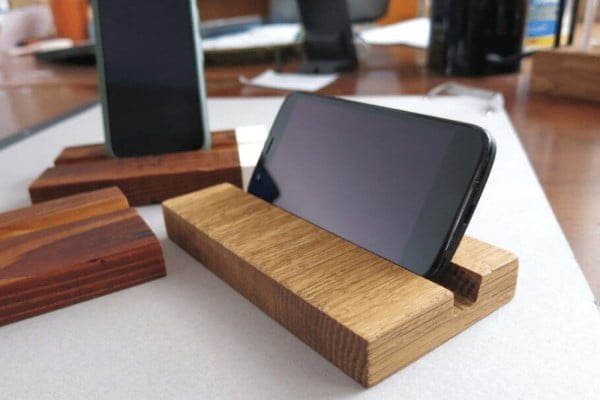
Tutorial: bondall.com
Expected cost: This project should cost less than $20.
Materials:
- 1/4″ thick plywood
- 1/2″ dowel
- Table saw
- Drill
- 1/4″ drill bit
- Jigsaw
- Sandpaper
- Wood glue
- Clamps
This project is a great way to ensure your small offcuts of wood don’t go to waste! It’s a simple project that only requires a few steps and some basic tools.
The most difficult part of this project might be using the table saw to cut the groove for your phone, but if you’re not comfortable with that, you can always ask a professional for help.
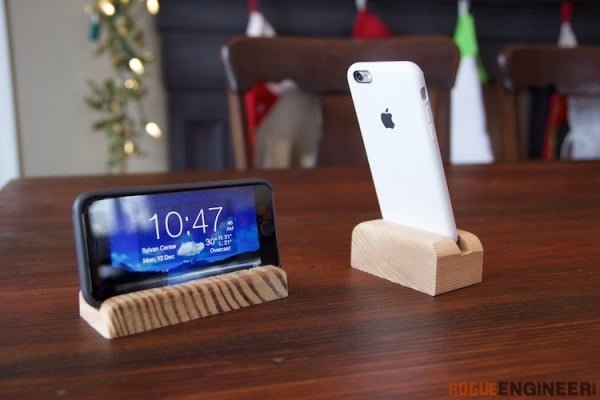
Tutorial: rogueengineer.com
Expected cost: This project should cost less than $10.
Materials:
- 1/4″ thick wood
- Ruler or measuring tape
- Pencil
- Circular saw
- Jigsaw
- Sandpaper
- Stain or paint (optional)
- Polyurethane (optional)
- Clamps (optional)
This project is a simple phone holder or stand that can be made with a variety of different woods. It is a great stocking stuffer or gift for anyone who uses their phone frequently.
The project is easy to complete and only requires basic woodworking skills and tools.
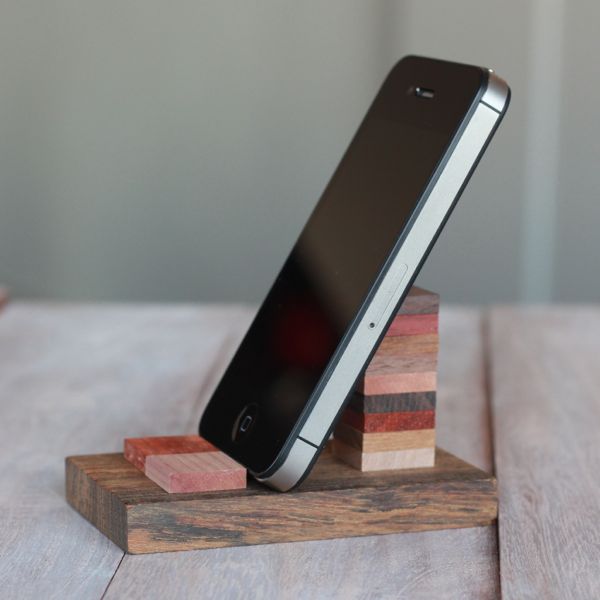
Tutorial: alyssaandcarla.com
Expected cost: $5-$10
Materials:
- Wood tiles
- Wooden block
- Wood glue
This project is a fairly simple one that requires only a few supplies. It should take no more than an hour or two to complete.
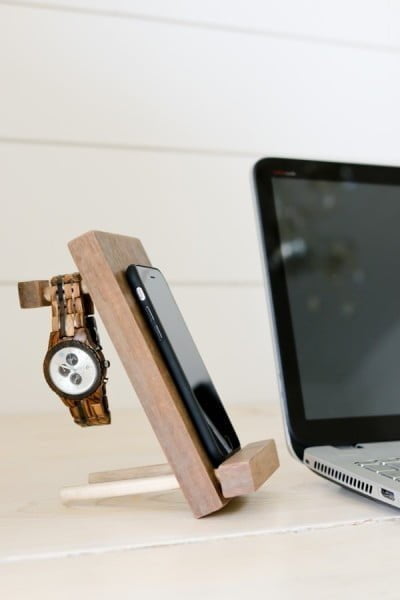
Tutorial: tidbits-cami.com
Expected cost: This project should cost less than $5
Materials:
- 1/4 inch thick plywood
- 1 inch wide dowel
- 1 inch wide elastic
- hot glue
- scissors
This project is a simple DIY cell phone stand and accessory holder. It is easy to make and only requires a few supplies.
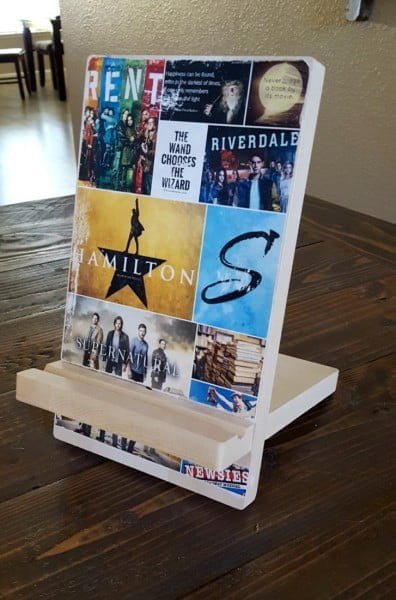
Tutorial: leapoffaithcrafting.com
Expected cost: $10-15
Materials:
- Laser printer
- Wood transfer material
- Foam brush
This project is a bit more difficult than some of the others here but it’s still doable for most people. You’ll need to have access to a laser printer and wood transfer material, as well as a foam brush.
The project will take around 1-2 hours to complete.
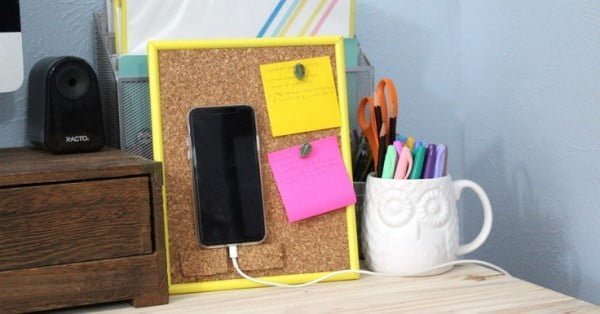
Tutorial: kenarry.com
Materials:
- A photo frame
- Spray paint
- Newspaper or cardboard
- Corkboard piece
- Thumbtacks
- Beads
This project is very flexible! Customize it to match your office or home decor and fit your desktop, whether that’s big or small.

Tutorial: prettyhandygirl.com
Expected cost: $10-$20Difficulty level
Materials:
- 1/4″ plywood
- 1″ dowel
- wood glue
- clamps
- saw
- sandpaper
- paint or stain (optional)
This project is a great last minute gift idea for someone who has everything. It is a simple DIY cell phone holder and charging station that can be completed in just a few steps.
This project does require some basic woodworking skills and tools, but it is not overly difficult to complete.
DIY Phone Stand from Plastic
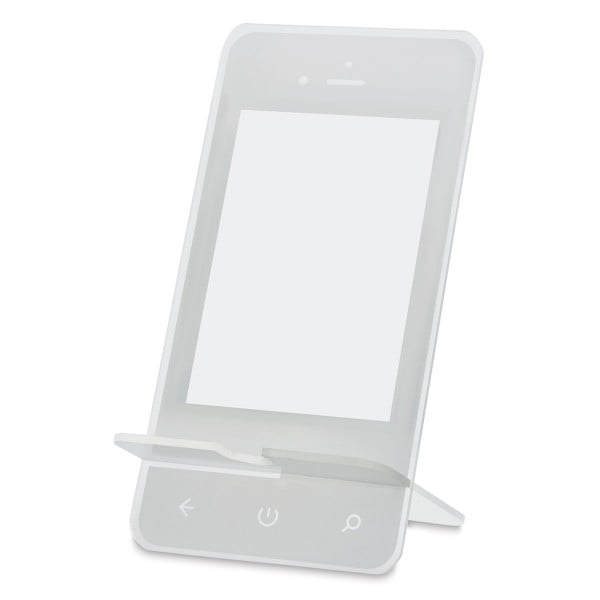
Tutorial: dickblick.com
Expected cost: $10
Materials:
- 1/8″ thick sheet of acrylic or similar material
- Ruler or measuring tape
- Laser cutter
- Sandpaper
- Drill
- 1/4″ drill bit
- 3/8″ drill bit
- 1/2″ drill bit
- 1″ drill bit
- 1 1/2″ drill bit
- 2″ drill bit
- 3/4″ spade bit
- 1″ spade bit
- Jigsaw
This project entails creating a phone stand that is customizable and allows you to charge your phone while keeping it safe on your workspace. It is made of durable plastic and includes a notch so your phone can be charged without falling off.
This project is rated at a difficulty level of 3 out of 5.

Tutorial: makeit-loveit.com
Expected cost: This project should cost less than $5.
Materials:
- An empty plastic bottle
- A sharp knife
- Some fabric (optional)
This project is fairly simple and should only take a few minutes to complete. All you need is an empty plastic bottle, a sharp knife, and some fabric (optional).
DIY Resin Phone Stand
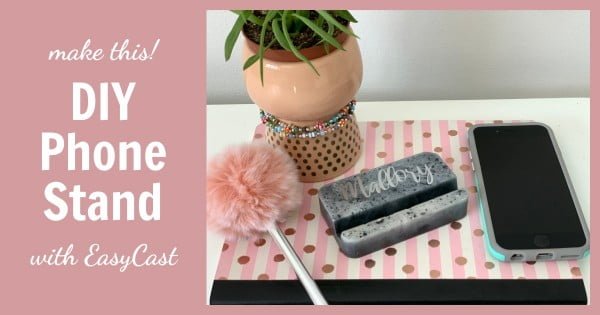
Tutorial: resincraftsblog.com
Expected cost: This project would cost around $30.
Materials:
- EasyCast
- Mold
- Measuring cups
- Stir stick
- Gloves
- Optional: colorant
This project is perfect for any stage resin artist. EasyCast is a very easy to use 1 to 1 epoxy that can even be used for deeper pours when poured in layers.
DIY Phone Stand from an Old Toy
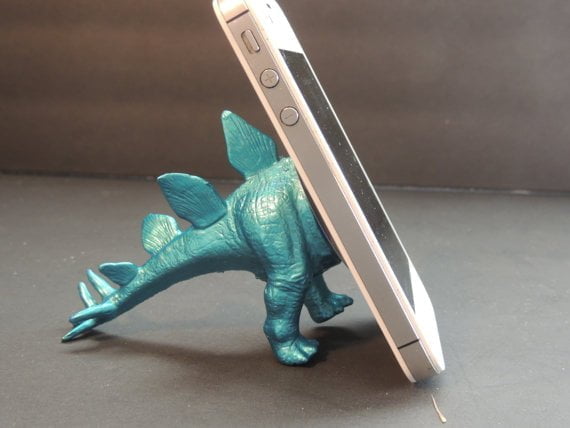
Tutorial: cellularnews.com
Expected cost: less than $10.
Materials:
- Toy dinosaur
- Cutting knife
This project is perfect for anyone who wants to add a personal touch to their phone stand. You can make your own DIY phone stand from a toy dinosaur.
DIY Phone Stand from Fabric
Tutorial: hellosewing.com
Expected cost: $1-$2
Materials:
- A piece of cardboard
- A pen or pencil
- A ruler
- A knife or scissors
- Tape
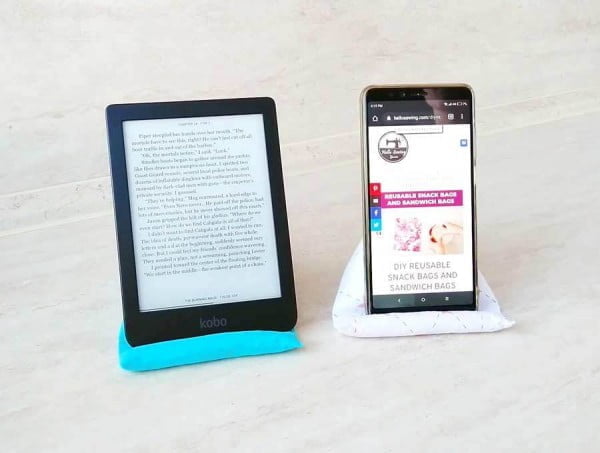
This project is a great way to keep your phone upright while you’re doing other things. It’s quick and easy to make, and only requires a few supplies.
Tutorial: woojr.com
Materials:
- Cardboard
- Felt
- Fabric
- Ruler
- Pen
- Scissors
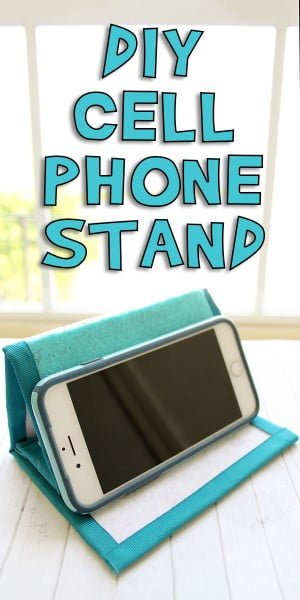
This project is a great way to prop up your phone both vertically and horizontally. It can store flat, so it’s easy to carry with you too. Here’s how to make one of your own.
Tutorial: factotum-of-arts.com
Expected cost: This project should cost less than $10 to
Materials:
- Fabric
- Rice
- Polyester filling
- Sewing machine
- Thread
- Scissors
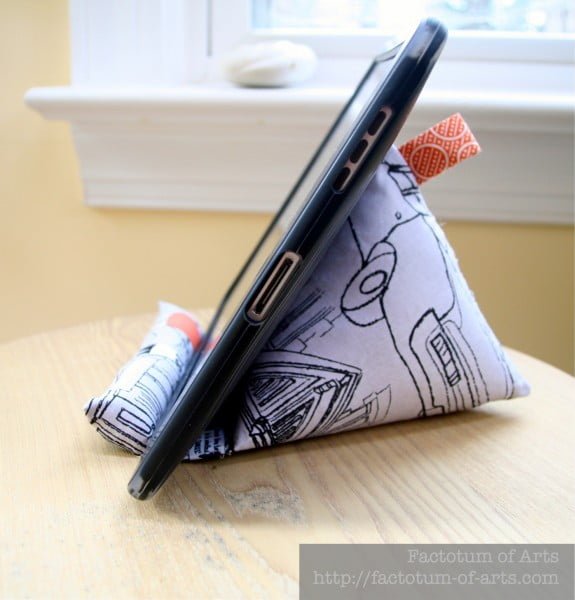
This project is a tutorial on how to make an iPhone/iPad stand. It is made out of fabric and filled with rice and polyester filling.
It is relatively easy to complete, although it does require some sewing.
Tutorial: flamingotoes.com
Expected cost: less than $10
Materials:
- 1/4 yard of fabric
- Thread
- Sewing machine
- Scissors
- Pins
- Ruler or measuring tape
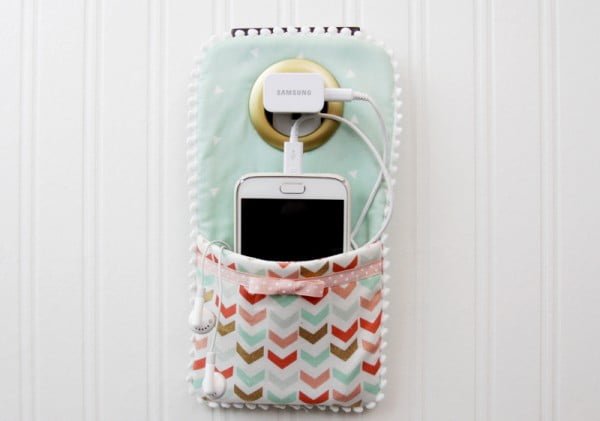
This project is a simple sewing project that should take about 30 minutes to complete. It is a phone charger holder that can be hung on a wall or next to an outlet.
The project requires some basic sewing skills and knowledge of how to use a sewing machine.

Tutorial: tamarasjoy.com
Expected cost: less than $20
Materials:
- Scroll saw
- Wooden board
- Paint
- Brushes
- Template
This project is a great beginner scroll saw project. It is simple and only requires a few tools and materials.
The template is easy to follow, and the project can be completed in an afternoon.
DIY Phone Stand from Clay
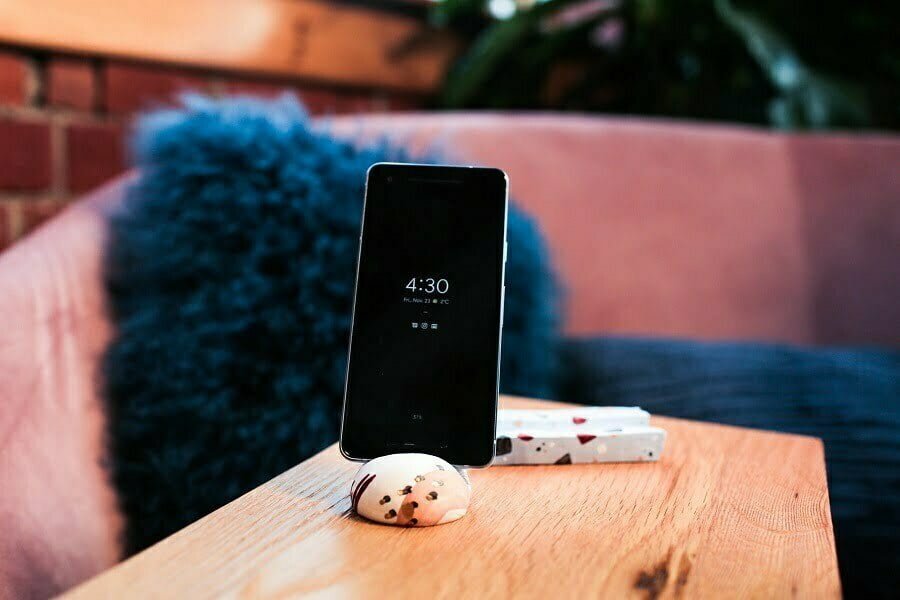
Tutorial: thesorrygirls.com
Expected cost: $5
Materials:
- Oven bake clay
- Rolling pin
- Cookie cutter
- Paint
- Glue
This project is a phone stand that can be customized to the person you are giving it to. It is made out of oven bake clay and requires no special skills or tools, making it a great project for anyone.
It should take less than an hour to complete.
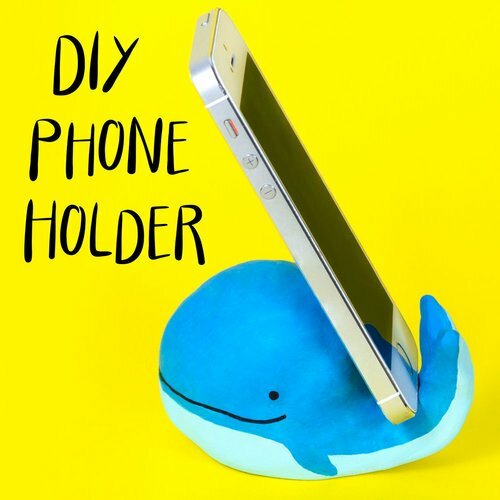
Tutorial: doodleandstitch.com
Expected cost: This project should cost less than $10.
Materials:
- Air dry clay
- Paint
- Black pen
This project is a simple clay phone holder in the shape of a whale. It is easy to make and only requires air dry clay, paint, and a black pen.
DIY Concrete Mobile Phone Holder
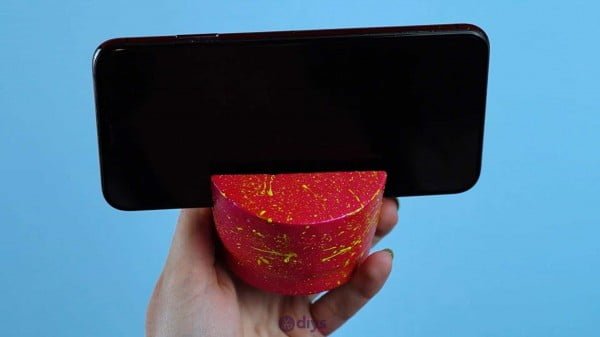
Tutorial: diys.com
Materials:
- 1/2 cup of Portland cement
- 1/2 cup of water
- 1/4 cup of sand
- A plastic container or mold
- A stirring stick
- A small paintbrush (optional)
This project is super easy and fun to do! It’s perfect for beginners who want to try their hand at concrete crafting. The only difficult part is making sure you have all the materials ready before you start.
Other than that, just follow the instructions and you’ll be able to make your own cellphone holder in no time!
DIY Phone Stand from Zip Ties
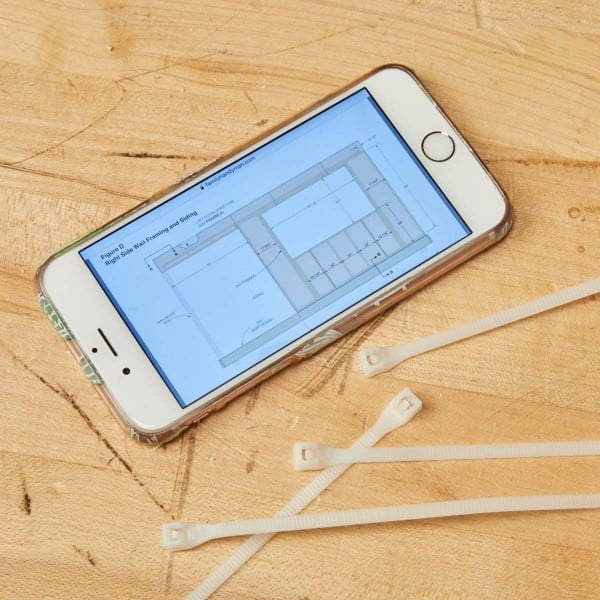
Tutorial: familyhandyman.com
Expected cost: This project should cost less than $5
Materials:
- Zip ties
- Scissors
- Ruler or measuring tape
This project is a simple phone stand that can be made with just a few zip-ties. It is a quick and easy project that anyone can do.
DIY Paper Clip Phone Stand
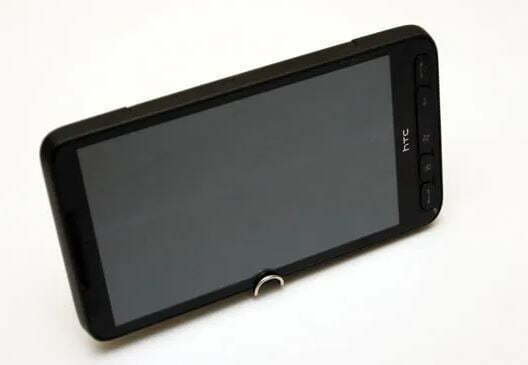
Tutorial: techielobang.com
Materials: Paper clip
This project is very simple and can be completed in less than 1 minute. All you need is a paper clip! To make the stand, simply take the paper clip and bend it into a “U” shape.
Then, take the two ends of the paper clip and insert them into the holes on the back of your phone. That’s it! The stand will hold your phone securely in place and can be used on any flat surface.
Recap
