Last updated on
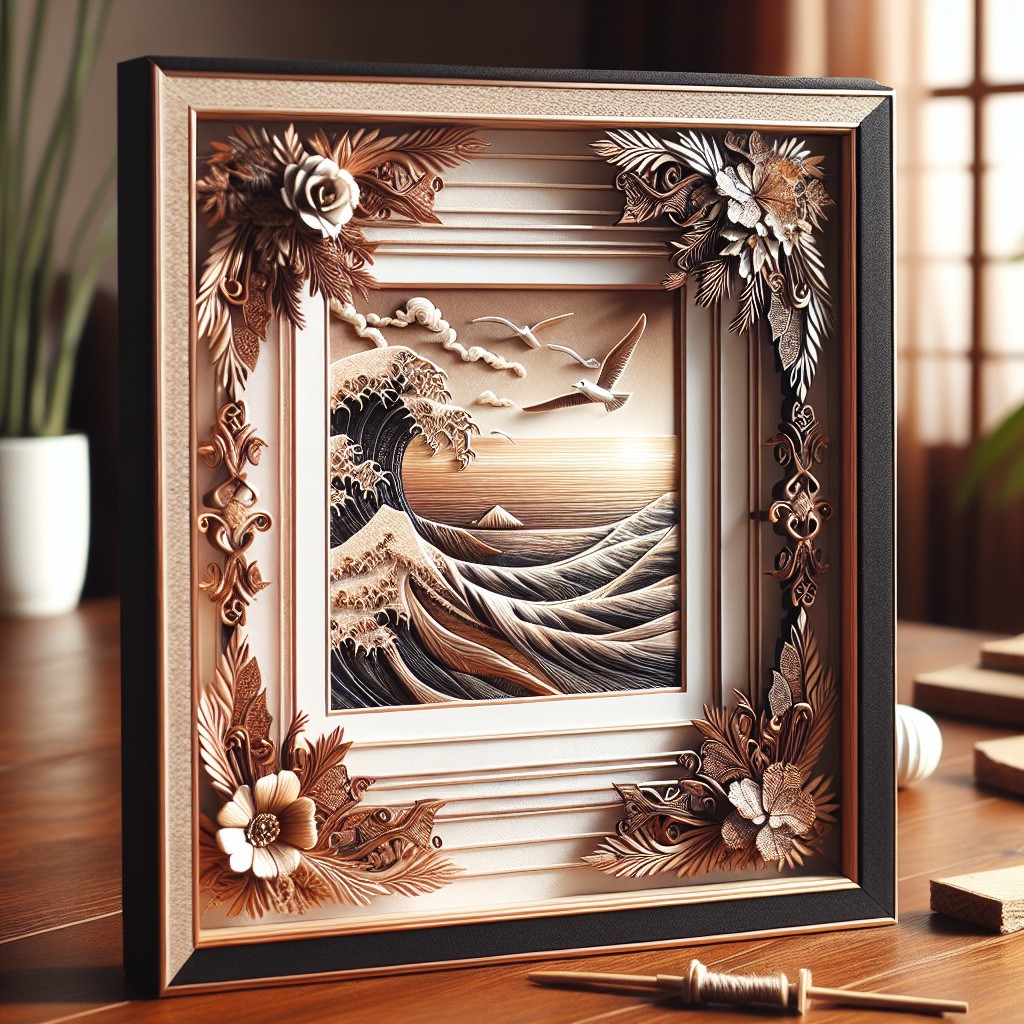
Creating DIY picture frames becomes irresistible because it allows you to showcase your memories in custom-made designs that reflect your unique personality.
Creating beautiful DIY picture frames is more than just a craft – it’s an art that can transform your space, emphasizing the beauty of your treasured memories.
Whether you want to exhibit treasured family photos, cherished artwork, or a special certificate, a well-crafted frame is a necessity.
This guide provides all the details you need to create your own beautiful but budget-friendly picture frames.
From selecting materials, cutting, assembling, finishing, and even hanging, you are on the right page.
Benefit from a full spectrum of diverse designs, styles, and techniques – concise and detailed, ensuring you end up with a notable decor.
Let’s plunge right into it!
Key takeaways:
- Choose durable and aesthetically pleasing materials like solid wood or acrylic sheets.
- Source affordable wood from offcuts or repurpose pallet wood.
- Consider alternatives to glass like plexiglass or acrylic for lightweight and shatter-resistant frames.
- Follow precise measurements and use basic woodworking tools to assemble the frame.
- Get creative with unconventional materials and upcycling options for unique frames.
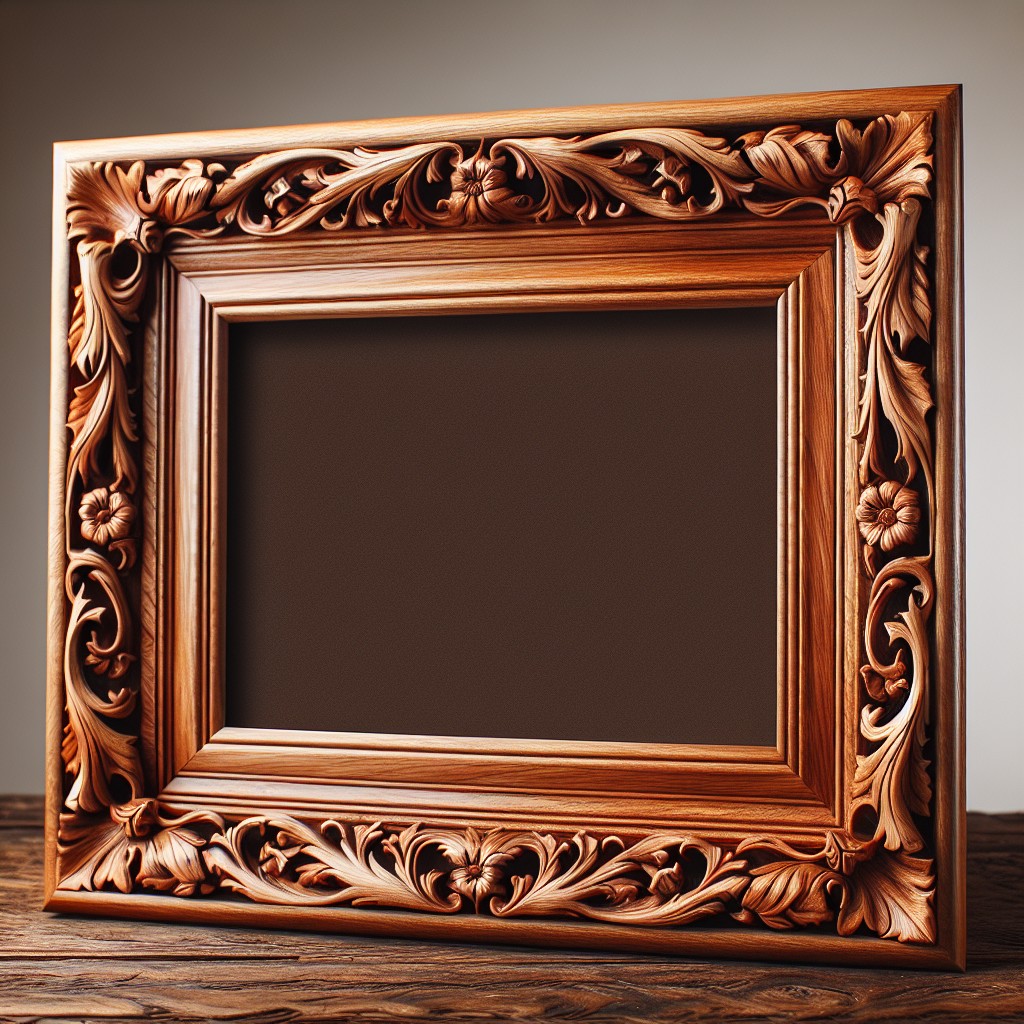
Choosing the Right Materials
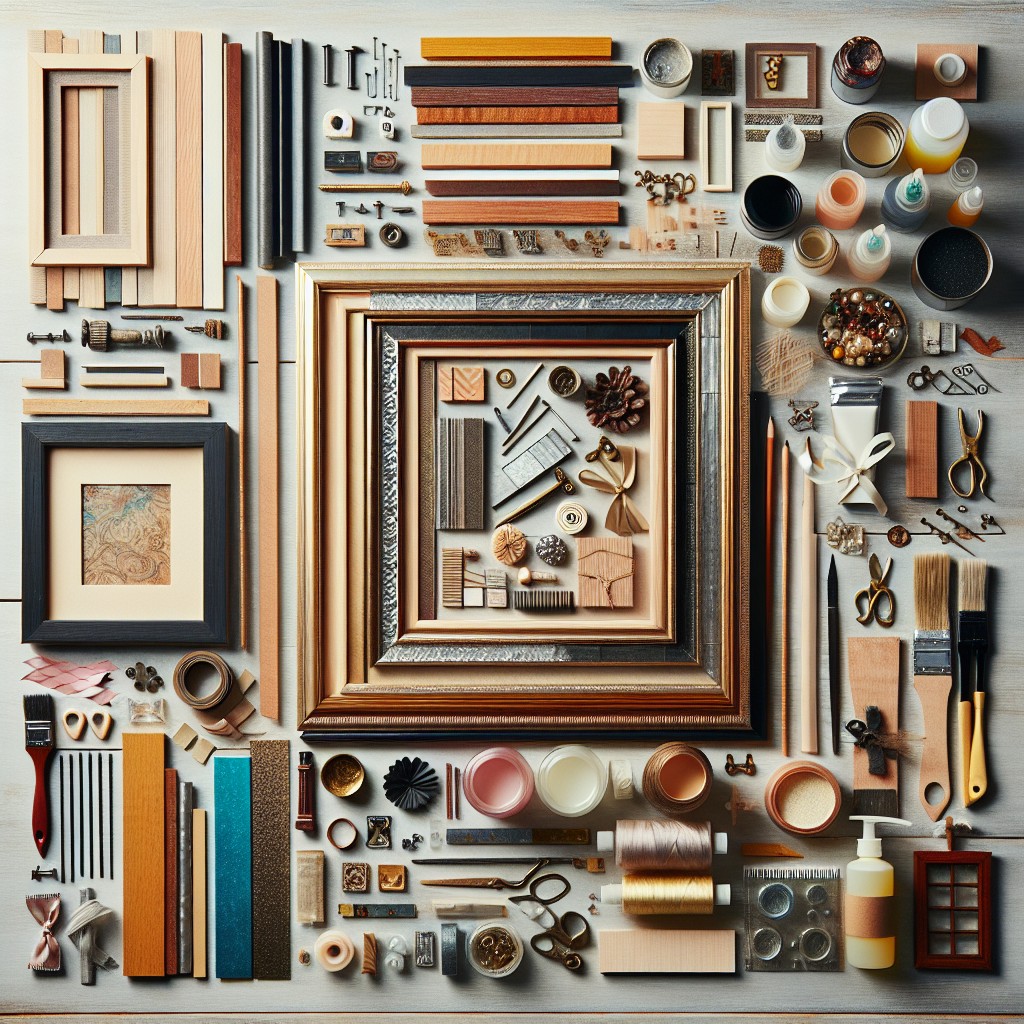
When selecting materials for DIY picture frames, prioritize both durability and aesthetics. Opt for solid wood like pine or poplar for a classic look and easy workability.
For a more budget-friendly option, consider MDF or repurposed pallet wood.
For the frame’s protective cover, acrylic sheets offer a shatterproof and lighter alternative to traditional glass without compromising on clarity. Look for important details such as thickness to ensure stability and protection for your artwork.
Additionally, for a unique touch, explore unconventional materials such as metal sheeting, reclaimed window frames, or even sturdy cardboard for a lightweight design.
Remember that the choice of material can significantly influence the frame’s character and the overall ambiance of the space it complements.
Sourcing Affordable Wood and Trim Options
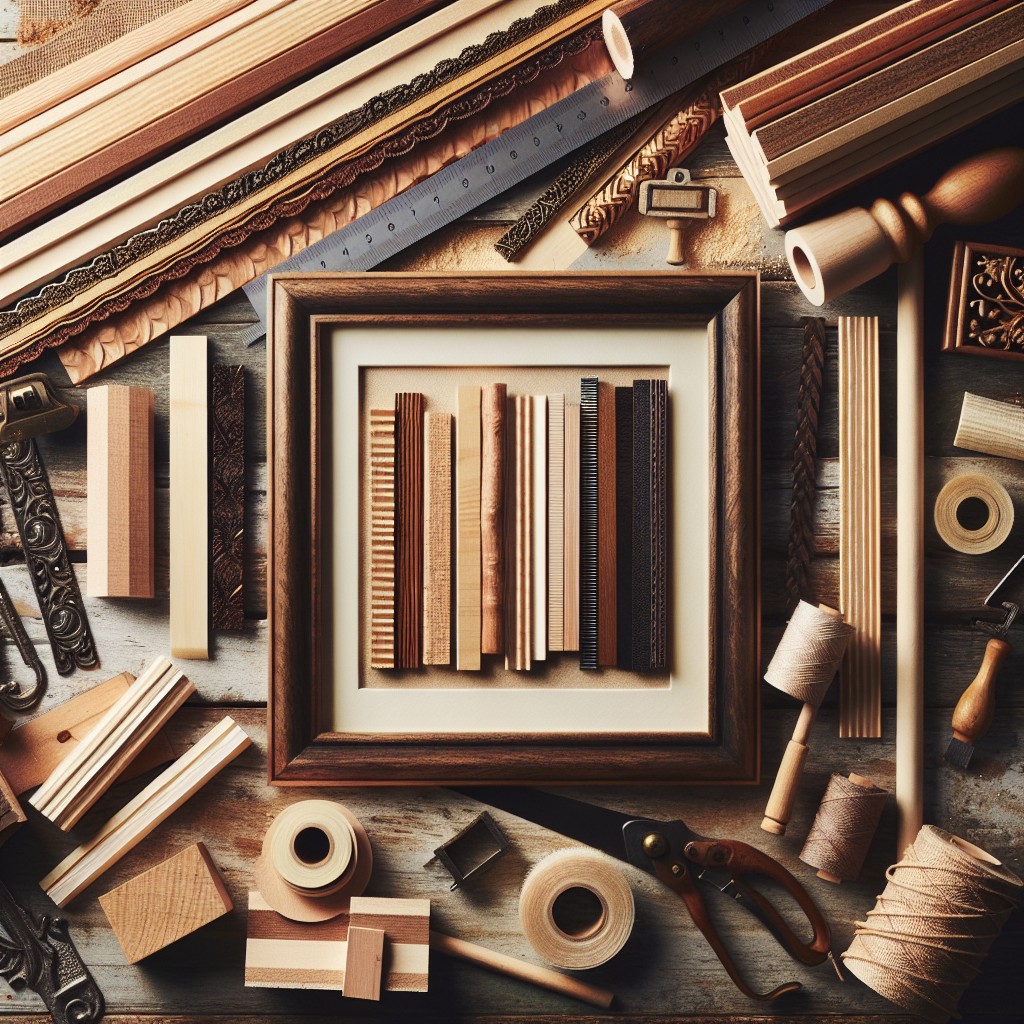
Explore your local hardware store’s offcuts section where you can often find discounted wood pieces perfect for small projects like picture frames.
For a creative and eco-friendly approach, repurpose wood from old furniture or pallets – these can be obtained for free or at a minimal cost from local businesses or online marketplaces.
Trim options can vary from simple moulding sold by the foot to more ornate styles; consider purchasing these during sales or clearance events to maximize savings.
Additionally, check out thrift stores or yard sales for old frames that you can salvage trim pieces from.
With a little sanding and paint, these materials can be given a new life and lend a unique character to your DIY picture frames.
Alternatives to Glass: Using Plexiglass or Acrylic
Plexiglass or acrylic sheets offer a lightweight and shatter-resistant alternative to traditional glass in picture framing, which is especially useful if you’re hanging large artworks or displaying in high-traffic areas. These materials are also generally more affordable and can be cut to size with a utility knife or handsaw, making them well-suited for do-it-yourself framing projects.
When opting for these alternatives, consider the following:
- Thickness: Choose a thickness that provides stability without making the frame too bulky. Thinner sheets work well for smaller frames, whereas thicker ones are better for large artwork.
- Surface type: Decide between a clear or non-glare finish. Non-glare acrylic helps reduce reflections and is preferable in brightly lit or sunny rooms.
- Cutting to size: Measure your artwork and frame opening carefully; leave a slight margin to ensure the acrylic fits without forcing, which could cause warping.
- Edges: Smooth the cut edges with fine-grit sandpaper to prevent injury and create a more polished look.
- Cleaning: Use a soft cloth and acrylic cleaner or mild soap solution to clean the surface, avoiding ammonia-based products that can cloud the acrylic over time.
- UV protection: Consider UV-resistant acrylic to protect artwork from fading due to sunlight exposure.
Remember, removing the protective film from the acrylic only after the frame is assembled will ensure a scratch-free surface.
Cutting and Measuring for a Custom Fit

Accuracy is key in achieving a polished look for your DIY picture frame. Begin by determining the size of your artwork or photograph, then add extra room for a mat if you plan to include one.
Take these steps to ensure your frame fits perfectly:
- Measure the length and width of your artwork, ensuring you account for any additional matting.
- For each side of the frame, add the width of the frame material to the artwork dimensions to calculate the outer frame size.
- Mark your wood or chosen material carefully using a pencil and a straight edge, making sure your lines are clear.
- Use a saw with a fine-tooth blade for smoother cuts, and if available, a miter box to achieve precise 45-degree angles for a professional finish.
- Double-check your measurements before cutting. It’s advisable to cut a little larger and then sand down for a snug fit rather than cut too small and waste material.
- After cutting, lay out your frame pieces to check the fit and adjust if necessary before final assembly.
Remember, patience and precision go a long way in creating a frame that enhances your picture or artwork.
Assembling the Frame Using Basic Woodworking Tools
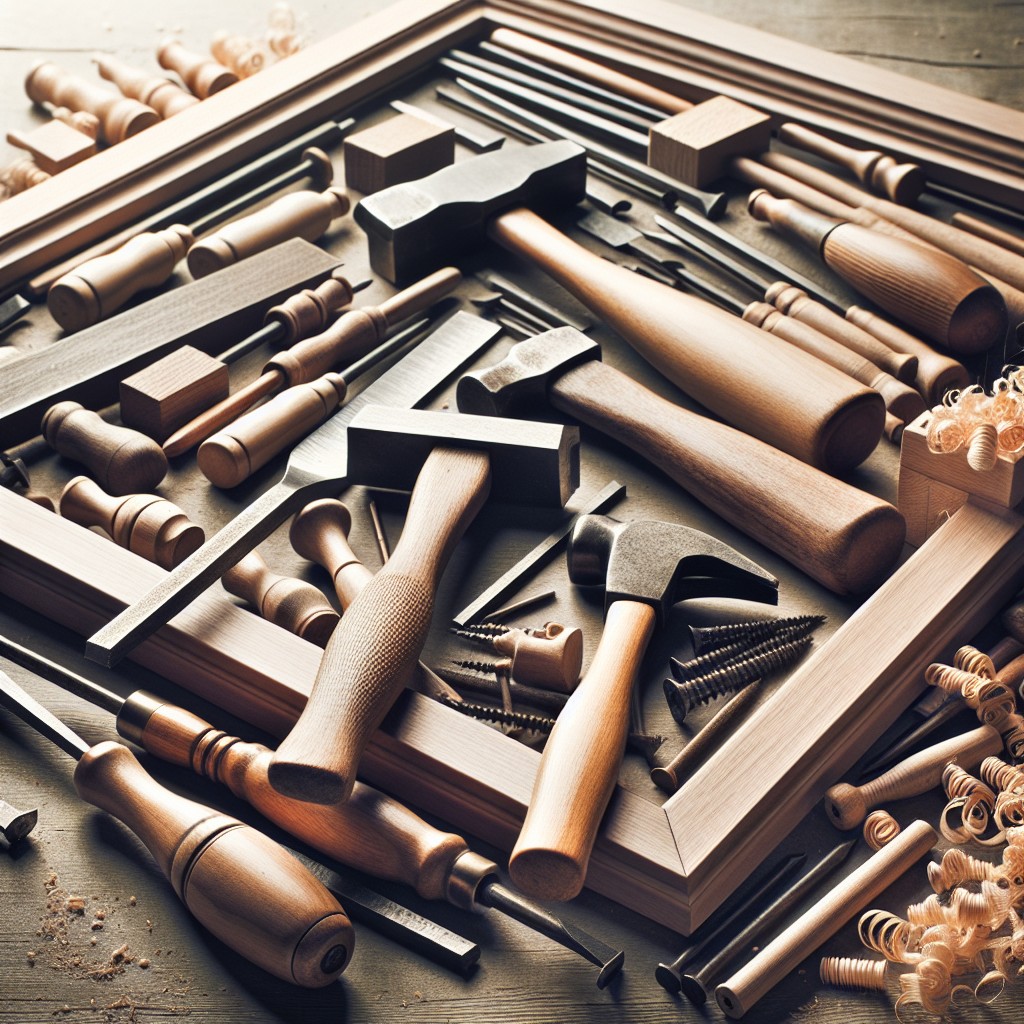
With your wood cut to size, it’s time to join the corners. For a sturdy construction, use a corner clamp to hold the pieces at a 90-degree angle. Apply wood glue on the joining edges for an initial hold. For a more secure bond, drive nails or use a staple gun at each corner. If you want a cleaner look without visible fasteners, consider a biscuit joiner or doweling. This approach allows for hidden, internal reinforcement that provides stability to the frame.
Sand the edges for a smooth finish, ensuring the corners are flush and even. Once assembled, allow the frame to dry and set based on the glue manufacturer’s instructions before moving on to the finishing touches.
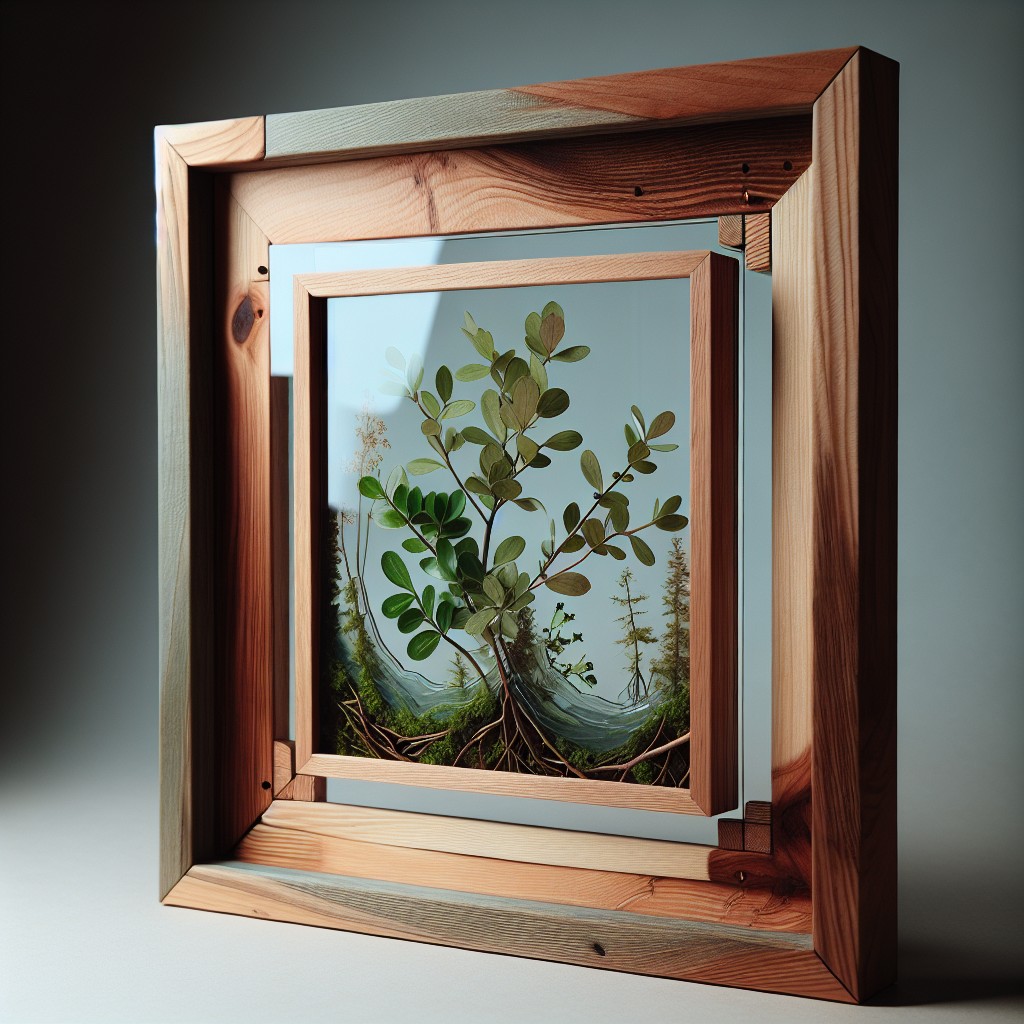
Creating a Shadow Box Frame for Depth
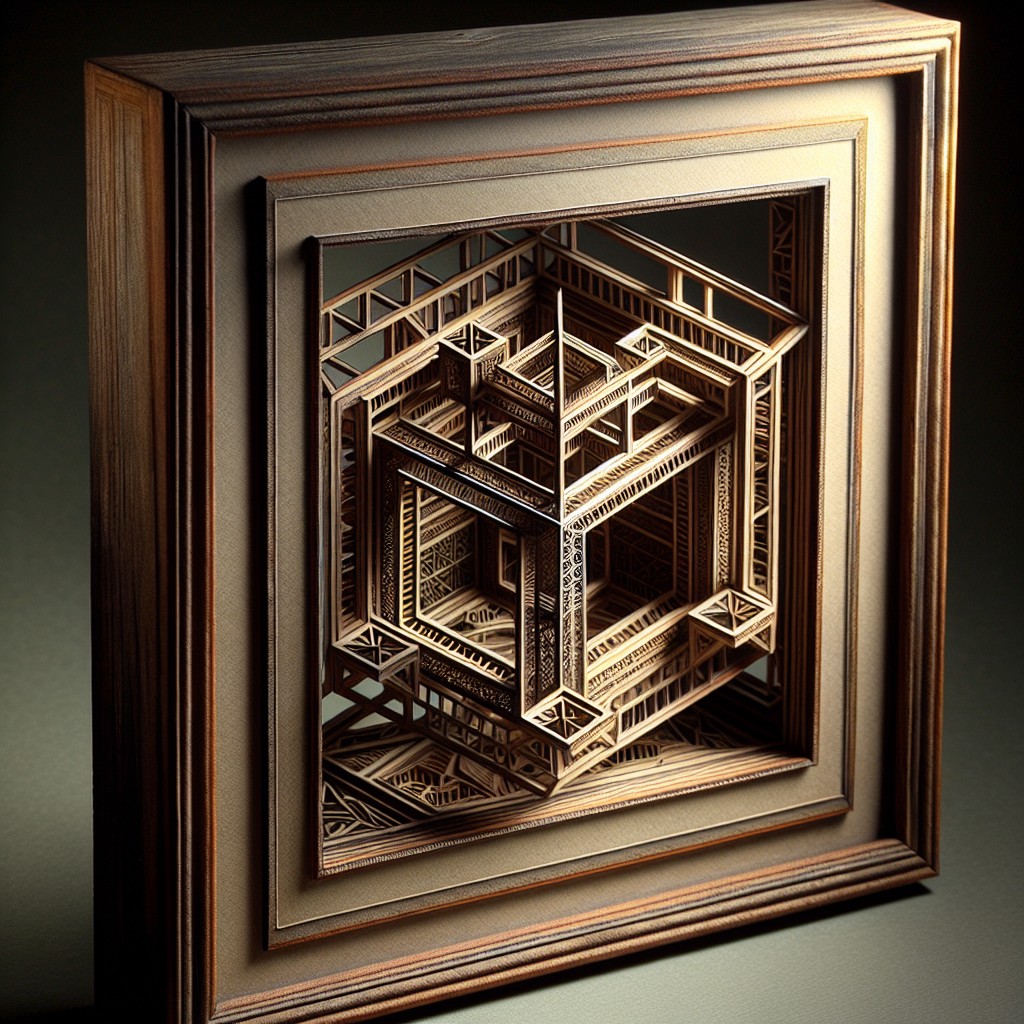
Shadow box frames offer a unique way to display not only pictures but also memorabilia, creating a stunning 3-D effect.
Start by choosing a deep frame or assembling one using thicker pieces of wood to create the desired depth.
Inside the frame, secure a foam core or sturdy back where items will be mounted.
For items with depth like medals or seashells, ensure the spacers are thick enough to accommodate.
When arranging items, play with different layers and heights to add interest and dimension to the display.
To protect your keepsakes, consider using a UV-resistant acrylic pane which is lighter and less prone to breakage than glass.
Secure everything in place, and your shadow box is ready to capture a moment in time with elegance and depth.
DIY Floating Frame for a Modern Look
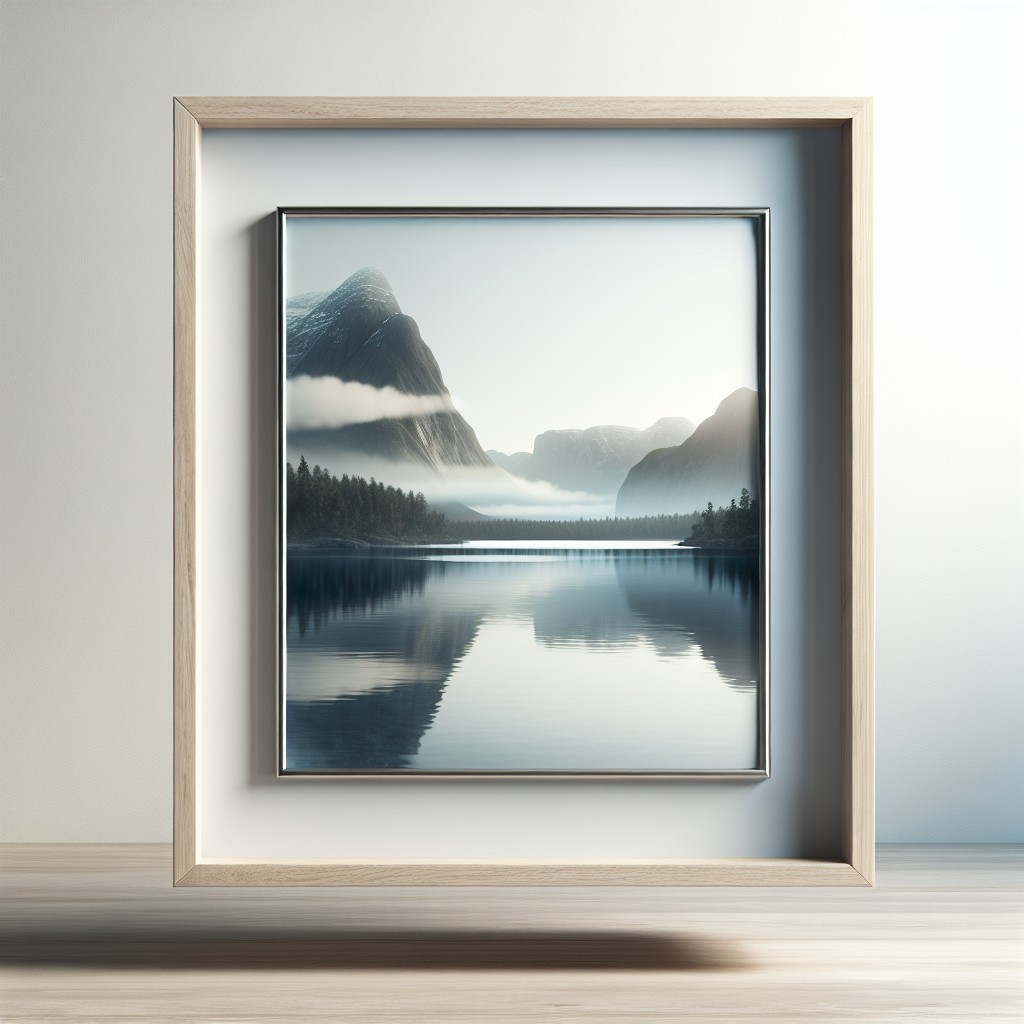
Embrace simplicity and elegance with a floating frame, where your artwork appears to be suspended within the confines of the frame itself. This contemporary design highlight is surprisingly straightforward to achieve.
To begin, select a thin piece of plywood as the backing for your artwork, ensuring it’s cut slightly larger than your piece for the illusion of hovering. Fasten the artwork centered on the plywood using acid-free archival tape. This not only preserves the art but also prevents damage.
Next, create the frame using four strips of wood, mitered at the corners to form a perfect rectangle. The internal dimensions should be slightly larger than your art piece, allowing for a delicate gap that establishes the floating effect. Assemble the wood strips by applying wood glue at each joint and robustly clamp them until dry.
For the final assembly, attach the backed artwork to the frame using small screws or nails. Be mindful to secure it only from behind to maintain the illusion from the front view. Optionally, add a clear acrylic sheet atop the artwork before securing, if desired, for extra protection.
Paint or stain the frame to your preference, playing with colors or finishes that either contrast or complement your artwork and decor. Remember, the goal is to frame your piece subtly, making your art the undisputed focal point.
Clothespin Frames for Easy Assembly and Rustic Charm
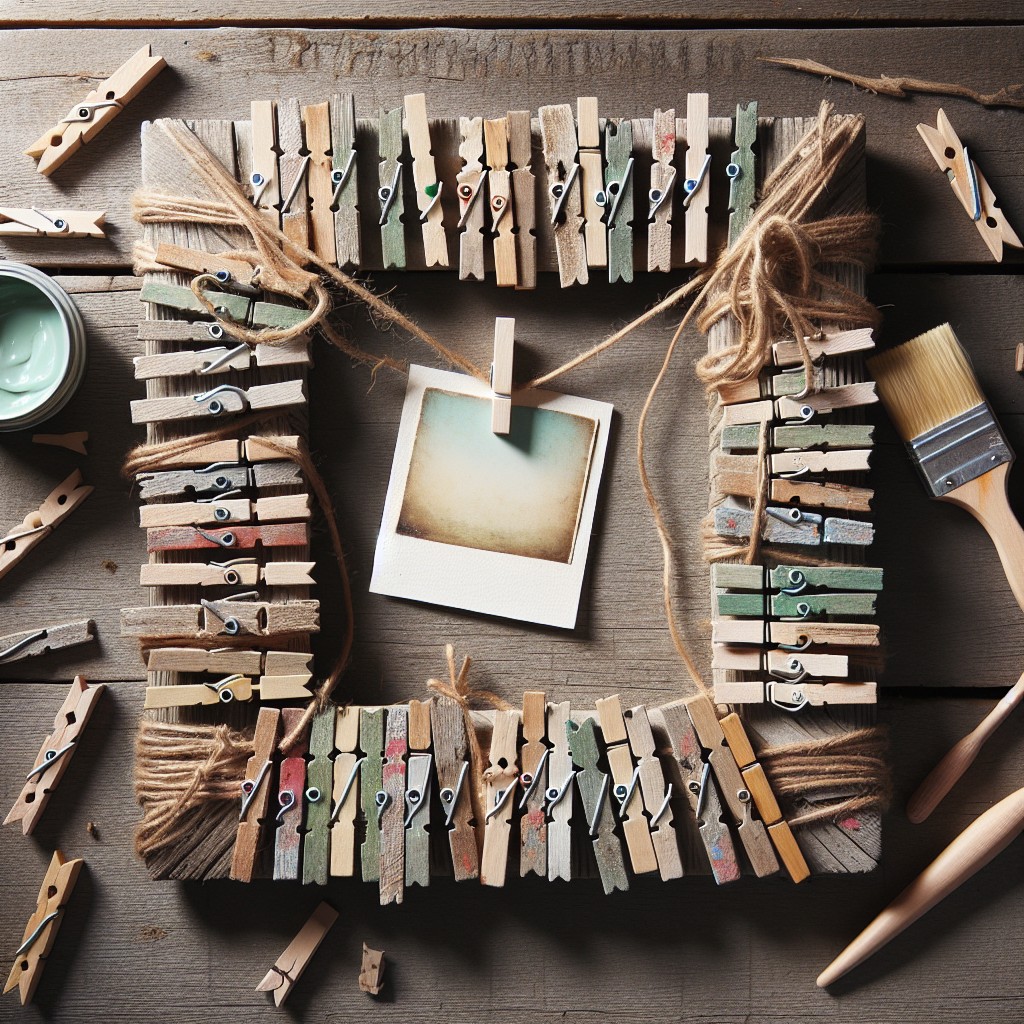
Embrace a touch of rustic charm with an effortlessly assembled clothespin frame. By clipping your photos directly to a piece of string tied between two nails or hooks on your wall, you create an interactive display that can be updated as often as you’d like.
- Use natural wood clothespins for an earthy feel or paint them to match your room’s color scheme.
- Twine or jute adds to the country-inspired vibe, while fishing line or thin metal wire gives a more industrial look.
- Arrange multiple strings in parallel for a gallery effect or in a web-like pattern for creative flair.
- This frame style is perfect for hanging polaroids, postcards, or small prints.
- Consider decorating the clothespins with washi tape or glitter for an extra pop.
- Ideal for casual spaces like dorm rooms or family galleries where photos rotate frequently.
Crafting a Box Frame Mirror
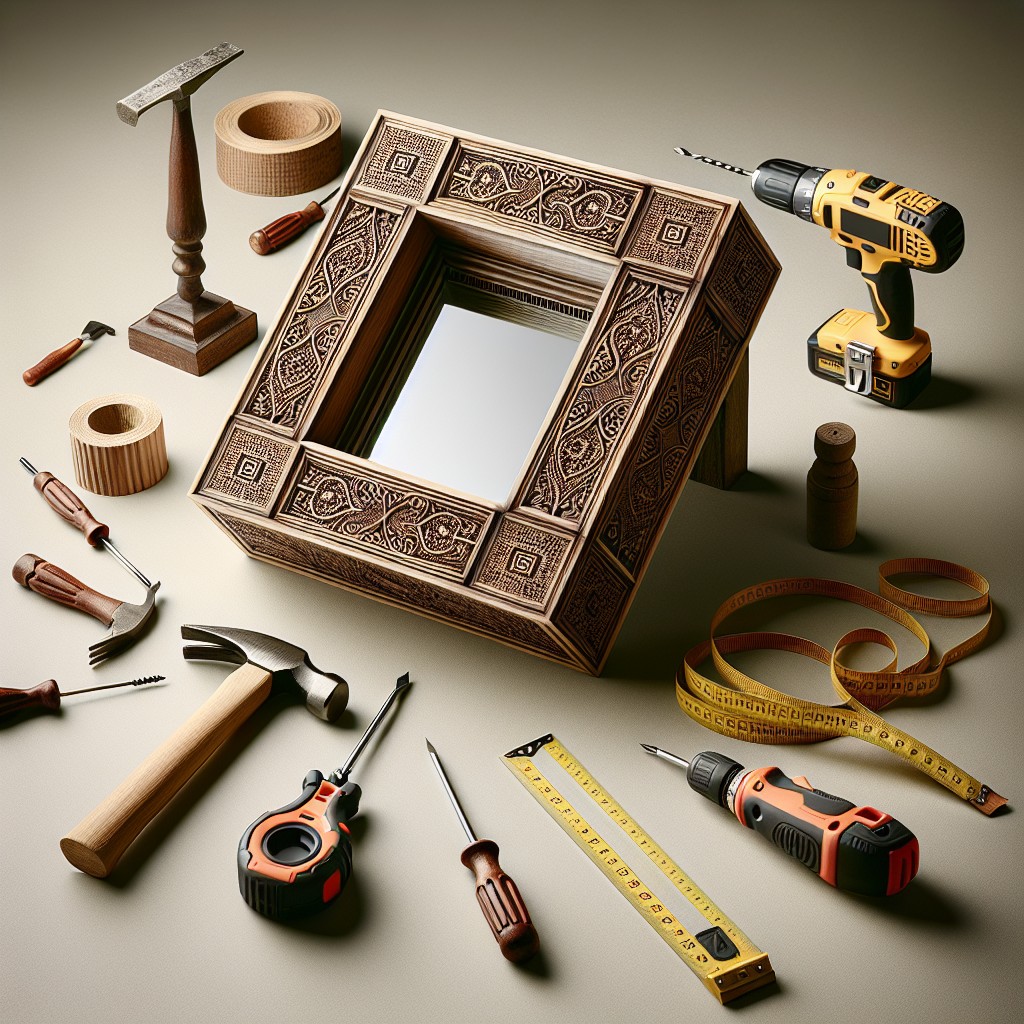
Transform an ordinary mirror into a decorative piece with a box frame, elevating its appeal and adding dimension to your room. Begin by measuring the mirror’s dimensions to determine the size of the four wooden planks you’ll need. Opt for a width that provides a solid border around the mirror, enhancing its presence on your wall.
When selecting lumber, consider depth to ensure your frame extends out from the wall, achieving that coveted box effect. Pine or reclaimed wood are excellent, budget-friendly choices that also provide a warm, rustic finish to your decor.
Join the wood planks at right angles to construct the outer frame, using wood glue and nails for a firm hold. For a smoother finish, sand the corners and edges.
Fix the mirror onto a sturdy backboard, such as MDF or plywood, which should match the dimensions of the inside of your frame. Secure the mirror with a strong adhesive designed for glass. Then, attach the backboard to the frame using screws, placing them at regular intervals to ensure stability.
You may leave the wood natural, stain, or paint it to match your decor. Ensure the paint or stain is completely dry before installing the mirror on the wall.
For hanging, screw in D-rings to the back of the frame at equal heights and string wire or cord between them, making sure it’s strong enough to support the weight of your new box frame mirror.
Customizing Frame Size and Style
To ensure your DIY frame perfectly suits your artwork and decor, delve into the tailor-making process. Start by identifying the exact dimensions of what you’ll frame. Consider a margin around the artwork for a mat, if desired.
For the style, the design world is your oyster. Opt for sleek lines for a modern feel or detailed trims for a classic touch. Selecting a complementary color or wood stain can also make a significant impact. For an eclectic mix, try using different textures or layering frames for depth.
Remember, attention to corners will set amateur projects apart from professional ones. Mitre cuts give a seamless look, whereas square or butt joints add a handcrafted vibe. Always dry-fit pieces before committing to attach them, especially if you’re experimenting with unconventional angles or irregular sizes.
Customization is a creative playground; let your imagination lead the way while keeping the art piece as the focal point.
Finishing Touches: Sanding and Painting

To ensure a smooth surface, start with a medium-grit sandpaper and progress to fine-grit. Sand along the grain to prevent scratches. Once satisfied, wipe down the frame to remove dust.
For painting, choose a primer that matches your paint type—oil-based or water-based. A coat of primer will enhance paint adhesion and coverage. When dry, apply your chosen paint. For a uniform coat, use long, even strokes or a foam roller for larger surfaces. Multiple thin coats are better than one thick coat; they dry faster and reduce drips.
For added personality, consider techniques like distressing or using a crackle medium for a vintage feel. If aiming for a more durable finish, especially for frames that might be touched frequently, a clear sealant or wax can provide extra protection.
Experiment with colors and finishes to complement your decor. Remember, these final touches showcase your creativity and give your frame a professional look.
Adding Hanging Hardware and Protective Backing
Secure your masterpiece for display by attaching a sawtooth hanger or D-rings to the frame’s upper back edge.
For heavier frames, using wire with D-rings provides added support.
For the backing, consider using acid-free paper or felt to protect the wall from scratches and the artwork from dust.
Place the backing material over the back of the frame, ensuring it’s cut to size.
If using a paper backing, you can attach it with double-sided tape or staples around the edges.
For added protection and a professional touch, seal the corners with framing tape.
Remember to leave room for the hanger to poke through the backing.
Now, your frame is not only ready to hang but also safeguarded for years of enjoyment.
Creating a Transparent Photo Frame
Achieving a see-through look accentuates your photos and suits modern aesthetics. Here’s how to craft your own transparent frame:
1. Gather two identical-sized acrylic sheets—they should be slightly larger than your photo.
2. Peel off the protective film from one side of each sheet, leaving the other side covered to avoid scratches.
3. Place your photo face-down on one sheet, ensuring it’s centered.
4. Apply clear adhesive dots on the corners of the photo’s back, securely sandwiching it with the second acrylic piece.
5. Drill holes near each corner of the acrylic sheets if you wish to hang the frame or simply attach clear adhesive strips to mount it without visible hardware.
The result is a minimalist frame that appears to float against your wall, elevating the visual interest of your space.
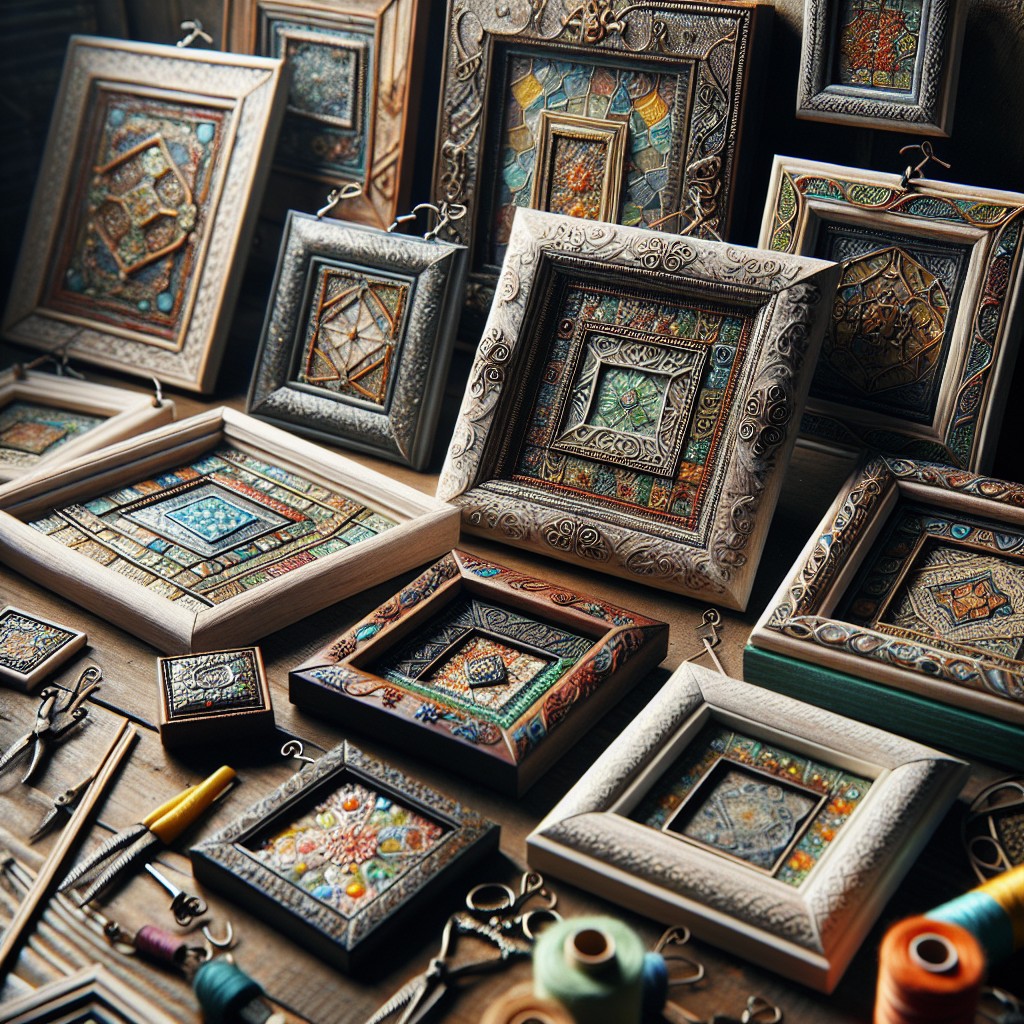
Incorporating Fabric or Wallpaper for a Textured Background
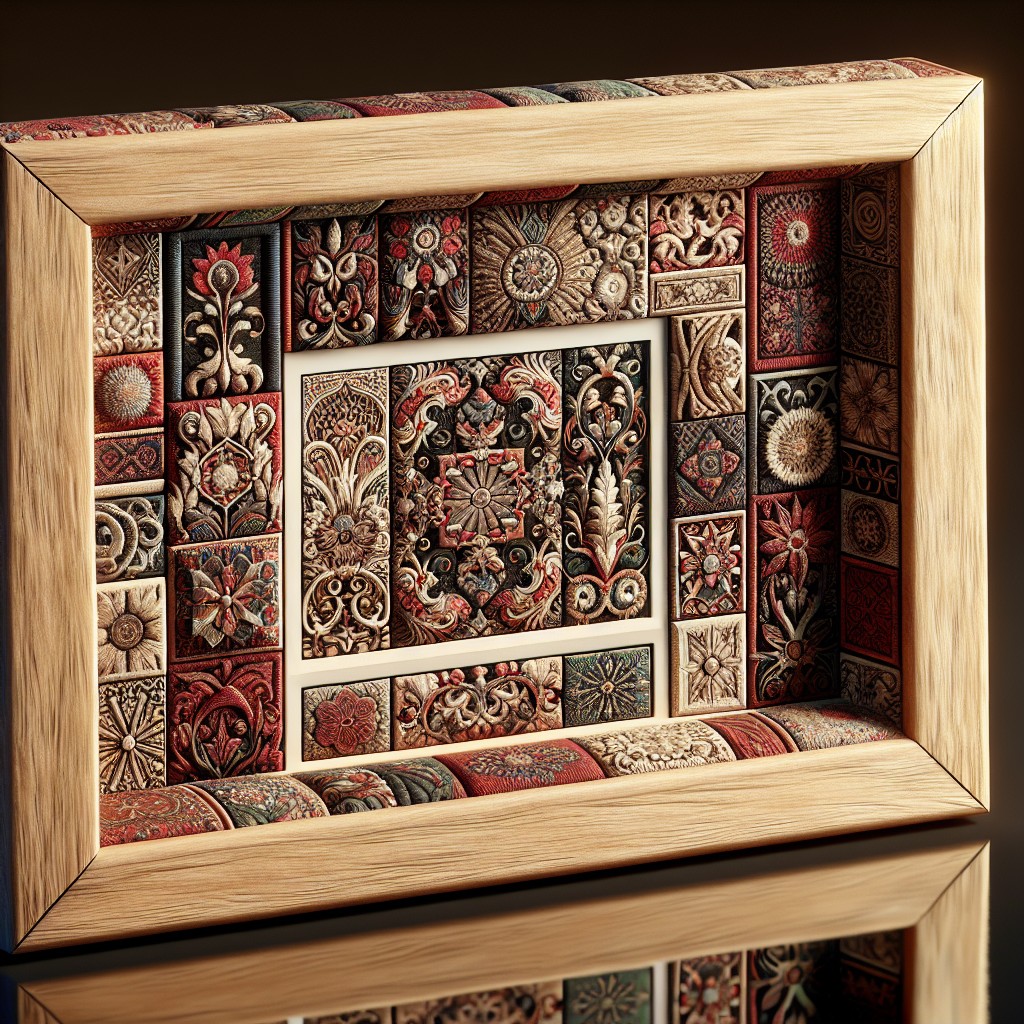
Transforming a plain frame into a piece of art itself is simple with the addition of fabric or wallpaper. These materials add texture and pattern, offering a unique backdrop for your photos or art.
Below are key points to consider:
- Choose a fabric or wallpaper that complements the colors and theme of your picture, ensuring it enhances rather than overshadows the image.
- Cut the material to fit the backing of the frame with a slight overlap for easy gluing and folding over the edges for a clean finish.
- Use a suitable adhesive, like mod podge for fabric or wallpaper paste, to smoothly adhere the material to the backing.
- Smoothing out bubbles or creases is crucial; a brayer or a flat-edged tool can help achieve an even surface.
- Consider sealing the fabric with a clear acrylic spray to protect against dust and fading, especially if the frame will hang in direct sunlight.
- For those looking for a changeable option, use double-sided tape or clips to affix the material so it can be switched out with ease.
- If you’re framing a mirror, ensure the texture of the material doesn’t interfere with its reflection.
By incorporating these elements, you can elevate a typical frame to a decorative statement piece.
Turning Old Frames Into Chalkboards or Jewelry Holders
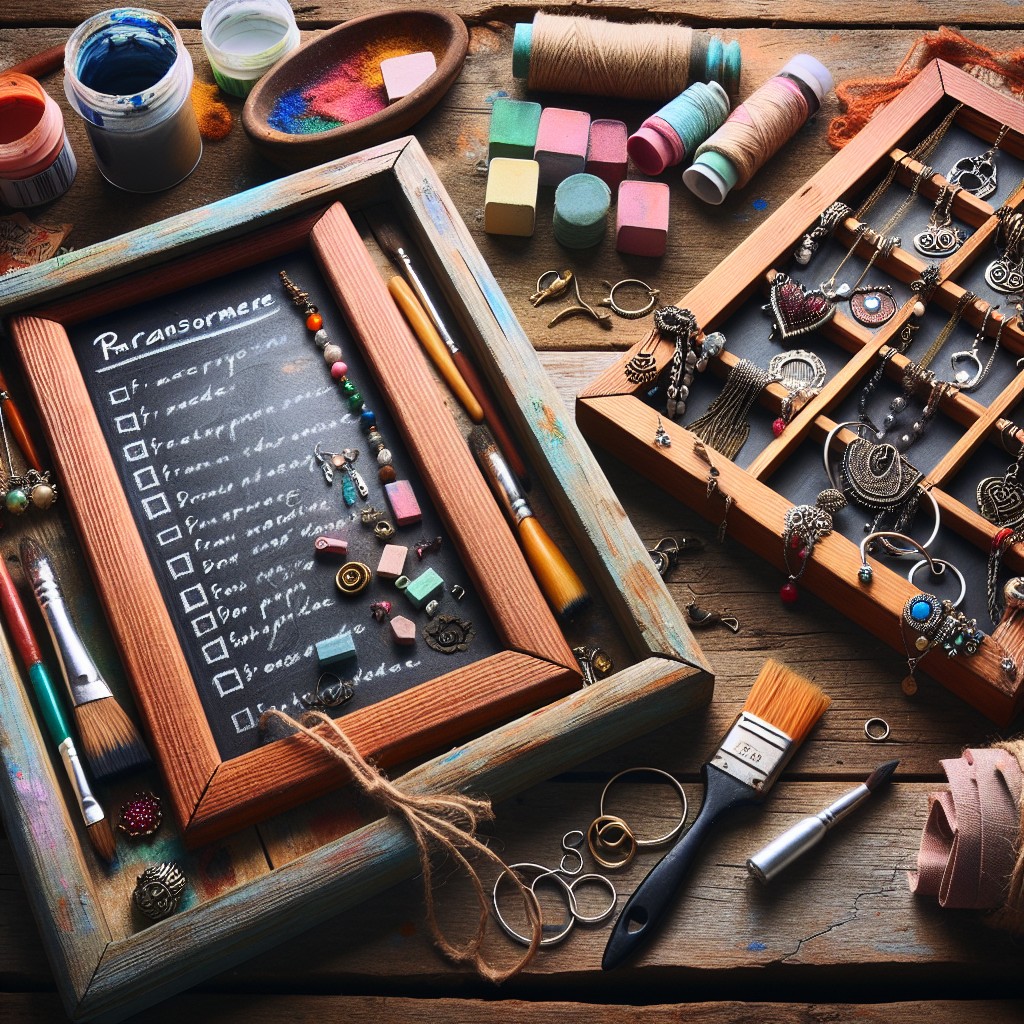
Revitalize that old picture frame gathering dust by transforming it into a charming kitchen chalkboard. Simply replace the glass with a piece of medium-density fiberboard (MDF) painted with chalkboard paint. For a farmhouse look, distress the frame’s edges lightly with sandpaper.
If your interests lean more towards accessorizing, an elegant jewelry holder is another fantastic upcycling option. Remove the backing and secure chicken wire or radiator grates where the glass once was. Hooks can be added around the frame for necklaces or scarves. For a softer approach, consider covering a foam board insert with linen or velvet to create a plush surface, perfect for pinning earrings and brooches directly onto the frame. This easy transformation not only declutters your dresser but turns your jewelry into a visually stunning wall display.
Resourcefulness in Framing Canvas or Unconventional Art
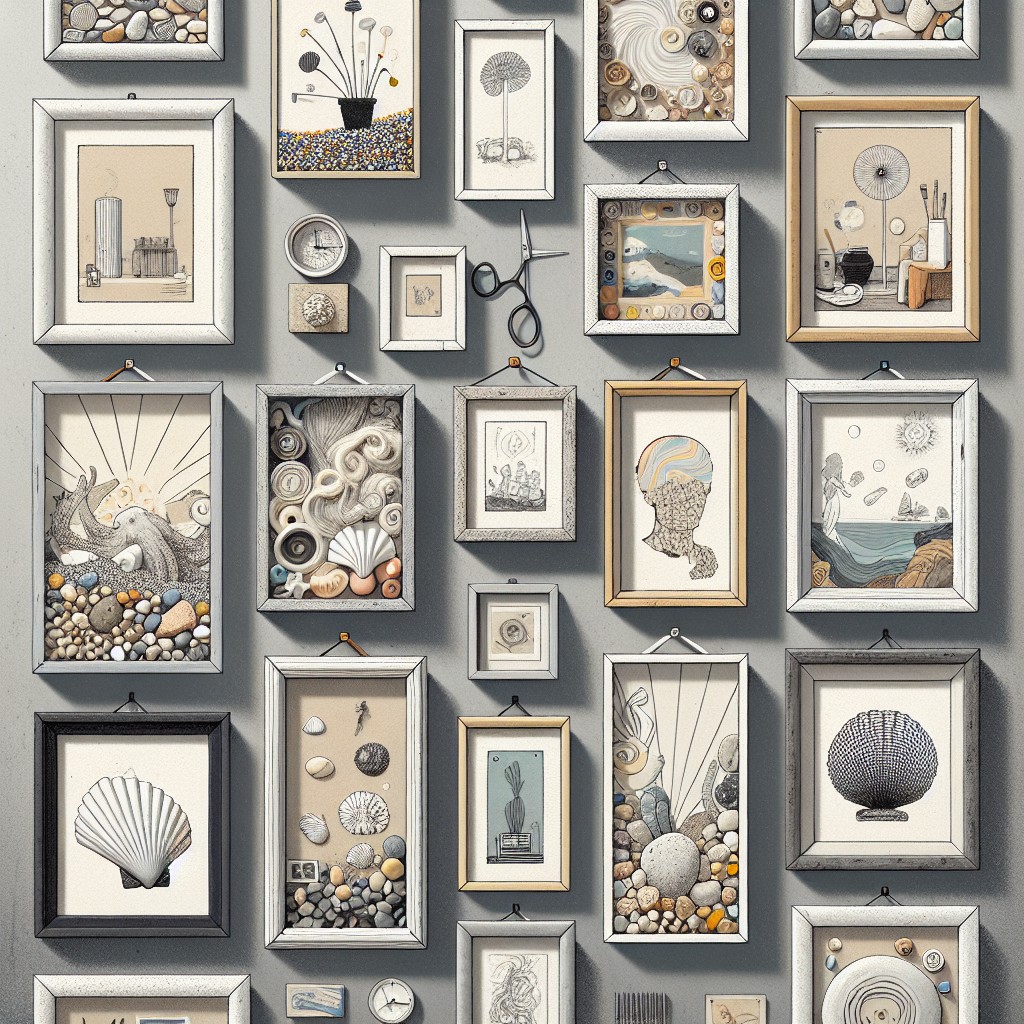
Embrace the challenge of framing non-traditional art pieces by thinking outside the box. For canvases, skip the glass and let the texture shine. Use a simple stretcher frame to maintain the gallery-wrapped look. Alternatively, add a float frame surrounding the canvas to give it depth and a polished edge without obstructing the artwork.
When dealing with unconventional art such as textiles, consider suspending the piece within a larger frame using fishing line for a “floating” effect. Objects can be mounted on a painted plywood backing to highlight the piece and secure it within a custom-built shadow box.
For an interactive display, clipboards offer an innovative and changeable framing option, perfect for photographs or children’s artwork. This method allows for frequent updates and adds a playful, dynamic element to your decor.
Lastly, preserve the originality of found items or collectibles by utilizing clear acrylic boxes as frames, which protect while also offering a three-dimensional view that can be appreciated from different angles.
Environmental Considerations: Upcycling Materials
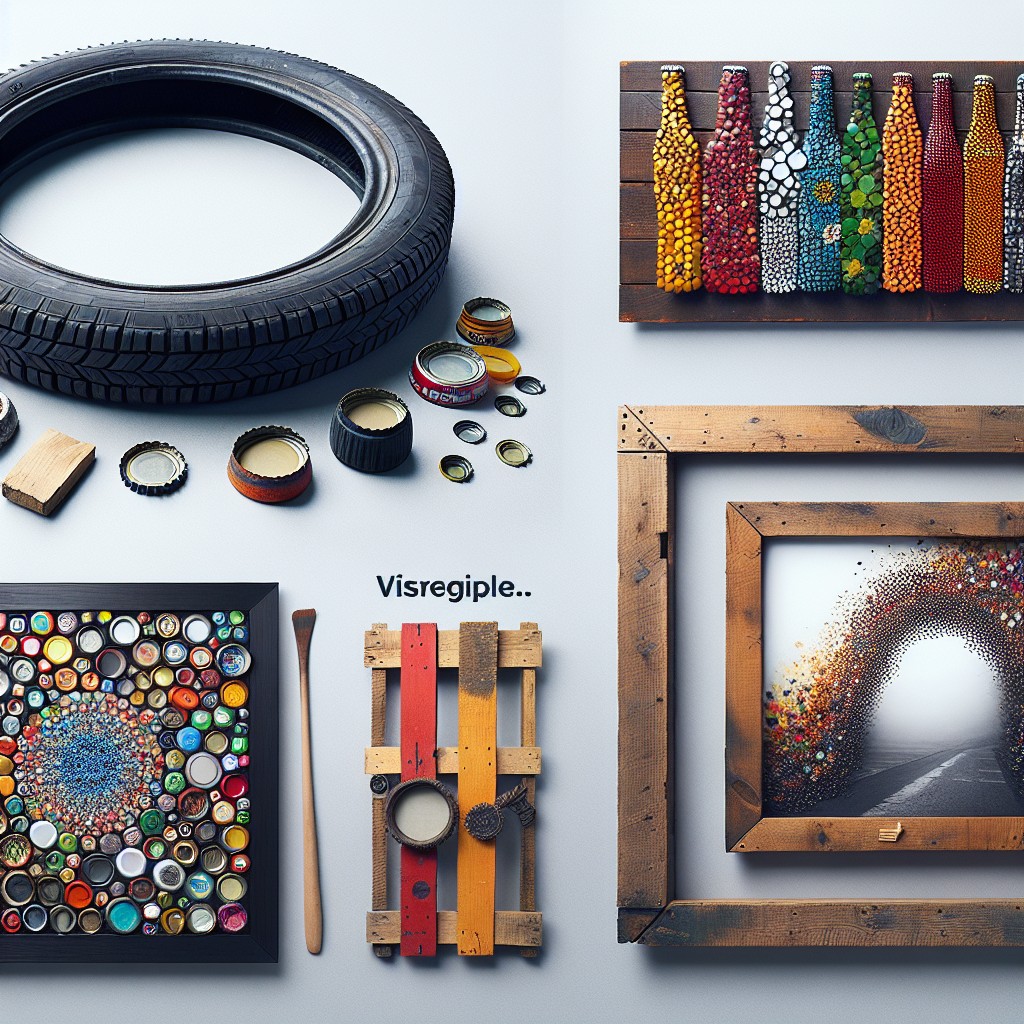
Transforming everyday items into picture frames not only gives a new lease on life to potential waste but also adds a unique touch to your decor. Consider these avenues:
- Old wooden doors or window frames can be repurposed into rustic-looking picture frames, adding character to the room.
- Large empty food containers or boxes can be trimmed and decorated to create an eclectic photo display.
- Vintage books with hollowed centers serve as novel frames for your favorite snapshots, blending literary charm with personal memories.
- Used bicycle wheels offer an industrial vibe to your space while holding photos between spokes in a creative display.
- Discarded ceramic tiles can frame smaller pictures and can be hung together in a mosaic pattern for visual impact.
Not only will you reduce waste by upcycling, but you’ll also create a talking point and a piece of decor that is both personal and environmentally conscious.
Step-by-Step Instructional Guide
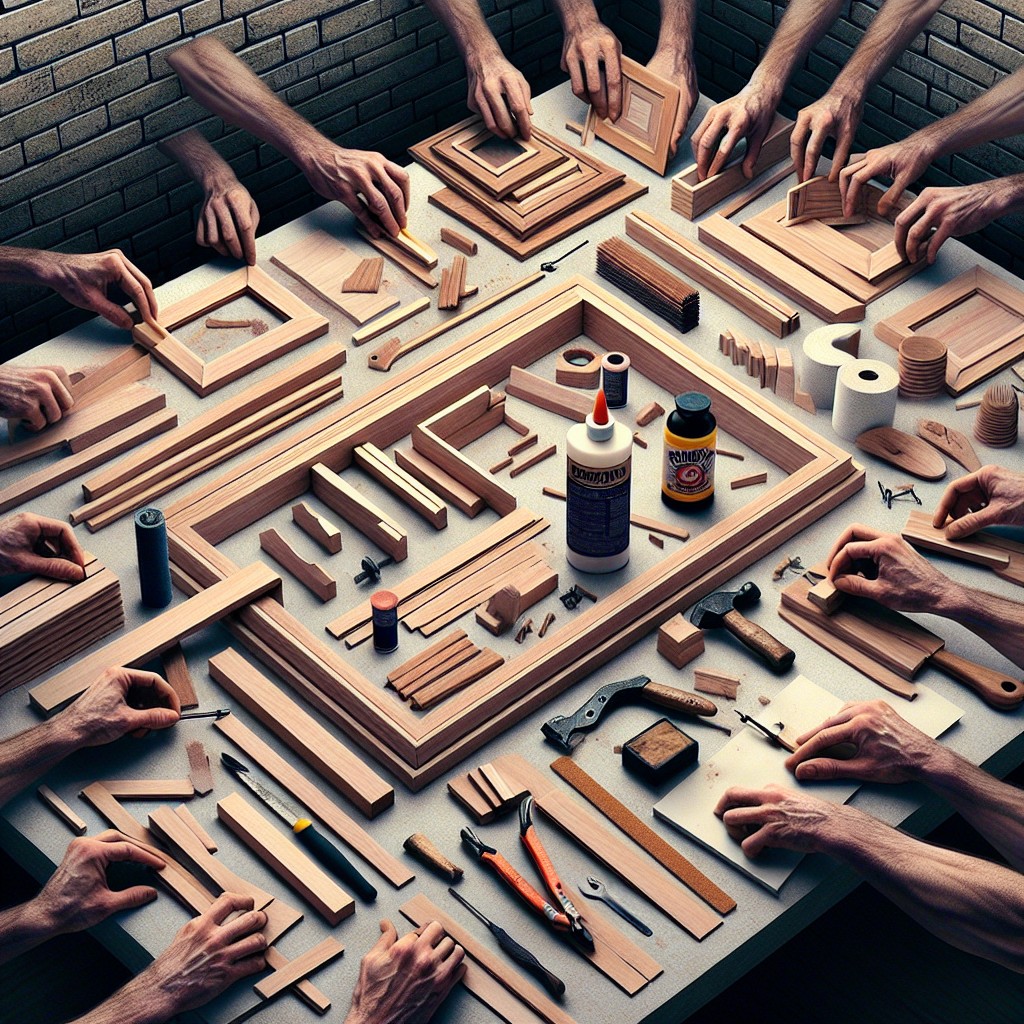
Begin by gathering your materials: wood or trim, plexiglass or acrylic, and wood glue or nails.
Measure the artwork or photo you intend to frame, adding extra for matting if desired.
Cut your wood or trim to the desired size, creating four frame pieces with 45-degree angles at each end for a seamless fit.
Dry fit the pieces together to ensure a perfect rectangle and make any necessary adjustments.
Apply wood glue to the angled edges, assemble the frame face down, and secure with clamps until dry.
If using nails, reinforce the glued corners with small finishing nails for additional support.
Measure and cut your plexiglass to fit inside the lip of the frame, ensuring a snug fit.
Sand down rough edges or corners of the frame for a smooth finish before painting or staining.
After the frame is dry, place the plexiglass in, followed by the art and a sturdy backing.
Secure the back with small nails or frame points, add hanging hardware, and your DIY picture frame is ready to display.
Tips for Achieving a Professional Finish On a Budget
Applying primer before painting can make your frame look more polished while also providing a surface that will hold onto the paint better. Opt for high-quality acrylic paint which often gives a smoother finish than cheaper alternatives. For a glossy look, use a clear sealant after painting.
Use fine-grit sandpaper to smooth out any rough edges or surfaces. This will prepare the frame for a flawless coat of paint or varnish. Always sand in the direction of the wood grain to avoid scratching.
A miter box can help you achieve precise angles for your frame corners. This tool guides your hand saw for accurate cuts every time, ensuring that your frame fits together seamlessly.
For a textured look, consider using a stencil with a raised finish paint or add a layer of glue and gold leaf for an elegant touch.
Lastly, use painter’s tape to cover any areas you don’t want to paint, such as the glass or acrylic insert. This ensures clean lines and a professional appearance.
Safety Precautions and Best Practices

Ensure your workspace is well-lit and properly ventilated, especially when dealing with paints and adhesives. Always wear safety glasses to protect your eyes from flying debris when cutting or sanding materials.
Keep fingers clear of blades when using cutting tools, and consider using a clamp to hold pieces steady. When assembling frames, small nails and staples can pose a hazard; handle with care to avoid injury. It’s wise to keep a first aid kit nearby, just in case of minor accidents.
Lastly, read all instruction manuals for power tools thoroughly and adhere to the recommended safety guidelines. Remember, taking your time and focusing on precision not only yields better results but also keeps you safer.
FAQ
Is it cheaper to make your own picture frames?
Yes, making your own picture frames can potentially be cheaper, especially when utilizing resources from thrift stores.
What sustainable materials can you use to create DIY picture frames at home?
You can utilize sustainable materials like reclaimed wood, old magazines or newspapers, cardboard, and natural elements such as twigs and pressed flowers to create DIY picture frames at home.
How to repurpose old items for creating vintage DIY picture frames?
Repurpose old items like vintage wooden boards, antique mirrors, or window panes by adhering pictures or prints on them for unique, cost-effective DIY picture frames.
What are easy ways to customize and embellish homemade picture frames?
Easy ways to customize and embellish homemade picture frames include using acrylic paint for a personalized design, attaching decorative items like beads or sequins, applying decoupage with favorite images, or wrapping them with a stylish fabric.
More Like This
 22 Mini Cactus Garden Ideas That Prickle with Delight
 20 Fairy Houses With Natural Materials That Will Make You Believe In Magic
 20 Cheap Walkway Ideas DIY Benefits
 15 Ingenious DIY Pantry Cabinet Ideas
 15 Creative DIY Buffet Table Ideas for Your Next Gathering
Recap