18 Thanksgiving Wreaths to Wow Your Door for the Festivities
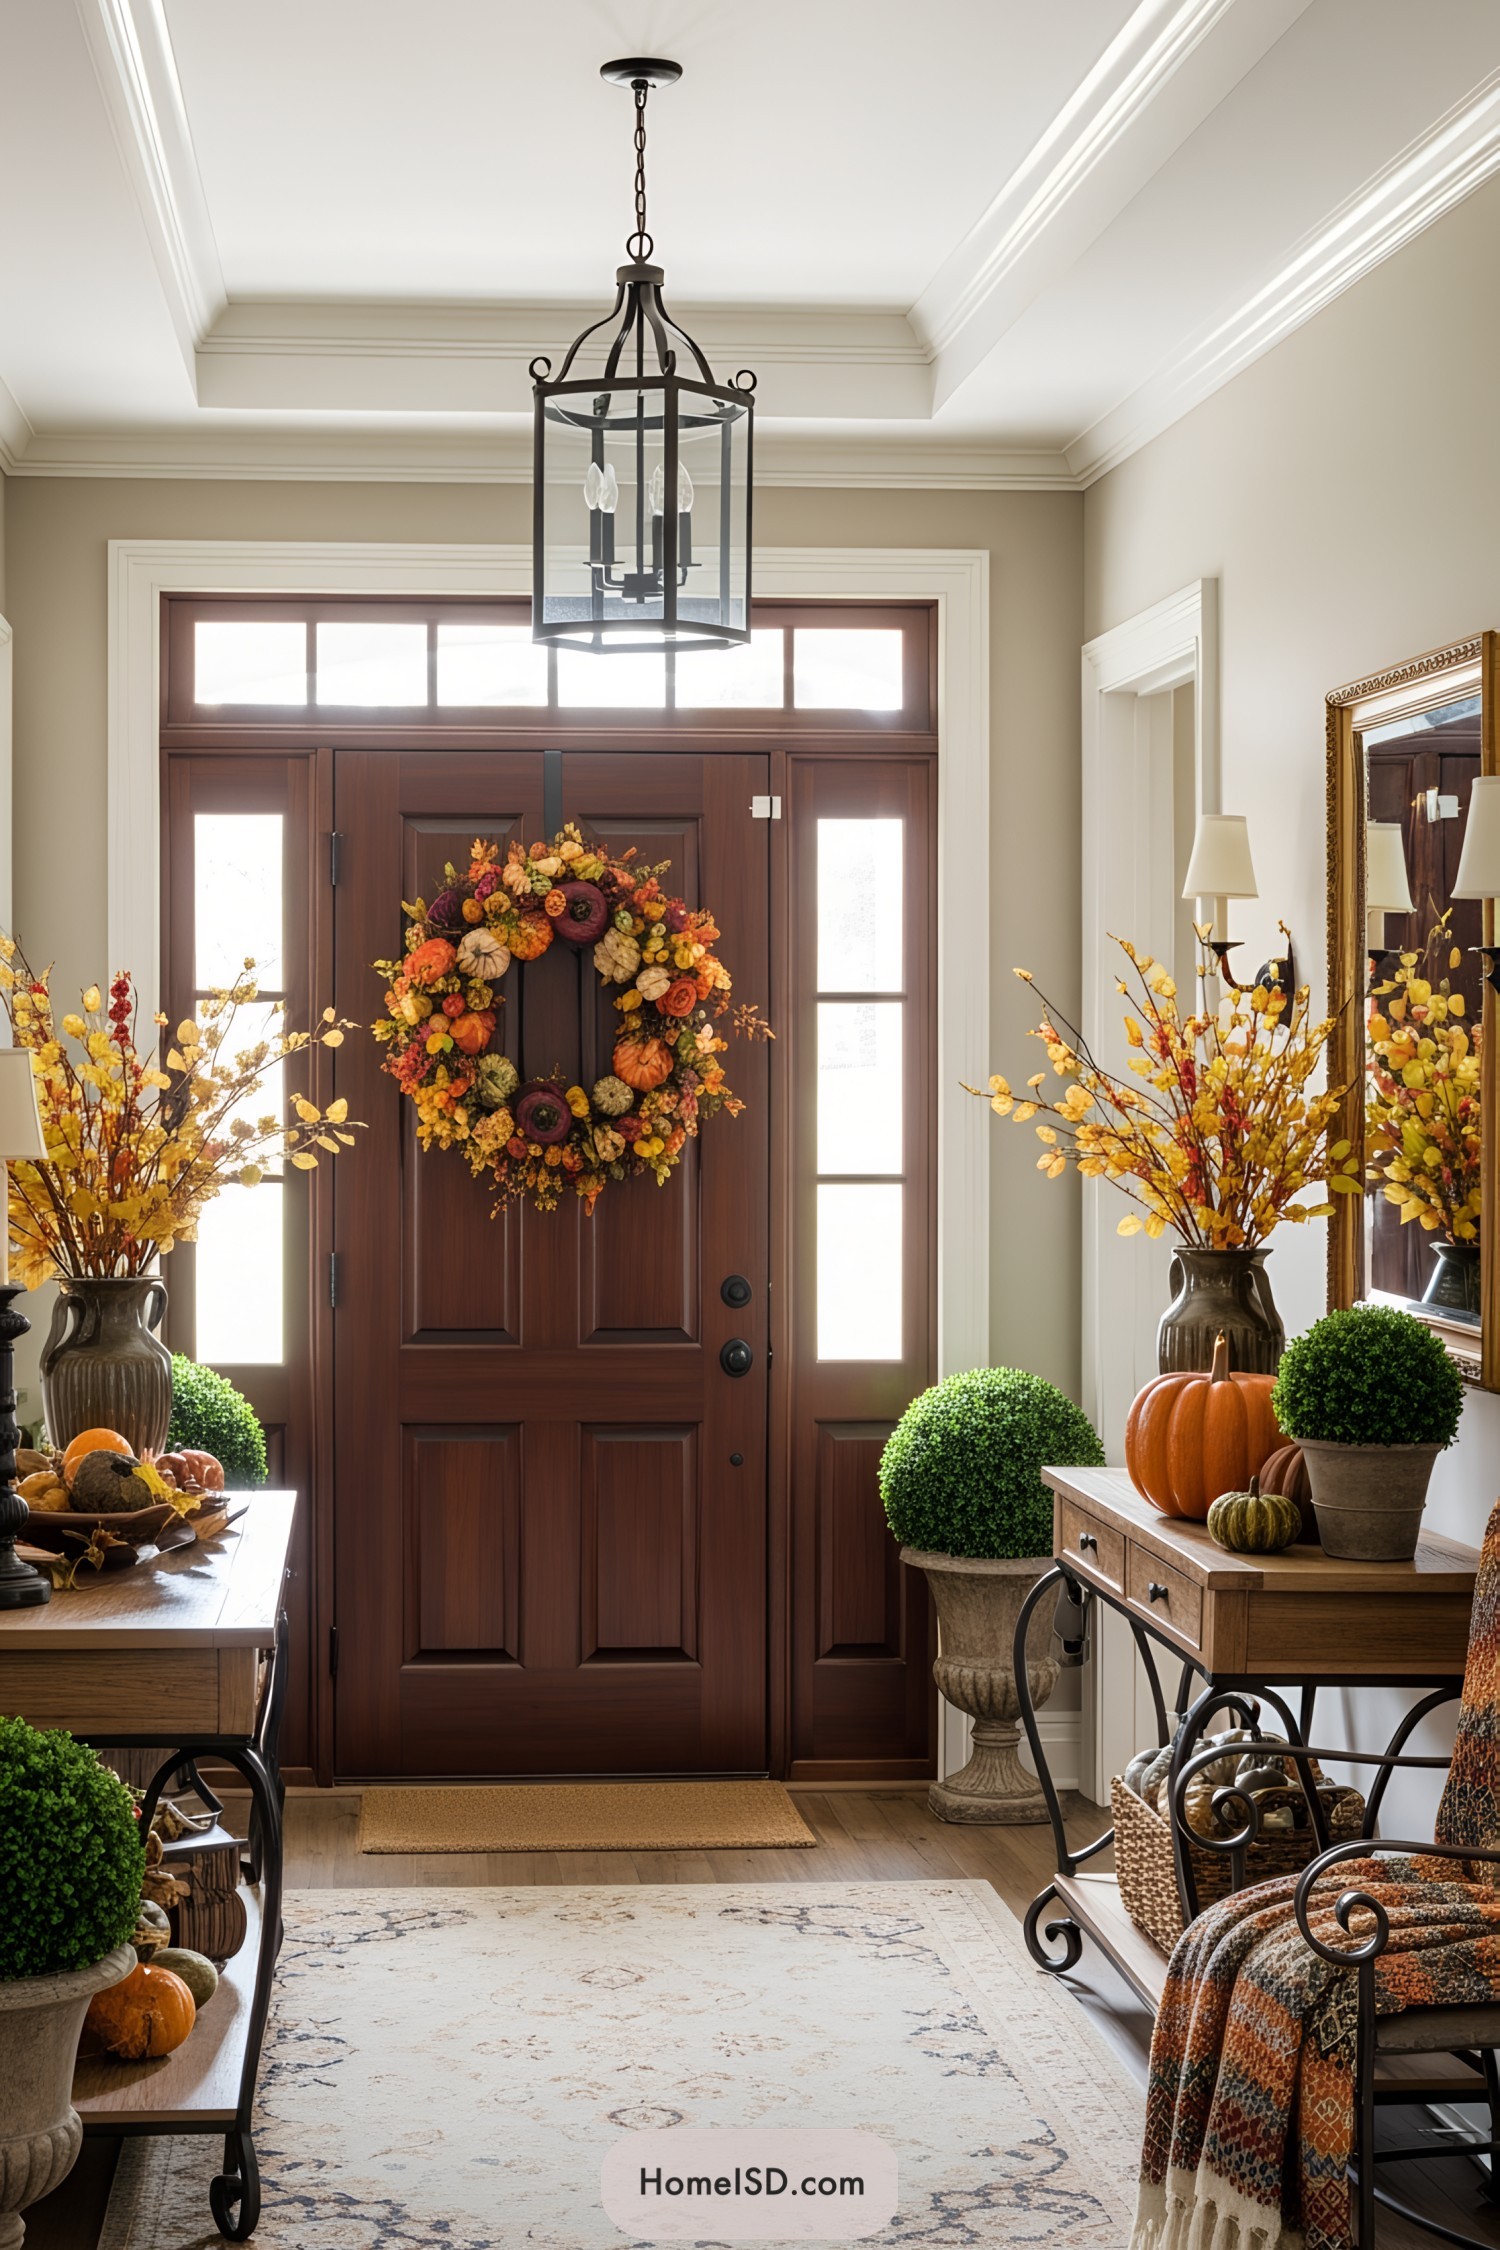
Dress up your front door into a Thanksgiving show-stopper with wreath ideas that are so delightful, even your neighbors will …
DIY craft projects have a great following in home decor community and it’s a big part of our online magazine too. In fact, more than half of articles published on Home ISD are dedicated to our DIY Blog.
From furniture to small accents, wall art, and little improvements, you can craft many things and get truly unique items for your decor. What’s more, items made this way have a lot of character and can change your interior in a great way easily.
Check out our wide selection of DIY home decor project ideas.
Note: Some of the ideas are illustrated using human-guided AI designs.
Dress up your front door into a Thanksgiving show-stopper with wreath ideas that are so delightful, even your neighbors will …
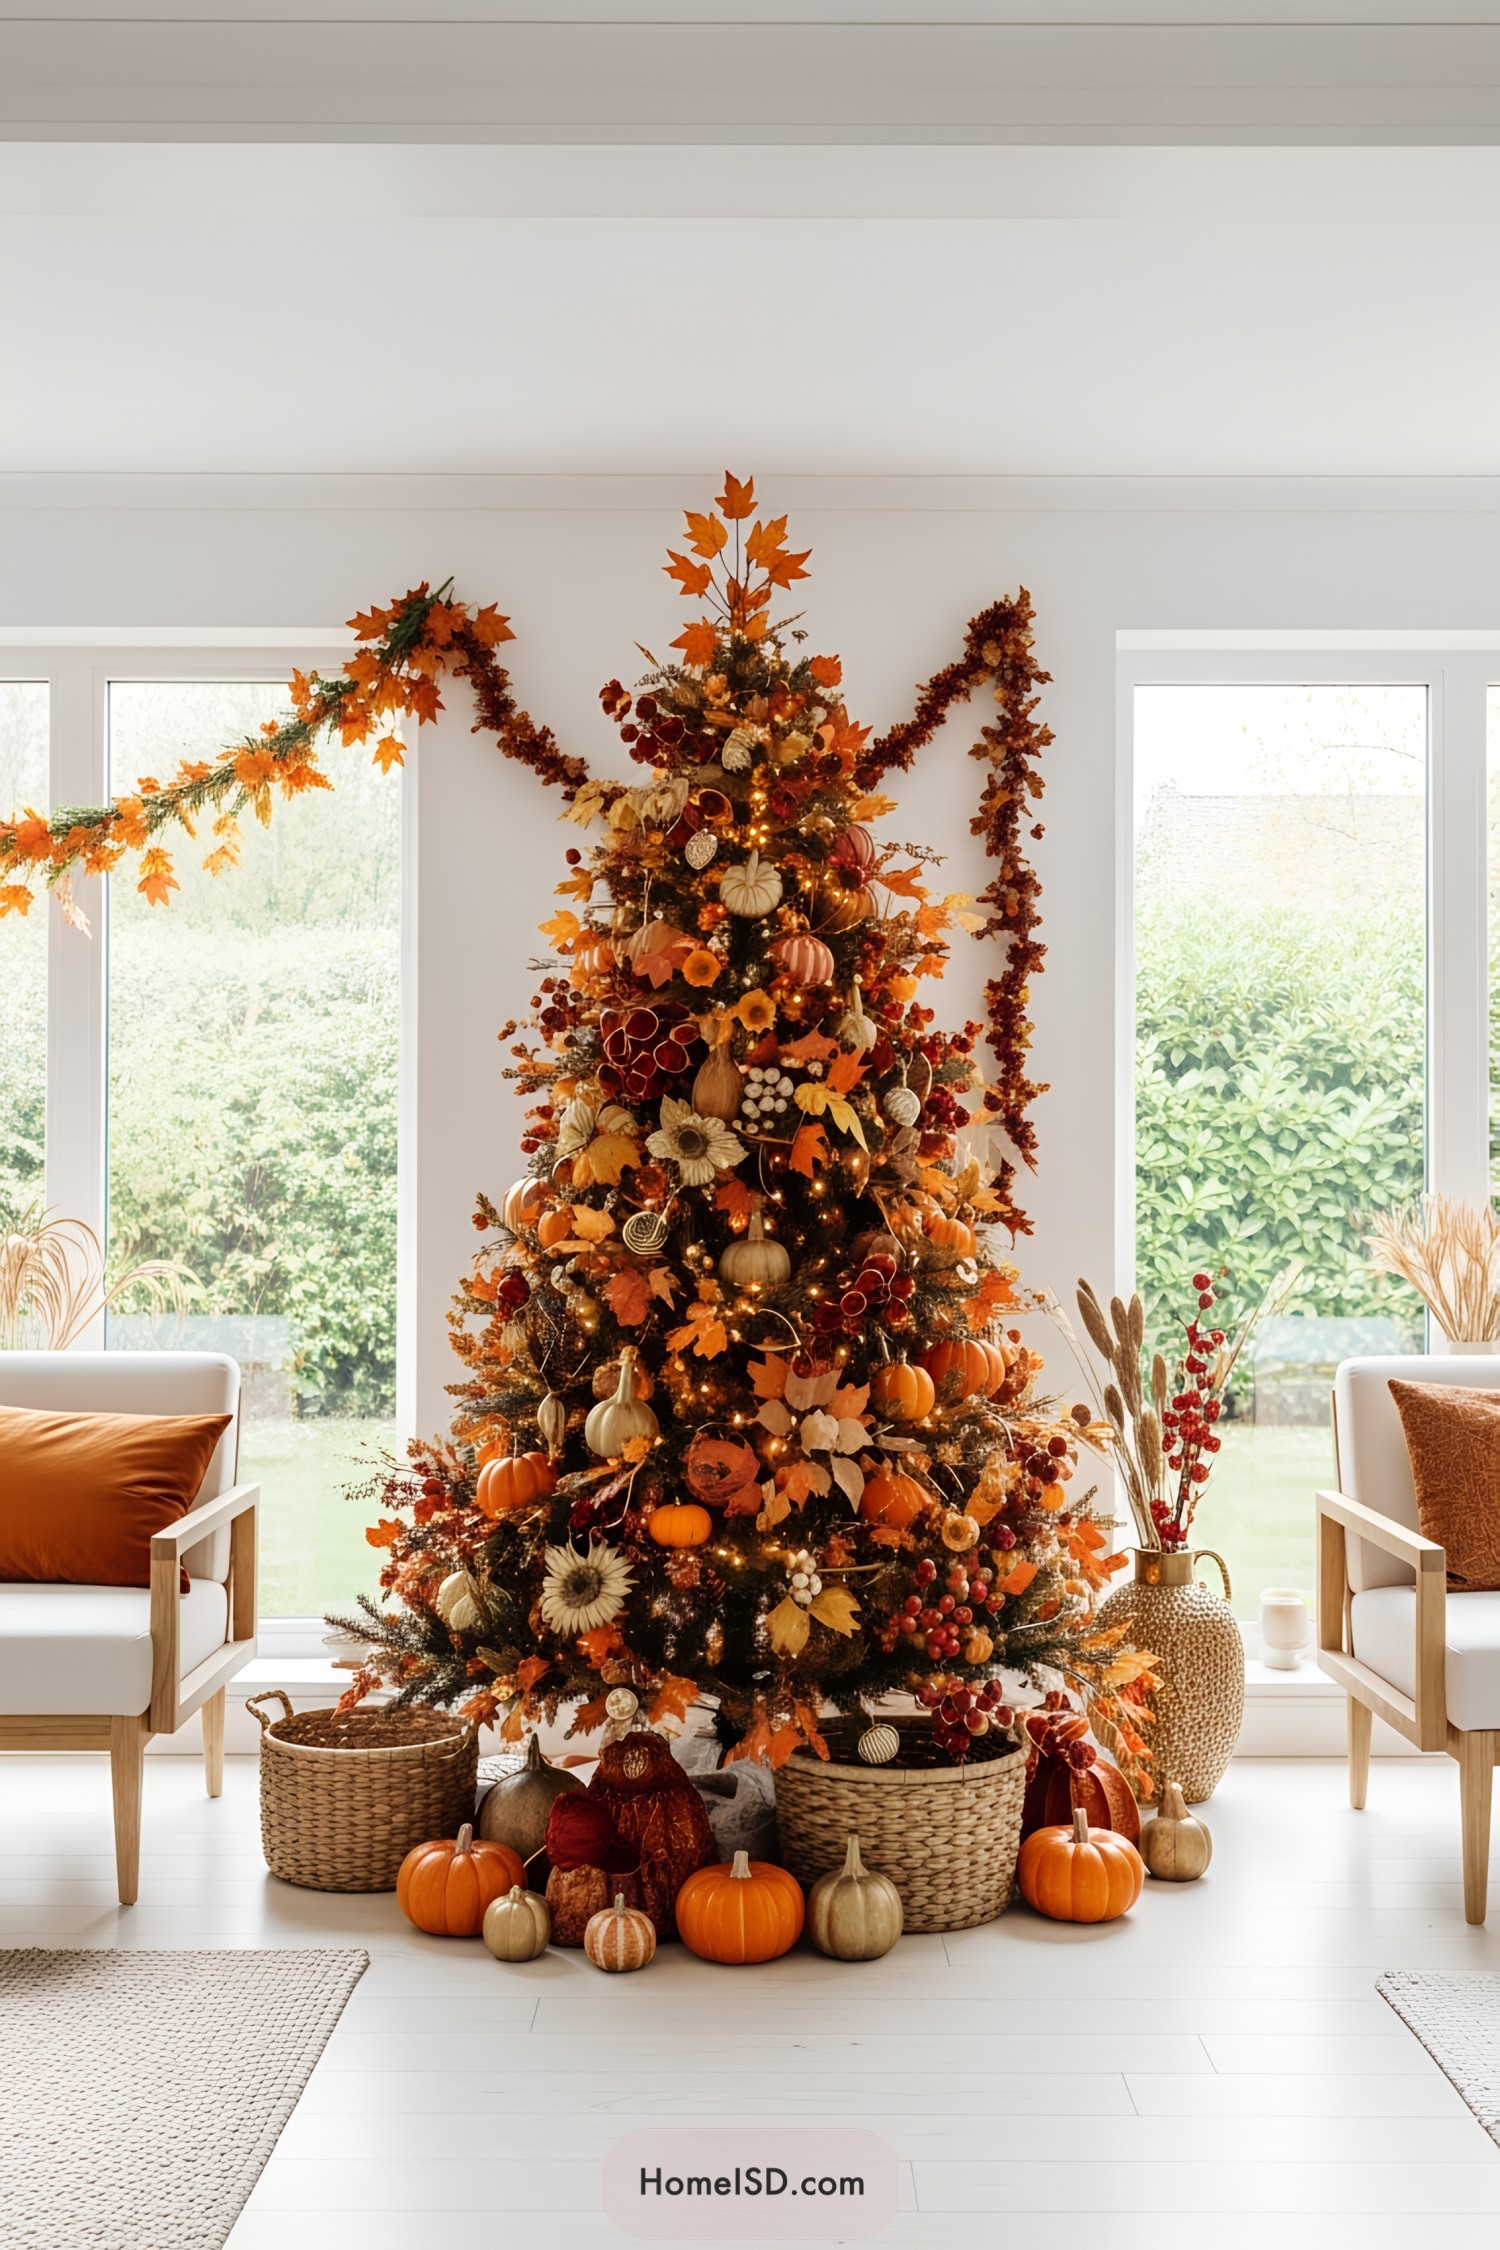
Amp up your Thanksgiving decor with the whimsical charm of a Thanksgiving tree, where gratitude hangs like autumn leaves ready …

Gobble up a cornucopia of creative Thanksgiving party ideas that will transform your home into a festive and gratitude-filled haven! …
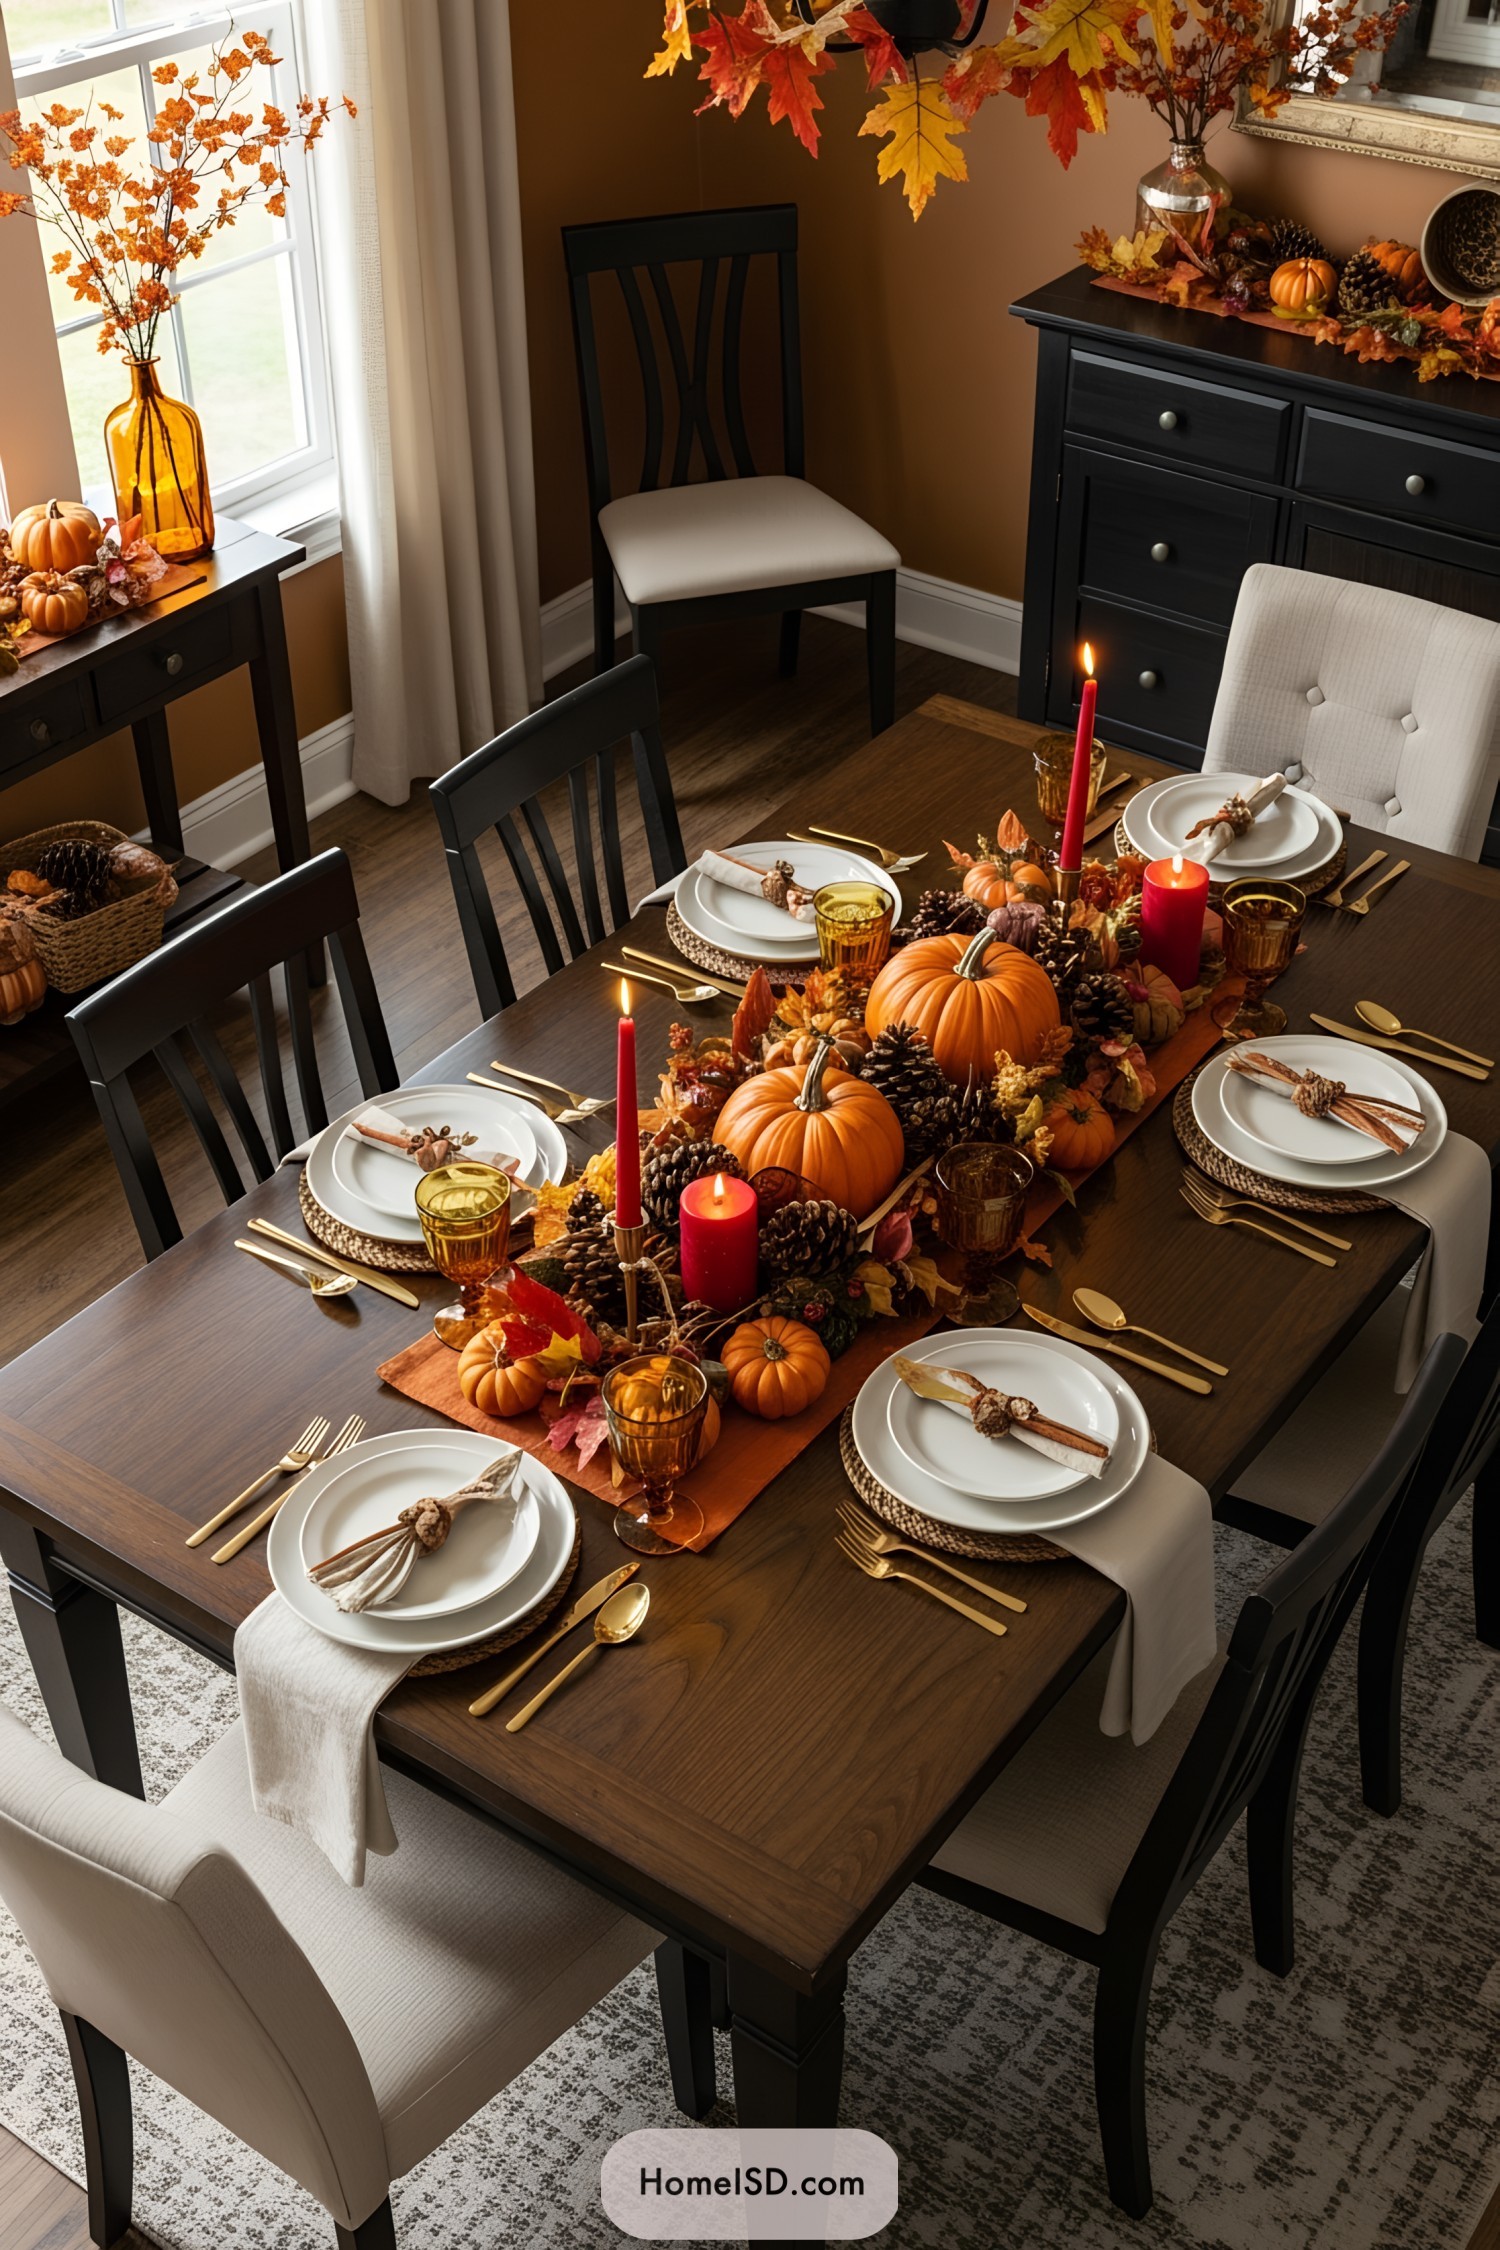
Turn your Thanksgiving table into a gobble-worthy masterpiece with centerpieces that will make even the pumpkin pie feel jealous. Every …
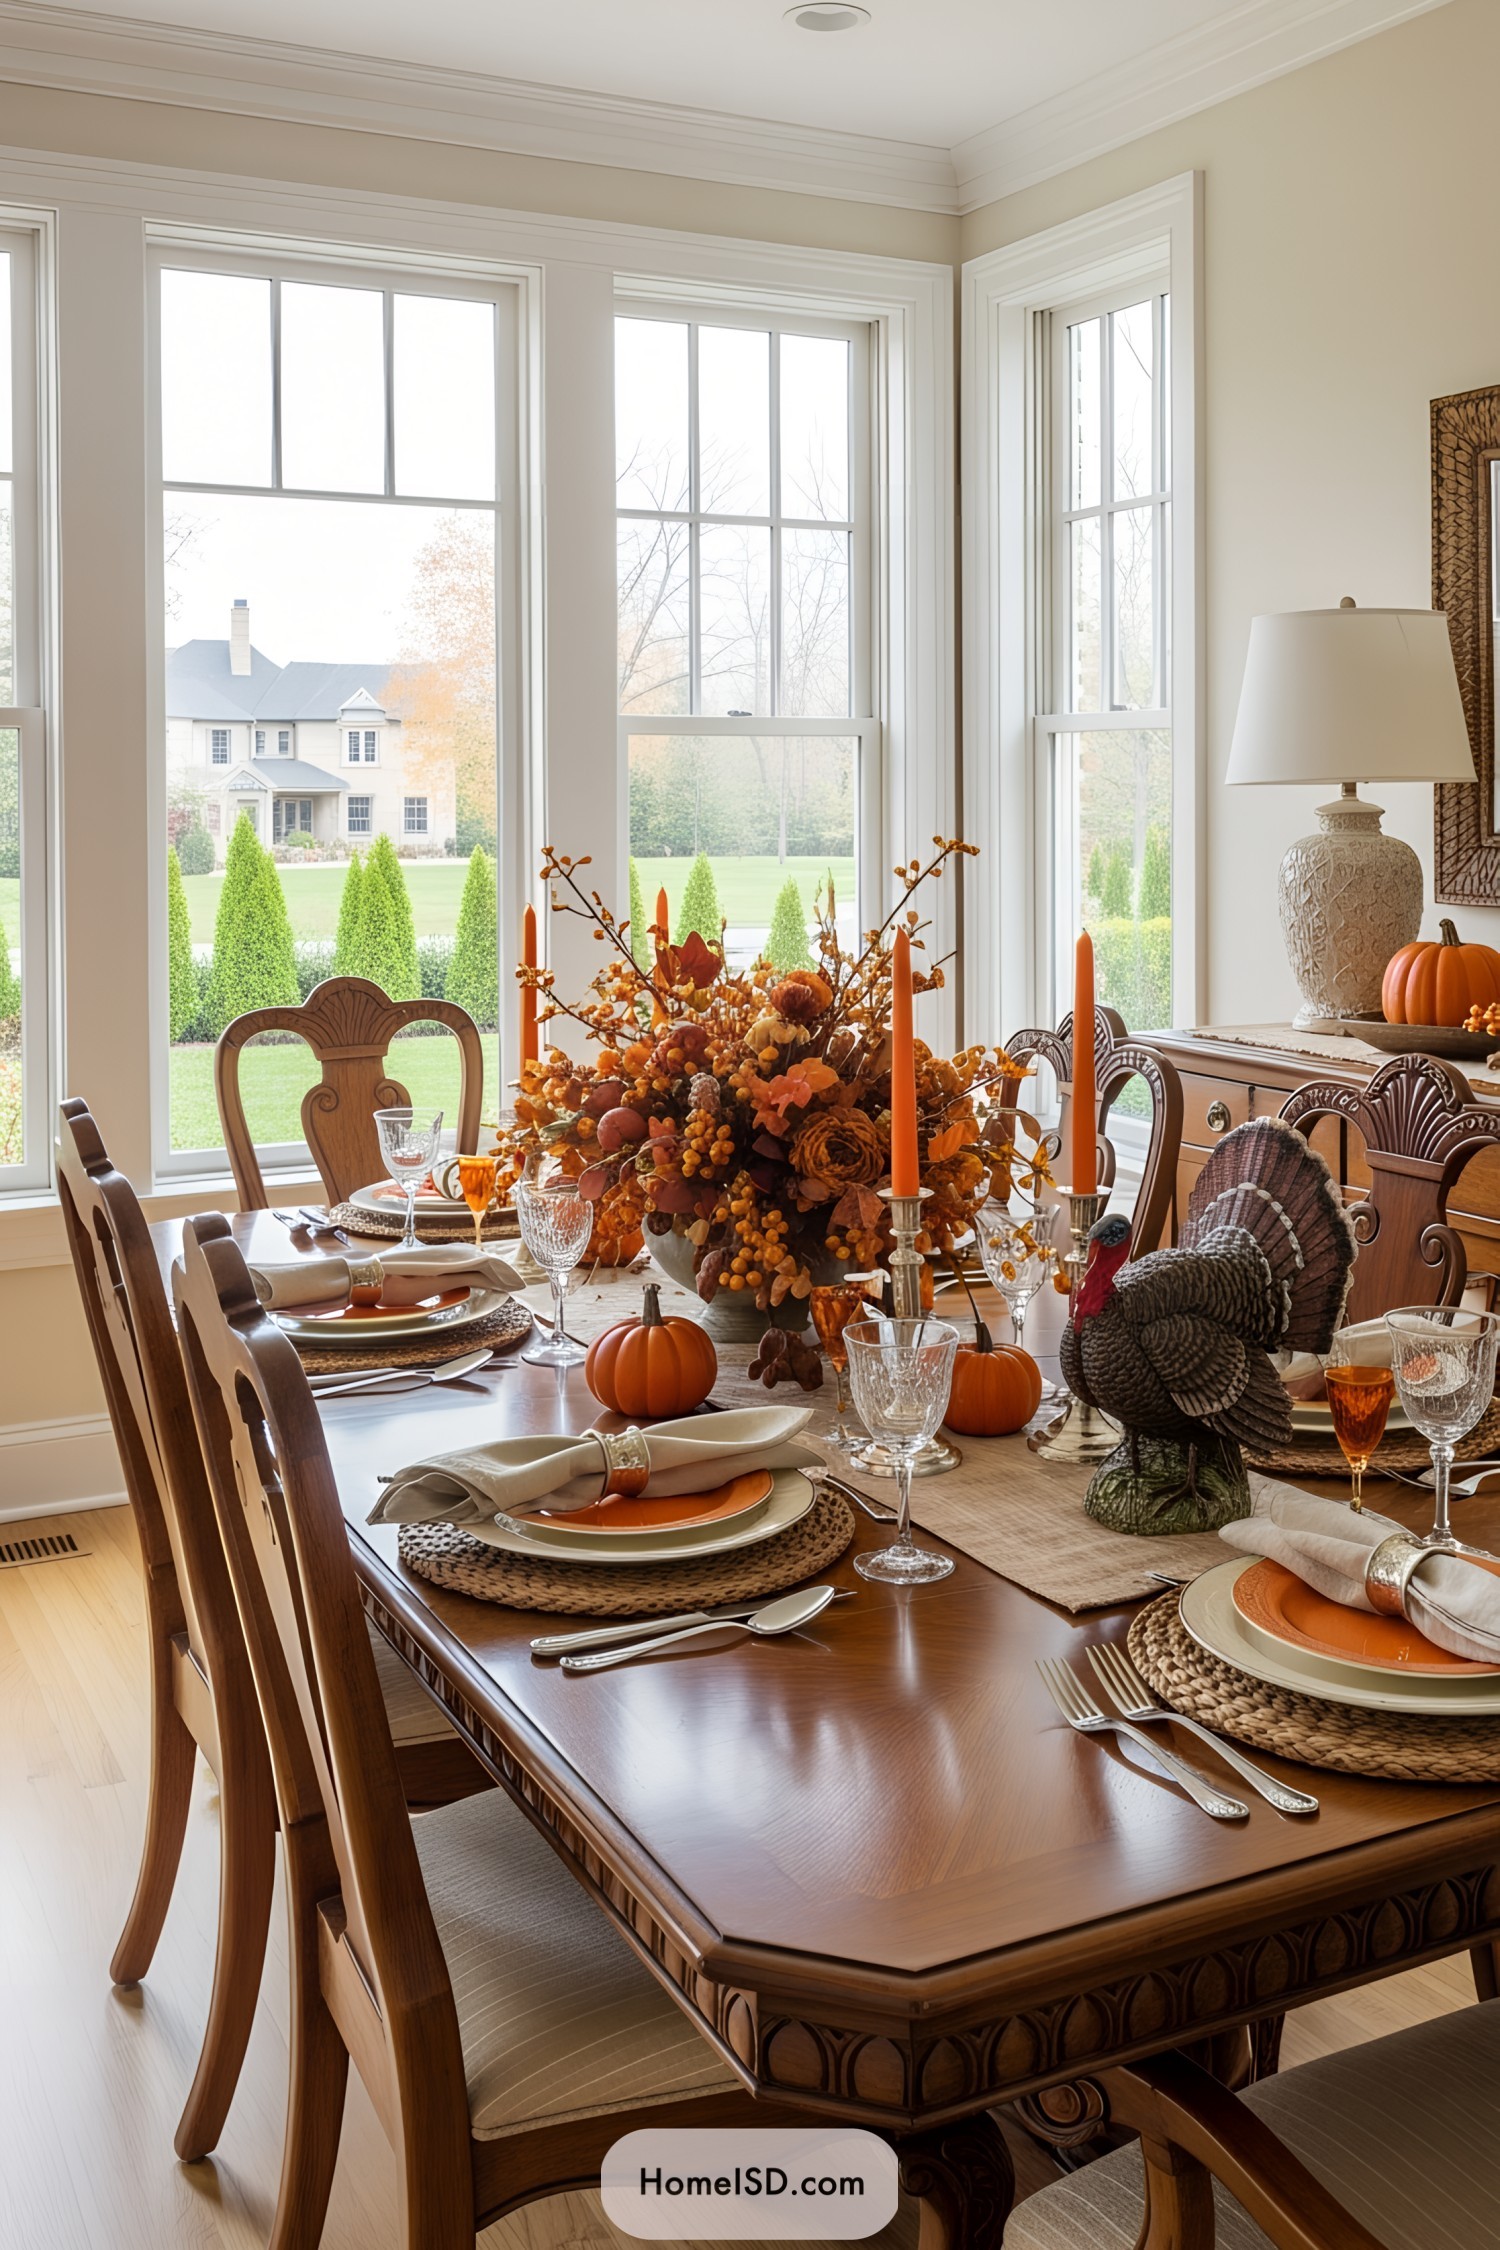
Impress Aunt Martha and the turkey with table designs so delightful, they’ll gobble up every word of your centerpieces! I …
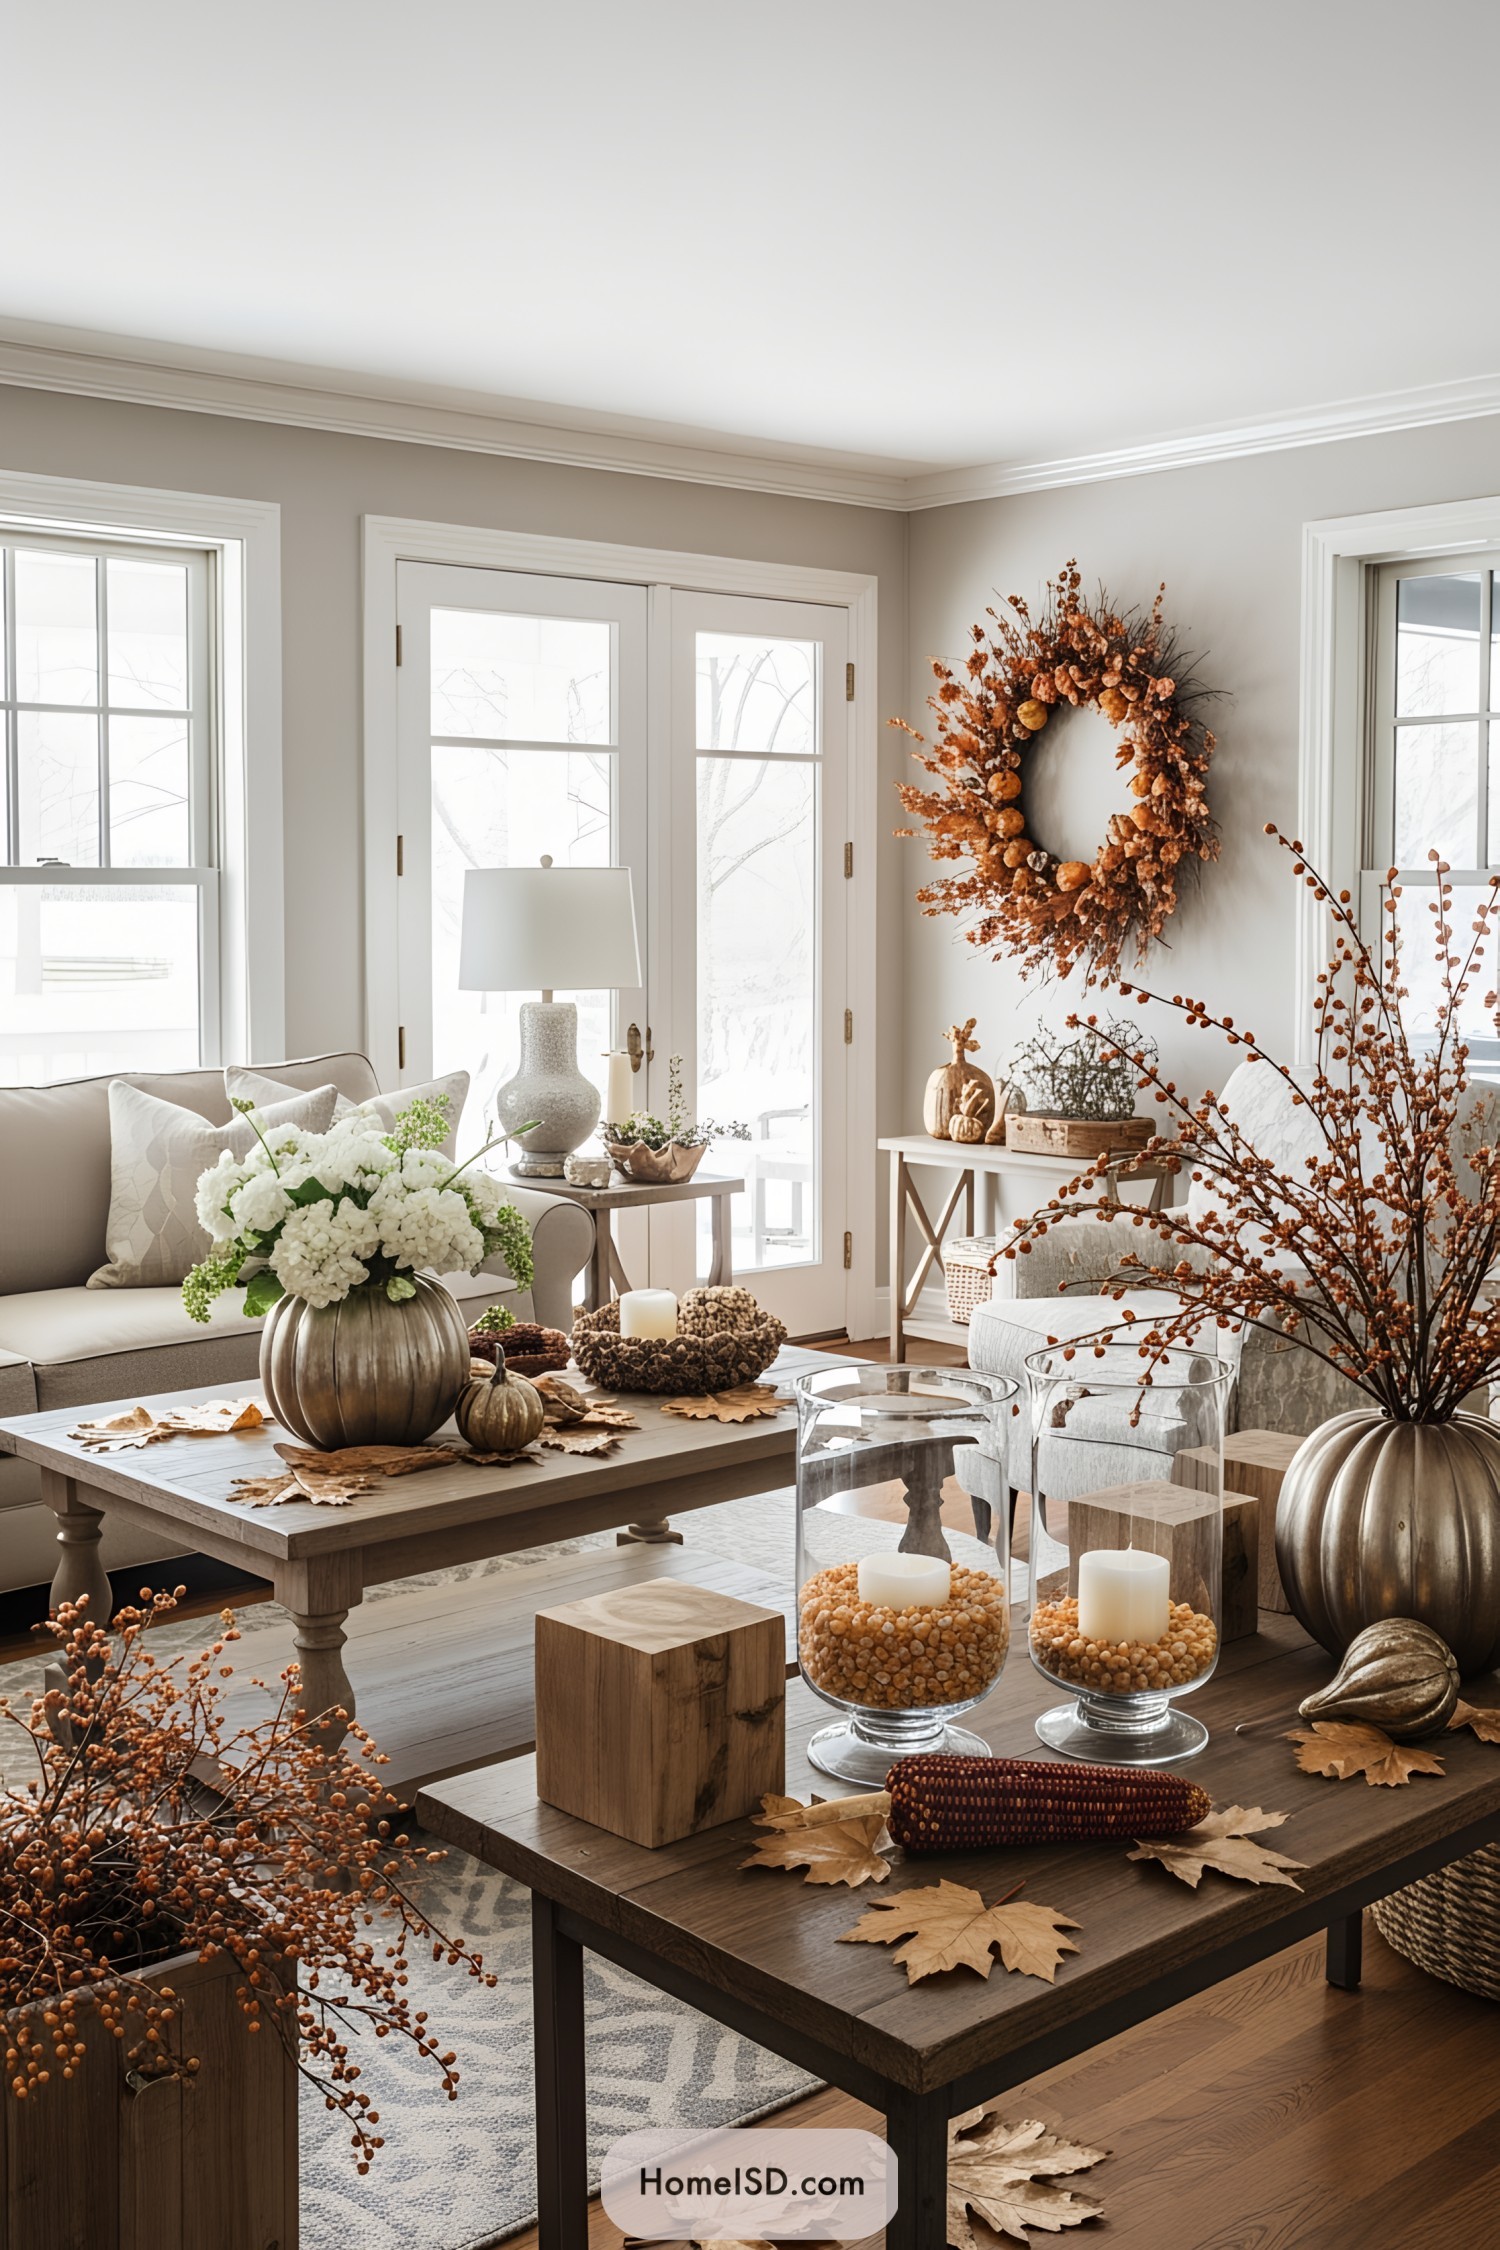
Get inspired with the quirkiest thanksgiving decoration ideas that will make your holiday table gobble with delight! As the leaves …

Make your Thanksgiving better with quirky and charming banner ideas that will make your guests gobble with delight! Picture this. …
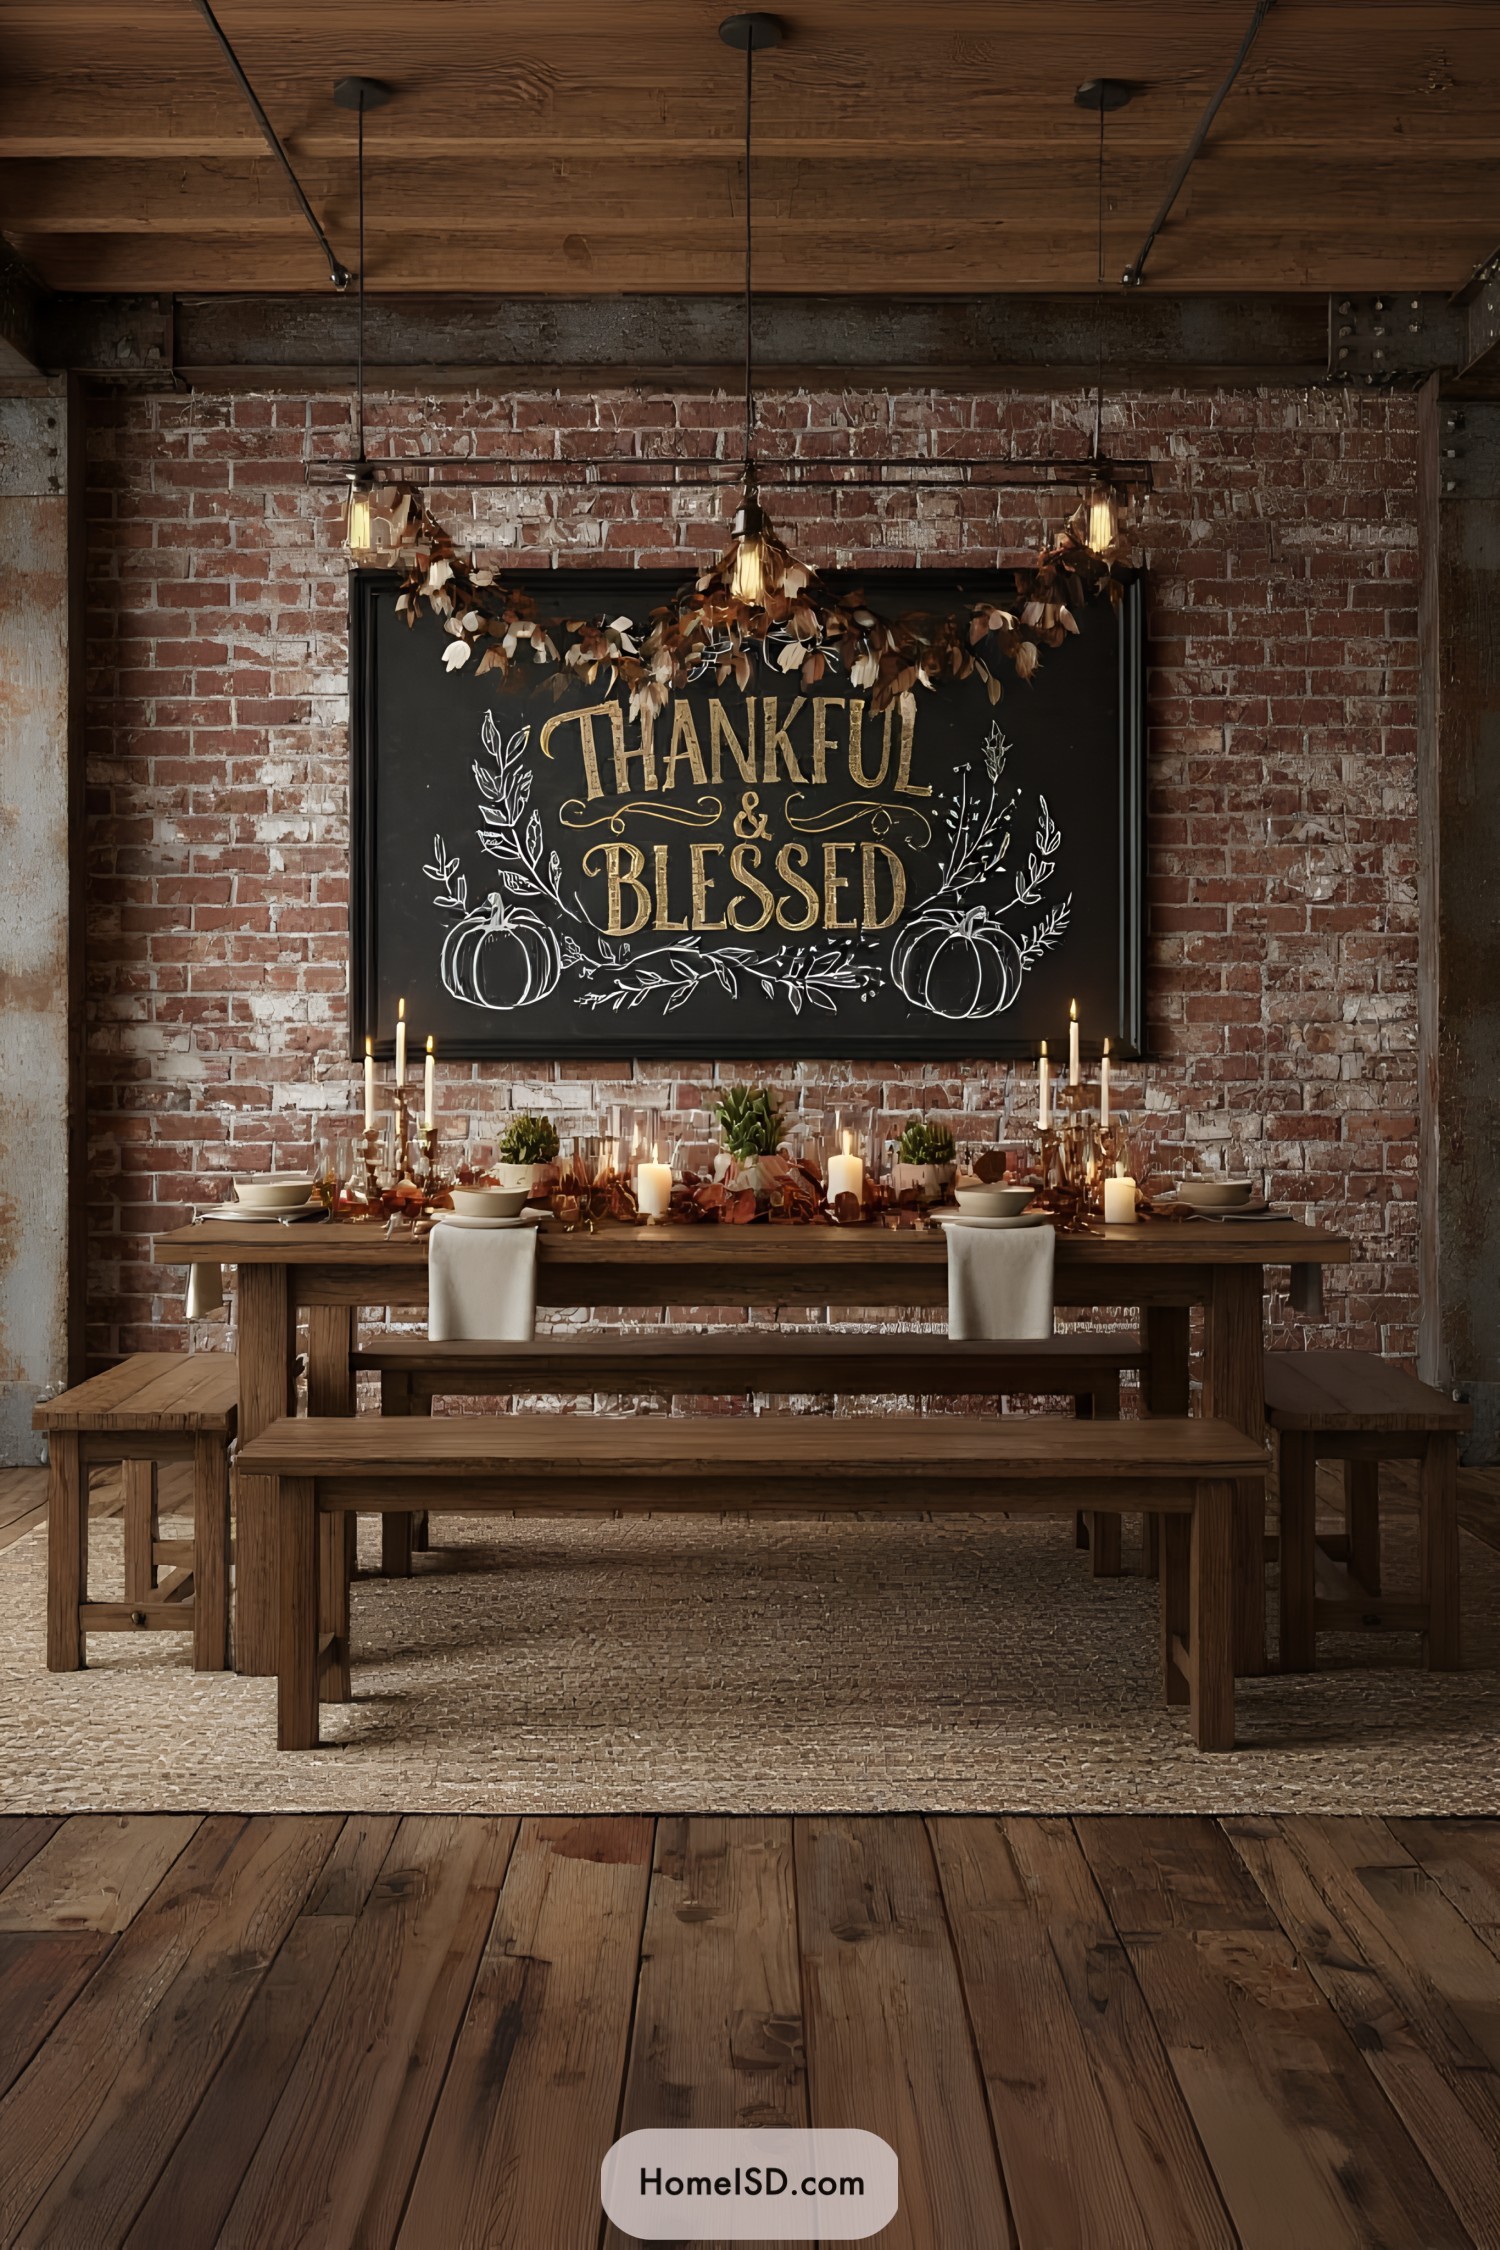
Gobble up some gratitude-filled style as we trot through these Thanksgiving chalkboard art ideas that’ll leave your guests thankful they …

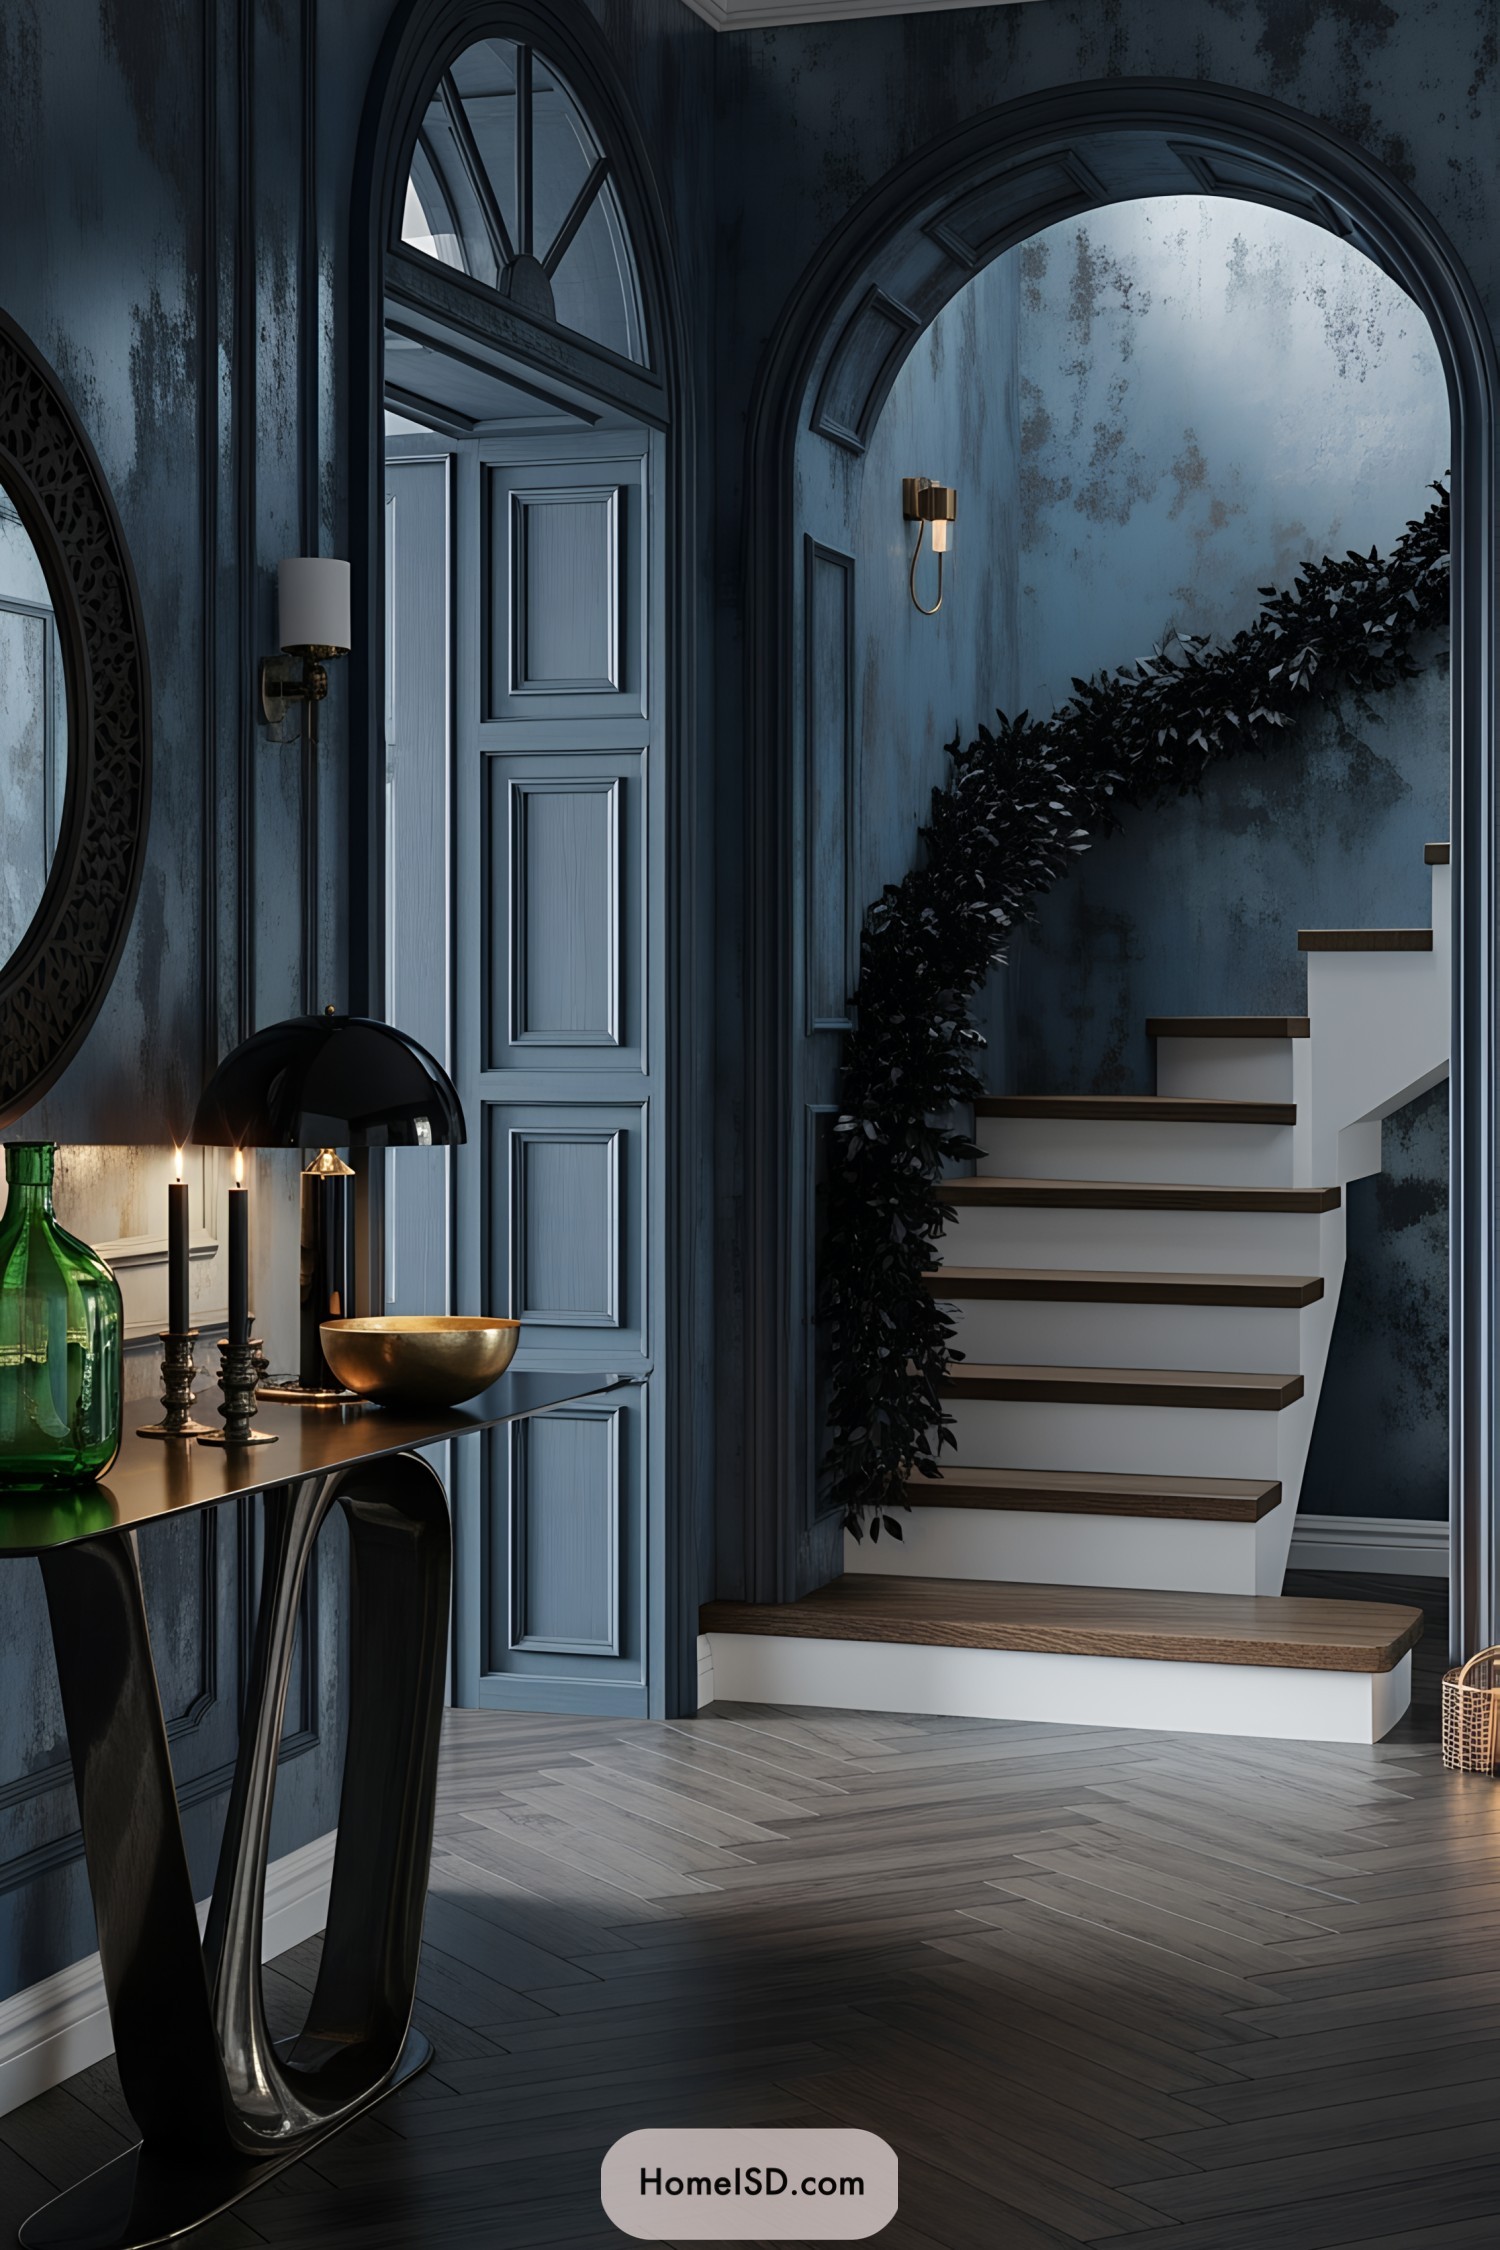
Transform your entryway into a spine-chilling spectacle with our thrilling Halloween ideas that make every guest’s hair stand on end …
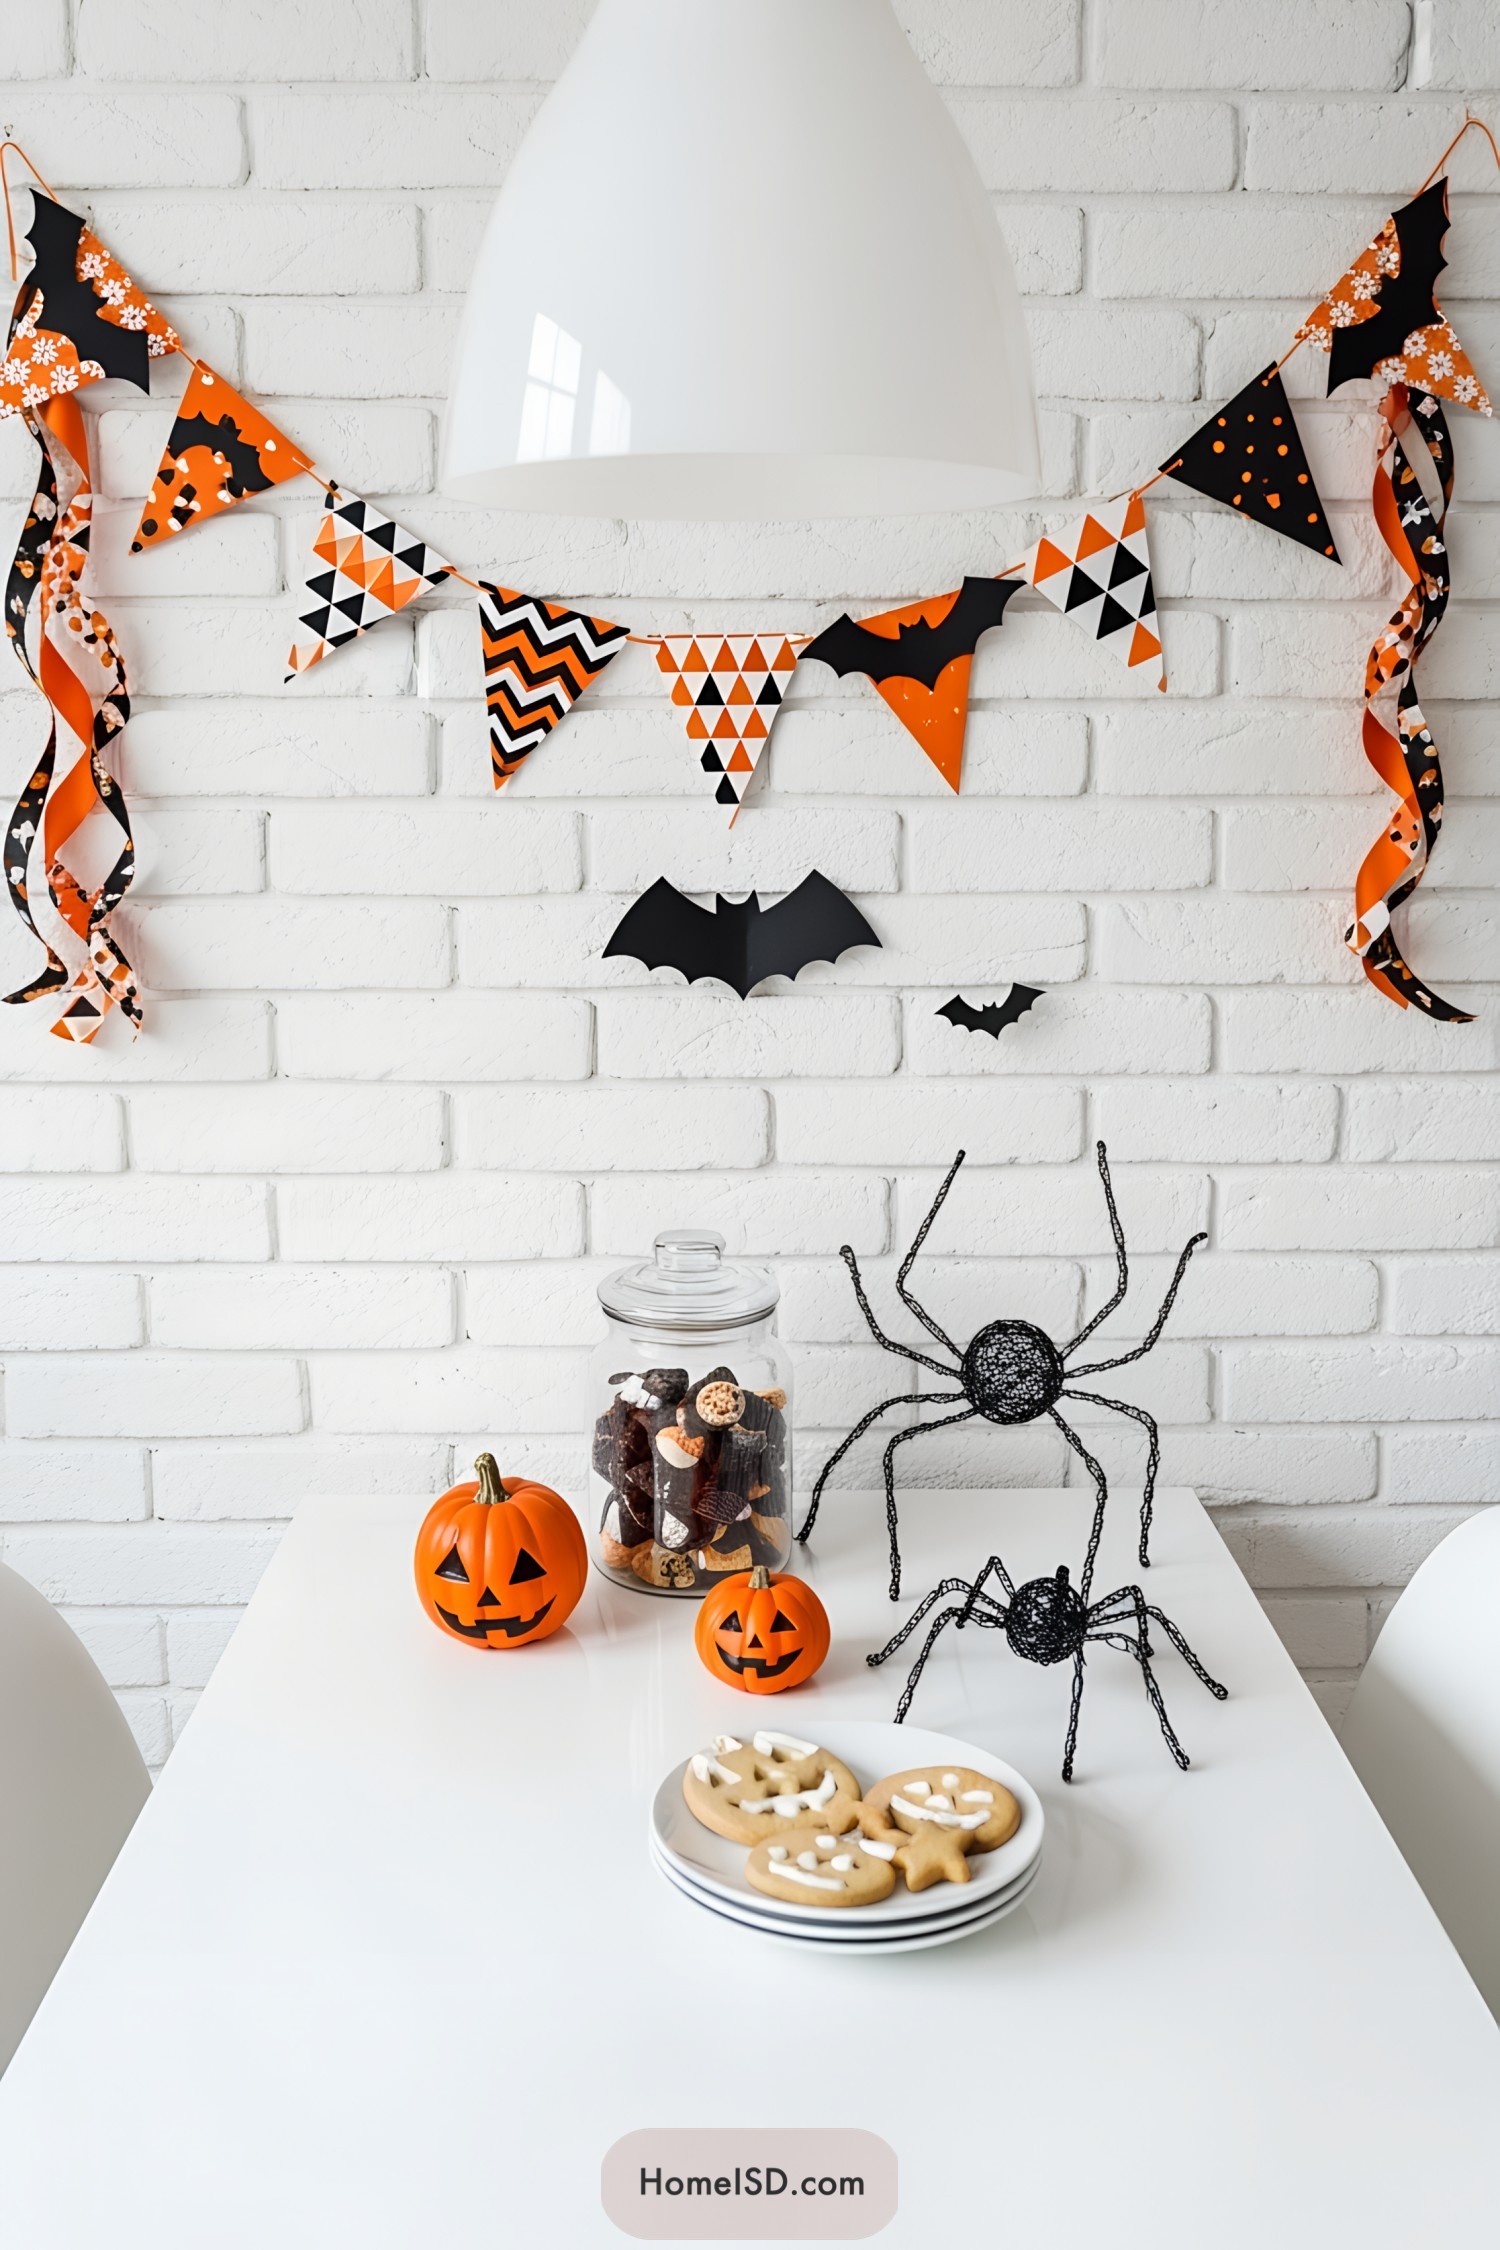
Transform your creepy corridors and spooky spaces with Halloween garland ideas that’ll have even the ghosts saying “boo-tiful”! Sometimes, the …
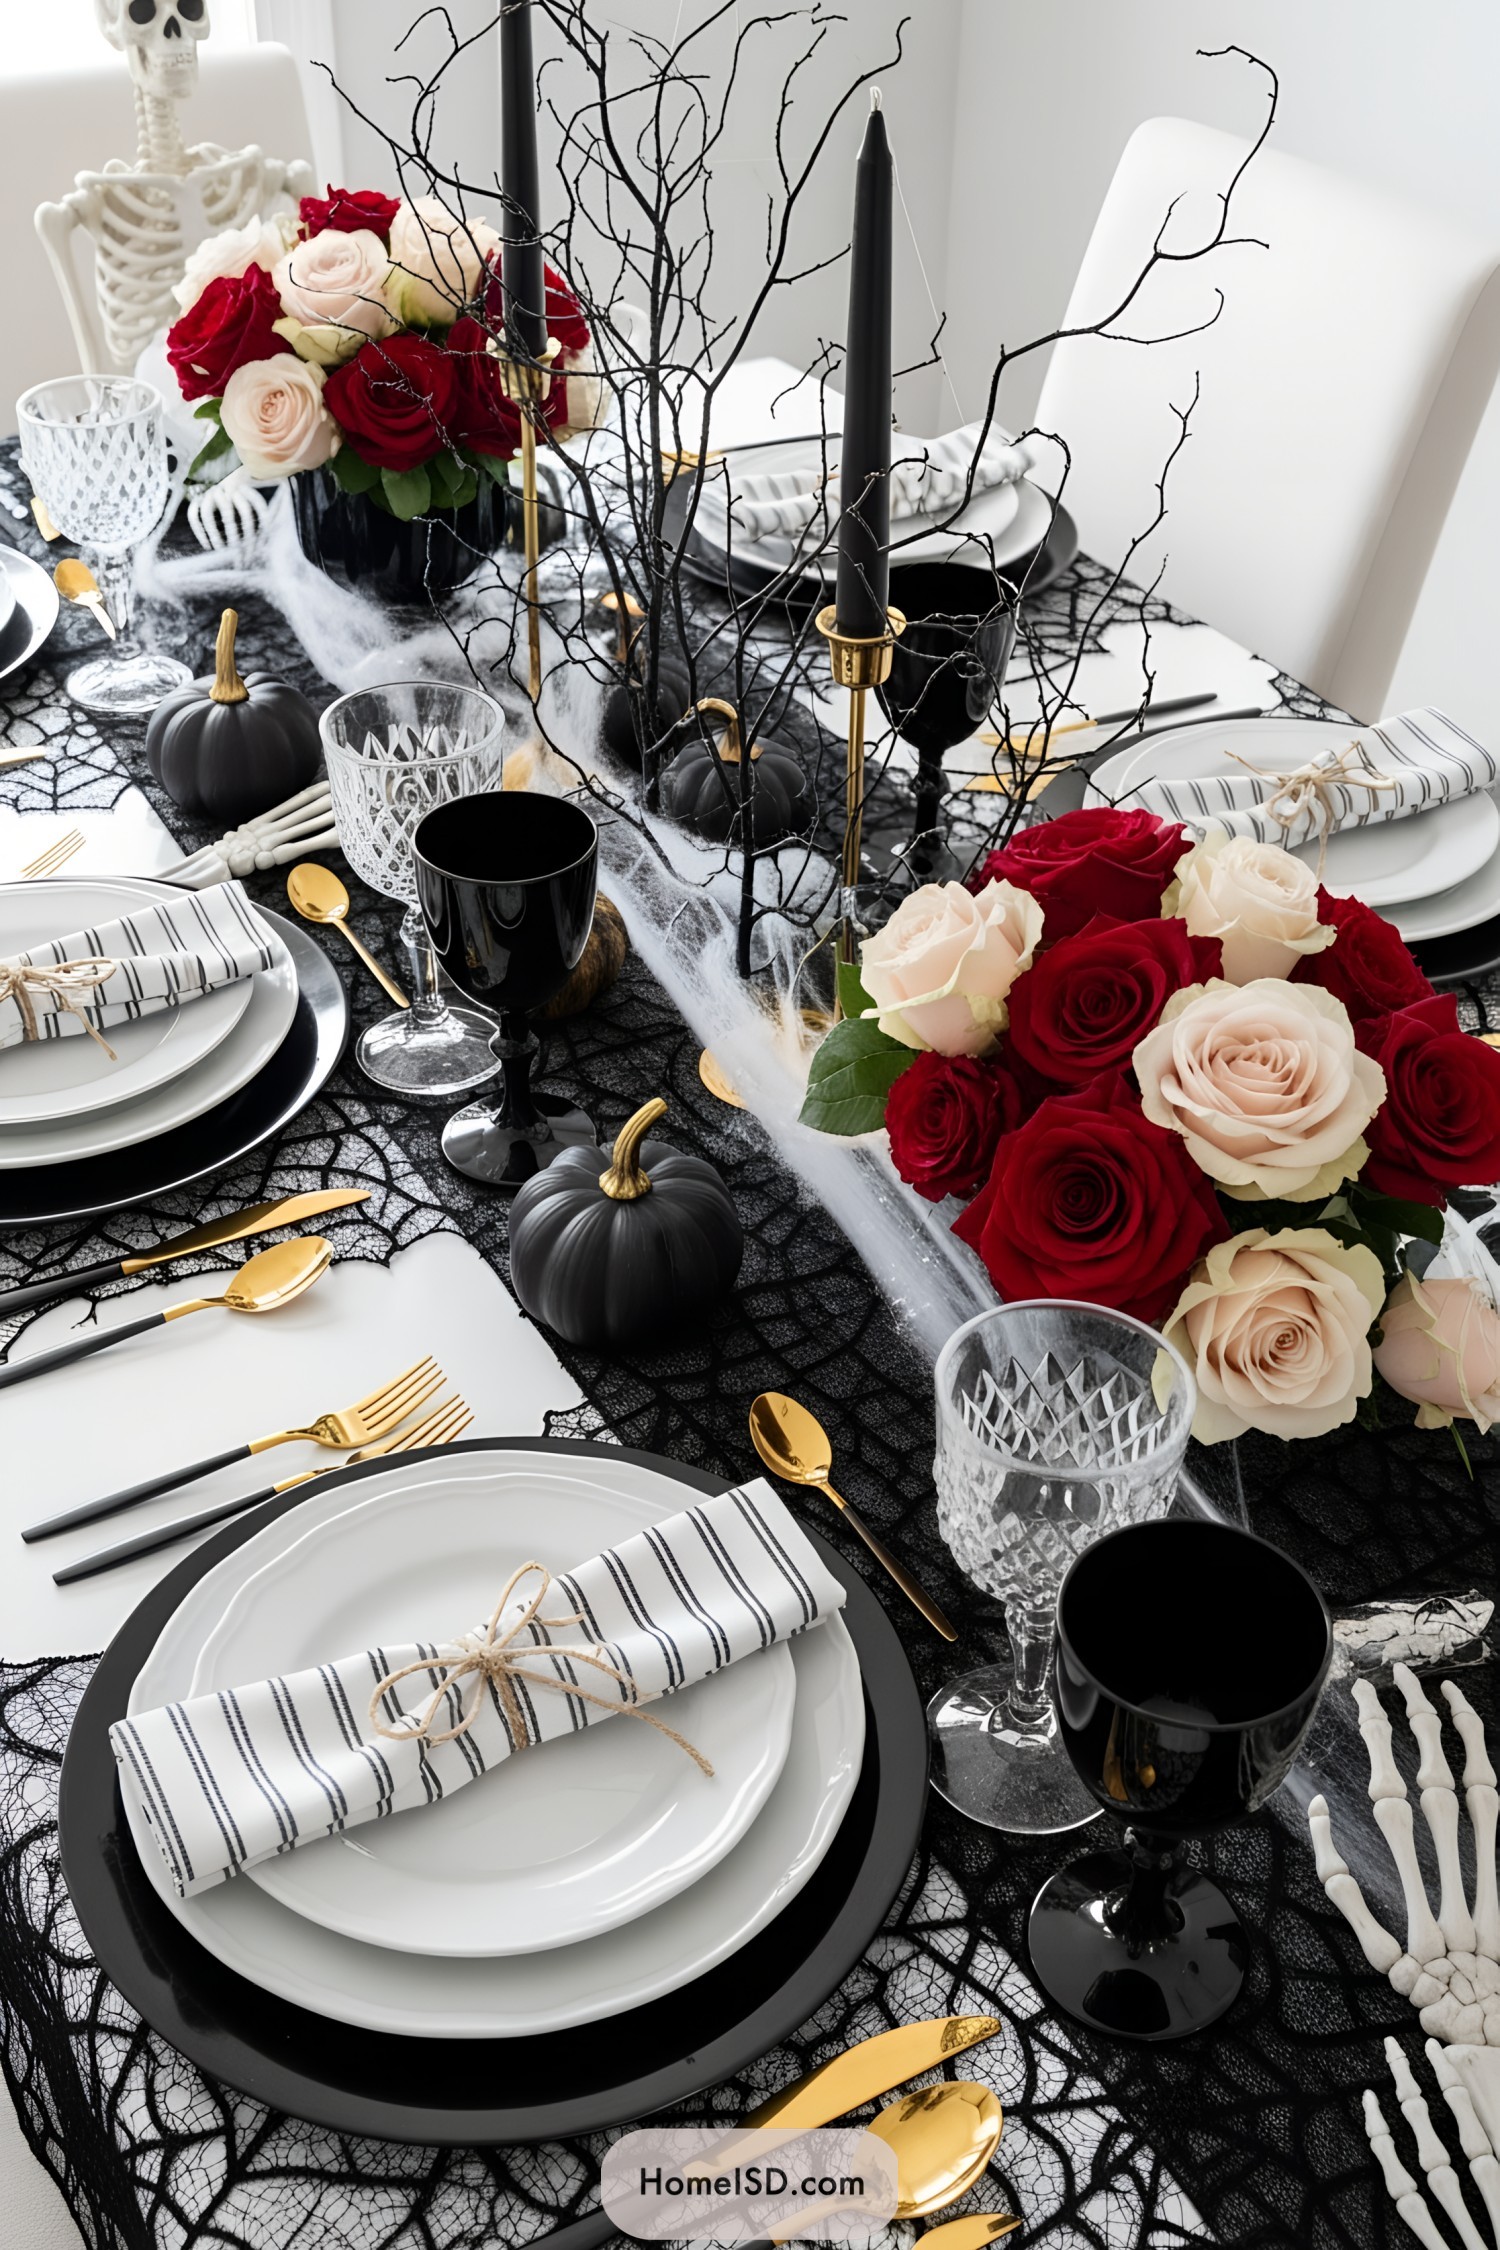
Transform your dining table into a spook-tacular masterpiece with ghoulishly delightful Halloween tablescape ideas that will make even Dracula drool …
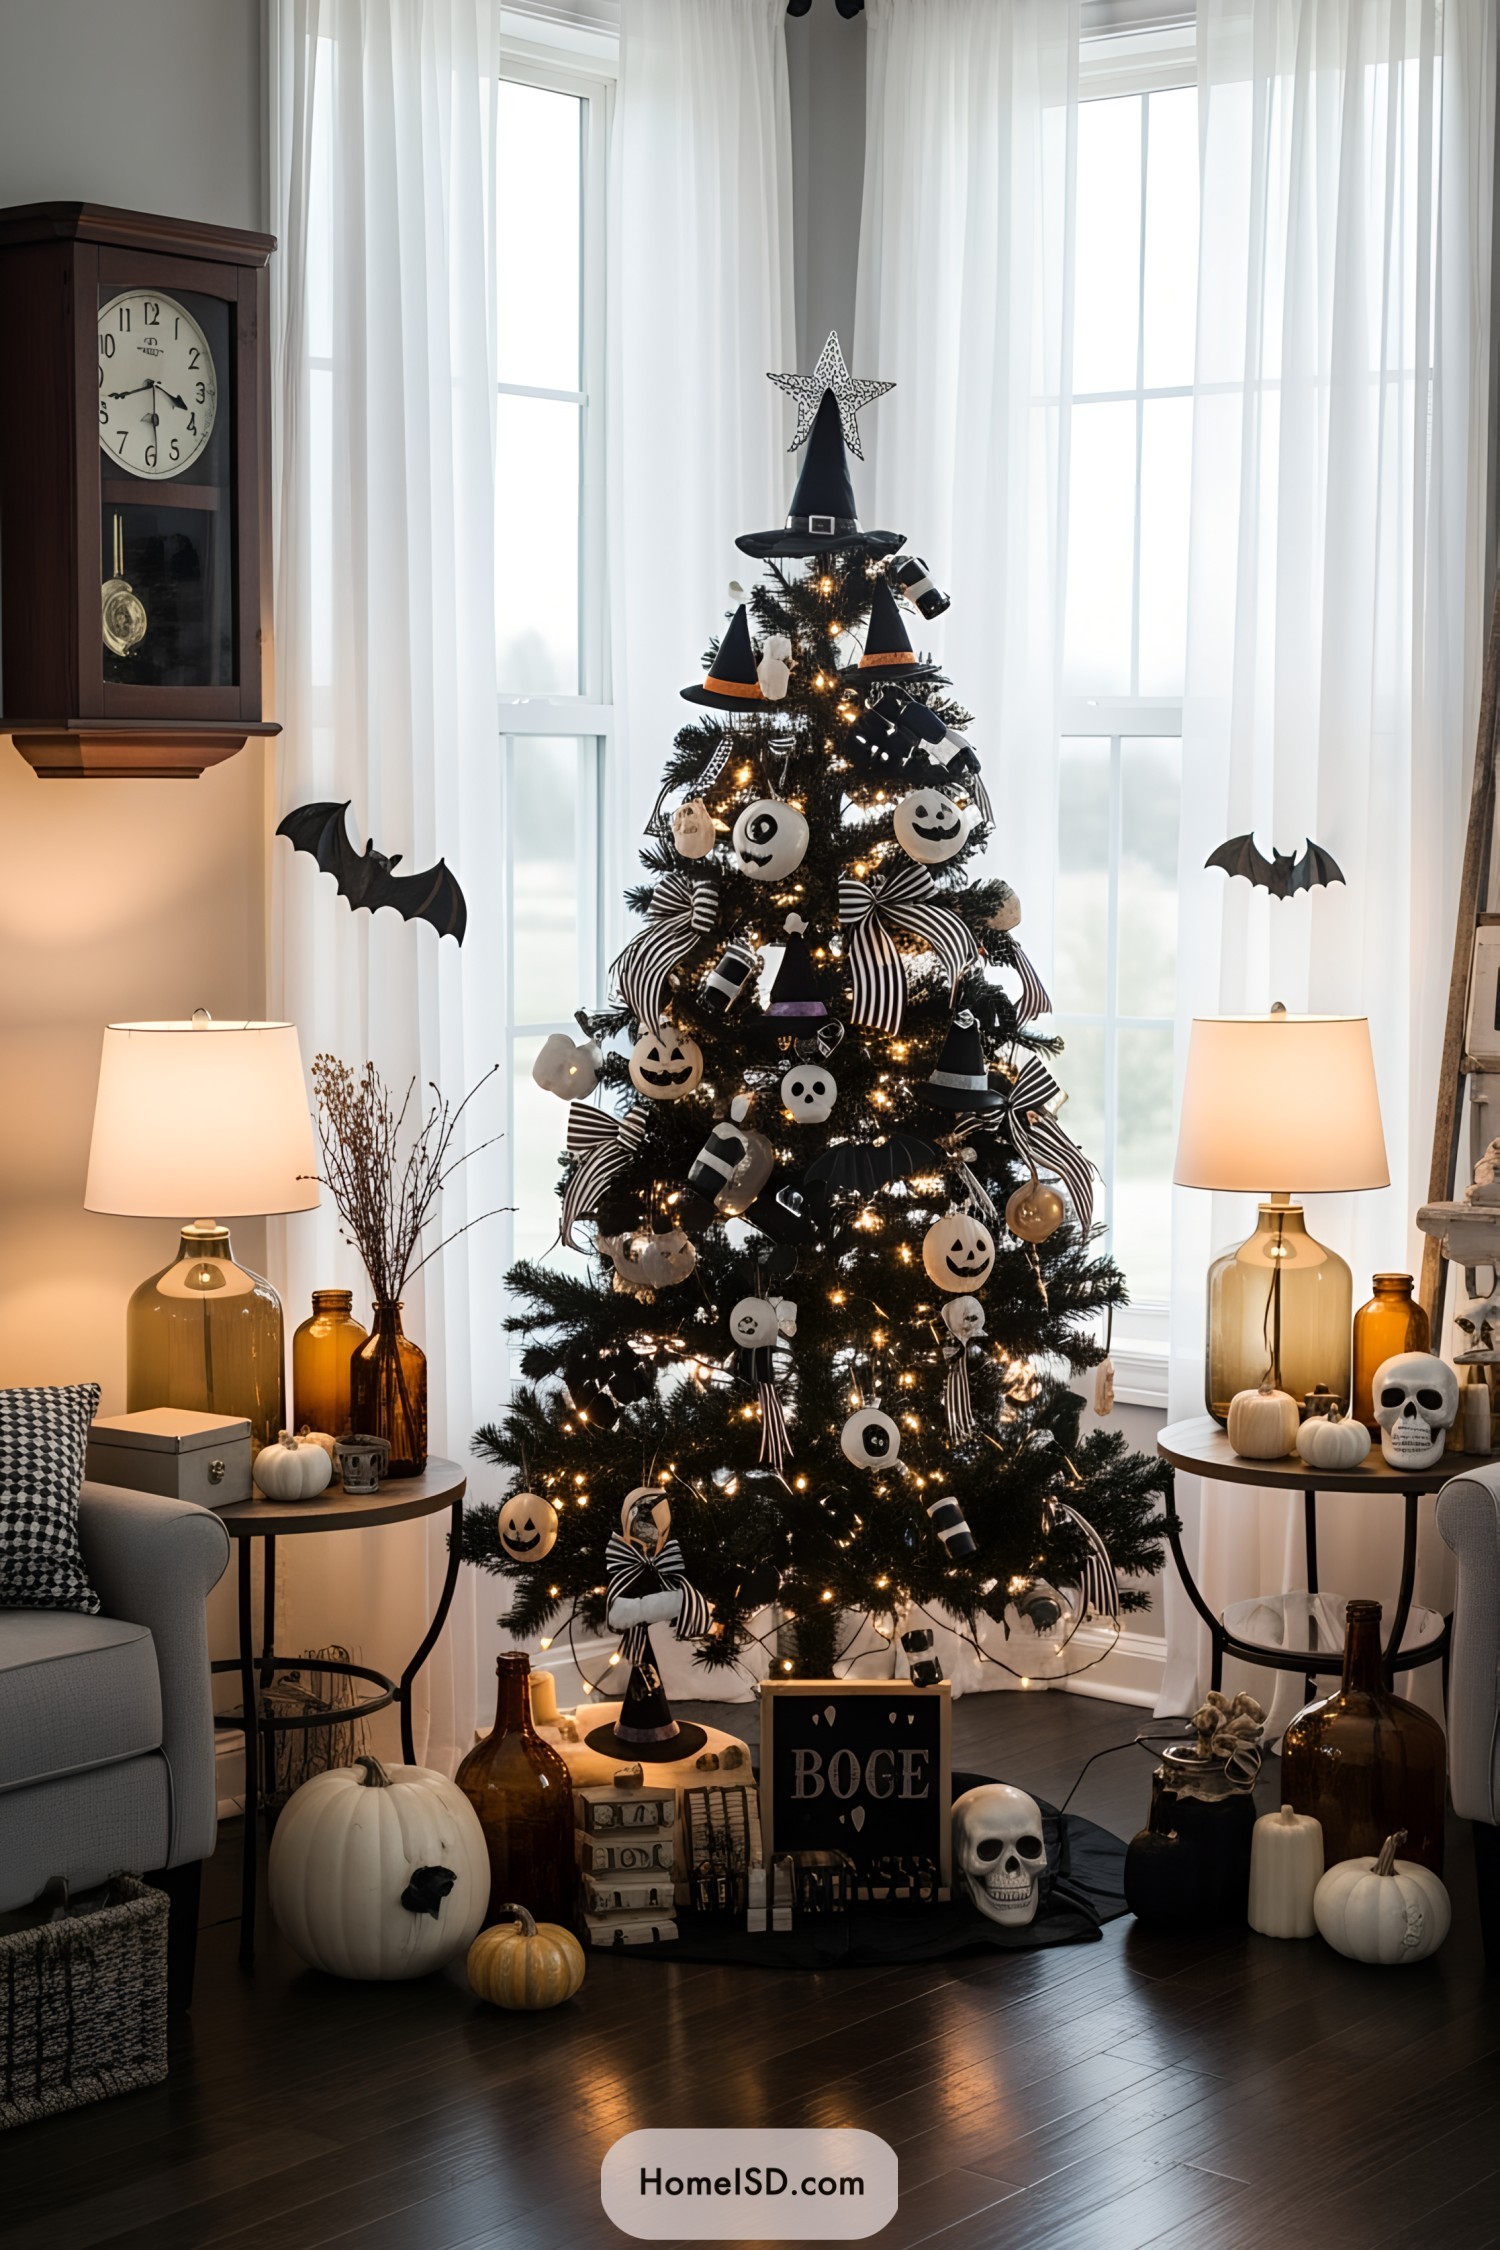
Brace yourself for a spooky tree transformation adventure, where ordinary branches turn into ghoulish masterpieces worthy of haunting your Halloween …
Transform your door into the spookiest spectacle on the block with these wildly wicked Halloween wreath ideas that’ll make your …
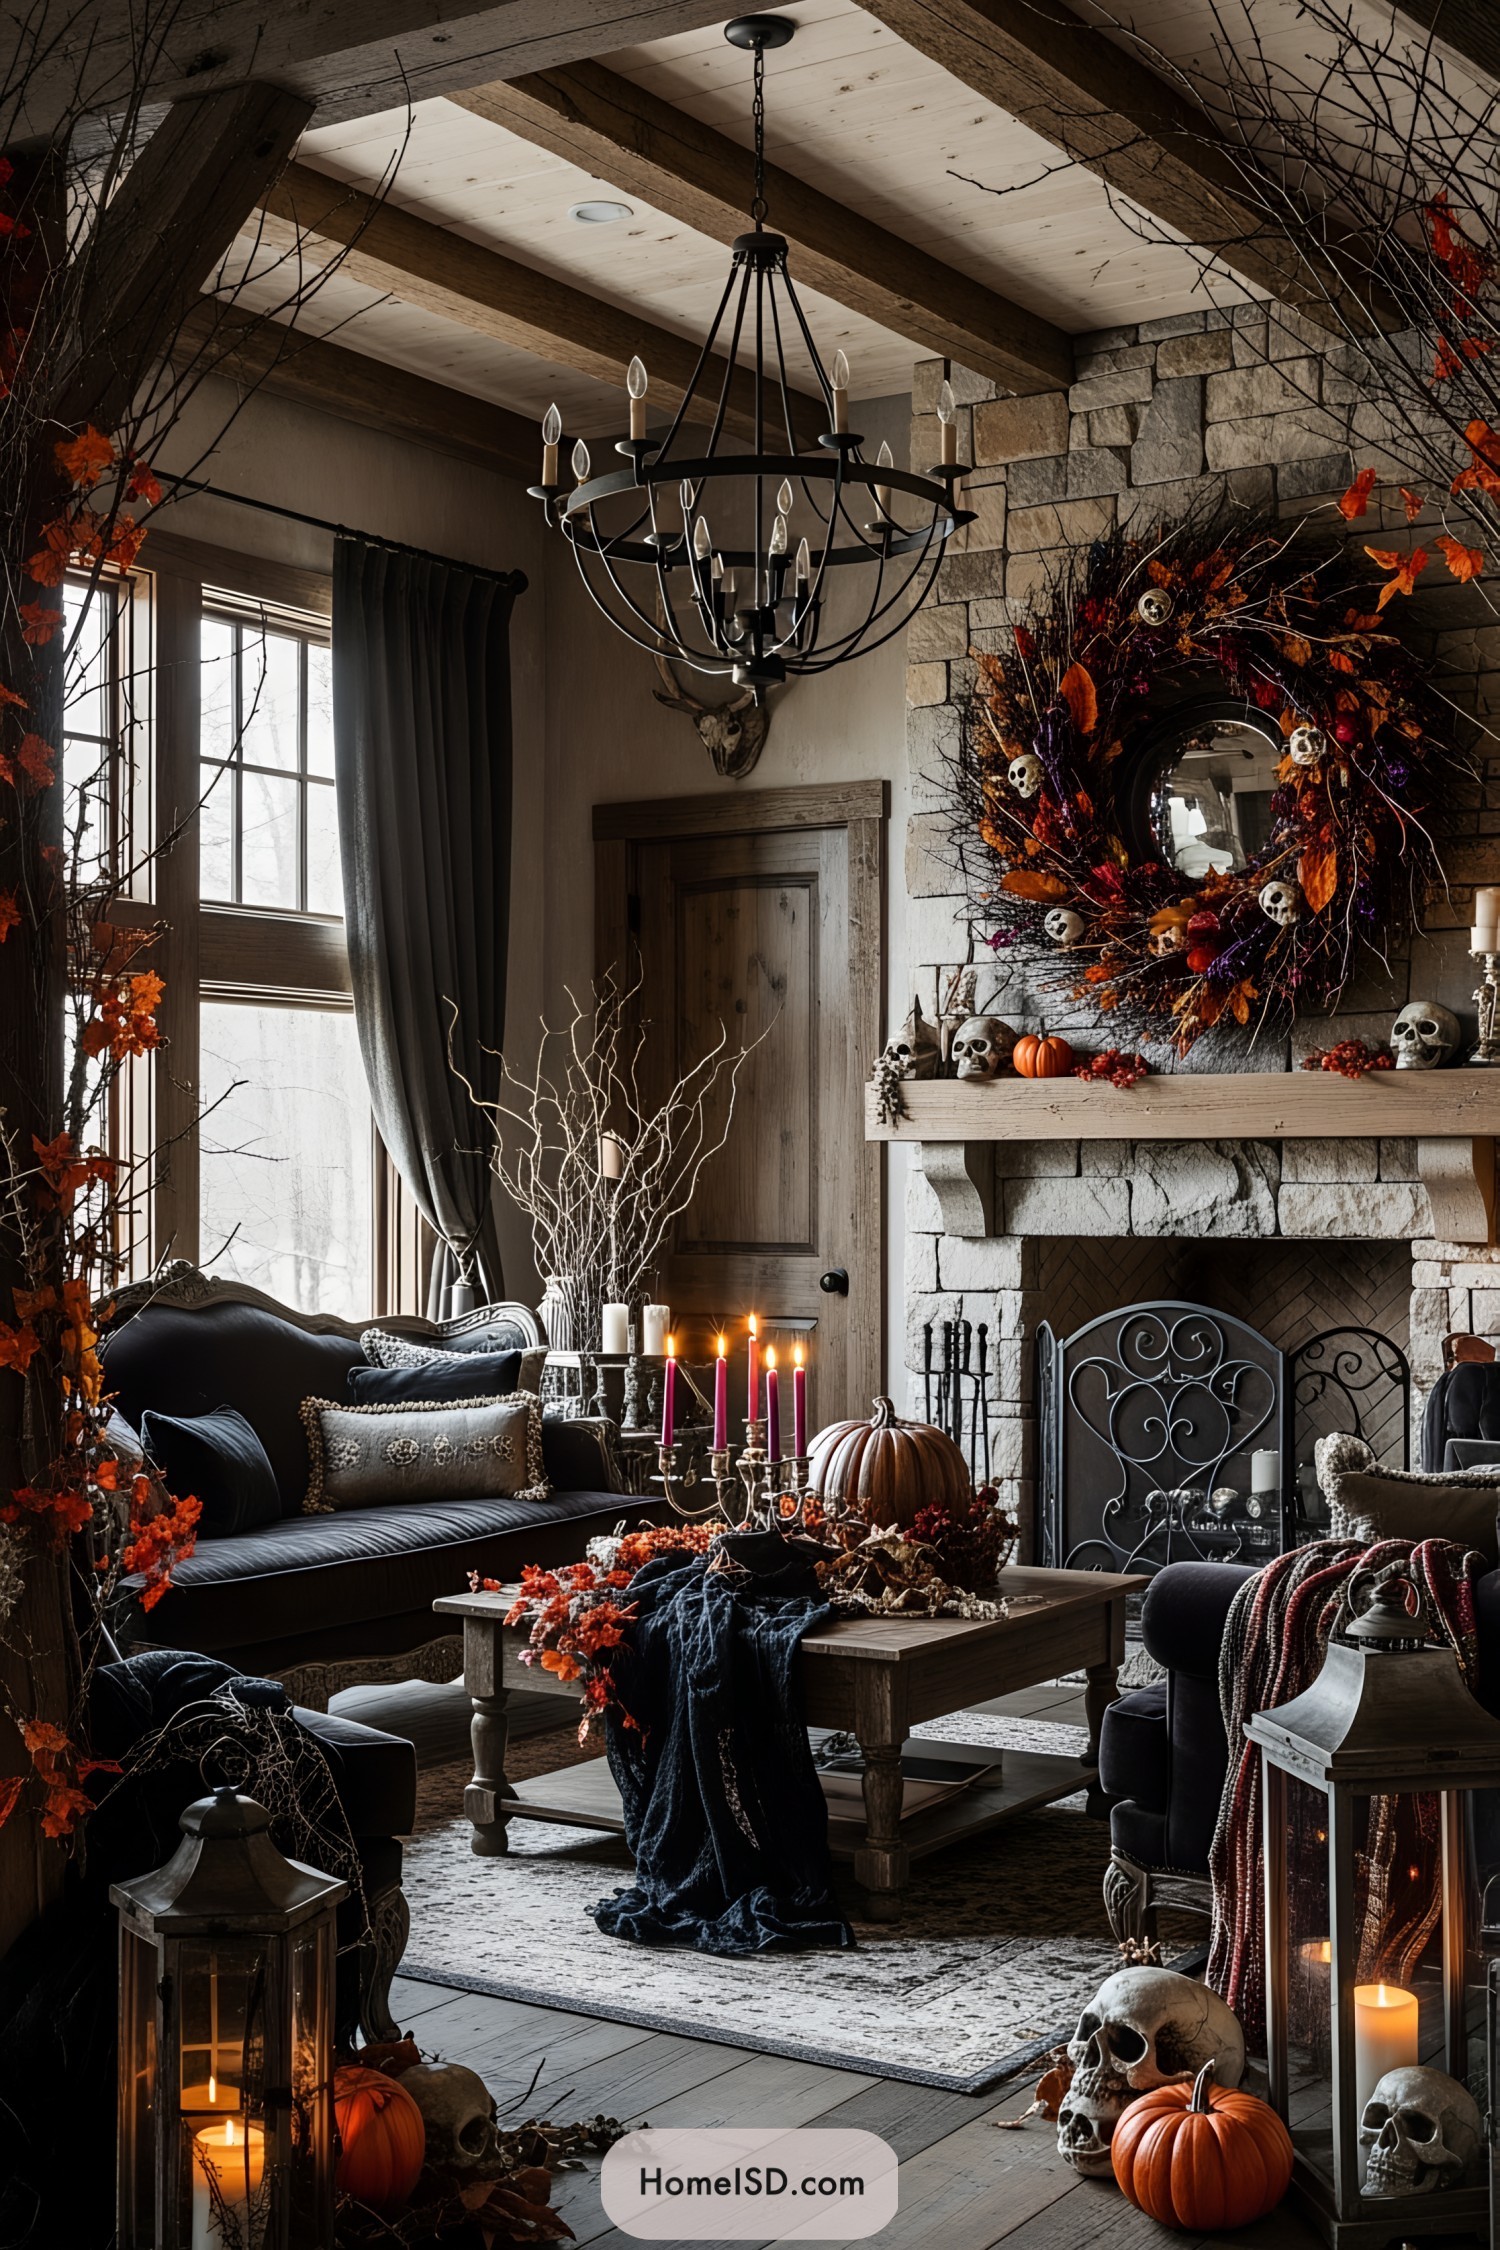
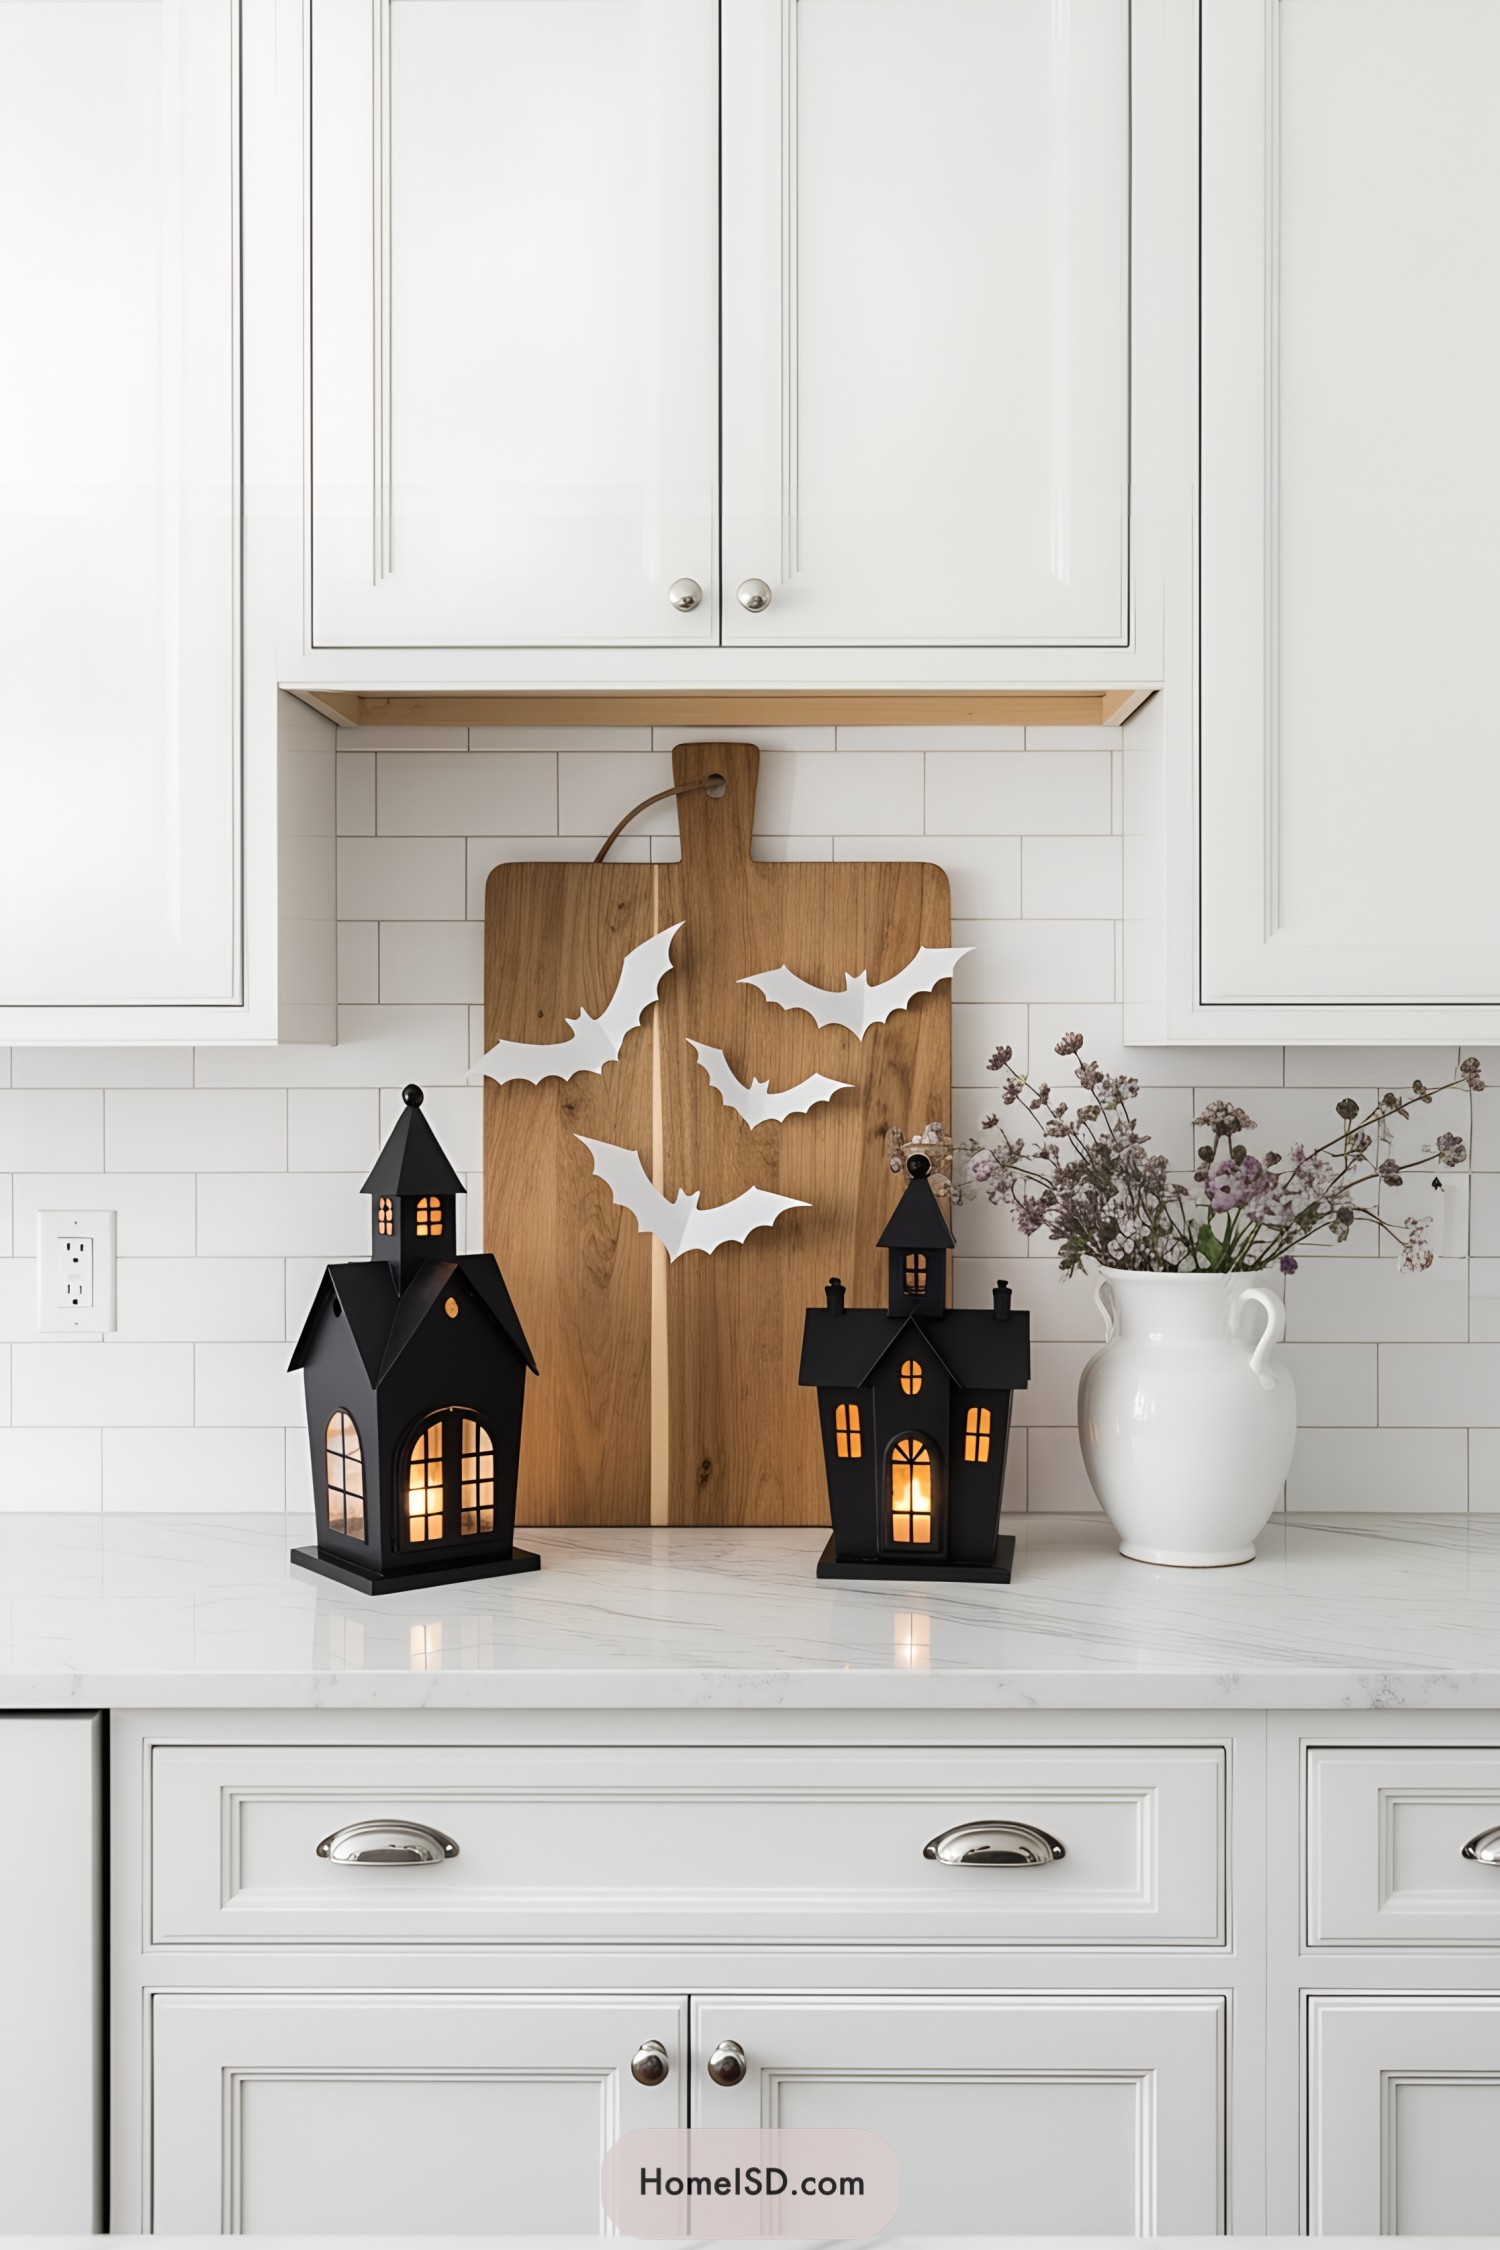
Cast a spell on your home with spooktacular indoor Halloween decor ideas that’ll have your ghosts cheerfully haunting for more! …
Ready to make your Halloween decor not just spooky but stylishly stunning? I’ve often thought of Halloween as the holiday’s …
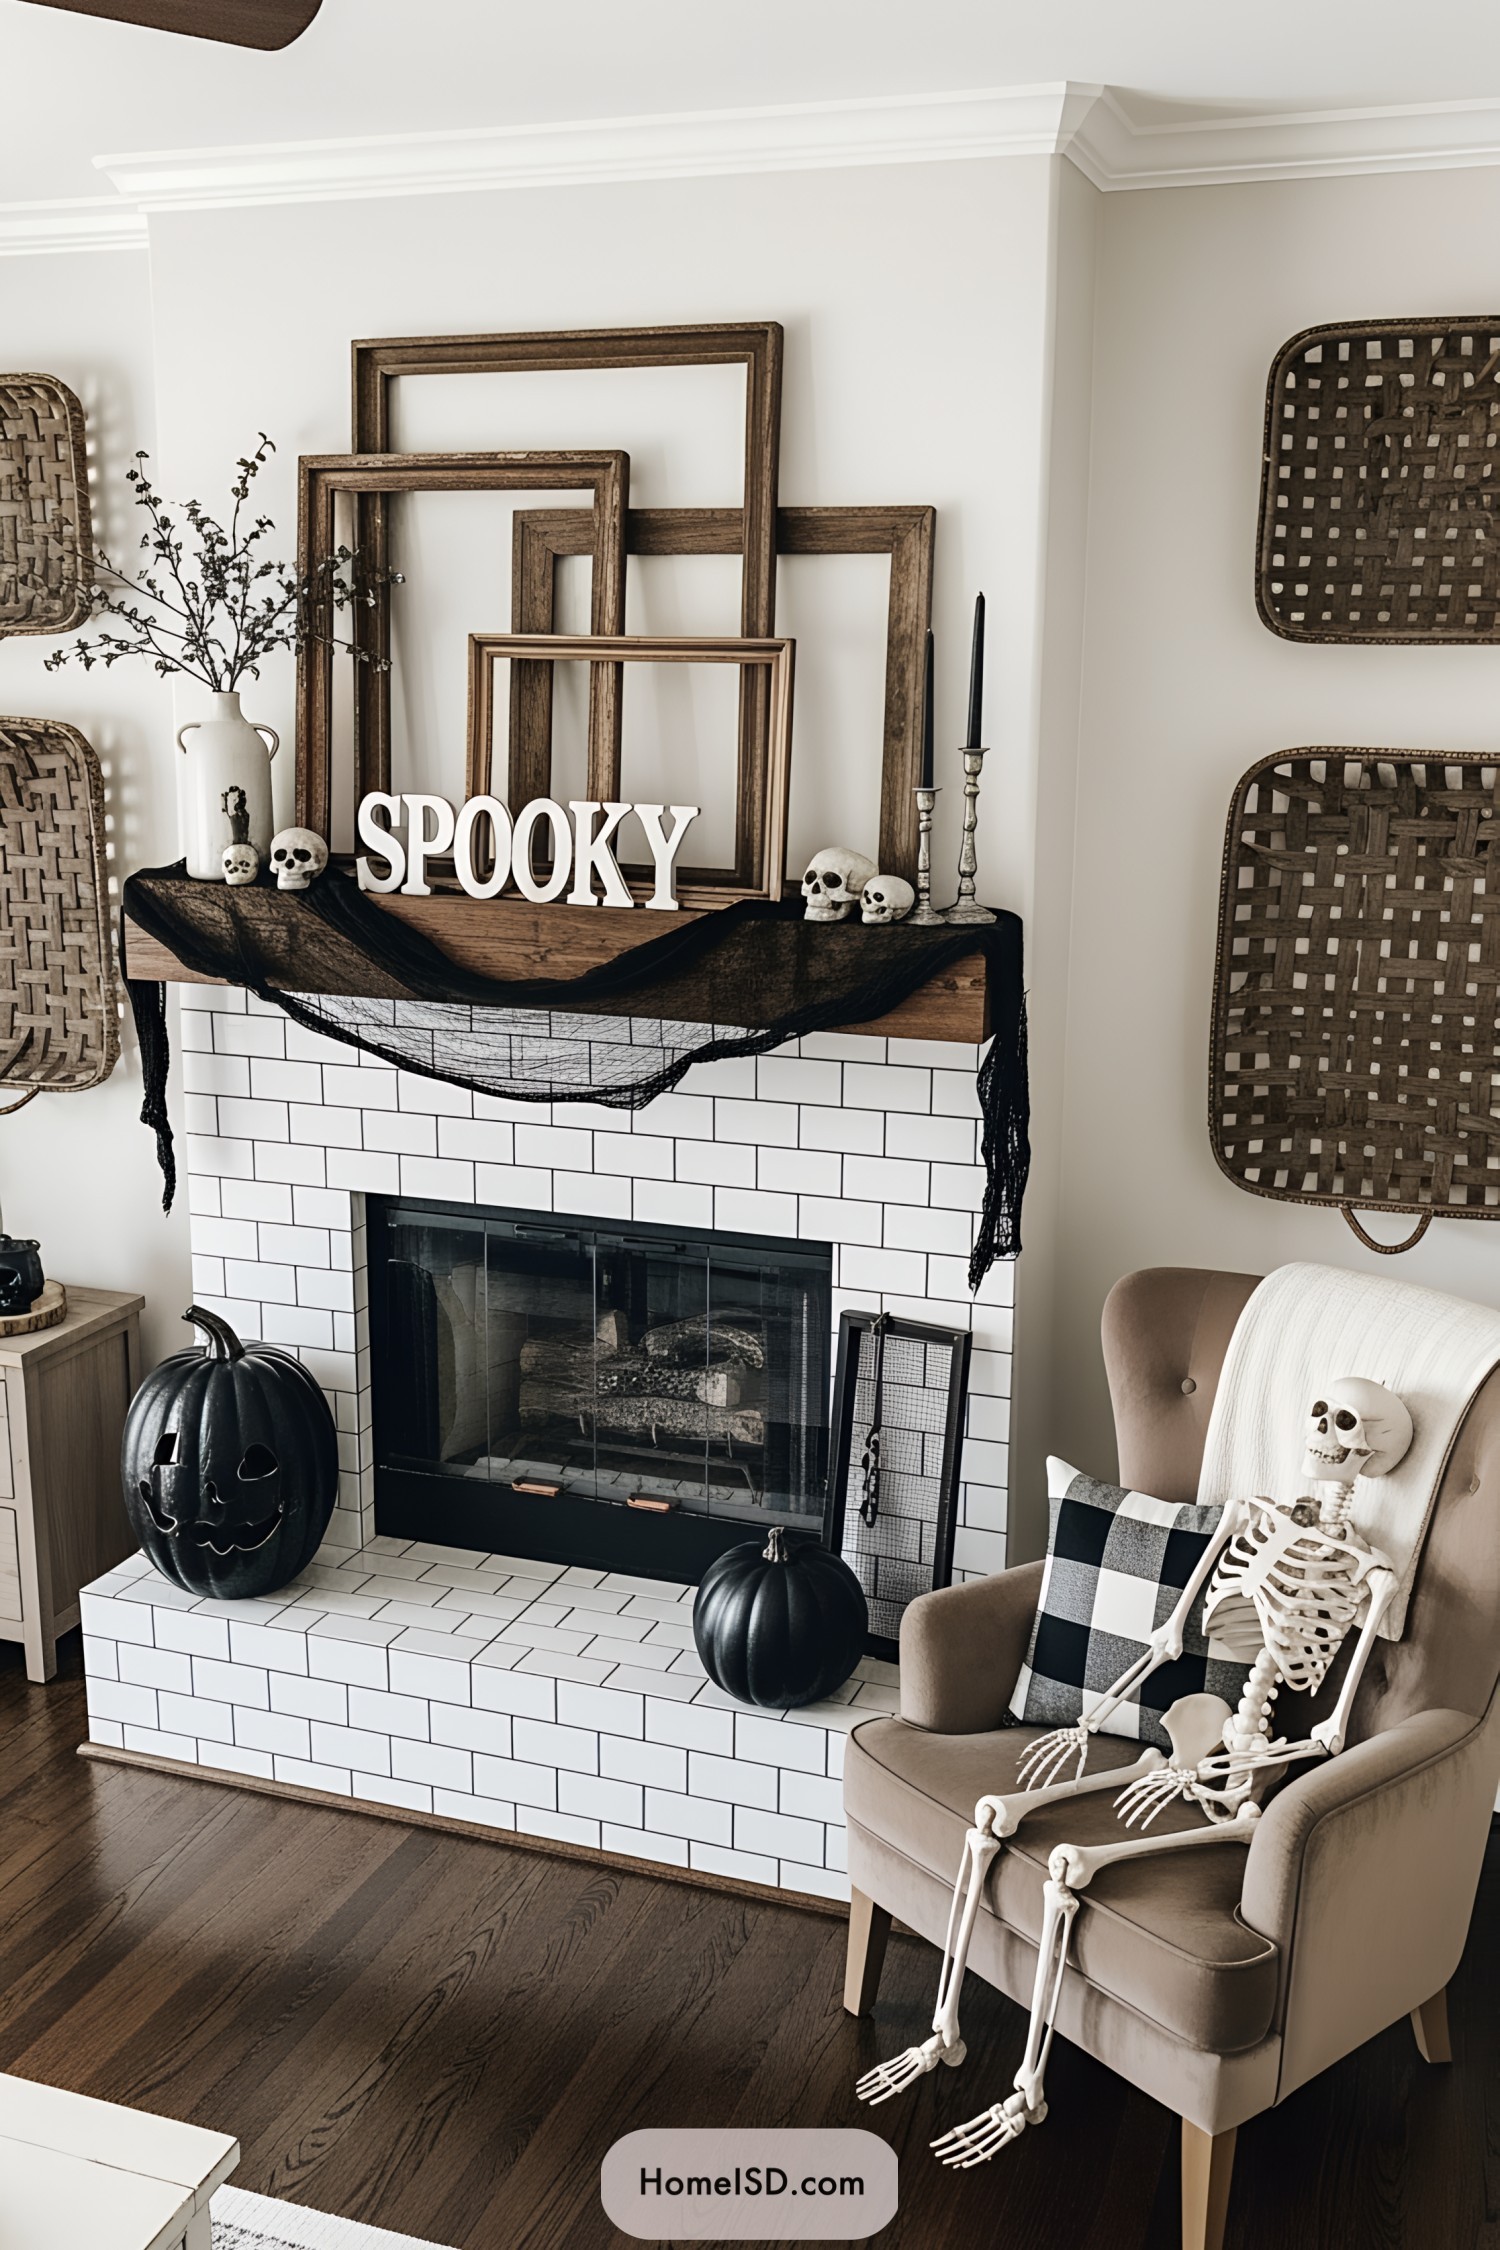
Transform your mantle into a ghoulishly charming masterpiece with thrilling tips that’ll have ghosts and goblins knocking for a styling …

Shrink your stress and grow your peace with mini zen gardens, where tranquility fits right on your desk without needing …
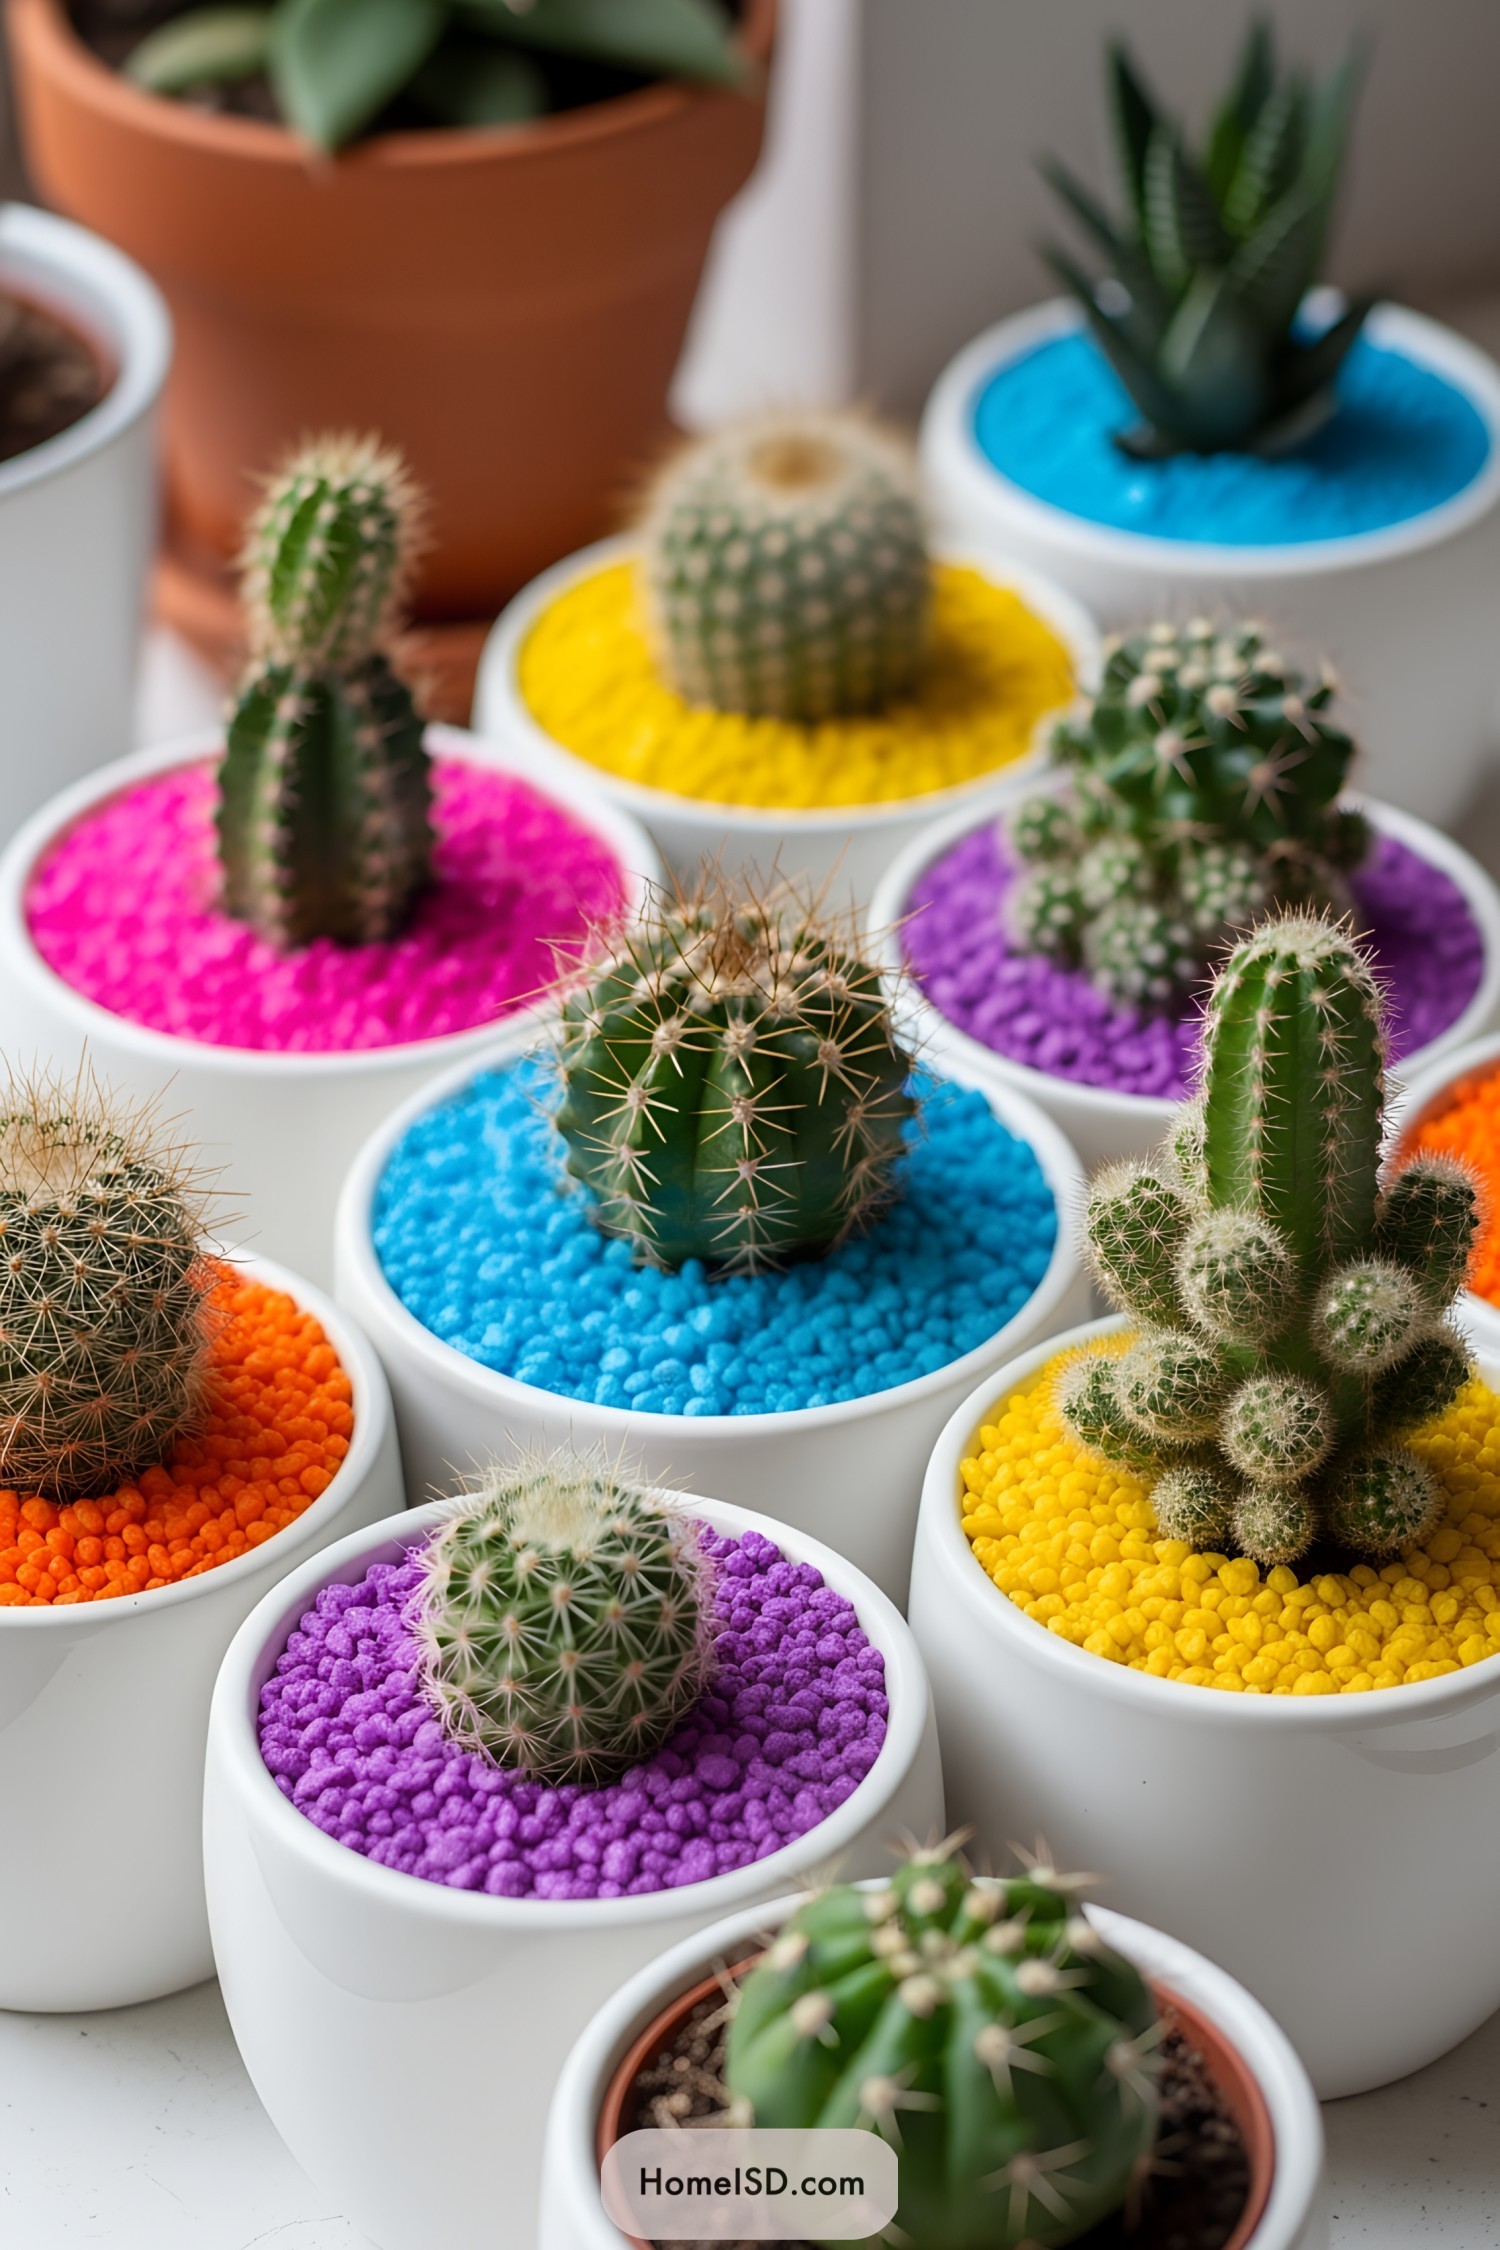
Transforming tiny prickle pals into captivating mini cactus gardens will inject your space with charm, whimsy, and just a hint …
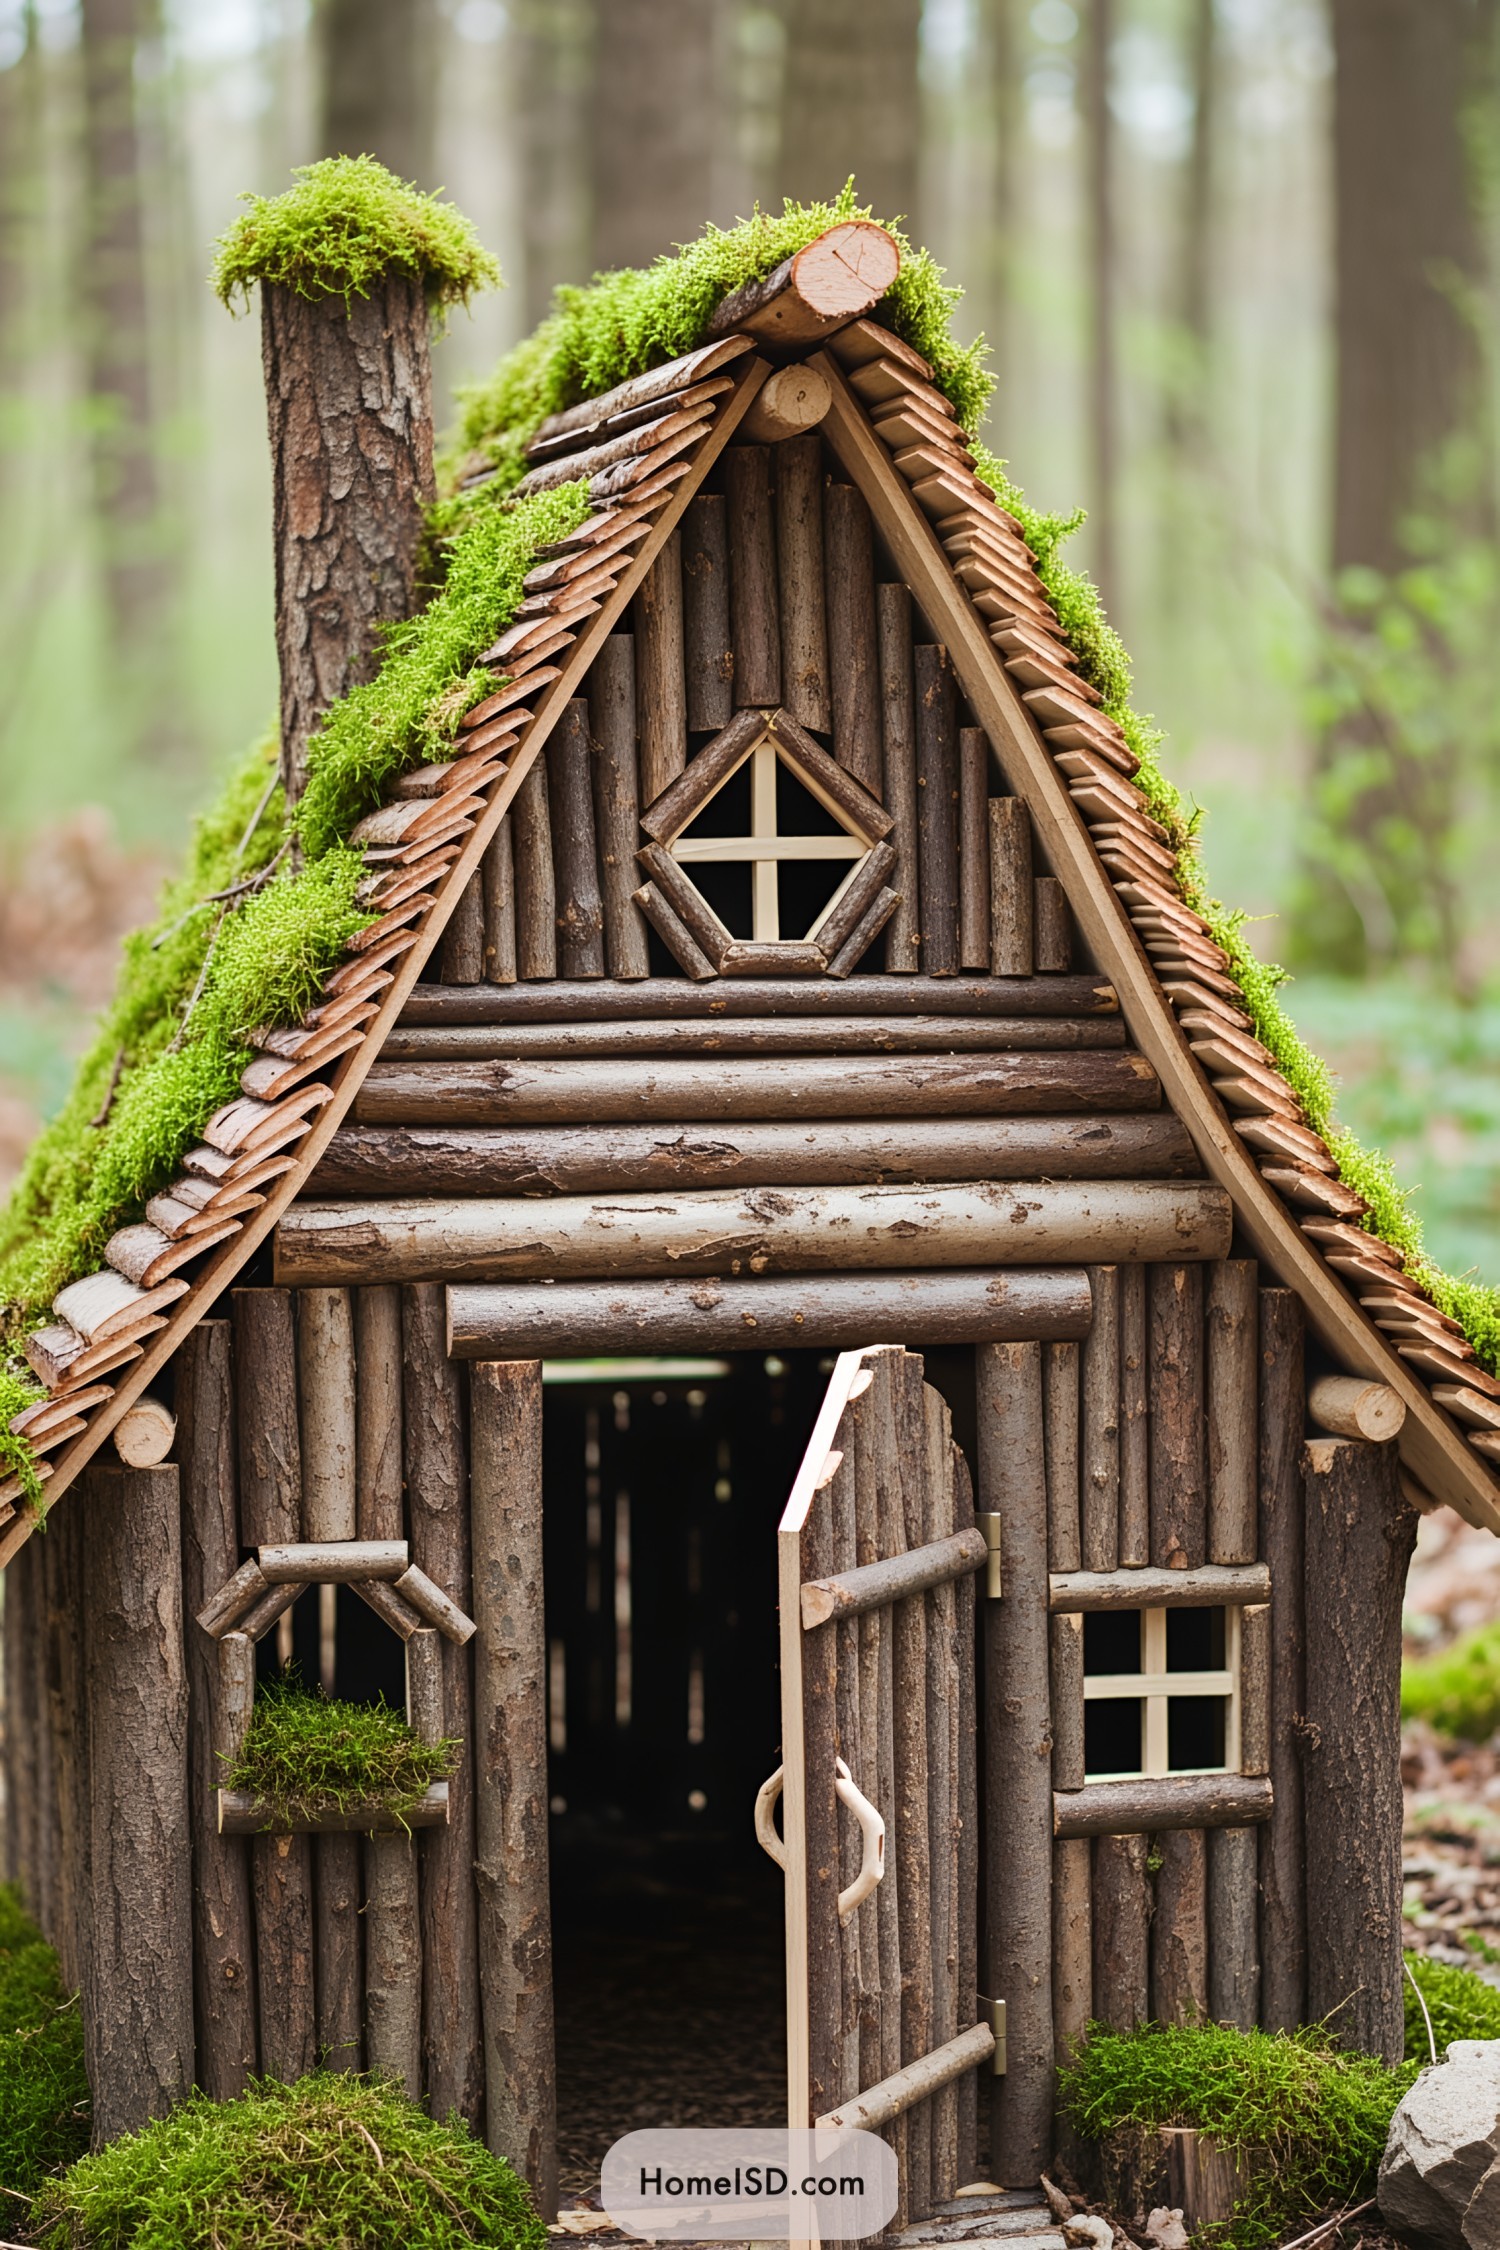
Sprinkle some pixie dust into your garden by crafting whimsical fairy houses using enchanting natural materials that even Tinker Bell …

Explore these unique and budget-friendly DIY stump projects because they can transform a discarded tree trunk into an artistic masterpiece. …
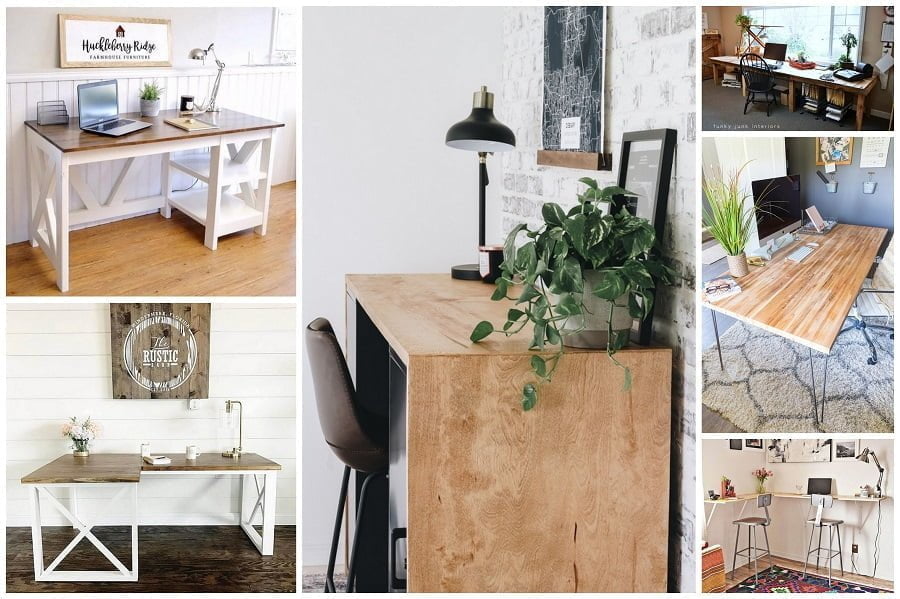
Want to build your own DIY computer desk for your home office or workspace? These terrific DIY desk ideas will …

Want to build a DIY bookshelf at home? It’s a great way to improve your decor and organization. And here are 22 amazing tutorials to help you.
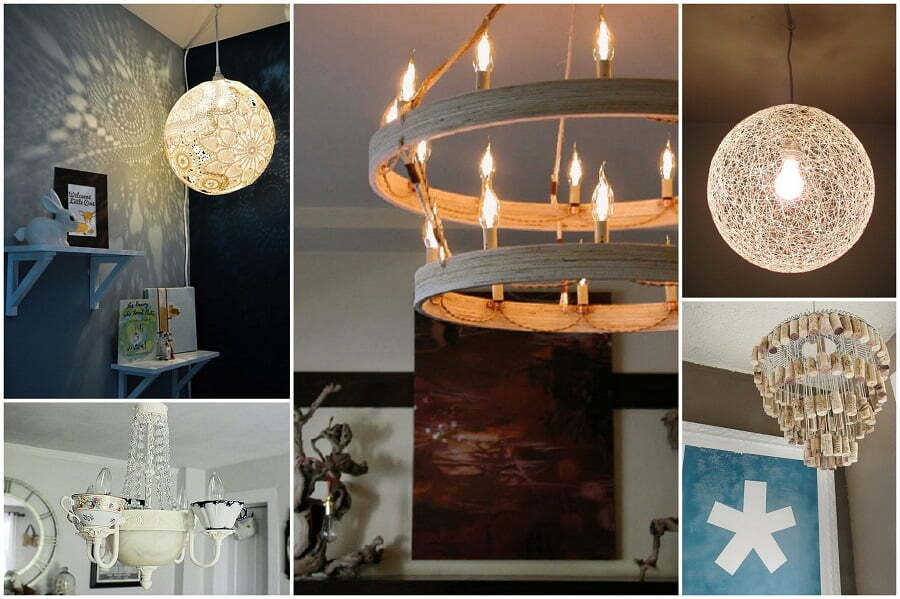
Looking to make your own DIY chandelier? Check out these easy and lovely ideas with tutorials that you can try …

Want to build a DIY standing desk at home? It’s about time to take workspace ergonomics seriously and create a …
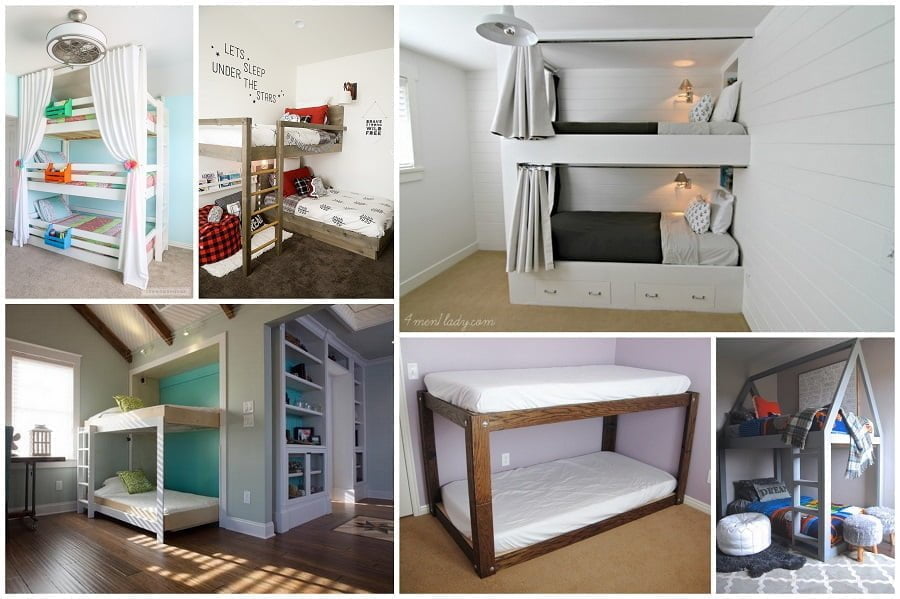
Build an easy DIY bunk bed on a tight budget (some cost as little as $50!) to accommodate extra sleeping …
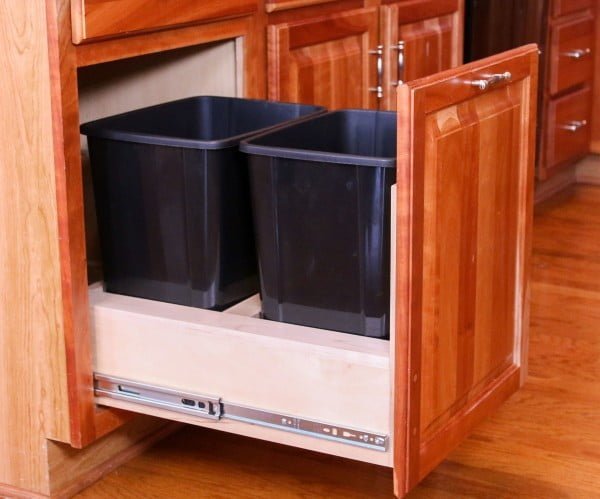
Here are 29 different ways to turn an old cabinet into a hidden trash can with a pull-out. Read on! …
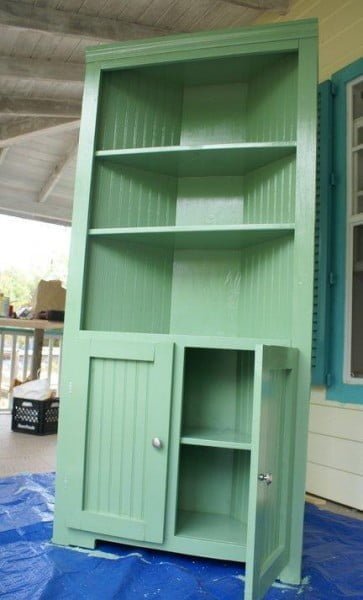
Here are 10 different ways to build a corner cabinet, including detailed instructions and plans. Building a corner cabinet can …
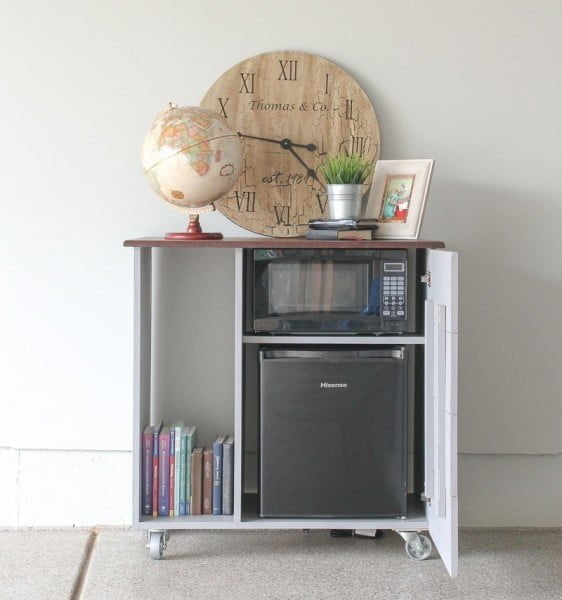
Here are seven great tutorials for building a mini fridge cabinet to keep your drinks cold and your space organized. …
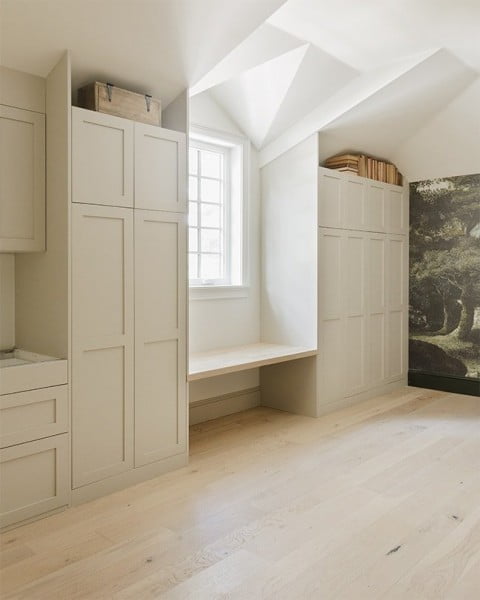
Here are 12 great tutorials for building your own floor-to-ceiling cabinets. Read on to find instructions for any DIY level! …
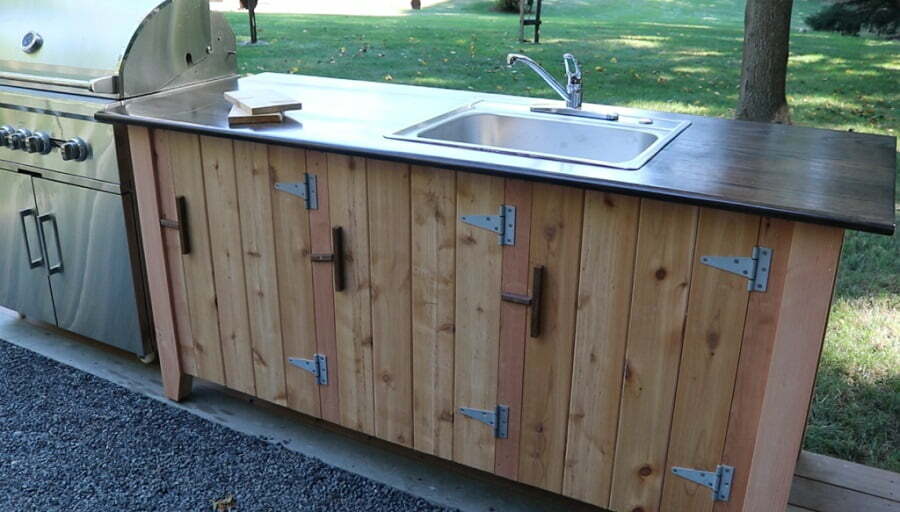
Use these tutorials with plans to build your outdoor kitchen cabinets. They range from simple base cabinets to countertops with …
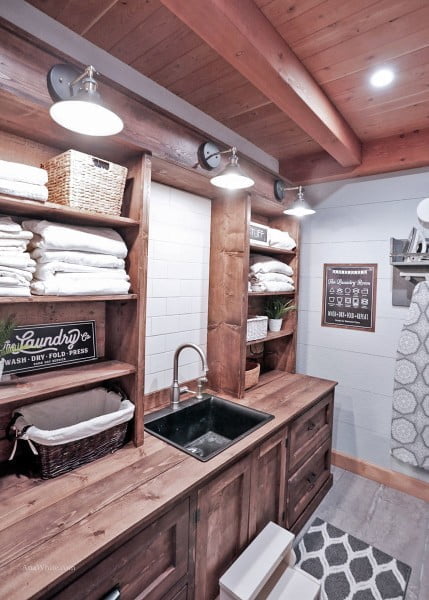
Here are 15 great tutorials for creating your own laundry cabinets. Read on! Building your own laundry cabinets can be …
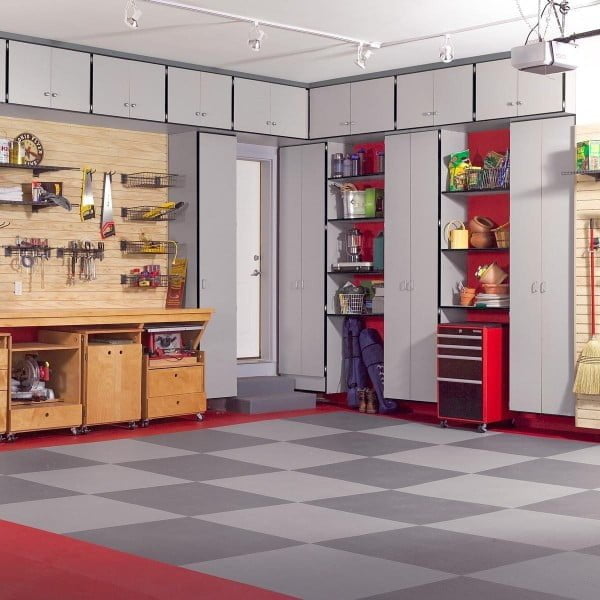
Here are 14 different ways to make your own garage cabinets, each with step-by-step instructions and pictures. Building your own …
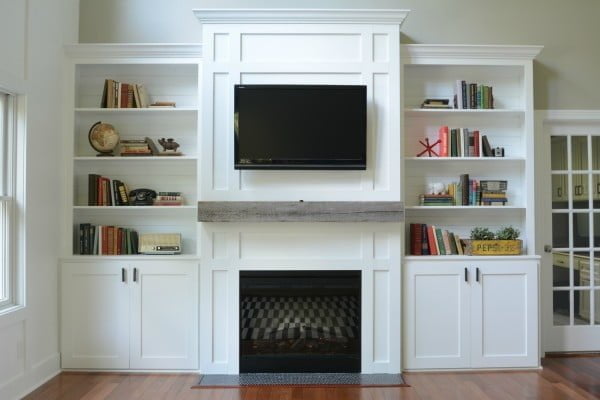
Here are some great tutorials and plans for creating custom built-in cabinets in your home. These projects range from simple …
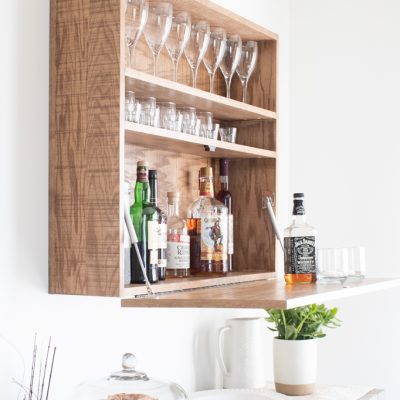
Here are 14 different ways to turn an old cabinet into a liquor cabinet for your home. Read on! Building …
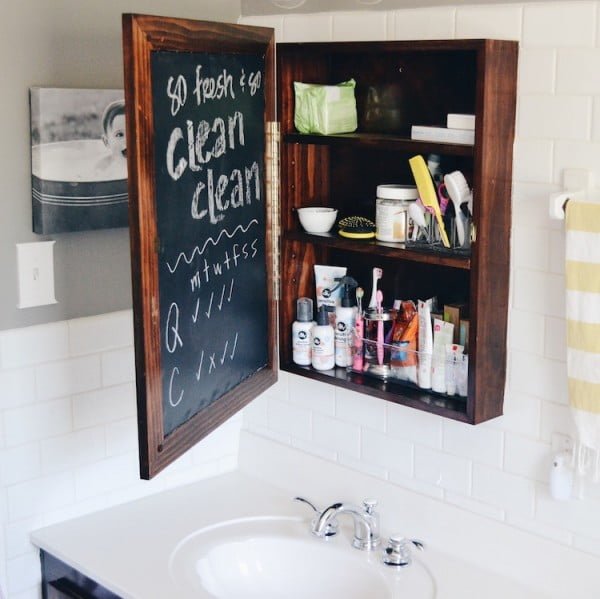
Here are 25 different ways to make a DIY medicine cabinet, from adding extra storage to giving it a whole …
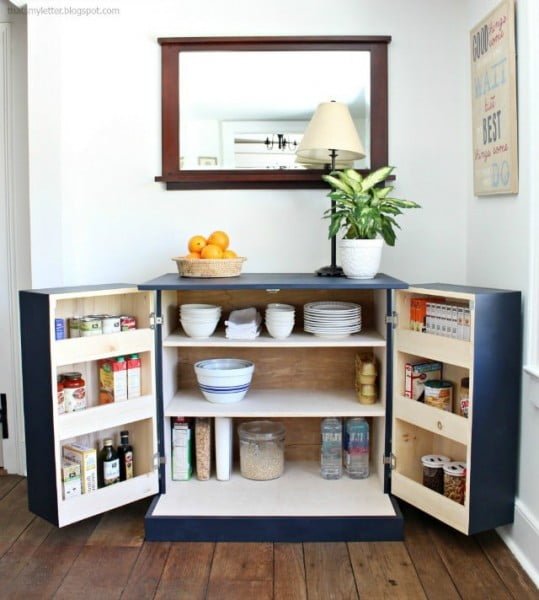
Here are 21 ideas and tutorials on how to build a pantry cabinet in your kitchen. Use these to make …

Here are 32 different ways to make your own storage cabinets, all with different tutorials and materials lists. If you’re …
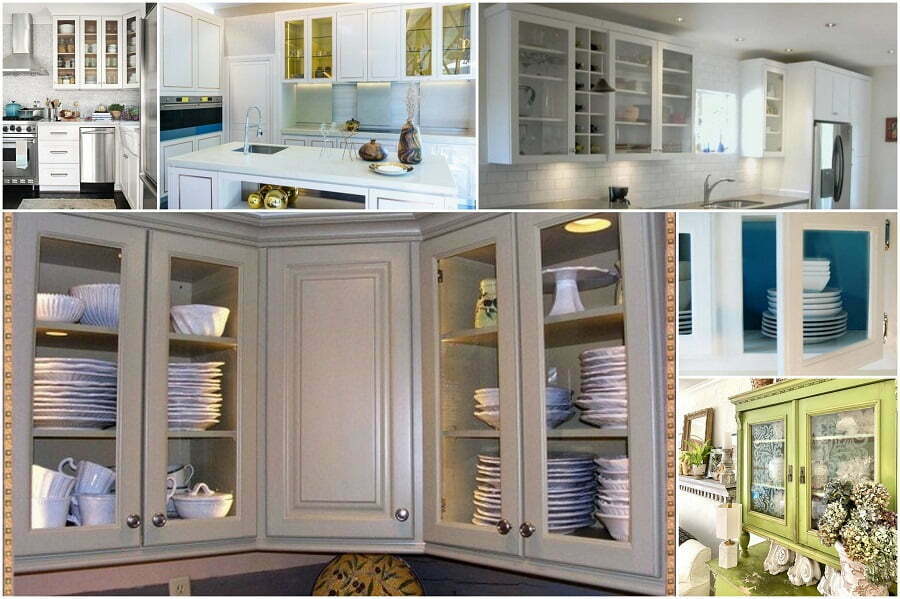
Here are 26 ways to make cabinet doors with glass for your kitchen cabinets. Read on! Adding glass panels to …
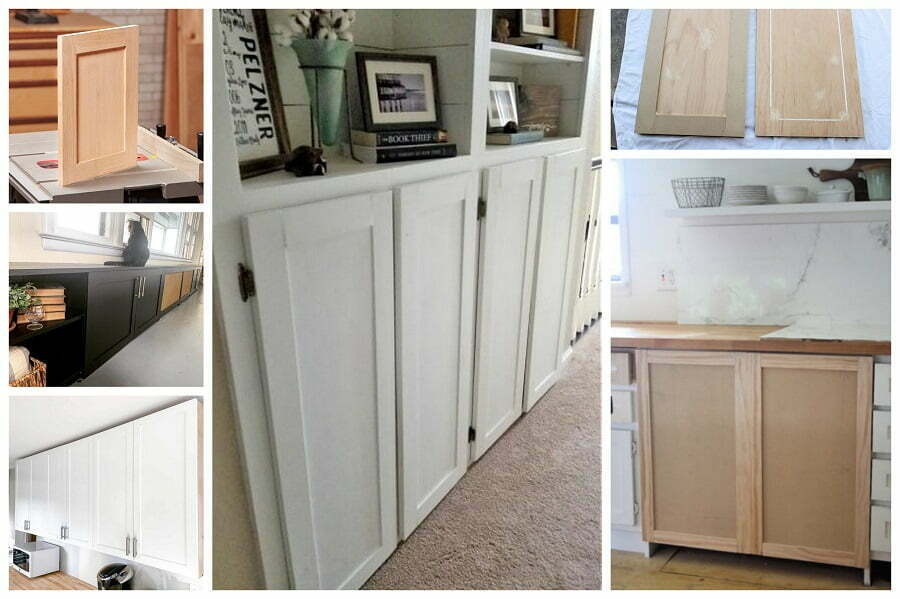
Here are 38 tutorials for making shaker cabinet doors, a popular style of door for kitchens and bathrooms. Read on! …

Here are 15 tutorials on how to make your own box spring cover to add a little extra style to …
Here are tutorials with step-by-step instructions for making a beautiful butcher block dining table, perfect for a rustic or farmhouse-style …
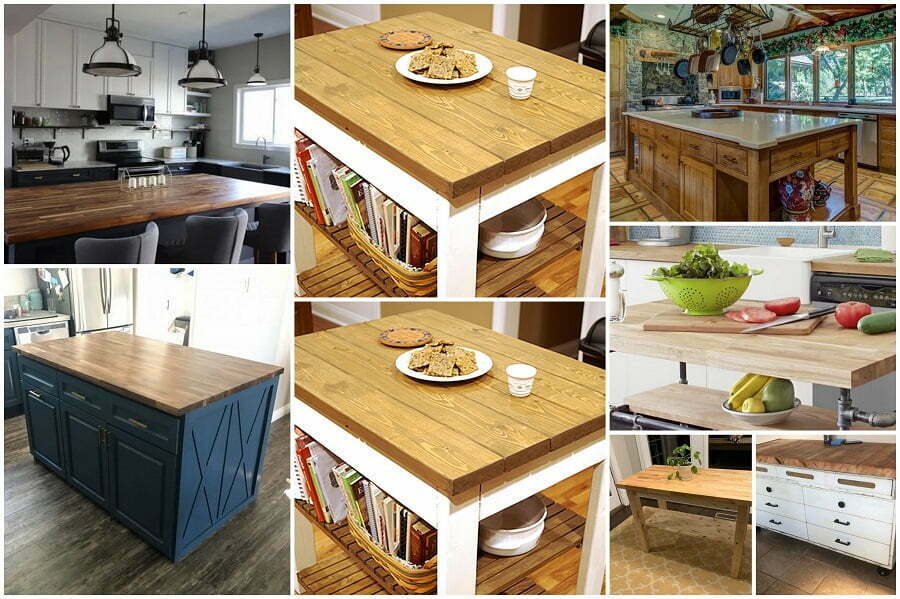
Here are 17 different ways to make a kitchen island with a butcher block countertop, each with step-by-step instructions. Building …
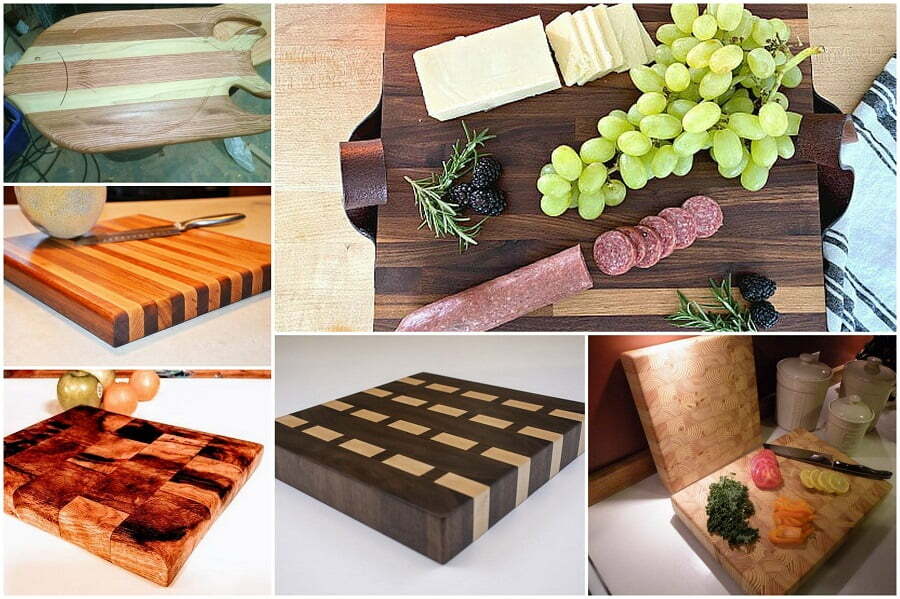
Here are 15 different ways to make a DIY butcher block cutting board, each with a different set of materials …
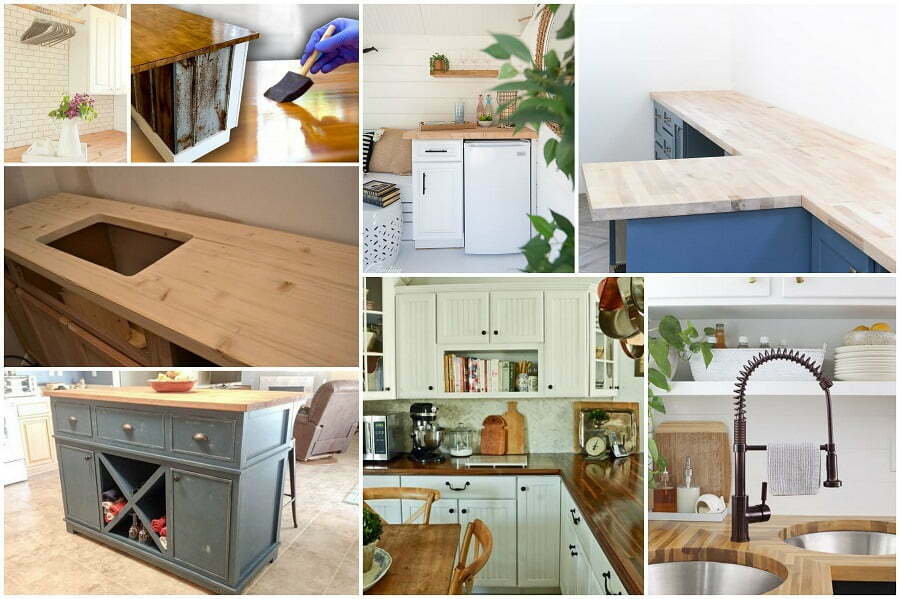
Here are 26 cheaper ways to make your own butcher block countertop, each with step-by-step instructions and photos. Building a …
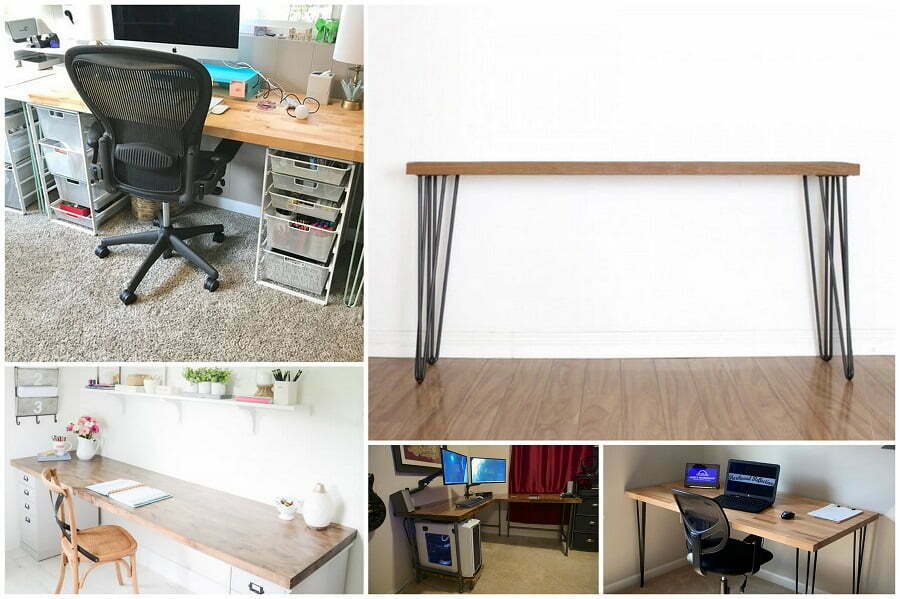
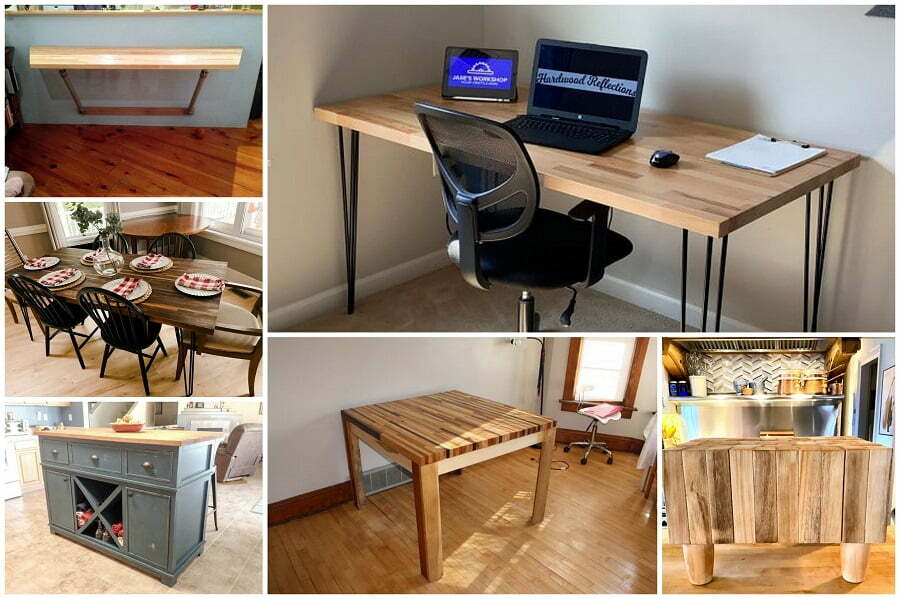
Here are some great DIY tutorials for creating a butcher block desk without spending a lot of money. Building a …
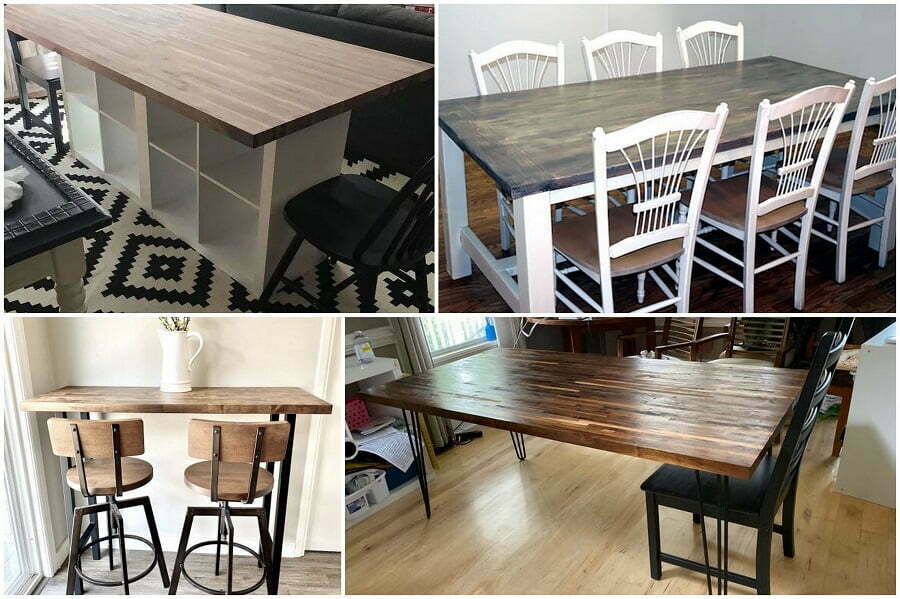
Here are 22 different ways to make a butcher block table, each with a different level of difficulty. The butcher …
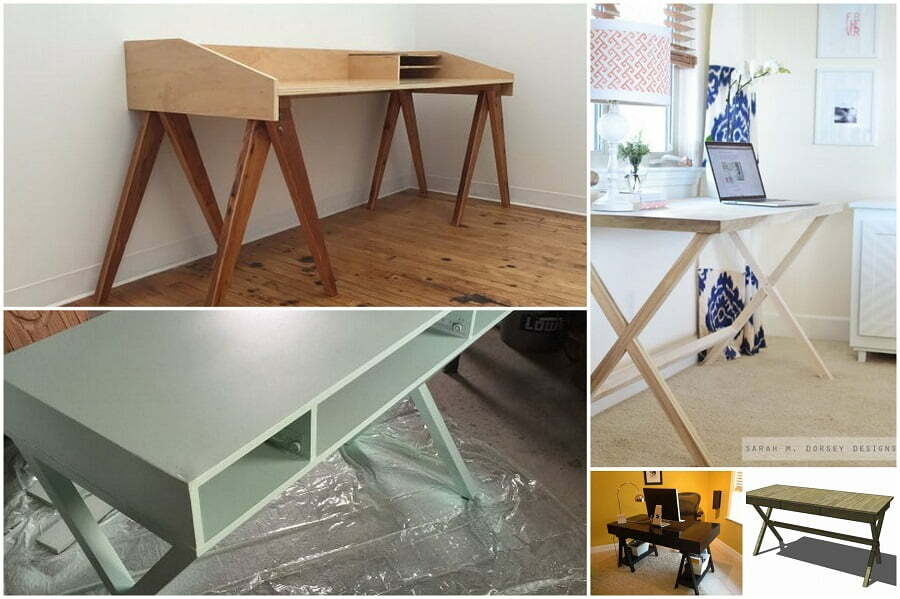
Here are some great tutorials for making your own DIY campaign desk to help get you started on your next …
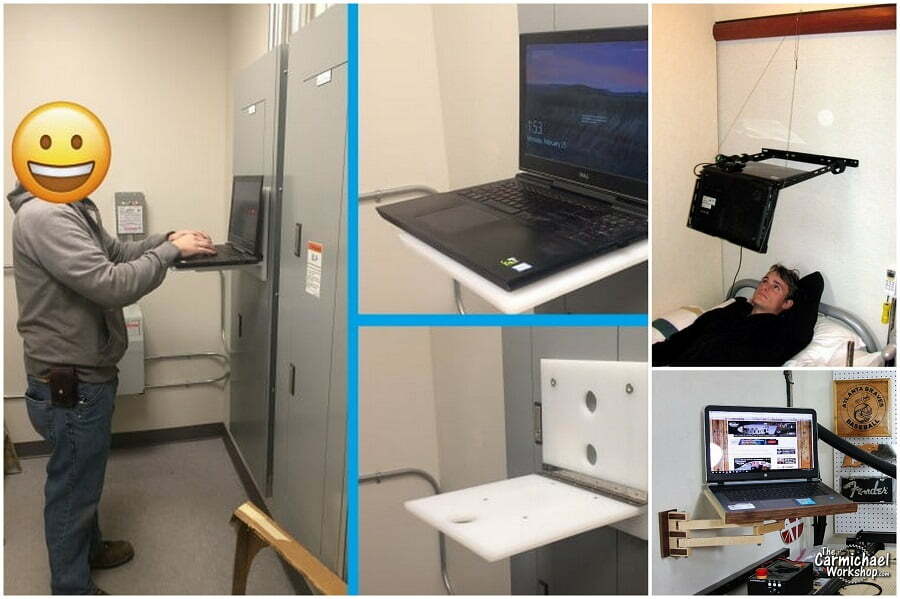
Here are some great tutorials for creating a DIY laptop wall mount. You’ll find step-by-step instructions, photos, and tips. Most …
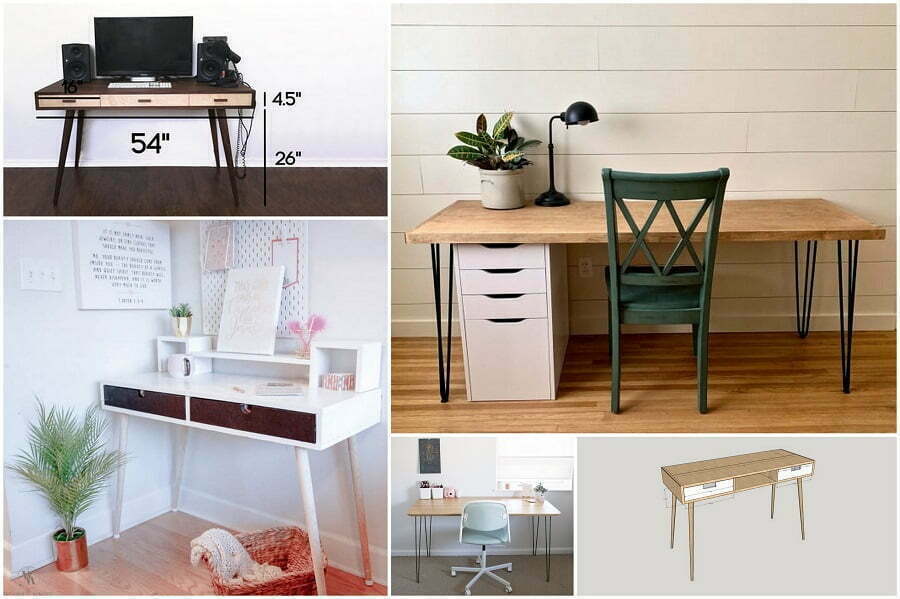
Here are 15 different ways to make a mid-century modern desk, complete with step-by-step instructions and photos. A mid-century modern …

Here are 34 different ways to make a stand for your phone, using things you probably have around the house. …