Last updated on
Here are 22 different ways to make a butcher block table, each with a different level of difficulty.
The butcher block is a bulky tabletop glued together from multiple wood boards. Thanks to this construction, it is heavy-duty and sturdy, albeit heavy.
Building a DIY butcher block table is a great way to add some personality to your home. These tutorials will show you how to build a table from scratch using a solid butcher block table top.
The difficulty of the project will depend on whether you have your butcher block ready or if you will make one from scratch. The remaining part is only adding the base and legs.
What you need to know:
- You can build your own butcher block from reclaimed wood
- You will need to apply several coats of finish to the wood block
- You can use any legs or base for the table (hairpin legs, a base cabinet, pipes, casters, etc.)
How to Build a Butcher Block Table
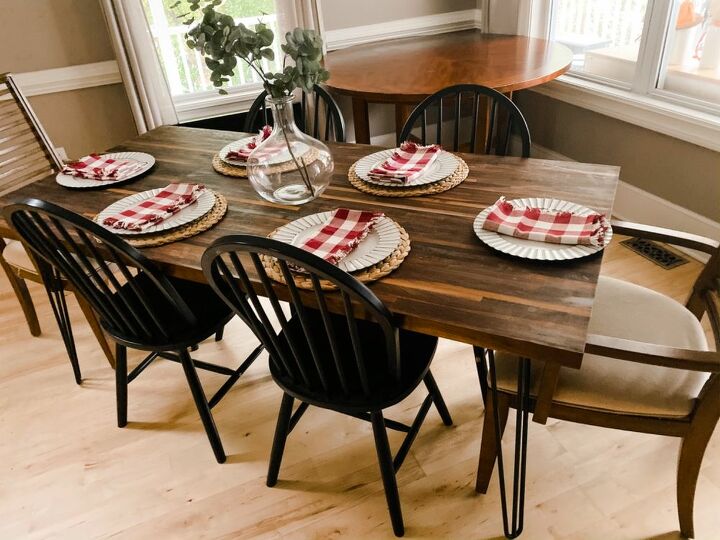
Tutorial: hometalk.com
Expected cost: $20-$30
Materials:
- Table top
- Hairpin legs
- Drill
- Screws
- Tape measure
This project is a great way to add some personality to a plain table top. It is a very simple project that anyone can do in just a few minutes.
The only difficulty might be drilling the holes for the hairpin legs, but other than that it is a very straightforward project.
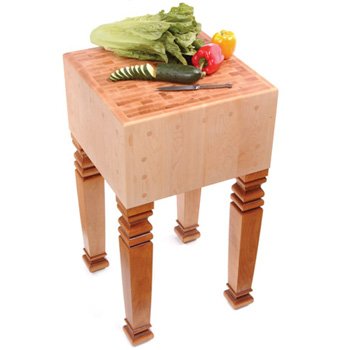
Tutorial: vandykes.com
Expected cost: $100-$200
Materials:
- Hard maple boards
- Stain
- Varnish
- Screws
- Oil
This project is a bit more involved than some of the others, but it produces a great-looking and long-lasting butcher block. You’ll need to cut the legs to size, notch them to fit the apron, and then finish them with a stain and varnish.
The apron is made from hard maple boards that are glued and screwed together. Once the apron is assembled, you’ll attach the legs and then finish the whole piece with oil or another sealant.
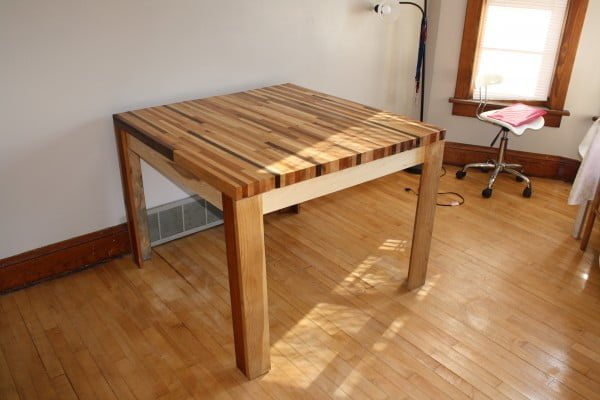
Tutorial: instructables.com
Expected cost: $100-$200
Materials:
- Wood
- Glue
- Corner Brackets
- Polyurethane
This project is a bit time-consuming, but overall not too difficult. The majority of the time will be spent sanding, so make sure you have patience! You’ll also need access to a table saw and belt sander.
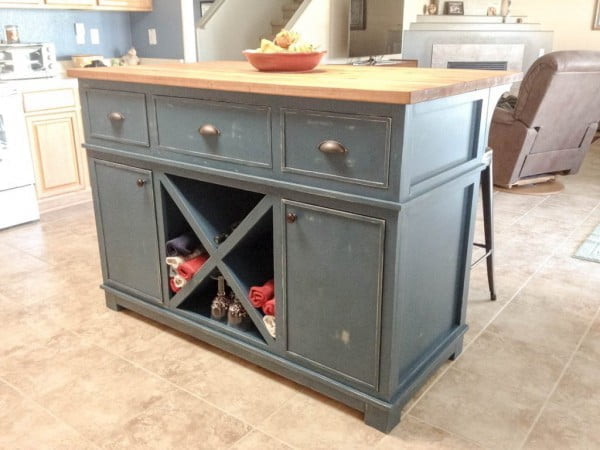
Tutorial: addicted2diy.com
Expected cost: $30-$40
Materials:
- Wood
- Glue
- Clamps
This project is a bit time-consuming, but it’s not too difficult. You’ll need to cut the wood into pieces, glue them together, and then clamp them tightly.
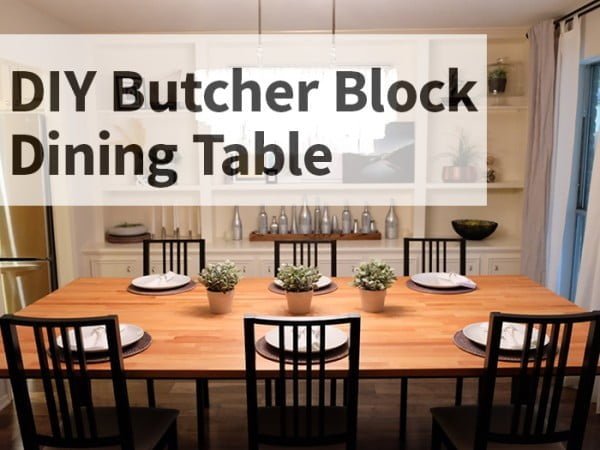
Tutorial: evanandkatelyn.com
Expected cost: $100-$200
Materials:
- Butcher block
- Drill
- Screws
- Sealant
This DIY butcher block dining table is a bit more involved than some others, but it is still relatively simple and straightforward. You will need to drill holes into your table and then attach the block to the top of the table.
The most difficult part of this project may be sealing the butcher block, as you will need to do this before attaching it to the table.
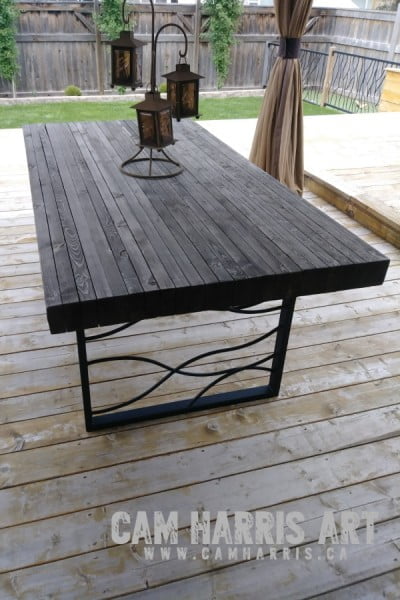
Tutorial: camharris.ca
Expected cost: $200
Materials:
- Butcher block
- Metal art base
- Wood glue
- Clamps
- Saw
- Sandpaper
- Stain
- Sealer
This project is a bit more difficult than some of the others, but it is still doable for someone with basic woodworking skills. It involves creating a butcher block table with a unique metal art base.
The project will take some time to complete, but the end result will be worth it.
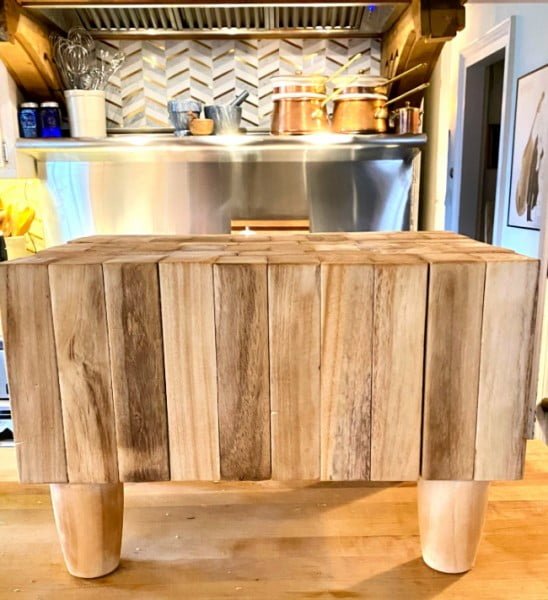
Tutorial: farmhouse1820.com
Expected cost: This project should cost around $100 to complete
Materials:
- 1×4 lumber
- 1×6 lumber
- 1×8 lumber
- 2×4 lumber
- Plywood
- Wood glue
- Wood screws
- Circular saw
- Jigsaw
- Drill
- Tape measure
- Square
- Level
- Chalk line
- Sandpaper
- Stain or paint (optional)
- Polyurethane (optional)
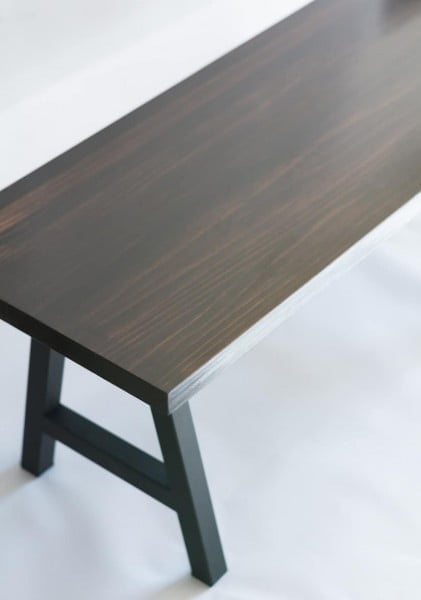
This project entails building a prototype of a butcher block table. It is not difficult to complete, but it does require some planning and precision in order to get the dimensions and angles correct.
Tutorial: bybrittanygoldwyn.com
Expected cost: This project will probably cost around $30
Materials:
- Wood glue
- Clamps
- Sandpaper
- Wood planer or hand planer (optional)
This project is a bit time-consuming, but it’s not too difficult. You’ll need to join the boards together using glue and clamps, and then sand them down.
You may also want to use a wood planer or hand planer to get the desired effect.
Tutorial: hgtv.com
Expected cost: This project should cost around $50 in total.
Materials:
- Plywood
- Sandpaper
- Paint
- Stain
- Polyurethane
- Screws
- Nails
- Hammer
- Drill
- Saw
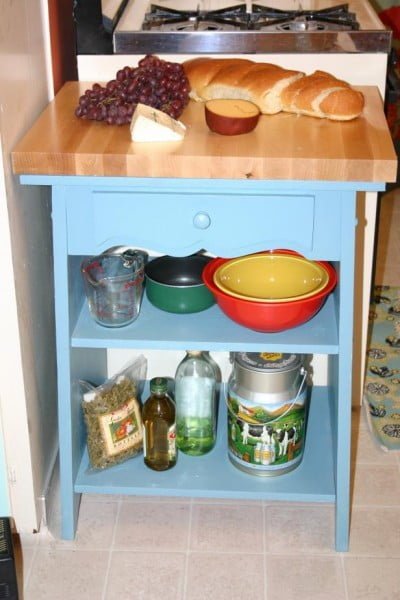
This project is a tutorial on how to build a small table or cabinet. It is a relatively easy project that requires basic woodworking skills and tools.
The most difficult part of this project is sanding down the table to remove old paint and stain.
Tutorial: aliceandlois.com
Expected cost: This project should cost less than $20.
Materials:
- 5′ butcher block
- Table legs on casters
- Drill
- Butcher block oil
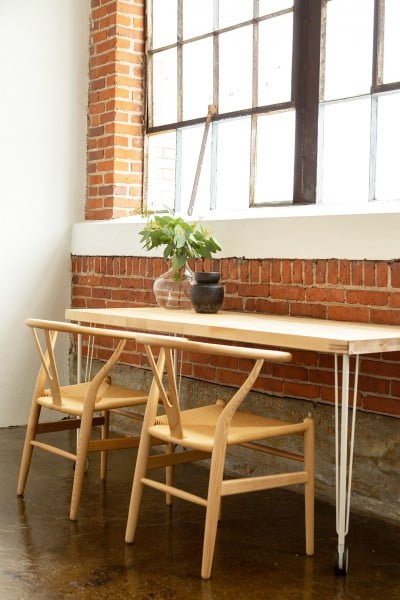
This is a simple project if you have a 5-foot butcher block. You only need to add the legs on caster wheels to make this kitchen table.
Tutorial: lovelyspaces.com
Expected cost: $50
Materials:
- 1×8 pine boards
- 1×4 pine boards
- 1×2 pine boards
- 1×12 pine board
- Butcher block
- Plywood
- Wood glue
- Nails
- Paint or stain
- Sealer
This project is a great way to add some extra storage to your home without spending a lot of money. It is also relatively easy to complete, although you will need access to a butcher block in order to create the table top.
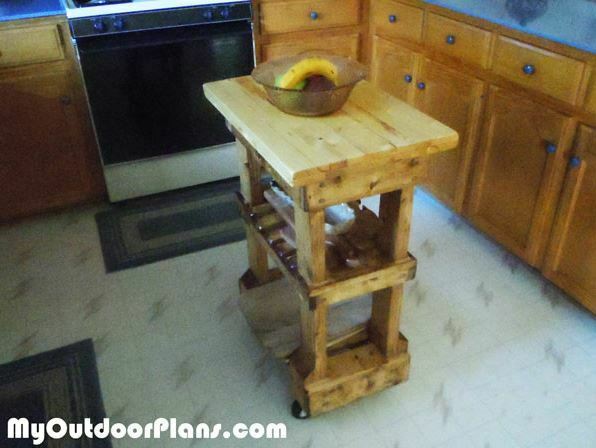
Tutorial: myoutdoorplans.com
Expected cost: $20
Materials:
- 2×4 stock lumber
- 1×2 stock lumber
- Whiteboard
- Tape measure
- Circular saw
- Power drill
- 1 inch hole saw
- Sandpaper
- Stain or paint (optional)
This project is a DIY butcher block table that is 16 x 24 x 34 inches high. It is made out of 2 x 4 and 1 x 2 stock whiteboard.
The table is easy to assemble and can be completed in one day. It is a great addition to any kitchen and can be used as extra counter space when needed.
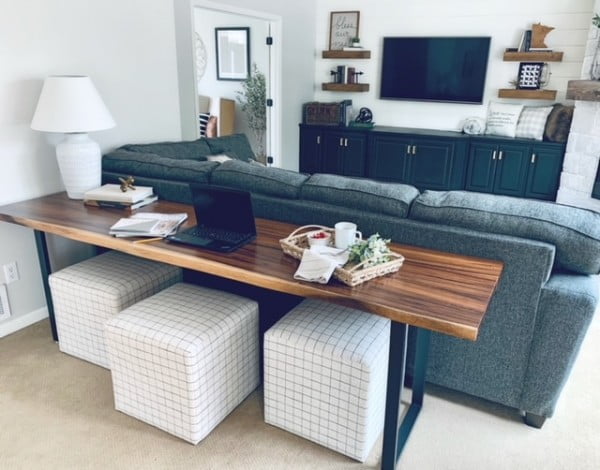
Tutorial: avynnrose.com
Expected cost: This project should cost less than $100.
Materials:
- Butcher block
- Heavy duty legs or brackets
- Screws
- Drill
This project is a very easy DIY that anyone can do in just a few minutes. All you need is a piece of butcher block and some heavy duty legs or brackets.
You can find everything you need for this project online or at your local hardware store.
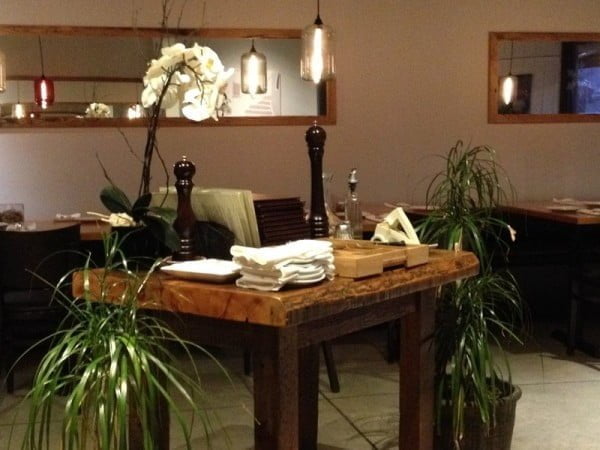
Tutorial: dreamlandsdesign.com
Expected cost: This project will cost around $200 to complete
Materials:
- 1x8x8ft hardwood lumber
- 1x4x8ft hardwood lumber
- 1x2x8ft hardwood lumber
- T-molding
- Wood glue
- 1-1/4″ pocket hole screws
- 1-1/2″ pocket hole screws
- 2″ pocket hole screws
- Sandpaper
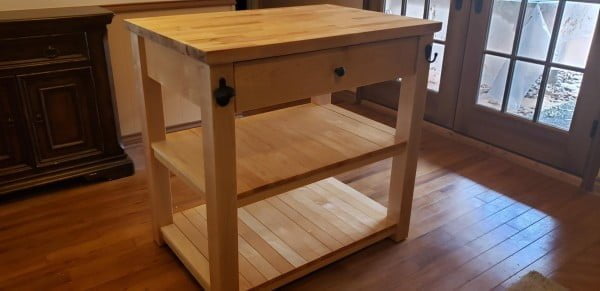
This project is a step-by-step instruction on how to make a butcher block table. The table is made to last.
This means that joinery must be well chosen for strength and durability, and it means that the natural expansion and contraction of the wood must be accounted for in the design.
It tends to gravitate to simple lines, but from the outside, this table’s appearance is pleasing and unobtrusive. The overall understatement of the form helps to highlight the details and craftsmanship.
A butcher block table is nothing if not functional, and I use mine nearly every day.
The project requires some basic woodworking skills and knowledge of how to use power tools safely. It is not a difficult project, but it does require some time and patience to complete.
Tutorial: ana-white.com
Expected cost: $100-$200
Materials:
- 1×2 lumber for the frame
- Butcher block countertop
- 4 furniture legs
- 1 sheet of plywood
- Construction adhesive
- Cordless drill
- 1 inch hole saw
- Circular saw
- Jigsaw
- Sandpaper
- Stain or paint (optional)
This project is a great way to add an island with a butcher block top to your kitchen. It is a relatively easy build, although you will need some basic woodworking skills and tools.
The finished island will be about 2 feet by 3 feet, and will have a pre-made butcher block top and solid legs. You will also need to cut the butcher block top down to size.
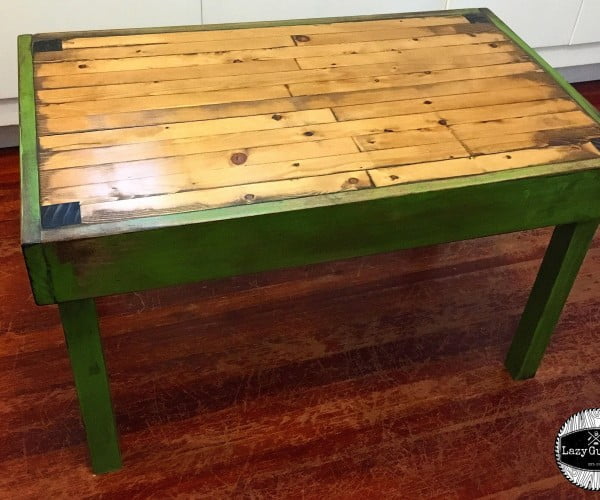
Tutorial: instructables.com
Expected cost: $50-$100
Materials:
- Wood
- Saw
- Plane
- Sandpaper
- Glue
- Clamps
This project is a bit more difficult than the average woodworking project, but it is still doable for most people. It involves cutting and planing the wood, as well as gluing and clamping it together.
It also requires some patience in waiting for the glue to dry before moving on to the next step.
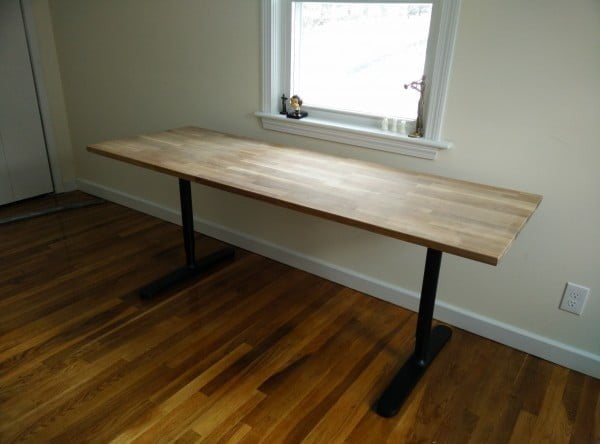
Tutorial: instructables.com
Expected cost: $50
Materials:
- 1×4 lumber
- Drill
- 1 inch hole saw
- Jigsaw
- Hammer
- Nails
- Countertop
This project is a bit more difficult than some of the others, but it is still doable for most people. You will need to be careful when drilling the holes for the frame and make sure that they are not too wide or too deep.
Other than that, it is just a matter of putting the frame together and attaching it to the countertop.
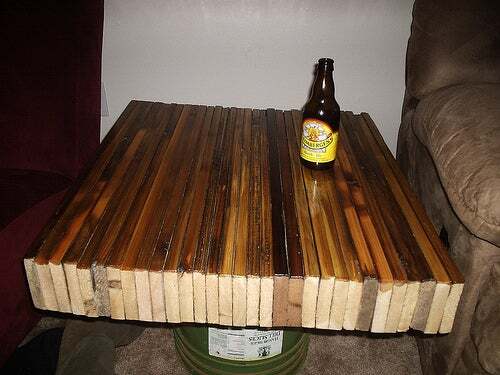
Tutorial: instructables.com
Expected cost: $40 for wood and $8 for other materials.
Materials:
- Wood
- Old wood
- Glue
- Bolts
- Nuts
- Washers
- Wood screws
- Sandpaper
- Steel wool
This project is a bit more difficult than some of the others, but it is still doable for most people. You will need to have wood, old wood preferably.
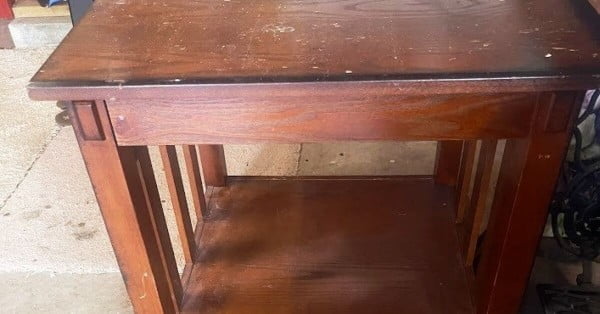
Tutorial: hometalk.com
Expected cost: This project should cost around $30.
Materials:
- Wood
- Glue
- Clamps
- Saw
This project entails gluing together wood to create a butcher block top for a side table. It is not difficult to complete, but it is messy.
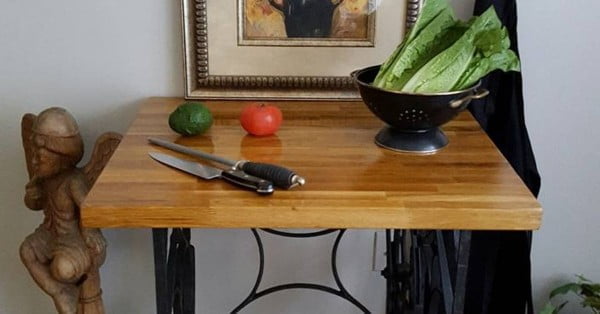
Sewing Machine Trestle and Butcher Block Table
Tutorial: hometalk.com
Expected cost: $30-$40
Materials:
- Vintage sewing machine
- Butcher block
This project is easy if you have the right components. It might be tricky finding the vintage sewing machine trestle, but if you do, take this chance to create this wonderful table.
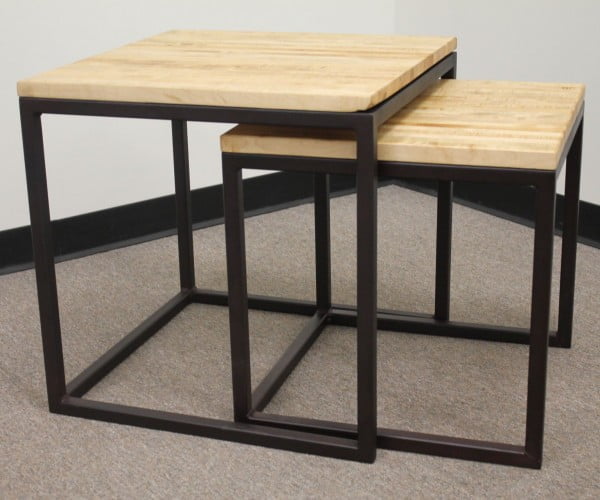
Nested Butcher Block Tables
Tutorial: instructables.com
Expected cost: $50-$100
Materials:
- Welding machine
- Powder coating machine
- Metal sheets
- Paint
- Patience
This project is a bit more difficult than some of the others on this list, but it is still doable for most people. It involves welding and powder coating, so if you have never done either of those things before, you may want to get some help from someone who has.
Other than that, it is a pretty straightforward project that just requires some time and patience.
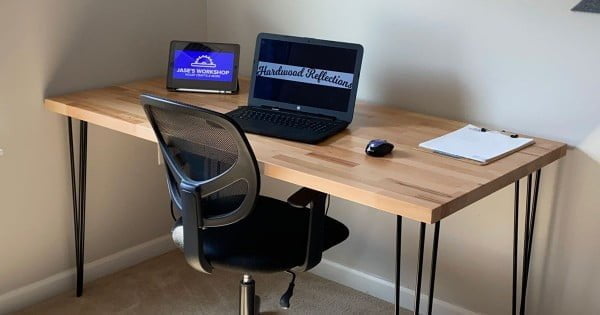
DIY Butcher Block Table with Hairpin Legs
Tutorial: hardwoodreflections.com
Materials:
- Butcher block
- Tape measure
- Circular saw
- Sandpaper
- Stain
- Food-safe finish
You will need to take some measurements and then cut the butcher block to size. Once you have cut the butcher block, you will then need to sand it down and apply a stain of your choice.
After the stain has dried, you will then need to apply a food-safe finish to the butcher block. Attach the legs to put this simple butcher block desk together.
Recap
