Last updated on
Here are 17 different ways to make a kitchen island with a butcher block countertop, each with step-by-step instructions.
Building a DIY butcher block kitchen island is a great way to add some extra counter space to your kitchen and a heavy-duty surface for food prep.
These tutorials will walk you through the process of measuring and cutting the wood for the countertop, as well as installing it onto base cabinets.
What you need to know first:
- You can cut this project short by getting the butcher block and reclaimed cabinets for a makeover.
- Building the butcher block and cabinets from scratch is a long and involved project.
- Use natural coating like mineral oil and beeswax as a food-safe finish for the countertop.
- The average cost for the project may run from $200 to $800, depending on the size.
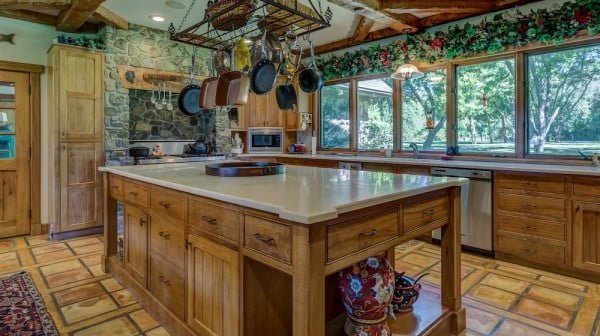
How to Make a Butcher Block Kitchen Island
Tutorial: instructables.com
Expected cost: This project will cost around $850 to complete.
Materials:
- 2 x 3/4″ Full Sheets of Purebond Plywood
- 2 x 1/4″ x 4′ x 4′ Plywood
- 1 x 1/2″ x 2′ x 4′ Plywood
- 24 BF of Poplar (Framing)
- 3′ x 5′ Butcher Block
- Primer and Interior Paint
- Wood Filler and Sand Paper (80-320 grits)
- TiteBond II Wood Glue
- Wood for butcher blocks
- Cabinet hardware
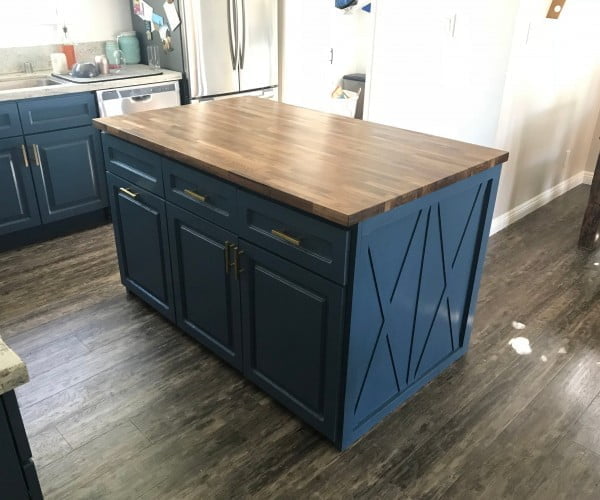
This project is a bit more challenging than some of the others, but it is still doable for most people. It will take some time to complete, but the end result is worth it. The project shows how to build the entire kitchen island with the cabinets.
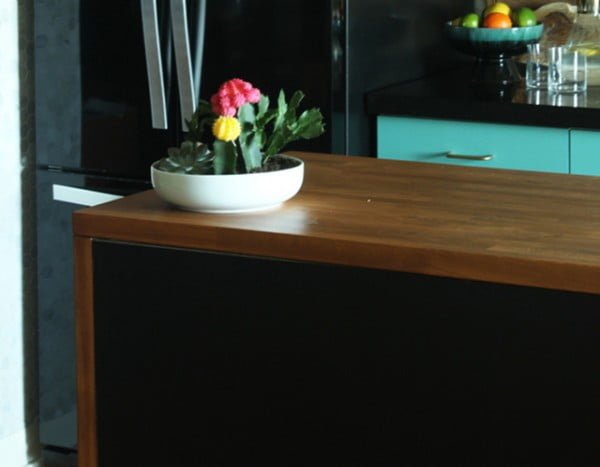
Tutorial: thehomestud.com
Materials:
- Butcher block
- Newel posts
- Circular saw
- Drill
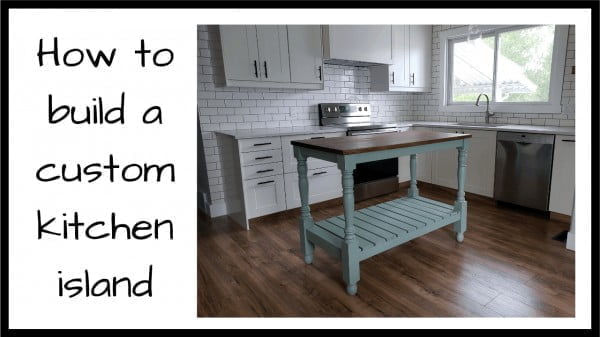
This project is a bit more difficult than some of the others, but it is still manageable for most people. It will take some time to cut the butcher block and newel posts to size, but the rest of the project is relatively straightforward.
You will need to use a circular saw and drill to complete this project.
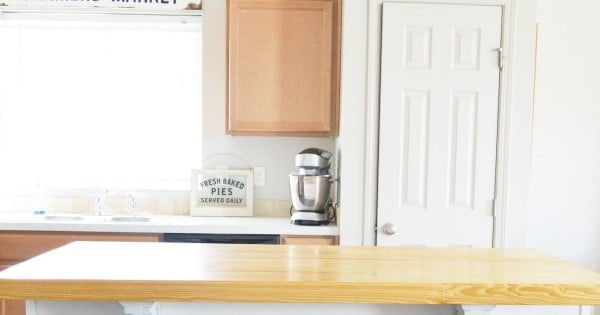
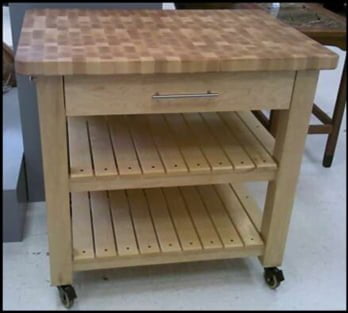
Tutorial: ana-white.com
Expected cost: $200-$300
Materials:
- 1×8 lumber
- 1×4 lumber
- Butcher block
- Wood glue
- Wood screws
- Planer
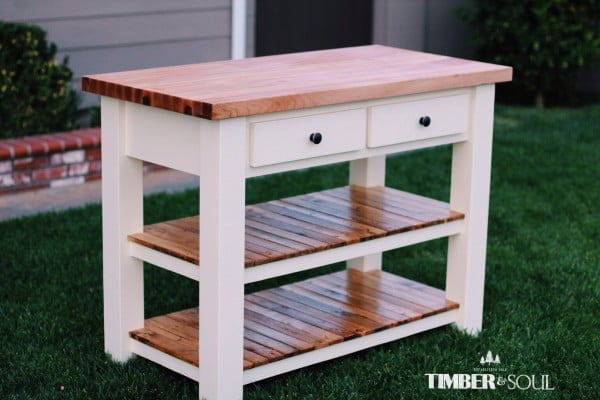
This project is a bit more difficult than some of the others on Ana White’s website, but it is still doable for someone with basic woodworking skills. The main difference is that you will need to use a planer to level the top and bottom surfaces of your butcher block, which can be time-consuming.
Other than that, the construction is fairly straightforward and should not pose too many challenges.
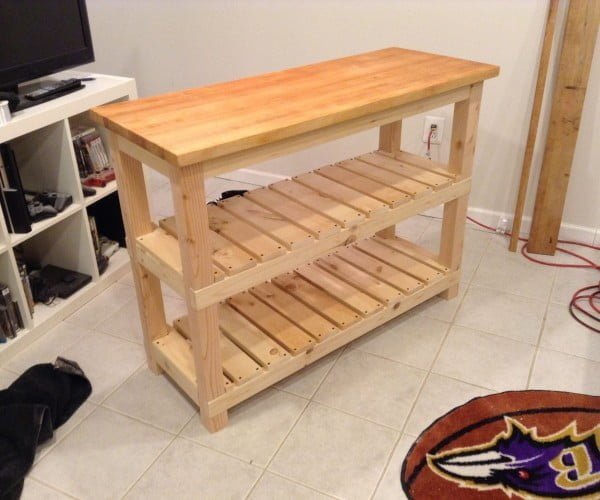
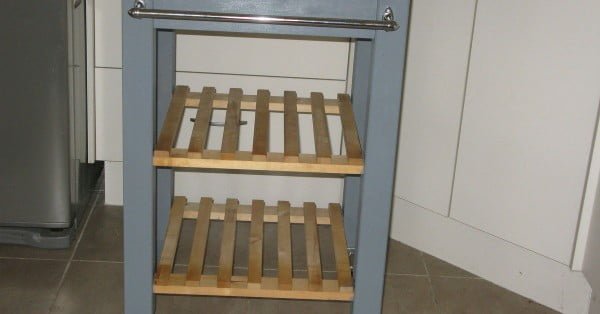
Tutorial: savedbylovecreations.com
Expected cost: $300-$400
Materials:
- 1×4 lumber (enough to build the frame of the island)
- stain
- wood glue
- nail gun and nails
- saw
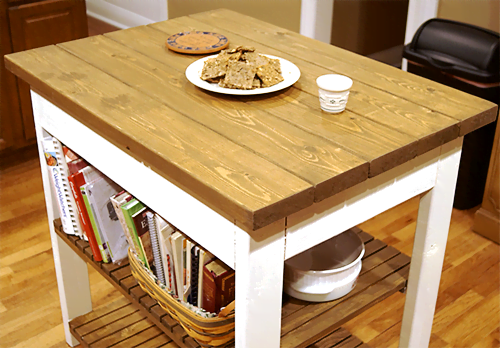
This project is a quick and easy build that anyone can do with a little help from Ana White’s Easy Kitchen Island plan. All you need to do is adjust the dimensions to fit your kitchen, then stain the “planks” before attaching them for the bottom and middle shelves.
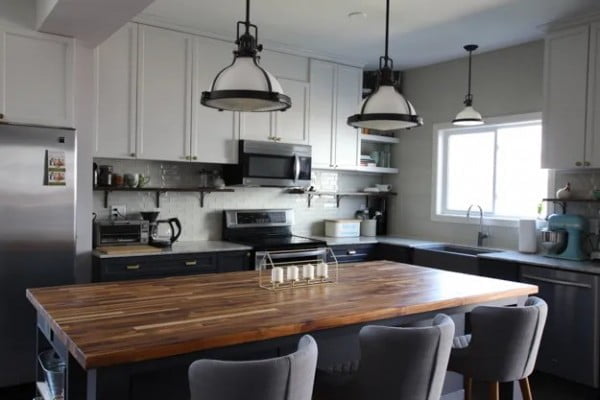
Tutorial: diyprojects.com
Expected cost: about $800.
Materials:
- 1×4 lumber
- 2×4 lumber
- Plywood
- Wood glue
- Wood screws
- Cabinet pulls
- Stain or paint
- Beeswax
- Mineral oil
This kitchen island project takes no more than an entire weekend to make. Now, we have to admit that this is a challenging and tedious project, but the end results will make you say, “it was worth it.”
If you’re ever in the mood for a DIY kitchen project, then this project should keep you busy for a few weeks.
Tutorial: thesweetescape.ca
Expected cost: $100$-200
Materials:
- Butcher block
- Paint
- Stain
- Sealer
This project is a bit more difficult than some of the others, but it is still manageable for most people. It involves cutting the wood to size, painting it, staining, and sealing it.
Tutorial: mysomedayinmay.com
Expected cost: This project will cost around $200-$300 to complete.
Materials:
- Wood
- Woodworking tools
- Paint or stain
- Nails or screws
- L brackets (optional)
This project is a bit more difficult than some of the others, but it is still doable for most people. It will take some time to complete, but it is worth it in the end.
You will need to have some basic woodworking skills and knowledge to complete this project.
Tutorial: instructables.com
Expected cost: $300
Materials:
- Tape measure
- Plywood
- 1×4 lumber
- 2×4 lumber
- Wood screws
- Drill
- Circular saw
This project is a bit more difficult than some of the others, but it is still doable for most people. It involves designing and building your own kitchen island, which requires some basic carpentry skills.
You will need to be able to measure and cut wood, as well as drill holes and screw in screws. If you don’t feel confident in your ability to do this, you may want to get some help from a friend or family member who is more experienced.
Tutorial: instructables.com
Expected cost: $300
Materials:
- Milling machine
- Jointer
- Planner
- Flat bed sander
This project is a bit more difficult than some of the others, but it is still doable for most people. It involves milling the boards for the legs, laminating the stock for the legs, and sizing the legs.
You will need to have access to a jointer, planner, or flat bed sander in order to complete this project.
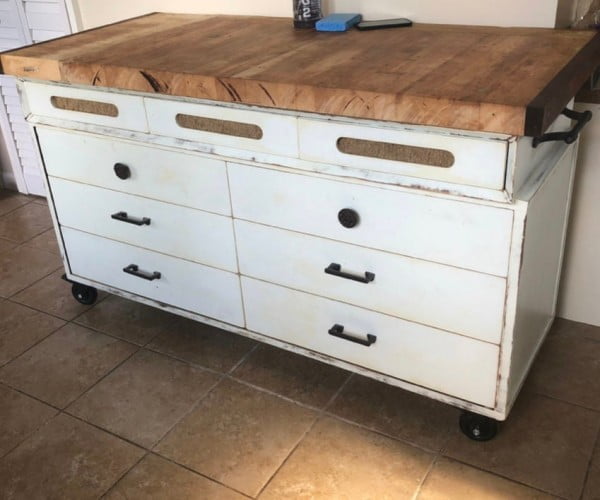
Tutorial: instructables.com
Expected cost: $100-$200
Materials:
- Belt sander
- Old work bench or butcher block
- Paint or stain
- Wheels
This project is a bit more difficult than some of the others. However, it is still doable for someone with basic woodworking skills. You will need to be able to use a belt sander and have access to an old work bench or butcher block.
You will also need to be able to paint or stain the dresser. The most difficult part may be attaching the wheels, depending on what type you get.
Tutorial: hometalk.com
Materials:
- Piece of wood
- Paint
- Stencils
This project is a great way to add some character to your kitchen. It is a simple project that anyone can do with just a few supplies.
You will need a piece of wood, some paint, and some stencils. The most difficult part of this project is choosing the right stencils for your kitchen.
There are many different ways you can go about this, so take your time and find something you love.
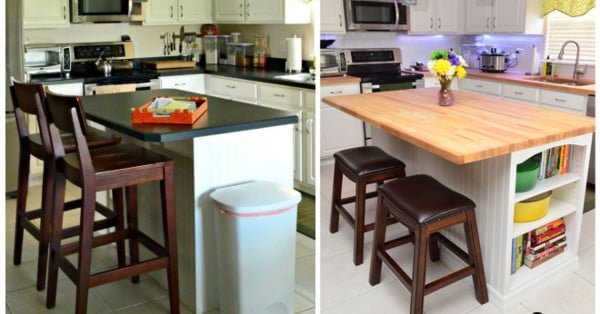
Tutorial: hometalk.com
Expected cost: $360
Materials:
- 1/4 inch plywood
- 1×2 lumber
- 1×4 lumber
- Cabinet door
- Paint or Stain
- Wood Glue
- Nails or screws
- L brackets (optional)
This project is a great way to add an island to your kitchen without spending a lot of money. It is a relatively easy project that can be completed in a few hours.
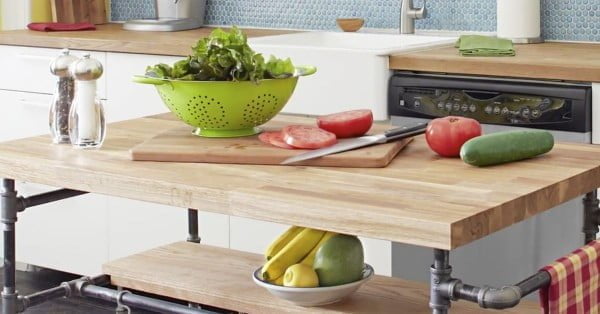
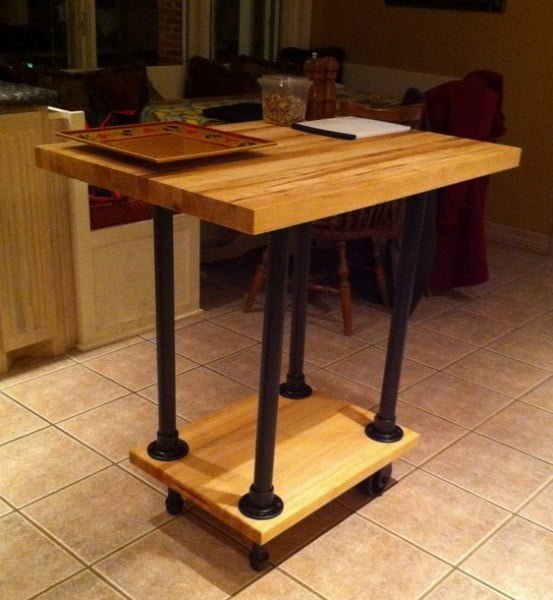
Tutorial: thisoldhouse.com
Expected cost: $490
Materials:
- 1x8x8ft butcher block
- 1in diameter gas pipe, cut to 18in lengths (4)
- Pipe flanges (4)
- Pipe elbow joints (4)
- Pipe tee joints (2)
- Plywood, cut to 24x48in (2)
- 1x2in lumber, cut to 24in lengths (4)
- 1x4in lumber, cut to 24in lengths (4)
This project is a bit more difficult than some of the others, but it is still doable for most people. It will take some time to cut the butcher block and gas pipe, and then to assemble the pieces.
The finished product will be a rolling island that has plenty of workspace and storage.
How to Make a Butcher Block Island Top
Tutorial: housebythebaydesign.com
Expected cost: $410
Materials:
- 1/2″ plywood
- 1×4 lumber
- wood glue
- clamps
- hand planer
- sanding paper
This project is a fairly simple one that anyone with basic woodworking skills can complete. It should take no more than a few hours to cut the countertop pieces to size and glue them together and another hour or so to install them onto the base cabinets.
The most time-consuming part will be hiding the seam between the two countertop pieces, but this can be easily done with a hand planer and some sanding.
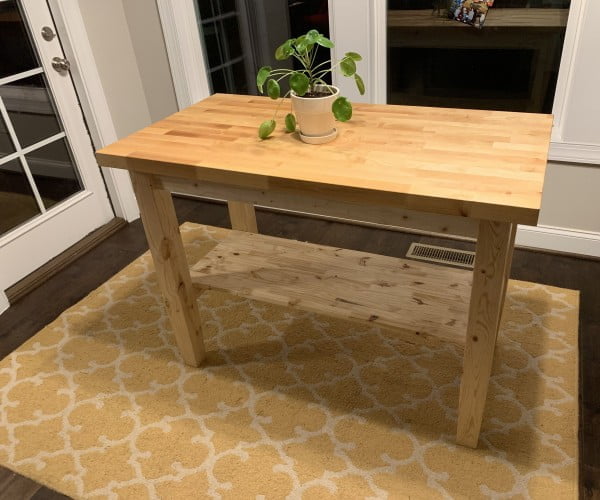
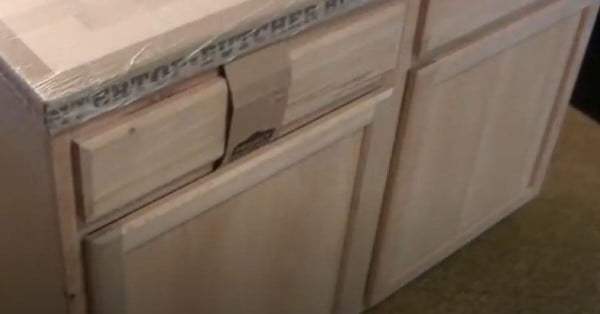
Tutorial: instructables.com
Expected cost: This project should cost around $300.
Materials:
- Butcher block top
- 6 – 2x4s
- 1- shelving board
- 16×48
- 2 1/2 inch kreg screws
- glue
- Kreg jig
- drill
- saw
- jointer
- sander
- butcher block top conditioners
- polyurethane
This project is a kitchen island butcher block top that can be completed in a weekend. It uses premade/bought butcher block top, a piece of shelving board, and 2x4s.
The construction is simple pocket hole construction. Cut the 2x4s to length to the desired height that you want. If you go for a counter height top, measure the countertop and subtract the butcher block top. Glue 2 pieces together and then clamp all of them together. This keeps them all uniform.
It’s tough to beat the simplicity of pocket holes that gives you great strength and fast construction. For it to be super secure, drill 3 holes per foot and use 2 1/2 inch pocket holes for the length.
Tutorial: hometalk.com
Expected cost: $250
Materials:
- Plywood
- Ruler or measuring tape
- Circular saw
- Jigsaw
- Sandpaper
- Stain or paint
- Polyurethane
- Cabinet hardware
This project is a great way to add some character to your kitchen cabinets. It is a relatively easy project that can be completed in a few hours. You will need some basic woodworking skills and supplies, but the end result is definitely worth it.
How to Make a Butcher Block Kitchen Island Cart
Tutorial: simplifiedbuilding.com
Expected cost: Less than $500.
Materials:
- 1×8 lumber
- 1×4 lumber
- Plywood
- Wood glue
- Cabinet pulls
- Paint or stain
- Polyurethane
- 1/2″ copper pipe
- Pipe cutter
- Soldering torch
- Solder
- Flux
- Water supply lines
This project is a great way to add an extra touch of class to your kitchen. It is not too difficult to complete, but does require some basic knowledge of woodworking and plumbing.
The most important part is sourcing the right materials. Once you have all the parts, putting it together is relatively straightforward.
More Like This
 18 Thanksgiving Wreaths to Wow Your Door for the Festivities
 13 Thanksgiving Trees to Spruce Up Your Holiday Decor
 21 Thanksgiving Party Decorations That Gobble Up the Festivities
 25 Thanksgiving Centerpiece Ideas That Steal the Show
 25 Thanksgiving Tablescapes That Wow
Recap