Last updated on
Here are 29 different ways to turn an old cabinet into a hidden trash can with a pull-out. Read on!
Building a hidden trash can cabinet is a great way to upgrade your kitchen. These tutorials will show you how to build one using edge-glued panels, a piano hinge, and some basic woodworking skills.
With just a few tools and some math, you can build your own pull-out trash can cabinet for a fraction of the cost of buying one.
You can tackle this project in one of four ways by building a hidden cabinet, a pull-out, a tilt-out, or a door-mounted trash can. We have categorized these tutorials so you can choose which way you want to go.
How to Make a Hidden Trash Can Cabinet
A hidden trash can cabinet is a unit you can build to keep the bin out of sight. This is usually a small wooden cabinet or an integrated unit into existing cabinets.

Tutorial: hgtv.com
Supplies:
- Two edge-glued panels
- Piano hinge
- Knob or handle
- Chain
This project is a tutorial on how to make a hidden trash can cabinet. It is made out of two edge-glued panels, and the door has a tray support attached to each side.
The cabinet frame is put together using wood glue and nails, and the door is attached to the cabinet using a piano hinge. The knob or handle is installed in the top center of the door, and a chain is added to prevent the door from swinging all the way open.
This project requires some basic woodworking skills and tools, but it should not be too difficult to complete.
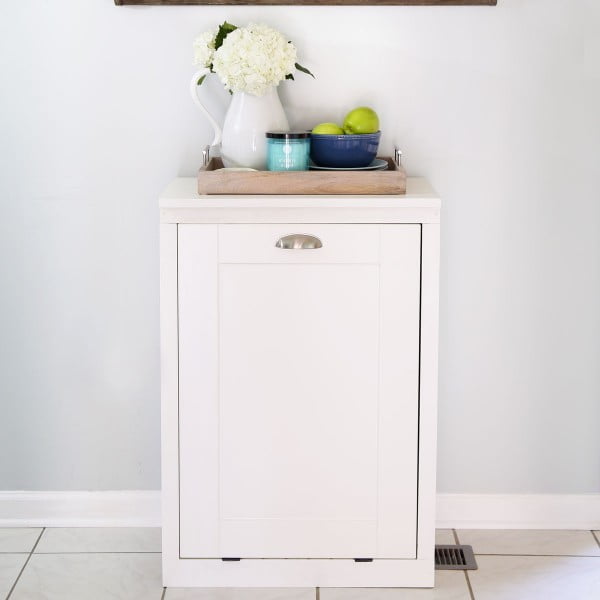
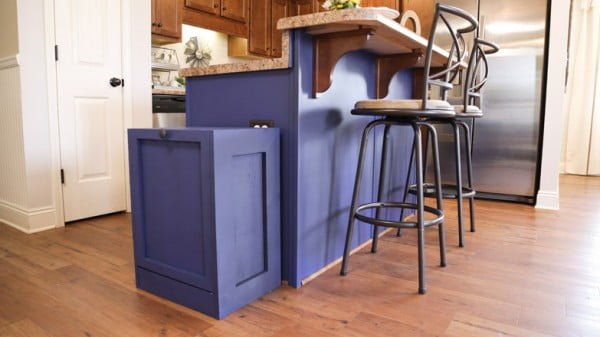
Tutorial: justagirlandherblog.com
Expected cost: The cost of this project will vary depending on the cost of lumber and paint. It should cost around $100 to complete.Time:
Supplies:
- 1×4 lumber
- 1×6 lumber
- 1×8 lumber
- 2×4 lumber
- Pocket hole jig
- Kreg screws
- Paint
- Hinges
This project is a bit more difficult than some of the others, but it is still doable for someone with basic woodworking skills. It will take some time to measure and cut the lumber, drill the pocket holes, and assemble the frame.
Once the frame is assembled, you will then need to prime and paint it. The last step is to cut and assemble the tilt door, which requires attaching hinges.
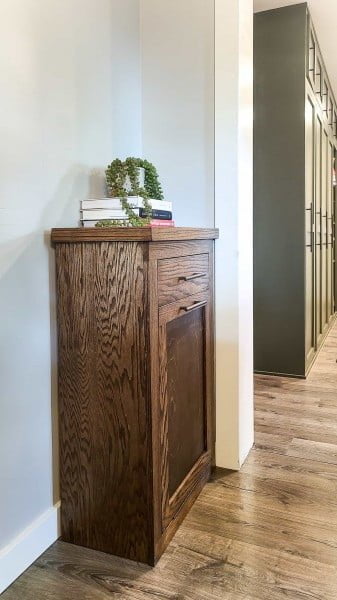
Tutorial: makingmanzanita.com
Expected cost: up to $100.
Supplies:
- Oak hardwood trim boards
- 3/4″ oak veneer plywood
- Stain
- Lacquer
- Paint (if you decide to paint instead of stain)
- Sander
- Circular saw
- Drill
- Jigsaw
This project is a step-by-step tutorial on how to build a wooden tilt out trash can cabinet with a drawer. It is made out of oak hardwood trim boards and 3/4″ oak veneer plywood.
Tutorial: learn.kregtool.com
Supplies:
- 1/2″ Plywood (2 Sheets)
- 1×4 Lumber (8 ft)
- 1×6 Lumber (8 ft)
- 1×8 Lumber (8 ft)
- Kreg Jig
- Cordless Drill
- 1.25″ Kreg Screws
- Sterilite 13.2 Gallon Trash Can (2)
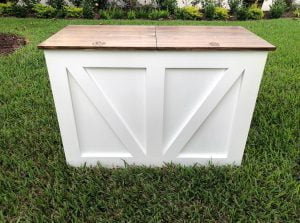
This is an Easy/Moderate DIY plan for a double bin trash and recycling cabinet. Made from 100% dimensional lumber you can purchase at the local home center.
Please note, this project is designed based around the Sterilite 13.2 Gallon Trash can, if your cans are different, some tweaks may be needed. The project includes building a base cabinet, inner can frame, and face frame.
You will need to drill Kreg pocket holes into the plywood panels and lumber for the face frame. Attaching the pieces together is relatively easy with a cordless drill and 1.25″ Kreg screws.
The most challenging part of this project is cutting the diagonal face frame pieces to fit flush in the corners of the cabinet.
Tutorial: checkinginwithchelsea.com
Expected cost: This project will cost around $200 to complete.
Supplies:
- Tape measure
- Plywood
- Cabinet hardware
- Cordless drill
- Circular saw
This project is a bit more difficult than some of the others on this list, but it’s still doable for most people. You’ll need to be able to measure and cut wood, as well as assemble the cabinet.
It may be helpful to watch the video tutorial before beginning.

Tutorial: designsbystudioc.com
Expected cost: This project will cost around $100 to complete.
Supplies:
- Cabinet
- Casters
- Trash can
- Garbage bags
- Drill
- Screws
- L brackets
This project is a great way to hide trash cans in the kitchen. It is a small cabinet on casters with a slide-out trash can and a small drawer above to store garbage bags.
This project can be completed in a weekend and is not too difficult to do.
Tutorial: loveandrenovations.com
Supplies:
- Trash can
- Cabinet
- Screws
- drill
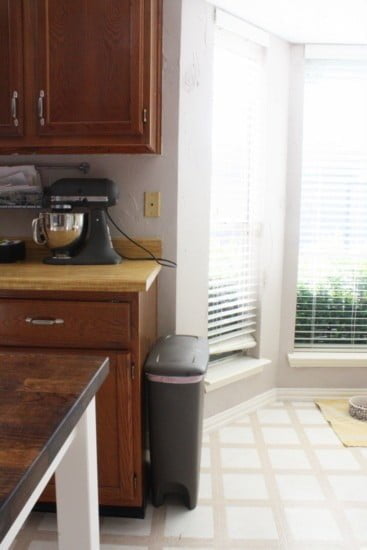
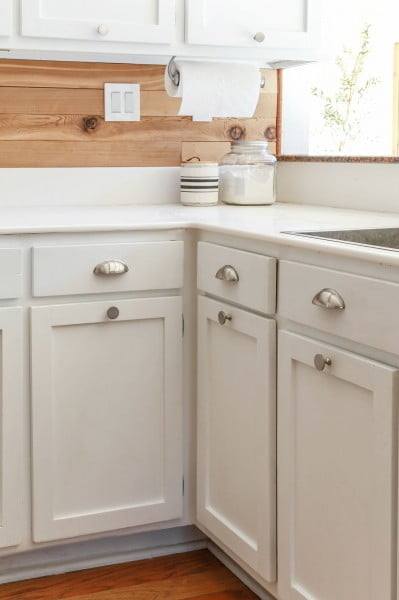
This project is a simple way to add a hidden trash can to your kitchen. It’s easy to do and only requires a few tools and materials.
The most difficult part of this project is finding the right size trash can to fit in your cabinet. Other than that, it’s a pretty straightforward project that anyone can do.
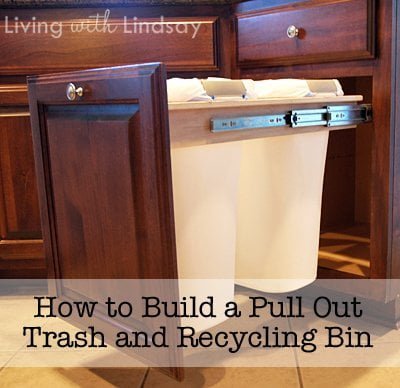
How to Build a Pull-Out Trash Can Cabinet
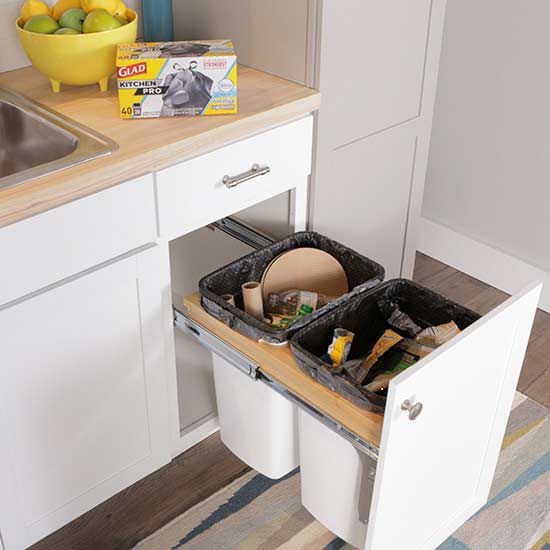
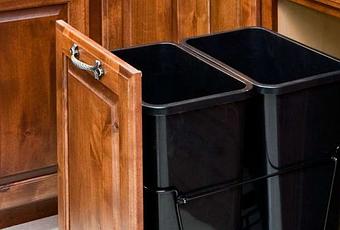
A pull-out trash cabinet does what it says — you pull out the bin from the cabinets. From the outside it looks like a regular cabinet door. Pull out cabinets usually include two bins.
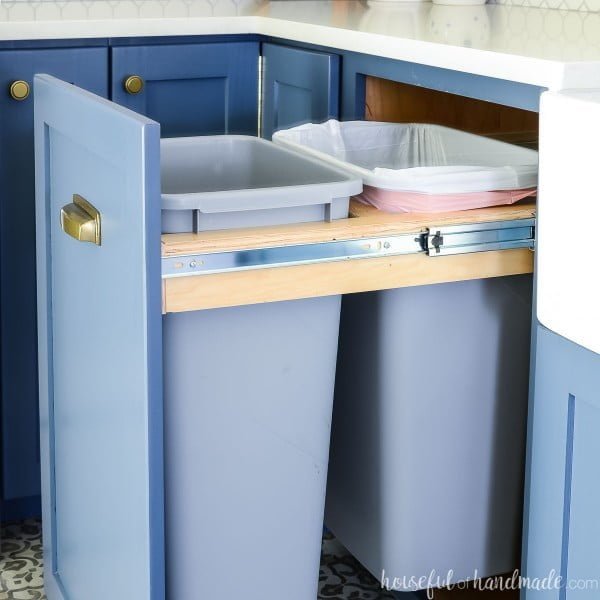
Tutorial: housefulofhandmade.com
Expected cost: The cost of this project will vary depending on the materials you use. However, you can expect to spend around $100 on this project.
Supplies:
- Cabinet
- Trash bins
- Measuring tape
- Pencil
- Drill
- Screws
- Hinges
This project entails building a pull out trash can cabinet to upgrade your kitchen. It is not difficult to complete, but does require some math to make sure you have the correct amount of spacing for your trash bins.
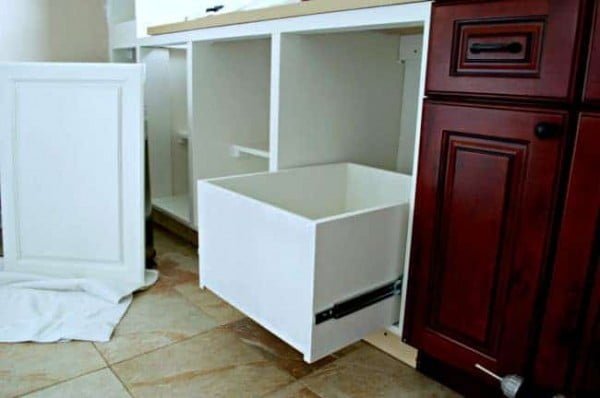
Tutorial: thehandymansdaughter.com
Supplies:
- A used kitchen cabinet
- A few tools (saw, drill, screwdriver, etc.)
- Some wood screws
- Paint or other finish (optional)
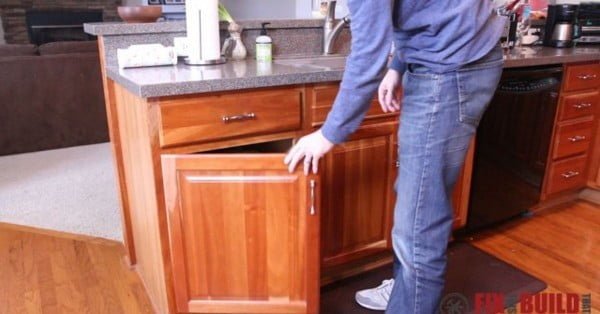
This project is a fairly simple one that should only take a few tools to complete. It is also a fraction of the cost of buying one of those fancy store-bought kits! The hardest part might be finding a used kitchen cabinet that fit into the spot where the trash cans were stored, but other than that, it should be a pretty easy project.

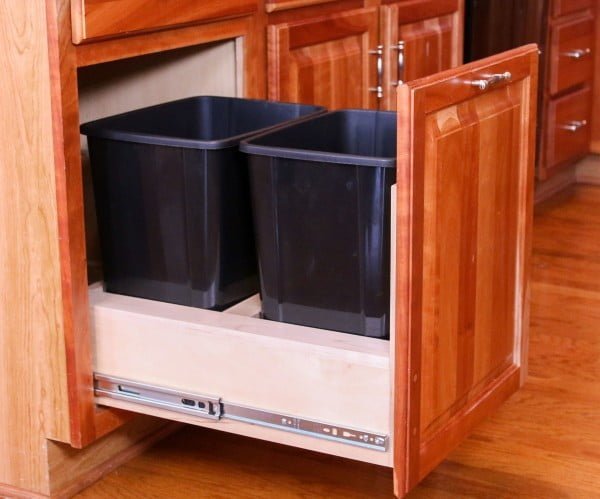
Tutorial: practicallyfunctional.com
Expected cost: This project should cost around $100, depending on the size of your cabinet and the type of pull out trash can kit you choose.
Supplies:
- Tape measure
- Pull out trash can kit
- Screwdriver
- drill (optional)
This project is pretty simple and only takes about an hour to complete. You just need to measure your cabinet, get a pull out trash can kit that fits, put it together, attach it to the cabinet, and you’re done! The most difficult part might be attaching the door to the sliding mechanism if you’re using a door mounting kit, but it’s really not that hard.
Tutorial: chatfieldcourt.com
Supplies:
- 1/2″ plywood
- 1×2 lumber
- 1×4 lumber
- 1×6 lumber
- 1×8 lumber
- 2×2 lumber
- 2×4 lumber
- Cabinet door
- Construction adhesive
- Cordless drill
- Circular saw
- Jigsaw
- Miter saw
- Paint or stain
- Paintbrush
- Sandpaper
- Screws
- Tape measure
This project is a great solution for small kitchen storage issues. It involves building a custom trash can cabinet to hide away your garbage and recycle bins.
The door for this cabinet was a lucky find at a local ReStore, for a whopping $2. To attach the door to the drawer, just screw it on from the inside of the drawer.
Tutorial: instructables.com
Expected cost: This project will cost around $100 to complete, depending on the cost of materials and tools.Difficulty: This project is rated as
Supplies:
- Tablesaw
- Miter saw
- Cordless drill
- Pocket hole jig
- Wood glue
- 1-1/4″ pocket hole screws
- 2″ pocket hole screws
- Sandpaper (100, 150, and 220 grit)
- Stain or paint (optional)
- Polyurethane (optional)
This project is a bit more difficult than some of the others featured on Instructables, but it is still doable for most people. It requires some basic woodworking skills and knowledge, as well as access to tools like a tablesaw, miter saw, cordless drill, and pocket hole jig.
The project should take a few hours to complete.
Tutorial: diyhowto.org
Expected cost: The cost of this project will vary depending on the materials you use. Expect to spend around $50 on wood, hardware, and paint.
Supplies:
- 1/2 inch plywood
- 1×2 lumber
- 1×4 lumber
- Cabinet hardware
- Paint or stain
- Wood glue
- Nails or screws
- Saw
This project entails building a cabinet to hide your trash can. It is not difficult to complete, but it will take some time and effort.
You will need to measure and cut the wood, as well as assemble the cabinet.
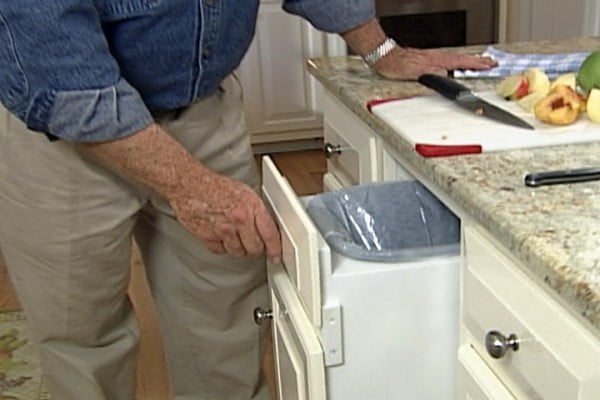
Tutorial: ronhazelton.com
Expected cost: The cost of this project will vary depending on the materials you use. Expect to spend around $50 on wood, screws, and other hardware.
Supplies:
- Table saw
- Drill
- Jigsaw
- Plywood
- 1×2 lumber
- Cabinet hardware (knobs or pulls, hinges, drawer slides)
- Wood glue
- Wood filler
- Sandpaper
- Paint or stain
- Polyurethane
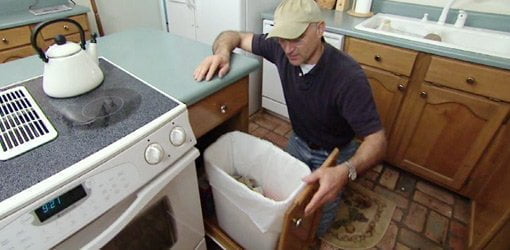
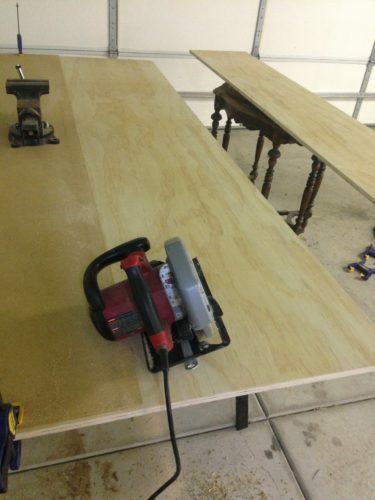
This project involves converting the space behind a kitchen cabinet door and drawer into a hidden pull-out trash bin. It is not difficult to do, but it does require some basic woodworking skills.
You will need to be able to use a table saw to cut out the panels for the base and sliding box, as well as a drill to create starter holes for the jigsaw.
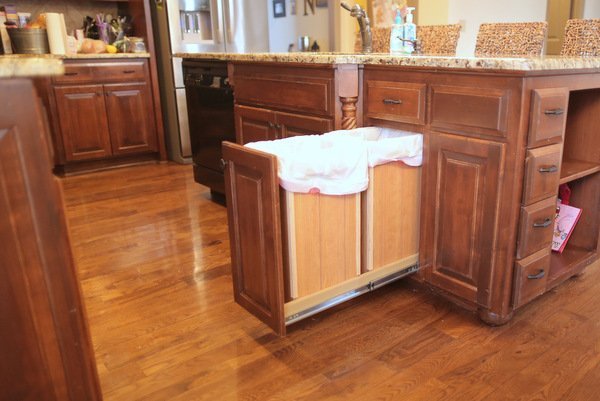
Tutorial: sengerson.com
Supplies:
- A piece of wood
- A saw
- A drill
- A screwdriver
- A hammer
- Nails
- Paint
This project is a bit more difficult than some of the others, but it is still doable for most people. It will take some time to gather all of the supplies and to complete the project, but it will be worth it in the end.
Tutorial: abeautifulmess.com
Expected cost: This project will cost around $100 to complete, depending on the materials you use.Difficulty:This project is more difficult
Supplies:
- Drawer hardware
- Strips of wood
- Plywood
- Apron
- Trash can
This project is a bit more difficult than some of the others on this list, but it is still doable for most people. It involves mounting drawer hardware onto strips of wood, which are then mounted onto the inside of your cabinet walls.
You will also need to cut a plywood piece to fit into the space between the strips of wood, and then attach an apron (sides) to that piece. Finally, you will need to cut out a space in the plywood piece for your trash can.
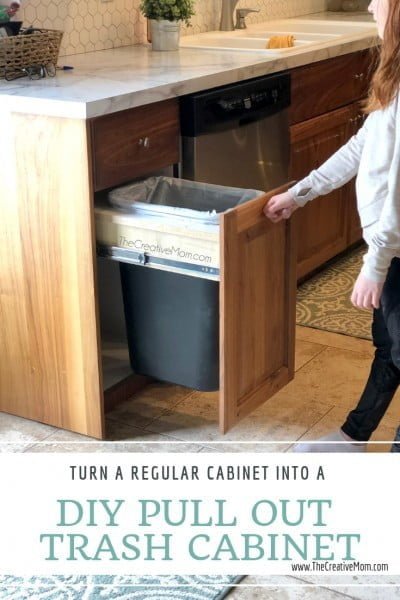
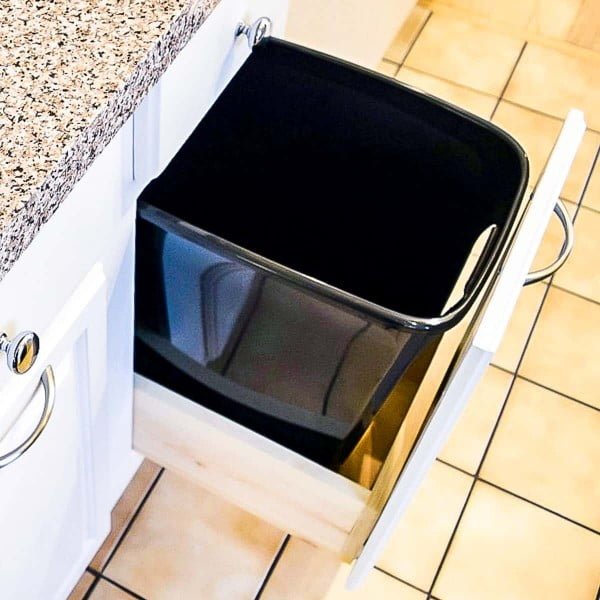
Tutorial: thecreativemom.com
Expected cost: This project will cost around $100 to complete.
Supplies:
- Cabinet
- Hinges
- Door
- Shelf
- Trash can
- Drawer box
- Drawer slides
- Drawer pull
- Finish of your choice
This project is a bit more difficult than some of the others on this list, but it is still doable for most people. It involves removing the hinges and door from a cabinet, preparing a shelf for the trash can, cutting out a hole for the trash can, building a drawer box, attaching the drawer box to the shelf, installing drawer slides, attaching the drawer slides to the drawer box, checking for fit, attaching the cabinet door (drawer front), attaching your drawer pull, and finishing up.
Most of these steps are not too difficult, but there are quite a few of them. This project will take some time to complete, but it will be worth it in the end!
Tutorial: bhg.com
Expected cost: This project should cost around $100.
Supplies:
- Cabinet pullout kit
- Mounting hardware
- Two trash cans
This project is a beginner level project that should take around 2 hours to complete. It involves building a cabinet pullout kit with mounting hardware, and adding two trash cans.
The goal is to have a handy and hidden place to store your trash.
Tutorial: designingvibes.com
Expected cost: The cost of this project will vary depending on the materials you use. However, you should be able to complete it for less than $50.
Supplies:
- 1/2 inch plywood
- 1×2 lumber
- 1×4 lumber
- Cabinet hardware
- Paint or stain
- Wood glue
- Nail gun and nails
- Circular saw
- Jigsaw
- Drill
- Ruler or measuring tape
- Square
- Level
This project is a tutorial on how to build a trash can cabinet with a pull out drawer. It is a relatively easy project that should only take an hour or so to complete.
Tutorial: en.paperblog.com
Expected cost: The cost of this project will vary depending on the materials you use. Expect to spend around $50 on the trash can, tracks, and hardware
Supplies:
- Drill
- Screws
- Tracks for trash can
- Dremel tool (optional)
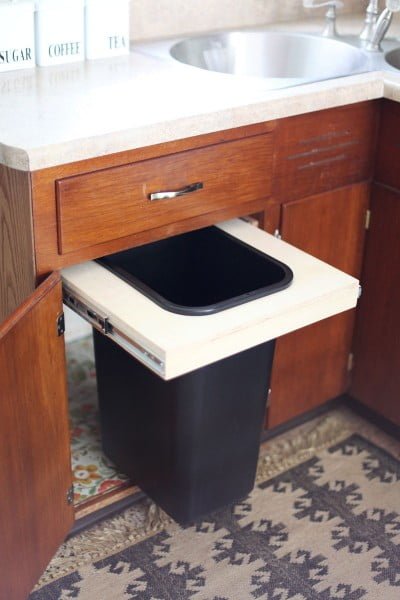
This project involves installing a pull-out trash can in a kitchen cabinet. It is not difficult to do, but it does require some basic carpentry skills.
You will need to drill pilot holes and screw in the tracks for the trash can to slide on. You may also need to use a Dremel tool to cut out a section of the shelf for the trash can to fit into.
Tutorial: todayshomeowner.com
Expected cost: The cost of this project will vary depending on the materials you use. Expect to spend around $50 on plywood, screws, and drawer slides
Supplies:
- Plywood
- Screws
- Drawer slides
- Cabinet door
This project involves building a pullout drawer for a kitchen cabinet. It is not difficult to do, but it does require some basic carpentry skills.
You will need to cut the plywood to size and assemble the drawer using screws. Then you will need to attach the drawer slides and cabinet door.
The final step is to insert the drawer into the cabinet and check that it opens and closes smoothly.
Tutorial: hometalk.com
Supplies:
- Wooden boards
- Plywood
- Cabinet pulls or handles
- Sandpaper
- Stain or paint
This project is a great way to add extra storage to your home without spending a lot of money. It is also a relatively easy project to complete, making it perfect for those who are new to woodworking or DIY projects in general.
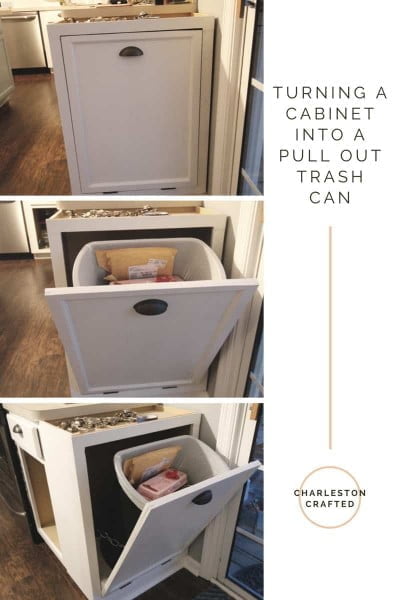
Tutorial: charlestoncrafted.com
Expected cost: The cost of this project will vary depending on the materials you use. Expect to spend around $100-$200 on this project. Time:
Supplies:
- Plywood
- Paint
- Cabinet hardware
- Wood screws
- Power drill
This project is a bit more difficult than the average DIY project, but it is still doable for most people. It will require some basic woodworking skills and knowledge of how to use power tools.
The project will also require painting and adding hardware to the cabinet.
Tutorial: makelyhome.com
Expected cost: This project should cost less than $100 in materials.Time:This project should take less than 5 hours to complete.
Supplies:
- 1/2 inch plywood
- 1×2 lumber
- 1×4 lumber
- 1×6 lumber
- 2 inch screws
- 1 1/4 inch screws
- 1 inch screws
- 1/4 inch plywood
- Jigsaw
- Paint or Stain
- Polyurethane
This project is a fairly simple one that should only take a few hours to complete. The most difficult part will be cutting the holes for the trash cans, but as long as you have a steady hand and a good jigsaw, it shouldn’t be too difficult.
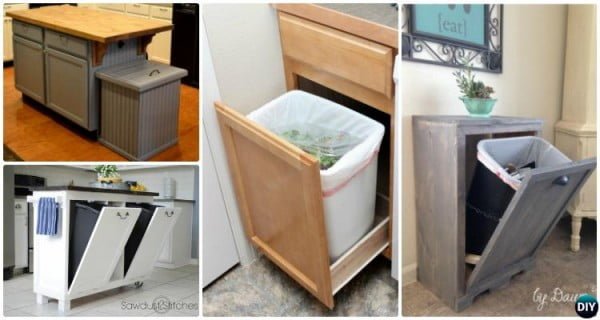
How to Build a Tilt-Out Trash Can Cabinet
The tilt-out is similar to pull-out except that you don’t draw the entire bin from the cabinet but rather tilt it out. It’s a smaller unit that saves space.
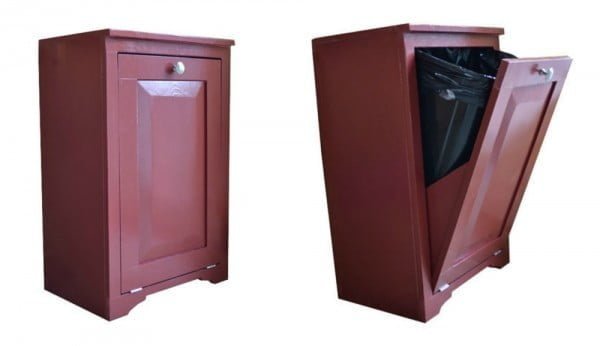
Tutorial: ana-white.com
Expected cost: The cost of this project will vary depending on the type of wood you use. Expect to pay anywhere from $50 to $100 for the materials
Supplies:
- 1/2″ plywood
- 1×2 lumber
- 1×4 lumber
- 1×6 lumber
- 1×8 lumber
- 2×2 lumber
- 2×4 lumber
- Cabinet hinges
- Cabinet pulls
- Wood glue
- Wood filler
- Sandpaper
- Stain or paint
This project is a solid wood tilt out trash cabinet or recycling cabinet. It is a bit more difficult to complete than some other projects, but the end result is worth it.
The plans are easy to follow and the finished product is both functional and stylish.
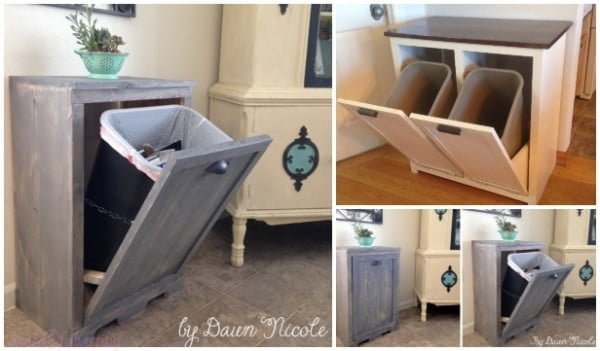
Tutorial: fabartdiy.org
Supplies:
- 1/2″ plywood
- 1×2 lumber
- 1×4 lumber
- Cabinet hinges
- Cabinet knob
- Wood glue
- Wood screws
- Paint or stain
- Sandpaper
This project is a tutorial on how to build a tilt-out trash can cabinet. It is a relatively easy project that does not require many tools or materials.
The finished product is a functional and attractive addition to any kitchen.
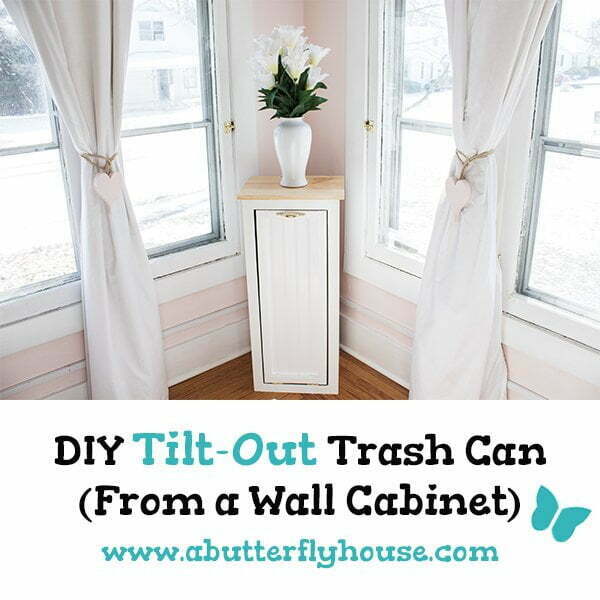
Tutorial: abutterflyhouse.com
Expected cost: This project will cost around $100 to complete.Time:This project will take around 10 hours to complete.
Supplies:
- Cabinet
- Door
- Screws
- Drill
- Paint
- Brush
This project is a bit more difficult than some of the others on this list, but it’s still doable for most people. It will take some time to complete, and you’ll need to be careful when working with the cabinet and door.
But overall, it’s a fun project that will give you a great end result.
Tutorial: chrisfinke.com
Expected cost: This project will cost around $100 to complete.Difficulty: This project is more difficult than some of the others on this blog,
Supplies:
- 1/2″ MDF
- 1/4″ MDF
- 1/2″ plywood
- 1/4″ plywood
- 1×2 lumber
- 1×4 lumber
- Biscuit joiner
- Circular saw
- Jigsaw
- Power drill
- Countersink bit
- Paint or wood stain
- Polyurethane
This project is a bit more difficult than some of the others on this blog, but it is still doable for most people. It requires some basic woodworking skills and knowledge of how to use a biscuit joiner.
The project should take a few days to complete.
How to Build a Cabinet Door Mounted Trash Can
The final option is to mount a small trash can on the inside of a cabinet’s door. It’s a simple solution for small spaces but you can only mount a small bin.
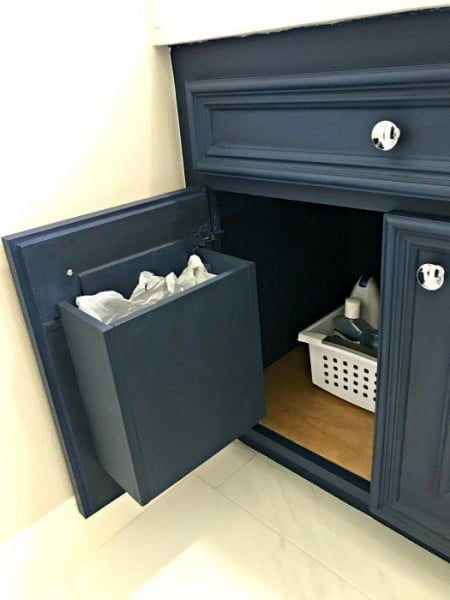
Tutorial: abbottsathome.com
Expected cost: This project should cost around $20-$30, depending on the materials you use.
Supplies:
- 1/2 inch plywood
- 1×2 lumber
- 1×4 lumber
- Cabinet pulls
- Paint or wood stain
- Polyurethane
- Drill
- Circular saw
- Jigsaw
- Sander
- Nail gun or hammer and nails
- Tape measure
- Square
- Level
This is a quick and easy bathroom organization upgrade that anyone can do. You will need some basic woodworking skills and tools, but other than that it is a pretty straightforward project.
The most difficult part might be deciding where to hide your bathroom garbage can!
More Like This
 18 Thanksgiving Wreaths to Wow Your Door for the Festivities
 13 Thanksgiving Trees to Spruce Up Your Holiday Decor
 21 Thanksgiving Party Decorations That Gobble Up the Festivities
 25 Thanksgiving Centerpiece Ideas That Steal the Show
 25 Thanksgiving Tablescapes That Wow
Recap