Last updated on
Cabinet hardware gets dirty over time (especially if you’ve never cleaned it). Here’s how to clean old cabinet hardware the right way. Read on!
Many people don’t think of cleaning their kitchen cabinet hardware until they move into a new house or their inlaws come over and notice the cabinet pulls are dirty. Your kitchen cabinets are touched during the many stages of cooking and often have a build-up of grime.
In many households, the kitchen is the heart of the home, and it is essential to keep the area clean and free from excess dirt and grime. Kitchen counters get cleaned as well as stove tops and microwaves, but the cabinet pulls and hinges are often neglected.
How many times do you open your cabinets while you are cooking a meal for you and your family, and don’t think about the last time you cleaned the handles you are touching? Hiring a professional cleaner is always a good idea. However, with only a few simple tools, you can clean your hardware and get it shining again.
Follow this guide on how to clean your old cabinet hardware:
Type of Cabinet Hardware
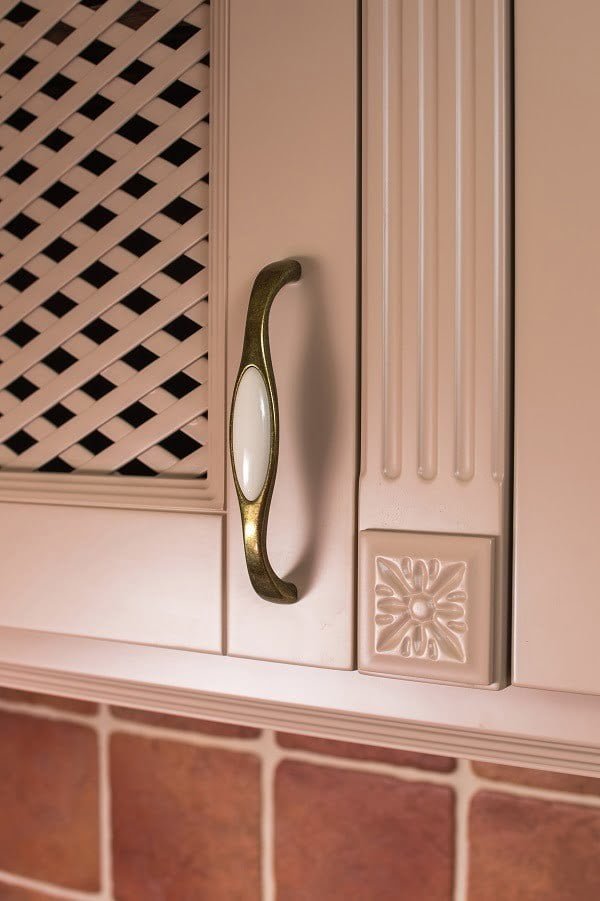
If you didn’t install the hardware yourself, it could be challenging to distinguish one metal from another. If you are unsure of what type of metal it is, and are afraid to damage it, use the mildest cleaner you have to start.
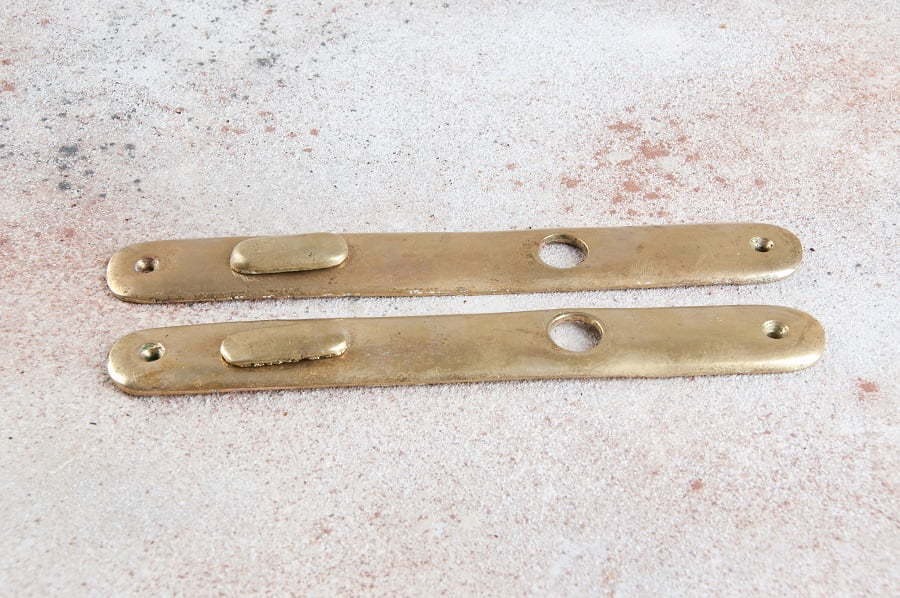
Brass knobs take special care, and it is recommended that you don’t use harsh cleaners on these metals, and you purchase a brass cleaner. Brass is heavy, so if you remove the handle and it is lightweight, it is likely brass coated and not solid brass. Most standard knobs and hinges are made from stainless steel or coated with a brushed nickel finish. These metals are able to endure harsher chemical cleaners and will most likely not suffer any damage.
Before using any chemical cleaner, you should test it on a small piece of the hardware that will not be seen to verify that it will not damage it.
How Dirty Are They?
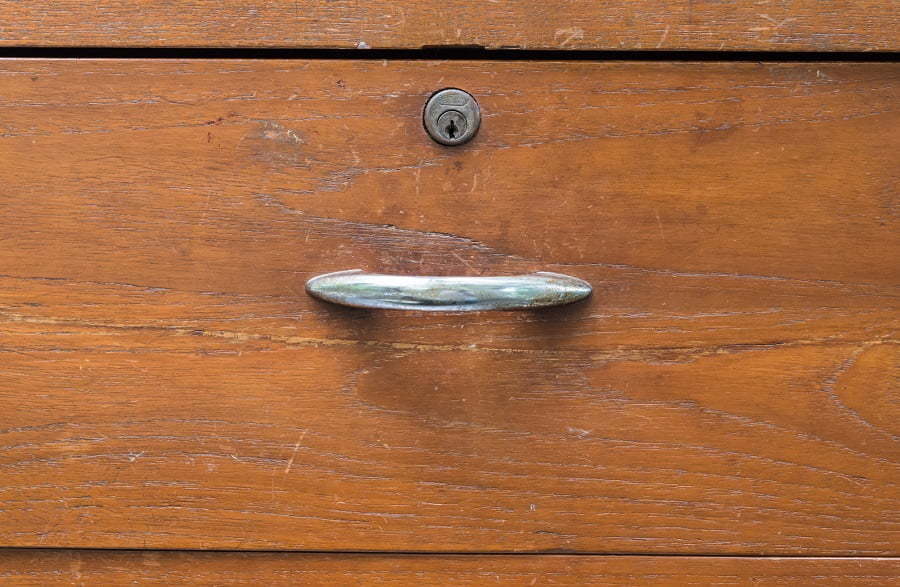
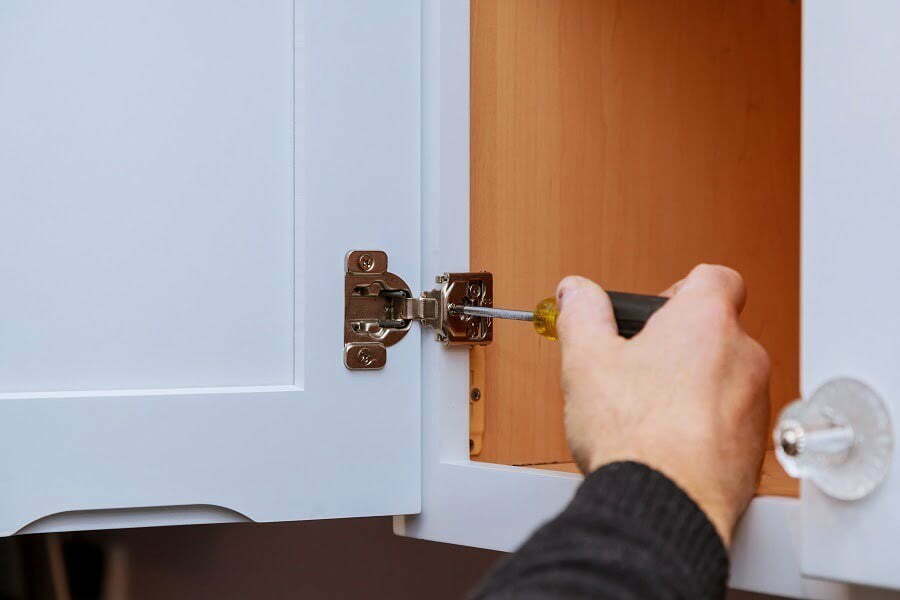
You can either remove the hardware with a screwdriver or clean it while still on the cabinet. If you remove the hardware from the cabinet, you can soak it overnight to remove tough stains. For some hardware, depending on the shape, it may be easier to remove the handles regardless of how dirty they are.
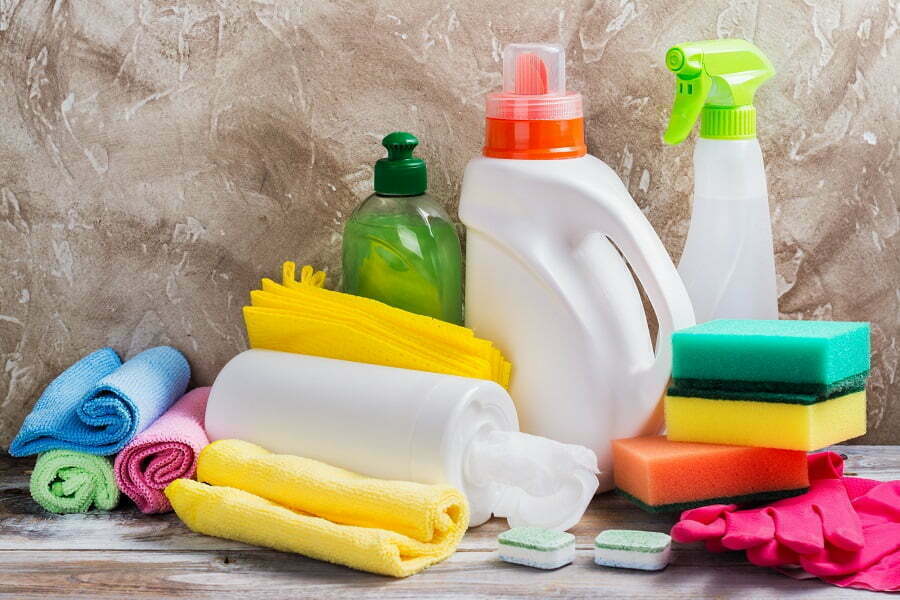
Hardware that is not very dirty can be cleaned easily while still on the cabinet. Dish soap, warm water, and a non-abrasive cloth or sponge will get most of the grime off your hardware, and for nooks and crannies, use a soft toothbrush.
If you removed the hardware, put a small amount of dish soap in the bottom of a bowl or bucket, and fill the container enough to fully submerge your hardware. Remember, a little soap goes a long way. Let soak for a few hours, or overnight if they are extremely dirty.
If the soap and warm water do not remove the grime, you may need to follow up with a vinegar solution (equal parts vinegar and warm water to clean your hardware. Once again, be sure your hardware is made of a material that can tolerate a vinegar solution before starting. Be sure to check what type of material your hardware is before preceding.
Don’t Forget the Hinges
The hinges of your cabinets may not come in contact with your hands, but they pick up grease and grime, just like the handles and the surfaces of your cabinets. Taking off all of the hinges of your cabinets is a monumental task in some cases, so it is recommended that you try to clean them with an old soft toothbrush or similar brush before removing the hinges.
If you can remove the hinges easily, you can most likely clean them in the same way as your knobs or handles. Soak them in warm soapy water for a few hours or overnight and if they still have some grime left after a good soak, use a soft toothbrush or sponge to wipe off the rest.
Keep the screws in a bag or container so you can quickly put the hinges back on the cabinets. Consider cleaning the screws as well if they are visible when the cabinets are closed.
Refinishing Cabinet Hardware
If you have tried all of the above methods and are still not happy with the look of your cabinet hardware, consider refinishing them. If the hardware was previously painted, soaking the hardware in a crockpot with soapy water on low will remove the old paint. It may take quite a few hours, but the paint will fall off the hardware.
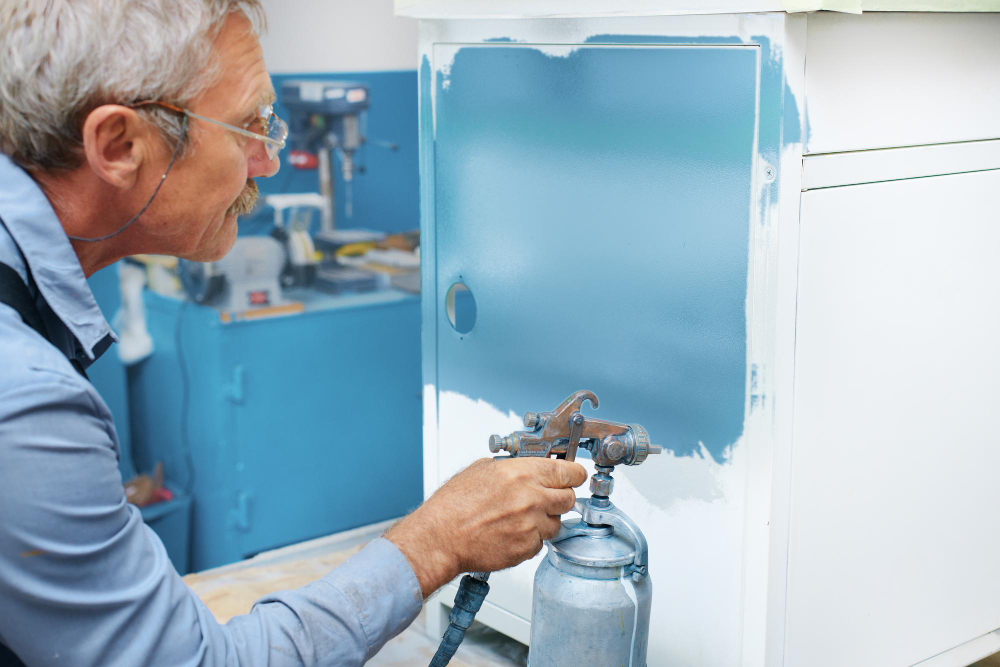
Once the paint is removed, you can lightly scrub the hinges to make sure they are free of debris. You may be pleasantly surprised by the original finish of the hardware. If the color or finish does not match your current kitchen style, you can use spray paint to match them to the rest of your kitchen.
Clean Hardware Often
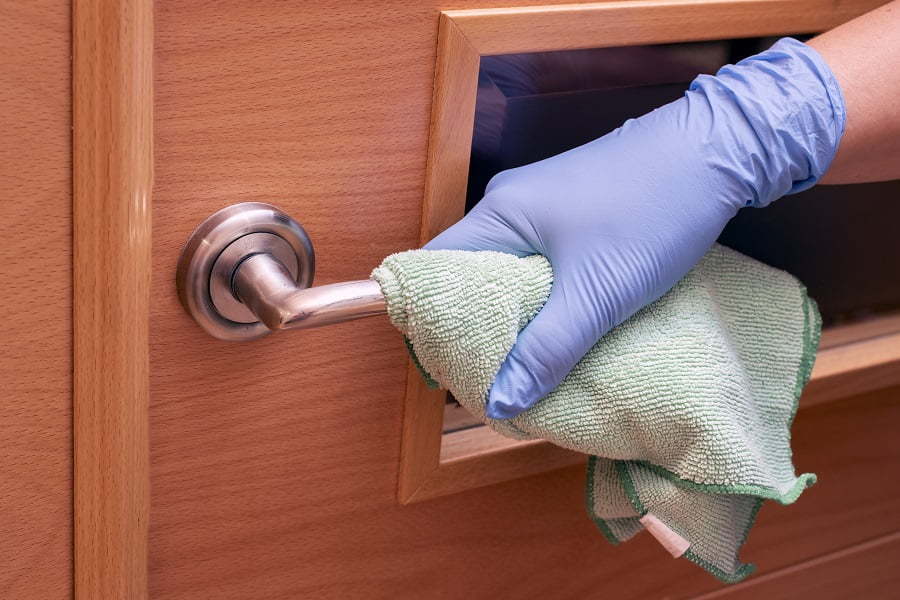
If you add a wipedown of your cabinet hardware to your weekly or monthly cleaning routine, you won’t need to continuously remove it to keep it clean. A simple wipe of a damp cloth will remove the light layer of grime that accumulates from opening the cabinet, and every so often, use a stronger cleaner on the cloth.
Be sure that the cleaner you use on the hardware will not affect the surface of your cabinet when you wipe them down.
It is much more enjoyable to cook in a clean kitchen than in a dirty one. Cabinet hardware is often overlooked when it comes to cleaning the kitchen, but it is something you touch multiple times a day. Every time you get a spoon to stir your coffee or get a plate out for dinner, you are depositing germs and grime from your hands.
Kitchen cabinets are continuously used and deserve a little elbow grease. They often are neglected in kitchen cleaning routines when they should be wiped down on a consistent schedule. You will be astonished at how good your kitchen looks with clean hardware.
You should definitely try to clean your hardware or refinish it before replacing it, as buying a set for every cabinet can be expensive. In an older home, be cautious of lead paints and use chemicals in a well-ventilated area. Be sure to rinse all chemicals off the metal before reinstalling your hardware to ensure a safe food environment.
Recap
Liked this article? Here's what you can read next: