Last updated on
These DIY wood shutters will change the way you look at window treatment and decor for good. Check out these ideas.

Window shutters traditionally have two uses. One is to prevent sunlight from coming into the house. It’s ideal for homes in a hot climate where you need to avoid the sun from heating the house. The other use is for hurricane shutters to protect the home from storms and weather damage. As safety is a concern, in this case, we do not recommend to do it as a DIY project, unless you are a professional.
But that’s just one small (albeit important) part of the shutters. The other is the decorative (curb) appeal — shutters are always in style. They are trending everywhere from the outdoor decor where many times they’re not even functional, to the interior wall decor. Everyone likes the rustic look!
How to Make Wooden Shutters
If you want simple DIY shutters (board and batten) the project is straightforward. Here are the steps (this includes hanging them on a wall):
- Choose the wood boards;
- Measure and cut;
- Stain the wood;
- Attach the boards (use screws and glue);
- Paint the shutters if necessary;
- Drill pilot holes into the wall;
- Measure and level again;
- Drill the holes completely and attach the boards.
What’s the best wood for shutters? For exterior use cedar as it’s an inexpensive and weather-resistant wood. For interior projects any wood is fine.
And there’s a lot more to this project. Let’s see what else can we build!
DIY Plantation Shutters
Plantation shutters (also known as plantation blinds) can be an intimidating DIY project. Setting each louver into the frame takes time and patience. However, the resulting elegant old-world result will be worth the extra time and effort. It’s also a great option as an alternative to window blinds.
What do you need to create them so that they can be interior or exterior? First of all, the material of choice for this is basswood. This type of wood provides strength and weight. Though you can, of course, use any other type of wood available to you (pay attention to its weather resistance if you’re making the outdoor version, though.)
The tutorial shows you how to use a plantation shutter system which includes cutting plans. So it’s really like following the instructions to the point. This makes this seemingly complicated project doable.
Reclaimed Wood Shutters

Constructed of new materials, these shutters have the appeal of rustic reclaimed wood. They are nailed together with the aid of a jig for consistency, stained and embellished with decorative hardware.
Instructables have a great tutorial on this attractive functional outdoor design. So to create these simple shutters in no time you will need a trusty miter saw and a fair amount of wood boards (depending on how many windows you need these for). If you know how to use the power tools, it’s a fairly simple project.
DIY Board and Batten Shutters
Simple measuring and marking make these board and batten shutters an easy undertaking. Carefully glue the battens twelve inches from either end of the boards before nailing, sanding, and staining.
While these aren’t functional, they have great curb appeal on brick walls and they make a great alternative to real window shutters. The rustic wood stain makes them look good. For such a simple woodworking project (that all beginners can do in very little time) it’s a pretty sophisticated look.
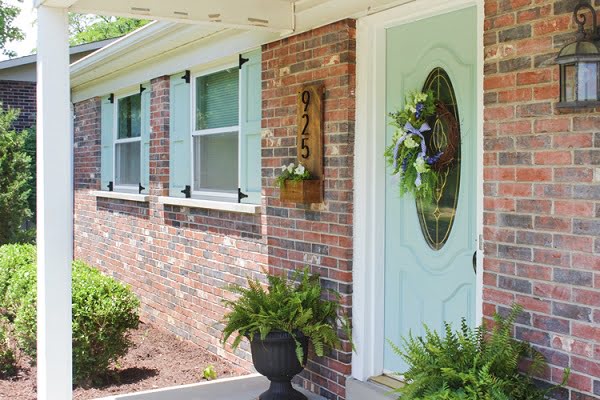
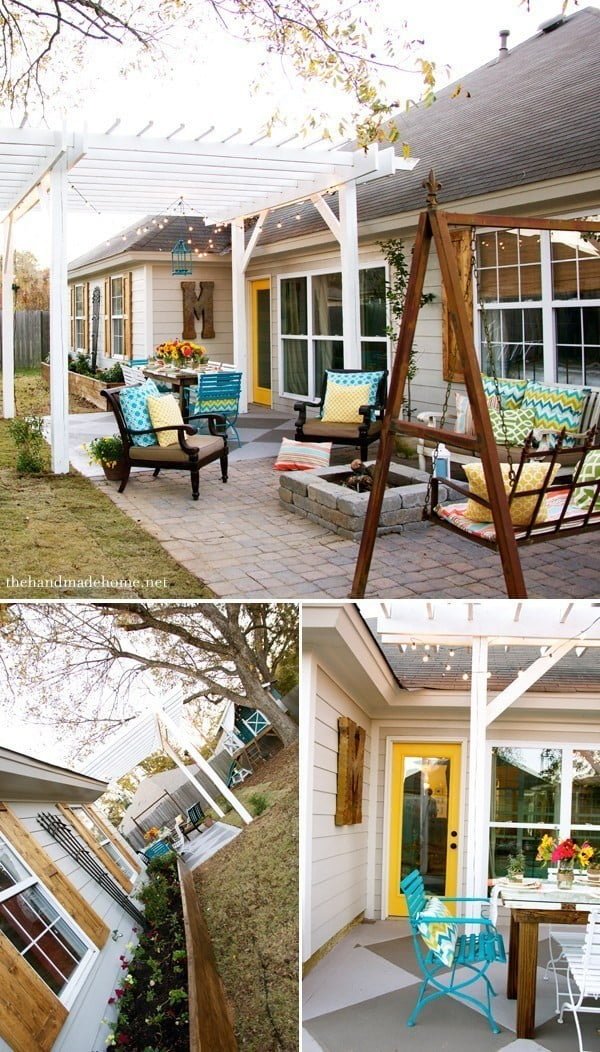
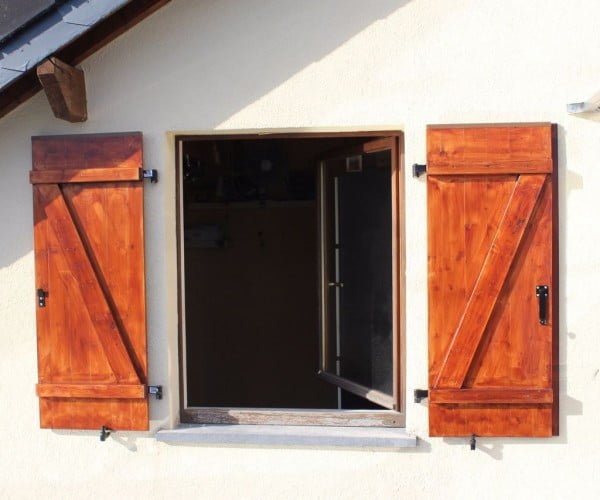
DIY Exterior Window Shutters

These are simple DIY shutters to create. You can pain them in an accent color to make a clear statement in your curb appeal. These might not be functional (they don’t close the windows). But it’s the project for the looks and style.
Making them is even easier and doesn’t take much time. You will deen pine or cedarwood (it’s excellent for outdoors). You will then cut it to measure using your miter saw. Then drill the holes and nail it together with exterior nails. Make sure you pick the right paint color for your walls.
How to Make Bahama Shutters
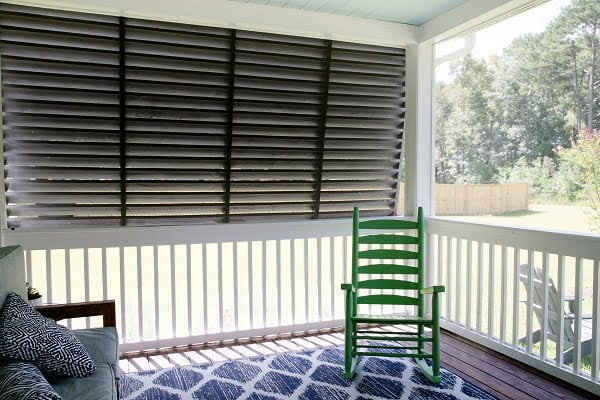
If you need to provide airflow to your space (such as a porch), you will want to build DIY Bahama shutters. They provide the screen and still let the air circulate due to the design.
Build the frame from 2×4 wood and the slats from 1×6 boards. The slanted angle of the slats does make it a bit more complicated but there’s nothing that good plans couldn’t fix. The best part is that you will save to the extent of four figures on this as compared to buying custom.
Exterior Wood Louvered Shutters
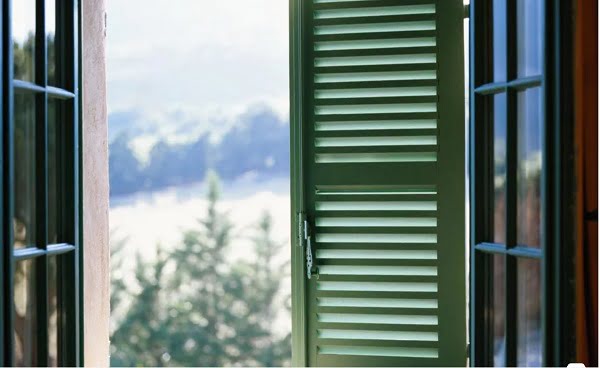
These are similar to Bahama style in their design and function expect they are a smaller scale solution. As such, the process of making them is also slightly different. It’s still a moderate level woodworking project that you can complete if you’re not a complete beginner.
A miter saw is necessary to tackle this project. The design requires fine cutting (it will take some time) but the assembly is easy. They look absolutely stunning when finished in the right coat of paint.
Craftsman Style Shutters
Craftsman style is simple but classic. If you don’t want to get involved too much in a complicated project (or if you’re only a beginner) such a design might be your ideal choice. These won’t look cheap either.
Build these from 1×4 hardwood boards for fast results. The right choice of paint will make them look really good. Begin by making the signature craftsman frame. Then add them board panels to complete the unit. Stain and paint them for the complete look.
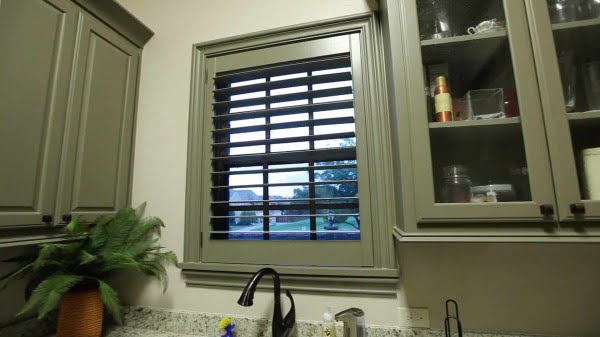
DIY Interior Shutters (Cafe Style)
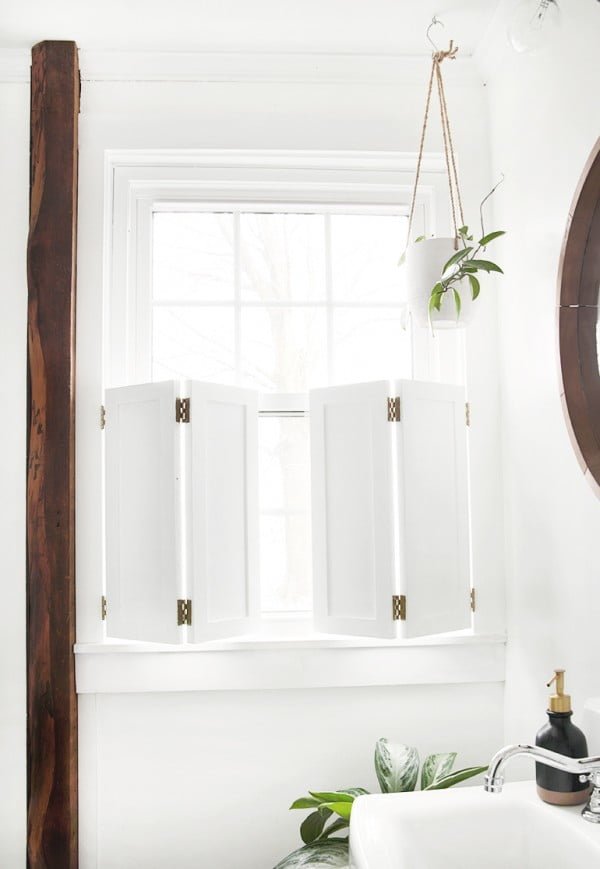
Cafe style shutters allow sunshine in the day and privacy at night. The brass hinges add a touch of refinement so that they can fit into both a casual and formal setting. It’s one of the most unique ideas to use interior shutters this way.
This little window improvement is even easier to build in very little time. How so? First of all, they are small and take up only part of the window (that’s the nature of the cafe style). Secondly, you can build them using just plywood, wood glue, and regular door hinges. Yes, these are functional too! Top it off with a nice coat of interior paint.
Farmhouse Shutters
1 x 6 Boards are framed by 1 x 4s along their length and across their width. Wood screws hold everything in place before the wood is stained and weather treated. Read the tutorial to see how it’s done.
The farmhouse style is achieved wit these stylish yet simple fake shutters. It’s all about the transformation. Even though they are only decorative, these are truly adorable. The best part is that you can easily build them even if you’re a complete beginner. It’s all about putting the wood boards together and giving them a nice wood stain.
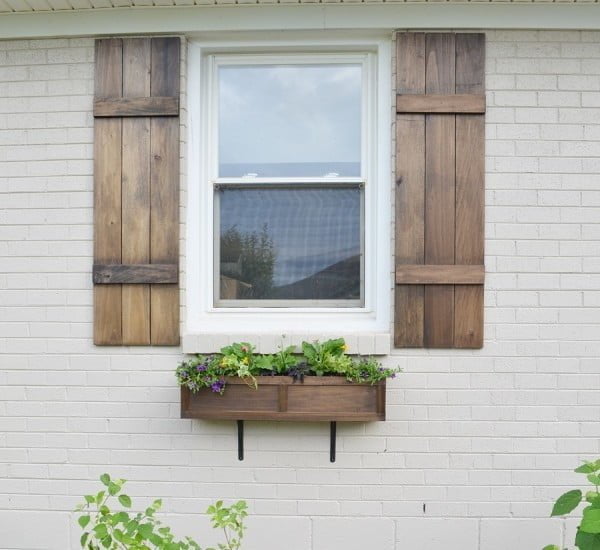
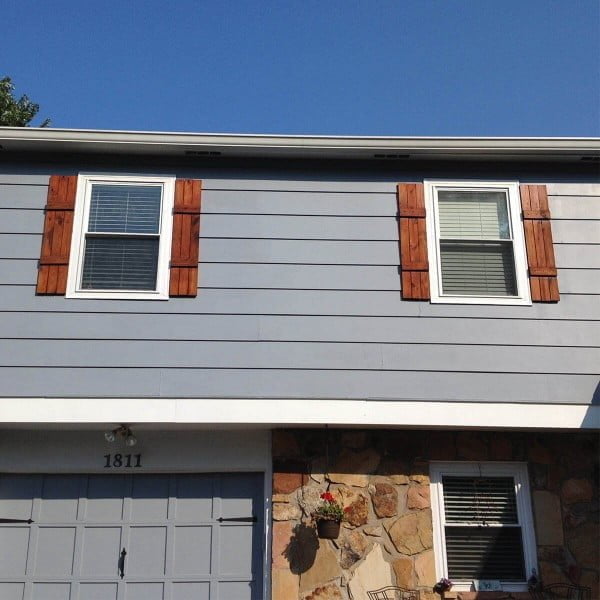
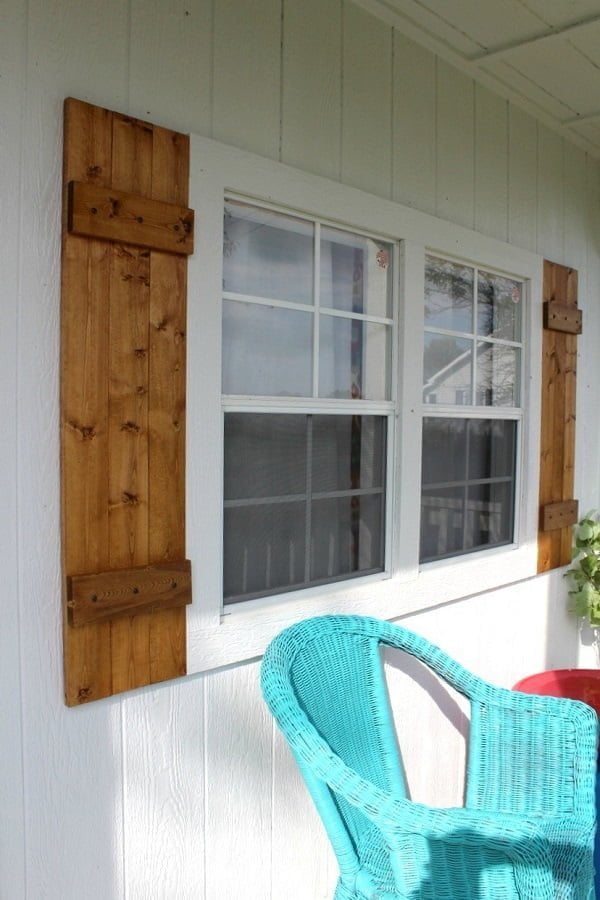
Exterior Decorative Shutters
Dark wood stain contrasts against a white brick wall so well. These decorative pieces will transform your curb appeal completely. This project is also as easy as putting five wooden boards together and painting them.
Utilizing pocket holes to assemble these exterior shutters gives them added strength. Although still rustic with natural wood blemishes, three coats of paint give the project a slight touch of refinement.
Rustic Shutters
For curbside appeal, stain your DIY shutters and other natural trim on your home the same shade. Matching DIY shutters and trim give your home a custom look at an affordable price. This creates a rustic look you’ve been looking for.
These cost $30 to build each. And the project basically involves simple wood cutting and nailing together, topped with a nice stain and varnish for outdoor use.
DIY Pallet Shutters
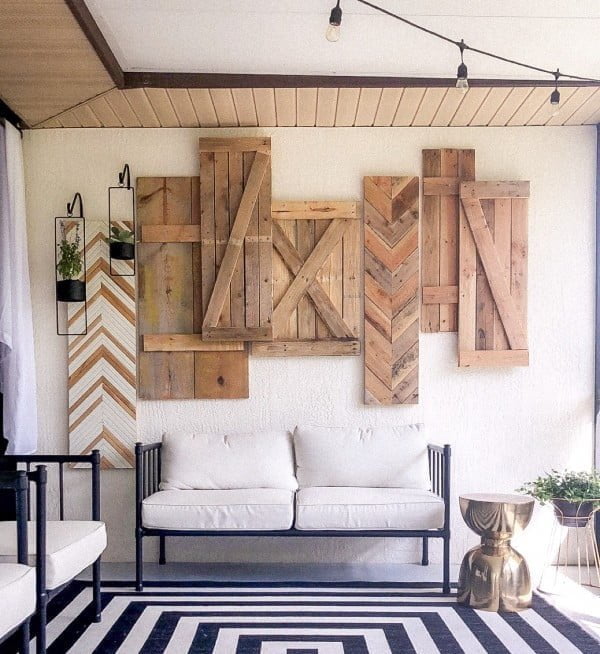
Disassembled wood pallets, a miter saw, essential carpentry tools and some imagination can create a variety of looks. While the chevron designs needed a wooden backing, the remaining patterns did not.
You can build shutters for many purposes with this idea. From wall decor to functional outdoor or indoor. It’s all about reusing old pallets by cutting them and assembling them in a pattern.
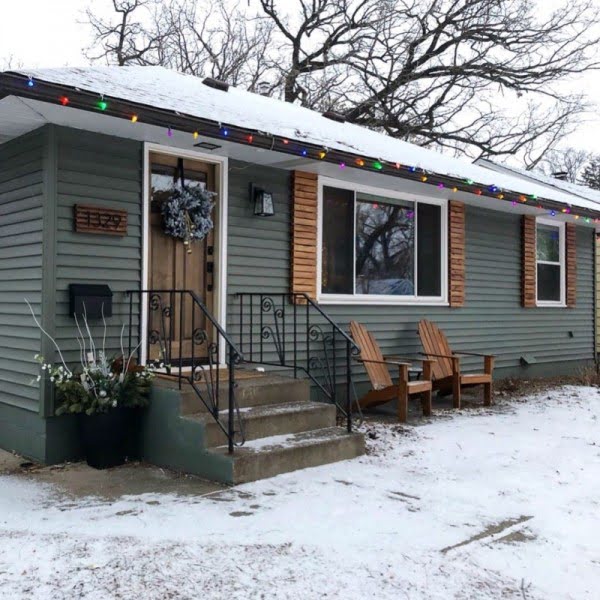
Cedar Shutters on Brick House

Natural cedar stained to prevent graying creates a warm look that coordinates with other cedar accents on a home. Black outdoor wood screws and black shutter fasteners add contrast to complete the look.
So you will need good old cedarwood and your trusty miter saw. The pattern is simple to assemble these shutters. They are decorative as per this tutorial. But you can use any other plans to make a functional design (you just need to add the hinges.)
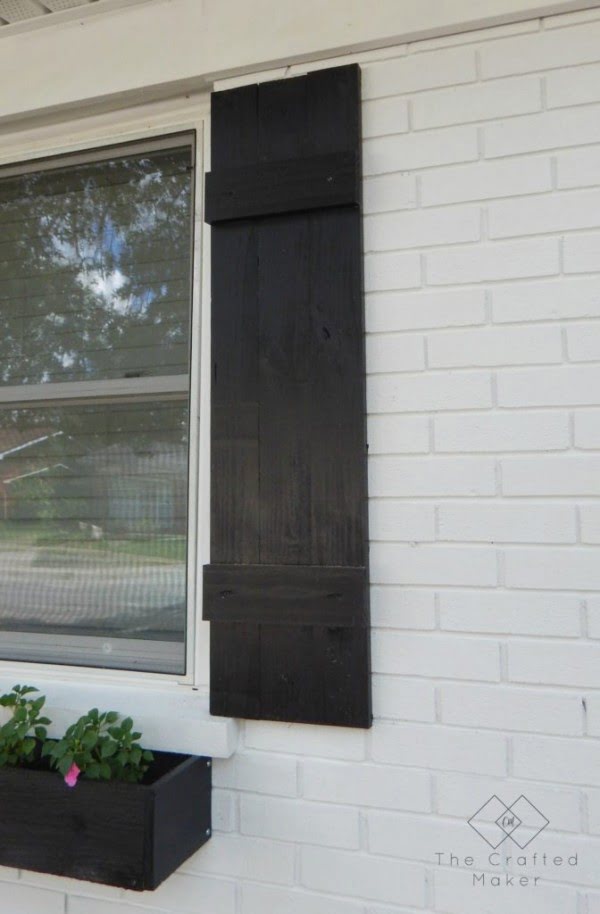
Faux Window Shutters
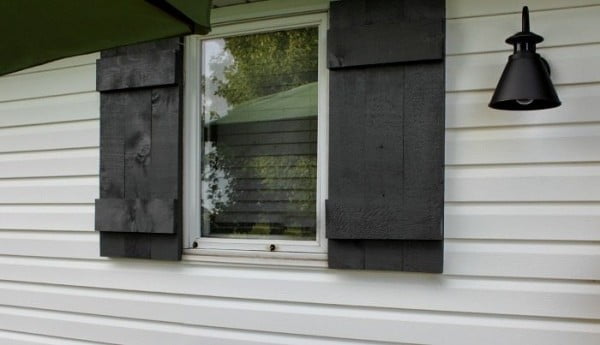
If you want a look that speaks of simple living, shutters constructed from rough cut wood will have a strong, no-nonsense appeal. A quick coat of your choice paint makes them uniquely yours.
The simple design is easy to build. Use your favorite wood and paint to make these accent shutters to increase your curb appeal. Black paint (as pictured above) works against white (or off-white) painted walls. White brick walls would also make a great backdrop for these.
Modern Exterior Shutters
For a modern twist, measure and cut a series of horizontal slats for your shutters. Lay the slats out on vertical boards to be sure of spacing, then glue and nail in place. This horizontal pattern is different from most other shutters and that’s what makes them modern.
So to build these DIY shutters it’s even easier than most on this list. The horizontal tiling is easy and only requires you to secure the wood boards in place. The only “caveat” is having to do more cuts (which is not a bad thing if you enjoy woodworking!)
Tongue and Groove Shutters
Panels of tongue and groove give these functioning DIY wood shutters a smoother look. The panels are glued together and reinforced with end and diagonal pieces. Black hardware adds purpose and flair.
These are functional shutters so you will need the hinges too. The installation will require mounting them on the house walls.
Stained Wood Shutters
This project is as simple as it gets. The DIYer has made it for a shed so the requirements from it aren’t big. Just cut the boards, stain them, and attach everything together with wood glue and screws. The rustic look is fantastic.
Build these DIY shutters in a simple board and batten design and the right choice of wood stain. These are purely decorative but they work great in a porch setting.
More Like This
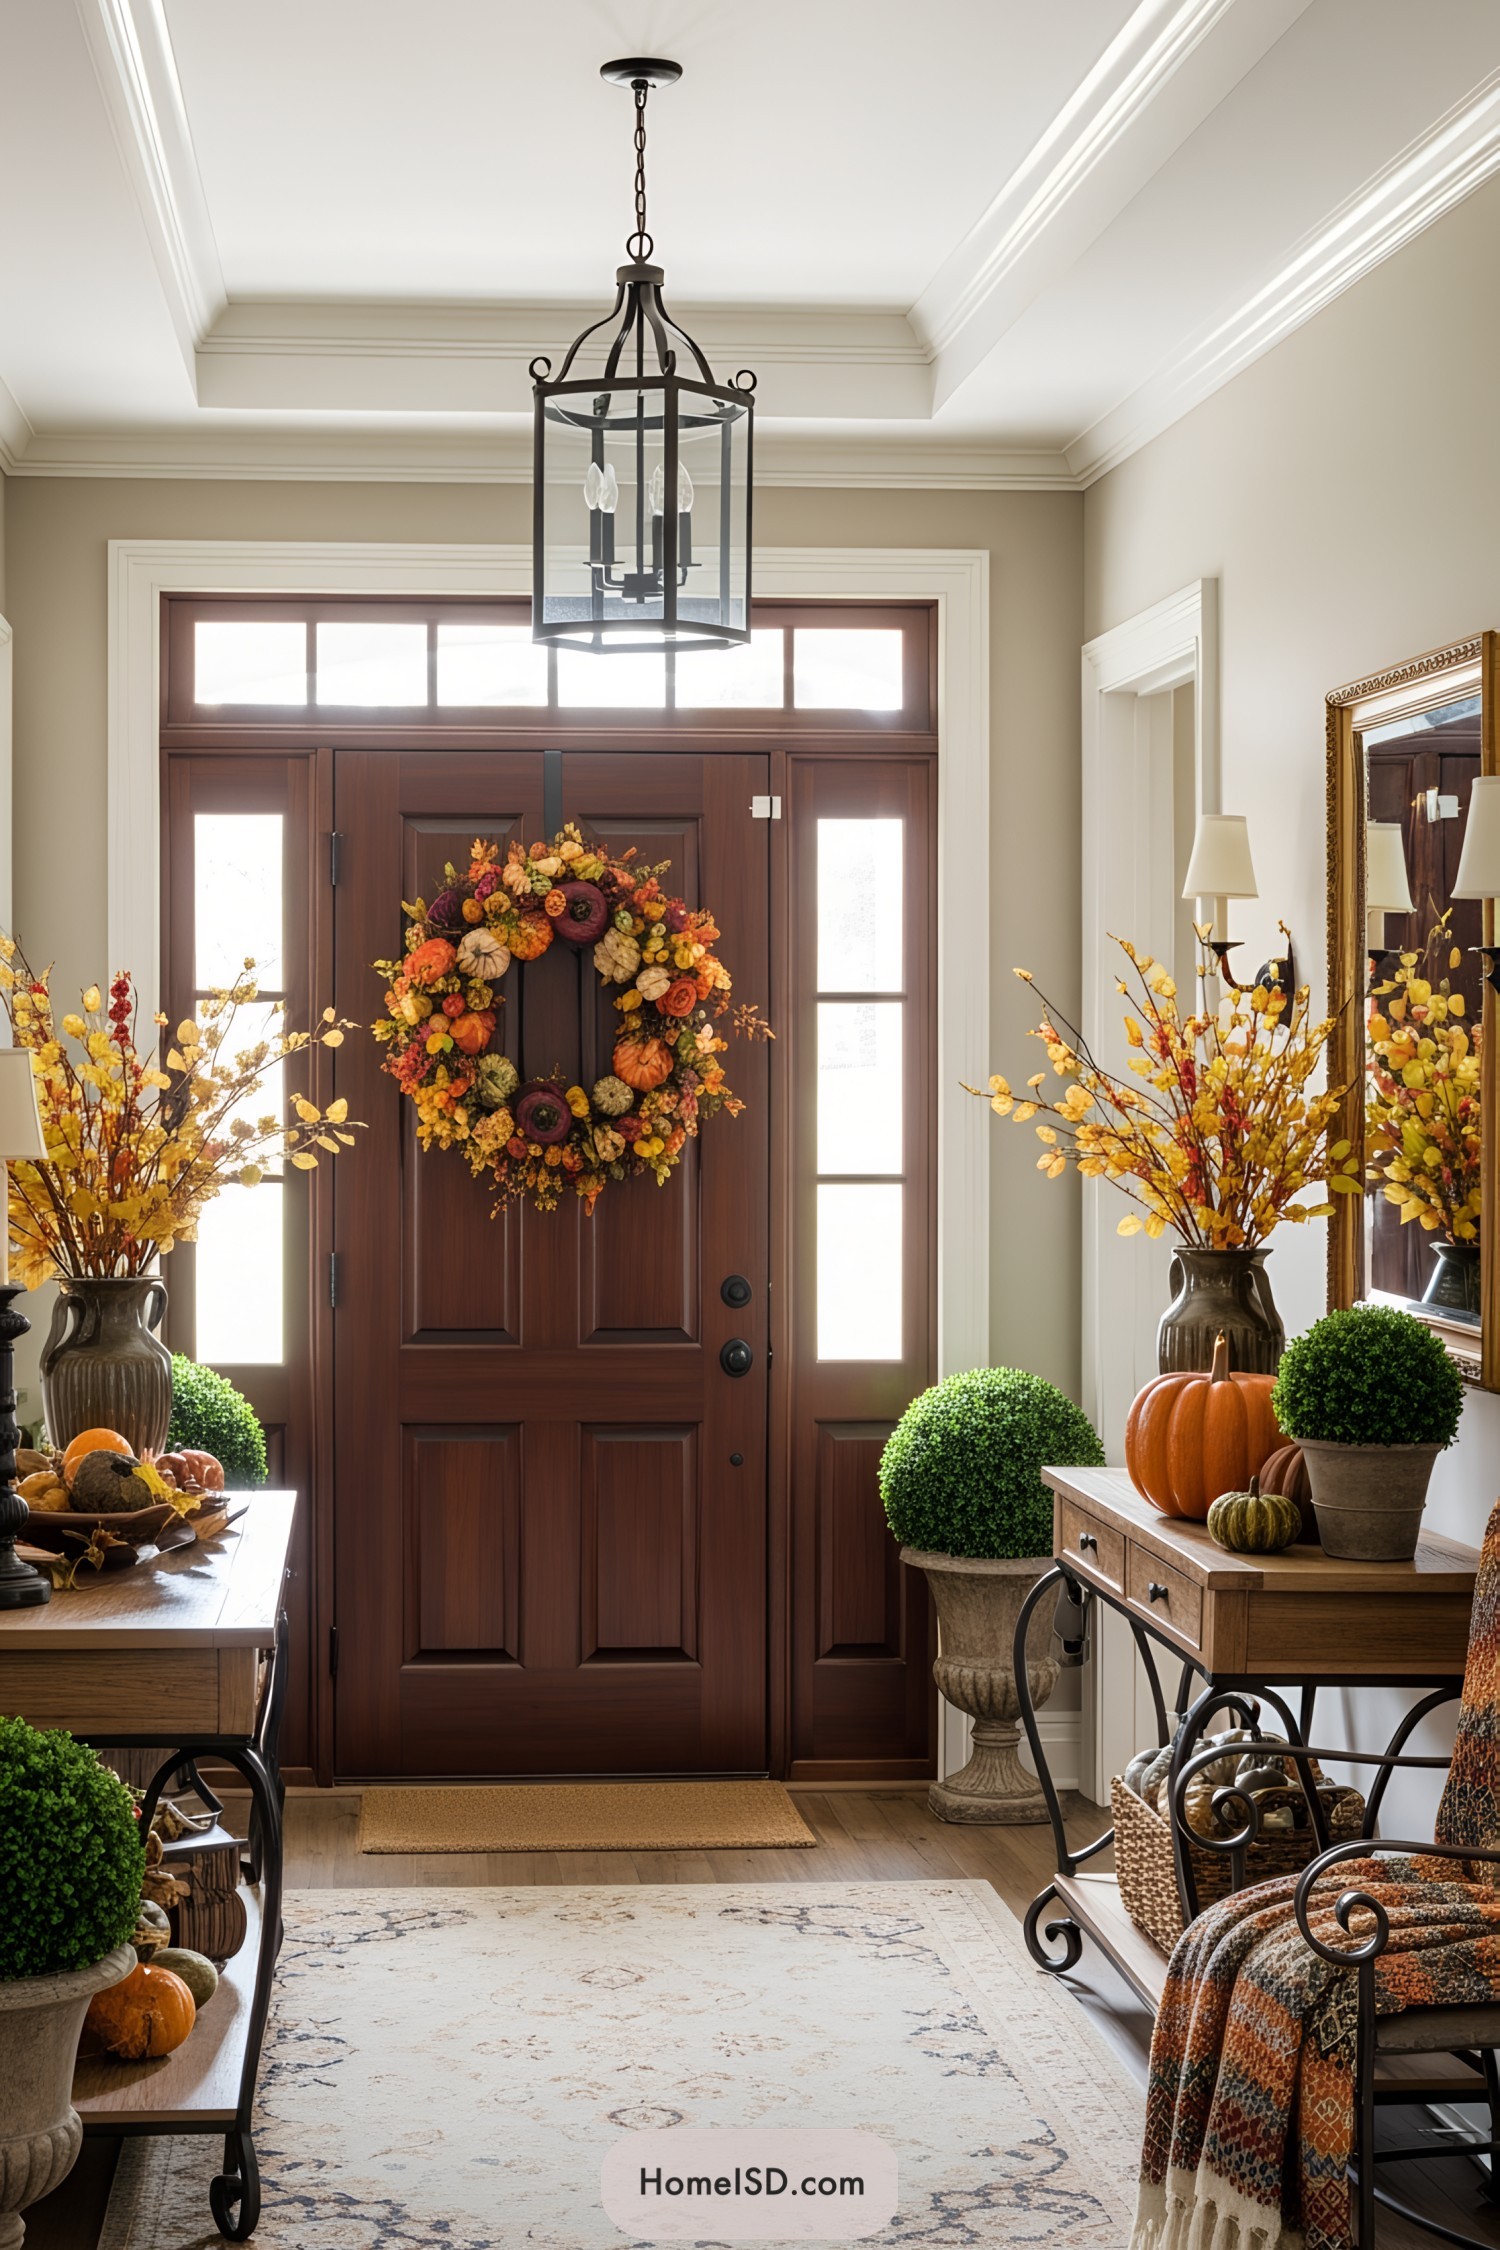 18 Thanksgiving Wreaths to Wow Your Door for the Festivities
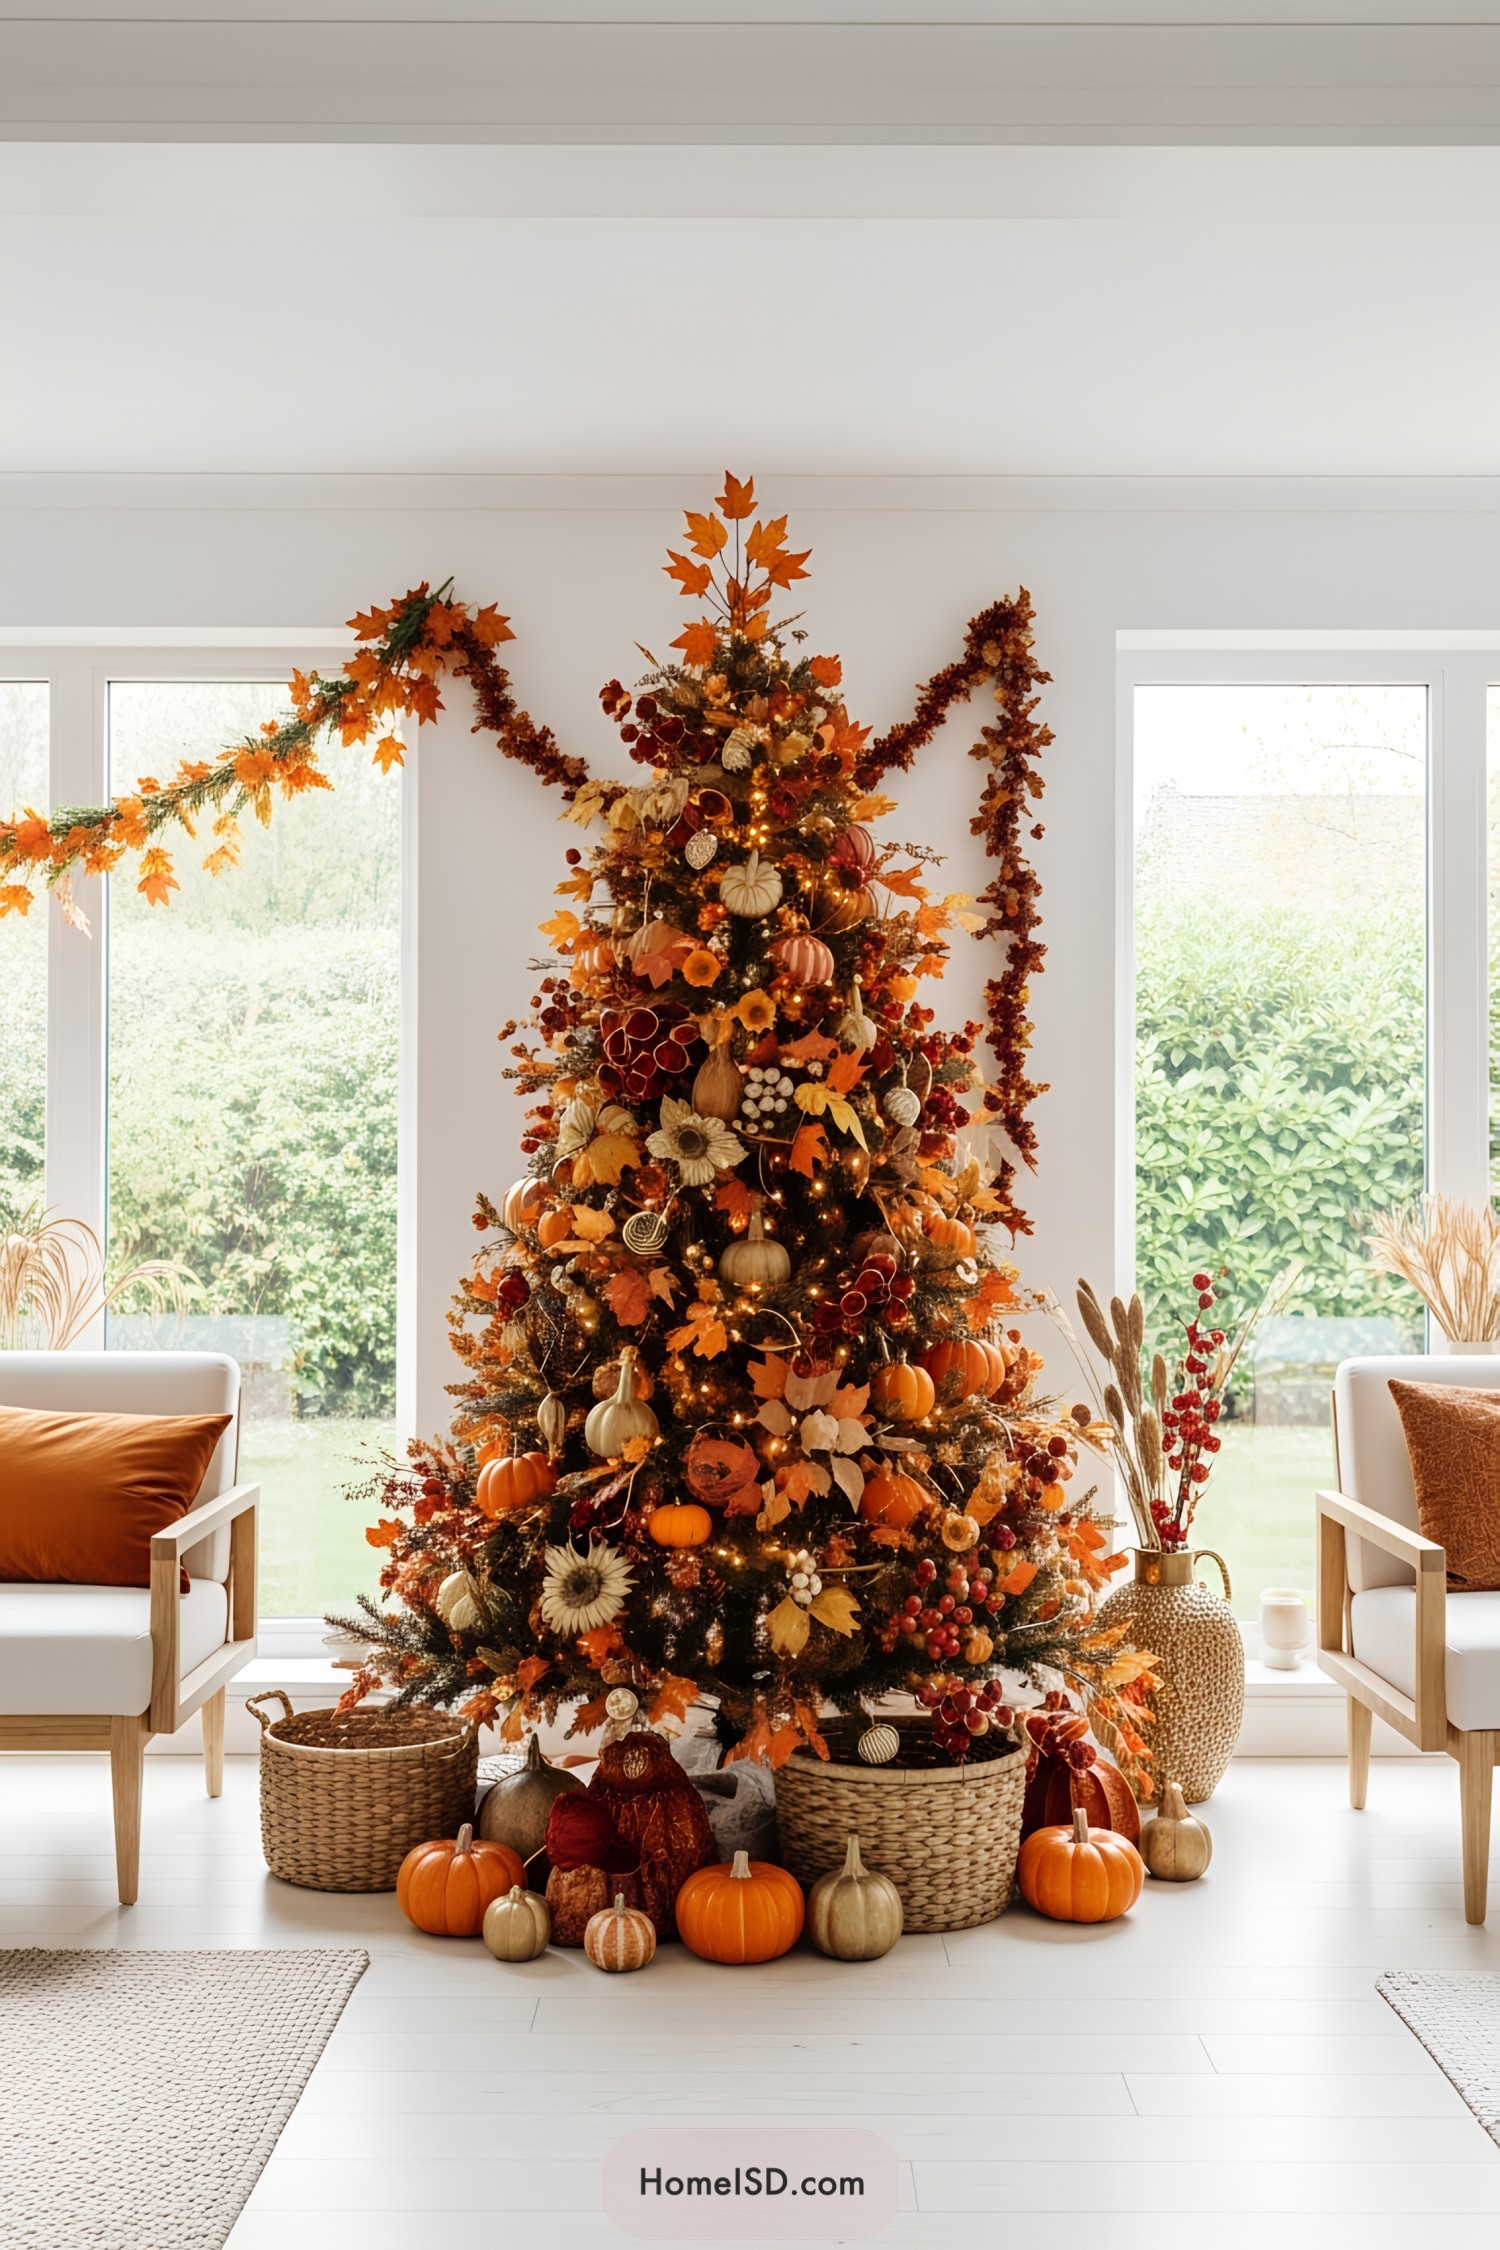 13 Thanksgiving Trees to Spruce Up Your Holiday Decor
 21 Thanksgiving Party Decorations That Gobble Up the Festivities
 25 Thanksgiving Centerpiece Ideas That Steal the Show
 25 Thanksgiving Tablescapes That Wow
Recap