Last updated on
Painting the shutters of your home is a simple project, but you have to do it right. Here’s how to paint shutters step by step. Read on!
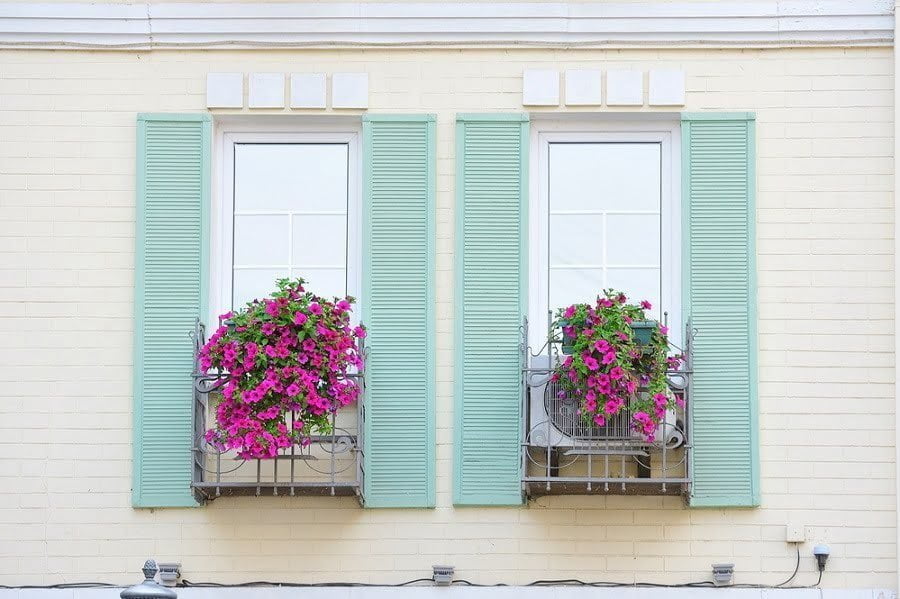
One of the easiest ways to give your home a new look is by painting its exterior shutters. You’d be surprised by how much of a difference a fresh coat of paint can make, so if you’re ready for a change or just feel that your home needs a general sprucing up, this is a great way to do it. If your windows have a decorative alternative to shutters it makes it even an easier painting project.
Whether you go with the same color as always or decide to make a drastic change, the key to a successful shutter paint job is to use quality products and equipment. Using high-end brushes or a handheld paint spray gun paired with durable exterior paint can make all the difference.
But there’s more to it than just choosing the right paint and equipment. This complete guide on how to paint your shutters offers insight on the steps involved as well as helpful tips and techniques for a successful shutter makeover.
Advantages of Painting Your Home’s Shutters
We’ve already covered the main advantage of painting your shutters, but the benefits extend further than just giving your home a much-needed makeover. Fresh paint can make your home look newer and more valuable, which is especially handy if you plan to sell your home in the near future.
Another huge benefit is that turning this into a DIY painting project can save you a lot of money in the long run. The cost of replacing the shutters altogether will quickly add up, but with painting, all you need is time, patience, and the proper equipment.
To top it off, painting your shutters is a fun way to spend an afternoon outdoors. And the best part of all is that at the end of it, your home will look better than it did the day before.
A Step-by-Step Guide to Painting Shutters

Step 1: Choosing Your Paint Type & Color
When choosing the right paint for your shutters, there’s a lot to think about. It’s not just about deciding on the color (although this is a big decision). You MUST be sure that you’re using exterior paint. Indoor paint is not designed to withstand the elements, so you need to find a product that can handle rain, cold, heat, snow, etc.
Although some are made from wood, most shutters these days are made from vinyl or plastic. You’ll want to go with a high-quality acrylic latex paint that’s meant specifically for the outdoors. It’s not completely necessary to use a primer, but it will help to provide better coverage.
Behr is one of the best exterior paint brands available with plenty of options that include paint and primer in one in a variety of finishes, but feel free to ask your local hardware store employee for suggestions.
Tips for Choosing the Right Color

Choosing paint colors depends entirely on personal preference, but this doesn’t necessarily mean you should opt for hot pink or lime green. When deciding on shutter color, here are a few things you need to consider:
- Your home’s exterior colors
- Your home’s overall style
- The color of the window trim
- The direction of natural light (paint tends to look lighter in the sun)
Step 2: Remove & Clean the Shutters
After deciding on the paint brand and color, it’s time to get to work. The easiest way to paint your shutters is to remove them from the house altogether. This will give you easy access to the entire shutter as you paint it, plus it eliminates the risk of accidentally painting the house itself.
Once you’ve removed the shutters, it’s a good idea to clean off any dirt and debris that has built up over the years. You can either use a power washer (just be sure to use it on the low setting to prevent damage) or a basic garden hose.
Note: If you do choose to paint the shutters without removing them, be sure to use painter’s tape to keep the house protected.
Step 3: Paint the Shutters
The painting process depends on a few things, like whether you’ve removed the shutters from the house and whether you’re using a brush or a spray gun. The easiest, most efficient way to deliver an even coat of paint is with an airless sprayer.
Using a sprayer will not only save you a lot of time, but it will also make the overall paint finish look more even. Before spraying your shutters down, lay them directly on a drop cloth (if you’ve chosen to remove them) to protect the grass, sidewalk, or driveway.
If you opt for the brush-painting route, paint the slats starting from the top and work your way down. Use light, gentle strokes to get an even coat. For both spray painting and brush painting, two coats are recommended for better coverage and added durability.
Note: Another huge perk of opting for a spray gun is the faster drying time. Painting with a brush means that you’ll have to wait at least an hour between coats, but with a spray gun, drying usually only takes about 10 minutes.
Step 4: Let the Shutters Dry Before Replacing Them
If you’ve left the shutters on the house, your work is done after the painting process. For those of you who’ve removed the shutters, the final step is to secure them back onto the house once they’ve dried completely. Since this will most likely require the use of a ladder, this is a 2-man job.
This may sound obvious, but make sure you’re putting each shutter back in its original place. Many homes have shutters of varying sizes depending on the first and second floor, and there’s nothing more frustrating than replacing a shutter in the wrong spot.
A Final Note on Painting Shutters
Even if the task initially seems daunting, painting your home’s shutters is an easy DIY project that can be done in the span of one afternoon. But one important thing to note is that your safety comes first.
If your home has shutters that aren’t easily accessible or you don’t feel comfortable using a ladder, there are plenty of professionals who would be happy to do the job.
More Like This
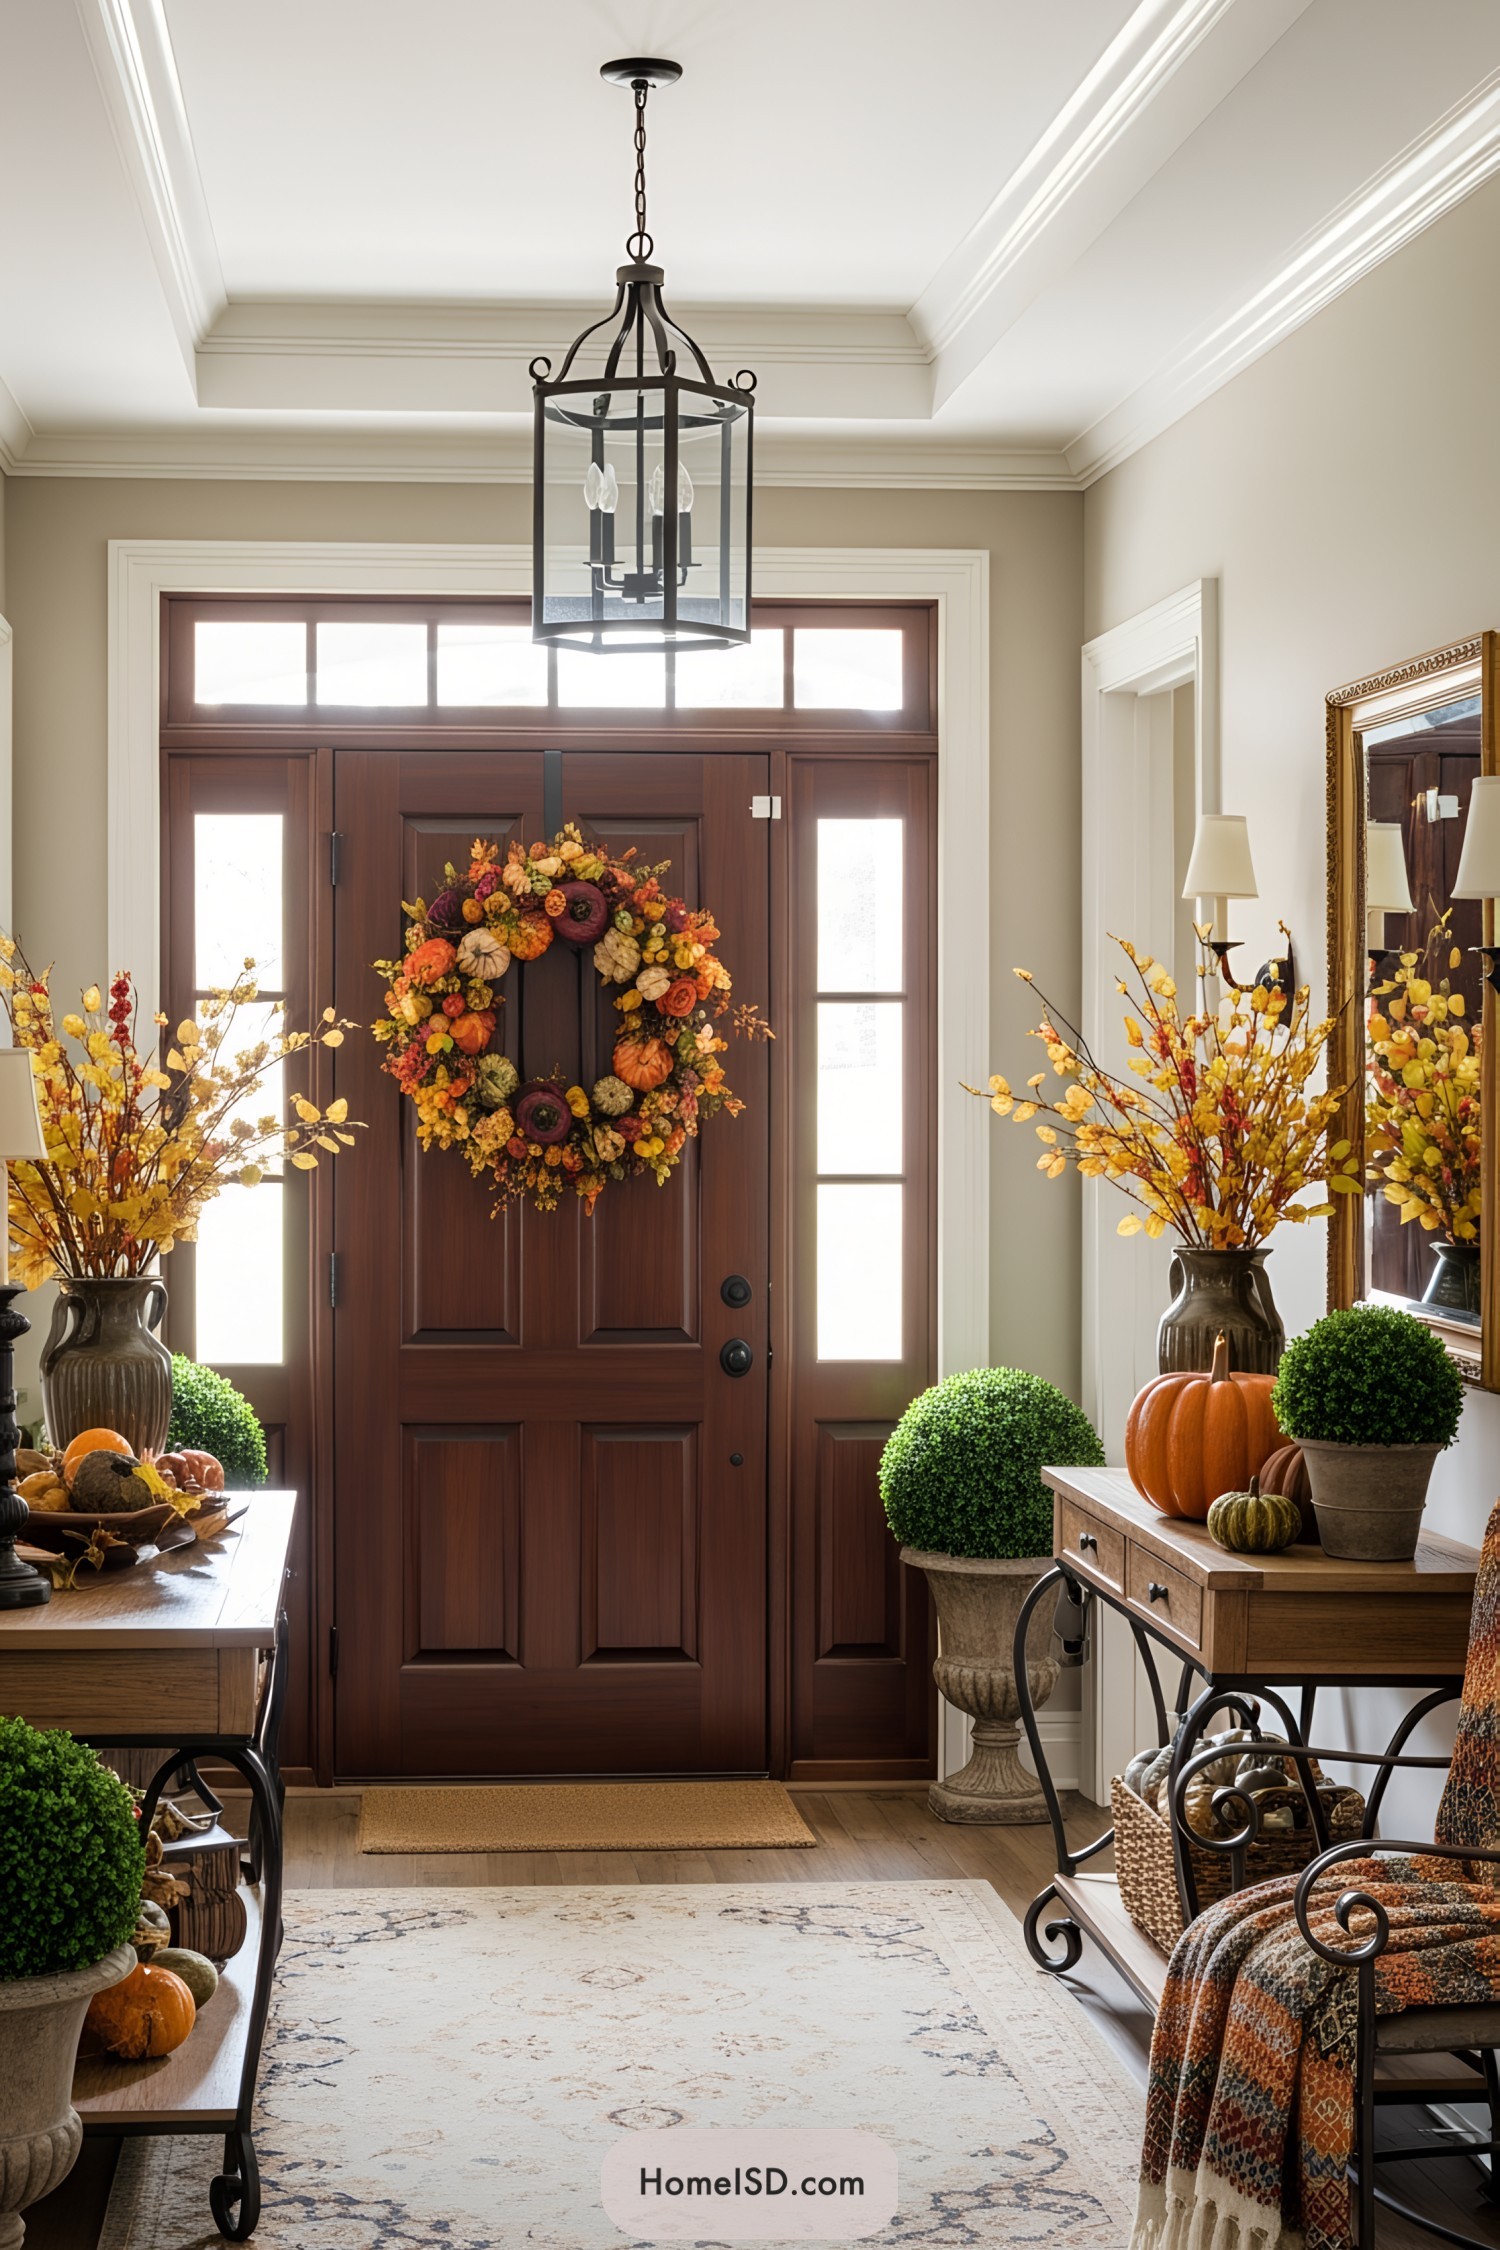 18 Thanksgiving Wreaths to Wow Your Door for the Festivities
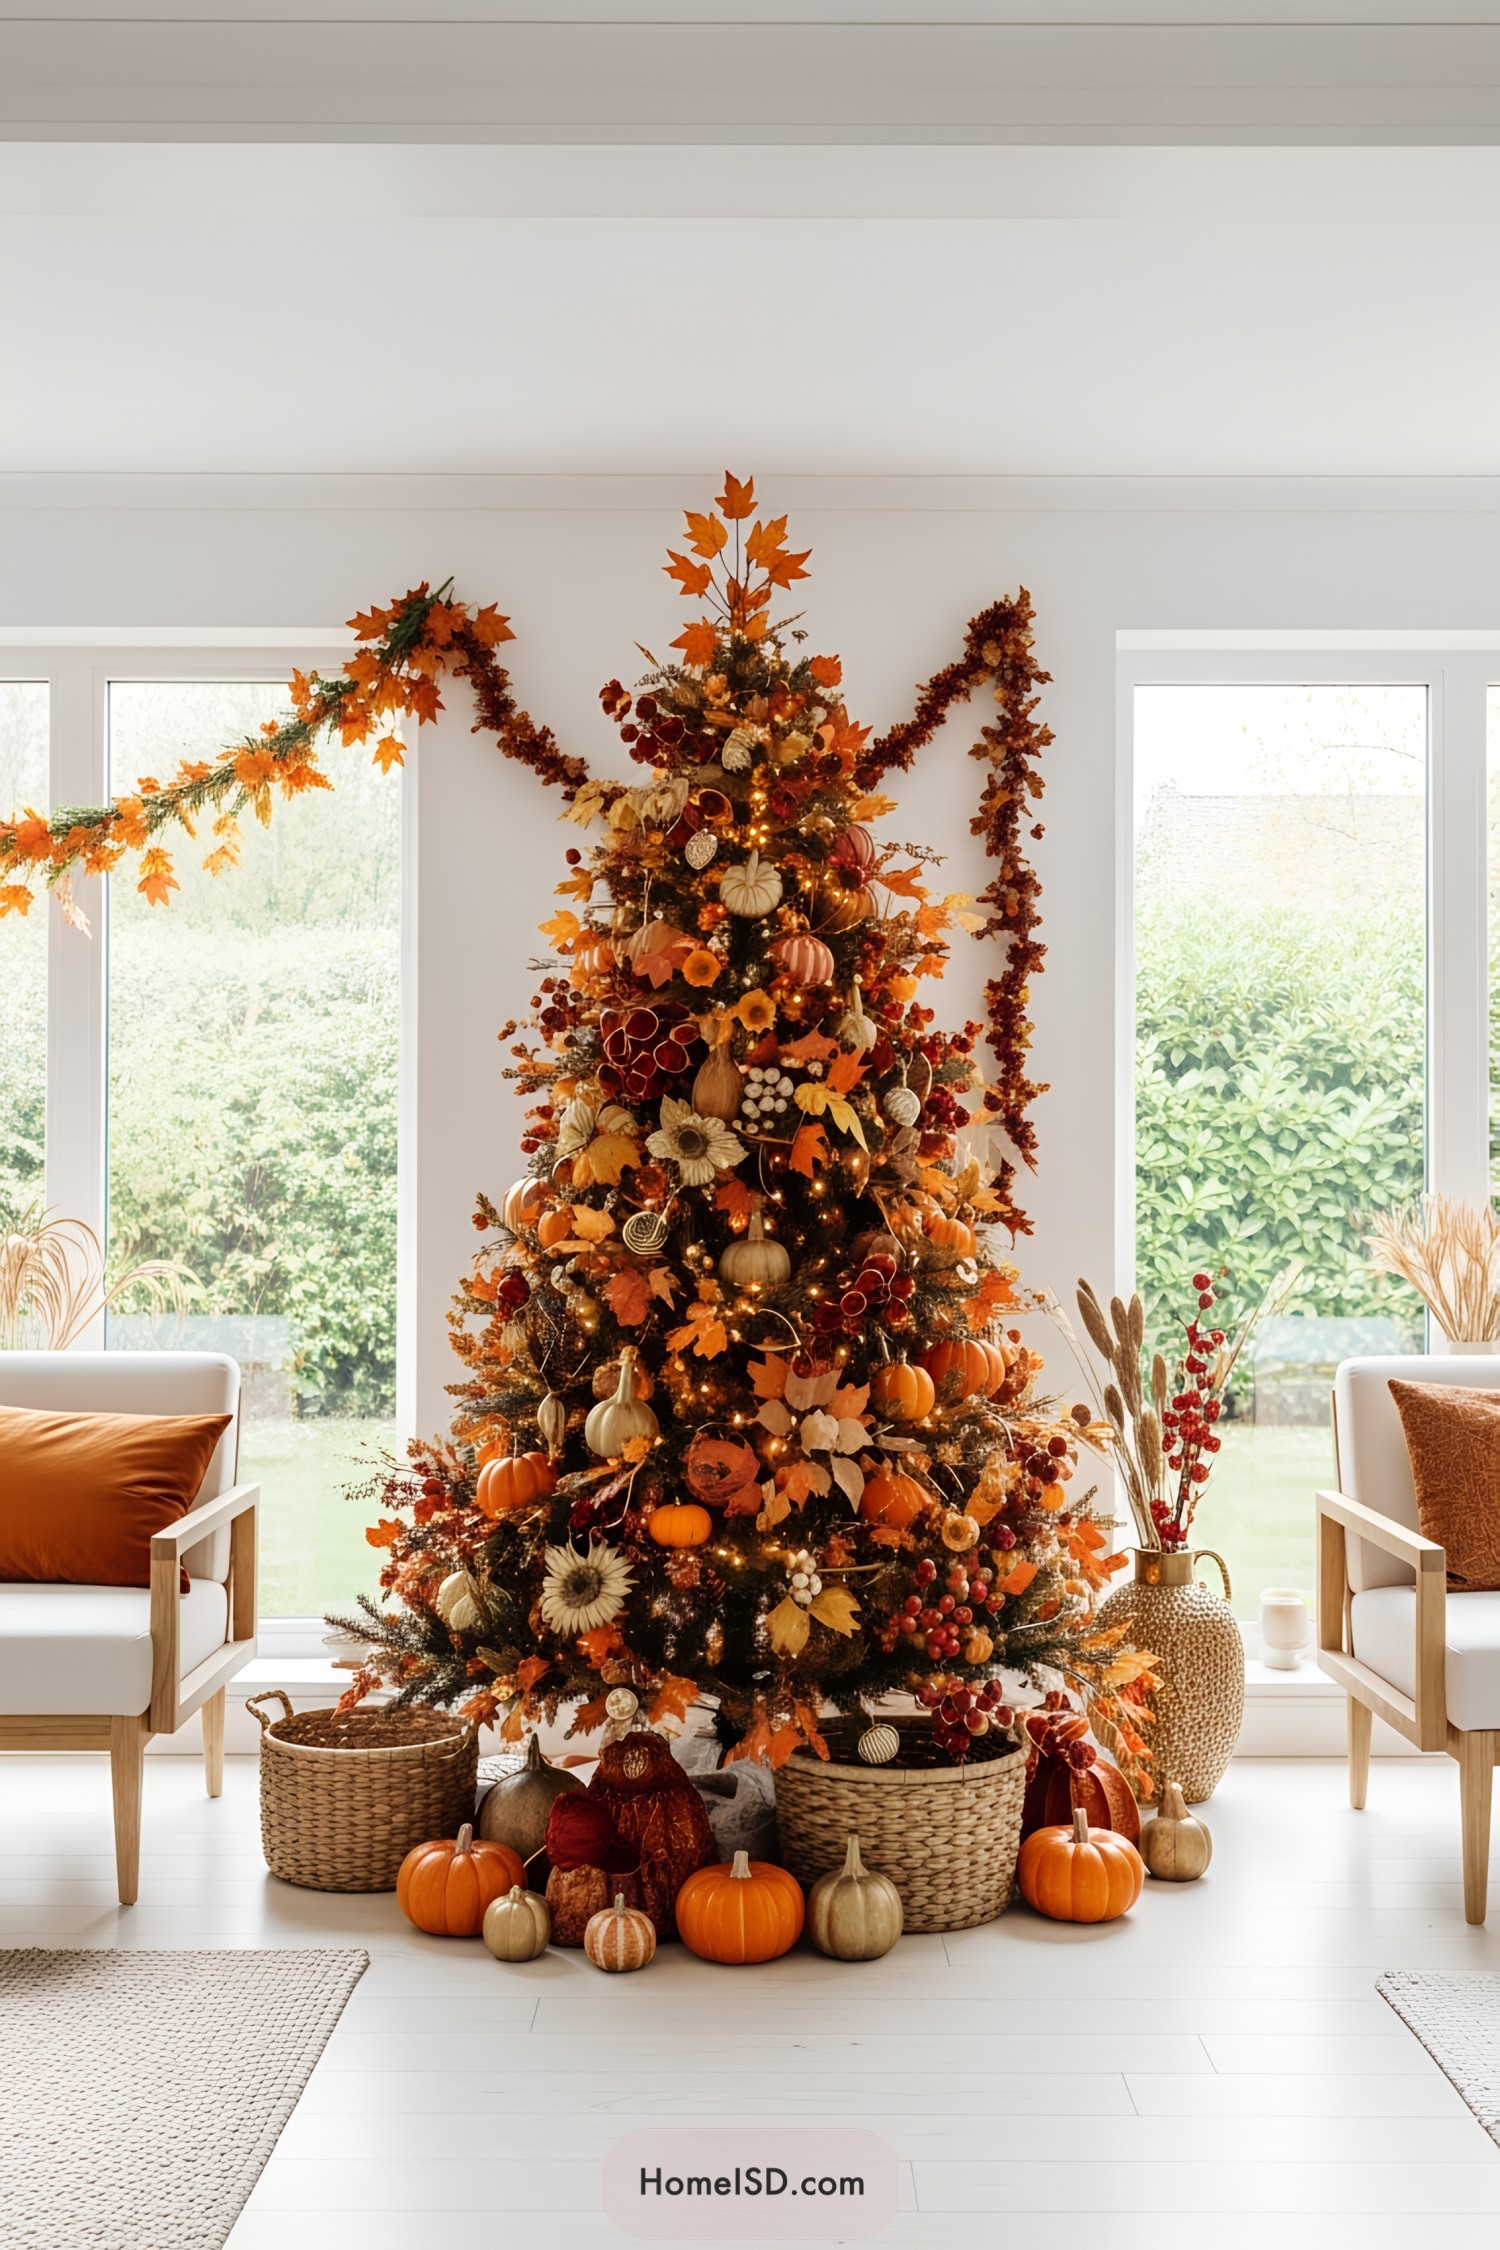 13 Thanksgiving Trees to Spruce Up Your Holiday Decor
 21 Thanksgiving Party Decorations That Gobble Up the Festivities
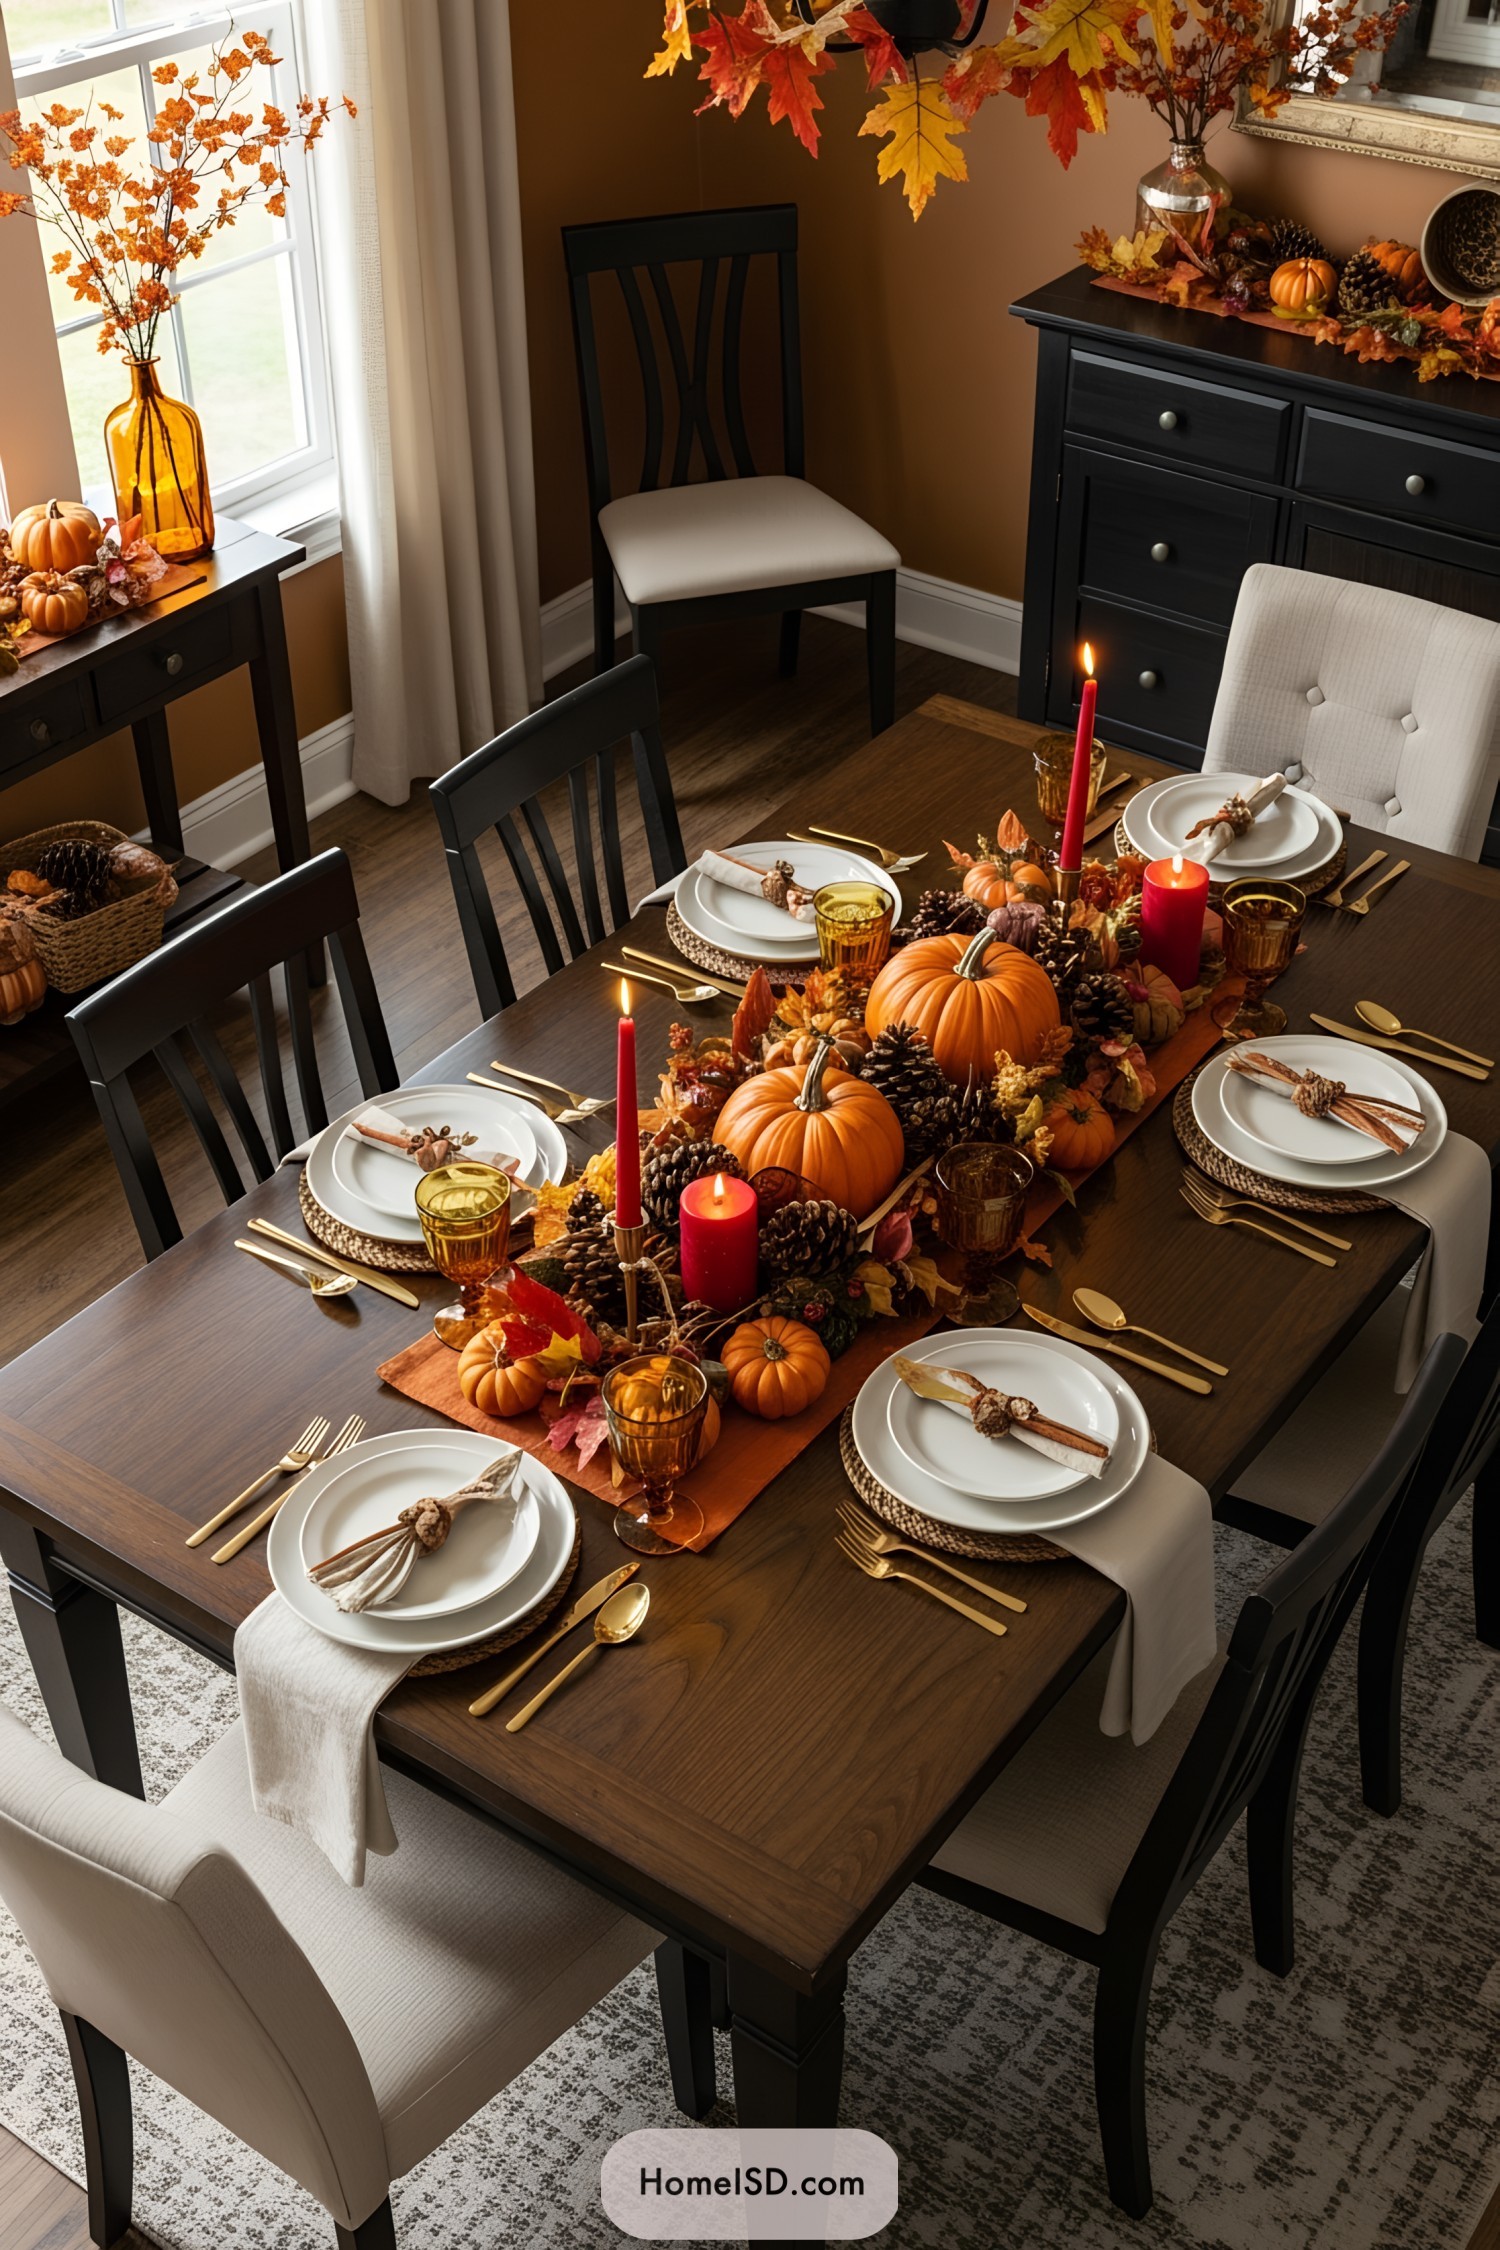 25 Thanksgiving Centerpiece Ideas That Steal the Show
 25 Thanksgiving Tablescapes That Wow
Recap