Last updated on
Here are 26 ways to make cabinet doors with glass for your kitchen cabinets. Read on!
Adding glass panels to cabinet doors is a simple and easy way to upgrade your kitchen. You can order glass panels from most home improvement stores or glass shops, and many stores will also cut the glass to your desired size for free or for a small fee.
To build a DIY cabinet door with glass, you will need to remove the center panel from an existing cabinet door and secure a piece of glass inside the frame. Glass clips are used to secure the glass in place.
Another way is to build a new cabinet door entirely.
These tutorials can help you learn how to build a DIY cabinet door with glass, so that you can add a designer touch to your kitchen in just a few hours.
How to Convert Wooden Cabinet Doors to Glass

Tutorial: bhg.com
Expected cost: $30-$50
Supplies:
- Cabinet door
- Glass panel
- Cabinet hinges
- Screws
- Drill
- Glass cutter
This project is a simple DIY kitchen upgrade that involves removing the center panel from an existing cabinet door and securing a piece of glass inside the frame. Get your glass panels from any home improvement store that sells clear or frosted glass.
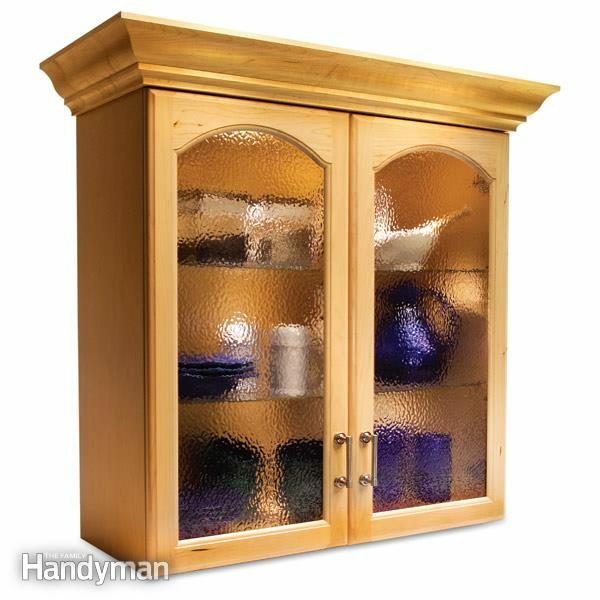
Tutorial: familyhandyman.com
Expected cost: $50
Supplies:
- 1/4″ thick glass
- Glass clips
- Router
- 1/4″ router bit
- 1″ hole saw
- Sandpaper
- Stain or paint (optional)
This project is a great way to add a designer touch to your kitchen in just a few hours. It involves routing out the wood panel on the back of the door and setting the glass into the frame.
Glass clips are used to secure the glass in place. This project is not difficult to complete, but does require some basic woodworking skills and knowledge.

Tutorial: glassgenius.com
Supplies:
- Tape measure
- Glass cutter
- Glass
- Clips or caulking
- Paint or stain
This project entails adding glass to cabinet doors. It is not a difficult project, but it does require some care and attention to detail.
You will need to measure the door and cut the glass to fit the door. You will also need to attach the glass to the door using clips or caulking.
Once the glass is in place, you will need to paint or stain the door as desired.
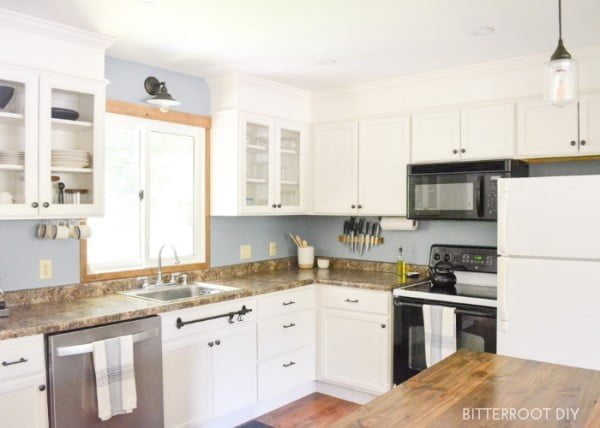
Tutorial: atterraceplace.com
Expected cost: $30-$40
Supplies:
- Drill
- Jigsaw
- Clear silicone
- White caulk
- Plexiglass
This project is not too difficult, but it does require some basic tools and supplies. You will need a drill, jigsaw, clear silicone, white caulk, and plexiglass.
Tutorial: glassdoctor.com
Supplies:
- Glass or plexiglass
- Tape measure
- Ruler or straight edge
- Glass cutter or utility knife
- Sandpaper
- Sticky back plastic (optional)
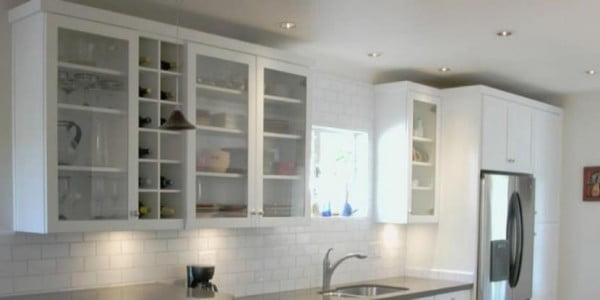
This project entails adding glass inserts to kitchen cabinets. It is not a difficult project, but it does require some basic tools and knowledge of how to cut glass or plexiglass.
Tutorial: confessionsofaserialdiyer.com
Expected cost: $50
Supplies:
- Jigsaw
- Plexiglass or glass
- Plexiglass cutter or glass cutter
- Trim molding
- Paint
- Silicone caulk
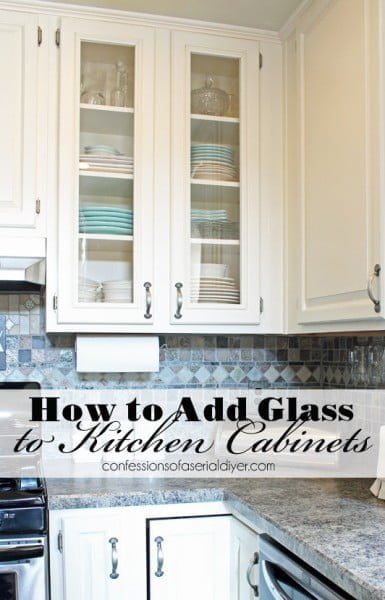
This project is a bit more difficult than some, but it is doable with some patience and careful measuring. You will need to use a jigsaw to cut out the center panel of your cabinet door, and then use a plexiglass cutter (or glass cutter if using real glass) to cut the plexiglass or glass to size.
You will also need to prime and paint trim molding to frame the glass panels. Finally, you will need to use silicone caulk to attach the trim molding and plexiglass or glass panels in place.
Tutorial: cabinetdoormart.com
Expected cost: $30-$50
Supplies:
- Cabinet doors
- Glass panels
- Ruler or measuring tape
- Cordless drill
- 1 inch hole saw
- Silicone caulk
- Clear silicone adhesive
- Clamps
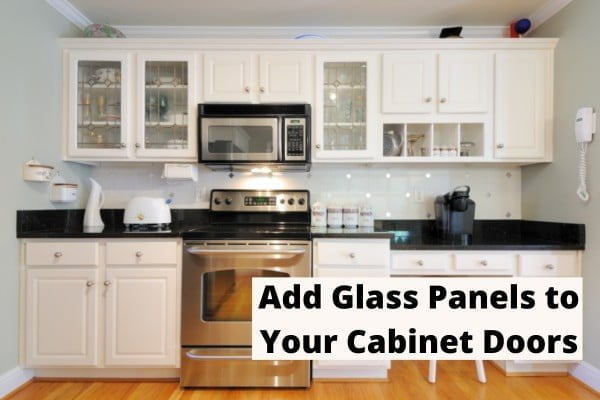
This project is a great way to elevate your kitchen design. Whether you are at the start of a kitchen remodel or are just looking for a DIY project to give your kitchen a facelift, then adding cabinet doors with glass could be just right.
The part of this DIY project is that you will only be adding glass to select cabinet doors, so this does not have to be a major project. You should think critically about your choice, as whatever is in the cabinets that get glass panels will be on display.
As you plan out where you want to add glass panel cabinet doors, check out our walkthrough for installation. This way, once your mind is made up for placement, all you will need to get started is a trip to the hardware store.
Tutorial: cabinetnow.com
Expected cost: $30-$50
Supplies:
- Glass inserts
- Cabinet doors
- Drill
- Jigsaw
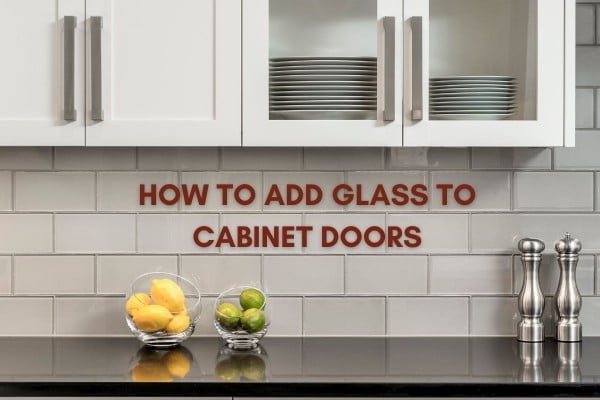
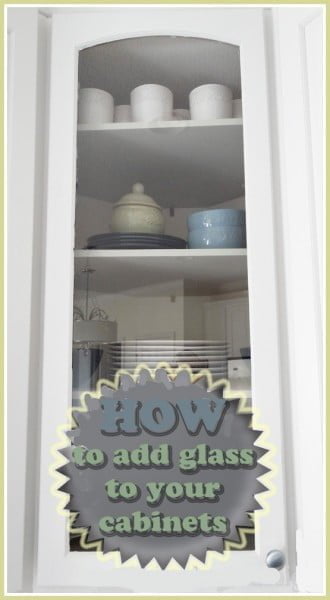
This project is a guide on how to install glass inserts into cabinet doors. It is a fairly easy project that does not require too many tools or materials.
The most difficult part may be cutting the panel out of the door, but as long as you have a drill and jigsaw, it should not be too difficult.
Tutorial: providenthomedesign.com
Expected cost: $30-$50
Supplies:
- Tape measure
- Ruler or straight edge
- Circular saw
- Jigsaw
- Sandpaper
- Stain or paint (optional)
- Glass insert (optional)
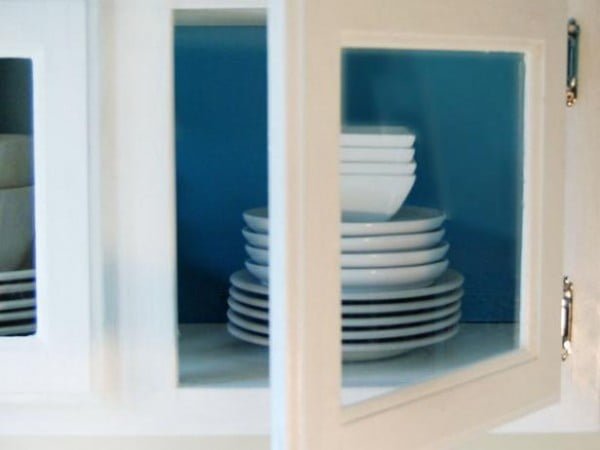
This project is a bit more difficult than some of the others on this list, but it is still doable for most people. You will need to have some basic knowledge of woodworking and carpentry, as well as access to the proper tools.
The project itself involves cutting holes in the door for the glass insert, as well as routing or sanding the edges of the door to create a smooth finish. It should take most people several hours to complete.
Tutorial: hgtv.com
Expected cost: $30-$50
Supplies:
- Tape measure
- Permanent marker
- Glass cutter
- LEXAN glass
- Silicone
- Caulking gun
- Utility knife
This project entails removing the existing cabinet doors and panels, measuring and cutting new LEXAN glass inserts to fit the door openings, and then installing the glass inserts into the door frames with silicone. It is not a difficult project, but it does require some care in measuring and cutting the glass inserts.

Tutorial: nomealnohealth.com
Expected cost: $10 – $20
Supplies:
- Drill
- Jigsaw
- Molding tools
- Screwdriver
- Pliers
- Wood chisel
- Measuring tape
- Straight-edge
- Utility or plastic cutting knife
- Router with 1/2 inch router bit and guide
- Silicone caulk
- Glass or plexiglass insert
This project involves installing glass inserts into kitchen cabinet doors. It is not a difficult project, but it does require some basic tools and materials.
You will need a drill, a jigsaw, some molding tools, a screwdriver, some pliers, a wood chisel, measuring tape, and a straight-edge. For the plexiglass installation, you will also need a utility or plastic cutting knife.
For the glass installation, you will need a router with a 1/2 inch router bit that has a guide on its top. You will also need some silicone caulk (plexi), which should be clear for best results.
Tutorial: inspirationformoms.com
Expected cost: $10-$20
Supplies:
- Glass doors
- Cabinet hardware
- Paint or stain
- Measuring tape
- Level
- Cordless drill
- 1 inch hole saw
- Sandpaper
- Caulk
- Clear silicone adhesive
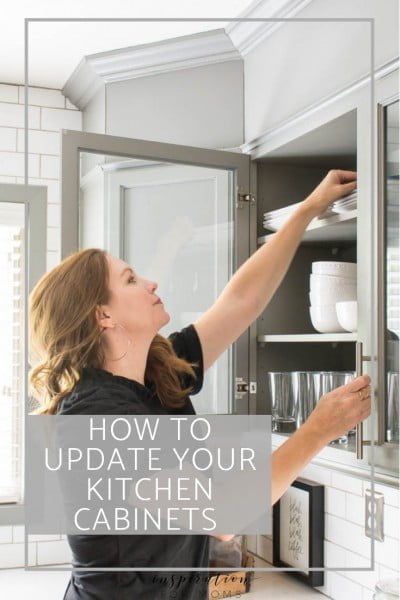
This project is a great way to update your kitchen without spending a lot of money. It’s a relatively simple project that doesn’t require any special tools or skills.
The most difficult part may be cutting the glass for the doors, but even that can be outsourced for a reasonable price.
How to Make Glass Cabinet Doors
Tutorial: theaspiringhome.com
Expected cost: $30-$50
Supplies:
- O’verlays panels
- Paint
- Paintable caulk
- Double sided tape or clear silicone adhesive
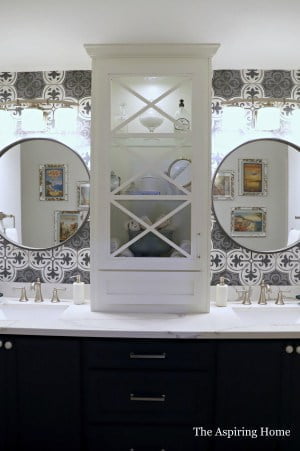
This project is a bit more difficult than some of the others on this list, but it is still doable for most people. It involves cutting the O’verlays panels to fit your cabinet door, painting them, and then attaching them to the door with either double sided tape or clear silicone adhesive.
You will also need to add paintable caulk around the edges for a finished look.
Tutorial: woodshopdiaries.com
Expected cost: $30-$50
Supplies:
- Tape measure
- Plywood
- Ruler or a straight edge
- Circular saw
- Jigsaw
- Sandpaper
- Stiles
- Construction adhesive
- Cordless drill
- 1 inch hole saw
- Paint or a sealant (optional)
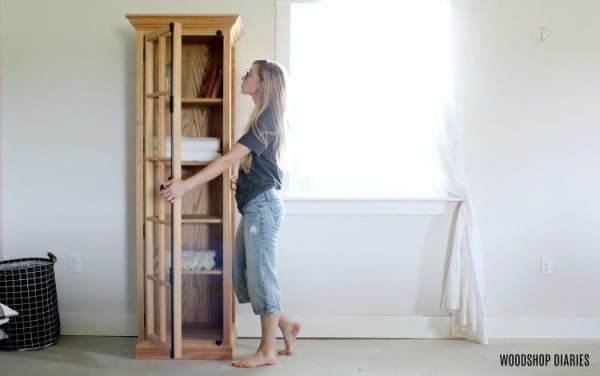
This project is a bit tedious, but not difficult. It involves building a frame for the door, attaching trim to the cabinet, and adding molding.
The most difficult part is cutting the glass panel to fit inside the door frame.
Tutorial: windowgenie.com
Expected cost: $30-$50
Supplies:
- Cabinet doors
- Glass or Plexiglas
- Trim molding
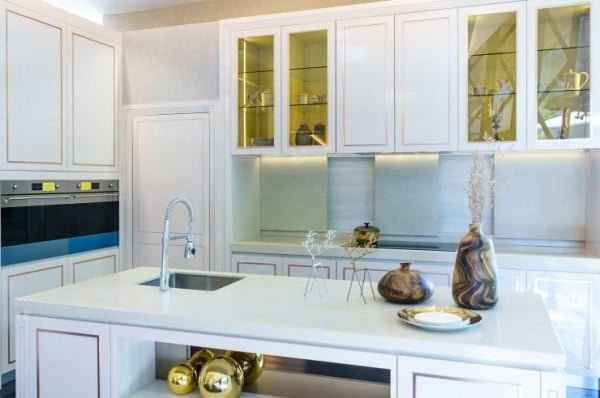
This project is a bit more difficult than some of the others, but it’s still manageable for most people. It involves removing the center panel from your cabinet doors and then cutting glass or Plexiglas to fit the opening.
You’ll also need to install trim molding around the edges of the glass to give it a finished look.
Tutorial: designsbystudioc.com
Supplies:
- Tape measure
- Plywood
- MDF
- Wood glue
- Cordless drill
- 1 inch hole saw
- Jigsaw
- Sandpaper
- Stain
- Polyurethane
- Cabinet hardware
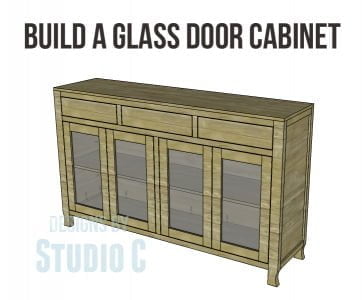
This project entails building a glass door cabinet with three drawers and a large shelf. It is not difficult to complete, but it does require some woodworking skills and knowledge.
Tutorial: honeybearlane.com
Expected cost: $30-$50
Supplies:
- Cabinet doors
- Router
- Glass
- Glue
- Sealant
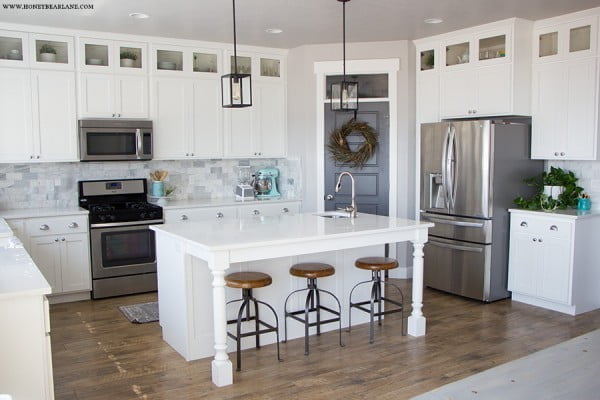
This project is a great way to add glass to cabinet doors. It is a simple process that only requires a few tools and materials.
The most difficult part of this project is routing out the center panels, but with a little practice it is not too difficult.
Tutorial: bendheim.com
Expected cost: $30-$50
Supplies:
- Tape measure
- Glass cutter
- Glass cleaner
- Retainer clips
- Glazing points
- Putty
- Silicone caulking
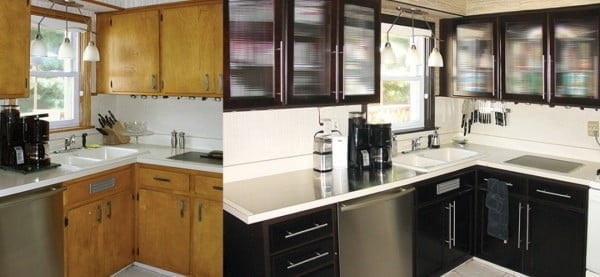
This project is a great way to enhance the look of your kitchen without spending a lot of money. It is a relatively simple do-it-yourself project that can be completed in a few hours.
The most important part of the project is taking accurate measurements of the cabinet openings. Once the glass inserts are cut to size, they can be installed using retainer clips, glazing points and putty, or silicone caulking.
Tutorial: thechroniclesofhome.com
Expected cost: $20 – $30
Supplies:
- Tape measure
- Plywood
- Ruler or straight edge
- Circular saw
- Jigsaw
- Sandpaper
- Stiles
- Rails
- Cabinet door hinges
- Cabinet door pulls
- Paint or stain
- Polyurethane
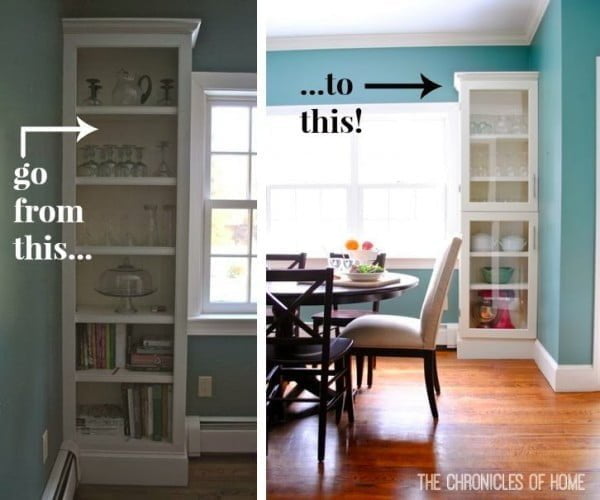
This project is a bit more difficult than some of the others on this site, but it is still doable for most people. It involves building custom glass cabinet doors for your kitchen cabinets.
The post provides detailed instructions on how to do this, as well as what tools and materials you will need.

Tutorial: growinggreenfields.co.uk
Expected cost: $10-$20
Supplies:
- fabric
- net curtain wire
- eyelets
- hooks
- drill
- sewing machine or needle and thread
This project is a fairly quick and easy DIY that will add a pop of color and hide the contents of your messy cabinets. You will need fabric, net curtain wire, eyelets, hooks, a drill, and a sewing machine or needle and thread.
Tutorial: snazzylittlethings.com
Expected cost: $30-$50
Supplies:
- Plunge router
- 1/2″ straight-cut router bit
- Scrap wood
- Pre-cut glass
- 3/4″ finishing nails
- 3/4″ outside corner molding
- Nail gun
- Scissors
- Vitrail Faux Leaded Glass Kit
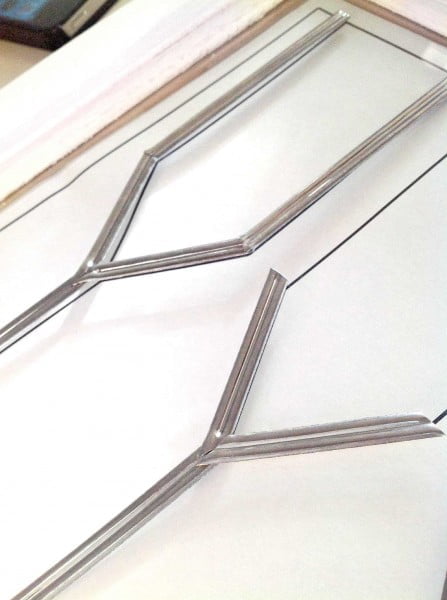
This project is a bit more difficult than some of the others on our blog, but it is still doable for most people. You will need a plunge router and a 1/2″ straight-cut router bit to remove the wood on your existing cabinet.
You will also need to make a guide out of scrap wood to create a straight edge for the router. Pre-cut glass is necessary to perfectly float in the insert.
3/4″ finishing nails and 3/4″ outside corner molding are required to hold glass in place. A nail gun, scissors, and Vitrail Faux Leaded Glass Kit are also needed.

Tutorial: ana-white.com
Expected cost: $30-$50
Supplies:
- 1×4 lumber
- Kreg Jig
- Drill
- Screws
- Paint or Stain
This project is a simple door that can be built with a Kreg Jig. It is a great project for beginners and can be completed in a weekend.
How to Add Frosted Glass Doors to Cabinets
Tutorial: bunnings.co.nz
Expected cost: $30-$50
Supplies:
- Tape measure
- Plywood
- Ruler or straight edge
- Circular saw
- High-grit sandpaper
- Stiles
- Construction adhesive
- Cordless drill
- 1 inch hole saw
- Paint or stain
- Cabinet doors
- Glass
- Cabinet hardware
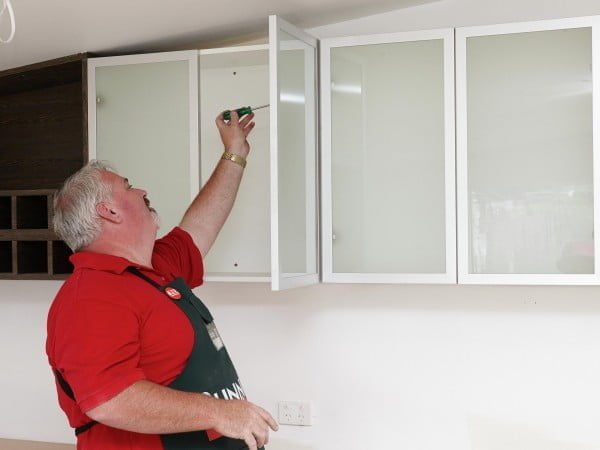
This project involves installing frosted glass doors in a kitchen cabinet. It is a relatively easy project that can be completed in a few hours.
Tutorial: debbiedionhayescreative.com
Expected cost: $30-$40
Supplies:
- Fusion Mineral Paint furniture clearcoat
- Muddaritaville stencil
- Paintbrush
- Painter’s tape
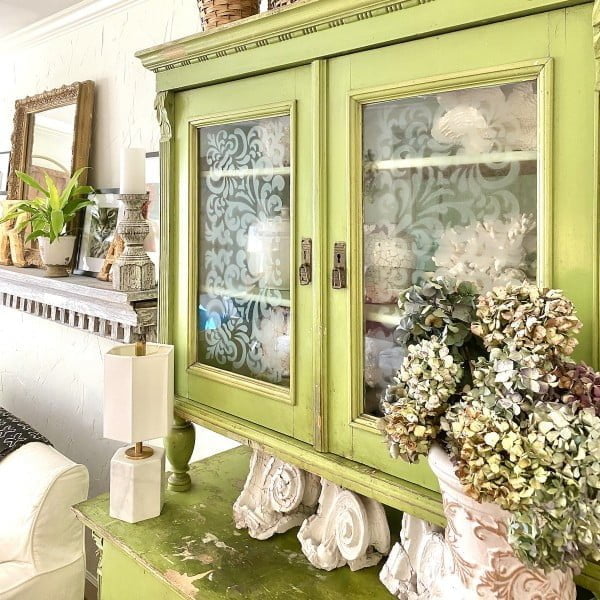
This project is a simple way to add interest to glass doors in your kitchen or cabinets. It uses a Fusion Mineral Paint furniture clearcoat product and a Muddaritaville stencil.
The project is easy to complete in a few steps and does not require any special skills or knowledge.
How to Replace Cabinet Glass
Tutorial: dullesglassandmirror.com
Expected cost: $30-$50
Supplies:
- Cabinets
- Glass
- Caulk
- Putty knife
- Ruler or measuring tape
- Glass cutter
- Sandpaper
- Sticky back plastic (optional)
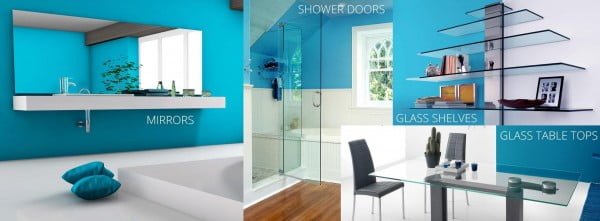
This project entails replacing or updating the glass in your cabinets. It is a relatively easy project that can be completed in a few hours.
How to Make Divided Glass Cabinet Doors
Tutorial: stumpynubs.com
Expected cost: $30-$50
Supplies:
- Tape measure
- Plywood
- Ruler or a straight edge
- Circular saw
- High-grit sandpaper
- Stiles
- Construction adhesive
- Cordless drill
- 1 inch hole saw
- Paint or a sealant (optional)
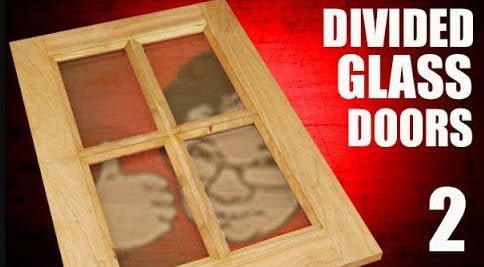
This project is a tutorial on how to make glass doors for cabinets and furniture. It is broken down into three parts, with this being the second part.
In this video, we will be covering how to make divided glass doors. This project is rated as being intermediate in difficulty.
Recap
