Last updated on
Practical tool box organization is essential because it saves time, reduces stress, and increases work efficiency in your DIY projects.
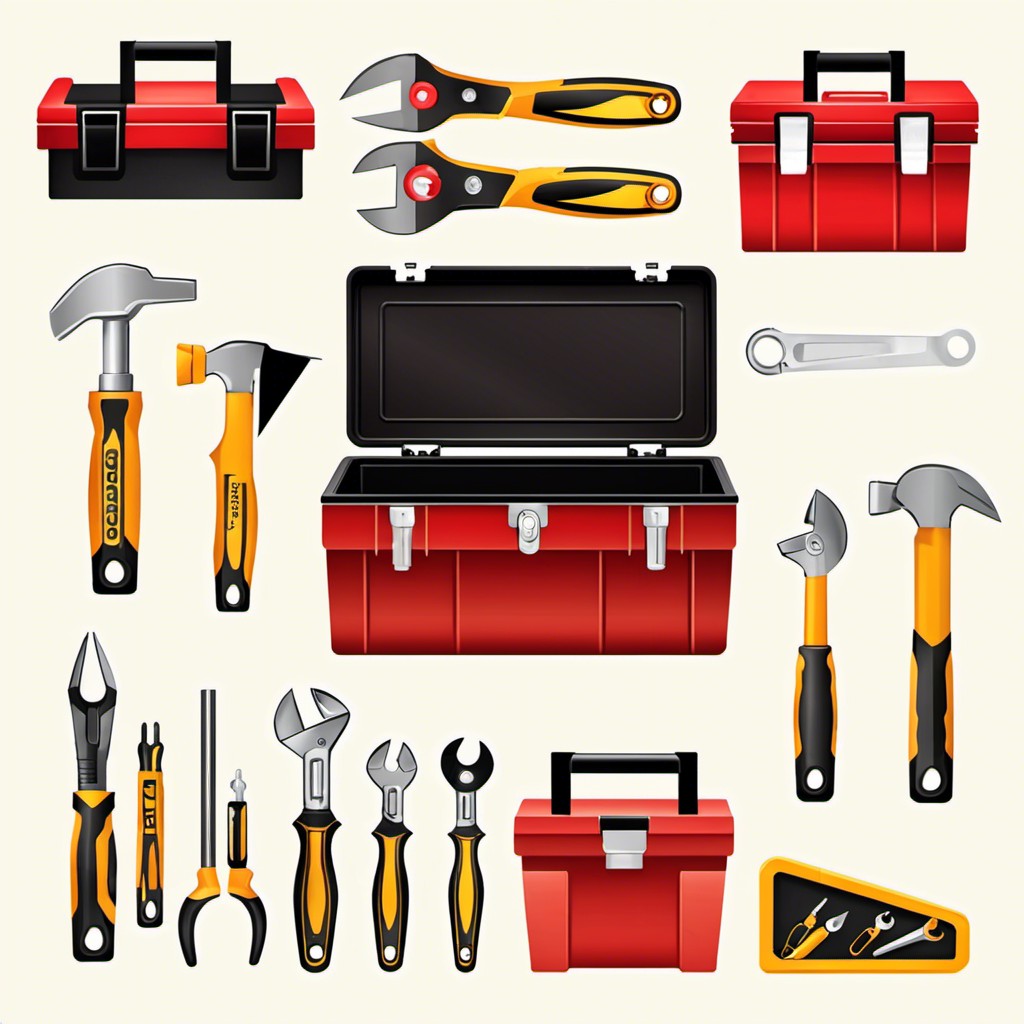
I am proud to present my article on ’20 Essential Tool Box Organization Ideas for an Efficient Workshop’, complete with unique illustrations designed by me, and I sincerely hope it inspires you and brings you as much joy as it brought me in creating them.
Organizing your toolbox can make your DIY projects or repair jobs much easier. This article is your guide to creating a well-ordered toolbox that saves you time and frustration.
Dive in to discover practical and budget-friendly ideas, from using foam inserts to compartmentalizing with small containers. Whether you’re dealing with a small, portable toolbox or a large chest, these tips will help you keep your tools in place and easy to find.
Stick around to get all the details on how to turn your chaotic toolbox into a model of efficiency.
Categorize Tools By Type
Diving right into it, categorizing your tools by type makes finding the right tool a breeze when you need it, also cutting down on clutter. Here’s how to go about it:
1. Group together all screwdrivers, pliers, wrenches, hammers, and similarly related items.
2. Tools that are job-specific like tiling or plastering tools, should go into their own category.
3. Keep the small items like nails, screws, and bolts in separate small dishes or boxes but in the same area for consistency.
4. Consider the weight too, heavier tools may need sturdy storage while lightweight tools can go into bins or drawers.
5. Rapidly assess the size and shape of your tools. Long, flat, round – each can have distinct spaces.
Handling the organization in this manner, your toolbox becomes instantly more functional, saving you time and effort in the long run.
Use Pegboards for Wall Storage
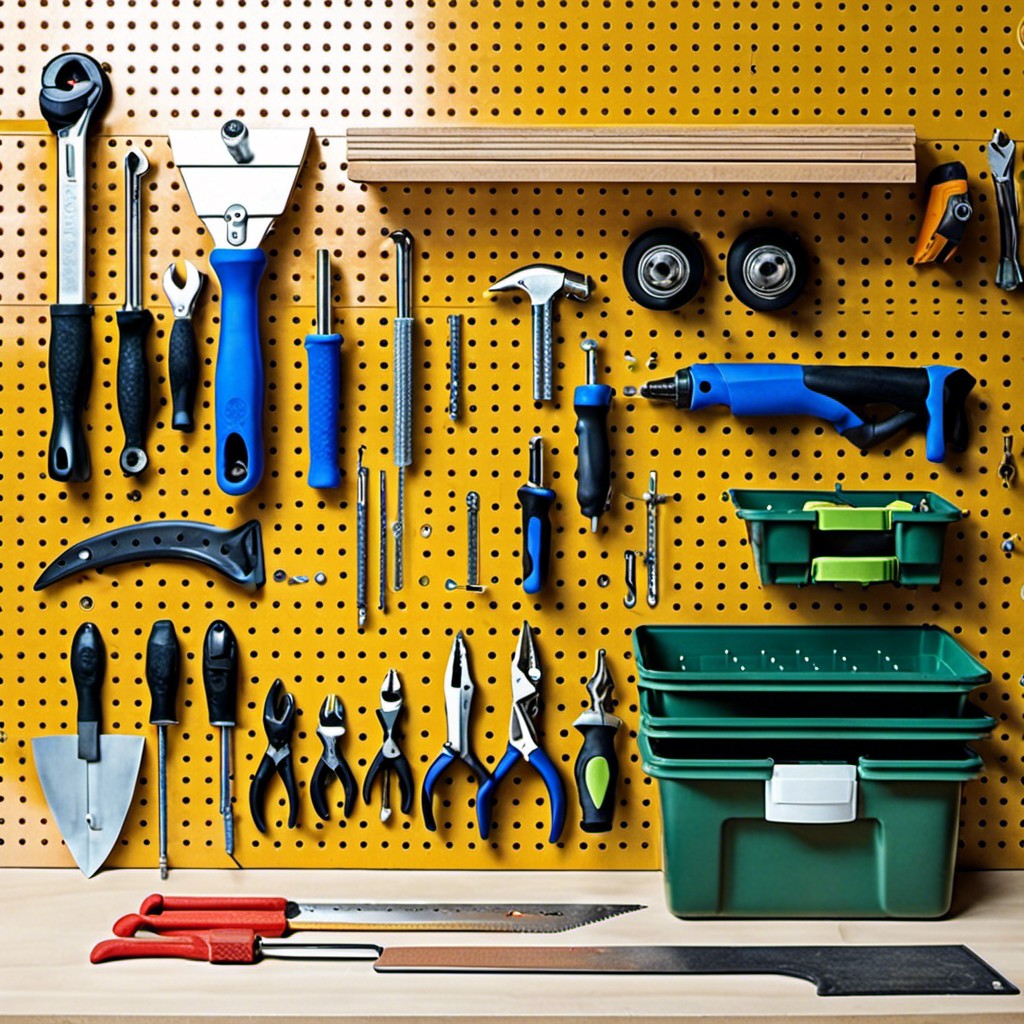
Pegboards can be a game-changer in tool organization. First things first, they save you a lot of space. By simply fixing them on your garage or workshop wall, you convert your vertical space into a practical tool holder.
Secondly, they offer visibility. With tools hung on the pegboard, you can instantly find what you’re looking for. No more sifting through piled tools in drawers!
Thirdly, pegboards are highly adjustable. You can customize the layout based on your tool sizes and most frequently used items. You simply purchase a bunch of hooks and holders suitable for your tools, and arrange them how you see fit. Don’t forget, it’s all about ensuring easy and fast access to streamline your workflow.
A bonus point is their aesthetic value. Carefully arranged tools can add an attractive visual element to your workspace. With various pegboard styles available on the market, they can easily complement your workshop interior. So, you’re not only organizing but also beautifying your space.
Despite their incredible benefits, remember to check that your wall can handle the weight, especially if you plan to hang heavier tools. Safety first!
Implement Drawer Dividers
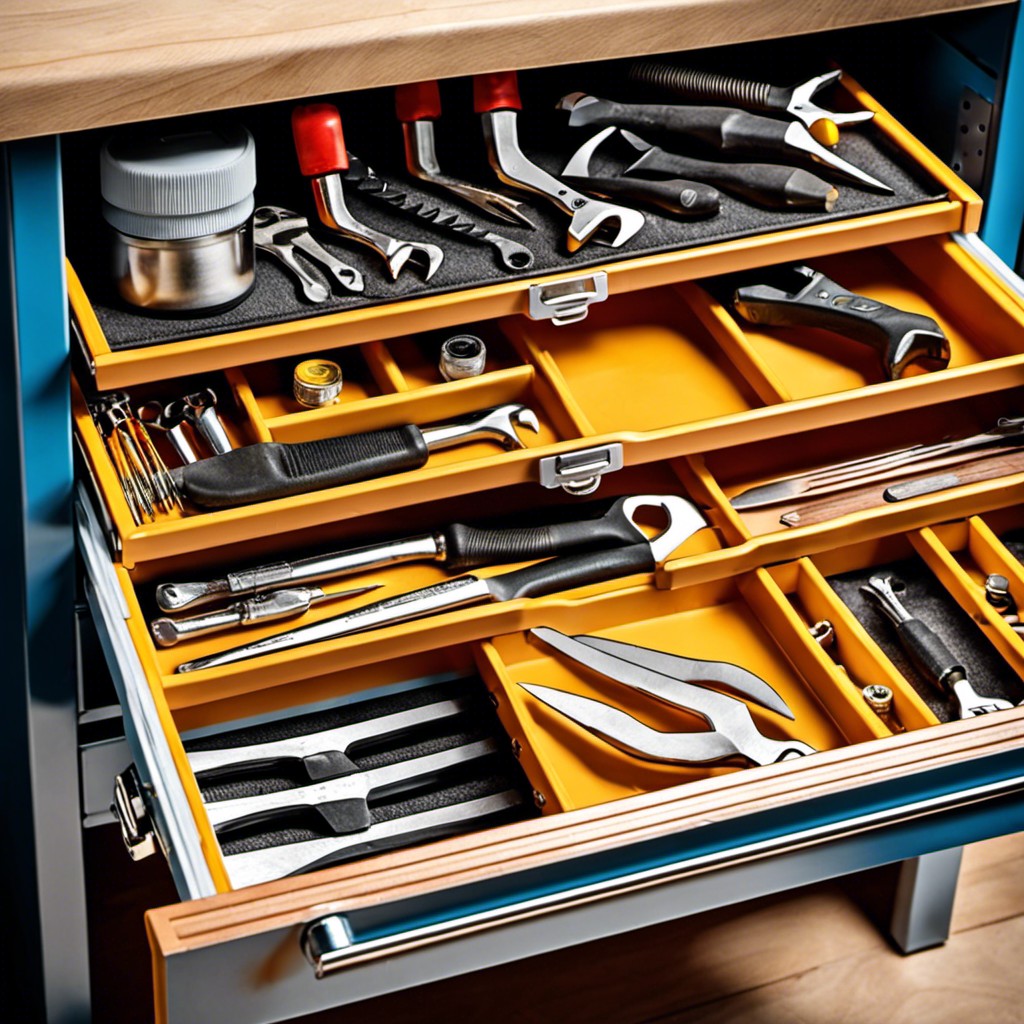
A seamless way to maximize your toolbox space and ensure every tool has its spot is to use drawer dividers. Think of your toolbox drawer as a puzzle, with dividers playing a pivotal part in organizing your pieces.
- Firstly, dividers can be adjustable, providing flexibility to accommodate varying shapes and sizes of tools.
- By creating dedicated slots, you reduce tool-damaging clutter and improve tool visibility, making work more efficient.
- When buying or making dividers, consider the size and depth of your drawers, as well as the tool dimensions.
- You can also customize dividers with cut-out foam or rubber linings for added tool protection.
- Don’t overlook the beauty of diagonal dividers, they can be a smart solution for long tools.
Despite their simplicity, drawer dividers can make a significant difference in maintaining an orderly and efficient toolbox.
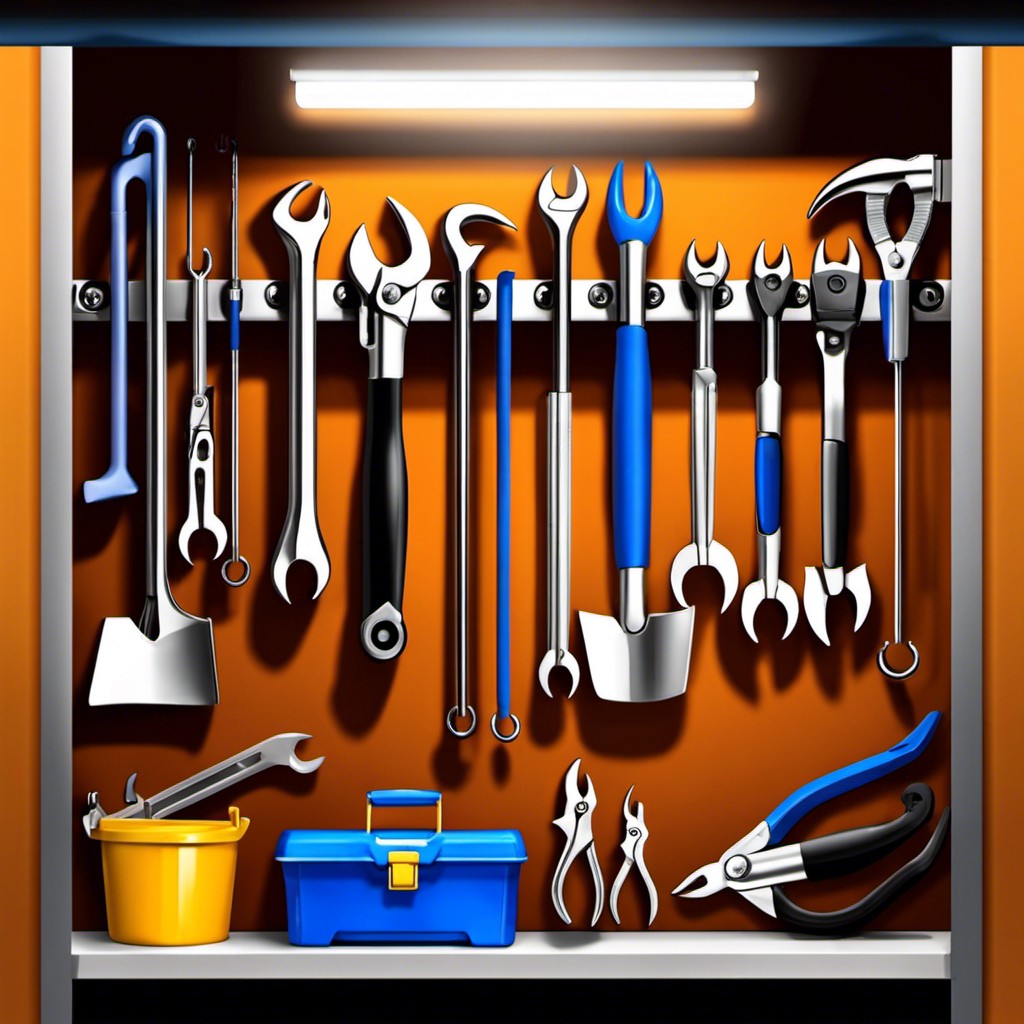
Employ Magnetic Strips for Metal Tools
Magnetic strips can be a game changer for keeping metal tools in arm’s reach and in full view. Available in various lengths they can be cut down to fit any space, making them versatile for small or large tool collections.
They are also relatively inexpensive and easy to install. Simply secure the strip on the side of a shelf, or even the inside of a cabinet door. You can hang anything made of ferrous metal such as wrenches, screwdrivers, and even drill bits.
However, avoid overloading the magnetic strip or hanging sharp tools that could potentially cause accidents if they were to fall. Safety should always be your top priority.
Remember, a well-organized space not only saves time, but also increases productivity and makes the whole DIY process much more enjoyable.
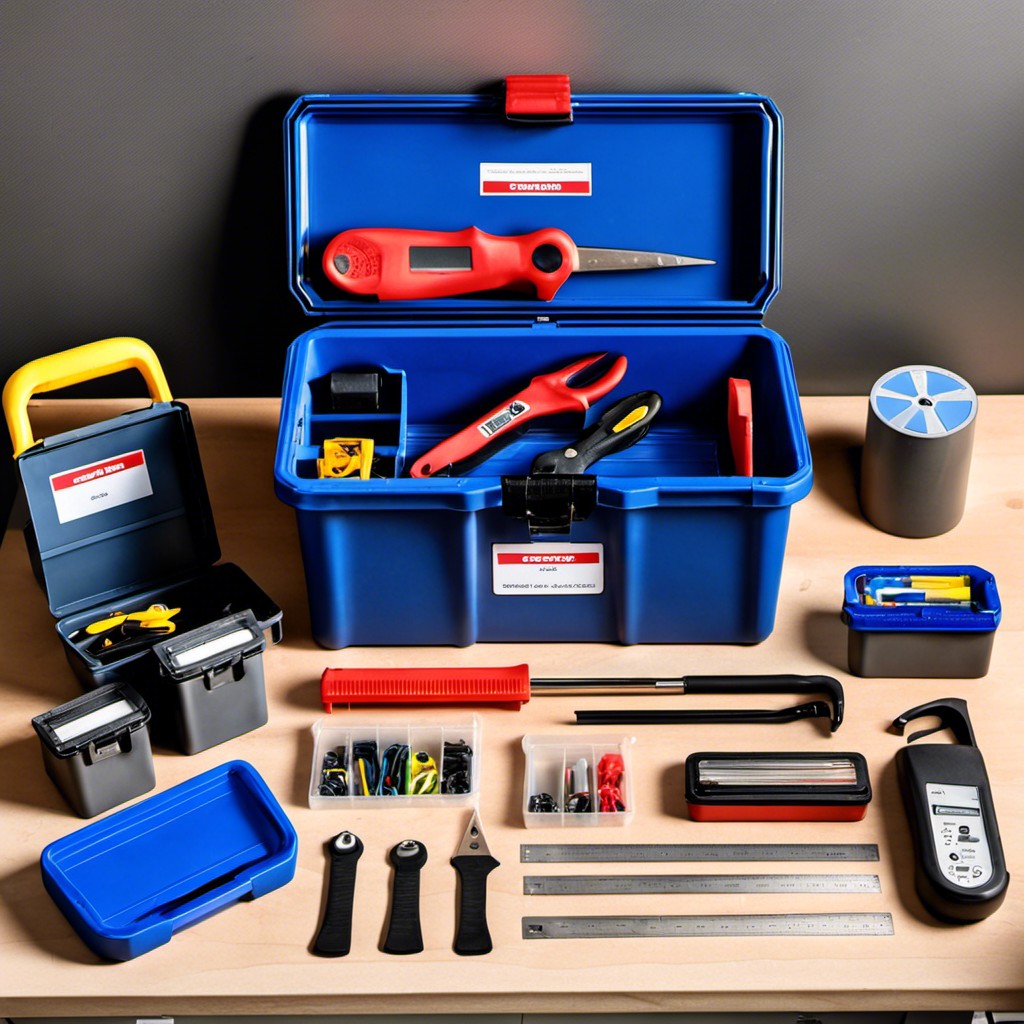
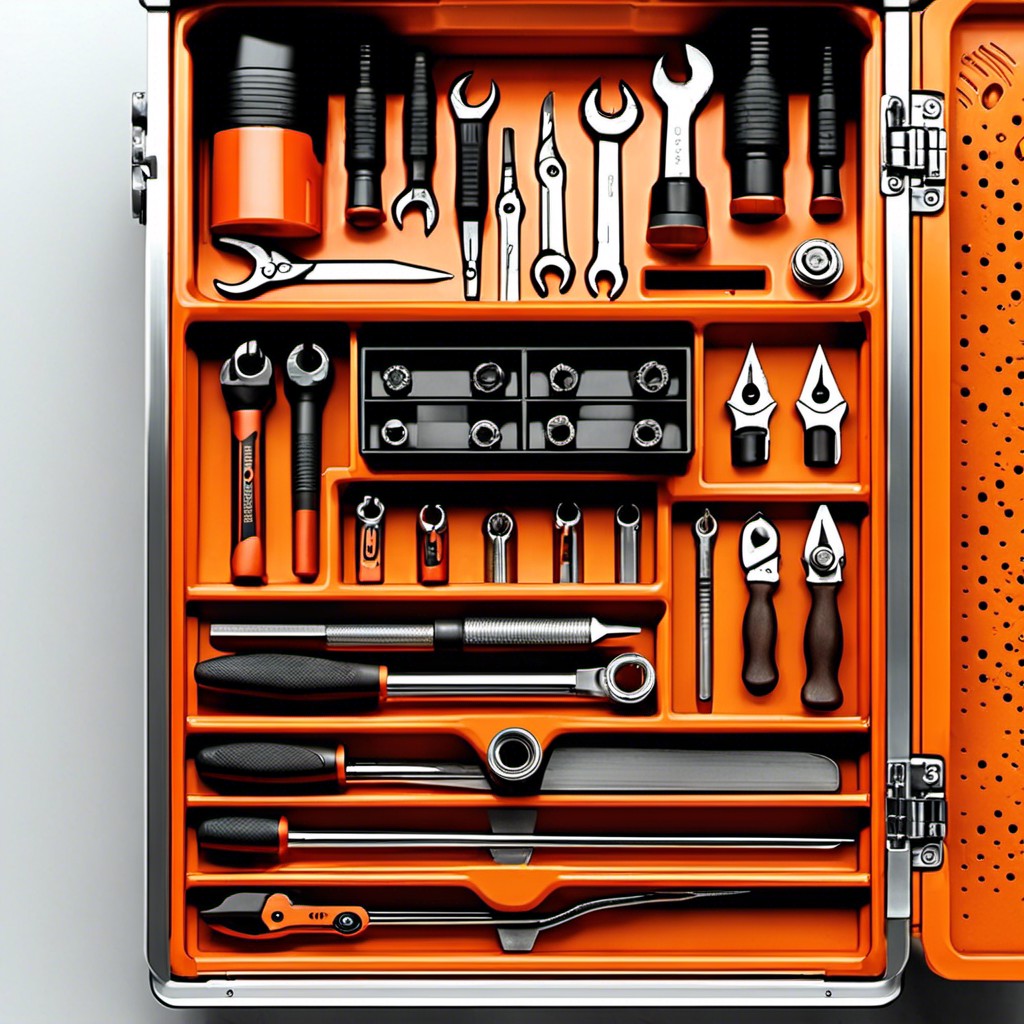
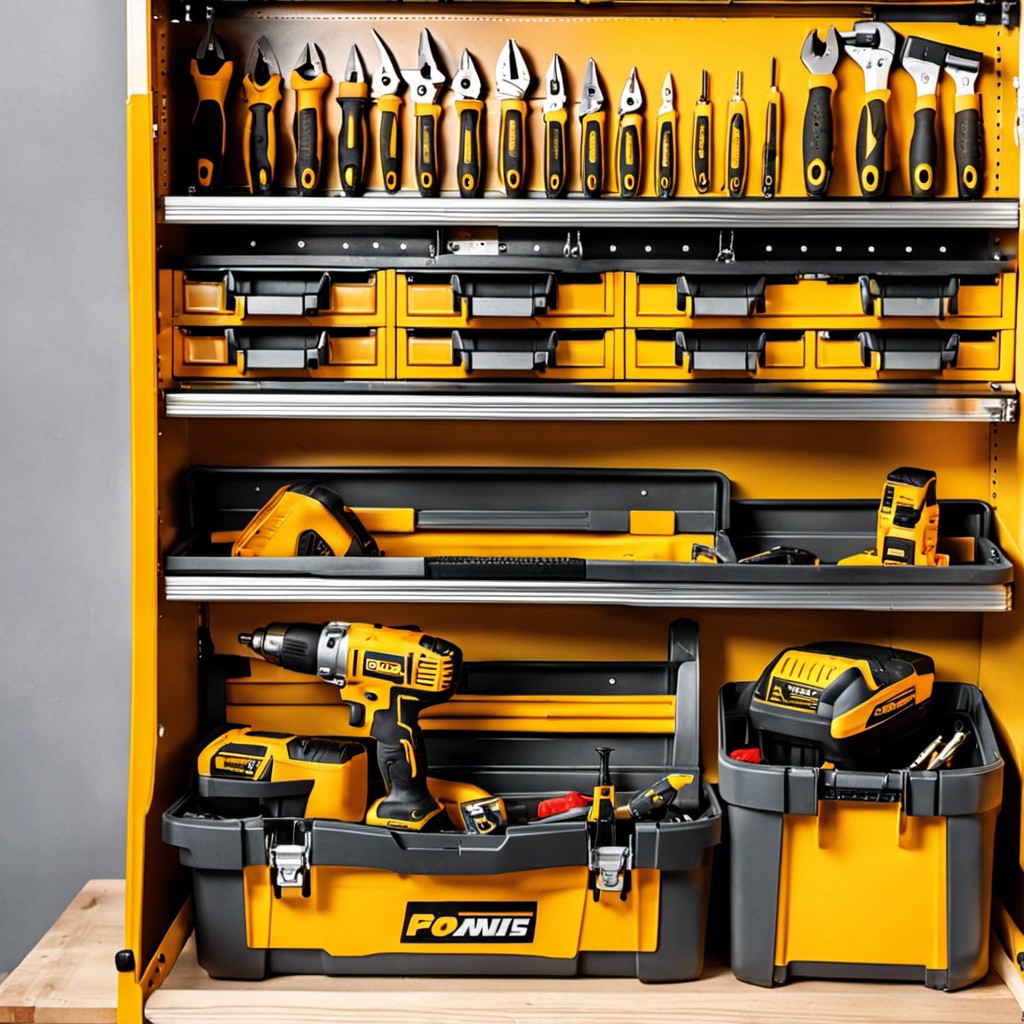
Use Toolboxes With Multiple Compartments

Harnessing the organization power of toolboxes with numerous compartments can indubitably streamline your work process. First, compartments aid in easy identification of tools, reducing time you’d otherwise waste rummaging around. Designate each compartment to a unique tool type; perhaps screwdrivers in one, pliers in another, such separation would offer quick access.
Take advantage of the various compartment sizes as well. Larger spaces can hold bulky power tools while smaller ones can safely store delicate items like measuring tapes or tiny drill bits. And here’s an insider tip: you could allocate compartments not only by tool type but by the frequency of tool usage. By positioning your frequently used tools within easy reach, efficiency is further enhanced. Make use of these compartments smartly and see your toolbox transform into a beacon of organization. Remember, it’s not just about having a place for everything, but maximizing the space for swift, hassle-free access.
Use a Label Maker for Increased Clarity
Taking the time to mark each drawer and compartment with your label maker not only keeps your tool box tidier, but also significantly reduces the time spent on searching for the right tool. The key is to label by tool type, size or purpose depending on your preference.
For example, one drawer might be labeled ‘screwdrivers‘, another ‘wrenches‘, and so forth. It’s also helpful to label individual compartments within drawers for small parts like screws, nuts, and bolts.
This way, even if someone else uses your tool box, they will know exactly where to find and return each tool. A well-labeled tool box is a highly efficient tool box!
Implement Modular Tool Storage Systems
Switching over to a modular system can be immensely beneficial. Not only are they infinitely customizable, allowing you to create a storage solution tailored to your specific tool collection, but they also adapt to your changing needs. As your collection grows, you can simply add more modules.
This flexibility means you are not tied into one setup. Instead, the system evolves with you over time. A few modular system styles to consider include wall-mounted panels, mobile units, and stand-alone cubes and drawers. Opt for stackable modules to make the most of vertical space and keep your workspace clutter-free. Keep in mind, your most frequently used tools should be more accessible to save you time. Specify modules for different tool types or professions for added convenience. Remember, every tool has a place in a modular system.
Downsize and recycle any non-essential or outdated tools. Keep tools well-maintained to maximize the life span and functionality of your modular system. With the right approach, a modular system can revamp your workspace, making it more efficient, organized, and conducive to productivity.
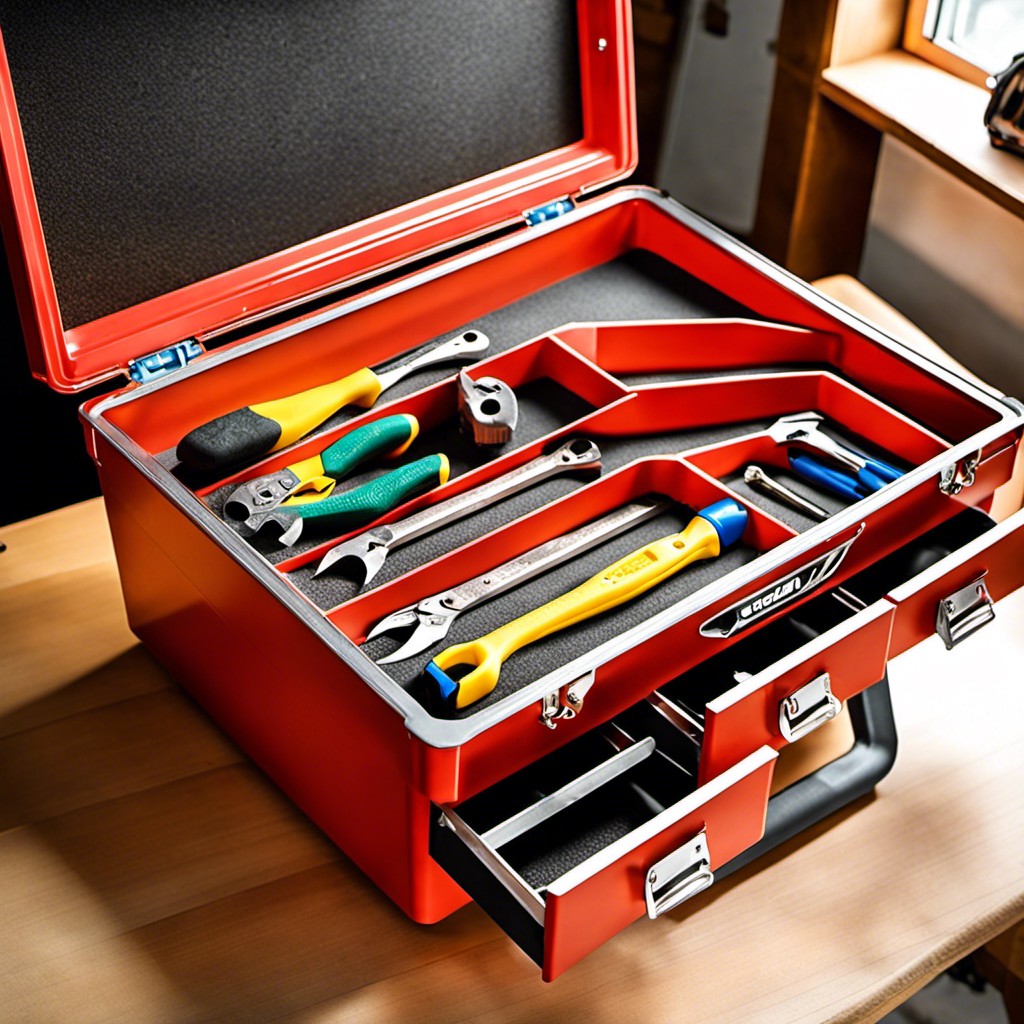
Store Larger Tools in Deep Drawers or Bins

When it comes to those hefty, bigger tools, providing them with their own designated storage can reduce clutter and ensure ease of access. A spacious drawer or a robust bin could be the perfect home for these items. Everything from saws to power drills can safely be housed in these spaces, allowing room for organization and prevention of any potential harm due to improper placement.
Here are a few points to consider:
- 1. Choose a drawer or bin that can withstand the weight of the tools.
- 2. Avoid overfilling – ensure that there’s sufficient space for each tool.
- 3. Ensure ease of access. Don’t bury often-used tools beneath rarely-used ones.
- 4. Consider adding padding at the bottom of the bins or drawers for extra protection of your tools.
- 5. Sort by size – place similar sized tools together for aesthetic consistency and practical use.
By giving your larger tools a dedicated space, you’ll save time on finding them and increase overall productivity. Remember, organizing your tools effectively brings efficiency and harmony to your workspace.
Utilize Wall-mounted Racks for Long Tools
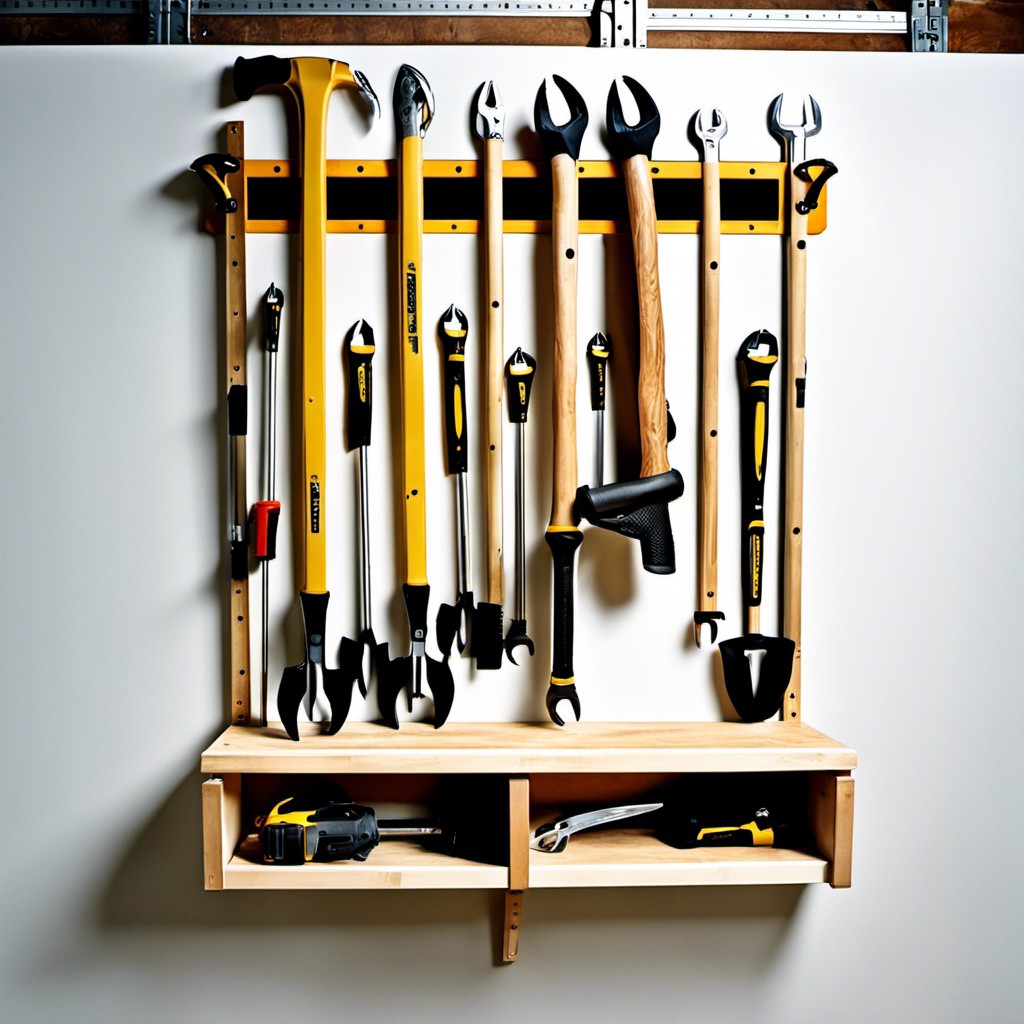
Wall-mounted racks offer an ideal solution when dealing with long tools like rakes, brooms, or mops. By keeping these items off the ground, you maintain an organized toolbox and maximize workable space.
Here are the key points essential to this system:
- Gravity is your friend. Leverage it in positioning your tools – the heavier end should always be at the top.
- Make a habit of assigning specific spots for each tool. You’ll locate your tools easily without wasting time.
- Ensure your rack is sturdy. Remember, it needs to withstand the combined weight of your long tools.
- Install the rack at a reachable height. Your tools should be easy to access and put back.
- Consider space between tools. Avoid clashing handles by leaving enough space between each tool on the rack.
- Take advantage of vertical space, especially in small tool sheds or workshops.
By taking these points into account, you’re on the path to a well-organized toolbox fitting your needs perfectly. Whether you have a small home toolbox or a large workshop, this strategy will prove both convenient and practical.
Use Tool Pouches for Specific Jobs
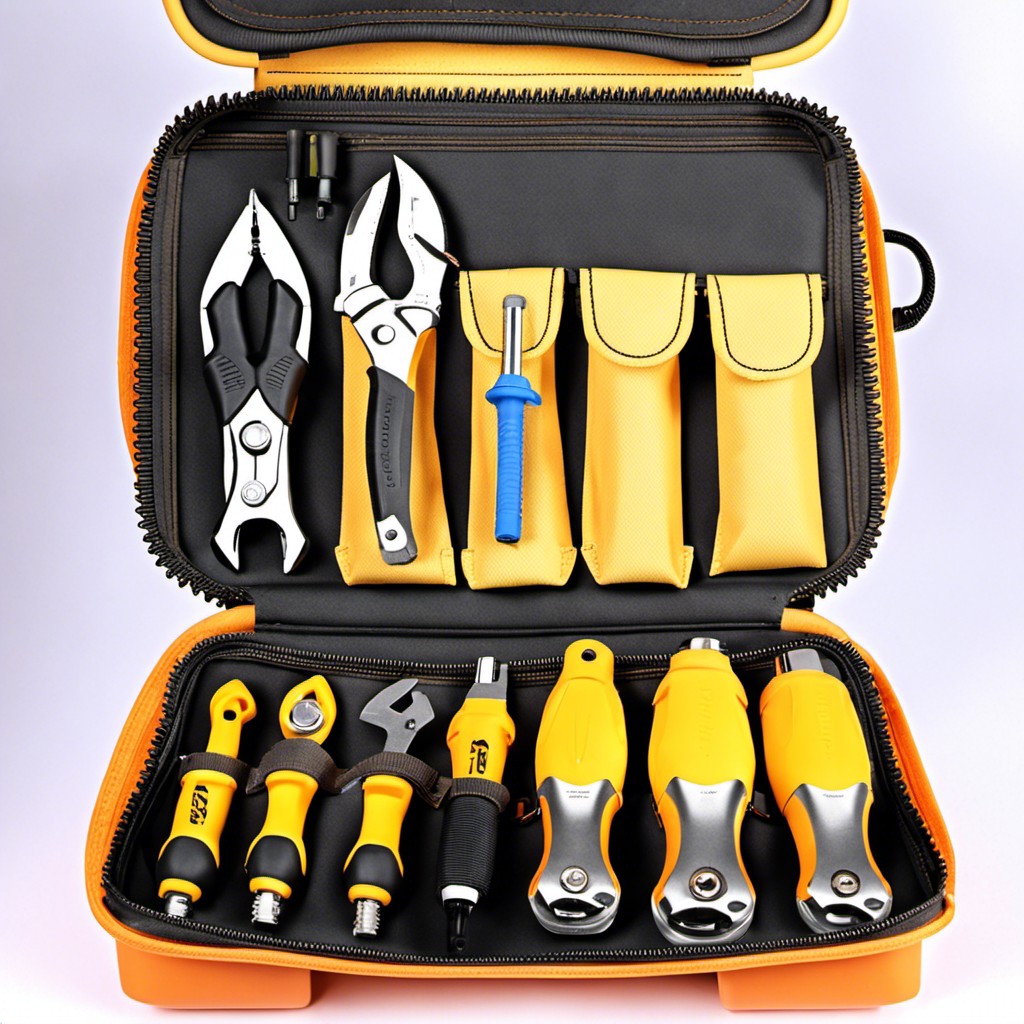
Having tool pouches dedicated to specific types of jobs can be a real time saver. Think about it this way: If you’re frequently doing electrical work, having a pouch stocked with wire cutters, voltage tester, and wire stripper saves you the trouble of rummaging through a mixed tools box.
The same goes for plumbing jobs, woodwork, or even simple tasks such as picture hanging. Consider your personal needs and establish pouches based on the jobs you find yourself undertaking regularly. Pouches also offer great mobility, allowing you to carry just the right tools wherever you need them.
Consolidate Rarely Used Tools in One Place
Clutter in your tool box often comes from the misplaced items you use infrequently. However, that doesn’t mean they need to be scattered all over. It’s beneficial to gather these seldom-used tools and keep them in a particular, dedicated area within your box or workspace.
1. This frees up the main compartment for everyday tools, enabling easier access.
2. It prevents loss or misplacement of hardly used but potentially essential tools.
3. Challenges in hunting for these tools during infrequent usage will be reduced, resulting in less frustration and more efficient work.
4. It creates a significant amount of additional space for other organization methods.
5. It allows for a good inventory check, ensuring you don’t purchase duplicates unnecessarily.
Next time when that rarely used tool is necessary, you know exactly where to find it!
Use a Tool Cart for Mobility
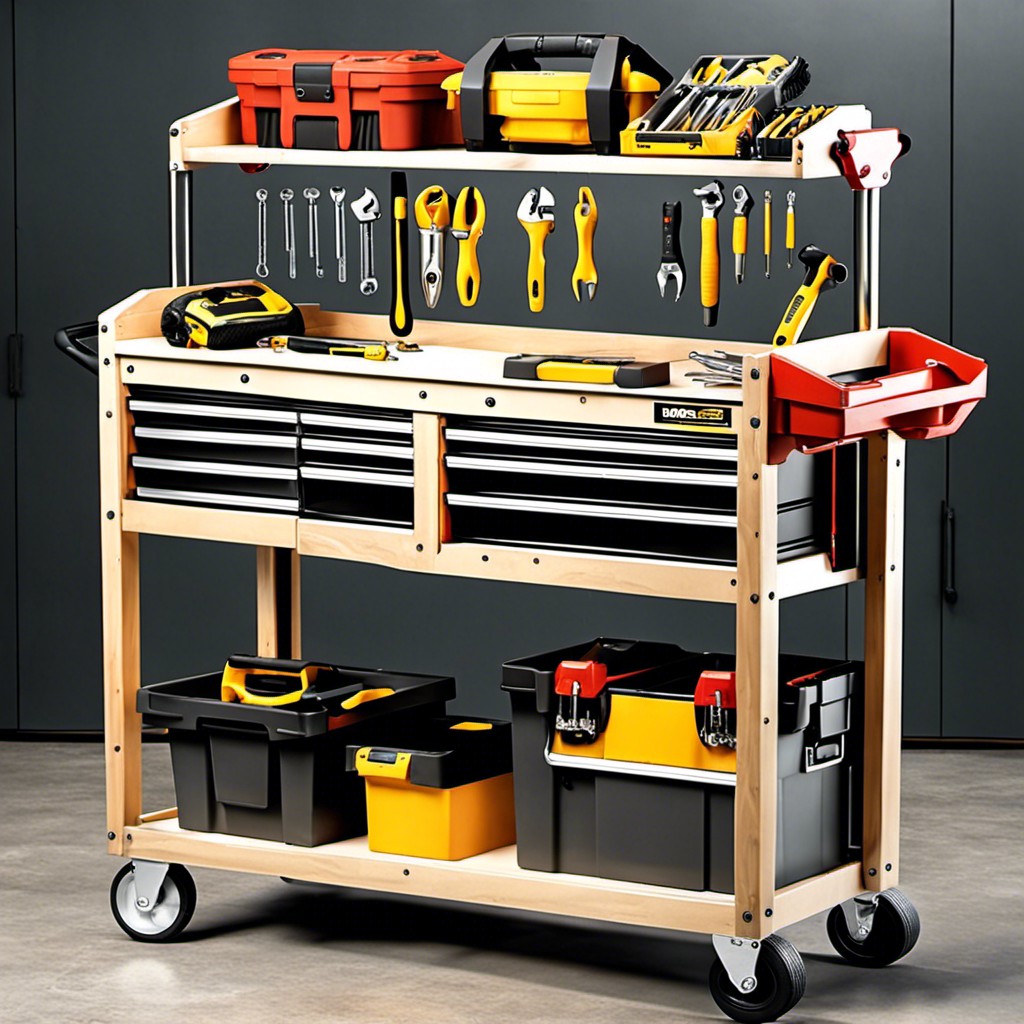
One of the key advantages of using a tool cart is mobility. It enables easy access to tools especially during expansive tasks; simply wheel it to your current work area.
Firstly, consider a cart with sturdy wheels that lock. This ensures stability while you work, and mobility when needed.
Opt for a tool cart with multiple compartments and drawers; it allows for organized storage of tools according to size or frequency of use.
Remember to store heavier, frequently-used tools at the bottom drawer. This grants better balance and less strain when reaching for them.
Investigate carts with built-in work surfaces – possibly a space to work on small projects or place tools while working.
Finally, think about additional features like side handles for easier maneuverability, or hooks for hanging items like towels or task aprons. These seemingly small aspects can significantly enhance efficiency and ease of use.
Arrange Tools According to Frequency of Use
Organizing your tools can be made more efficient by paying attention to how often each one is used. Those used daily should be placed in easily accessible areas, while less frequent tools can be stored deeper within your toolbox. In essence, your most-used hammer should never be buried beneath tools that see light only a few times per year.
1. Identify your most commonly used tools. These typically include screwdrivers, hammers, and tape measures.
2. Make these tools easily accessible. Top drawers or easily reached compartments are ideal spots.
3. Consider secondary storage for seldom-used tools. If your toolbox is overflowing, house rarely accessed items in a separate location, such as a closet or under workbench storage.
4. If a tool doesn’t have a place, find it one. Remember, you’re always aiming for quick and easy access, and that means knowing exactly where each tool rests.
5. Evaluate what tools you’re using regularly. You may find your needs change over time, so adjust tool placements as necessary. Your toolbox should evolve as your project needs do.
Use Foam Tool Organizers for Specific Tool Shapes
Investing in foam tool organizers can escalate your toolbox organization game. These custom-fit shelving aids maintain tool shape while minimizing potential damage. This solution not only keeps your tools secure but also highlights any missing items at a glance.
Here’s how to make it work:
- Trace Each Tool: Lay each tool on the foam and trace around it. This ensures each tool has a designated slot matching its shape, making it easy to find and replace.
- Cut the Shapes: Using a precision knife, cut out the traced shapes. A well-cut foam organizer snugly holds the tool in place, preventing them from knocking each other around.
- Glue Foam to Toolbox: Apply a strong adhesive on the bottom of the foam cutouts. Then, stick it to the base of your toolbox drawer, ensuring stability.
- Position Your Tools: Once the glue dries, insert your tools into their individual positions you created.
Remember, organization not only saves time but extends the tool’s lifespan by preventing unnecessary damage. The effort is well worth the reward.
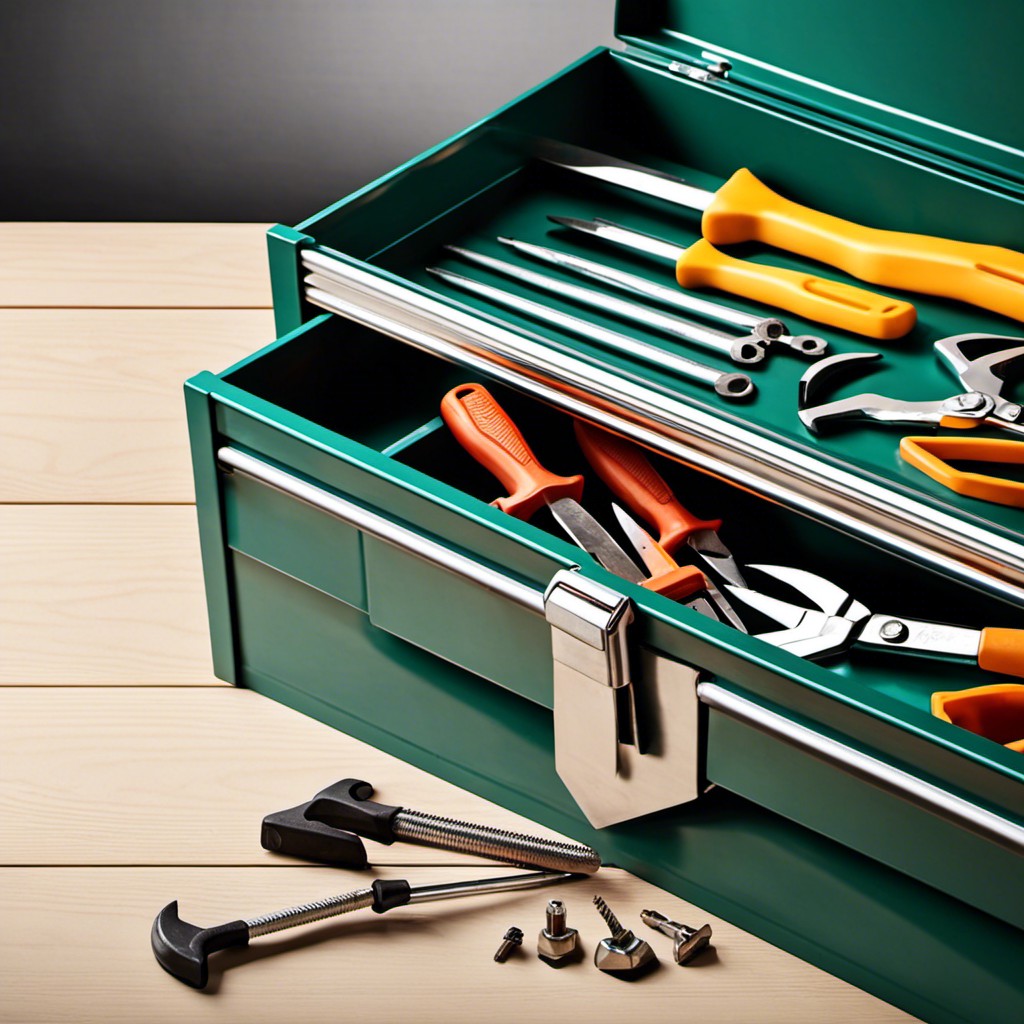
Create a Separate Box for Power Tools
Designating a dedicated space specifically for power tools not only improves organization but also prolongs tool life. Here’s how to maximize efficiency:
1. Size Matters: Keep in mind the dimensions of your power tools. They are typically larger and require more storage space. Make sure the separate box you choose is sufficiently roomy.
2. Care for Cords: Take advantage of built-in cord storage or even use cord wraps to prevent tangles and damage.
3. Accessible Accessories: Some power tools come with bits, blades, or other small accessories. Store them sachet bags or small containers within the same box.
4. Cushioning: Consider lining your box with foam or rubber mats. These discourage tool movement, reducing the risk of damage.
Remember, the aim is to keep power tools secure, easily accessible and in prime working condition. The right box does wonders!
Implement Hanging Storage for Hard Hats and Safety Gear
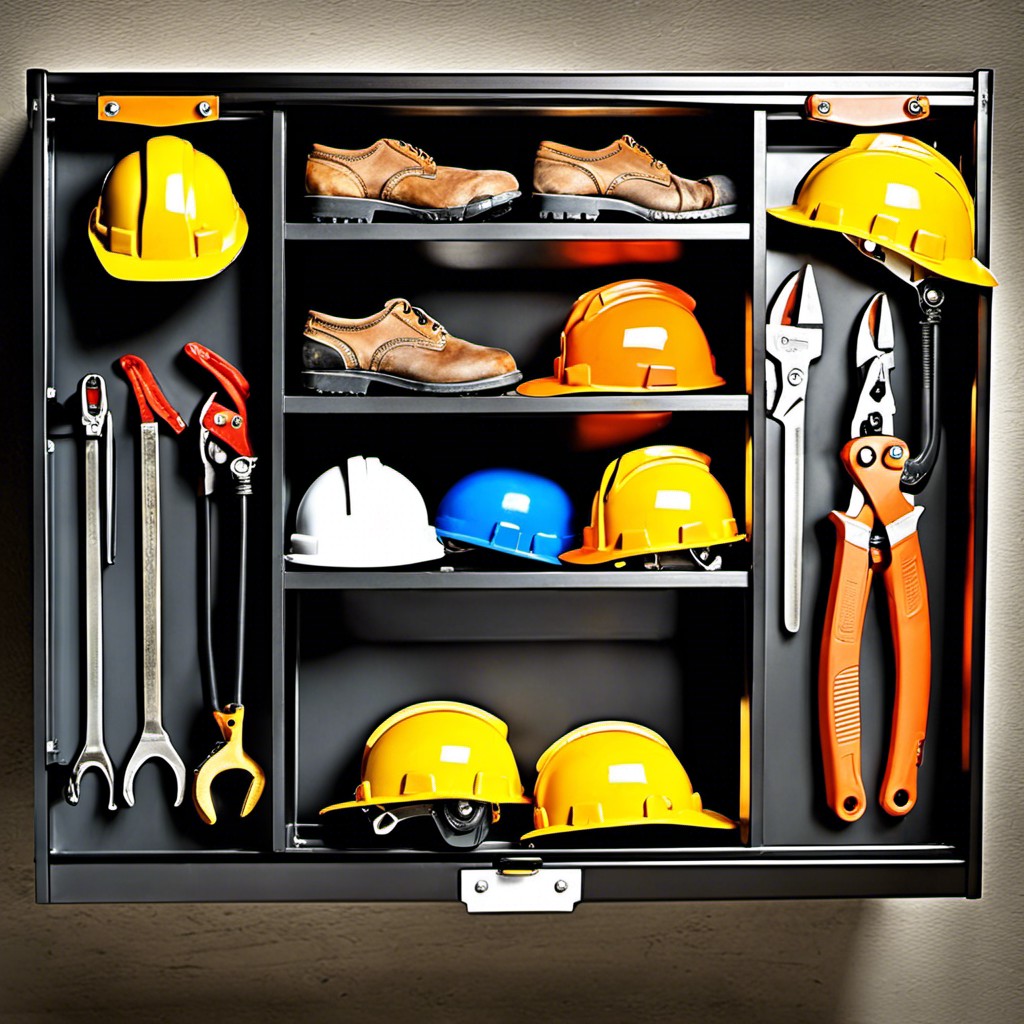
Having a suitable spot for safety gear such as hard hats, goggles, and gloves can be a game changer. Start by dedicating a specific area, typically near your work station’s entry or exit point for instant accessibility. Hanging them prevents dirt build-up and deformation due to improper storage.
You can opt for sturdy S-hooks that can hang from wire shelving or directly from the wall. Wall-mounted coat racks or even over-the-door hangers can come in handy too. Remember to assign different hooks to different gear items to avoid clutter. The clear visibility also ensures you don’t forget to use them when working on hazardous tasks. Although simplistic, this litany of benefits makes it a fitting addition to your toolbox organization strategy.
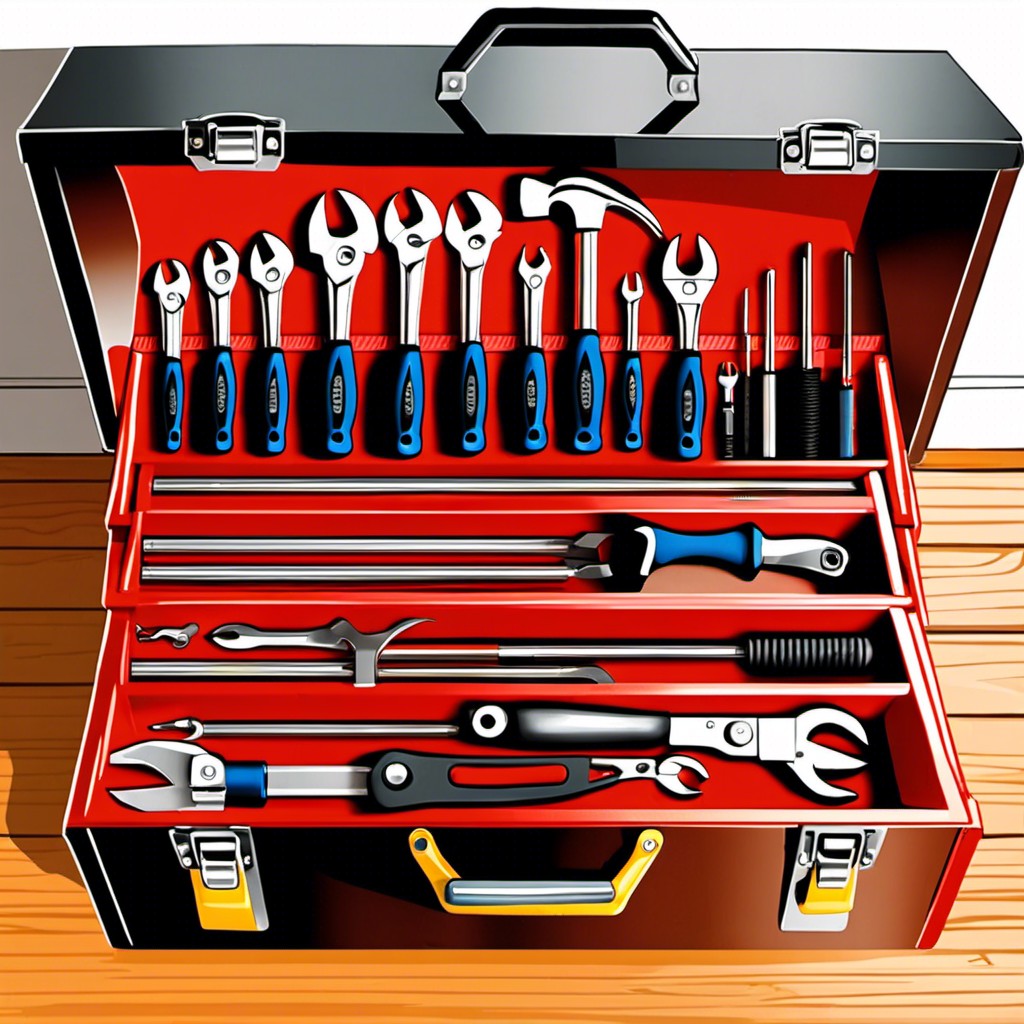
Install a Pegboard Inside the Toolbox Lid
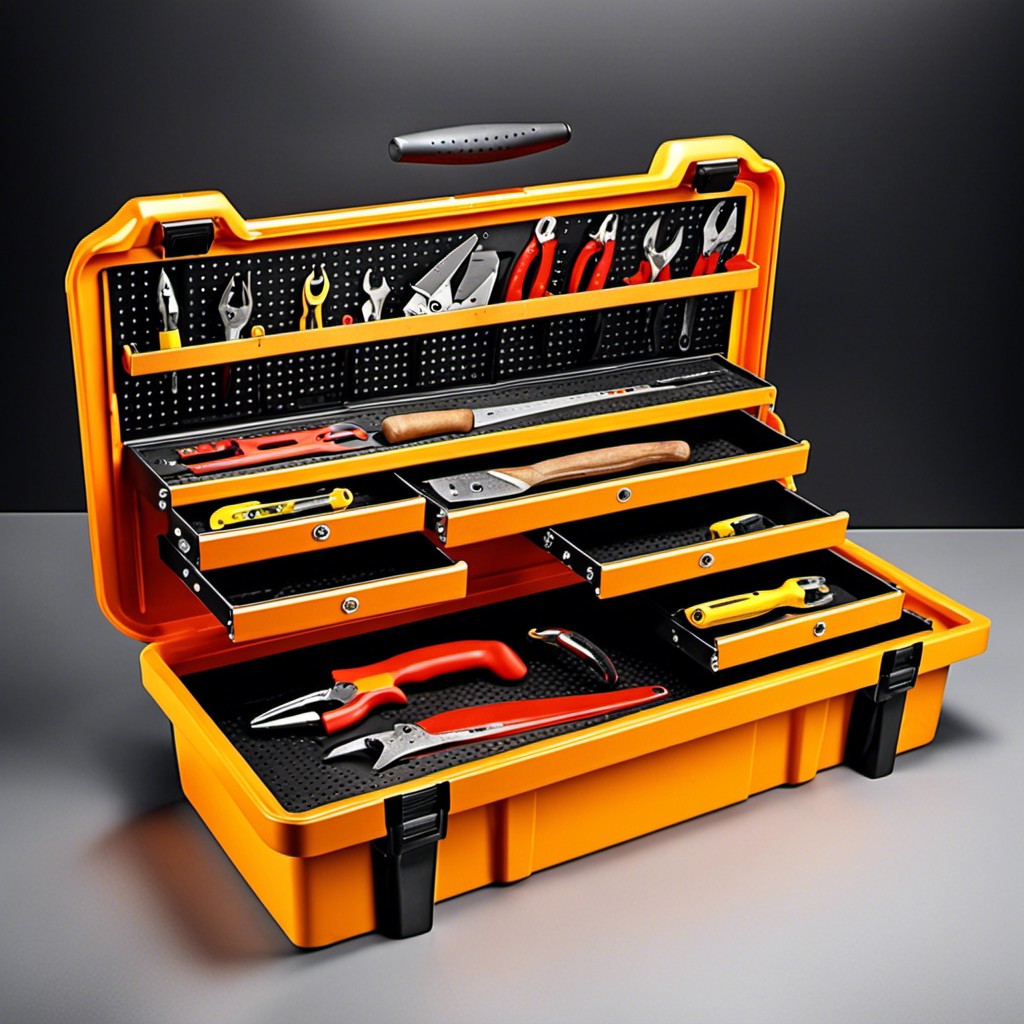
Firstly, select a perfect-sized pegboard for your toolbox lid. The reasonably small holes in the pegboard make it appealing for storing a variety of hand tools. Ensure it fits snugly into the inner lid of the box. Have it cut to size if necessary, considering some room for clearance when the toolbox is shut.
Next, you’ll need to attach the pegboard. Heavy-duty adhesive or drilling small holes to allow screws can opt for this step. Be sure to secure the corners and edges for maximum stability.
Now comes the rewarding part – organizing your tools. Take advantage of hooks and pegs designed specifically for pegboards. They clip in and out easily, providing a seamless and highly flexible arrangement.
Don’t forget, it’s crucial to consider a tool’s weight – too much pressure on the lid could warp the pegboard or force screws to loosen. Most hand tools are lightweight and ideal for this method. Consequently, your often-used tools, such as screwdrivers, wrenches, or pliers, will always be within convenient reach.
By employing this ingenious toolbox hack, you’re using every square inch of available space, leaving the main compartment available for larger items. It’s a clever and practical way to keep your tools neat, secure, and organised.
Please remember, safety is paramount. Always follow proper safety procedures when using tools and modifying your toolbox.
Utilize Clear Plastic Bins for Small Parts
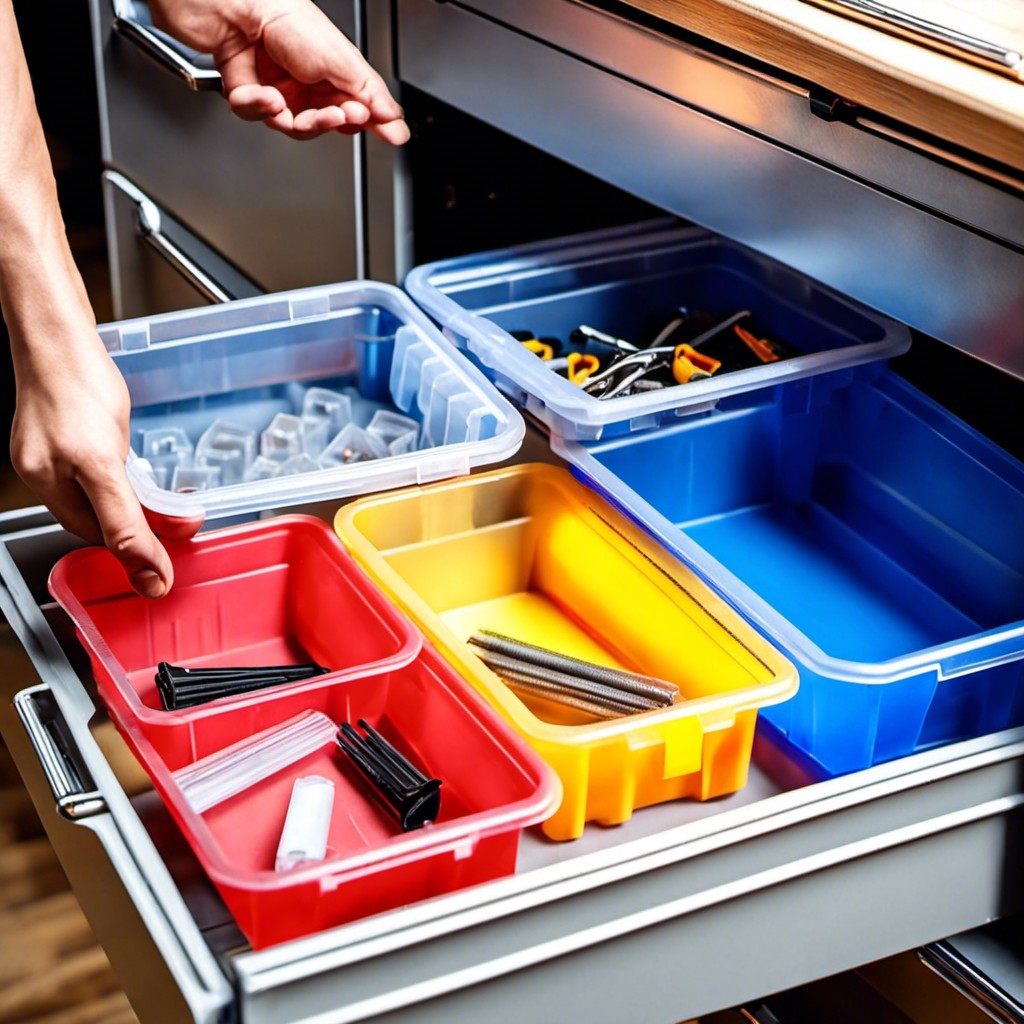
Clear plastic bins serve as excellent repositories for minute components like nails, screws, nuts, and bolts.
They offer visibility, enabling quick identification of the contents.
Choosing stackable variants enhances the efficient utilization of toolbox space.
To make things simpler, you could allocate a certain bin for a specific type of item.
Furthermore, bins with built-in dividers can facilitate a more detailed categorization.
It’s important to keep these containers in easily accessible spots for frequent utilization.
Lastly, consider investing in durable ones to avoid breakages or spills, particularly for sharper pieces.
Enjoy a neat, clutter-free toolbox with everything at your fingertips.
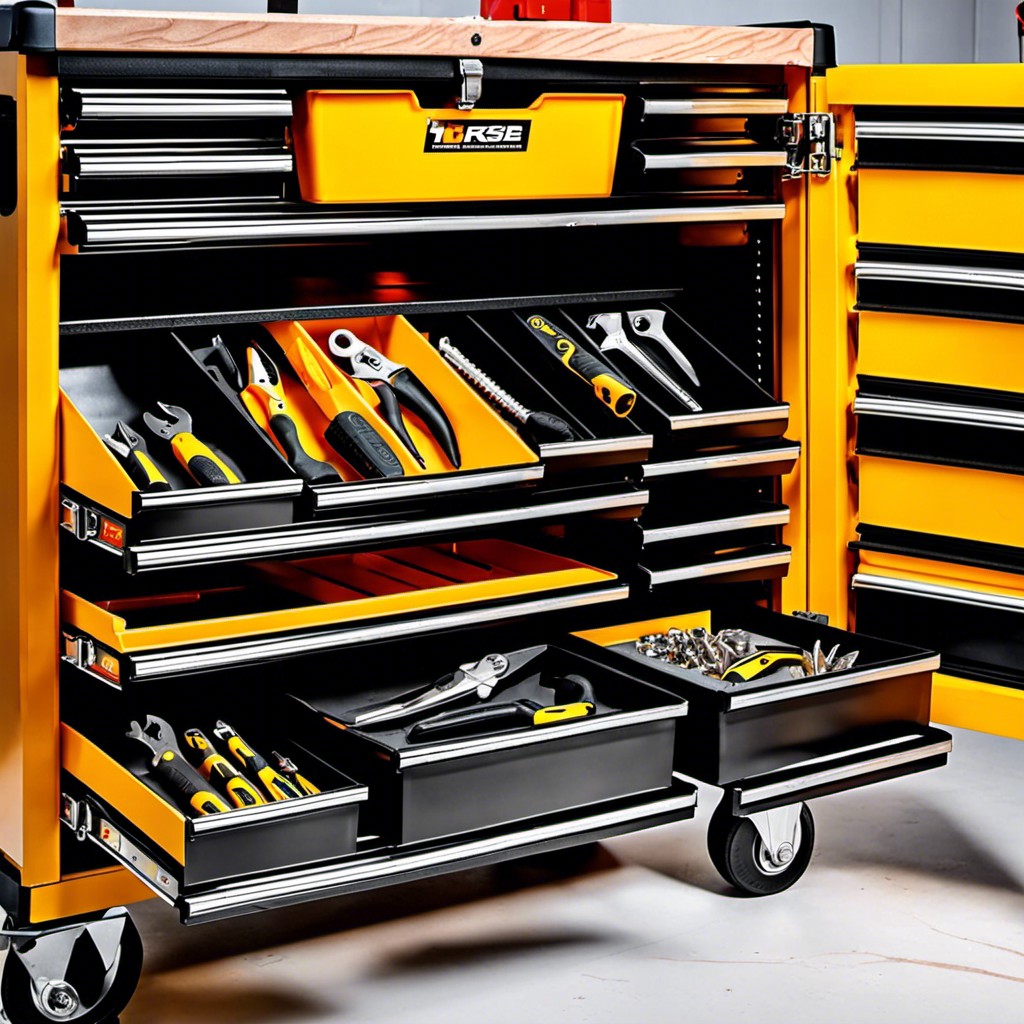
Implement Rolling Tool Cabinets If Space Allows
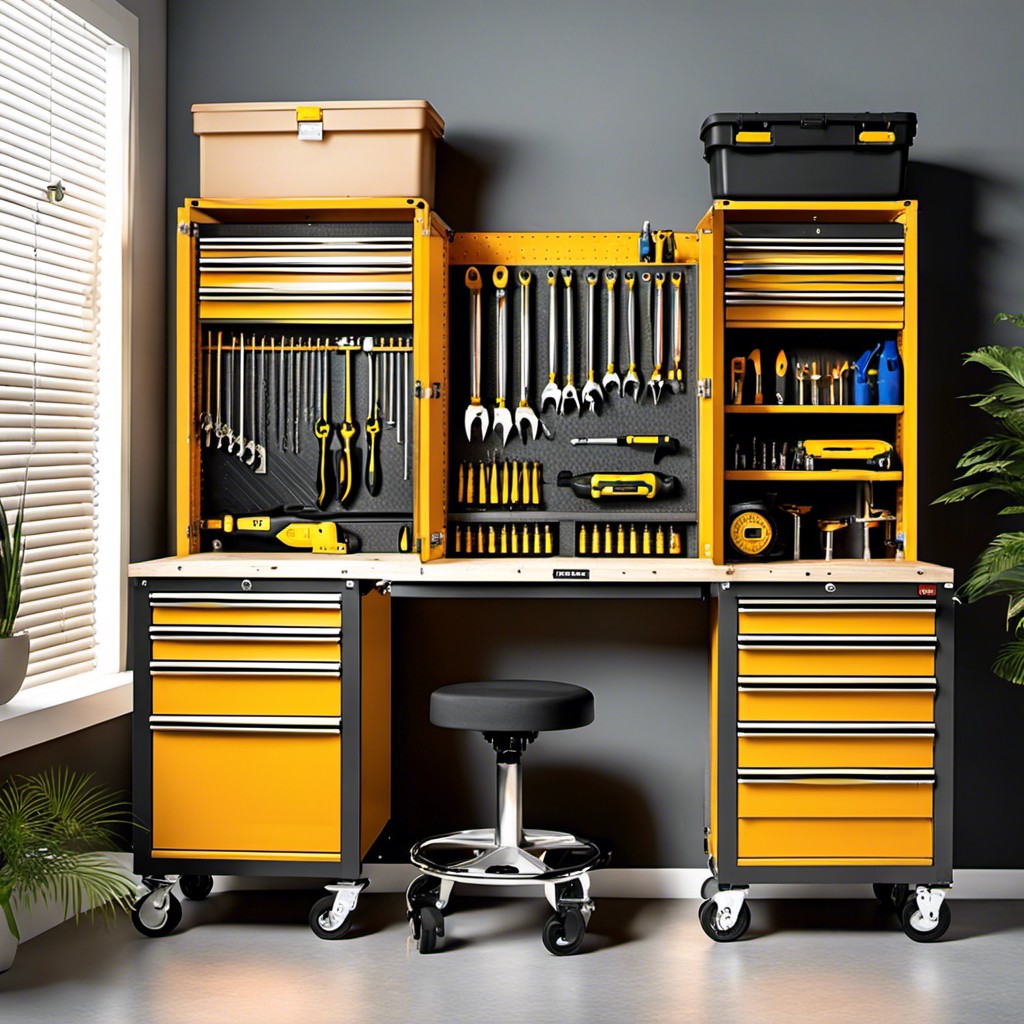
Rolling tool cabinets are an efficient way to make large collections of tools both accessible and mobile, especially in sizable spaces. Fitted with multiple drawers, they offer great segregation, allowing tools to be divided based on size, type or frequency of use.
Their mobile nature ensures that irrespective of your project’s location within your space, your tools can always be within easy reach. Easily maneuverable, these tool storage solutions can be moved out of the way when not in use, freeing up precious floor space.
When choosing a rolling cabinet, consider features like locking wheels, which add stability, and drawer liners that protect tools from sliding and potential damage.
Taking it a step further, look out for any extension trays or work surfaces on top that you might benefit from, as they can double as an extra space. This enables you to have your tools open and close to your worksite, saving time and enhancing work efficiency.
Use Hooks for Hanging Tools On the Side of the Box
You might have noticed that some tools don’t seem to have an ‘official’ space. They’re either too bulky or awkwardly shaped to slot neatly into a drawer or on a shelf. This is when hooks come into their own. They can comfortably accommodate these odd tools and keep them within reach.
Attaching hooks on the outside surface of your toolbox does more than just save space. It keeps regularly used tools like hammers and wrenches easily accessible. This technique has a practical appeal as you won’t be constantly rummaging through your box looking for your most used tools. Plus, it contributes to the orderly environment you’re aiming for.
You could go the DIY route or purchase ready-made hooks based on your tool requirements. Also remember, quality is king, preferably opt for sturdy hooks that won’t buckle under the weight of your tools.
Recap
Liked this article? Here's what you can read next: