Last updated on
Here are 25 different ways to make a DIY medicine cabinet, from adding extra storage to giving it a whole new look.
Building a medicine cabinet is a fairly simple woodworking project that can be completed in a few hours. The most difficult part is cutting the mirror to size, but as long as you have a straight edge and a steady hand, it shouldn’t be too difficult.
These tutorials will show you how to build a medicine cabinet in a variety of different ways. Some of the projects may be more difficult than others, depending on your experience level with woodworking.
However, overall these tutorials are great for anyone who wants to learn how to build a medicine cabinet.
What you need to know first:
- You will need a mirror cut to size for your cabinet.
- You can use an old frame mirror for a cheap project.
- You will need to build a small wall cabinet or a floating shelf.
- You can use the plans for a glass door cabinet and change the glass to a mirror.
- It may cost you $70 to $100 in materials to build.
How to Build a Medicine Cabinet
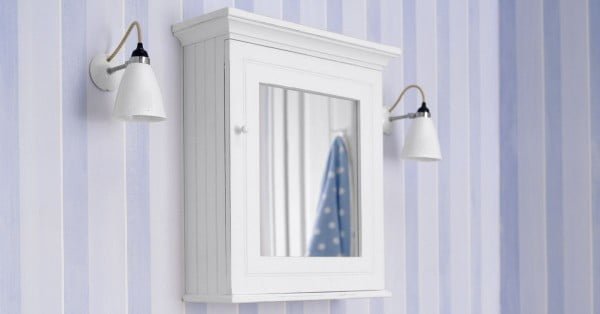
Tutorial: thisoldhouse.com
Expected cost: $70-$100 per cabinet
Supplies:
- 1/2″ plywood
- 1/4″ plywood
- 1″x2″ lumber
- 1/4″ thick mirror
- Construction adhesive
- Cabinet hardware
- Paint or stain
- Tools: saw, drill, screw gun, hammer, measuring tape, level
This project is a fairly simple one that anyone with basic woodworking skills can complete. It should take no more than a few hours to build the medicine cabinet, and another hour or so to install it.
The most difficult part of this project will be cutting the mirror to size, but as long as you have a straight edge and a steady hand, it shouldn’t be too difficult.
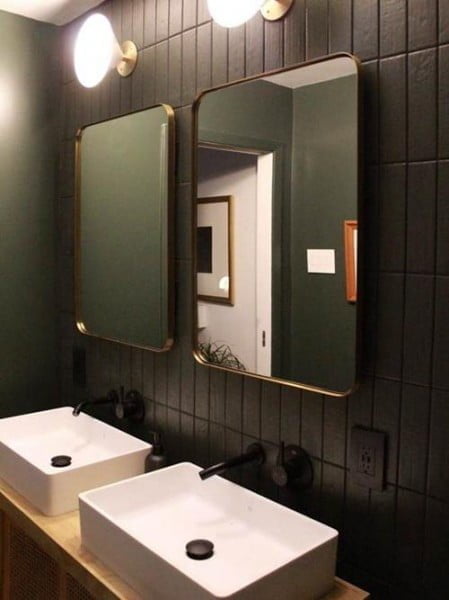
Tutorial: carmeonhamilton.com
Expected cost: $70-$100 per cabinet
Supplies:
- Tape measure
- Level
- Stud finder
- Cordless drill
- 1 1/4″ hole saw
- Plywood
- Paint or wood stain
- Cabinet hardware
- Mirror
- Construction adhesive
- Caulk
- Paintable caulk
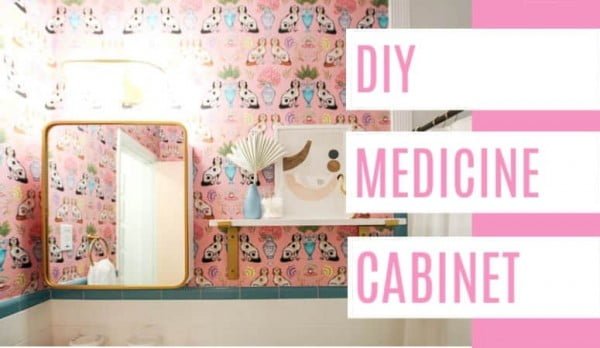
This project involves creating a niche above your bathroom vanity and then covering it with a hinged mirror. It’s not overly difficult to do, but it does require some planning and precision in order to get the results you want.
Tutorial: athomewithashley.com
Expected cost: $70-$100 per cabinet
Supplies:
- 1×4 boards
- MDF fiberboard
- Construction adhesive
- Paint
- Hinges
- Mirror
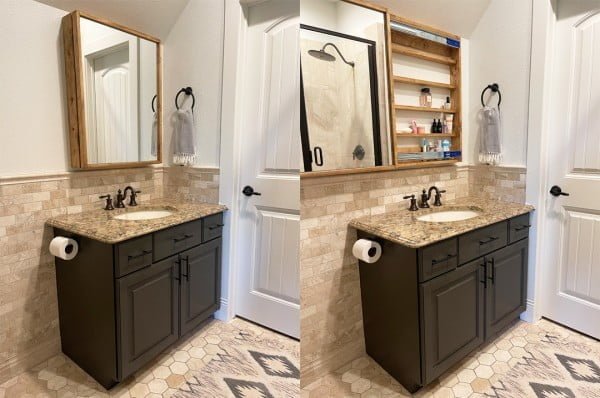
This project is a great way to update your bathroom without doing a complete gut job. It’s a budget-friendly renovation that will add personality to your space.
To make your own DIY medicine cabinet, you’ll need some basic supplies like 1×4 boards, MDF fiberboard, construction adhesive, paint, and hinges. You’ll also need a mirror of your desired size.
The project itself is not too difficult, but does require some basic carpentry skills. You’ll need to be able to measure and cut the boards for the frame of the cabinet as well as the shelf (if you’re making one).
You’ll also need to be able to use a drill to attach the hinges and screws. If you’re not confident in your abilities, it might be best to enlist the help of a friend or family member who is more experienced.
Tutorial: shanty-2-chic.com
Expected cost: $70-$100 per cabinet
Supplies:
- 1/2″ plywood
- 1×4 lumber
- 1×6 lumber
- Mirror
- Cabinet hardware
- Paint or stain
- Wood glue
- Nail gun and nails
- Saw
This project is a great beginner build and perfect for small bathrooms! It provides hidden storage behind the mirror and is easy to put together with just a few tools.
Tutorial: livingwithlady.com
Supplies:
- Picture frame in size of choice
- 1×3 pieces of select pine
- Table saw (Or your preferred method of cutting wood.)
- Shelf pin jig
- Shelf pins
- Screw gun
- Screws
- Kreg Jig R3 for pocket holes (optional)
- Wood plugs (optional)
- Paint in color of choice
- 2 hinges to attach the frame to the box
- Magnetic closure
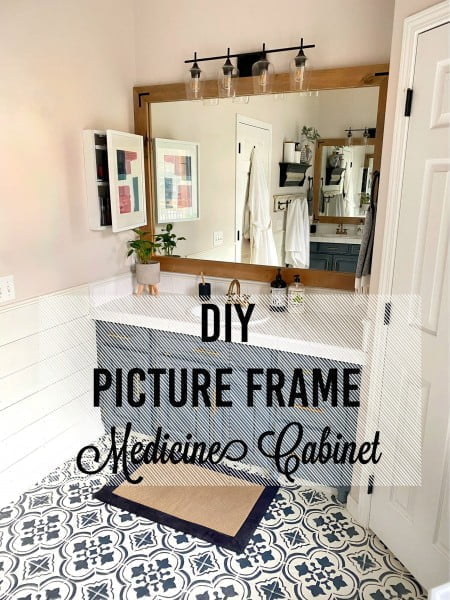
This project is a great way to add some extra storage to your bathroom without spending a lot of money. It is also a relatively easy project that can be completed in a few hours.
Tutorial: familyhandyman.com
Expected cost: $70-$100 per cabinet
Supplies:
- Tape measure
- Plywood
- Ruler or a straight edge
- Circular saw
- Jigsaw
- Sandpaper
- Stiles
- Construction adhesive
- Cordless drill
- 1 inch hole saw
- Paint or a sealant
- Latch
- Knob or handle
- Screws
- Hinges
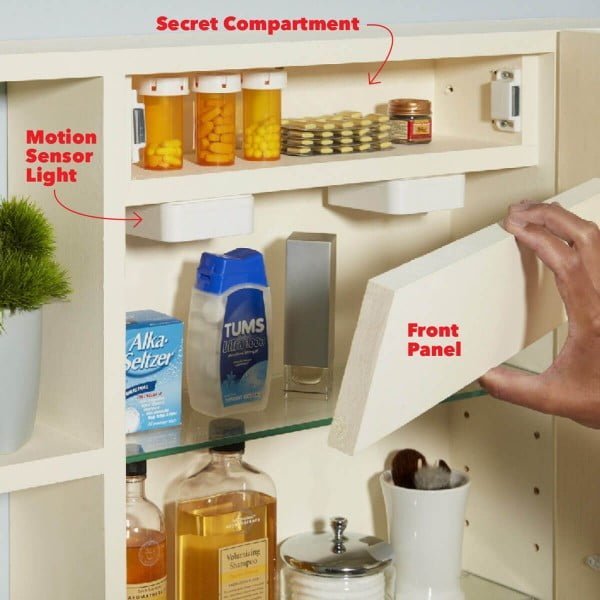
This project is a bit more difficult than some of the others, as it requires careful measuring and attention to detail. However, the end result is a beautiful medicine cabinet that will add style and function to any bathroom.
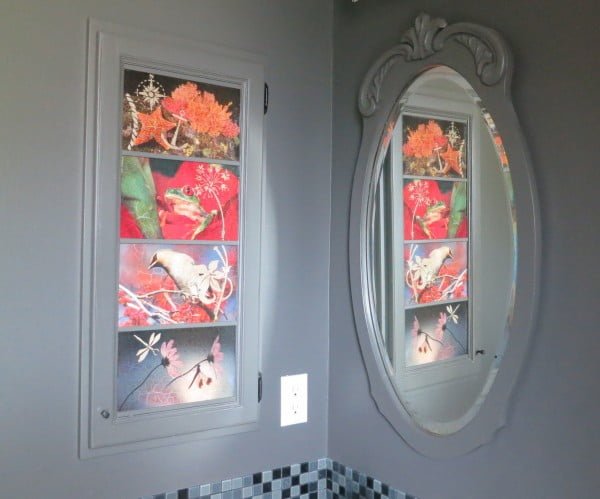
Tutorial: instructables.com
Expected cost: $70-$100 per cabinet
Supplies:
- Recycled materials (wood, cardboard, etc.)
- Basic woodworking tools (saw, drill, etc.)
- Medicine cabinet (or other storage solution)
This project entails building a box out of recycled materials and turning it into a medicine cabinet. It is not difficult to complete, but does require some basic woodworking skills.
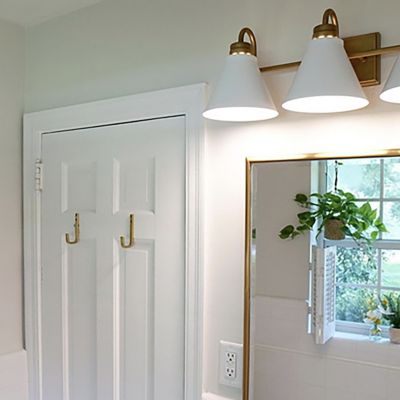
Tutorial: loctiteproducts.com
Supplies:
- Tape measure
- Plywood
- Ruler or a straight edge
- Circular saw
- High-grit sandpaper
- Stiles
- Construction adhesive
- Cordless drill
- 1 inch hole saw
- Paint or a sealant
- L brackets
- Mirror
- Cabinet hardware
This project is for an intermediate DIYer and involves creating a medicine cabinet and mirror that conform to your space. It requires some elbow grease, but the end result is worth it!
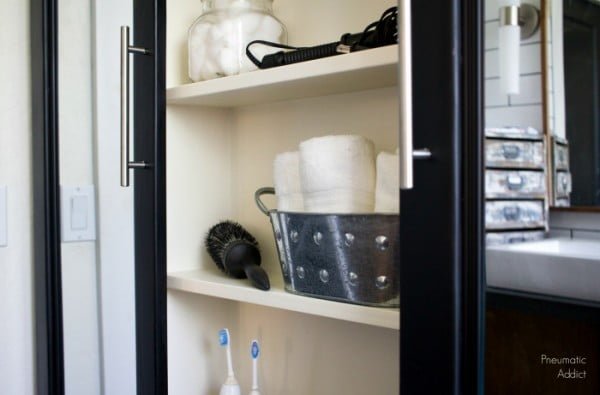
Tutorial: dap.com
Supplies:
- Wood
- Plywood
- Nails
- Hammer
- Saw
- Paint
- Glass
This project is a bit more difficult than some of the others, but it is still manageable for most people. You will need to have some experience with woodworking and construction in order to complete it.
The finished product will be a beautiful medicine cabinet that you can be proud of.
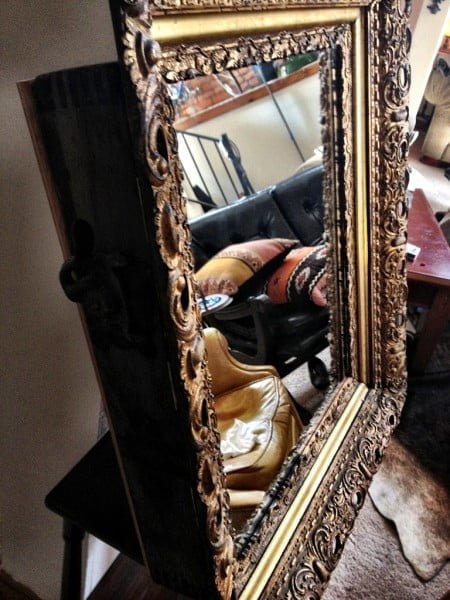
Tutorial: buildipedia.com
Supplies:
- Power drill
- Screwdriver
- Circular saw
- Wood
- Level
- Tape measure
This project is a bit more difficult than your average DIY project, but it is definitely doable with some help from a friend. You will need to be able to use a power drill and screwdriver, as well as a circular saw.
It is also helpful to have some experience working with wood, although it is not necessary. The most important thing is to take your time and make sure that everything is level and secure before moving on to the next step.
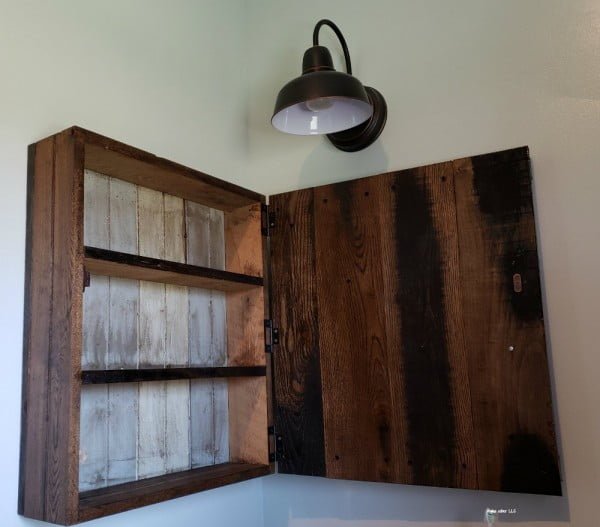
Tutorial: eattravellife.com
Expected cost: $70-$100 per cabinet
Supplies:
- 1×4 lumber
- Plywood
- Ruler or measuring tape
- Circular saw
- Jigsaw
- Drill
- 1 inch hole saw
- Sandpaper
- Stain or paint (optional)
- Polyurethane (optional)
- Hardware (screws, hinges, handles, etc.)
This project is a bit more difficult than the average DIY project, but it is still doable for most people. It will take some time to complete, but the end result will be worth it.
You will need to have some woodworking skills and knowledge to complete this project, as well as access to the necessary tools.
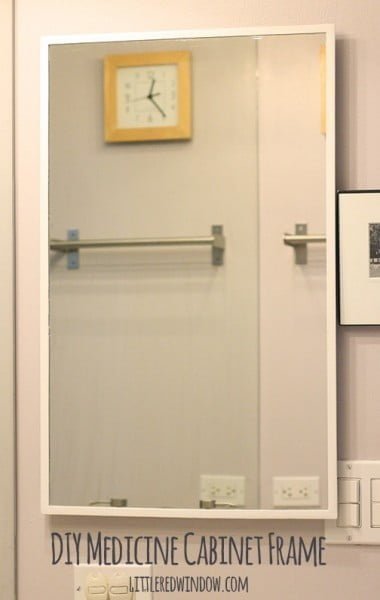
Tutorial: littleredwindow.com
Supplies:
- Tape measure
- Plywood
- Ruler or straight edge
- Circular saw
- Wood glue
- Cordless drill
- 1 inch hole saw
- Paint or stain
- Polyurethane
- Hanging hardware
This project is a quick and easy way to add a frame to a plain mirror. It is simple to do and only requires basic supplies.
The most difficult part of this project is measuring and cutting the wood for the frame, but even that is not too difficult.
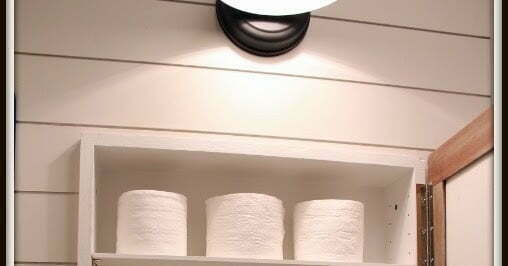
Tutorial: diydesignfanatic.com
Supplies:
- Cabinet
- Mirror
- Tape measure
- Ruler or straight edge
- Circular saw
- Jigsaw
- Sandpaper
- Paint or stain
- Cabinet hardware (knobs or handles)
- Drill
- Screws
- Anchors (if needed)
This project is a bit more difficult than some of the others, but it is still manageable for most people. It involves building a cabinet and then adding a mirror to it.
The dimensions of the cabinet and mirror will need to be determined before starting this project.
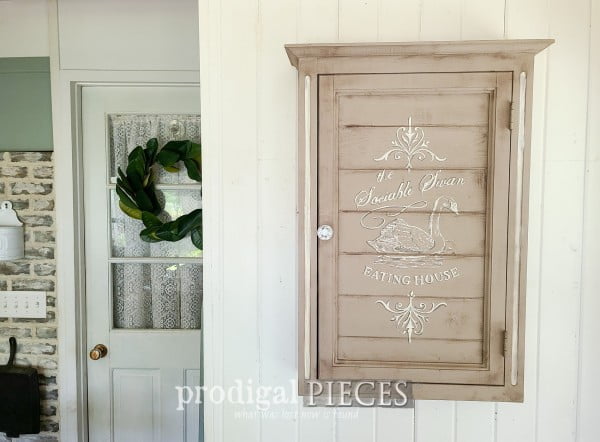
Tutorial: prodigalpieces.com
Supplies:
- Paint
- Sandpaper
- Tongue & groove panels
- Graphic or design
This is a fairly easy project that anyone can do with some basic DIY skills. It will take some time to complete, but the end result is definitely worth it.
You’ll need to remove the mirror from the cabinet door, and then sand and paint the door panel. Then, you’ll need to cut up panels of tongue & groove to fit the door panel.
Finally, you’ll add your own personal touch to the front panel with a graphic or design of your choice.
How to Build a Hidden Medicine Cabinet
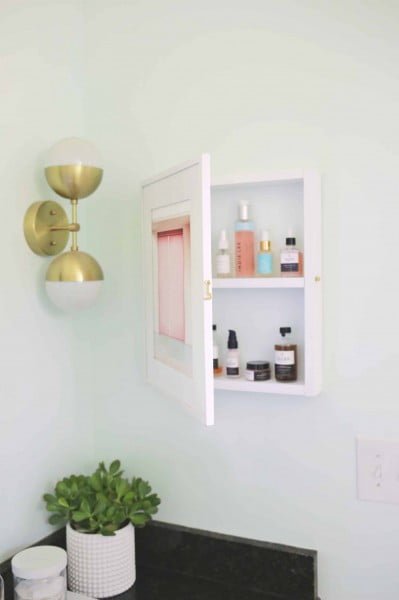
Tutorial: abeautifulmess.com
Supplies:
- a frame
- wooden boards
- nails
- hammer
- saw
This project is a great way to add some extra storage to your bathroom without taking up too much space. It’s perfect for small items like skincare products, makeup, or even medicine.
It’s not too difficult to make, but you will need some basic woodworking skills and tools. You’ll also need to be able to find a frame that fits your desired size.
How to Build a Recessed Medicine Cabinet
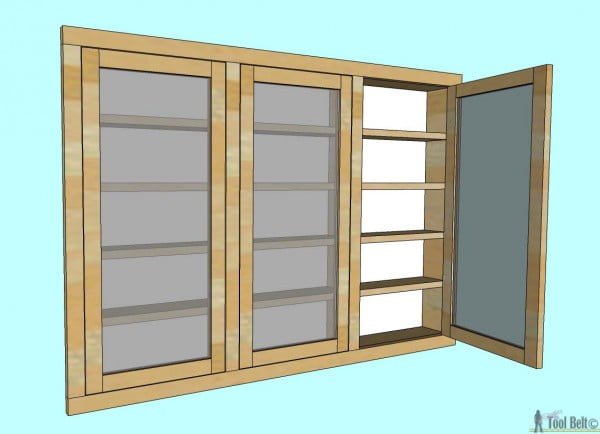
Tutorial: hertoolbelt.com
Expected cost: $70-$100 per cabinet
Supplies:
- 6 inset cabinet door hinges
- 3 latches
- 1 sheet of beadboard or 1/4″ plywood
- Mirror (3 pieces cut to 11 1/2″ x 27 1/2″)
- 7 1″ x 4″ x 8′ boards (actual 3/4″ x 3 1/2″)
- Wood glue
- Screws
- Sandpaper
- Wood filler
- Primer/paint/stain
This project involves building a recessed medicine cabinet. It requires cutting a hole in the wall, removing drywall and some studs, and preparing the studs with additional 2x4s to create a secure space for the cabinet.
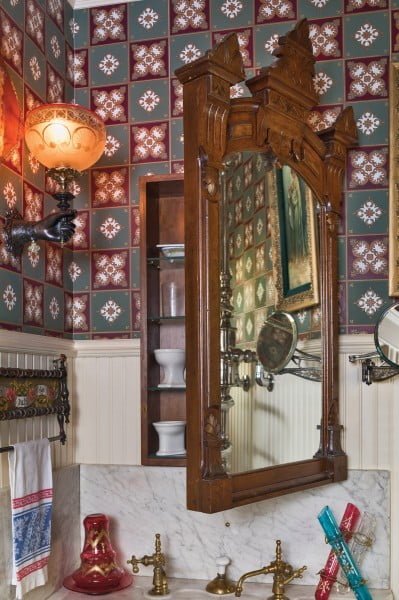
Tutorial: oldhouseonline.com
Expected cost: $70-$100 per cabinet
Supplies:
- Antique mirror
- Carpentry tools
- Construction adhesive
- Cabinet hardware
- Paint or stain
This project involves building a medicine cabinet into a wall using an antique mirror as the door. It is not a difficult project, but it does require some basic carpentry skills and knowledge of how to work with antique mirrors.
DIY Bathroom Cabinet
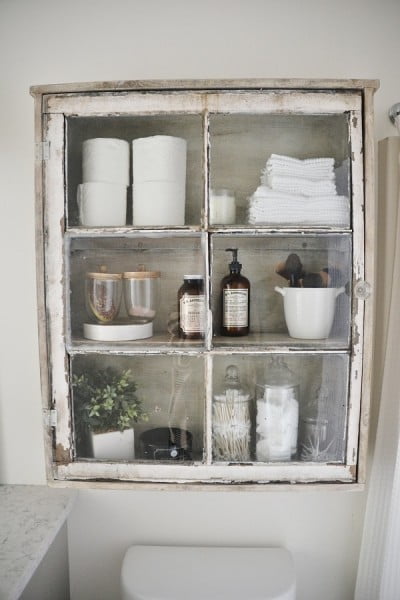
Tutorial: lizmarieblog.com
Expected cost: $70-$100 per cabinet
Supplies:
- Plywood
- 1×2 lumber
- 1×4 lumber
- Cabinet hardware
- Paint or stain
- Wood glue
- Nails or screws
- Saw
This is a great project for anyone who wants to add some extra storage to their bathroom. It is a bit more difficult than your average DIY project, but Liz Marie does a great job of explaining the steps involved. Overall, this should be a relatively easy project for most people.
Tutorial: handyman.net.au
Expected cost: $70-$100
Supplies:
- 1x door (1650 x 300 x 19mm)
- 1x piece of plywood or MDF (for the carcass)
- 1x piece of plywood or MDF (for the shelves)
- 1x sheet of louver door (or 2x if you want to make your own door)
- 1x set of hinges
- 1x set of handles or knobs
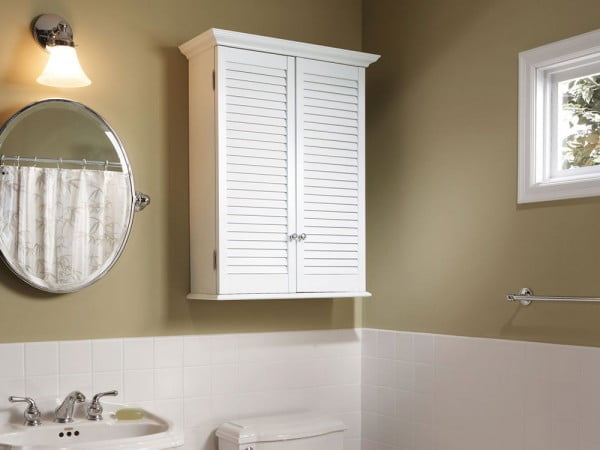
This cabinet has about three times as much storage as a typical medicine cabinet. It’s also a great project for a woodworking novice, thanks to simple joinery and a readymade door.
Assembling the top and base is the trickiest bits. A single louver door is cut in half to form two.
Recycle a wardrobe door or buy one for about $25. You may need to adjust the height and width of the cabinet to suit your door (this one measured 1650 x 300 x 19mm).
So buy the door first, then alter the carcass and shelves as necessary.
Tutorial: thewickerhouse.com
Supplies:
- Plywood
- Screws
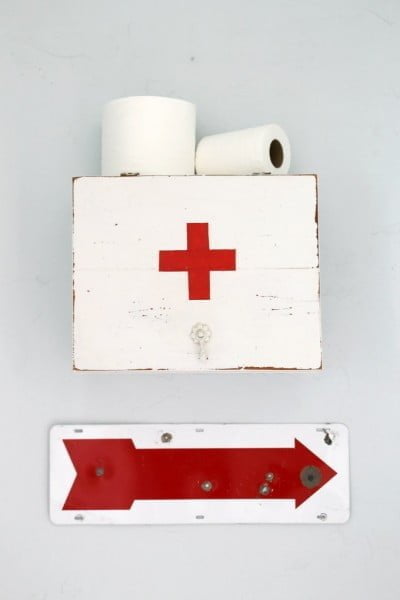
- Paint
- Drill
This project is a bit more difficult than some of the others, but it’s still doable for most people. You’ll need to be able to use a screwdriver and drill, and you’ll need to be careful when painting.
Other than that, it’s a pretty straightforward project.
Tutorial: pillarboxblue.com
Supplies:
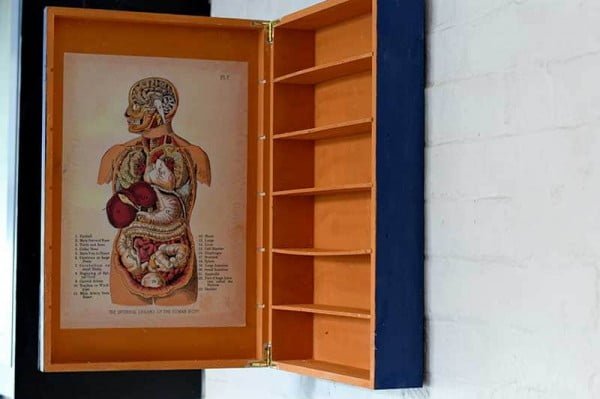
- An old wine box
- Chalk paint
- Paintbrush
- Sandpaper
- Stencils (optional)
This is a fairly easy project that anyone can do. It requires some basic woodworking skills and knowledge of how to use chalk paint.
The most difficult part is probably finding an old wine box to upcycle.
How to Turn a Mirror Into a Medicine Cabinet
Tutorial: hgtv.com
Expected cost: $70-$100 per cabinet
Supplies:
- 1/2″ plywood
- 1×2 lumber
- 1×4 lumber
- 1/4″ dowel rods
- Wood glue
- Wood filler
- Sandpaper
- Stain or paint
- Rivets
- Drill
- Jigsaw
- Ruler or measuring tape
- Square
- Level
- Chalk line
- Stud finder
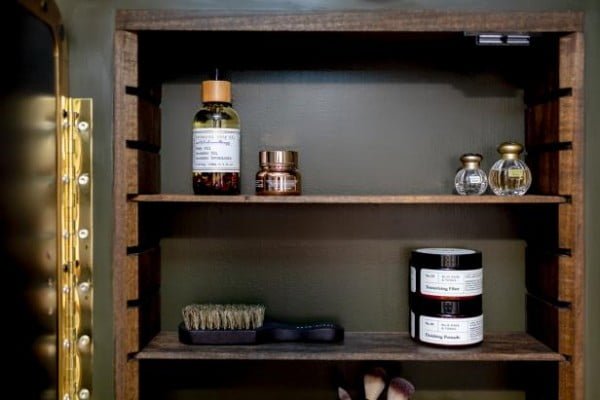
This project is a bit more involved than your average DIY, but it’s still relatively easy to do. It will require some basic woodworking skills and knowledge of how to use a drill, saw and rivet gun.
The most difficult part is probably cutting the hole in the wall for the cabinet insert, but as long as you have a stud finder and a jab saw, it shouldn’t be too difficult.
DIY Medicine Cabinet Makeover
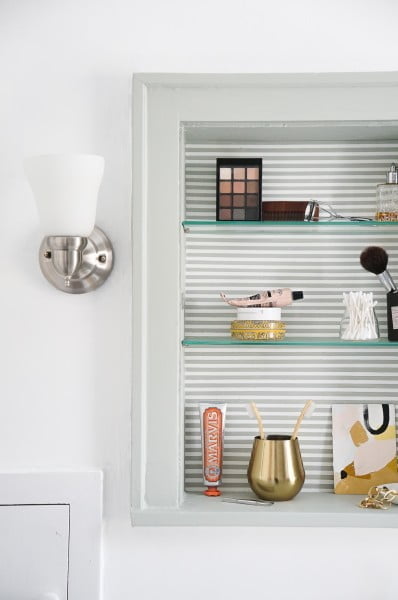
Tutorial: francoisetmoi.com
Supplies:
- Paint
- Paintbrush
- Tape
- Paper
- Pencil
This project entails painting a bathroom medicine cabinet. It is not difficult to complete, but does require some prep work and patience when creating the back wall stripe pattern.
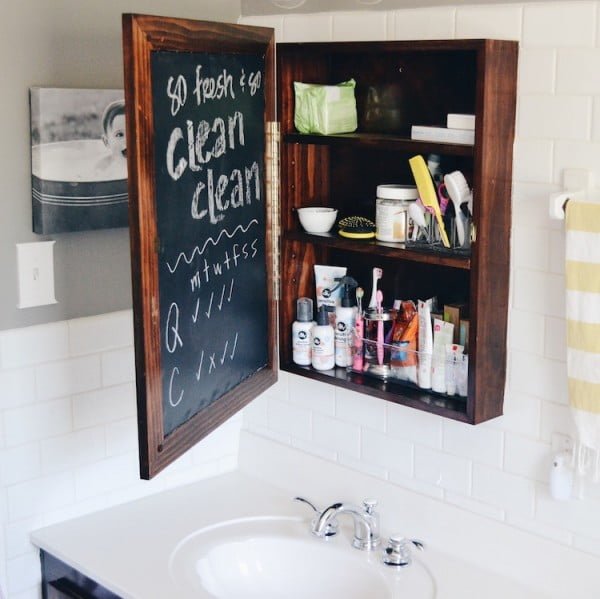
Tutorial: lovelyluckylife.com
Supplies:
- Paint
- Paintbrush
- Empty medicine cabinet
This is a fun little makeover project to give your old medicine cabinet a new life. We love the idea of using chalk paint to give it a new look.
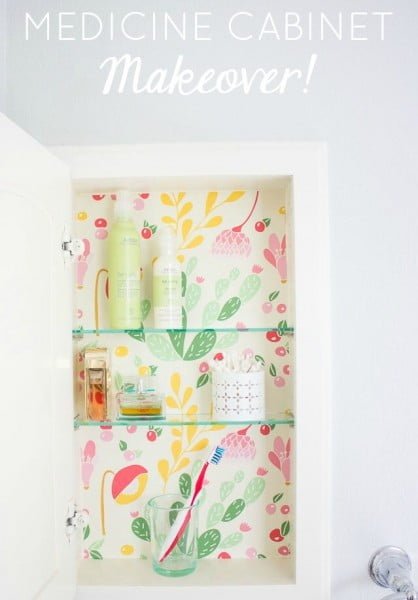
Tutorial: designimprovised.com
Supplies:
- Wallpaper
- Measuring tape
- Scissors
- Adhesive
- Sponge
This project is a great way to add some personality to your medicine cabinet! It is a relatively easy project that anyone can do, and only requires some basic supplies. The most difficult part may be measuring and cutting the wallpaper to fit your cabinet, but other than that it is a quick and easy project.
Recap
