Last updated on
Explore various efficient and cost-effective alternatives to refinishing wood floors that can breathe new life into your home’s aesthetics.
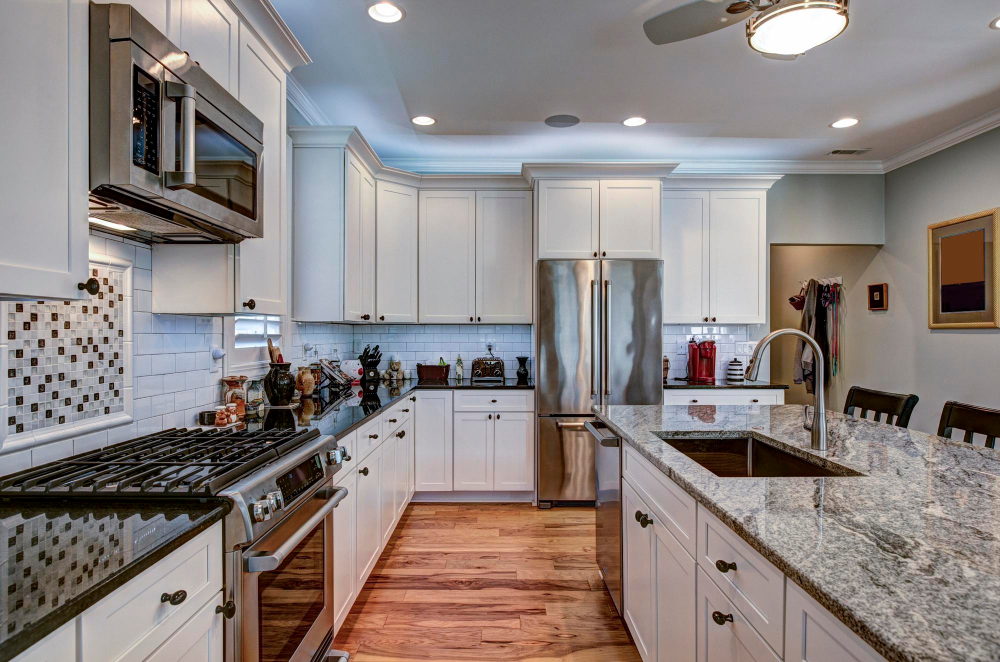
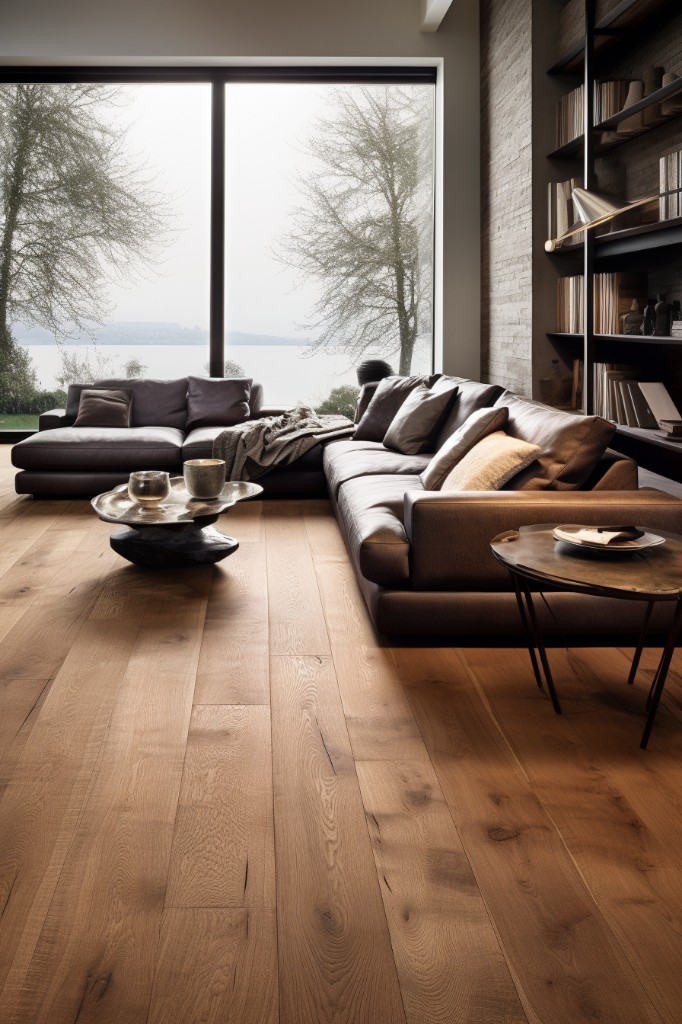
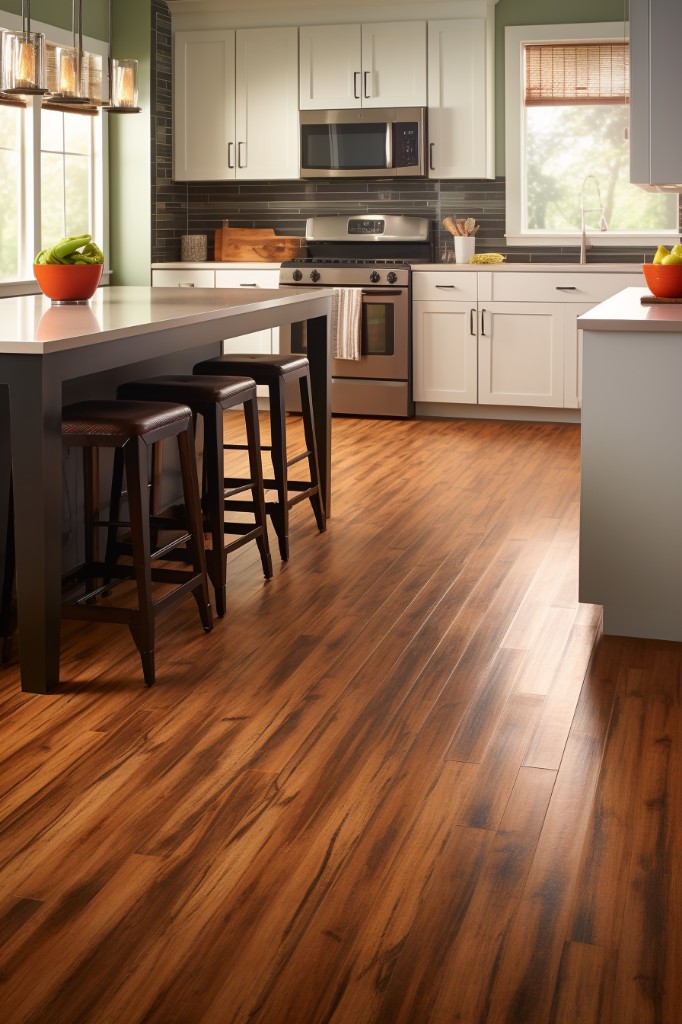
Wooden floors are a timeless classic in home decor. They offer warmth, elegance, and durability to any space.
However, over time, your wooden floors may lose their shine and become dull due to wear and tear. Refinishing the floors is often the go-to solution for restoring their beauty.
But what if you’re on a tight budget or looking for alternative ways to give your wooden floors a facelift? In this article, we’ll explore some creative alternatives to refinishing wood floors that will help you achieve stunning results without breaking the bank. So let’s dive in!
Understanding Your Hardwood Floors
Before you can decide on the best alternative to refinishing your hardwood floors, it’s essential to understand what type of wood flooring you have. There are two main types of hardwood floors: solid and engineered.
Solid hardwood is made from a single piece of wood and is typically thicker than engineered wood. It can be sanded down multiple times over its lifespan, making it an excellent choice for high-traffic areas.
Engineered hardwood consists of several layers that are glued together in a cross-grain pattern. This makes them more stable than solid planks and less prone to warping or cupping due to moisture changes in the environment.
Knowing which type of floor you have will help determine which alternatives may work best for your specific situation. For example, if your floor has deep scratches or dents that cannot be repaired with sanding alone, resurfacing may not be an option for solid planks but could work well with engineered ones.
Assessing Hardwood Floor Damage
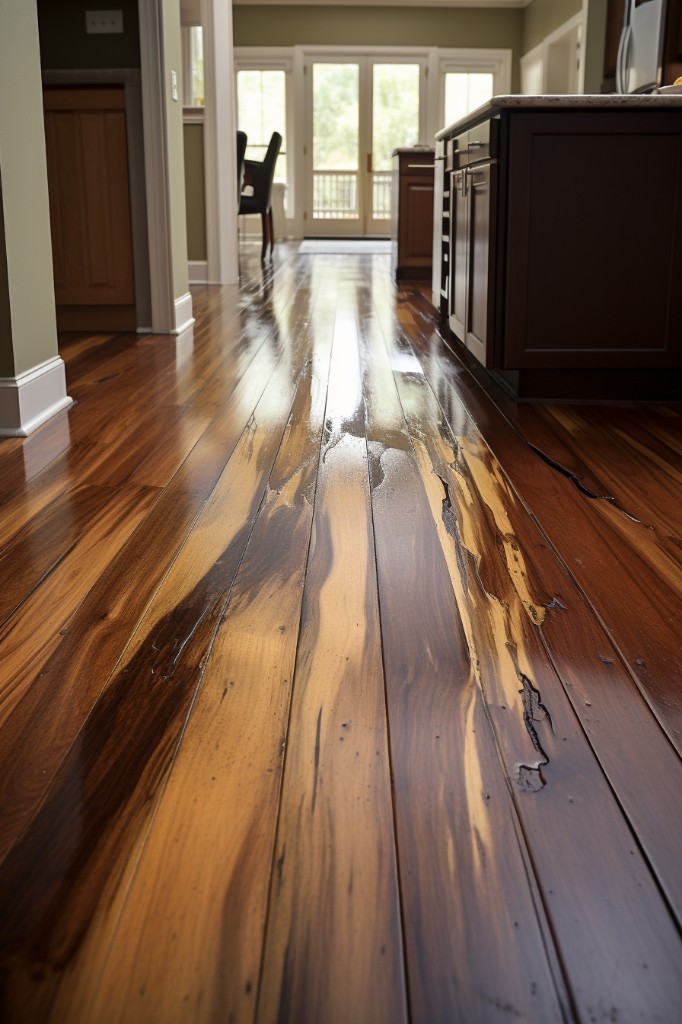
Scratches, dents, and discoloration are common issues that can be fixed with some DIY techniques or professional help. However, if your floor has deep gouges or water damage that has caused warping and buckling of boards, a full sanding may be necessary.
To determine whether your floor needs a complete overhaul or just minor repairs requires careful inspection. Start by examining each board for scratches and dents using natural light from windows or lamps at different angles.
If you notice any significant wear patterns in high traffic areas like hallways and entryways where dirt accumulates quickly than other parts of the room – this is an indication that it’s time for maintenance.
Check for signs of water damage such as cupping (when edges curl up), crowning (when centers rise above edges), staining around baseboards/edges near walls due to moisture seeping through gaps between planks over time). These problems require immediate attention before they worsen.
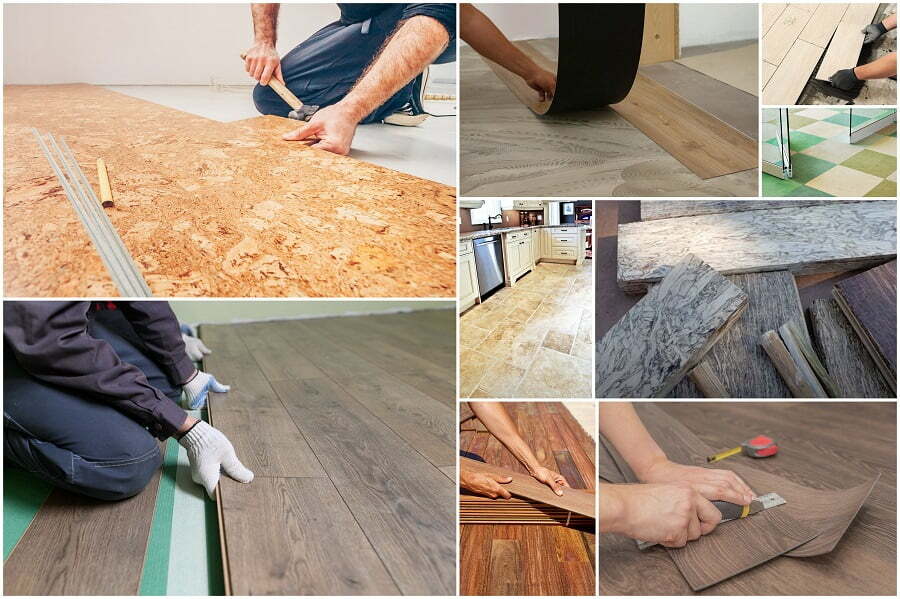
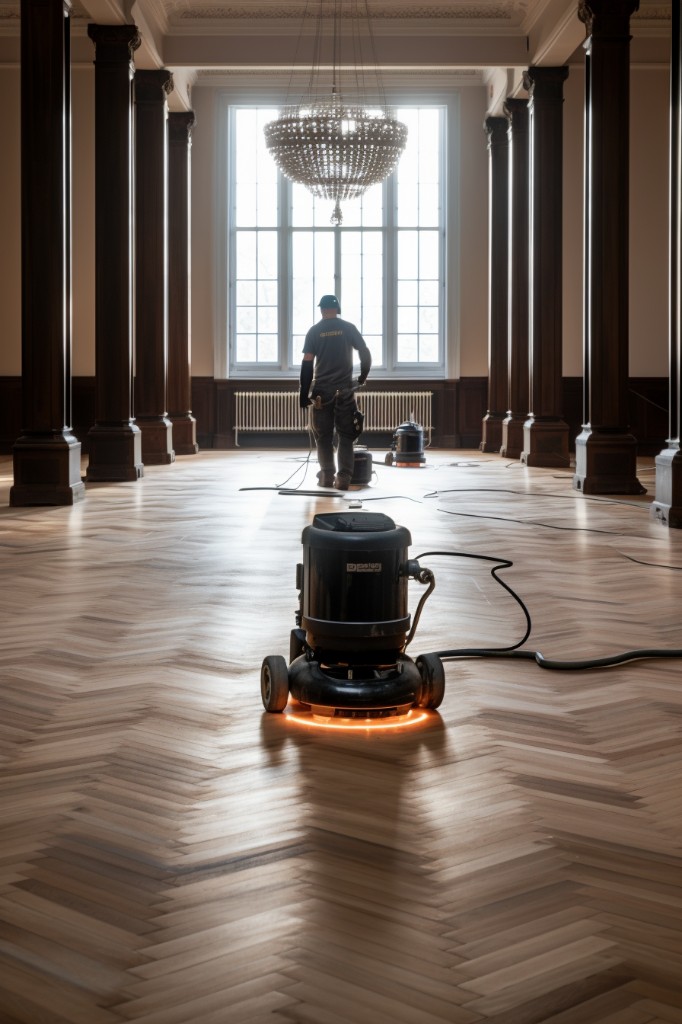
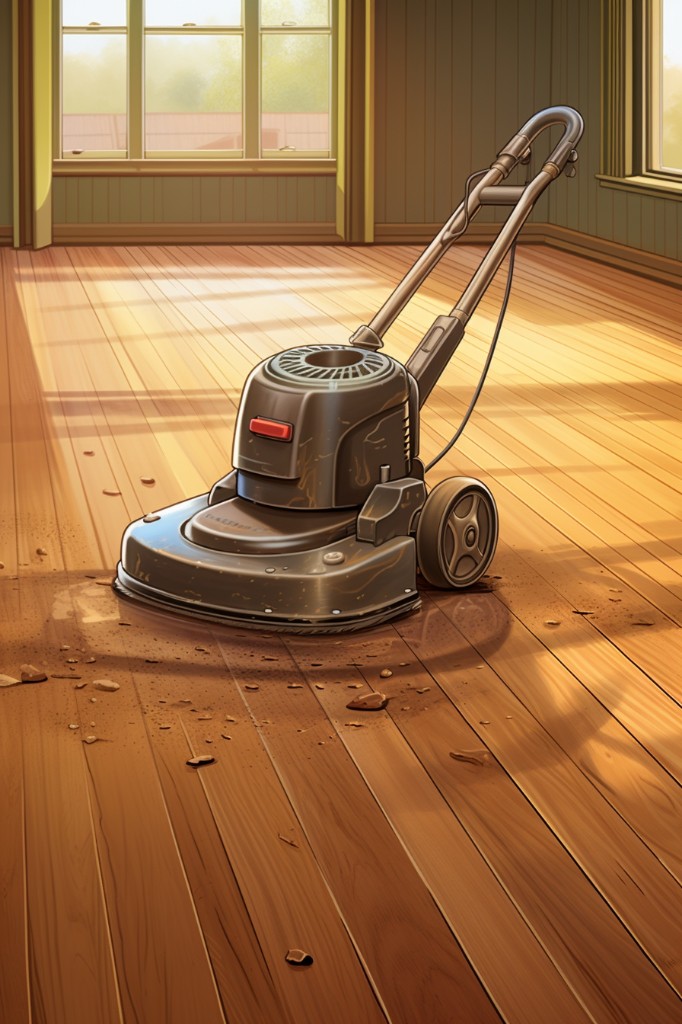
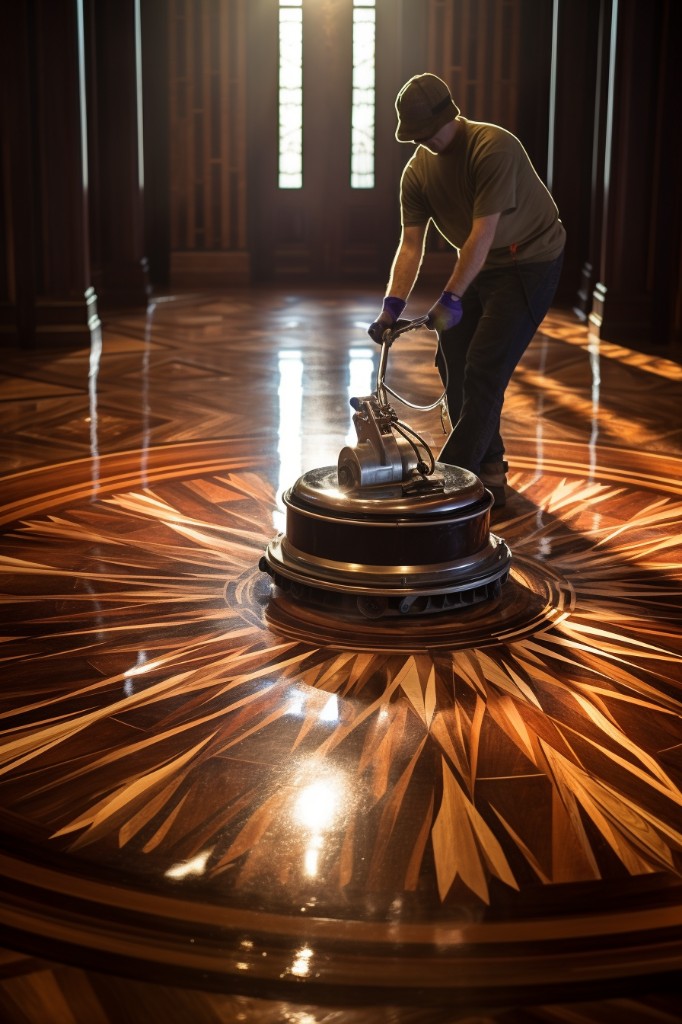
When Full Sanding Is Best
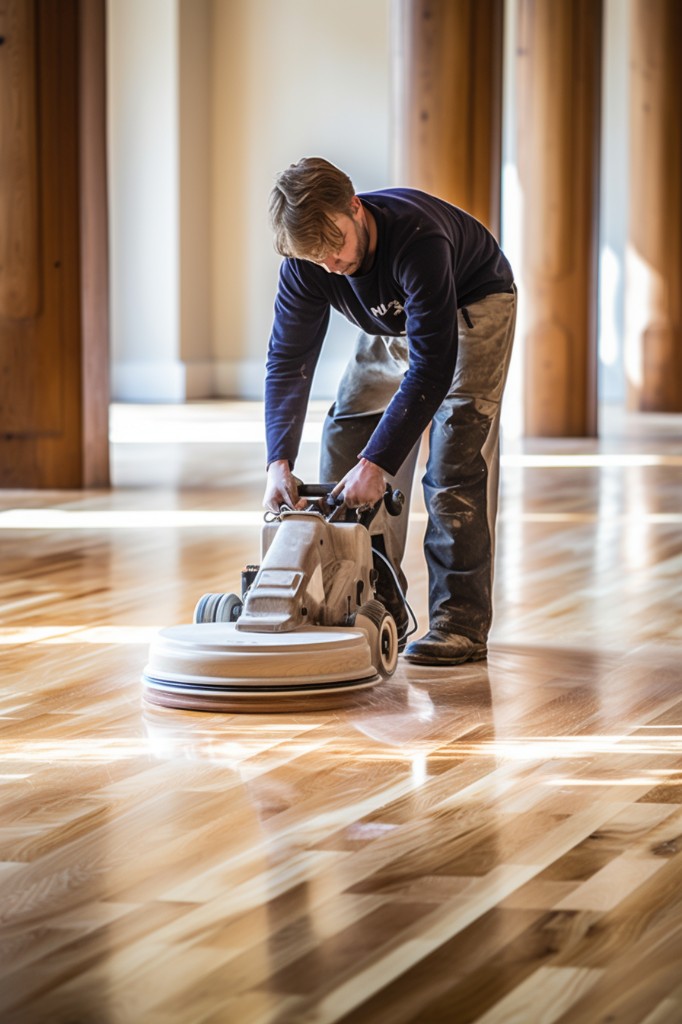
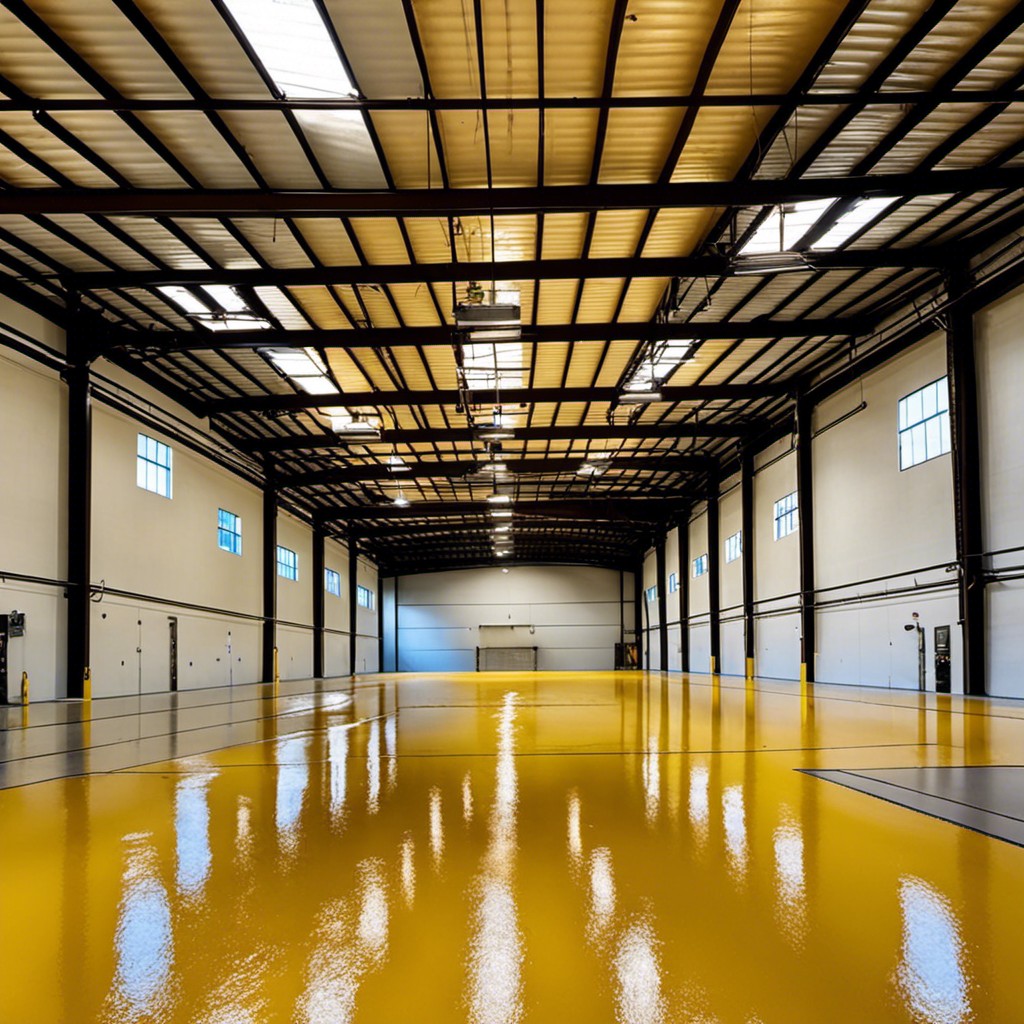
It involves removing the top layer of wood to reveal a fresh surface that can be stained and sealed. However, full sanding can be expensive and time-consuming, especially if you have large rooms or multiple floors to refinish.
Full sanding may be necessary when your floor has deep scratches, stains or water damage that cannot be removed by other methods. If your floor has been previously finished with wax or oil-based products, it will need to undergo full sanding before applying a new finish.
Before deciding on full-sanding as an option for restoring your wooden floors’ beauty, assess its condition carefully and consider alternative options such as resurfacing or screen-and-recoat processes which are less invasive but still effective in rejuvenating worn-out surfaces.
While full-sanding remains one of the best ways to restore severely damaged hardwood flooring back into shape; it’s not always necessary nor cost-effective for every situation.
Waxing As an Alternative
It’s a simple process that involves applying wax to the floor surface, allowing it to dry, and then buffing it with a soft cloth or machine. Waxing can be done on any type of hardwood floor, including those with polyurethane finishes.
One advantage of waxing over refinishing is its affordability. Wax products are relatively inexpensive compared to sandpaper, stains or other chemicals used in full sandings.
You don’t need special equipment or professional skills for this task; anyone can do it at home.
However, there are some downsides as well: waxed floors require more frequent maintenance than refinished ones since they tend to attract dirt and dust easily which may cause scratches if not cleaned regularly. Moreover,waxed surfaces may become slippery when wet so caution should be taken especially in areas like kitchens where spills occur frequently.
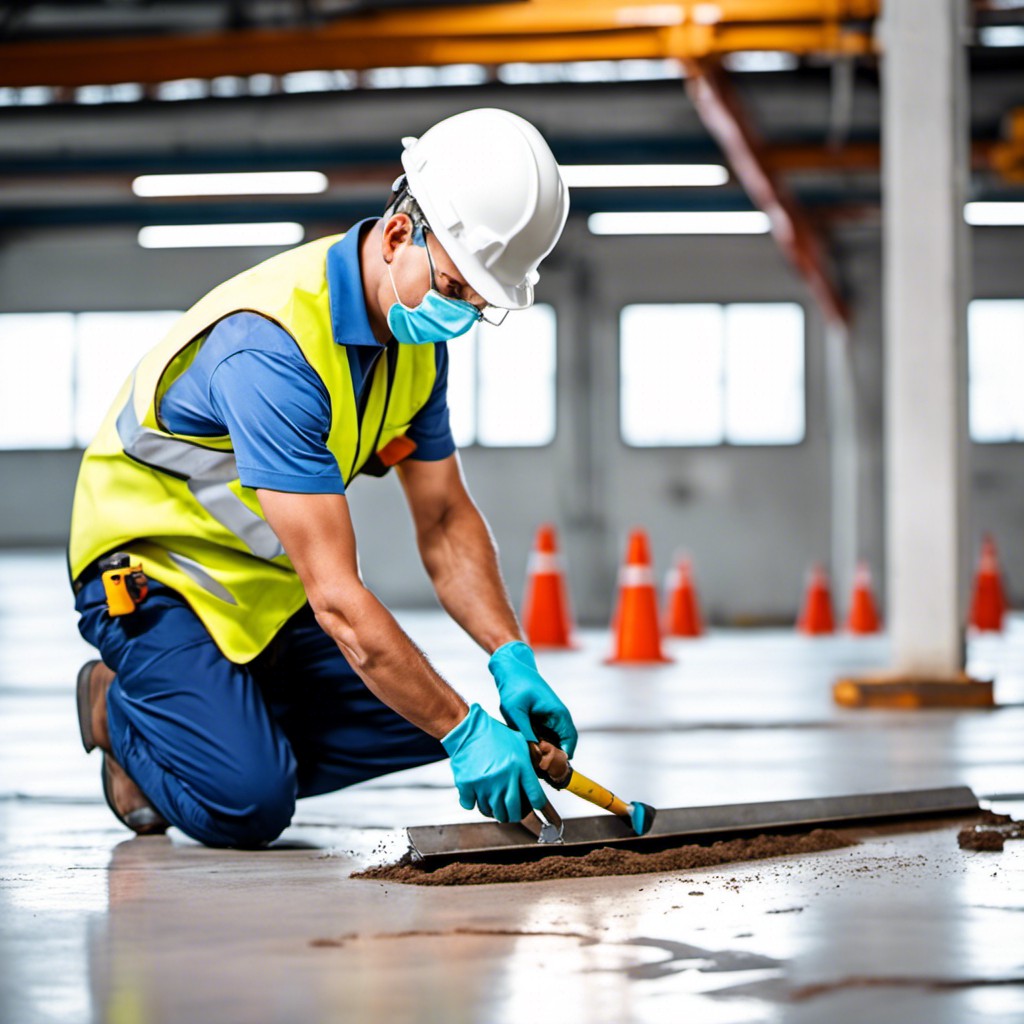
Screen and Recoat Process
It’s a quick, cost-effective way of restoring the shine and luster of your hardwood floors without having to go through the full sanding process. The screen and recoat method involves lightly abrading the top layer of your floor with a mesh screen or buffer machine, followed by applying a new coat of finish.
This technique works best for floors that have minor scratches or scuffs on their surface but are otherwise in good condition. If you notice deep gouges or significant damage to your floorboards, then this method may not be suitable for you.
One advantage of using this approach is that it takes less time than traditional refinishing methods since there’s no need for extensive sanding work. It costs less because fewer materials are required.
However, keep in mind that while this technique can restore some shine back into dull-looking wooden flooring surfaces; it won’t fix any underlying issues such as warped boards or water damage.
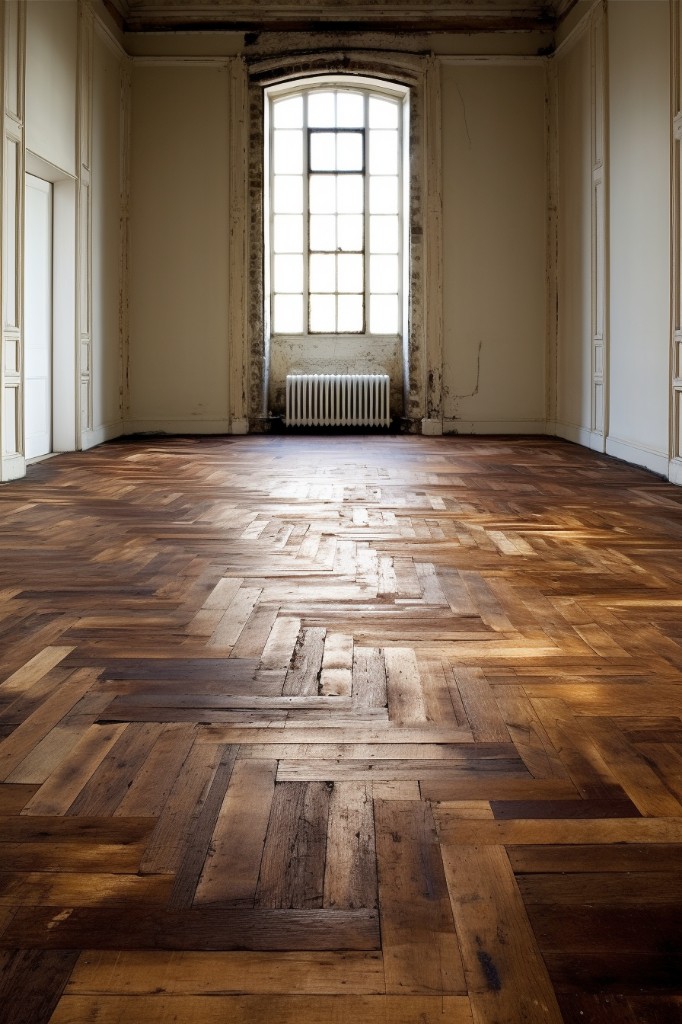
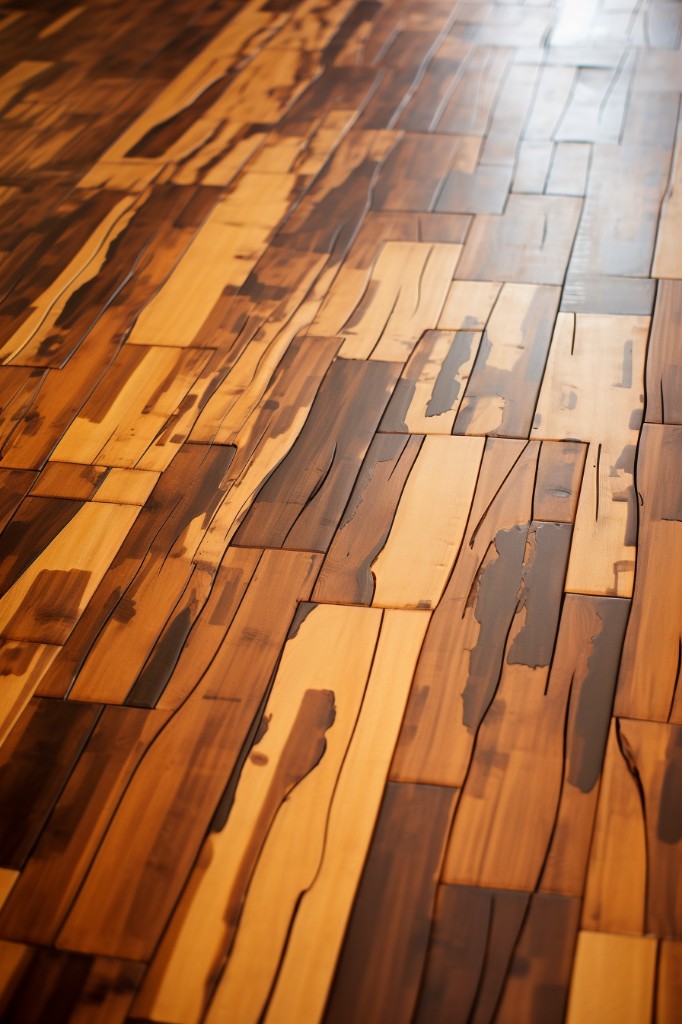
Resurfacing Hardwood Floors
This process involves removing the top layer of the floor and replacing it with a fresh one. It’s an excellent option if you have deep scratches, stains, or water damage on your hardwood floor.
The resurfacing process starts by sanding down the existing finish and then applying a new coat of stain or sealer to match your desired color scheme. The next step is laying down thin wood veneers over the old flooring using adhesive glue.
One advantage of resurfacing over refinishing is that it allows you to change up your flooring’s look without having to replace everything entirely. You can choose from various types of wood veneers such as oak, maple, cherrywood among others depending on what suits best for you.
However, keep in mind that this method may not be suitable for severely damaged floors since they require more extensive repairs before being resurfaced properly. While this method may save money compared to full replacement costs; it still requires professional installation which could add up quickly in expenses.
Using Chemical Abrasion Kits
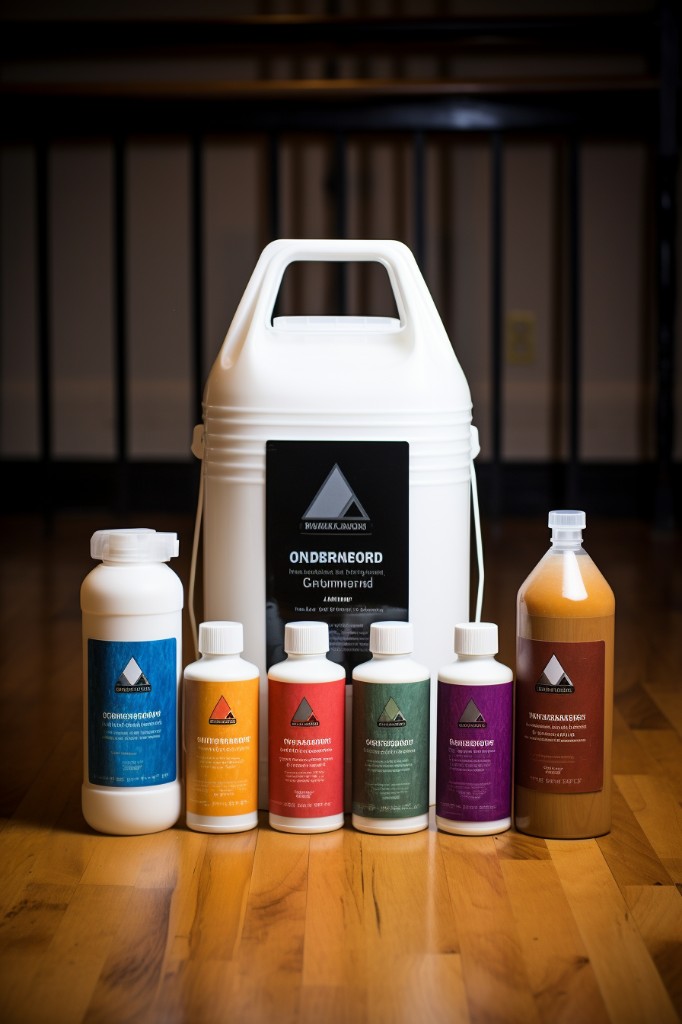
They work by removing the top layer of the floor’s finish, revealing a fresh surface underneath. These kits come with everything you need to get started, including chemical strippers and abrasive pads.
Before using a chemical abrasion kit, it’s essential to prepare your floors properly. Start by cleaning them thoroughly and allowing them to dry completely before applying any chemicals.
Once you’re ready, apply the stripper evenly across your floor in small sections at a time.
After letting it sit for several minutes (as per instructions), use an abrasive pad or buffer machine (if provided) on each section until all of the old finish is removed from that area. Repeat this process until you’ve covered every inch of your hardwood flooring.
Once complete, clean up any remaining residue with water or mineral spirits as directed in the kit instructions before moving onto sanding if necessary or finishing touches like staining and sealing.
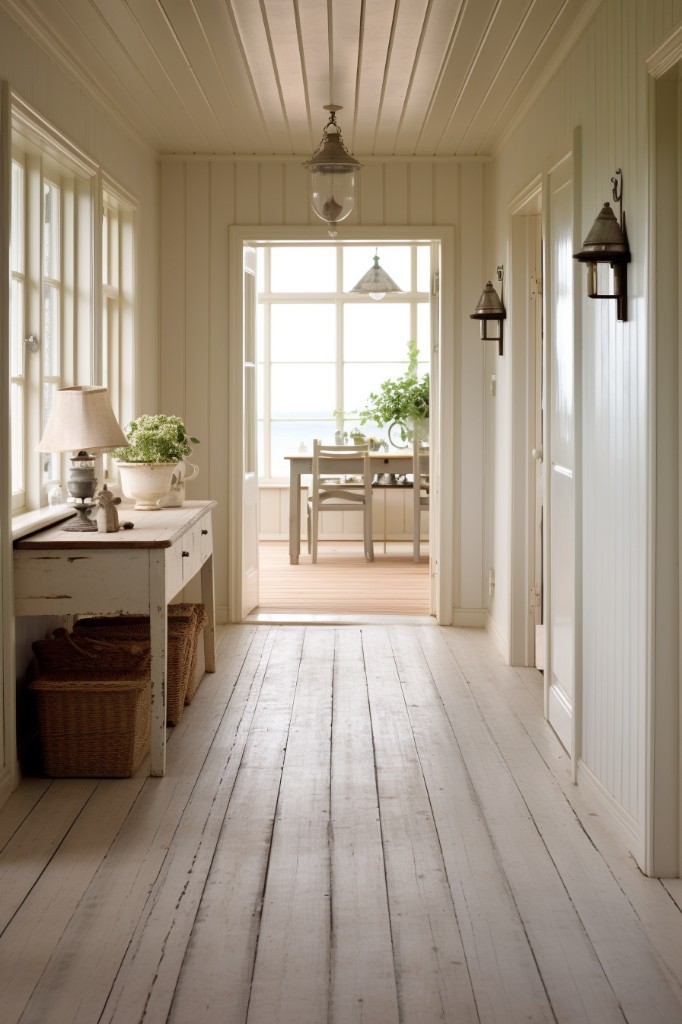
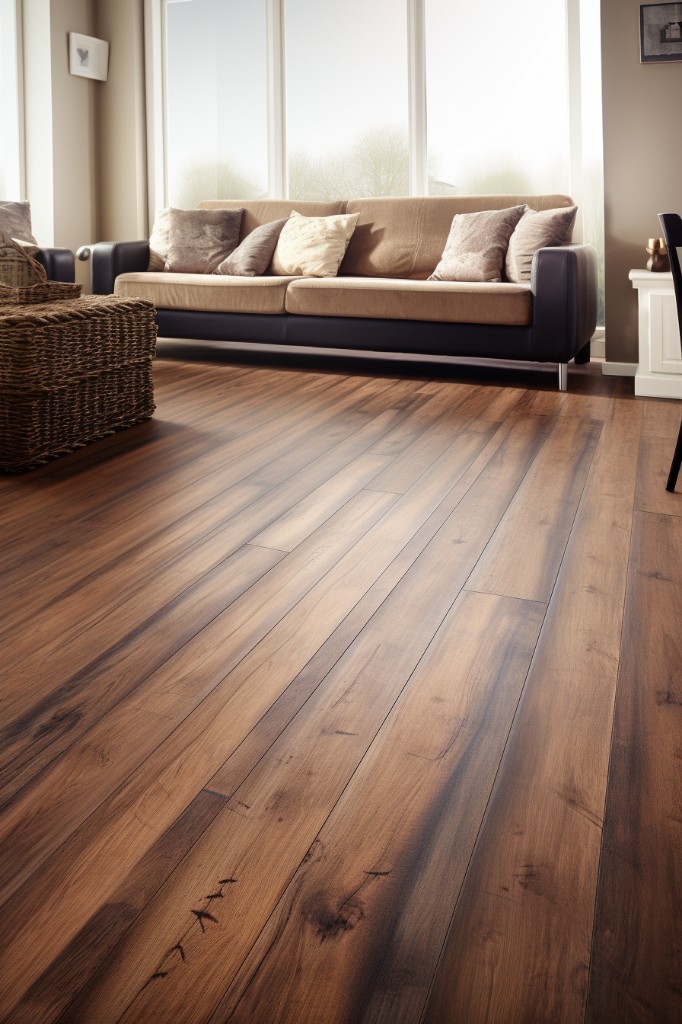
Use of Area Rugs and Mats
They also protect the floor from scratches, spills, and stains. Placing area rugs in high-traffic areas such as hallways or entryways can help prevent wear on the wood surface.
When choosing an area rug or mat for your hardwood floor, consider its size and shape. A small rug may look out of place in a large room while a too-large one may overwhelm it.
The shape should complement the furniture arrangement; round rugs work well under circular tables while rectangular ones suit long dining tables.
Another factor to consider is material; avoid rubber-backed mats that can trap moisture between them causing damage over time. Instead opt for natural fiber materials like wool or cotton which allow air circulation underneath them preventing mold growth.
Applying Liquid Abrasive and Scrubbing
These cleaners contain fine abrasives that can remove surface damage without damaging the wood’s finish. Before applying any liquid abrasive, ensure that the floor is clean and free of debris.
To apply the cleaner, pour it onto a small section of the floor and spread it evenly with a soft-bristled brush or pad. Allow it to sit for several minutes before scrubbing in circular motions with light pressure until all dirt has been lifted from the surface.
Once you’ve finished scrubbing one section, rinse thoroughly with water using a damp mop or cloth. Repeat this process on other sections until you’ve covered all areas requiring attention.
Note: Be sure not to over-saturate your floors as excess moisture can cause warping and cupping over time.
Final Cleaning and Touching Up Deep Scratches

This step is crucial in ensuring that your hardwood floors look their best and are free of any debris or dust particles. Use a vacuum cleaner with soft bristles or a microfiber mop to remove all dirt and dust from the surface.
If there are deep scratches on your floor, touch them up using wood stain markers that match the color of your flooring. These markers come in various shades and can be used to fill in small gaps as well.
Once you’ve touched up any deep scratches, use fine-grit sandpaper (220 grit) over the entire surface area of the floor lightly. This will help smooth out any rough spots left by touching up deep scratches while also preparing for finishing touches like polishing or waxing.
Applying Fresh Stain
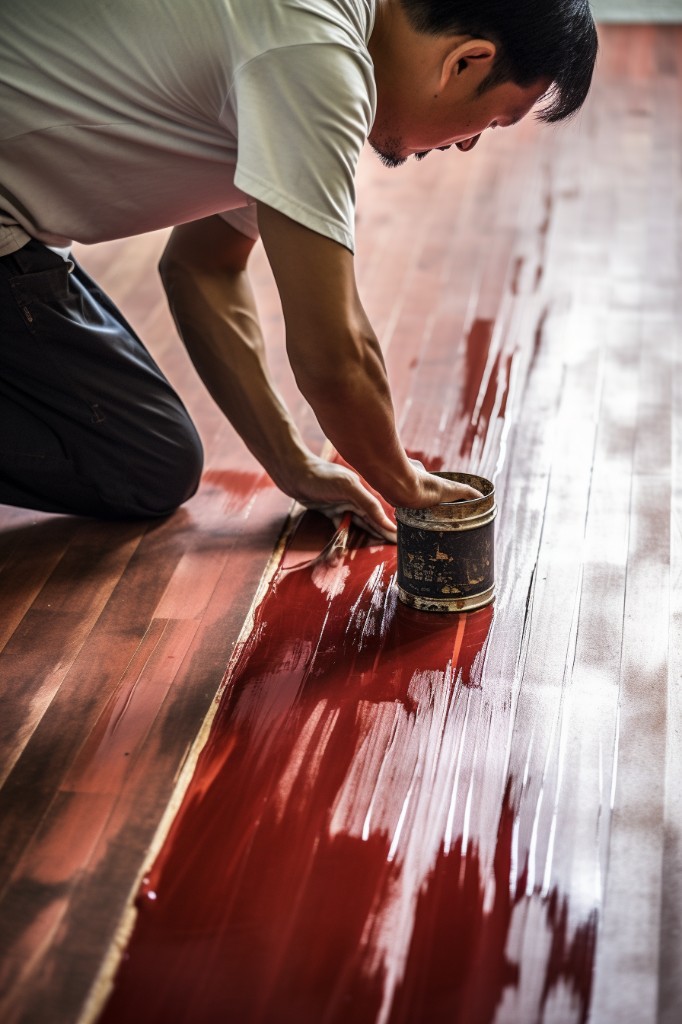
Applying a new coat of stain will not only restore the color but also add protection to the wood surface.
Before applying any new stain, it’s essential to clean and sand the floor thoroughly. Make sure there is no dirt or debris on the surface that could interfere with adhesion.
Once you’ve cleaned and sanded your floors, apply a thin layer of wood conditioner using a brush or roller.
After allowing time for drying as per manufacturer instructions (usually 15-30 minutes), apply one coat of oil-based penetrating wood stain in long strokes along with grain direction using another brush or roller. Allow this first coat to dry completely before adding additional coats if needed until achieving desired color depth.
Remember that staining requires patience; do not rush through this process as it may lead to uneven results. Take breaks between each application so that each layer has enough time for proper curing before moving onto subsequent layers.
Pros and Cons of Using Paint
It’s an affordable and quick way to give your floors a new look without the hassle of sanding or staining. However, before you grab that paintbrush, it’s essential to weigh the pros and cons of using paint on hardwood floors.
Pros:
- Cost-effective: Painting is cheaper than refinishing or replacing your flooring.
- Versatile: You can choose from various colors and patterns that suit any decor style.
- Easy maintenance: Painted surfaces are easy to clean with soap and water.
- Durable finish: A properly painted floor can last for years if maintained correctly.
Cons:
- Prone to chipping/peeling/cracking over time
- Slippery surface when wet
- May require frequent touch-ups in high traffic areas
- Not suitable for high moisture environments
While painting may be an excellent option for some homeowners, it may not be ideal for others depending on their lifestyle needs. If you have pets or children who frequently run around the house, then painting might not be practical as they could scratch off the paint easily.
If you live in a humid area where moisture levels are high throughout most seasons of the year; then this method might not work well either since humidity causes peeling/chipping/cracking over time due mainly because wood expands when exposed continuously under such conditions.
Installing New Flooring Over Old
It’s an excellent option if your current floor has significant damage or you’re looking for a quick and easy way to update the look of your space. However, before installing new flooring over old, there are some essential things you need to consider.
Firstly, it’s crucial that the existing floor is level and free from any bumps or dips. If not addressed beforehand, these imperfections can cause problems with the installation of the new flooring.
Secondly, make sure that adding another layer won’t create issues with doorways or transitions between rooms. You don’t want your doors rubbing against newly installed floors because they now sit higher than before.
Lastly, keep in mind that adding another layer will raise the height of your floor slightly; this may affect appliances such as dishwashers and refrigerators which could become difficult to remove when needed.
Use of Wood Fillers
Wood fillers are available in different colors and types to match the color of your floorboards. They come in two forms: water-based and solvent-based.
Water-based wood fillers are easy to use and clean up with soap and water. They dry quickly but may shrink as they dry out over time.
Solvent-based wood fillers take longer to dry than their water counterparts but do not shrink when drying out completely. However, they require mineral spirits for cleanup.
When using any type of filler on your hardwood floors:
- Clean the area thoroughly before applying.
- Apply only enough filler needed for the job.
- Allow it ample time to cure according to manufacturer instructions.
- Sand down excess filler until smooth with surrounding areas
- Stain or finish accordingly
Laminate Flooring As an Alternative
It’s affordable, easy to install, and comes in various styles that mimic the look of real wood. Laminate flooring consists of several layers that are fused together using high heat and pressure.
The top layer is a clear protective coating that resists scratches, stains, and fading.
One advantage of laminate flooring over hardwood floors is its durability. It can withstand heavy foot traffic without showing signs of wear or tear for years to come.
It’s resistant to moisture damage which makes it ideal for areas prone to spills such as kitchens or bathrooms.
Another benefit of laminate flooring is its ease-of-installation compared with traditional hardwood floor installation methods which require sanding down the existing surface before applying new finish coats on top; this process can be time-consuming and messy.
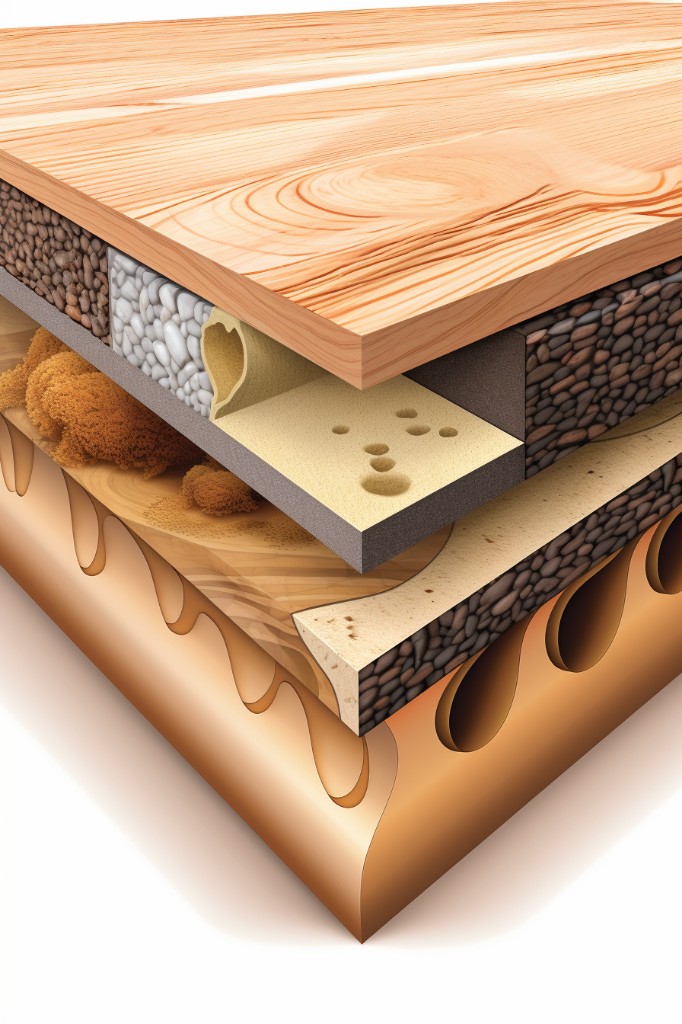
Engineered Wood Floors
They offer the same aesthetic appeal as solid hardwood, but with added durability and affordability. Engineered wood floors consist of a thin layer of real hardwood on top of multiple layers of high-quality plywood or fiberboard.
This construction makes them more resistant to moisture and temperature changes than solid wood, making them ideal for areas like basements or kitchens.
One significant advantage that engineered wood has over traditional hardwood is its versatility in installation options. Unlike solid planks that require nailing down onto a subfloor, engineered boards can be glued down directly onto concrete slabs or floated above existing flooring using click-and-lock systems.
Another benefit is their cost-effectiveness compared to natural woods such as oak or maple since they use less expensive materials in their production process while still providing the look and feel you desire from your floorings.
Long-lasting Vinyl Planks
They offer a durable, long-lasting solution that is easy to install and maintain. Vinyl planks come in various styles, colors, and textures that mimic the look of real wood flooring without the high cost or maintenance requirements.
One of the significant advantages of vinyl plank flooring is its durability. It can withstand heavy foot traffic, spills, scratches and does not require any special care or treatment like traditional hardwood floors do.
Another benefit is its ease of installation; you can lay it over your existing floor with minimal preparation work required. This makes it an ideal option for those who want a quick fix without having to go through extensive renovation work.
Moreover, vinyl plank flooring requires little maintenance compared to other types of floors such as carpeting or tile. You only need regular sweeping and occasional mopping with mild soap water for cleaning purposes.
Choosing Carpeting Over Hardwood
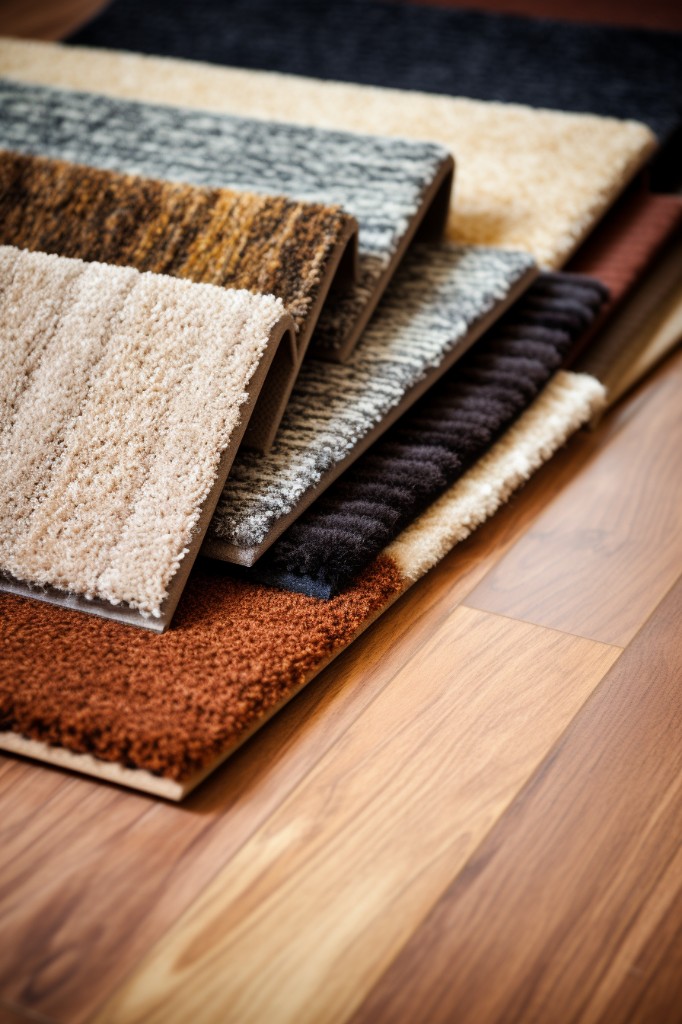
If you’re looking to add warmth and comfort to your space, choosing carpeting over hardwood might be the way to go.
Carpeting can provide a cozy feel underfoot that is unmatched by any other flooring type. It also offers sound insulation and helps reduce noise levels in your home.
Carpets come in various colors and textures that allow you to customize your decor according to personal preferences.
Another advantage of carpeting is its affordability compared with hardwood floors. While installing new wood flooring or refinishing existing ones can cost thousands of dollars, installing wall-to-wall carpeting is relatively inexpensive.
However, it’s important to note that carpets require regular maintenance such as vacuum cleaning or professional deep cleaning services every few years if you want them looking their best long-term.
Polishing and Finishing the Floor
Polishing helps restore the shine of your wooden floors while finishing protects them from future damage. There are various types of finishes available in the market, including oil-based polyurethane, water-based polyurethane, wax finish or penetrating sealers.
Oil-based polyurethane is a popular choice for its durability and resistance to scratches. It also gives off an amber hue that enhances the natural color of wood grain patterns.
Water-based polyurethane is another option that dries faster than oil-based ones but requires more coats for optimal protection.
Wax finishes offer a soft sheen look with less durability compared to other options but can be reapplied easily when needed.
Penetrating sealers are ideal if you want a natural-looking matte finish without altering wood’s original color or texture. They penetrate deep into pores providing long-lasting protection against moisture damage while allowing air circulation through fibers which prevents warping over time.
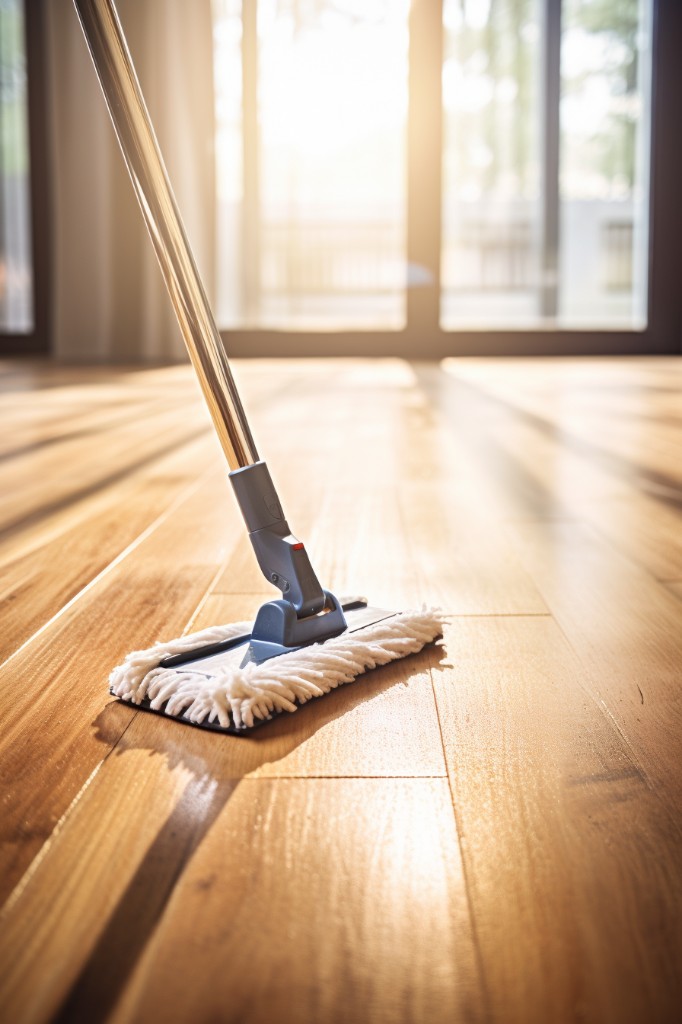
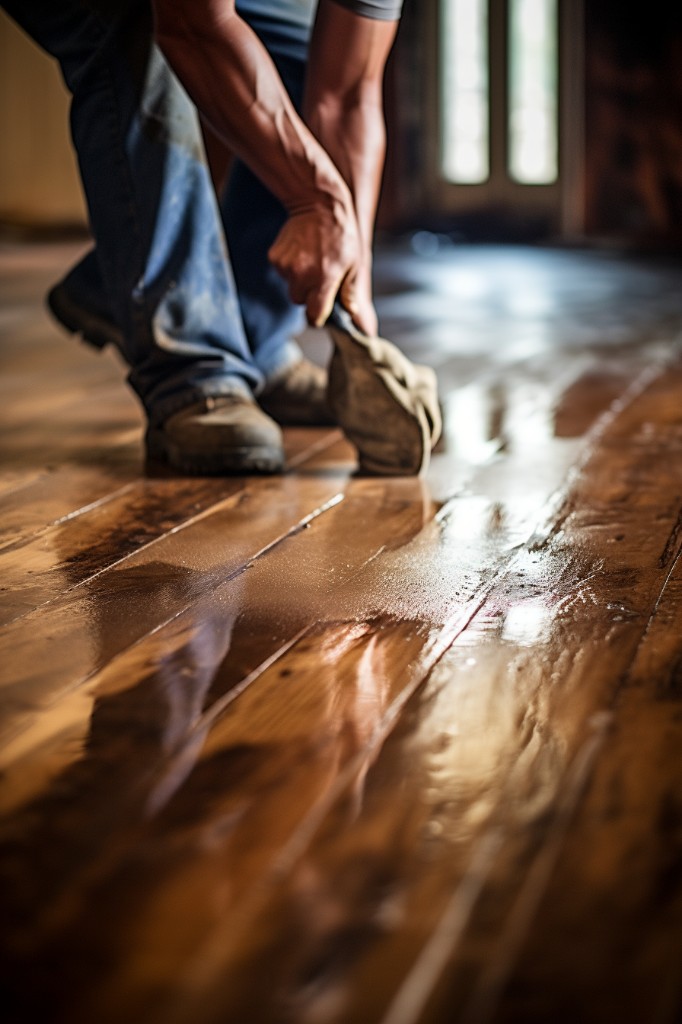
Cleaning and Maintaining a Hardwood Floor
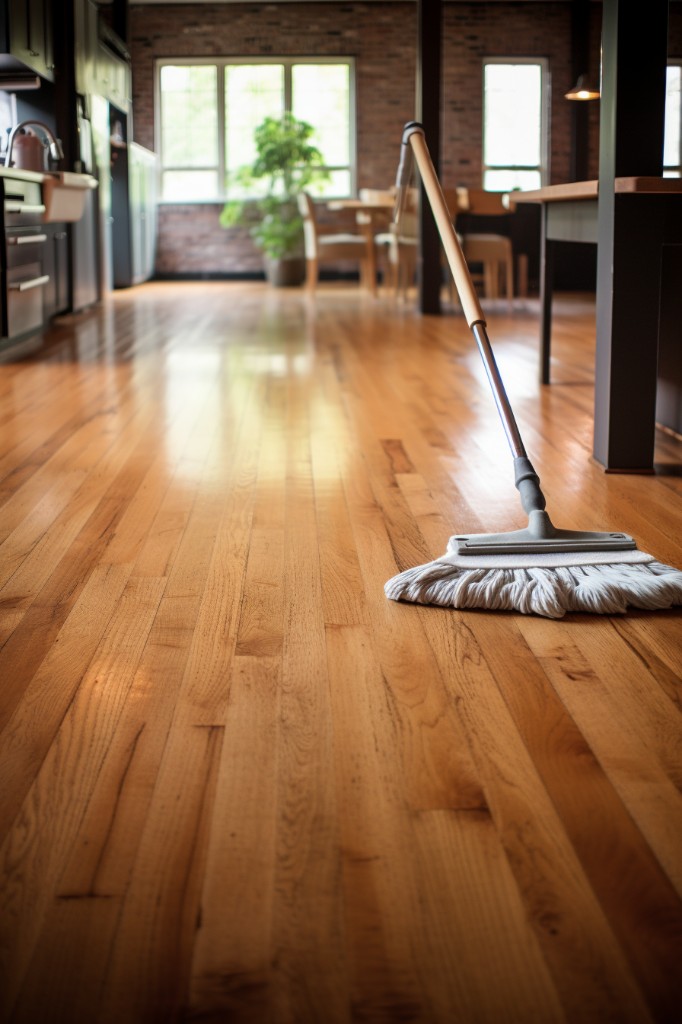
Regular cleaning is crucial for keeping your wooden floors looking their best. Sweeping or vacuuming regularly will help remove dirt and debris that can scratch the surface of your floor.
When mopping, use a damp mop rather than soaking it in water as excess moisture can damage wood flooring over time. Avoid using harsh chemicals or abrasive cleaners on hardwood floors as they can strip away protective coatings and cause discoloration.
It’s also important to protect high-traffic areas with rugs or mats that are easy to clean regularly. This will prevent scratches from shoes, pet claws, furniture legs, etc., which could otherwise ruin the finish of your floor.
By following these simple tips for cleaning and maintaining hardwood flooring alternatives like waxing or resurfacing methods mentioned earlier in this article; you’ll be able to enjoy beautiful-looking wooden floors without having to refinish them frequently!
FAQ
Can you fix hardwood floors without refinishing?
Yes, hardwood floors can be fixed without refinishing by filling in light scratches with a coat of wax, and using wood filler for deeper scratches, which is then sanded down until flush with the surrounding wood.
What is the cheapest way to refinish floors?
The cheapest way to refinish floors is by applying a revitalizer gloss, particularly effective on floors with only surface-level scratches and minor wear and tear.
Can you stain old wood floors without sanding?
Yes, you can refurbish old wood floors without sanding by using a process known as screening and recoating.
What are the effective methods for restoring the shine of aged hardwood floors without refinishing?
The effective methods for restoring the shine to aged hardwood floors without refinishing include regular cleaning, wiping with a damp cloth, using quality wood cleaners and conditioners, and applying a layer of polish.
How can you repair worn out or scratched wooden floors without completely refinishing them?
Worn out or scratched wooden floors can be repaired without completely refinishing them by cleaning the area, applying a layer of wood filler, sanding it smooth, and then applying a new coat of finish.
Is it possible to change the color of hardwood floors without sanding or refinishing?
Yes, it is possible to change the color of hardwood floors without sanding or refinishing by using stains or specialized products designed for this purpose.
Recap
Liked this article? Here's what you can read next: