Last updated on
Follow these six steps to paint any area of your home the right way. Read on!
Painting your home can be a daunting task. It requires careful preparation and planning, as well as the right tools and techniques in order to get professional-looking results.
In this guide, you’ll learn how to properly paint your home from start to finish, including tips for selecting the best materials, preparing the surfaces for painting, applying the paint, and more.
Following these easy steps will ensure your home looks beautiful for years to come. So whether you’re a first-time DIYer or an experienced home painter, these tips will help you tackle the project with ease.
Let’s get started!
If You Are Not So Skilled With It, Hire Professionals

Hiring a professional painter can save you time and hassle, as well as ensure that your home is painted properly the first time. If you’re not comfortable painting on your own, consider hiring a local contractor to do the job for you.
A pro painter can help you choose the right color and paint finish, as well as provide guidance on proper surface preparation. For instance, they can tell you if there are any repairs, such as caulking or filling in cracks, that need to be made prior to painting.
Or, a helpful hint from the painters at Solis Painting is that a fresh coat of paint can give your home an instant facelift that will last for years! Hiring a professional means that you have someone to turn to if something goes wrong. This can save you a lot of time and energy in the long run. So, it’s definitely worth the investment.
Gather the Right Tools and Materials
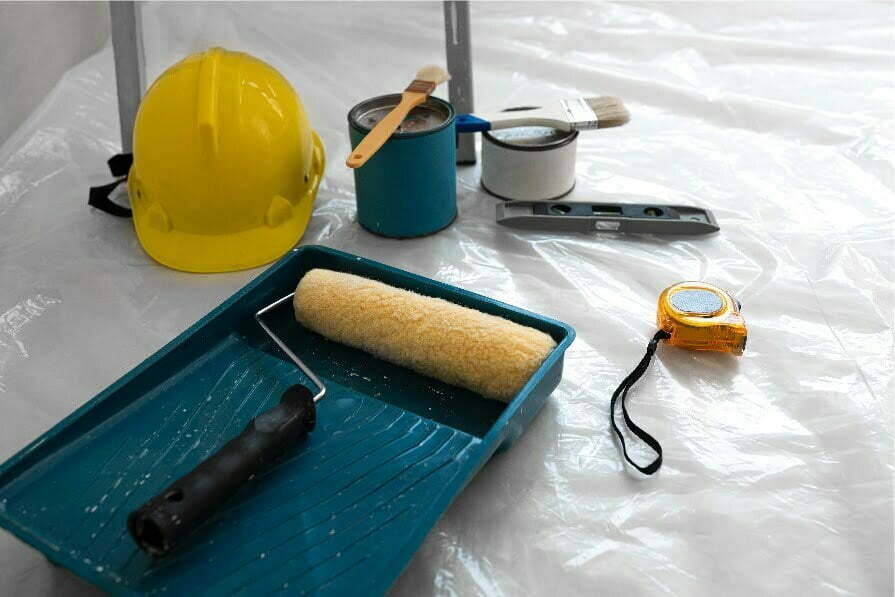
Before you begin the painting process, make sure you have all the necessary tools and materials. This includes a drop cloth or old sheets to protect your floors, painter’s tape for taping off edges, a ladder for reaching high areas, brushes, and rollers for applying paint, trays to hold the paint, and sandpaper for smoothing surfaces prior to painting.
You’ll need to select the right type of paint and finish for your project. For example, if you’re painting walls, a satin or eggshell finish works well.
inally, don’t forget primer, which should be applied prior to painting for better adhesion and coverage.
Set Up for Success by Prepping the Surfaces
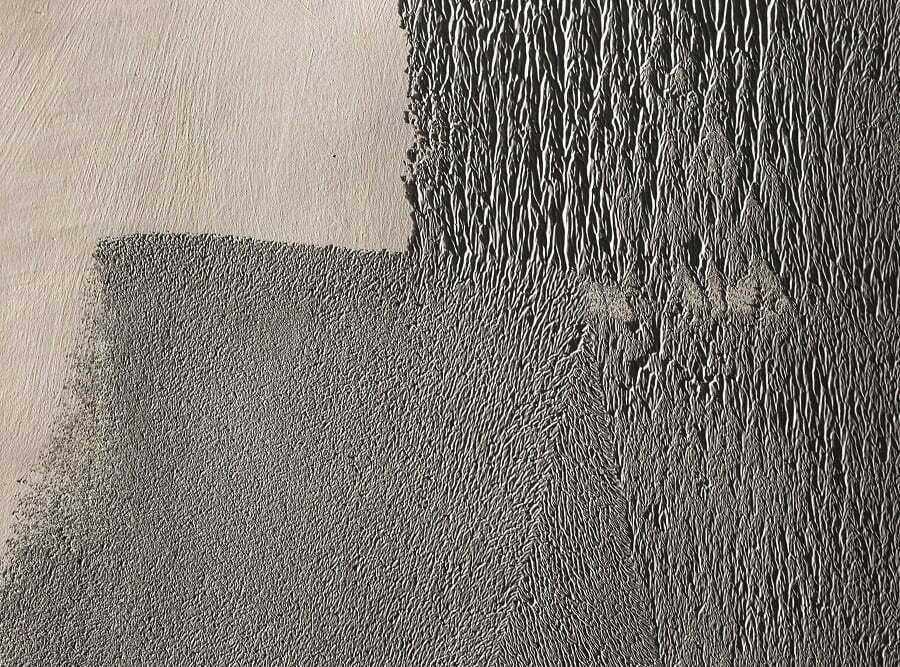
Proper surface preparation is key to achieving long-lasting results. Before you begin, it’s important to make sure that all surfaces are clean and in good repair. This includes filling in any holes or cracks, sanding down any rough patches, and wiping away dust or debris.
Be sure to remove switch plates and outlet covers so that you can paint the walls behind them. And finally, don’t forget to tape off any areas where paint shouldn’t end up.
You can use painter’s tape or plastic drop cloths to ensure that you only paint the desired areas. This way, you can avoid any costly mistakes! You can also do your research for more tips on proper surface preparation.
Choose the Right Paint
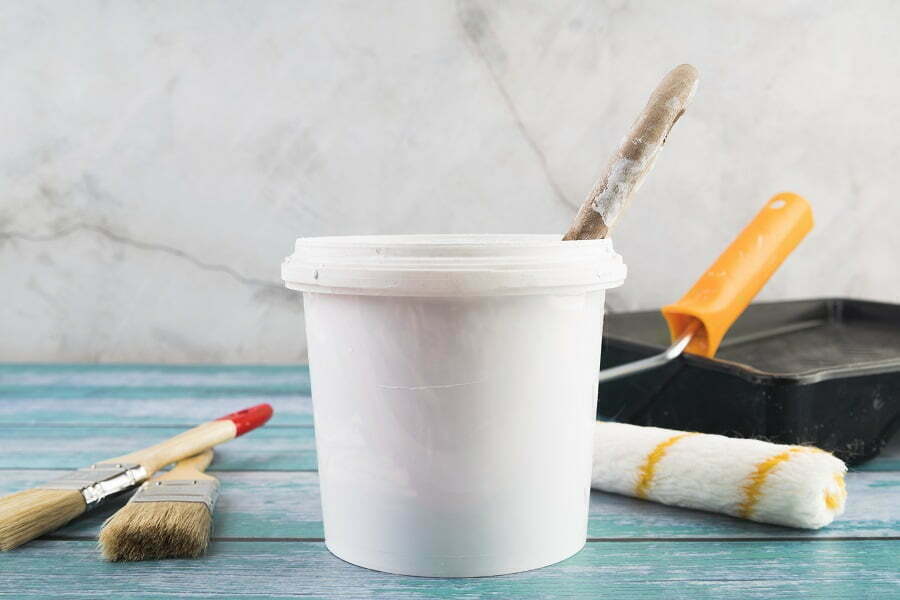
Choosing the right paint is essential for achieving a beautiful, long-lasting finish. For inside projects, choose a high-quality latex or acrylic paint in the sheen of your choice.
Flat and eggshell finishes work well for walls, while semi-gloss is best for trim and cabinets. For outside projects, use exterior paint rated for the climate you live in.
Be sure to invest in a good quality brush and roller that will provide even coverage and allow you to get those hard-to-reach areas. You can also save time by using a paint sprayer to quickly cover larger surfaces.
For instance, if you’re painting a fence or the exterior of your home, a sprayer is an efficient way to get the job done. Or, if you’re in need of a professional to help with the job, hire an experienced painter who will do it right the first time.
Get Painting

Now that the surfaces are prepped, the materials are gathered, and the paint is chosen, it’s time to start painting! When painting walls, begin at the top of the wall and work your way down.
This will help prevent any drips from forming on the freshly painted sections. When painting trim, start at the corners and move outward. And for best results, use a brush for small areas and a roller for larger ones.
Once you’re finished applying paint, don’t forget to clean your brushes and rollers. Be sure to wait until the paint is completely dry to remove any painter’s tape.
Inspect the Finished Product
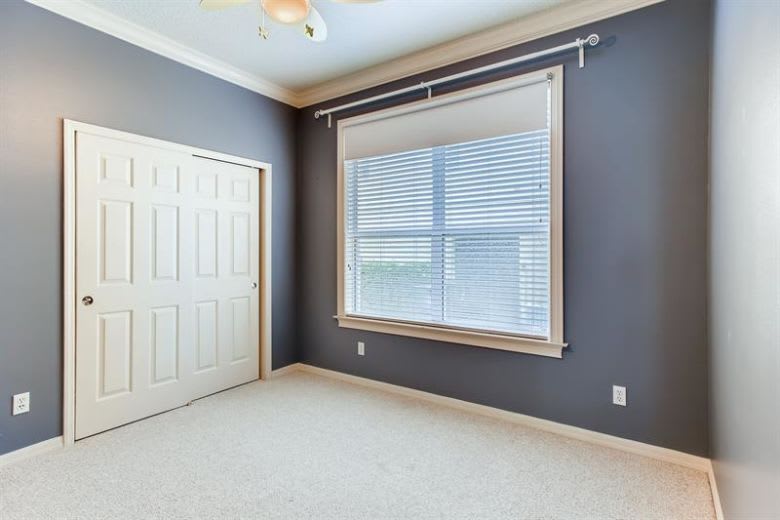
Once you’ve finished painting, inspect the walls to make sure all areas are covered and no mistakes were made. If you find any areas that need touch-ups or repairs, be sure to do them right away.
This will help ensure that your paint job looks great for years to come. You can also consider adding a final coat of sealer or varnish to protect the paint from sun damage, dirt, and moisture. Sealers and varnish come in a variety of finishes, so be sure to choose the one that best suits your needs.
For instance, a glossy finish can be used to make colors appear brighter. And if you’re painting a deck or other outdoor surface, consider a sealer that is designed specifically for that purpose. So don’t forget to add the final touches and enjoy your newly painted space!
Painting is a great way to update the look of your home without breaking the bank. By following these five steps, you can ensure that your painting project goes smoothly and produces outstanding results.
From choosing the right paint and materials, to properly prepping surfaces and using the right tools, this guide provides everything you need to know about successful painting. So, grab your brushes and rollers and get ready to give your home a stunning new look!
Hopefully, these tips have helped you understand the basics of how to paint like a pro! With patience and practice, you can create beautiful paint jobs that will last for years.
Recap


