Last updated on
Use the following tools and tips to prepare surfaces during your home renovation project. Read on!
While home renovations are underway and things are starting to heat up, you might want to take a moment and think about the preparation steps and tools needed for surfaces before you start hitting them with paint.
Of course, there is a type of material to consider, as concrete and wood differ very much. Also, you’ll need the right equipment and a bit of patience.
Believe us, it’s better to do it right the first time than regret doing it a second or even a third time later on. Let’s discuss some tips to make it easier for you.
For Your Walls
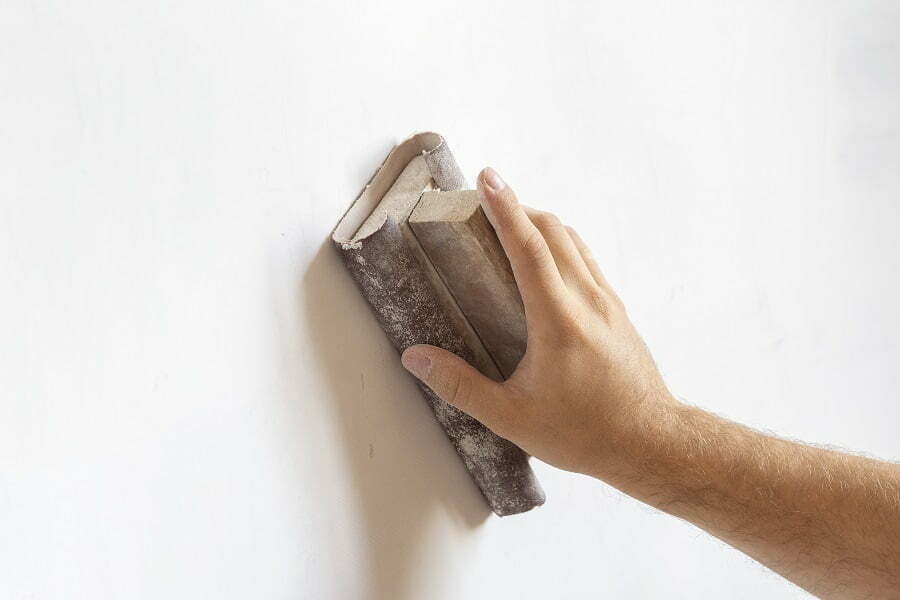
Walls are mostly the first thing we start painting once we decide on a color and pattern. But, you’ve probably noticed how sometimes the paint doesn’t absorb properly, or little cracks start to appear after a while.
How come? Well, you’ll need to prepare the walls first and then start brushing them. For this, sand any uneven areas with sandpaper or a sanding block, then wipe away dust with a moist cloth and allow it to dry completely.
Smoothing walls before repainting are required for surfaces that have previously been coated with gloss or high-gloss paint. Sand with sandpaper over previously coated water-based paint.
Medium-grit sandpaper should be employed for oil-based paint. To get the most out of your paint, use a primer, notably if your walls are weak or have discoloration that needs to be covered up.
Primers hide flaws, produce a smooth surface for your paint to adhere to, and assure a consistent finish no matter what you’re painting.
Concrete and Hard Surfaces

Chemical Cleaning
Detergents and other concrete cleansers are utilized for surface preparation for specific coatings, although they are not normally recommended for surface preparation for concrete restorations.
Solvents are not advised since they dissolve the contamination and transport it deeper into the concrete.
Mechanical Cleaning
A thin layer of concrete may be removed from the surface with this process, and depending on the equipment, different surfaces can be created. Impact instruments like breakers, scrabblers, grinders, and scarifiers are utilized in this procedure.
For this purpose, the experts at Niagara Machine recommend getting polishing machines and services as a solution to your problems, as utilizing these will practically pay for itself over time.
The machines must be controlled with care, and there are maintenance options for each. However, considering the costs of annual cleaning, having such a tool sitting in your garage might just pay for this year’s vacation.
Abrasive Cleaning
A dry or wet abrasive is propelled in a compressed air stream by abrasive blasting. The abrasive particles enter the substrate upon impact, dislodging pieces of mortar and fines.
Surface pollutants, unsound concrete, coatings, and adhesive films are removed by abrasive blasting, and a contoured surface is imparted.
Shot blasters or high-pressure water blasters are commonly used, followed by water or air blasting, vacuuming, or other treatments. A profile number representing the surface roughness required for different purposes can be established, or it can be specified by sandpaper grit size.
Acid Use
For a long time, acid washing on hardened concrete has been used to remove natural grime and lacquer. The acid used on the concrete surface removed a large quantity of cement paste, giving a hard texture that may accept replacement material with better bond strength.
Preparation of the Wood Surface
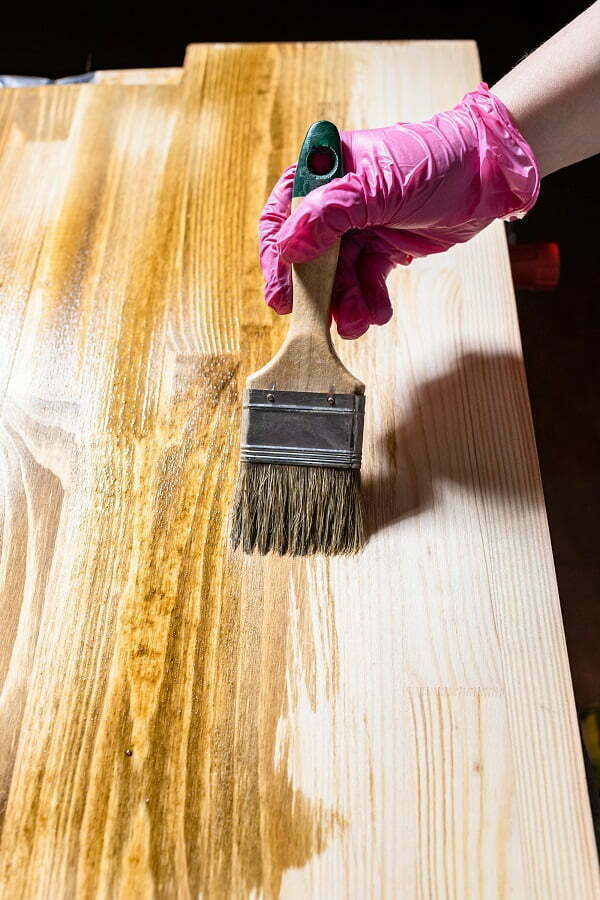
If the surface of the wood is still raw (unpainted), it should first be sanded and stitched, which will reduce or completely eliminate the power of absorbing wood. Oil paint thinner is used for this.
The thinner is applied to the surface with a brush, and after 2-3 hours, its excess is wiped off with a dry cloth. You should always wipe in the direction of the wood grain. A wooden surface saturated in this way dries for 24 hours.
Of course, the wet surface must not be coated or puttied. If the surface of the wood is uneven, it is filled with putty for wood or special putty.
Putty is applied in a thin layer to the surface of the wood with a spatula (maximum layer thickness 0.5 mm) and carefully leveled. The direction of movement of the spatula should deviate slightly from the direction of the fibers (about 20-30°).
Excess putty must be removed immediately. After this, puttying in several layers follows, and between each layer, you should wait for drying time (about 24 hours) and sand the dried layer with sandpaper.
The sanded surface should be cleaned of dust, and painting can begin. If a special putty is used, the duration of the operation is reduced to 2-3 hours.
The tools are accessible, and you can find them in most hardware stores; some can be on discount if you wait a bit. The preparation and application of different chemicals and tinners are easy enough, but we advise taking precautions and maybe taking the right safety steps beforehand.
More Like This
 Buying Stylish and Trusted Wholesale Cabinets in San Diego: Expert Tips for Quality and Value
 How to Design a Home Inspired by Dubai’s Waterfront Architecture
 How Designers Can Hide Vents, Ducts, and HVAC Units Without Compromising Performance
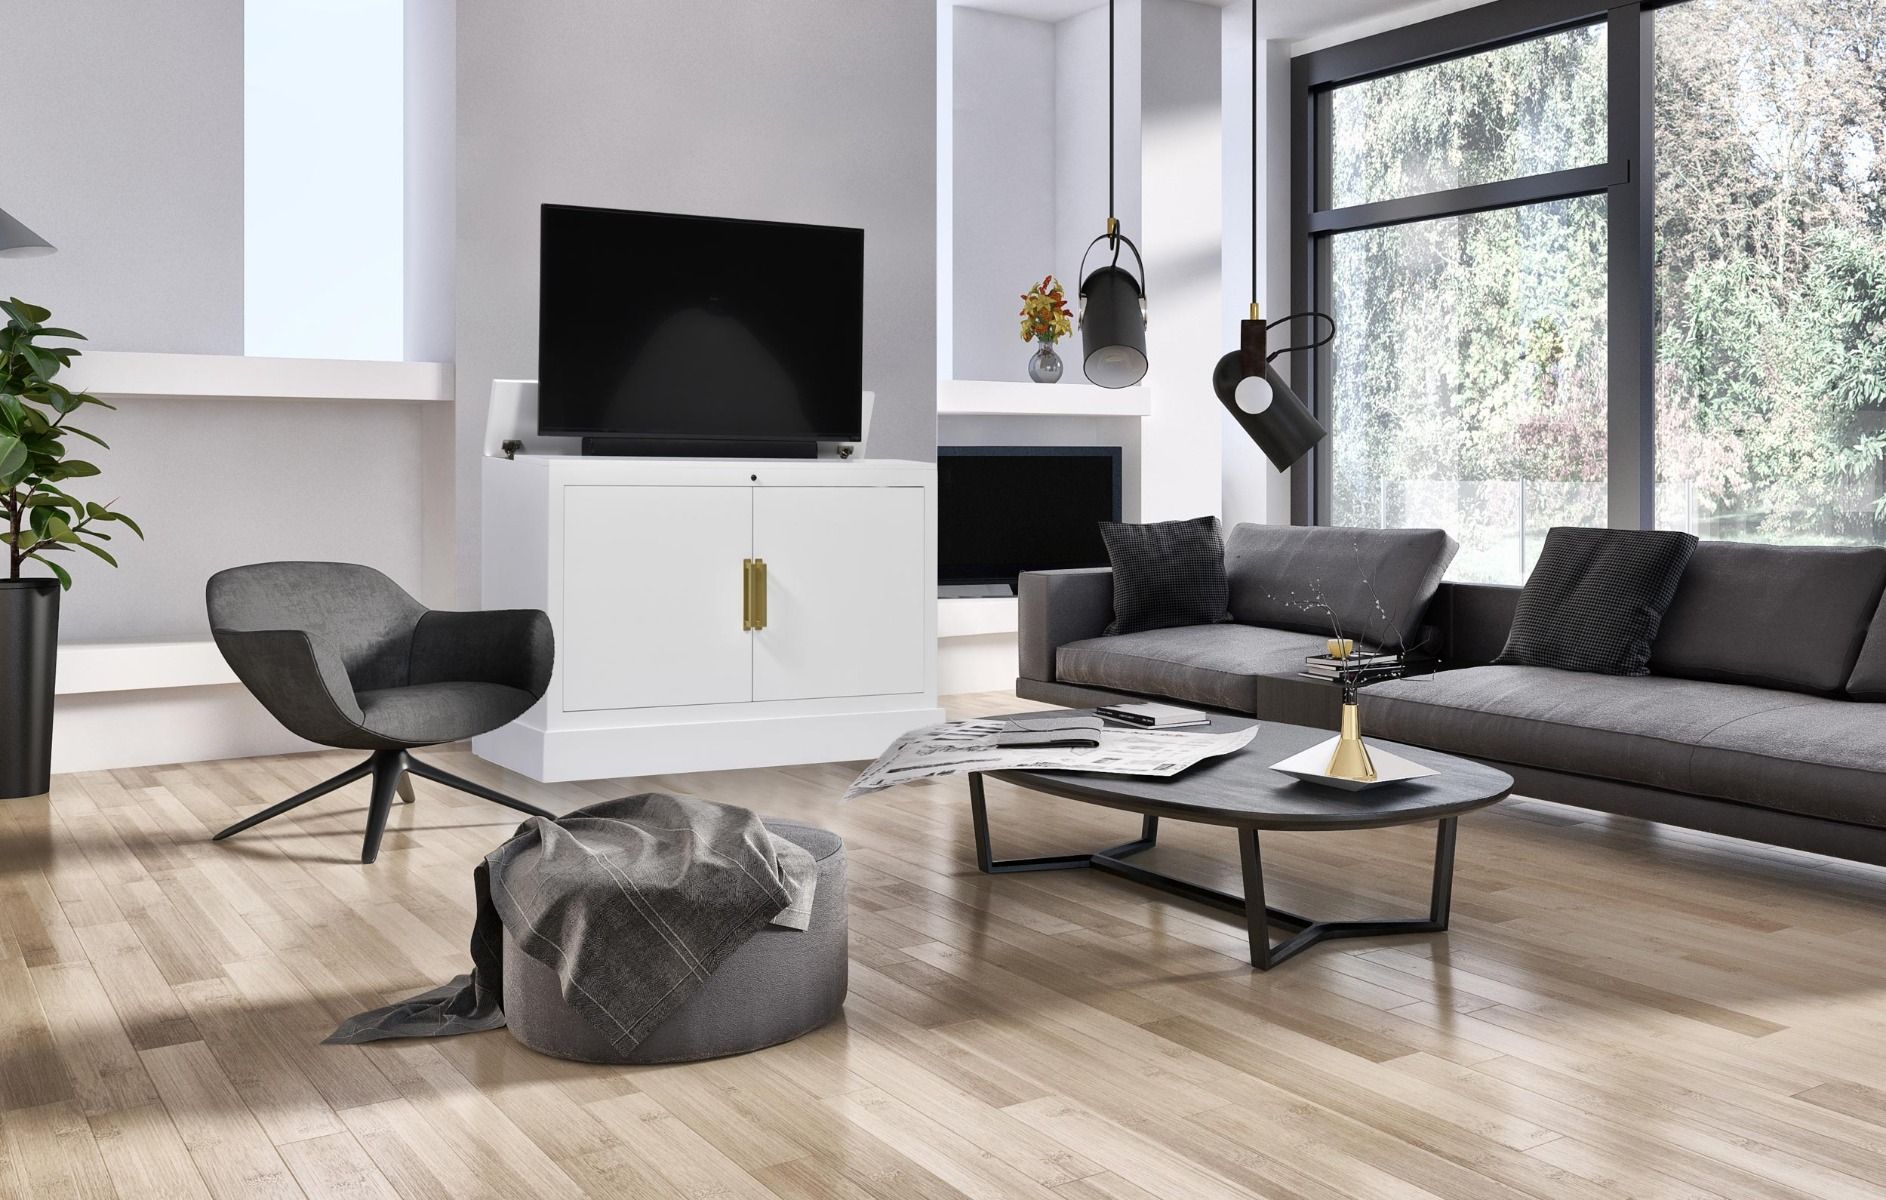 Transform Your Living Room with TV Lift Cabinets: The Perfect Blend of Style and Functionality
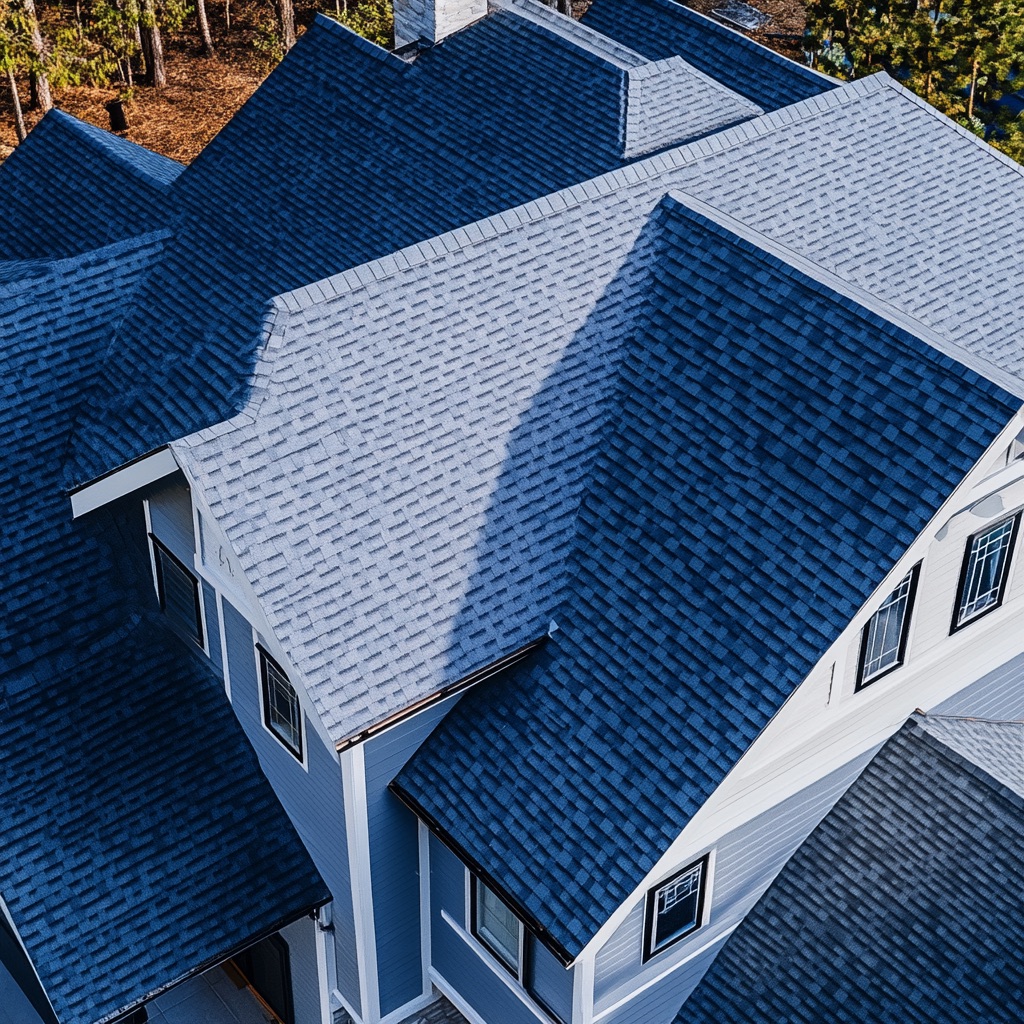 The Role of Roofing in Energy Efficiency
Recap