Last updated on
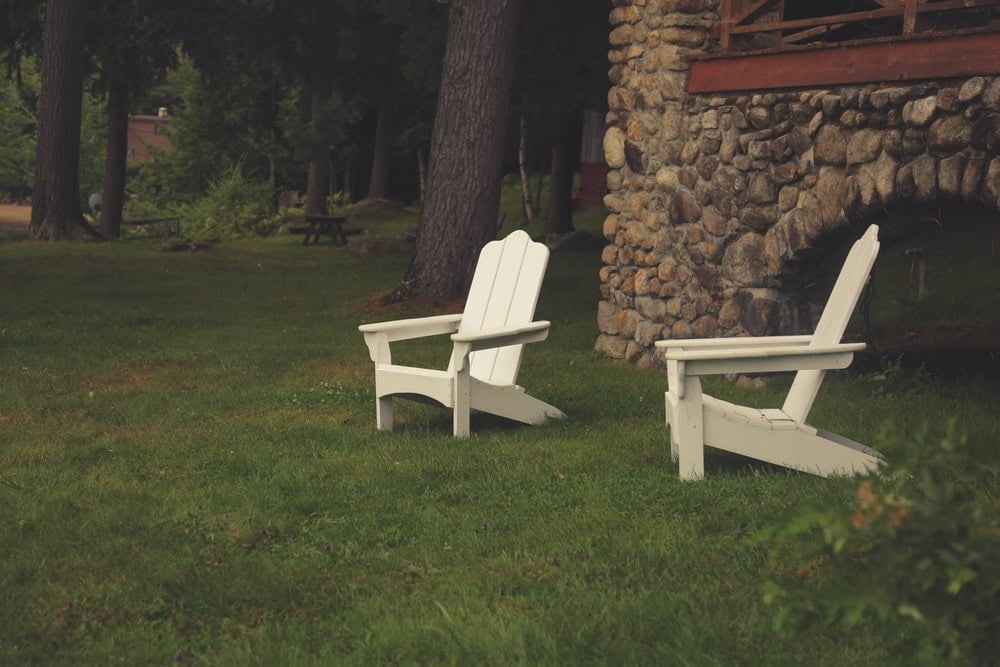
Outdoor recreation is a great way to relax. Some go to the countryside, others to a summer house, where comfortable loungers are waiting, allowing them to forget about the environment and take a little nap. These attributes relieve tension from the spine and almost all muscles, just choose the most comfortable option: rocking chair, ordinary folding chair, a sunbed, etc.
It is easiest to buy a ready-to-use lounge chair, choosing it for the interior of your summer house or for your individual needs. But not everyone has the financial resources to do that. A DIY model, though, is more appreciated and fully corresponds to its owner’s taste.
Types
Making DIY style loungers should not be a problem. Before you get to work, choose the type of furniture you want to bring to life. There are:
- Chairs. You can take a crib or a folding bed as a base. Armrests are made at will.
- Loungers. The process of making takes around 4 hours. The product can be made of plastic or wood which is perfectly polished and varnished.
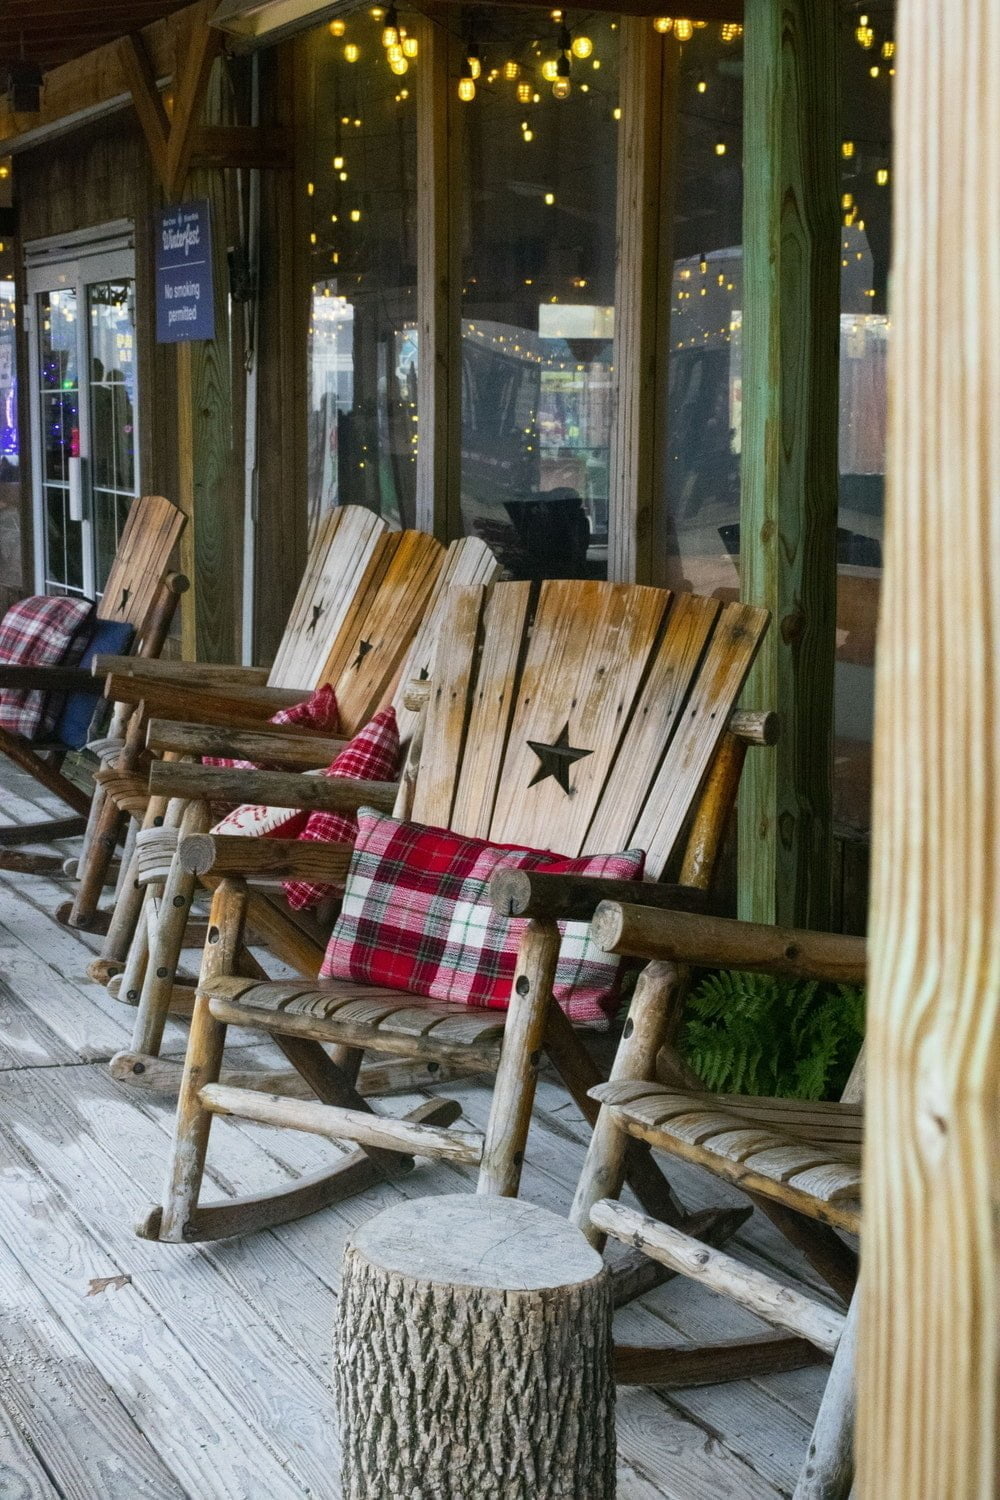
- Rocking chairs. Its backrest is at an angle, so you can lie down, relax, or take a nap. It is important to make the lower part of the accessory firm so that it does not become loose when rocking.
Except for appearance, there is also design:
- Monolithic. When making such a chair, all elements are fastened together, therefore, disassembly is impossible. This type of lounger is durable and long-lasting, but the backrest cannot be adjusted and the whole product does not fold up. As a result, there may be problems with transportation.
- Portable. A robust and compact folding structure with a special mechanism that makes it easy to regulate its position.
- Sealed with inserts. The practical product will decorate any interior due to its attractive appearance. But inserts made of other materials do not guarantee durability.
If the lounge chair is made of durable materials, it can be supplemented with a blanket, pillows, and other items for a comfortable stay.
Materials
When choosing material for your lounger, a location must be taken into account. It can be a summer house, beach, special poolside area, backyard or even home. There are the following options:
- Wooden. Such a construction is durable, comfortable, eco-friendly, different in shape and appearance. The only drawback is the high weight. To make it easier to move the chair, wheels are attached to the legs.
- Plastic. These chairs are light, inexpensive, easy to care for. The drawback is a short life.
- Fabric. Сonvenient and compact. The frame can be made of boards, metal, shaped pipes.
- Rattan. Such chaise loungers look incomparable against the background of nature. They are eco-friendly but expensive. But if you have weaving skills, making this kind of attribute is easy.
- PVC. The same lounger with a fabric base, but the frame is based on PVC pipes.
It is not difficult to make a lounge chair yourself, you just have to correctly determine the size of all elements and spend a few hours assembling them. If you’re a camper or roadie looking to make a DIY RV recliner or simply looking to buy RV recliners, you can find some inspiration here.
Blueprint
Before you start to make an accessory for rest, you need a scheme that determines the size of the elements for your chair, their shape, quantity, etc. You can make such a scheme yourself, but that’s not for everyone. Therefore, you can find a detailed blueprint with dimensions. I recommend starting with a sling chair. Then there are of course other options of different types of loungers to try.
The only thing left to do now is to purchase materials.
Wooden lounge chaise
This lounger is sturdy, reliable enough, and its backrest can be adjusted. For this model, it is necessary to take pine wooden plates, as they are resistant to climatic changes.
All the work is done in stages:
- A framework of bars is made, fastened with metal corners.
- Wooden planks are attached to the outside and legs are attached to them.
- The plate is sawn with an electric jigsaw and a wooden grating is made.
- The adjustable backrest is separated from the main part of the attribute and fastened to it with a hinge.
- A fastening bar is attached to the headboard area, and a rack is attached to it with screws.
- The finished product is polished and varnished.
If the lounger is going to be moved often from one place to another, it is better to attach wheels to its legs because its weight will be considerable.
Outdoor sling chair
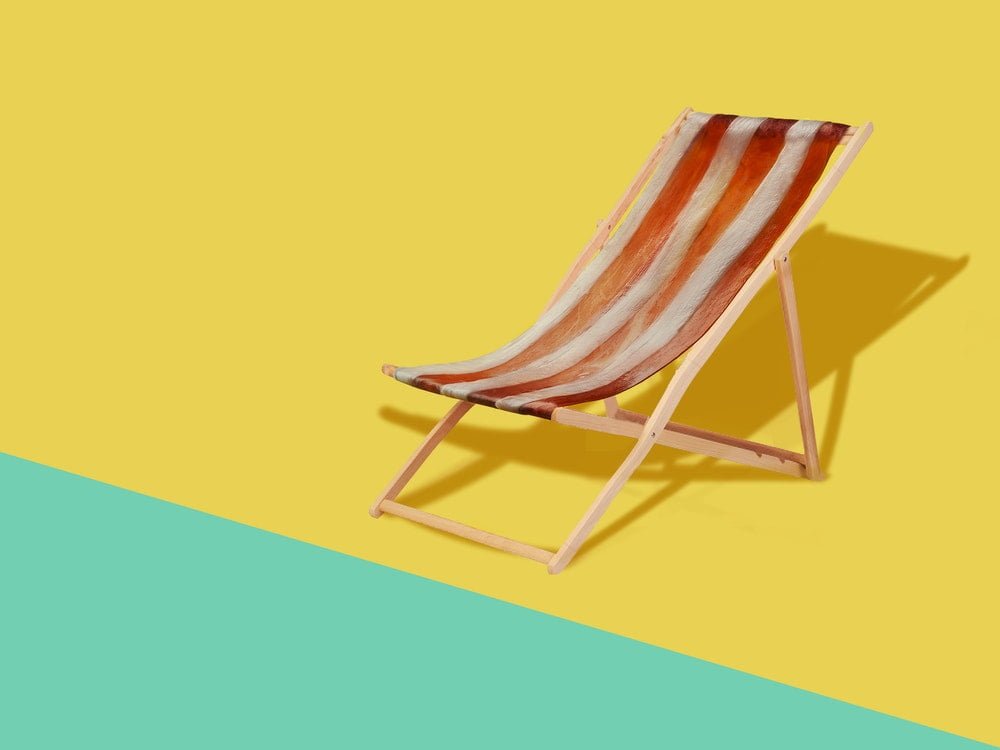
This lounger will be comfortable due to its fabric base. Not really durable though.
The structure is done in the following order:
- A ready folding bed or crib base is taken. If there is none, the rails of the required length are taken or cut and polished.
- Holes are drilled in the main chassis, the other one is made with cuts (4) to adjust the backrest inclination.
- Holes are made at both ends of the rails to mount the seat.
- The cross sections are lubricated with glue and inserted into the holes.
- Now it is time to prep the seat itself. To do this, fold down the base of the product and measure the length of cloth. It should sag for comfortable seating of an owner. All edges are processed on the sewing machine.
- Then the cloth is wrapped around a transverse round bar and nailed on both sides with small.
- The attribute is ready and you can enjoy your rest.
Pallet lounge chair
This is the easiest way to create a lounge chair. This product has a low weight (easy to move) and practical (add a mattress for more comfort). The work is done in the following order:
- Pallets are sorted out, all nails are pulled out.
- The structure is made of two flat planks. They are placed on edge and parallel to each other, and the rest are split and attached to the base. The result is a seat with two support legs at the back.
- To create front legs, the plank of the pallet is sawn into two equal parts. Then they are bolted to the base of the seat and tightened with nuts through gaskets. A transverse block is necessary to strengthen the legs.
- The backrest is made up of two planks which are attached to the seat with the help of bolts, nuts, and gaskets. This should be done at an equal angle.
- After that, the backrest planks are attached to the support planks with screws.
- A bar is attached to the rear legs – this is needed for the strength of the structure.
- The final step is to grind the chair with sandpaper.
- To prevent the planks from rotting, the product is also varnished.
PVC pipe lounge chair
A blueprint for this lounger is identical to that of a fabric lounger, only the wooden structure is replaced by PVC pipes. To create it, you need 2-inch pipes, L-shaped and T-shaped fittings (8 and 6, respectively). The assembly process goes in several stages:
- First, a vertical bar is made. A T-connector is taken, then 30 and 45 cm pipes 30 are fastened with it. The ends are covered with L-shaped fittings.
- The lower vertical is also fastened and the two sides are joined together.
- Important: a horizontal bar must be whole and 66 cm long. It shall be mounted closer to the T-joint which should be directed to the inner part of the structure.
- The other side is two 30 cm pipes, each fastened with a T-fitting. This T-piece should be rotated 45 degrees from the oblong side. The final result is a rectangle.
- For a rotating seat, a 5 cm pipe is inserted in the T-piece joining element which is fixed with the same part. This will be the basis of the horizontal structure.
- The long sides of the horizontal structure are made in the same way as the vertical one. For crossbars, a 30 cm long pipe and another pipe, consisting of two 20 cm pipes with a T-fitting, are taken. The result is a rectangle.
- The seat will be located between the short section of the horizontal section and the oblong vertical section. After adjusting the tilt level at the back, a supporting block is inserted.
- The structure is ready, so now you need a fabric base. To do this, take a dense cloth and fasten it to the base.
Kentucky stick chair
This attribute for rest has a number of advantages: compact, convenient, easily foldable, small weight, durable and reliable. It resembles a chair with a high backrest.
The unusual way of assembling looks unique. To do this, you will need bars, galvanized 4 mm diameter wire, and the same brackets to attach the wire (16), wire cutters, and a hammer. The process is as follows:
- A protective coating is applied to the bars. But the parts must be ready for assembly.
- Now holes are made – must be larger than the wire by a couple of millimeters.
- The bars are assembled in an interesting way which makes the whole construction look creative.
- At the end of the whole process, the chair is carefully lifted and unfolded. Such folding product looks stylish and modern.
Unique ideas
People with creative thinking are not always willing to see simple loungers on their terrain… So, I have several unique ideas to share with you.
Birch log lounger
This design has an unusual appearance, so you will have to work hard. For such a lounger you need birch logs 75-120 mm in diameter. But keep in mind that the larger the diameter of logs, the more the final product will weigh. Before starting work, you should have the following tools in stock:
- Electric saw;
- Drill;
- Drill bits set;
- Self-tapping screws;
- Staples.
When birch logs are properly prepared, you can start the process which consists of the following steps:
- The structure of the future lounger is formed. Simple duct tape will help you to carry out this procedure fast. With its help, the contour of a product is marked directly on the floor.
- In the chopped logs (appr. 45 cm), wholes are made.
- All details are fastened together. Each log has 4 long self-tapping screws in it. A socket wrench will be handy here.
- The design is checked for stability – if it’s missing, you have to remove the defects. For safety and balance, brackets are fixed on the rear side.
- The process of making a chaise lounge chair of birch logs is time-consuming, but the result is excellent.
Plywood rocking chair
Such an attribute for rest can be in the form of an armchair, a bed, with or without armrests, even with a shed to cover from the sun. For the product to last for many years, it is necessary to choose high-quality wood: pine, oak, larch, etc. A sheet of plywood, made of such species, is plastic and can be processed well. In addition, the plywood itself has a low price and a number of advantages:
- Durability;
- Plasticity;
- Easy processing, furnishing, sawing.
Before proceeding to work, all materials should be processed by protective means. Further, the exact scheme of a chair is created. You can do it yourself or use a ready blueprint.
When you have all the necessary materials and the scheme, you can get down to work:
- The scheme/blueprint is transferred on a plywood sheet. Parts are arranged so that the material is used economically.
- Components of the construction are cut out with a miller and jigsaw.
- Holes for screws are made at the attachment points.
- All the elements are polished and varnished.
- Assembly begins with the base. Then the remaining parts are connected.
The upper part of the lounge chair is better made of fabric. It will look beautiful and will not increase the weight of the whole construction.
With a little patience and some physical effort, it is possible to make a unique attribute for comfortable rest. Make a creative scheme or find a blueprint – the choice is yours, but the result must certainly please you.
More Like This
 18 Thanksgiving Wreaths to Wow Your Door for the Festivities
 13 Thanksgiving Trees to Spruce Up Your Holiday Decor
 21 Thanksgiving Party Decorations That Gobble Up the Festivities
 25 Thanksgiving Centerpiece Ideas That Steal the Show
 25 Thanksgiving Tablescapes That Wow
Recap