Last updated on
Here are 15 great tutorials for creating your own laundry cabinets. Read on!
Building your own laundry cabinets can be a great way to add storage to your laundry room. These tutorials can help you by providing step-by-step instructions on how to build the cabinets, as well as tips on how to find the studs in your wall and mark them for easy installation.
With a little time and effort, you can easily add extra storage cabinet space to your home.
What you need to know first:
- The project cost will depend on the size of your laundry room and how many cabinets you want to add.
- A simple IKEA bookcase hack is the cheapest way to add shelf storage to the laundry room.
- Building custom cabinets will cost you around $200 per cabinet.
How to Make Laundry Room Cabinets
Tutorial: instructables.com
Expected cost: This project will cost you between $200 and $300.
Supplies:
- Tape measure
- Level
- Stud finder
- Plywood
- 1×2 lumber
- Crown molding
- Paint or stain
- Screws
- Construction adhesive
- Caster wheels (optional)
This project is a great way to add storage to your laundry room. It is easy to follow and relatively inexpensive.
The most difficult part may be finding the studs in your wall, but once you have them marked, the rest is straightforward.
Tutorial: diypete.com
Expected cost: This project will cost you between $200 and $300.
Supplies:
- Tape measure
- Plywood
- Cabinet hardware
- Cordless drill
- Circular saw
This project entails building DIY cabinets to help organize your home. It is a fairly simple project that can be completed in a few hours.
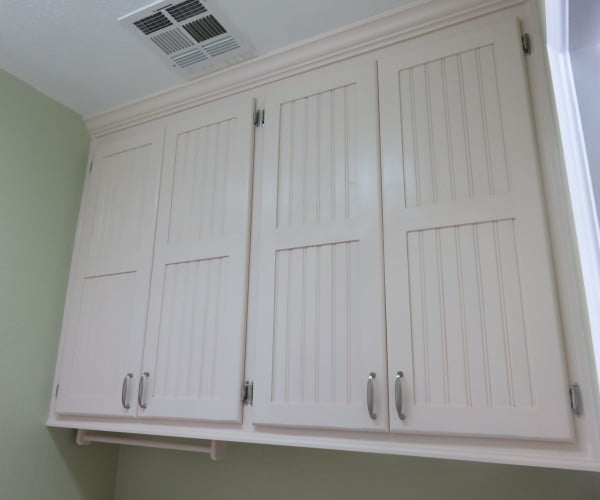
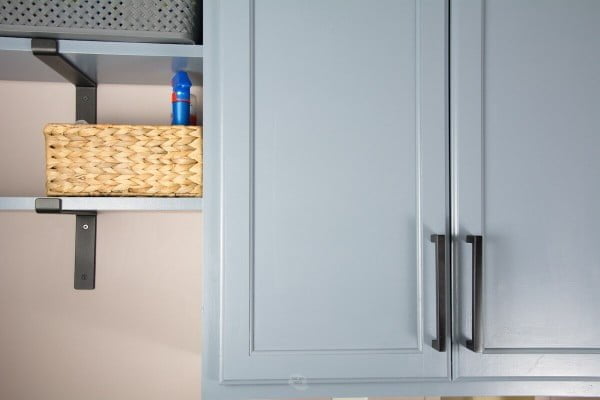
Tutorial: hertoolbelt.com
Supplies:
- Plywood
- Kreg Jig
- Circular saw
- Brad nailer
- Paint
- Edge banding
- Door pulls
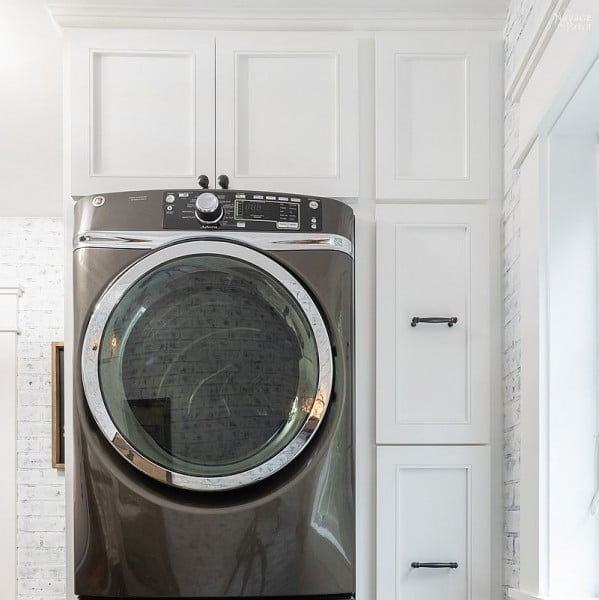
This project is for very budget-friendly cabinets that are great for storing and organizing cleaning supplies and a vacuum. The tall cabinet is great for storing and organizing cleaning supplies and a vacuum.
The small folding table gives space to fold laundry and fits 2 standard laundry baskets on the shelves. The 2 upper cabinets fit wonderfully above the washer and dryer.
The project entails cutting plywood according to the cut list, drilling pocket holes, assembling the cabinet with screws or brad nails, attaching hinges, attaching door pulls, sanding, priming, painting, and adding edge banding.
This project is not difficult to complete, but it will take some time to finish all the steps.
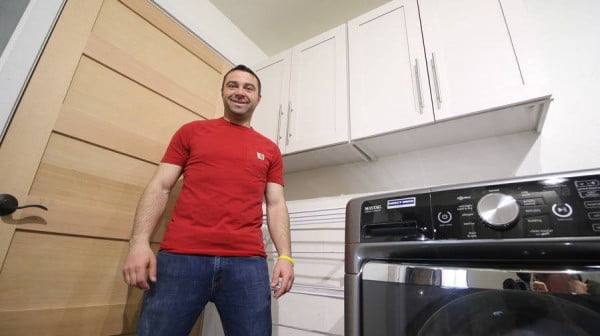
Tutorial: kristendukephotography.com
Supplies:
- saw
- drill
- woodworking experience
This project is a bit more difficult than some of the others, but it’s still manageable for most people. You’ll need to be able to use a saw and drill, and it would be helpful if you have some experience with woodworking.
The project will take a few hours to complete, but it’s well worth it for the results.
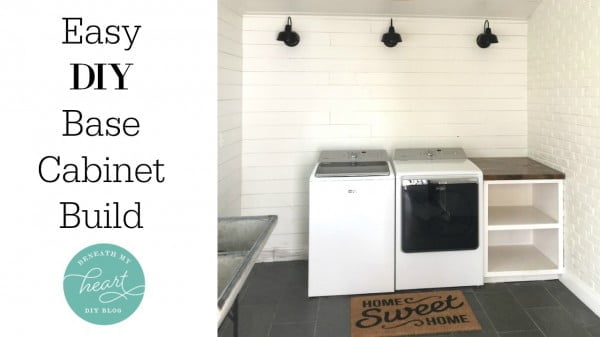
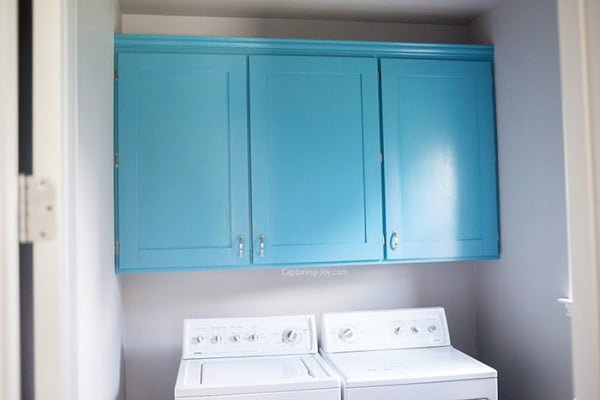
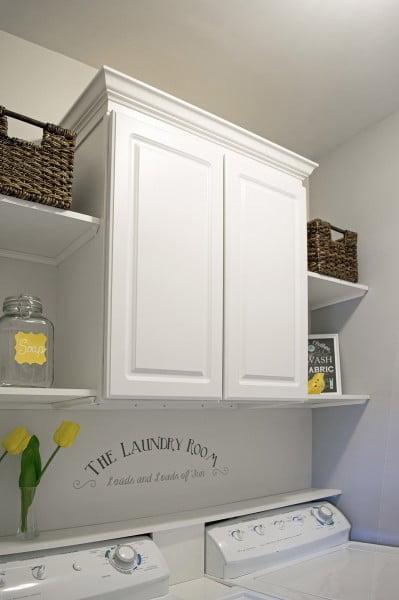
Tutorial: beneathmyheart.net
Supplies:
- 1/4″ plywood
- 1×2 lumber
- 1×4 lumber
- Cabinet hinges
- Cabinet knobs or pulls
- Paint or stain
- Sandpaper
- Wood glue
- Cordless drill
- 1″ hole saw
- Circular saw
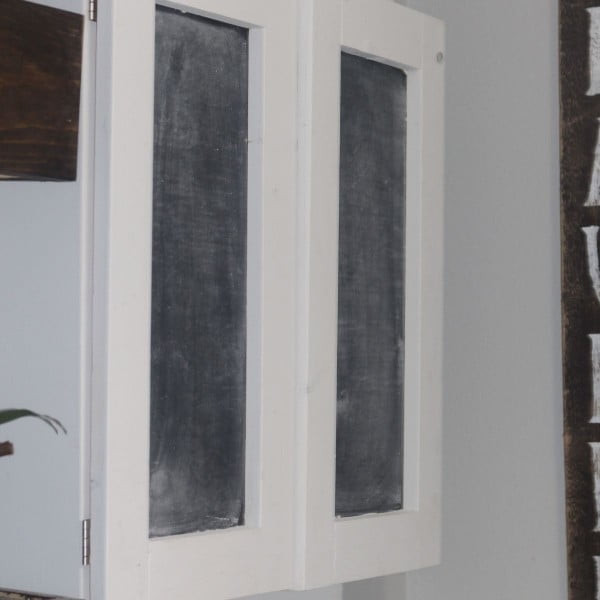
This project is a tutorial on how to build shaker style cabinet doors. It is a relatively easy project that can be completed in a few hours.
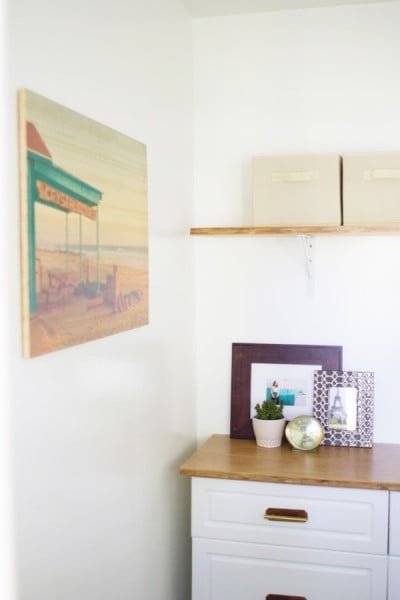
Tutorial: lovelyindeed.com
Supplies:
- Two cabinets
- Bamboo butcher block worktop
- Drawer pulls
- Leather scraps
- Drill
- Nuts and bolts
- Screws
- Sander
- Water-based sealer
- Paintbrush
This project is a great way to add some extra storage and functionality to your laundry room. It’s a relatively easy project that should take around four hours to complete, plus drying time.
You’ll need two cabinets, a bamboo butcher block worktop, drawer pulls, leather scraps, a drill, nuts and bolts, screws, a sander, water-based sealer, and a paintbrush.
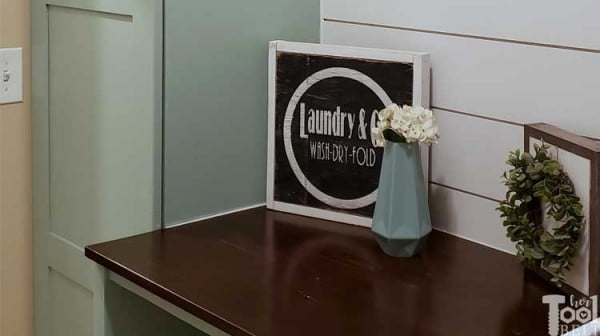
Tutorial: thediynuts.com
Supplies:
- Paint
- Paintbrushes
- Canvas
- Pencil
- Eraser
This project is a bit more difficult than some of the others, but it is still manageable for most people. You will need to be comfortable working with tools and painting in order to complete this project.
Tutorial: todaysmama.com
Supplies:
- Tape measure
- Plywood
- Cabinet hardware
- Paint
- Cabinet doors
- Screws
- Sandpaper
This project is a bit more difficult than the average DIY project, but it is still doable for most people. It will take some time to complete, but the end result will be worth it.
You will need to be able to measure and cut wood, as well as paint and assemble the cabinets.
Tutorial: cravingsomecreativity.com
Supplies:
- Tape measure
- Level
- Carpenter’s square
- Cordless drill
- 1/8″ drill bit
- Cabinets
- Shelving
- Screws
- Anchors (optional)
This project entails installing cabinets and shelves in a laundry room to create more storage space. It is not difficult to complete, but does require some basic carpentry skills.
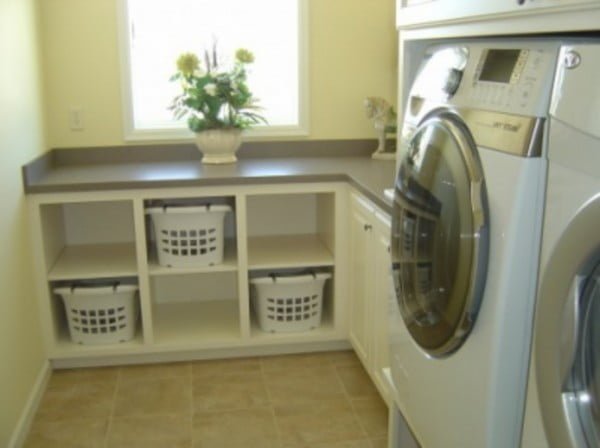
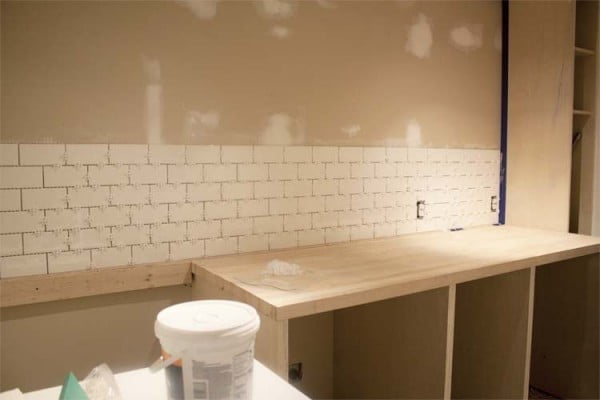
How to Build a Laundry Cabinet with a Countertop

Tutorial: hgtv.com
Supplies:
- Tiles
- Cabinets
- Power tools
- Carpentry skills
This project is a tutorial on how to build an attractive and functional laundry room with cabinets and a tiled countertop. It is not difficult to complete, but it does require some basic carpentry skills and knowledge of power tools.
Tutorial: southernrevivals.com
Supplies:
- Tape measure
- Plywood
- Circular saw
- High-grit sandpaper
- Stiles
- Construction adhesive
- Cordless drill
- 1 inch hole saw
- Paint or wood stain
- Polyurethane
- L brackets
- Ironing board
- Ironing board cover
- Ironing board hanger
- Shelving unit
- Baskets
This project is a bit more difficult than some of the others, but it is still manageable for most people. It involves building custom-sized partitions and attaching them to the wall, as well as creating a storage cabinet for ironing supplies.
The desktops also need to be sanded and planed before they can be installed.
Rustic Laundry Room Cabinet with Hutch
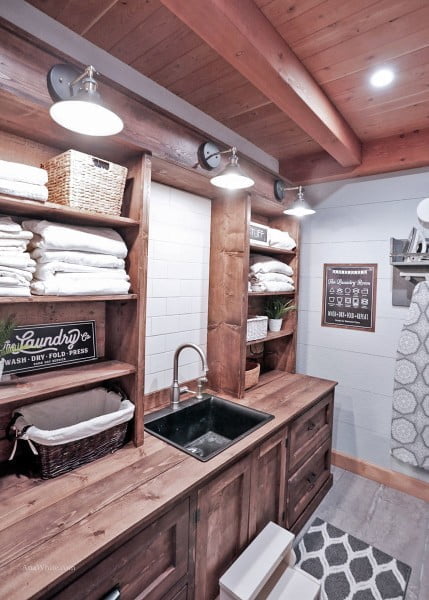
Tutorial: ana-white.com
Supplies:
- Cabinet
- Sink
- Hutch
- Plywood
- Wooden boards
- Nails
- Screws
- Drill
- Saw
This project is a bit more difficult than some of the others, but it is still doable for most people. It involves building a custom cabinet with a sink and hutch, which can be tricky.
However, the end result is worth it and you will have a beautiful laundry room that is both functional and stylish.
How to Make Overhead Laundry Cupboards
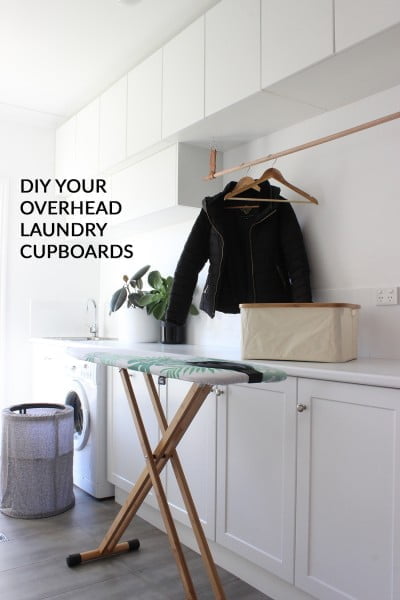
Tutorial: katrinaleechambers.com
Supplies:
- Tape measure
- Level
- Cordless drill
- 1 1/4″ hole saw
- Jigsaw
- Circular saw
- Router
- Plywood
- Cabinet hardware
- Paint or stain
- Cabinet doors (optional)
This project is a bit time consuming, but not difficult. You will need someone to help you with it, as it is a big task.
It involves building the overhead cupboards and adjusting them to fit properly. The finished product looks great and really finishes off the space.
Laundry Room Wall Mounted Cabinets
Tutorial: homebyjenn.com
Supplies:
- Wood
- Wood glue
- Screws
- Paint
This project is a tutorial on how to build your own wall-mounted cabinets for your laundry room. It is a budget-friendly project that can be completed in 4 hours.
You will need some basic supplies such as wood, wood glue, screws, and paint. The project is not difficult to complete, but you will need to follow the instructions carefully.
Laundry Room Cabinet with Pull-Out Shelves
Tutorial: thenavagepatch.com
Supplies:
- saw
- drill
- wood
This project is a bit more difficult than some of the others, but it is still manageable for most people. It will take some time to complete, but it is definitely doable.
You will need to be able to use a saw and drill, and you will need to be able to follow instructions carefully.
More Like This
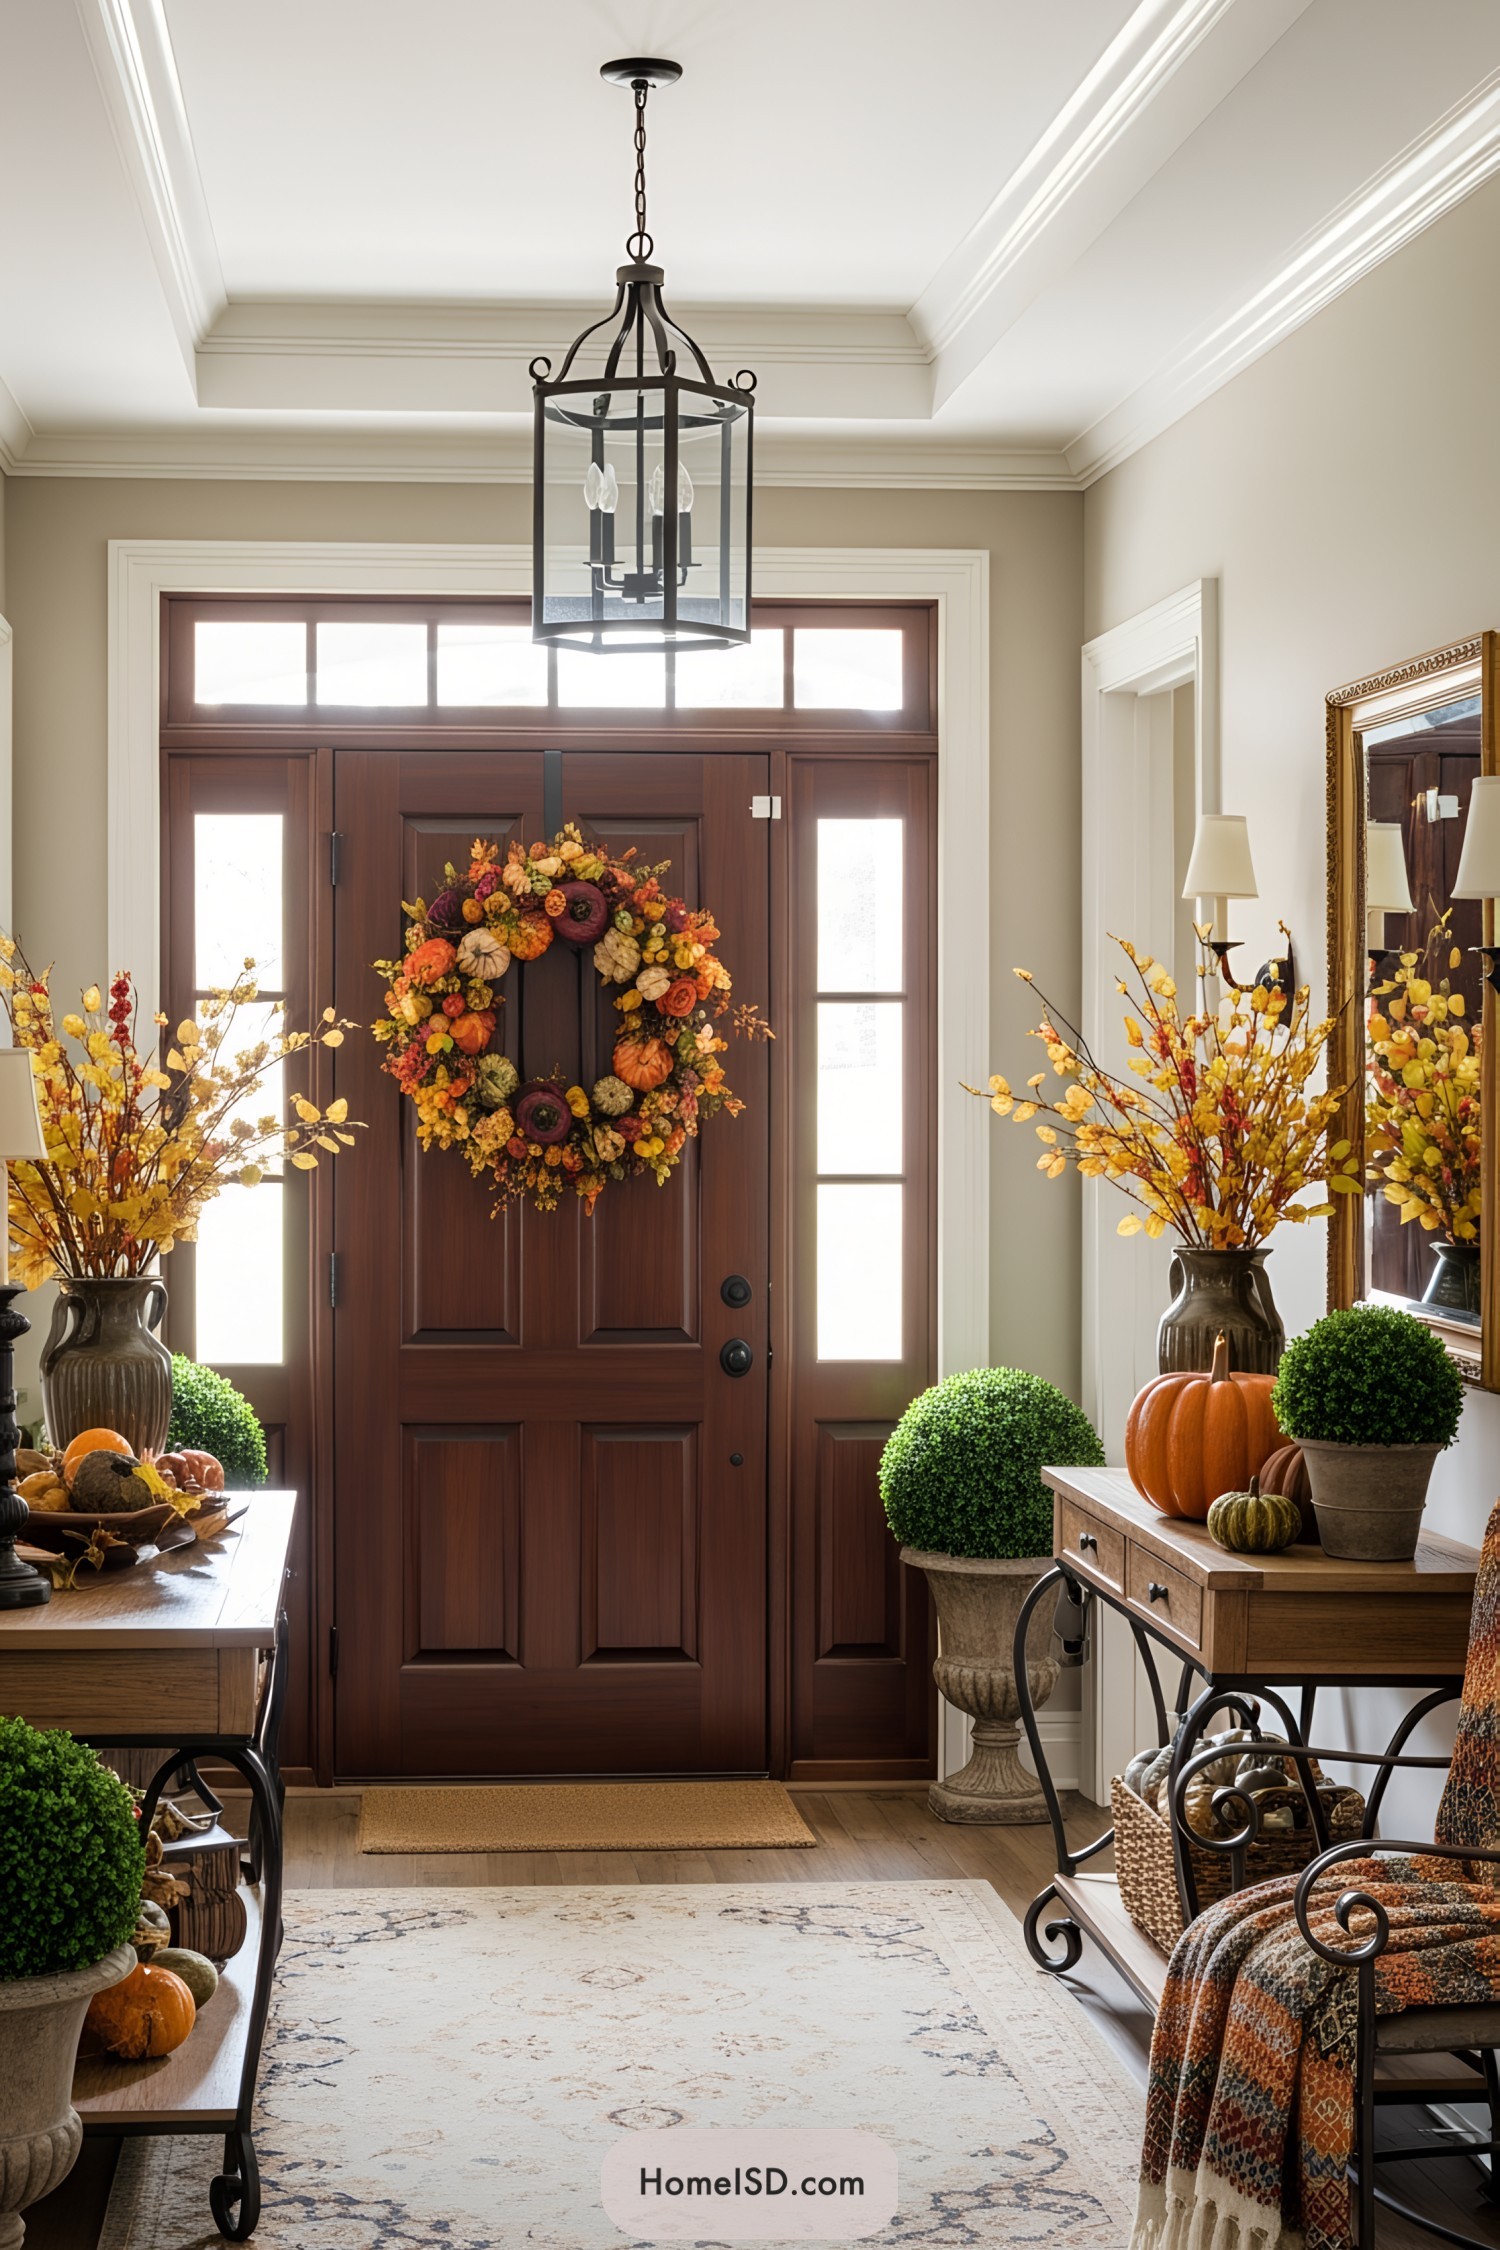 18 Thanksgiving Wreaths to Wow Your Door for the Festivities
 13 Thanksgiving Trees to Spruce Up Your Holiday Decor
 21 Thanksgiving Party Decorations That Gobble Up the Festivities
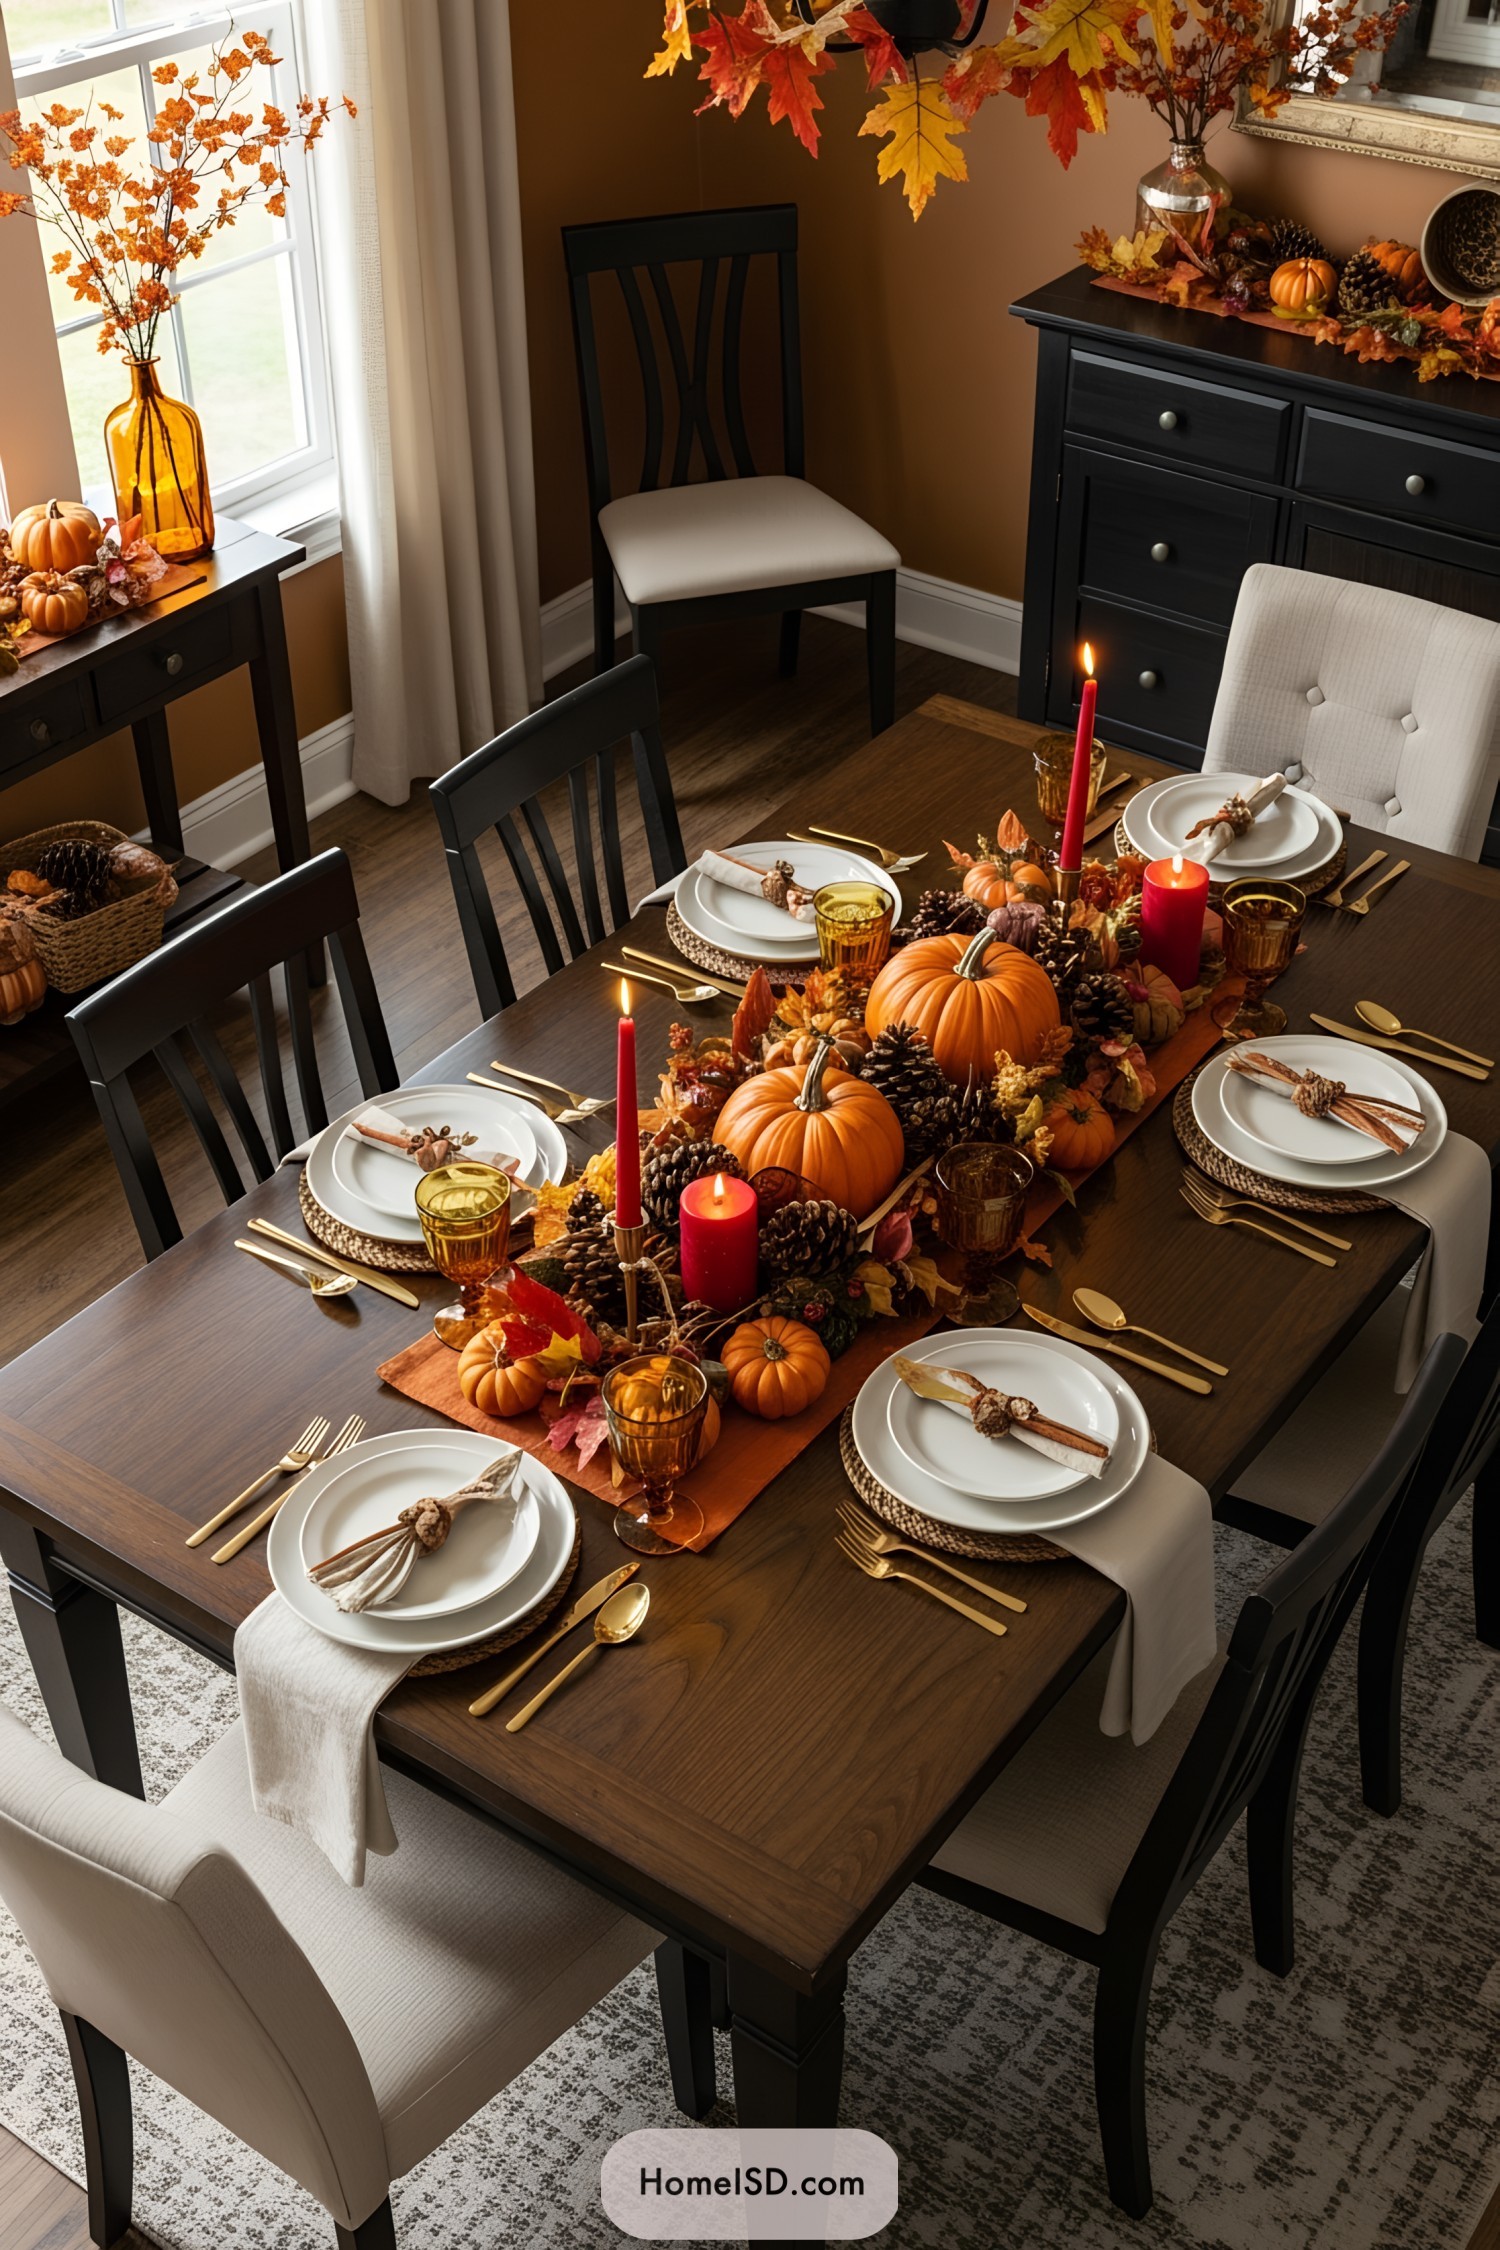 25 Thanksgiving Centerpiece Ideas That Steal the Show
 25 Thanksgiving Tablescapes That Wow
Recap