Last updated on
Dive into this detailed guide on DIY concrete countertops because nothing personalizes a kitchen quite like a handmade counter that you’ve crafted yourself.
Diving into a DIY concrete countertop project might seem intimidating, but with the right guidance, you’ll find it’s entirely possible to achieve stunning results on a tight budget. This article will guide you through the exact steps from molding, mixing, pouring the concrete to the finishing touches, imparting your kitchen that sought-after chic industrial look.
Along the way, you’ll learn the right materials to invest in, potential pitfalls and their solutions. Not only will you have a beautiful concrete countertop at the end of this project, but also the satisfaction of bringing it to life with your own hands. Stay tuned; all the details are forthcoming.
Key takeaways:
- Measure accurately for a precise fit.
- Gather necessary tools and materials.
- Build the mold with precision and seal it properly.
- Cut out sink openings and reinforce with wire mesh.
- Mix and pour concrete carefully, then remove the mold and finish the surface.
Measuring for the Countertop
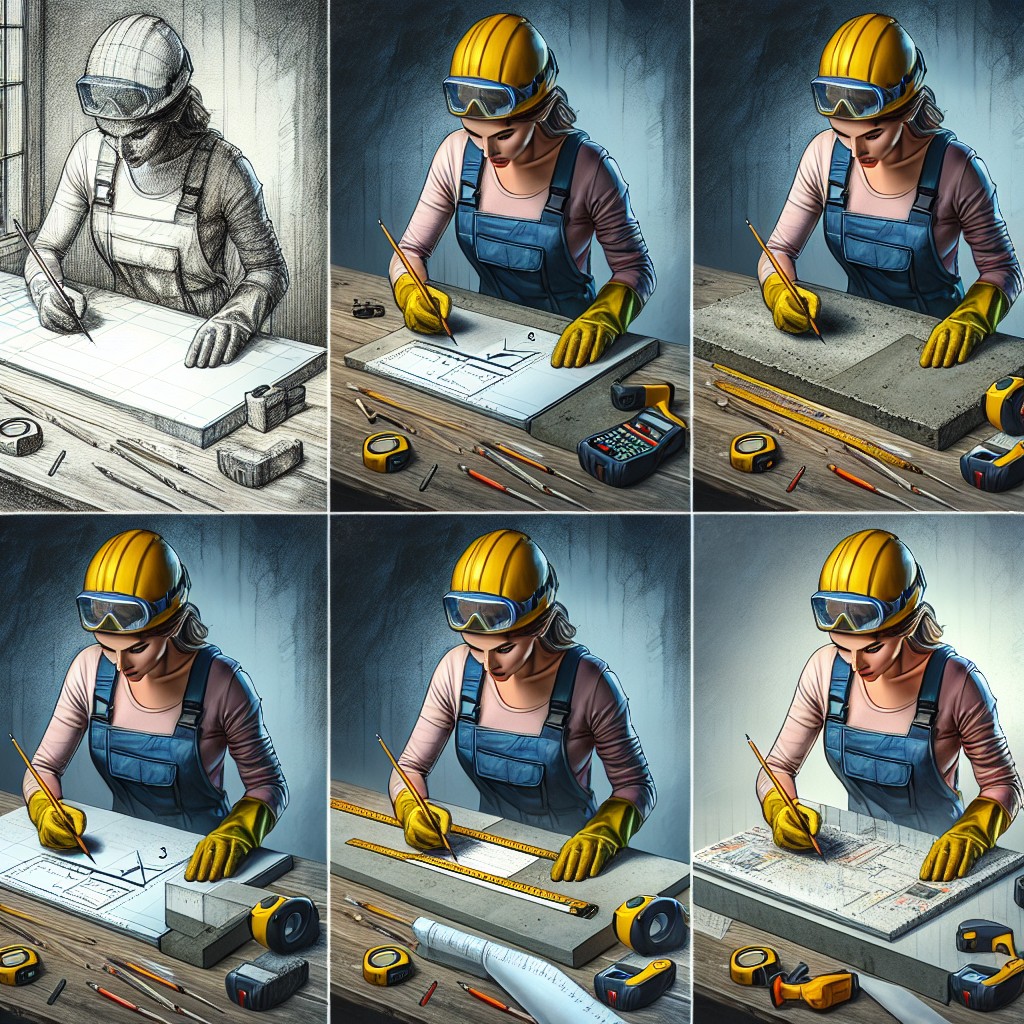
Start by carefully assessing the dimensions of your cabinetry and the desired overhang for your new surface. Accuracy is crucial; an incorrect measurement can lead to wasted materials and time. Use a tape measure to determine the length, width, and thickness you want for your countertops.
Keep in mind that standard countertops are about 25 inches deep and have a typical overhang of 1 to 1.5 inches on the front edge. Consider appliance openings, sinks, and fixtures that might affect the shape and cuts needed in your concrete countertop.
Transfer these measurements onto graph paper, creating a full-scale layout. This visual representation acts as a blueprint for constructing your mold and ensures that the final product fits perfectly into your kitchen space. Remember to account for the mold’s walls when adding your measurements, as they will affect the overall size of the finished countertop.
For corner countertops, measure the angles carefully to guarantee a snug fit, and don’t forget to include the space for the expansion joints. These tiny gaps allow the concrete to expand and contract without causing cracks.
By double-checking your numbers, you avoid costly mistakes and ensure a precise and custom fit for your DIY project.
Tools + Materials

To embark on your DIY concrete countertop project, gather the necessary tools and materials. You’ll need:
– Melamine board for the mold – Screws to assemble the mold – Caulk to seal and smooth the mold edges – A drill for assembling the mold and mixing concrete – Mixing paddle attachment to efficiently mix concrete – Concrete mix specific for countertops – Wire mesh or rebar for reinforcing the concrete – A reciprocating saw for mold and wire mesh adjustments – Orbital sander for finishing the surface – Sanding pads from coarse to fine grit – A trowel for spreading the concrete – Concrete sealer for protection – Safety equipment including gloves, goggles, and a dust maskSelecting the correct concrete mix and proper mold construction is crucial for a successful and durable end result. Preparing your tools and materials in advance ensures a smooth workflow.
Step 1: Build the Mold
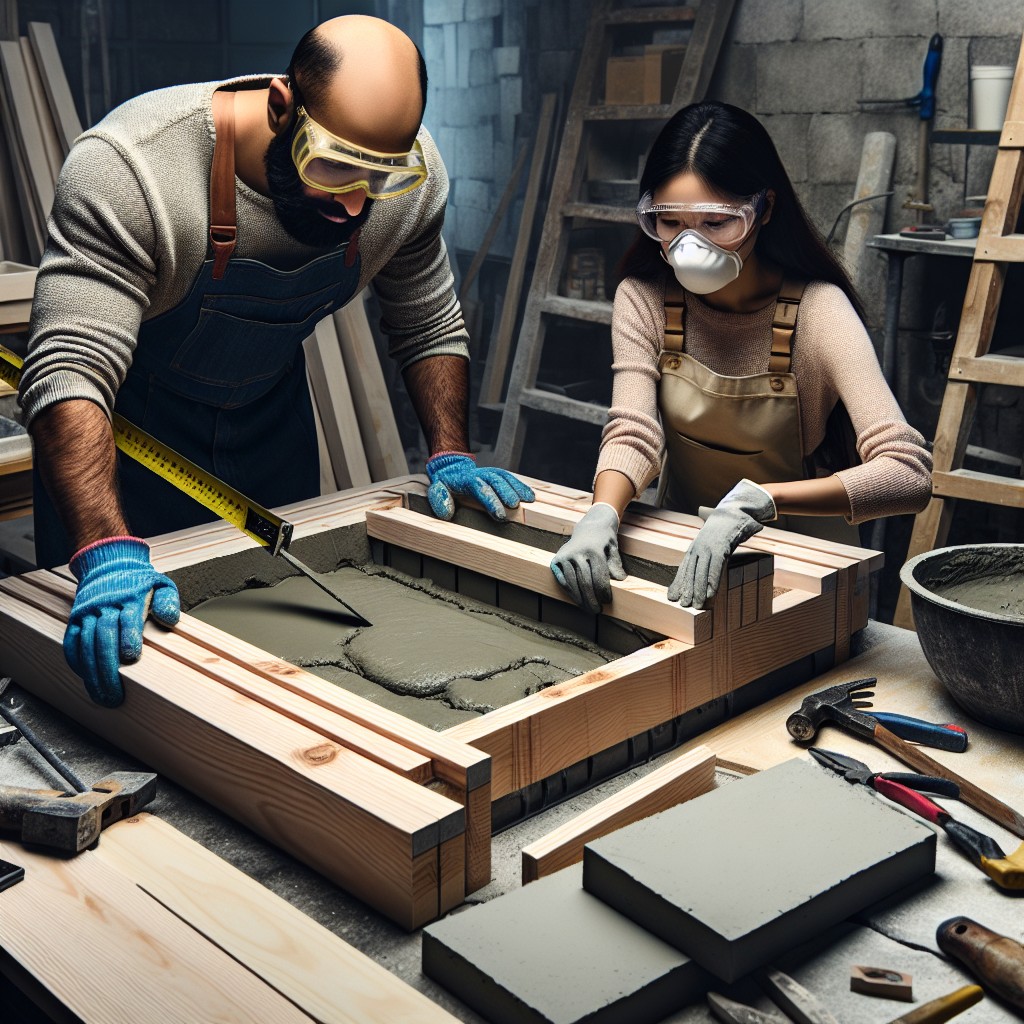
Embarking on the mold construction, select a melamine-coated particle board for its non-stick properties, crucial for an effortless demolding process post-curing.
Begin cutting the base and mold walls based on your countertop’s dimensions, adding an extra 1.5 to 2 inches to the length and width for the overhang.
When crafting the mold sides, ensure they are tall enough to accommodate the desired thickness of your countertop plus an inch or so to allow for the concrete to settle above the form’s top edge.
Assemble the walls using screws, positioned on the outside to avoid interior indentations.
Seal the inner corners and edges with silicone caulk to create smooth, clean lines and prevent concrete from seeping through the seams.
This stage is vital—it defines the precision of your countertop edges and surfaces.
Take your time, and ensure every joint and corner is perfectly aligned and sealed.
Make Sides to the Mold
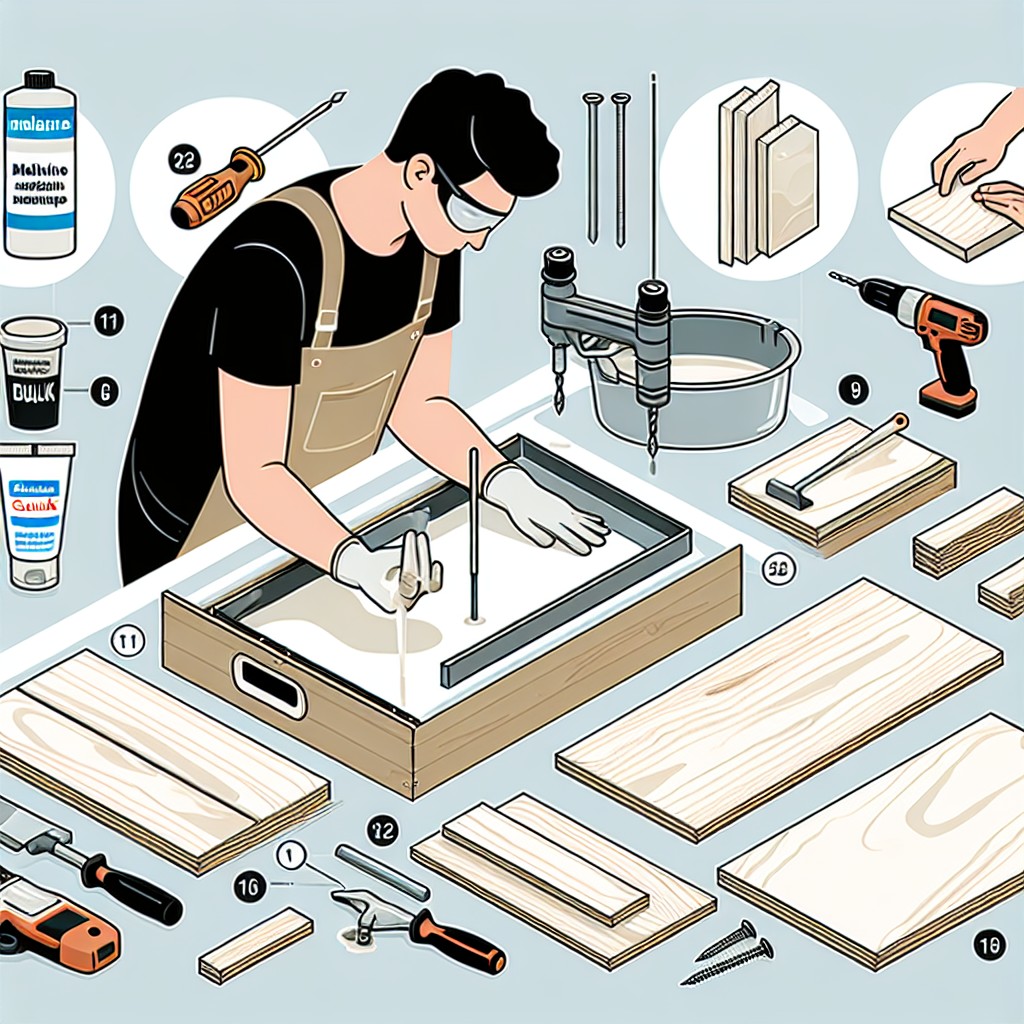
Crafting the sides of your mold is critical for defining the edges of your future concrete countertop. To ensure precision and avoid a misshapen finish, use melamine-coated particleboard. It’s smooth and non-stick, perfect for concrete work. Cut strips to the height you desire for your countertop thickness — typically 1.5 to 2 inches.
When cutting, measure twice to achieve clean, straight edges, and remember to account for the thickness of the bottom of the mold in your measurements. Assembling the sides with screws drilled from the outside in prevents them from being visible on the final product. Seal gaps between the sides and base with silicone caulk, which will prevent concrete from leaking out and create a smooth transition at the corners. Apply the caulk with a caulk gun and smooth it with a damp finger or a caulk tool for a professional-grade finish. This attention to detail in the mold construction phase is a cornerstone for achieving the sleek, polished edges that characterize quality concrete countertops.
Step 2: Make Cutouts
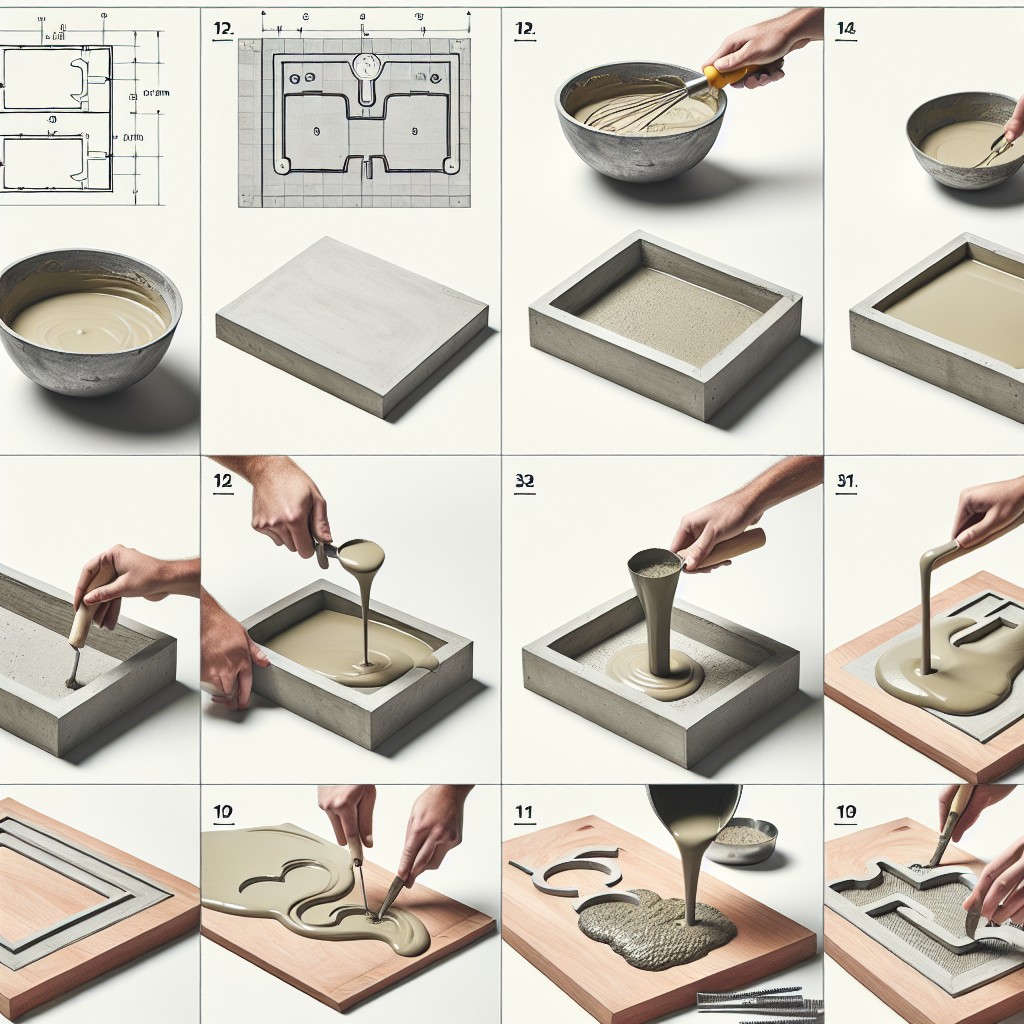
To accommodate sinks or other built-in elements, precise cutouts are essential. Here’s how to tackle this crucial step:
- Measure and mark the exact dimensions of your sink or fixture on the mold base using a pencil or marker.
- Cut a piece of ¾-inch melamine or laminate to match these dimensions. This will be your cutout template.
- Secure the template to the mold base where the sink will be positioned. Double-check measurements to ensure accuracy.
- Using a jigsaw, carefully follow the outline of the template to create the cutout. Always wear protective eyewear during this step.
- Sand the edges of the cutout to smooth any roughness, preventing potential issues when pouring the concrete.
- Place the cutout piece back into the opening and seal around its edges with silicone caulk, creating a watertight barrier.
Remember, the success of your countertop hinges on the precision of your cutouts, so measure twice and cut once for the best results.
Seal the Concrete Mold
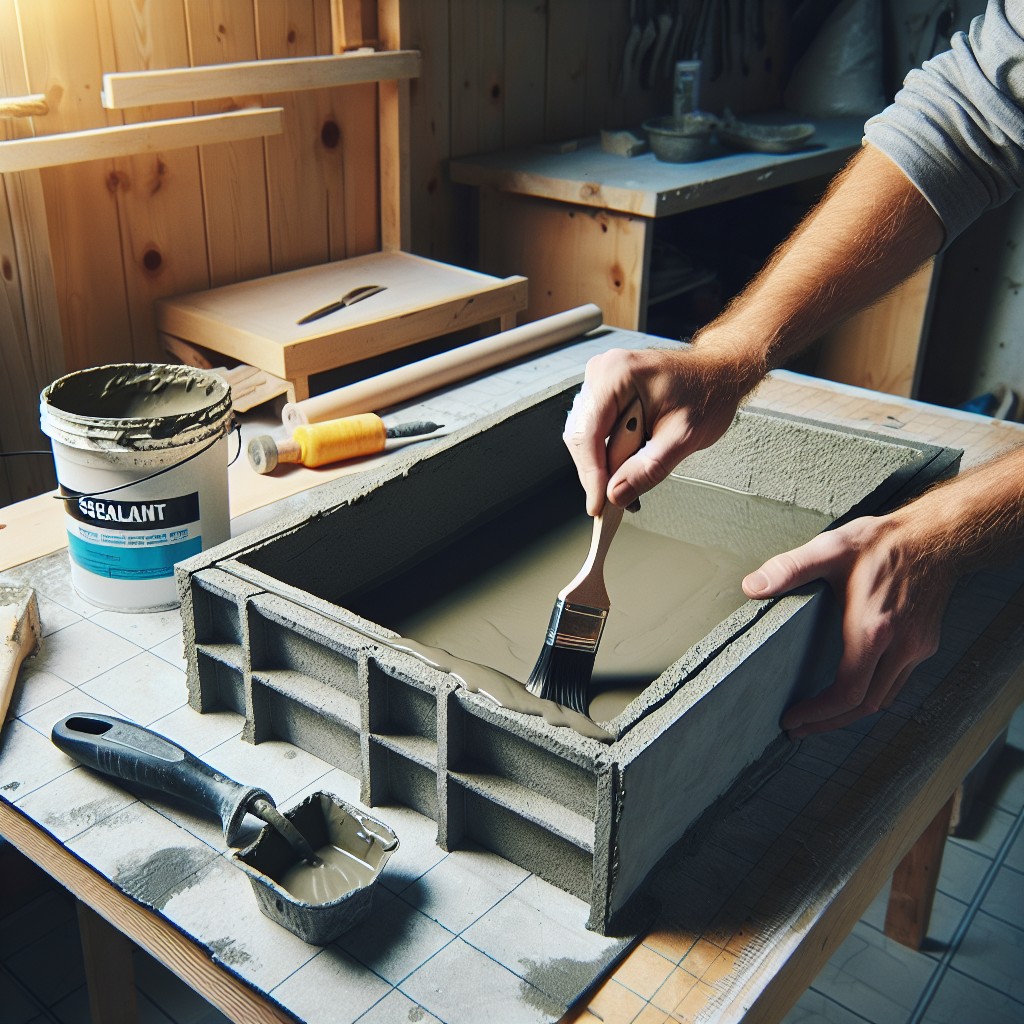
Sealing your mold is crucial to ensure the concrete doesn’t stick and results in a smooth finish. Begin by applying a release agent to the mold’s interior surfaces. You can use commercial sealants, cooking spray, or a thin layer of mineral oil as economical options.
Pay particular attention to seams and corners where the concrete is likely to adhere. If your mold is made of melamine, which is already non-porous, a simple coat may suffice. For molds made from rougher materials, consider lining them with a smooth material before sealing to aid in the easy release of the concrete.
Once sealed, double-check for any leaks to prevent the liquid concrete from escaping, which could create uneven surfaces or weaken the structure. Ensuring a tight seal now saves time and effort during the finishing stage.
Step 3: Build Support Frame and Prep Wire

Start constructing the support frame by choosing a sturdy material such as melamine or plywood that can bear the weight of wet concrete. Ensure it’s level with your mold’s base to avoid an uneven countertop. Secure your frame with screws for added stability; this structure will ultimately support the drying countertop, so robustness is key.
Next, focus on the wire preparation. Cut a piece of stucco wire or reinforcement mesh to fit inside the mold, trimming it at least an inch shorter than the mold perimeter to avoid it poking through the edges of your finished countertop. This mesh acts as a tensioner to help prevent cracking, distributing any stress across the slab more evenly. Lay it aside for now; you’ll place it into the wet concrete in due course to reinforce the slab and enhance its durability.
Cut Stucco Wire
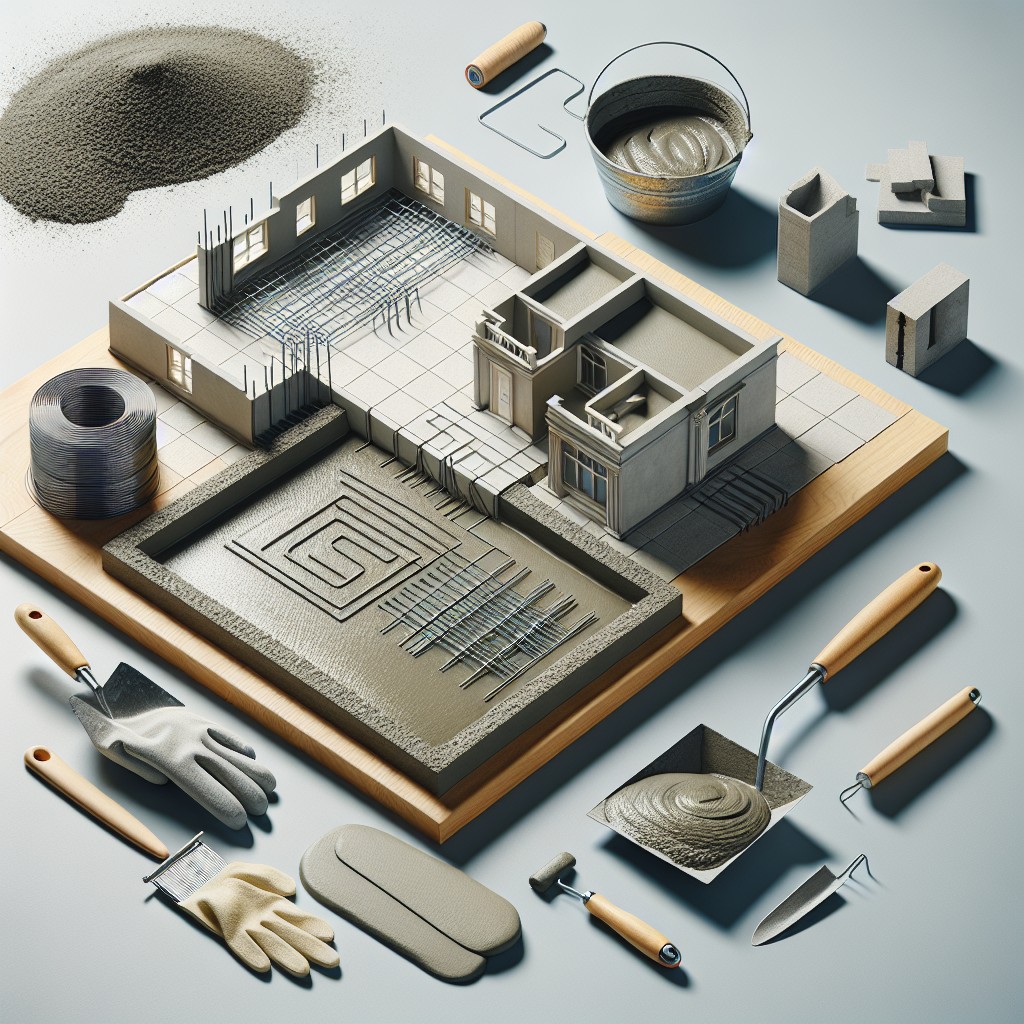
Stucco wire, also known as metal lath, reinforces concrete countertops and prevents cracking over time.
Here’s how to prepare it for your project:
- Measure your mold and cut the stucco wire to fit inside, ensuring it’s about 1 inch smaller than the mold dimensions to prevent it from touching the edges.
- Use wire cutters for a clean cut, minimizing sharp edges.
- Properly lay the cut wire on a flat surface, pressing down any protruding pieces to avoid them poking through the concrete once poured.
- When placing it into the wet concrete, keep it centered within the mixture to maximize strength and effectiveness.
Remember, the stucco wire acts as the skeleton of your countertop, providing the necessary tensile strength against daily wear and tear.
Step 4: Mix and Pour Concrete

Begin by selecting a concrete mix suitable for countertops; look for one that’s fiber-reinforced for added strength and durability.
For mixing, follow the manufacturer’s instructions—typically, this involves adding the correct ratio of water to ensure a consistency that’s pourable yet holds its shape. Mix thoroughly to eliminate any dry lumps, using a power drill with a paddle mixer if available to save time and energy.
Once the mixture is ready, carefully pour it into the mold, starting from one corner and working your way across to avoid air pockets. Gently tap the sides of the mold with a rubber mallet to release trapped air bubbles, which can weaken the structure if not removed.
Next, level the concrete using a hand trowel to ensure an even surface. After leveling, lay the cut stucco wire on top of the wet concrete for additional reinforcement.
Finally, cover the wet concrete with plastic sheeting to maintain moisture during the curing process, which is essential for achieving maximum strength. Allow the concrete to cure as per the recommended time, resisting the temptation to rush this stage, as proper curing is crucial for the integrity of your countertop.
Smooth the Concrete
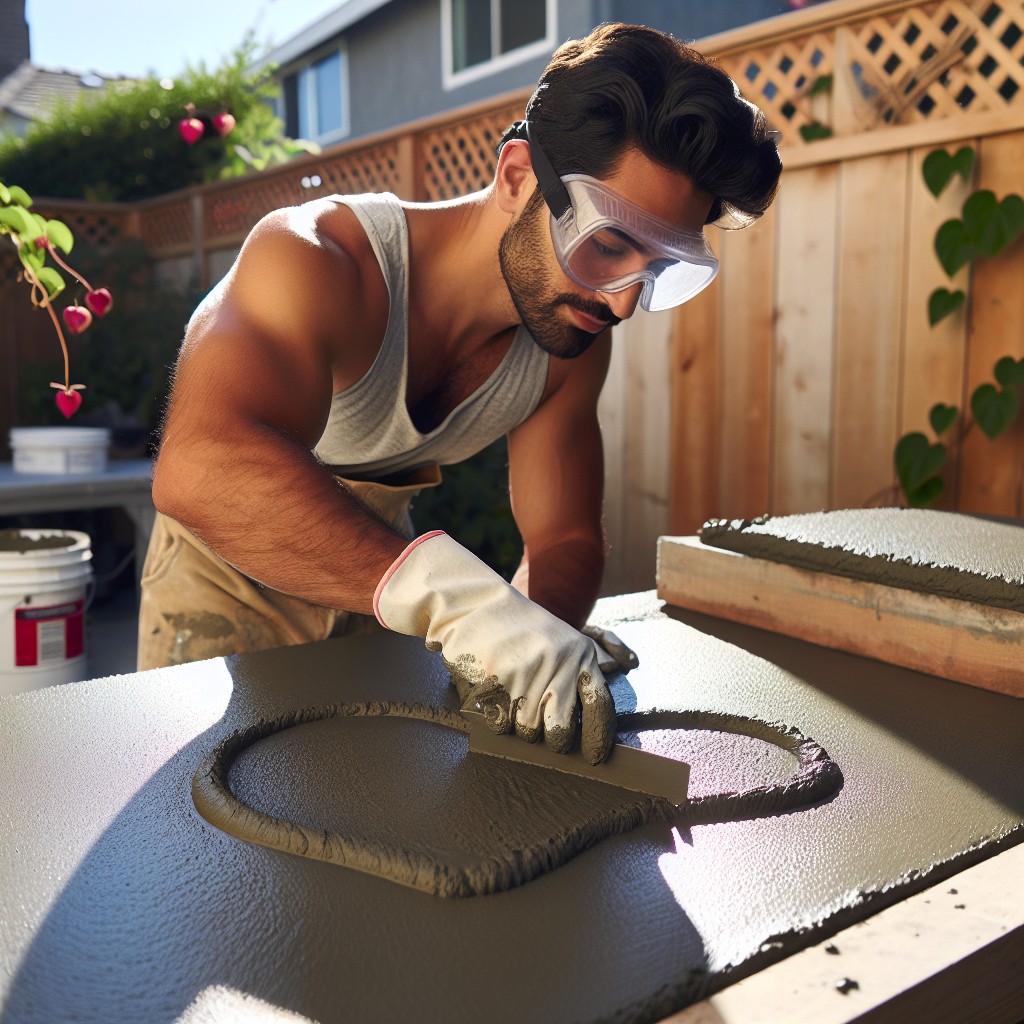
Once the concrete mix is poured into your mold, it’s time to eliminate any imperfections. This step is crucial as it influences the aesthetics and functionality of your final product.
Gently shake or tap the mold’s sides to remove air bubbles, ensuring a smooth, void-free surface. Use a screed, which can be a simple flat board, to level the concrete. Glide it back and forth across the mold’s top edge, distributing excess concrete and filling low spots.
Next, employ a float – a flat, smooth tool – in an arcing motion to further compact the mix and bring the cream (the finer particles and water) to the surface for a workable top layer. This process, known as “floating,” helps achieve a uniform texture.
Any troweling should be done lightly at this stage to avoid premature drying and cracking. Be patient and maintain a gentle touch to create a polished and even countertop surface.
Place Stucco Wire in Concrete
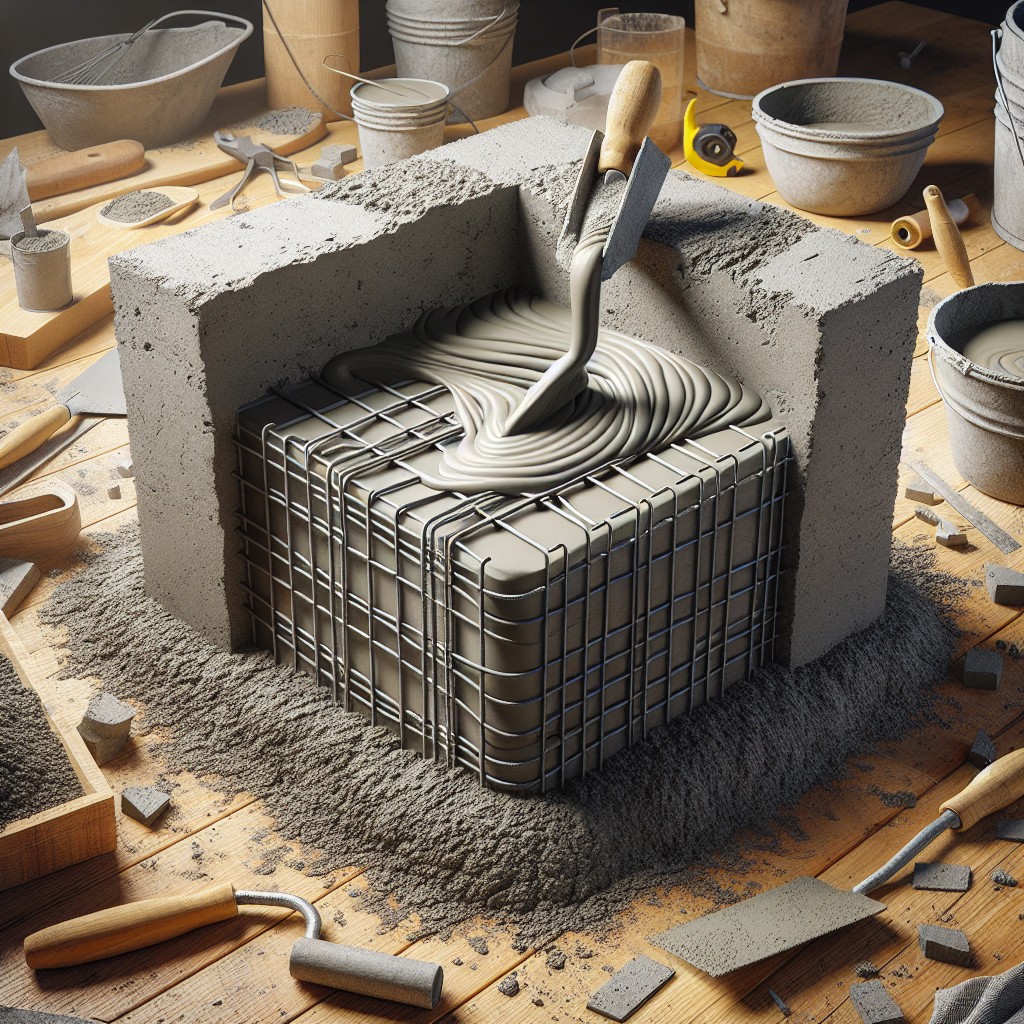
Once your concrete starts to firm up, but is still pliable—about the consistency of peanut butter—it’s time to strengthen your slab.
Gently lay the pre-cut stucco wire onto the surface, pressing it down to ensure it becomes embedded.
It should be positioned in the middle of the concrete layer, not touching the bottom or the surface.
This middle placement is crucial because it provides tensile strength, distributing stresses throughout your countertop and helping to prevent cracks.
After laying the wire, add another layer of concrete on top, ensuring the wire mesh is completely covered.
Use a trowel to smooth out the mixture, taking care not to disturb the wire’s placement.
If bubbles form, gently tap the sides of the mold to help them rise and escape.
This step fortifies your countertop for longevity and durability.
Cover the Countertop
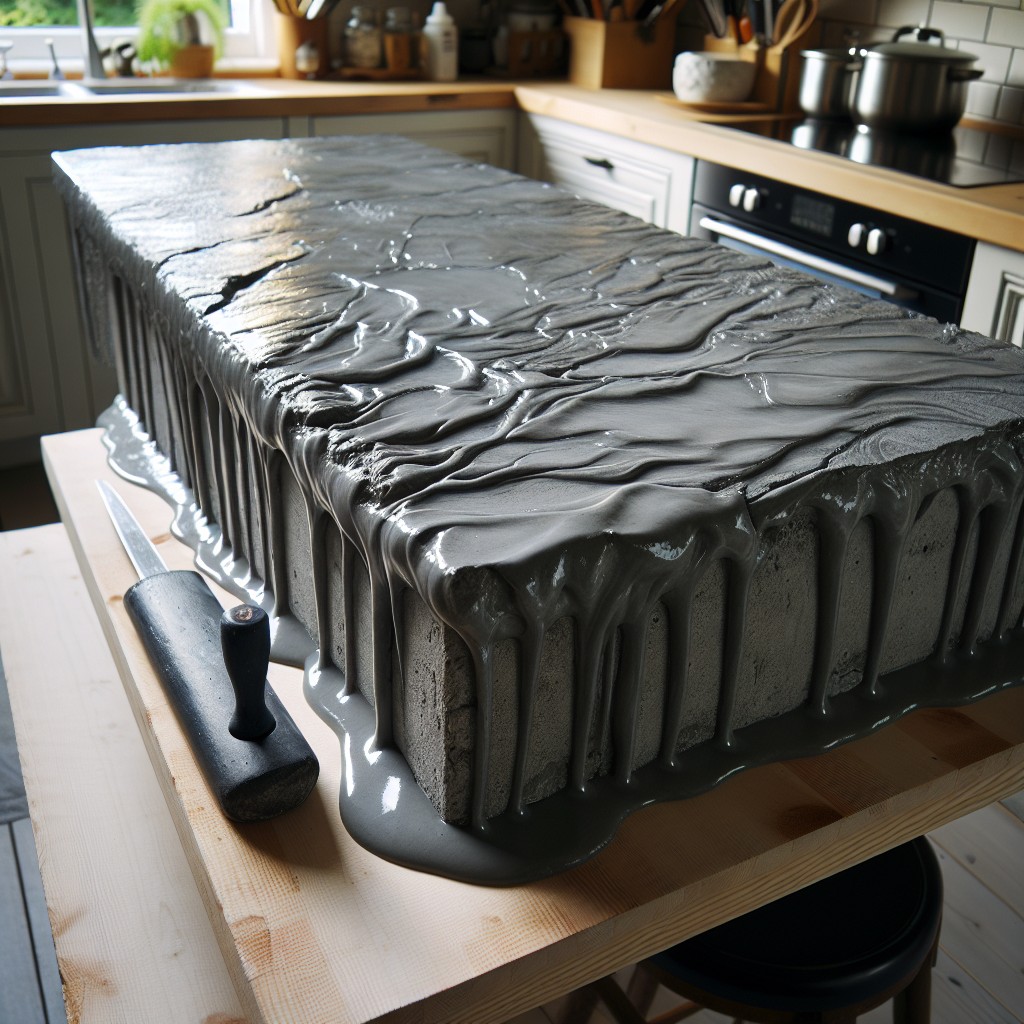
After pouring and smoothing your concrete mixture, gently tap the sides of your mold with a rubber mallet. This helps to eliminate any air pockets and ensures a solid, uniform countertop. Then, carefully lay the pre-cut stucco wire into the wet concrete, pressing lightly to submerge but not too deep to touch the bottom or edges; this will reinforce your countertop and reduce the risk of cracks.
Next, it’s important to maintain moisture during curing for a strong and crack-free surface. Begin by misting the surface lightly with water. Following this, cover the entire countertop with plastic sheeting. This retains moisture and allows the concrete to cure evenly, avoiding the rapid drying which can lead to weaknesses and surface defects. Secure the plastic sheeting so that it doesn’t blow away but isn’t so tight that it touches the surface.
For optimal results, the concrete should cure for at least 48 to 72 hours. Patience here is key; rushing the curing process can compromise the durability and finish of your countertop. During this time, maintain a consistent temperature and avoid exposing the curing countertop to direct sunlight or wind.
Remember, the longer the concrete cures, the stronger it will be, so resist the temptation to uncover it too soon. A well-cured countertop will serve as a robust centerpiece to your kitchen or bathroom for years to come.
Step 5: Remove the Mold
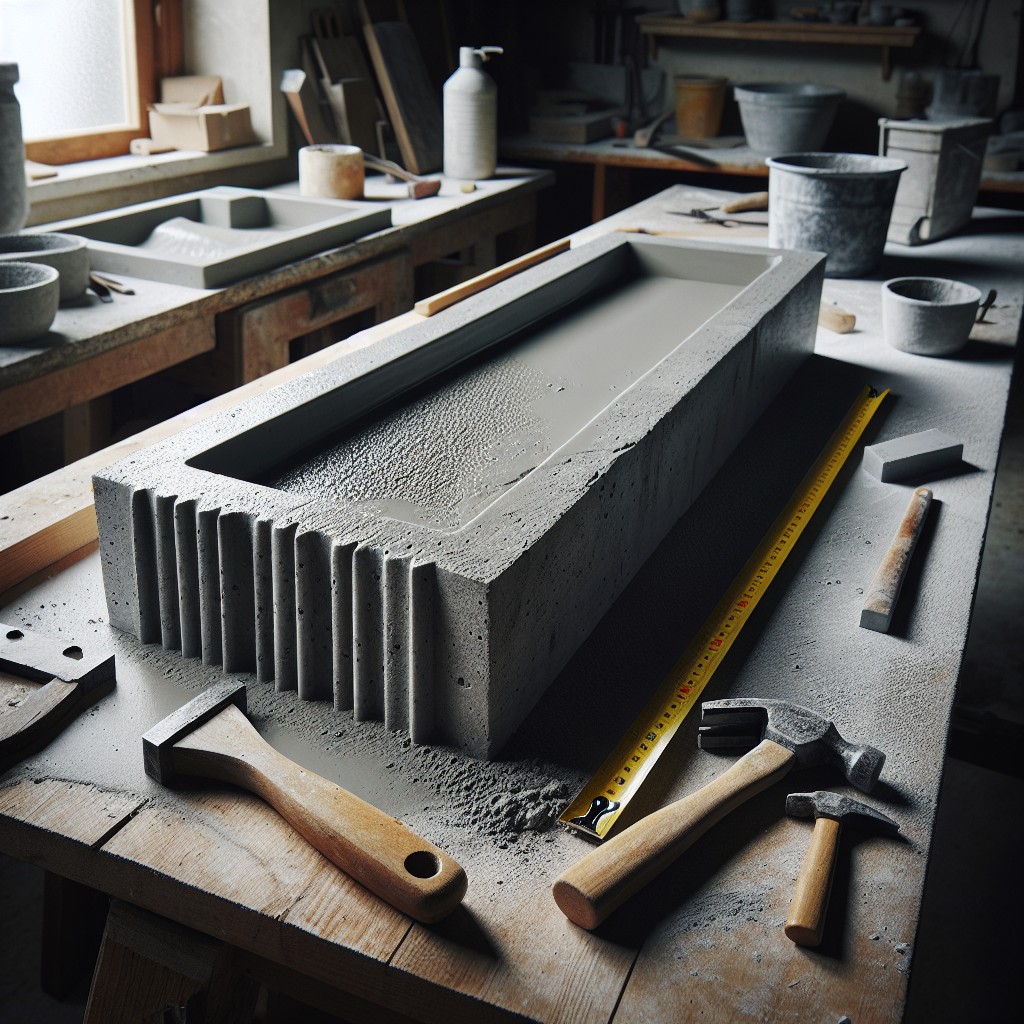
Once the concrete has cured, it’s time to reveal your handiwork. Start by carefully dismantling the mold’s sides; a screwdriver can be useful for prying away the sides without damaging the surface of your new countertop. If the sides of the mold were sealed with silicone, utilize a utility knife to cut through this sealant. Patience is key – hasty removal could result in chips or cracks.
Next, turn your attention to the base of the mold. If it’s been constructed on a worktable, enlist help to flip or lift the concrete slab gently. In cases where the countertop was cast in its final location, simply lift the mold away.
For further reinforcement components that might be stuck, use pliers or a pry bar with caution. Be gentle, as excessive force can mar the fresh edges of your countertop. As the concrete sees the light of day, inspect the edges for any imperfections that can be smoothed out later in the finishing stage.
Remove Reinforcements

Once the concrete has fully cured, it’s time to dismantle the support frame. Begin by gently unscrewing and removing any braces or screws that were part of the framework. Be careful to avoid any prying or forceful motions that might damage the concrete’s edges or surfaces.
As reinforcement materials such as rebar or wire mesh often protrude, use bolt cutters or a reciprocating saw to trim these elements flush with the countertop’s surface. Exercise caution while cutting to prevent gouging the concrete. Handling tools carefully and wearing safety gear can prevent accidental scrapes or cuts.
After the reinforcements are removed, inspect the surface for sharpness or roughness where the cuts were made. A metal file can be useful to smooth out any jagged spots to ensure a refined finish, preparing the countertop for further sanding and finishing processes.
Remove the Concrete From the Form
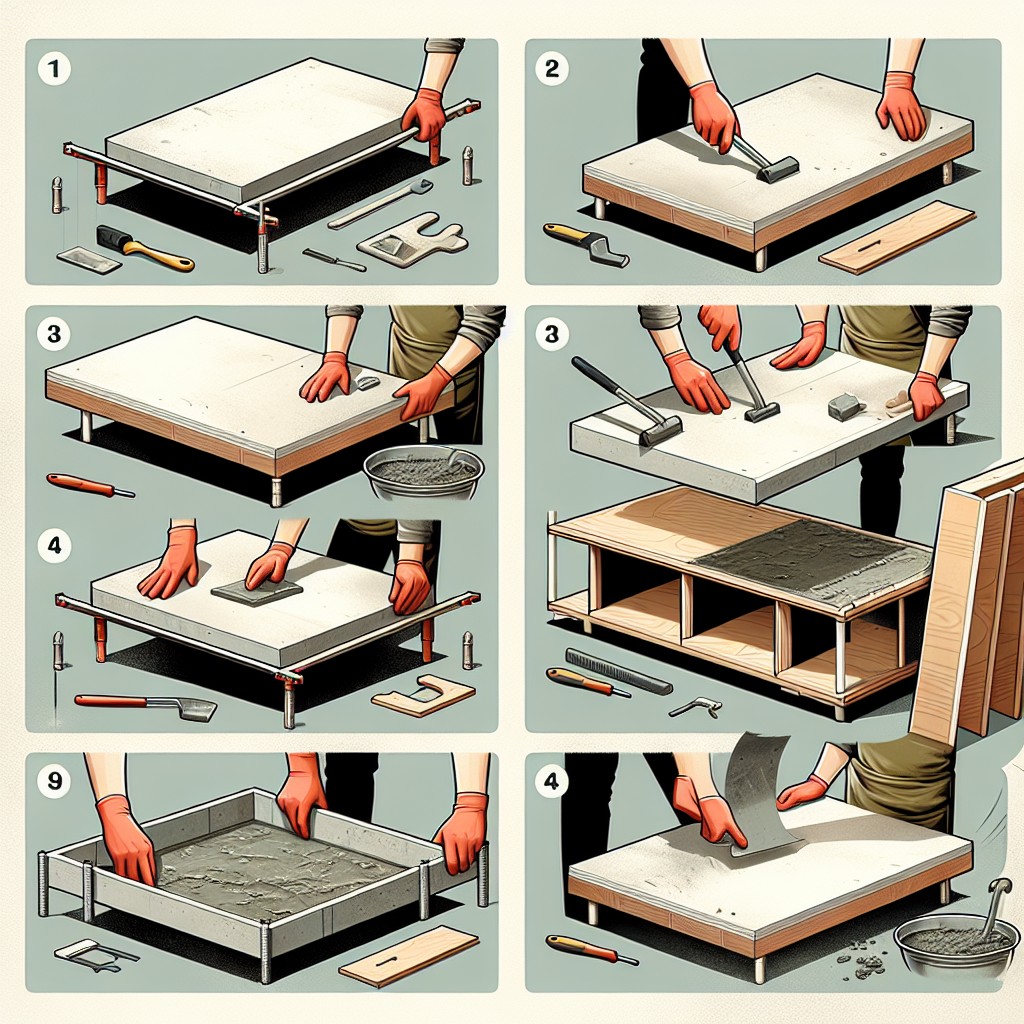
After the concrete cures, removing it from the mold is a critical step. Start by gently dismantling the sides of the mold. Take care to avoid prying or applying uneven force which could crack the concrete. If the mold pieces are sticking, lightly tap them with a rubber mallet to loosen the edges.
Before lifting, ensure you have adequate help since concrete is heavy and requires careful handling to prevent damage or injury. Slide the countertop carefully off the base form or lift it straight up and out of the mold. Clear any remaining pieces of the mold or obstacles from the bottom of the countertop before proceeding to finishing touches. Remember, patience is key; this step is about precision and care to maintain the integrity of your freshly molded countertop.
Step 6: Finish the Slab

Once the concrete is fully cured, finishing the slab is crucial for both aesthetics and durability. Begin by gently sanding the surface with a hand-held orbital sander starting with a rough grit and progressively moving to finer grits. This process smooths any rough spots and removes minor imperfections.
After achieving a smooth surface, wipe away the dust with a damp cloth and let it dry. Next, apply a concrete sealer to protect the countertop from stains and water damage. Opt for a food-safe sealer if the countertop is to be used in a kitchen. Apply the sealer evenly with a roller or brush; follow the manufacturer’s instructions for drying time.
For added shine and protection, consider finishing with a wax designed for concrete countertops. Apply the wax with a soft cloth in a circular motion, then buff to a light sheen. This extra step not only enhances the look of your countertop but also provides an additional layer of protection. Regular maintenance, including resealing and waxing as needed, will keep your countertop looking new.
Sand Countertop Until Smooth

After your countertop has cured and is removed from the mold, you’ll notice it has a rough surface. Smoothing this out is essential for both aesthetics and functionality. Begin with a low-grit sandpaper (about 60 grit) to remove prominent imperfections; a higher grit will refine the surface progressively.
Always sand in circular motions to avoid gouging the surface. Gradually increase the sandpaper grit up to 200 or higher for a smooth finish. This process is called ‘step sanding,’ each step uses finer sandpaper to refine the texture.
Additionally, consider wet sanding to minimize dust; this involves using water to lubricate the surface while sanding. It’s not only cleaner but also reduces the risk of inhaling silica particles, which can be harmful. Remember to periodically rinse the surface and the sandpaper to remove any concrete dust that accumulates, which can scratch the surface if not cleaned.
Once satisfied with the smoothness, wipe the countertop with a damp cloth to remove any remaining dust.
Choose diamond hand pads specially designed for concrete to ease the manual labor. These tools offer better control and efficiency, especially for hard-to-reach edges and detailed areas.
Sanding is both an art and a science—it takes patience and careful attention to detail to achieve the perfect finish that makes your DIY project professional and polished.
Step 7: Install the Countertop
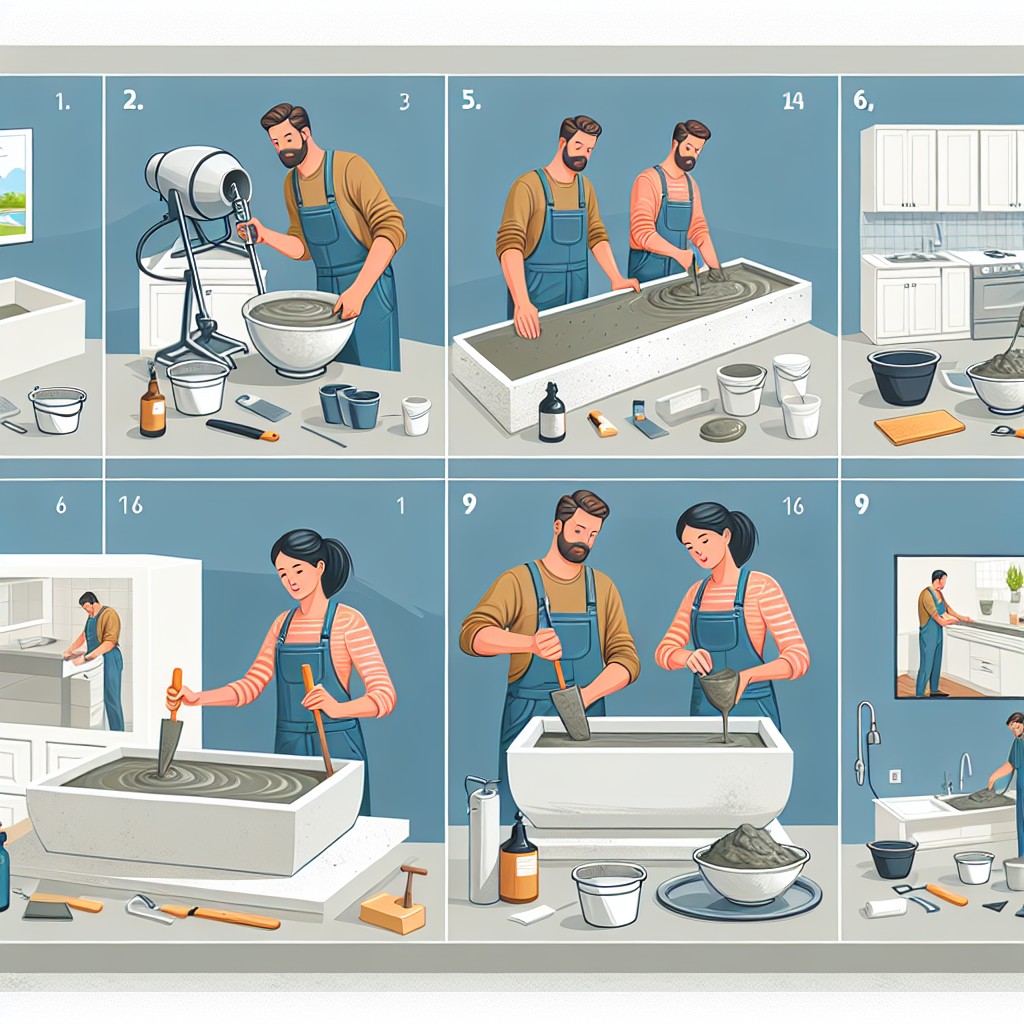
Before installation, ensure the cabinet bases are strong enough to hold the concrete slab’s weight. Carefully position the countertop – assistance is crucial due to the heavy nature of concrete.
Use silicone caulk to adhere the countertop to the cabinets, providing a waterproof seal and preventing movement. If your design includes a kitchen sink, secure it with clips and a bead of caulk around the sink’s underside. Allow caulk to cure as per the product’s instructions.
Lastly, once in place, fill any imperfections with a concrete filler and apply a concrete sealer to protect against stains and water damage. Regular maintenance will extend the life and appearance of your concrete countertops.
Set the Countertop in Place

Before setting your freshly crafted concrete countertop in place, ensure the cabinets or base are level and strong enough to support the weight. Apply a bead of silicone caulk on the top edge of the cabinet base to help secure the countertop and to prevent any movement. This will also create a water-resistant seal between the countertop and base.
Carefully lift the countertop—with the help from a partner or two due to its weight—and gently lower it onto the cabinet, positioning it exactly where it needs to be. Once in position, press down along the entire surface to ensure a firm bond with the caulk. If your design requires it, fasten the countertop to the base with screws from underneath, taking care to use non-corrosive screws and pre-drill to reduce the risk of cracking.
Allow the silicone caulk to dry per the manufacturer’s instructions before applying any weight or installing a sink and fixtures to ensure a secure installation. Remember to clean off any excess caulk before it dries for a clean, professional finish.
My Top Tips For Concrete Countertops
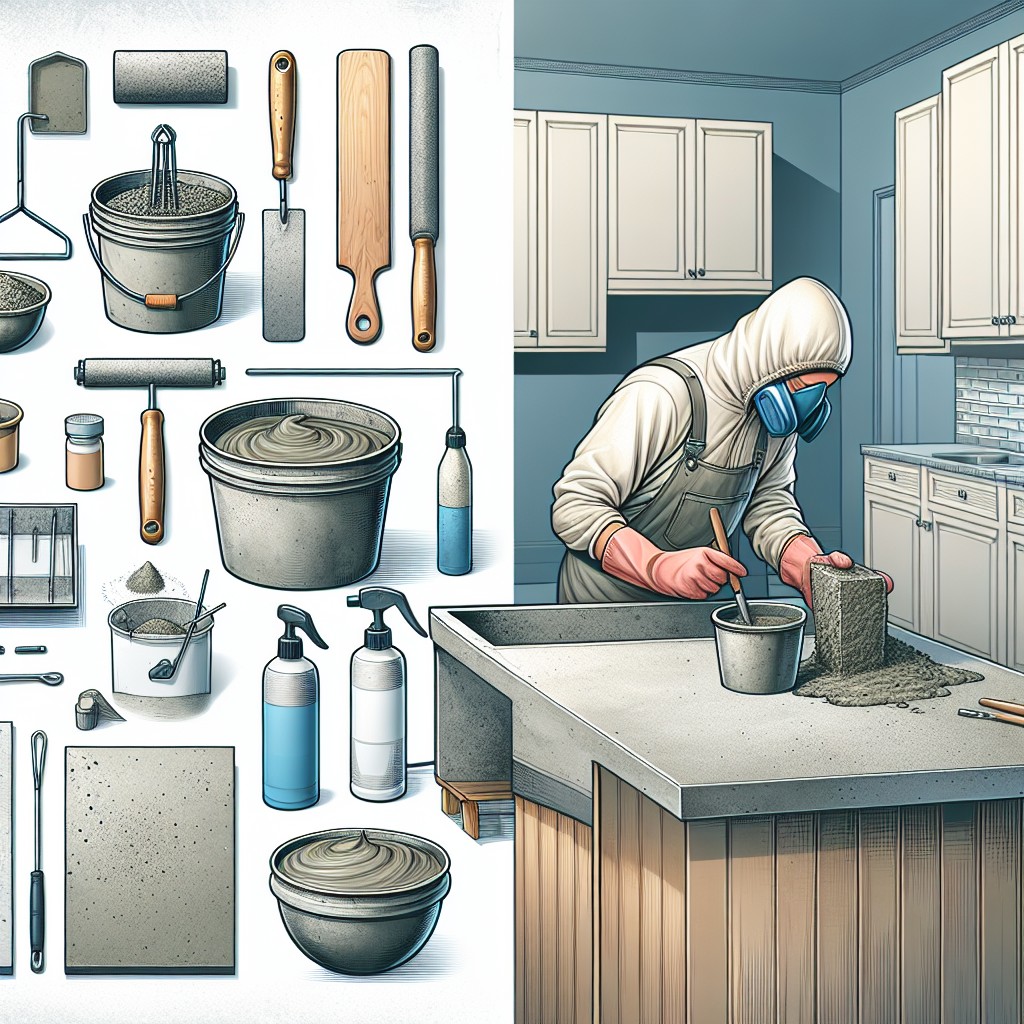
1. Perfect Your Mix: Achieving the ideal consistency in your concrete mix is crucial. It should resemble thick pancake batter. A well-mixed concrete yields a smoother finish and greater strength.
2. Avoid Air Bubbles: Tap the sides of your mold after the pour to help air bubbles rise to the surface. This step ensures a solid, professional-looking countertop without voids or imperfections.
3. Cure Slowly: Be patient and allow your countertop to cure slowly. Keeping the surface moist can prevent cracking and promote even curing, especially in the first week.
4. Opt for Reinforcements: Incorporate wire mesh or fiberglass fibers in your concrete mix. This will add tensile strength to the slabs and reduce the risk of cracking over time.
5. Seal Properly: Sealing the surface is non-negotiable. It protects against stains and moisture. Apply sealer according to the manufacturer’s recommendation for the best long-lasting finish.
6. Regular Maintenance: To keep countertops looking their best, wipe spills quickly, avoid cutting directly on the surface, and refresh the sealer annually.
By adhering to these pointers, your concrete countertops can rival those of professional installations, enhancing durability and aesthetics without overextending your budget.
Are Concrete Countertops Less Expensive Than Granite?

Opting for concrete countertops can offer significant savings over granite. While the cost of granite ranges from $40 to $60 per square foot, concrete materials are often much lower, hovering around $10 to $15 per square foot.
However, it’s crucial to factor in whether you’ll be doing the work yourself or hiring a professional. DIY installation can further reduce expenses, making concrete a pocket-friendly choice for those willing to put in the effort.
Meanwhile, professional installation of concrete can narrow the cost gap, placing it closer to the lower end of granite pricing. Keep in mind that complex designs and finishes in concrete may introduce additional costs, so plan accordingly.
How Much Does It Cost to Make Your Own Concrete Countertop?

Creating your own concrete countertop can lead to significant savings compared to purchasing pre-made or custom alternatives. Here’s a breakdown of the costs involved:
Materials: Expect to spend around $8 to $15 per square foot for concrete mix, reinforcement materials, and sealant. The price varies depending on the type and quality of the materials chosen.
Forms and Molds: Plywood or melamine for building forms will run you approximately $20 to $50, again depending on size and thickness.
Tools: If you don’t already own basic construction tools, you might spend $100 to $200 for items such as a circular saw, drill, orbital sander, and concrete mixing supplies.
Finishing: Sandpaper, finishing compounds, and sealants can add another $50 to $100 to the total cost.
Labor: The biggest savings come here, as doing it yourself eliminates labor costs that can range from $500 to several thousand dollars for professional installation.
Keep in mind, prices for materials and tools can vary based on location and the current market. Always shop around for the best deals and consider borrowing specialized tools to cut down on expenses. Keep a lookout for sales at local hardware stores or online marketplaces for used tools.
Are Concrete Countertops High Maintenance?
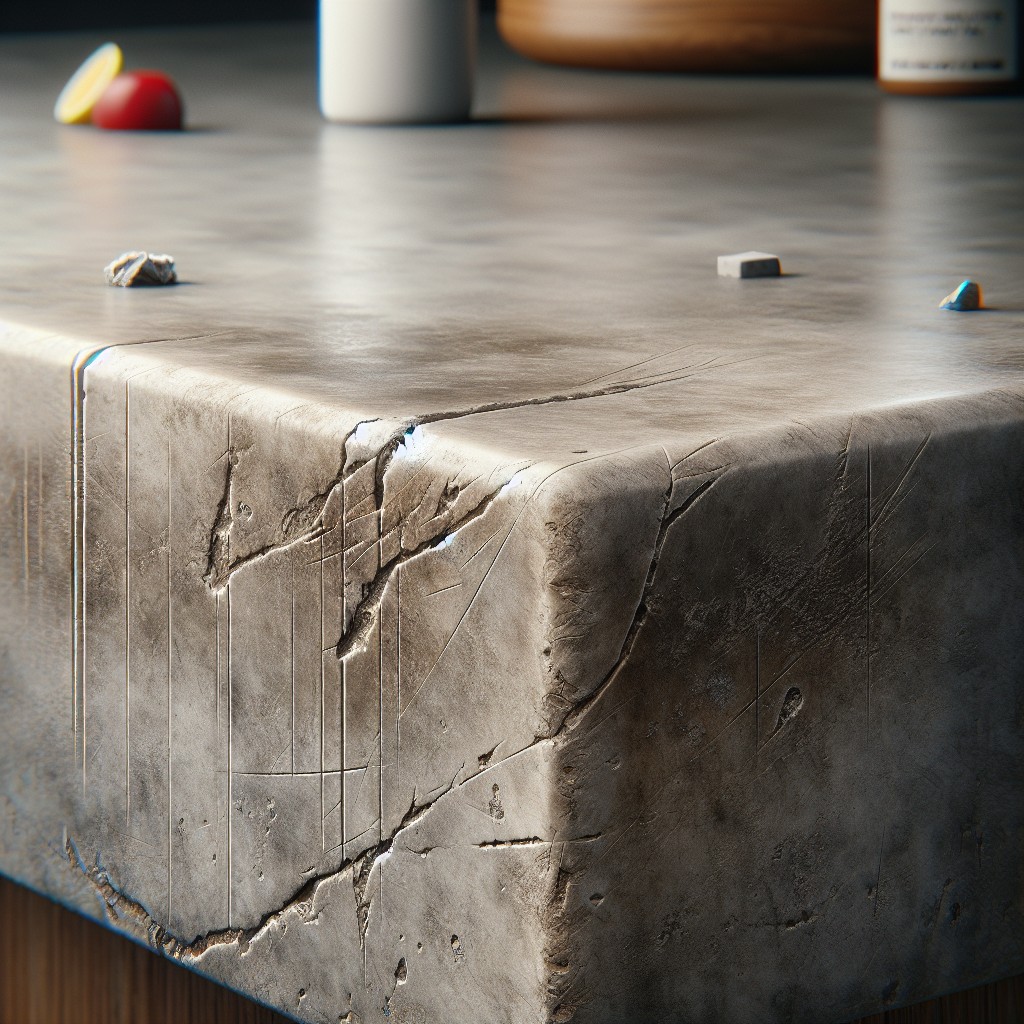
Concrete countertops bring a unique and modern aesthetic to a kitchen, but it’s common to wonder about their upkeep. Here’s a straightforward rundown on maintenance:
- Sealing is Essential: Apply a penetrating sealer upon installation and reseal every 1 to 3 years to protect from stains and water damage.
- Daily Cleaning: Wipe with mild soap and water. Avoid abrasive cleaners that can wear down the sealant.
- Managing Scratches: While minor scratches can add character, you can sand out deeper ones and reseal the area.
- Heat Sensitivity: Use trivets or pads; direct heat can cause discoloration or cracks.
- Avoid Harsh Chemicals: Chemicals can etch the surface, so it’s best to use pH-neutral cleaning solutions.
Remember, a little attention goes a long way to preserve the concrete’s natural beauty and functionality.
Do Concrete Countertops Crack?
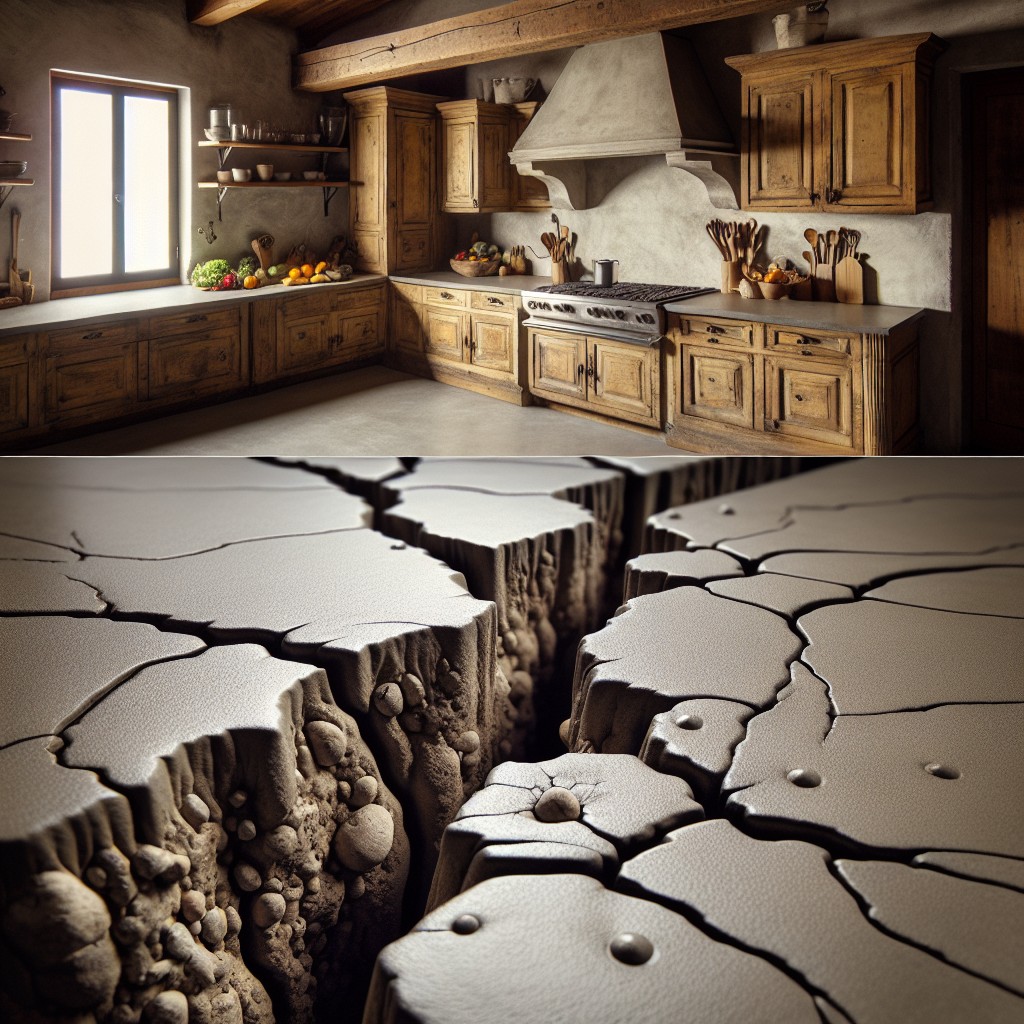
While concrete countertops can develop cracks, they’re primarily superficial and can add character to the design. However, proper construction and care can minimize this risk.
- Temperature changes and heavy loads can cause stress on the concrete, leading to cracks.
- To avoid cracks, ensure even curing by keeping the surface moist and avoiding rapid temperature changes.
- Using a fiber-reinforced mix or adding a wire mesh can strengthen the countertop and prevent significant cracking.
- Incorporating expansion joints can allow for movement without causing harm to the integrity of the surface.
- Small, hairline cracks can often be repaired with color-matched epoxy or filler.
Regular maintenance, sealing, and mindful usage can result in a durable, lasting finish.
FAQ
Can you do concrete countertops yourself?
Yes, you can make your own DIY concrete countertops with dedicated time, proper tools, and supplies.
What kind of cement do you use for a countertop?
For a countertop, it’s recommended to use a specific product like Quikrete Concrete Countertop Mix rather than a regular concrete mix.
Are DIY concrete countertops cheaper than granite?
DIY concrete countertops, although they require some tools and sealants, are typically more expensive compared to standard options like granite, marble, or quartz.
How thick should a concrete countertop be?
A concrete countertop should ideally be 1 1/2" thick, but can range anywhere between a minimum of 1 1/4" and a maximum of 3".
What are the pros and cons of DIY concrete countertops?
DIY concrete countertops are highly customizable and budget-friendly, but they require significant effort and time to install and may develop cracks over time.
How do you maintain and clean concrete countertops?
To maintain and clean concrete countertops, it is recommended to regularly wipe down with a non-abrasive cleaner, avoid harsh chemicals that may etch the surface, and apply a concrete-specific wax or sealer annually for continued resistance to stains and scratches.
What are the steps for adding color or stain to DIY concrete countertops?
The steps for adding color or stain to DIY concrete countertops include the preparation of the countertop surface, application of a concrete stain or dimmed mix, waiting for it to dry, and then sealing it with a concrete sealer.
Recap
