Last updated on
In the world of design, concrete floor leveler holds significant importance because it provides a flawless foundation for your perfect floor finish.
Key takeaways:
- Easy to apply: Hassle-free application process for DIY enthusiasts and professionals.
- Versatility: Correct uneven floors, fill holes, and prep for various flooring installations.
- Rapid curing: Sets faster than traditional concrete for quick turnaround times.
- High strength: Maintains compressive strength, suitable for high-traffic areas.
- Compatibility: Bonds with different subflooring materials, with the right primer.
What Is Self-Leveling Concrete
Self-leveling concrete is a polymer-modified cement that flows smoothly to create a flat and even surface without the manual spreading and leveling that traditional concrete work requires. Think of it as a thick, viscous liquid that spreads across an existing subfloor with ease.
Here’s why it stands out:
- Easy to apply: This type of concrete offers a hassle-free application process ideal for DIY enthusiasts and professionals alike. It’s designed to spread and level out by itself with minimal intervention.
- Versatility: You can use it to correct uneven floors, fill in holes, or prep surfaces for flooring installation, such as tiles, carpet, or hardwood.
- Rapid curing: It sets much faster than traditional concrete, allowing for quick turnaround times on construction and renovation projects.
- High strength: Despite its self-leveling properties, it maintains a high compressive strength, making it suitable for high-traffic areas.
- Compatibility: This material can bond to several types of subflooring, including concrete, wood, ceramic, and more, given the correct primer is applied.
As a solution for creating uniform and smooth surfaces with minimum fuss, it’s an innovation that streamlines paving and surfacing tasks.
Product Description
Self-leveling concrete is a polymer-modified cement that flows easily across a surface without the need for troweling. It sets into a flat and smooth surface ideal for installing floor coverings. The compound has a liquid consistency when mixed, enabling it to spread out evenly and fill in any dips or imperfections, hence the term “self-leveling“.
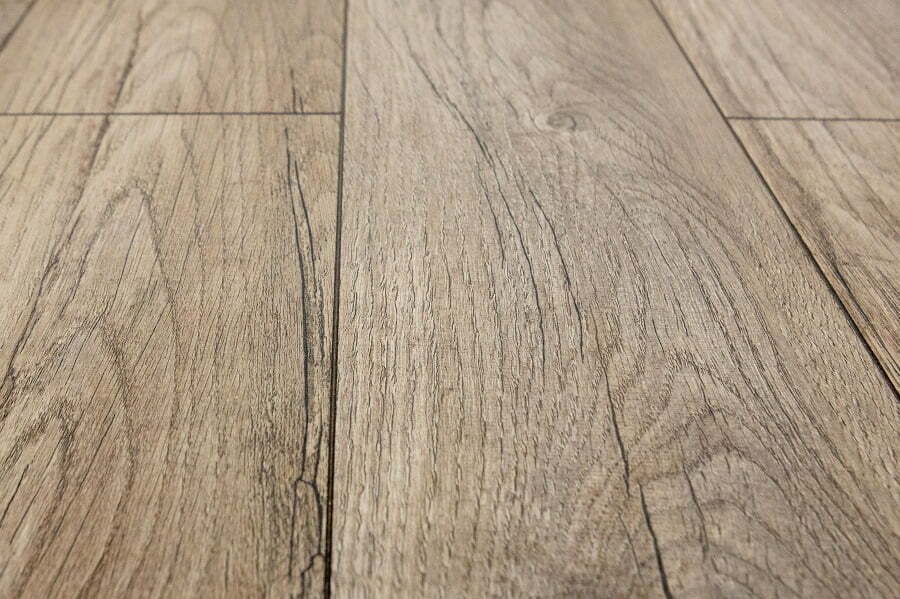
This material simplifies floor preparation and is commonly used to create level surfaces for tile, carpet, or other finishes. While some varieties are designed to be used as a final wear surface, most require some form of covering. Depending on the formula, self-leveling concrete can also offer additional benefits such as improved durability, resistance to moisture, and compatibility with in-floor heating systems.
Preparing to Use Self-Leveling Compound
Before mixing your self-leveling compound, thorough surface preparation is critical to ensure a successful application. Start by cleaning the floor to remove any dust, grease, or debris. It’s crucial to fix any cracks or holes in the existing floor with a suitable filler. Make sure these repairs are fully cured before proceeding.
Next, assess the floor’s moisture levels; excessive dampness can hinder the compound’s performance. Use a moisture barrier if necessary. Apply a primer to the surface, ensuring it is compatible with the self-leveling compound you intend to use. This will enhance the adhesion of the compound to the substrate.
Measure the deepest area that requires leveling to calculate the amount of compound needed. Place dams using foam strips or a similar material around the area perimeter, especially if the leveler is to be contained to a specific section. Lastly, gather all tools and mixing apparatus so that they’re ready for use once you prepare the compound.
Tools Required
Equipping yourself with the right tools ensures a smooth application process. A notched squeegee is indispensable for spreading the compound evenly. A mixing paddle attached to a heavy-duty drill simplifies blending the mixture to the right consistency.
A large bucket can accommodate the mix and facilitate easy pouring on the surface. Protective gears such as gloves, goggles, and a mask are essential for safety. A spike roller comes in handy to release trapped air bubbles, ensuring a flawless finish.
Lastly, don’t forget a tape measure and a level; precision is key to achieving a level floor. Each tool plays a strategic role, like cogs in a machine, working together to create a level surface that stands the test of time.
Application Tips
Begin by ensuring the area is clean, dry, and free of debris. Remove any dust, oil, or grease that may impede adhesion. Repair significant cracks or damage in the existing surface before you start.
Use painter’s tape to protect walls and baseboards from splatter. Cover adjacent floors with plastic sheeting to avoid spillage.
Measure the area to determine the amount of self-leveling compound needed. Follow the manufacturer’s mixing instructions carefully, aiming for a lump-free consistency. Mix only what you can use within the product’s pot life to ensure proper flow and leveling.
Pour the mixture promptly, starting at the furthest corner of the room and working your way back toward the exit. Spread it evenly with a trowel or squeegee, pushing the material into corners and along edges.
Maintain a wet edge as you work, blending new batches with the previously poured material to avoid cold joints and ensure a seamless surface.
Monitor the compound as it flows and self-levels, using a spiked roller to release trapped air bubbles and promote even curing.
Adhere to the specified drying and curing times before allowing foot traffic or installing flooring over the newly leveled surface.
How Long Does Self-Leveling Concrete Take to Harden?
Self-leveling concrete offers a relatively rapid path to a smooth, level floor surface. The time it takes to harden, also known as cure time, typically spans from 1 to 6 hours for light foot traffic. However, for heavy furniture or full operational traffic, it’s recommended to wait at least 24 hours. Factors influencing cure time include the product’s specific mix, ambient temperature, and humidity levels.
Higher temperatures tend to accelerate the curing process, whereas lower temperatures and higher humidity levels can extend it. Always refer to the manufacturer’s specifications for exact curing times and follow their guidelines for optimal results. Ensure that the area remains undisturbed during the curing process to avoid any imperfections or weakness in the final surface.
Troubleshooting Self-Leveling Concrete
Occasionally, after the application of self-leveling concrete, you may encounter some issues such as inadequate leveling, cracking, curling, loose layers, or moisture problems. Understanding and addressing these common challenges is essential for a smooth and durable surface.
- Inadequate Leveling: Ensure the mix is properly formulated for the space, keeping the area free of drafts that could dry out one part faster than another. Check the floor beforehand for dips and peaks and fill them as much as possible before pouring the leveler.
- Cracking or Curling: Both can be a result of the compound drying too quickly. To avoid this, maintain an ambient room temperature and humidity, and follow the manufacturer’s recommended mixing ratios closely to prevent an overly wet or dry mixture.
- Loose or Debonding Layers: This typically happens when the substrate was not prepared properly. Make sure you clean the base floor thoroughly and apply a primer designed for your specific type of self-leveling compound to ensure a good bond.
- Moisture Issues: Self-leveling concrete is not immune to moisture problems. If your space has high humidity or the substrate contains moisture, use a moisture barrier before application. This ensures the leveler does not take in excess water, which compromises its integrity.
If you encounter these issues, remember that timely intervention and a methodical approach will guide you to resolution and help maintain the longevity of your flooring project.
Inadequate Leveling
Occasionally, self-leveling concrete may not level as expected due to various factors, leading to an uneven surface. Here are some points that can help you understand and prevent this issue:
1. Substrate Preparation: Ensure the floor is clean and free of debris before application. Residues or dust can hinder proper flow and adhesion, reducing the leveling ability of the compound.
2. Primer Application: A primer is essential for promoting adhesion and sealing the substrate. Skipping this step can result in poor flow and leveling.
3. Mixing Consistency: Adhere to manufacturer’s instructions on water-to-compound ratios. An incorrect mix can either be too thick to flow properly or too watery to self-level effectively.
4. Adequate Volume: Apply enough material to cover the entire floor. Insufficient volume won’t allow the compound to spread out and level the area completely.
5. Working Time: Work swiftly. Self-leveling compounds harden quickly; delay can prevent the material from flowing into a level position.
6. Tool Use: Employ gauges and spreader tools to assist the compound in spreading evenly across the surface if you notice it’s not self-leveling as it should.
By paying close attention to these factors, you can vastly reduce the risk of inadequate leveling and ensure a smooth, level surface every time.
Cracking or Curling
Cracking and curling in self-leveling concrete usually occur due to rapid drying, uneven curing, or a too-thin application. To minimize these issues, it is crucial to follow the mix’s specified water-to-compound ratio accurately, as an improper mix can lead to weak flooring that’s prone to damage.
Ensuring consistent, controlled drying conditions can prevent the development of stress that leads to cracking. Moreover, applying the compound at the recommended thickness is vital; too thin applications may not withstand the pressures of contraction and expansion over time.
Adequate bonding with the substrate also helps prevent curling, so make sure the underlying surface is clean and primed according to manufacturer instructions. Keep environmental factors like humidity and temperature within suggested ranges during the curing process to ensure a smooth, defect-free finish.
Loose or Debonding Layers
When the bond between the substrate and the self-leveling compound fails, it can result in a loose layer that doesn’t adhere properly. This detachment is often due to contaminants on the floor surface, such as dust, oil, or existing sealers, which prevent the self-leveling compound from gripping the substrate.
Ensure the surface is thoroughly cleaned and prepared before application. Sometimes, the underlying floor may be too smooth or non-porous, which also hinders adhesion. In such cases, etching the surface or using a primer designed for non-porous surfaces can improve the bond.
Additionally, applying the self-leveling compound too thinly can lead to weak spots and delamination. Follow the manufacturer’s recommended thickness guidelines to avoid this issue. Remember, taking extra care during the preparation stage is crucial for achieving a strong, lasting bond.
Moisture Issues
Excess moisture, whether from the environment or the substrate, can compromise the integrity of self-leveling compounds. Take into account the following considerations to avoid moisture-related problems:
- Test for Moisture: Before application, perform a moisture test. Various tests exist, such as the calcium chloride test or relative humidity test, to ensure levels are within manufacturer specifications.
- Proper Substrate Preparation: Seal any cracks or joints in the substrate to prevent moisture seepage that can lead to a weakened bond or a compromised surface.
- Curing Conditions: Maintain a controlled environment during curing. High humidity and damp conditions can slow the curing process and affect the compound’s performance.
- Use of Moisture Barriers: In some cases, a moisture barrier might be necessary, particularly if the concrete will be laid over areas prone to dampness or on new concrete substrates that haven’t fully cured.
- Manufacturer’s Guidelines: Always follow the specific mixing and application instructions provided by the manufacturer regarding moisture levels, as different products have varying tolerances and requirements.
Effective moisture management ensures a durable and level final product, free from distortions caused by environmental factors.
Cost of Self-Leveling Concrete
The price of self-leveling concrete can vary significantly based on several factors, including the type of product, geographical location, and the size of the area to be covered. Typically, a 50-pound bag of self-leveling compound can cost anywhere from $30 to $50.
Labor costs should also be factored in if you’re not undertaking the project on your own. Professional installation can range from $1.50 to $10 per square foot, depending on the complexity of the job and local labor rates.
The total cost can be influenced by the condition of the existing floor—the better the condition, the less preparation and product needed, which can reduce the overall expense. Discounts might be available for larger projects or when purchasing materials in bulk.
Always consider the long-term benefits of a quality self-leveling job, which can extend the lifespan of the floor and potentially save money on maintenance and repairs over time.
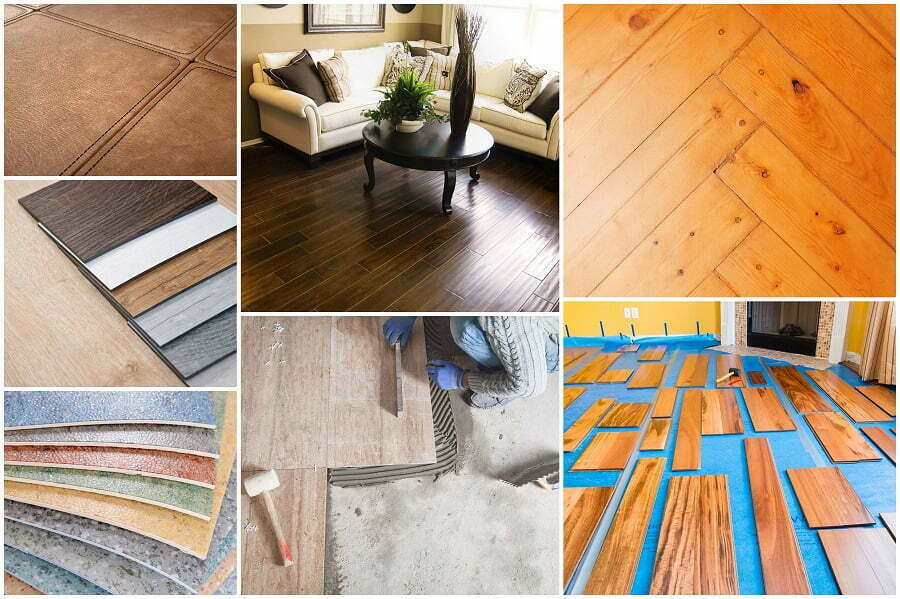
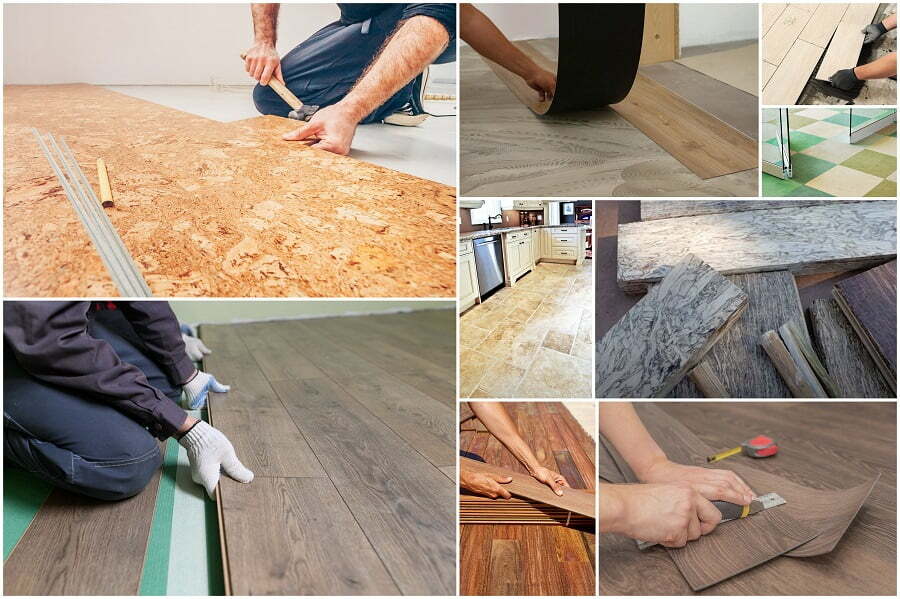
Where Self-Leveling Concrete Is Used
Self-leveling concrete is versatile, finding its place in a variety of settings both residential and commercial. In homes, it’s often used to create smooth, flat surfaces before laying flooring materials such as tile, carpet, or hardwood. Basements and garages particularly benefit from this treatment, where it helps to address uneven concrete and prepare them for renovation projects.
In commercial spaces, the material is indispensable for creating level floors in retail stores, warehouses, and office buildings. Its ability to handle heavy foot traffic and resist wear makes it perfect for public areas. Additionally, self-leveling concrete serves as an underlayment for high-end finishes in places like galleries and showrooms where an impeccable floor finish is critical.
Industrial sites also utilize self-leveling concrete due to its durability. It’s used to repair old floors, fill in dips and cracks, and ensure a level surface in factories and assembly areas to accommodate machinery and facilitate safe, efficient operations.
Self-leveling concrete isn’t limited to interiors; it also plays a role in outdoor applications. Landscape architects sometimes incorporate self-leveling compounds in the design of patios and outdoor entertainment spaces to ensure a stable, flat surface that enhances water drainage and overall functionality.
Tips On How to Apply Self-Leveling Concrete
Before mixing, ensure the floor is clean and free from dust, oil, or debris. Imperfections in the substrate can hinder the leveling process.
Always follow the manufacturer’s instructions on mixing ratios for the self-leveling compound. An incorrect mix could affect the flow and setting times.
Use a paddle attachment on a power drill for a consistent, lump-free mix. Hand mixing may not yield the desired homogeneity necessary for self-leveling compounds.
Pour the mixture immediately after preparation. The material tends to set quickly, so plan your pour strategy to maintain a wet edge.
Employ a gauge rake to help spread the compound evenly across the floor, maintaining the desired thickness as recommended.
After spreading, use a spiked roller to eliminate trapped air bubbles and ensure a smooth finish. This needs to be done promptly as the material levels and begins to harden.
Be mindful of the curing time; avoid walking on the freshly leveled floor for at least 24 hours, or as specified by the product guidelines.
Maintain room temperature and humidity levels as stable as possible to avoid rapid drying, which could cause cracks or other flaws in the finished surface.
For larger areas, consider using a self-leveling compound that has a longer working time to provide ample time for application and finishing.
Lastly, remember that self-leveling compounds are not a final floor surface. They provide a smooth base for subsequent floor coverings, such as tiles, vinyl, or hardwoods.
Takeaways for a Successful Self-Leveling Pour
Ensure the surface is clean, dust-free, and primed properly to promote strong adhesion.
Carefully follow the manufacturer’s mixing instructions to achieve the right consistency and avoid lumps.
Work quickly yet meticulously, as self-leveling compounds set fast, which makes corrections difficult afterward.
Use a gauge rake to spread the compound evenly across the surface, targeting a uniform thickness.
Employ a spiked roller to release trapped air bubbles and help in creating a smooth, even surface.
Maintain the room at a stable temperature to avoid rapid drying or uneven curing of the material.
Respect the curing time before allowing foot traffic or proceeding with further flooring installations to ensure optimal results.
Recap
Liked this article? Here's what you can read next: