Last updated on
Craft a heartfelt DIY Valentine’s centerpiece because simplicity and thoughtfulness often result in the most eye-catching table setups.

This article includes my original designs. Some of them may be exaggerated to make a point — that’s my style. Enjoy them for your inspiration!
Delving into the world of Valentine’s decorations, today’s focus will be on DIY centerpieces. Sure, countless ideas on this topic are already just a click away on the internet. But the mission here is to transcend the known norms and pave the way for some unique, budget-friendly and stunning centerpiece ideas.
Handpicked from this innovative basket of creations, these suggestions are sure to captivate your senses and transform your Valentine’s day table setting like never before. Of course, it won’t hurt to have a peek at the tried and true classics, so a collection of resources will be appended at the end for your convenience.
Let’s embark on this creative journey together to uncover the unusual and the extraordinary, so keep scrolling.
Key takeaways:
- Craft a chocolate rose bouquet centerpiece with foil-wrapped chocolates and artificial roses.
- Create a romantic floating candle bowl with water, floating candles, and rose petals.
- Transform a candy dish into a charming arrangement with colorful candies and tea lights.
- Make a whimsical love bug centerpiece using terracotta pots, painted stones, and twigs.
- Create an ornamental love birds centerpiece with artificial birds, flowers, and lighting.
Chocolate Rose Bouquet Centerpiece

Craft a sweet twist on the classic bouquet using chocolate kisses and artificial rose stems for a delicious and decorative treat.
Start by attaching foil-wrapped chocolates to the buds of the faux roses using hot glue or floral tape.
Ensure the wrapper’s pointed ends face outward, mimicking the petal shapes of a blooming flower.
Vary the height of your chocolate flowers for a more dynamic look and gather them into a tight bouquet.
Choose a vase that complements your Valentine’s decor; a clear glass vessel adds a touch of elegance, while a colorful ceramic option introduces a pop of festive color.
For stability, fill the bottom of the vase with glass beads or small stones, and carefully insert the stems, arranging as desired.
To elevate this centerpiece, consider weaving in some greenery for a realistic touch or wrap the vase with a ribbon in a romantic hue like red or pink.
This bouquet will not only act as a delightful centerpiece but can double as a dessert or a take-home gift for your guests.
Remember, avoid placing the arrangement too close to warm surfaces or in direct sunlight to keep the chocolate from melting.
Valentine’s Floating Candle Bowl
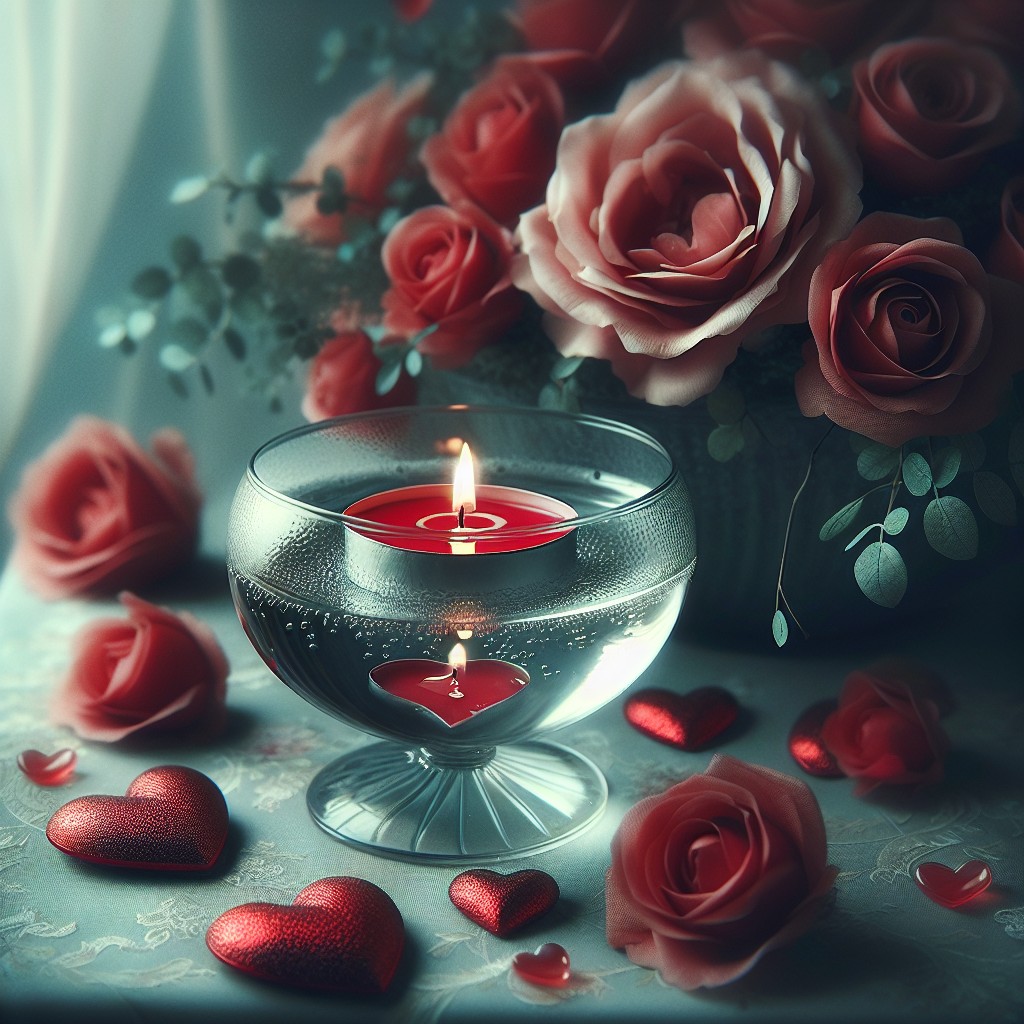
Transform a simple bowl into an enchanting centerpiece with water, floating candles, and a touch of florals. Choose a glass or ceramic bowl to act as your base. Fill it with water to your desired level, ensuring it’s not too full to prevent spillage.
Select floating candles that match your Valentine’s theme—you can find them in various shapes like hearts or flowers. Before setting them afloat, scatter fresh or silk rose petals on the water’s surface for a romantic touch. For additional flair, intersperse small, waterproof LED lights or clear marbles at the bottom of the bowl.
This centerpiece sets a calming ambiance with its gentle candlelight and the delicate dance of petals. It’s both captivating and serene, perfect for a Valentine’s dinner setting. For safety, always monitor lit candles during your event.
Heart-Shaped Candy Dish Arrangement

Transform a simple candy dish into a charming Valentine’s display. First, fill a heart-shaped dish with colorful candies, such as conversation hearts or red and pink jellybeans, to add a pop of festive color.
Consider layering to create visual interest—start with larger candies at the bottom, and top with smaller ones. For a polished look, place the dish on a coordinating decorative placemat or fabric. Add a couple of tea lights around the dish to cast a soft glow and highlight the vibrant sweets.
Lastly, adorn the table with a few loose petals or small heart cutouts to tie in the theme, creating an inviting and playful centerpiece that doubles as a sweet treat for your guests.
DIY Love Bug Centerpiece
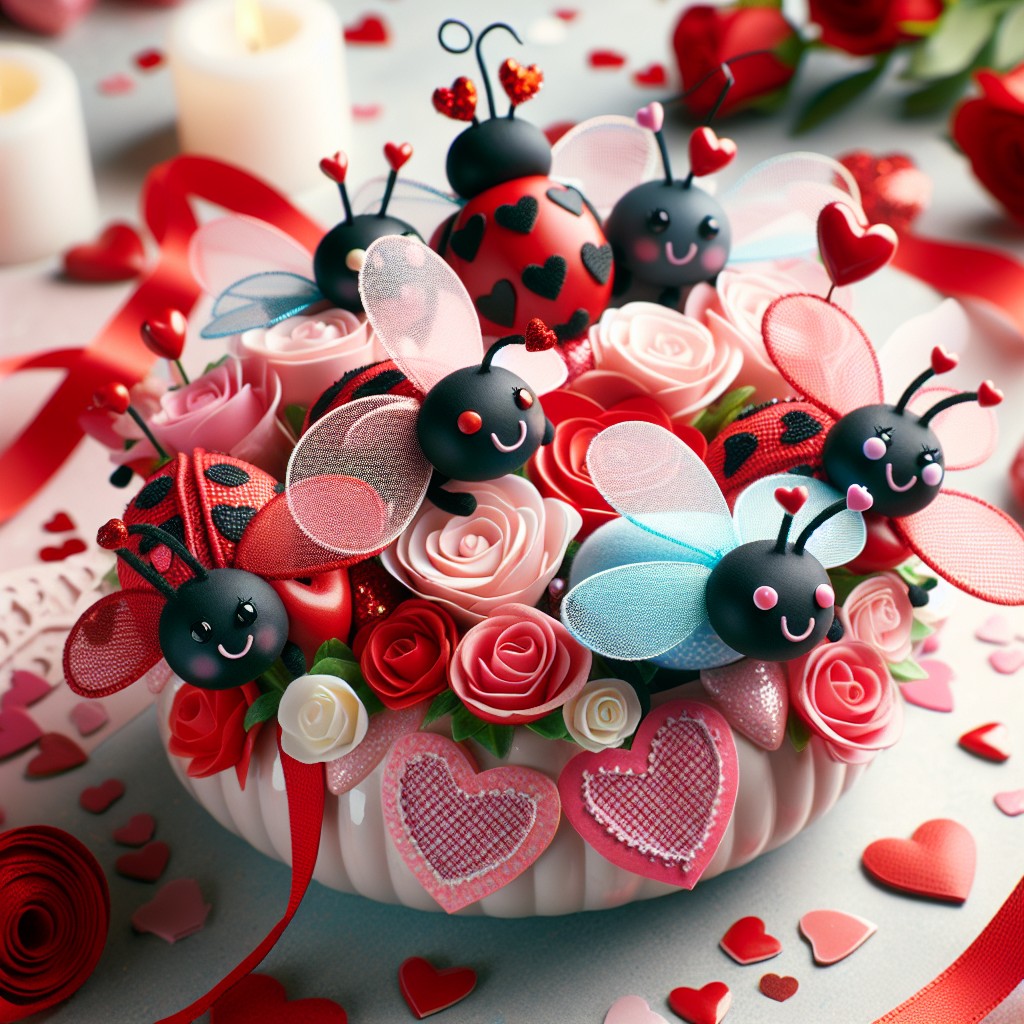
Transform a simple terracotta pot into a charming habitat for a love bug using acrylic paints — think reds, pinks, and whites.
Once dry, draw or glue googly eyes and heart-shaped spots onto smooth, round stones to mimic love bugs.
Nestle these adorned stones into a cushion of moss situated in the pot.
Intertwine a few twigs to arc over the pot, from which you can dangle miniature heart ornaments with thin red or pink ribbon.
This whimsical centerpiece embodies the spirit of Valentine’s Day and adds a playful touch to any table setting.
Ornamental Love Birds Centerpiece

Creating a charming ornamental love birds centerpiece can inject a whimsical, romantic touch to your Valentine’s table decor. For this centerpiece, gather a pair of artificial birds – these can often be found at craft stores or can be fashioned from felt or paper for a more handmade touch.
The key elements include:
- Nesting: Place the birds in a small faux nest, or create one using twigs and straw. This can rest atop a small cake stand or inside a shallow decorative dish to add dimension.
- Floral Surround: Encircle the nest with fresh or silk flowers that complement the colors of the birds. Soft pinks, whites, and creams are classic choices for a Valentine’s theme.
- Symbolic Additions: Intertwine small heart-shaped items into the nest or around the centerpiece’s base to emphasize the Valentine’s spirit.
- Lighting: For an enchanted evening glow, position tea lights or fairy lights around the centerpiece, ensuring a safe distance from flammable materials.
- Personal Touch: For a unique twist, attach a small scroll or tag with a poem or love note to one of the birds, inviting interaction from guests.
This centerpiece thrives on simplicity and charm, perfect for a day celebrating love and togetherness.
Sweetheart Silhouette Table Topper
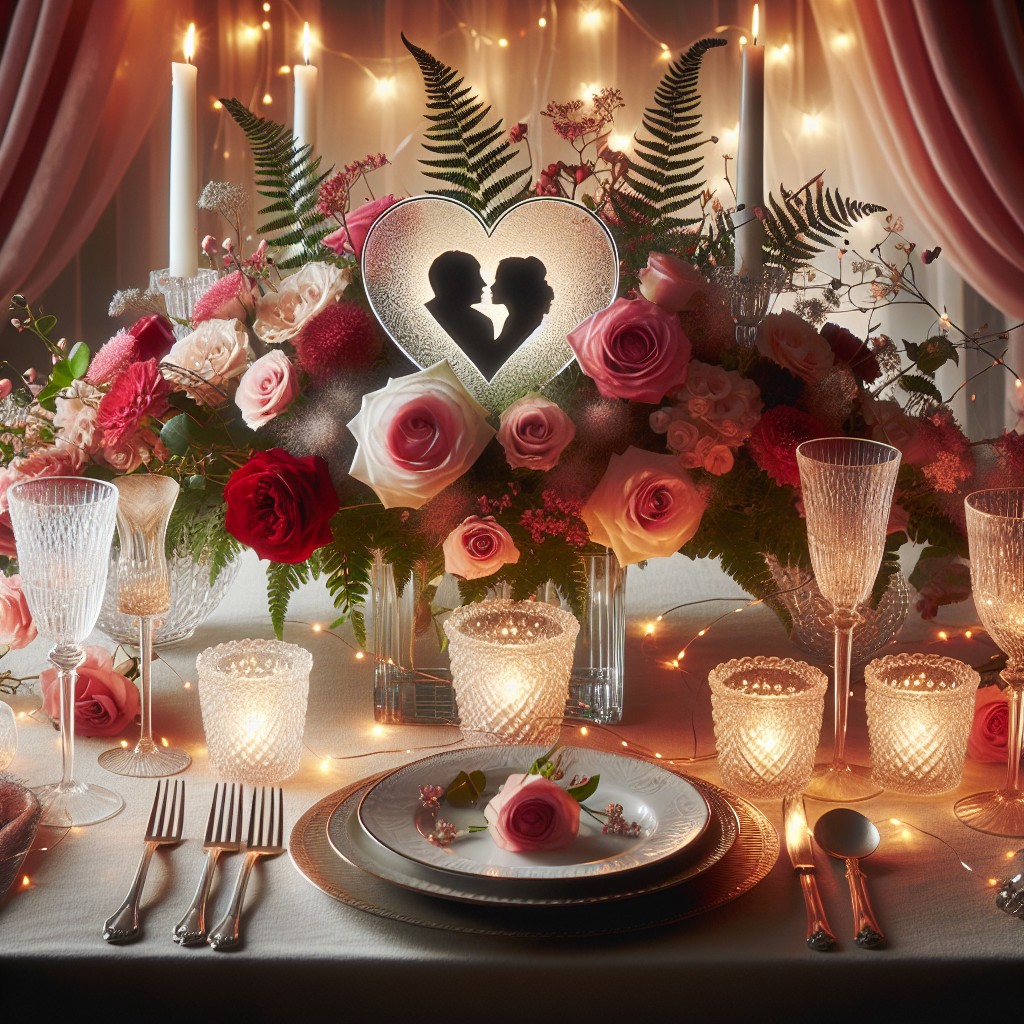
Capture the essence of romance with an eye-catching silhouette display featuring you and your significant other. This personalized touch not only adds intimacy to your Valentine’s centerpiece but also sparks conversations at your dining table.
- Select a charming photo of you and your partner, preferably in profile for a clearer silhouette effect.
- Print the image and carefully cut out the profile to use as a stencil.
- Trace the stencil onto black card stock and cut out the silhouette.
- Mount your finished silhouette onto a contrasting background, such as a patterned paper or a brightly colored card, ensuring it complements your overall color scheme.
- Place the silhouette inside a standing frame or attach it to a base to ensure it stands upright.
- Embellish around the base with thematic elements like rose petals, small votive candles, or tiny wrapped candies.
- Consider adding a calligraphed quote about love to the display for an extra layer of romantic detail.
This personalized decoration is not only cost-effective but also serves as a nostalgic keepsake long after the holiday has passed.
Love Note-Inspired Tablecloth
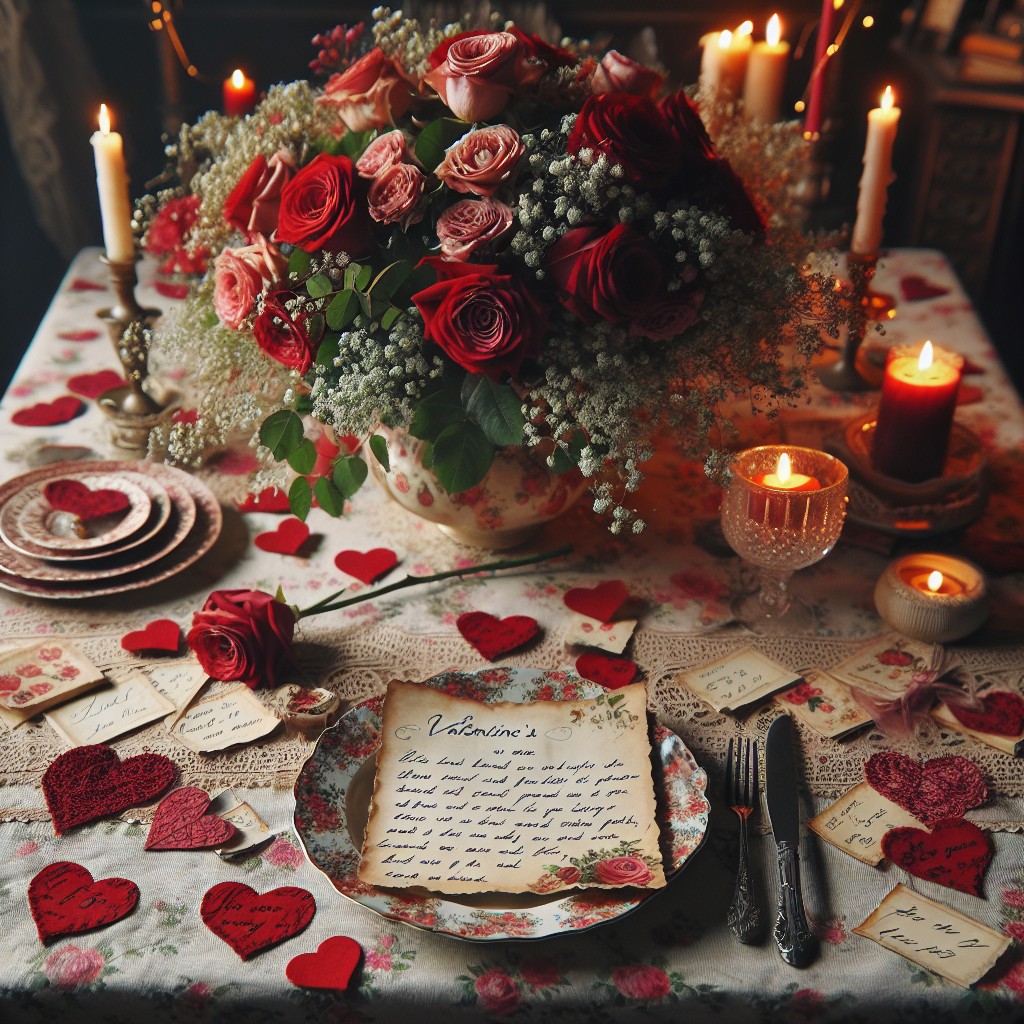
Transform your Valentine’s dinner setting with a whimsical touch by creating a love note-inspired tablecloth. This project breathes romance into your decor and serves as a unique conversation starter.
- Choose a plain white or pastel tablecloth as your canvas, providing a neutral background that will make your messages pop.
- Use fabric markers or fabric paints in reds, pinks, and purples to write sweet nothings, love quotes, or personal messages to your Valentine across the cloth.
- If handwriting isn’t your strong suit, opt for stencils or stamps. This gives a clean and uniform appearance to your love notes.
- Intersperse written messages with simple hand-drawn hearts or kisses for a playful touch.
- Heat set your designs following the instructions on the fabric paint or markers to ensure your love notes withstand washing.
This centerpiece idea not only adds charm and personality to your table but also doubles as a keepsake to remember the special day.
Heart Confetti Filled Balloons

Elevate your Valentine’s table with a whimsical touch by using transparent balloons filled with heart-shaped confetti. The sparkle of the confetti paired with the balloons’ subtle bobbing creates a dynamic and cheerful centerpiece that catches the eye.
For this DIY, choose latex balloons for their clarity and durability. Fill the balloons with metallic or paper confetti in shades of red, pink, and white. To incorporate this element:
- Select high-quality, clear balloons for maximum visibility of the confetti.
- Use a funnel to insert the confetti into deflated balloons before inflating.
- Inflate the balloons with helium to let them float above the table or with air to anchor in decorative clusters.
- Secure the balloons to a weight or in a decorative vase, keeping them stationary.
- Consider adding a few non-confetti balloons in coordinating colors to add visual interest and texture to your centerpiece.
This simple and cost-effective decor idea adds an airy and festive focal point to your Valentine’s Day tablescape without overwhelming the senses.
Floral Love Sign Centerpiece

To craft a Floral Love Sign Centerpiece, select a series of faux or fresh flowers in a Valentine’s Day color palette, think pinks, reds, and whites. Choose blooms like roses, carnations, or peonies for a romantic touch.
Cut the stems short, and start attaching them onto a pre-cut wooden sign that spells “LOVE.” Use a hot glue gun for faux flowers or floral foam for fresh ones to keep them in place.
Incorporate greenery for a natural look and to add dimension to your centerpiece. Ivy or eucalyptus works well as a lush backdrop.
To enhance the centerpiece, intertwine delicate fairy lights among the flowers, giving your sign a soft, ambient glow.
For a final touch, sprinkle small, clear gems or use pearl pins among the flowers. This adds an element of elegance and catches the light, creating an enchanting sparkle.
Place your Floral Love Sign at the heart of your table setting to act as a bespoke, captivating attraction.
DIY Love Marquee Table Centerpiece

Creating a DIY Love Marquee Table Centerpiece adds a dazzling focal point that brightens your Valentine’s Day table.
Use lightweight materials such as foam board or cardboard for the base.
Cut out letters to spell “LOVE” and make space for string lights by punching small holes.
Paint the letters in a festive color like red or pink, and once dry, insert globe string lights from behind for a warm, illuminated effect.
The marquee look brings a vintage Hollywood vibe to your celebration, and when the lights dim, it casts a romantic ambiance perfectly suited for the occasion.
Position this centerpiece where it can truly shine, perhaps flanked by smaller, more understated decorations for balance.
Gold Love-Letter-Inspired Table Runner
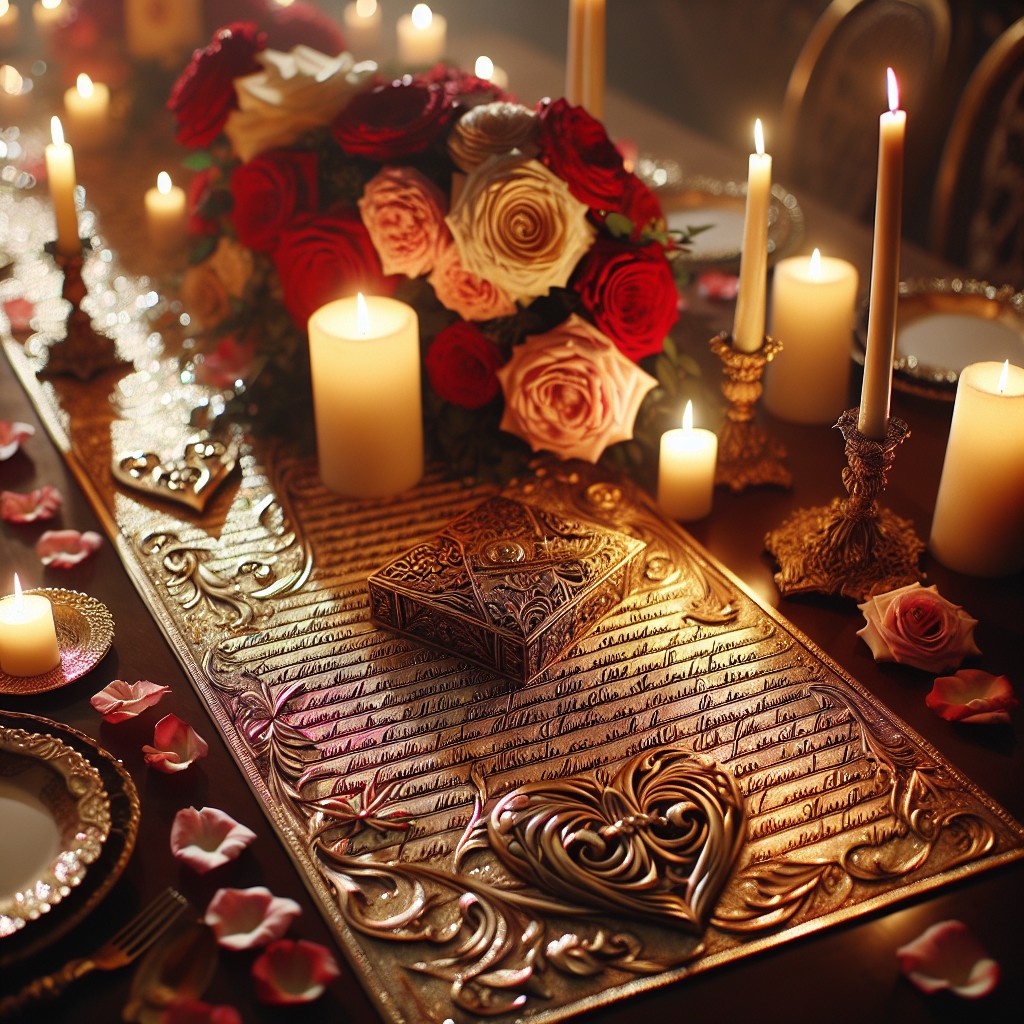
Transform your dining table into an intimate setting with a gilded touch. Start by selecting a roll of plain burlap or a neutral fabric. With a fabric marker or a thin brush and gold paint, handwrite love-related quotes, your initials, important dates, or simply the word “love” in a repeating pattern.
If your handwriting isn’t your strongest suit, opt for stencils to achieve neat, uniform letters. Allow it to dry and place it as the foundation of your centerpiece, layered with candlesticks, florals, or a scattering of rose petals to enhance the romantic ambiance.
This personal touch not only injects warmth into your decor but also serves as a conversation starter.
Heart-Shaped Photo Frame Centerpiece

Capture the essence of cherished moments with your personal touch by transforming ordinary photo frames into the highlight of your Valentine’s Day table. Initiate the process by selecting frames of varying sizes that can heartily exhibit your favorite memories. Opt for brandless frames as a cost-saving measure—these work wonders with a little creativity.
For a symmetrical charm, paint your frames in a uniform shade of red or pink, or for a more eclectic look, mix and match with pastel or metallic hues. Once dry, arrange the frames in a heart shape on the table, securing the alignment with unobtrusive double-sided tape for stability.
Heighten the visual interest by varying the placement, with some photos standing upright and others lying flat. Adding thematic embellishments such as small flowers, paper hearts, or votive candles can accentuate the intimate ambiance. Use this centerpiece not just as decor but as a conversation starter – invite your guests to share stories behind the captured moments they may recognize.
Wine Cork Heart-Shaped Display
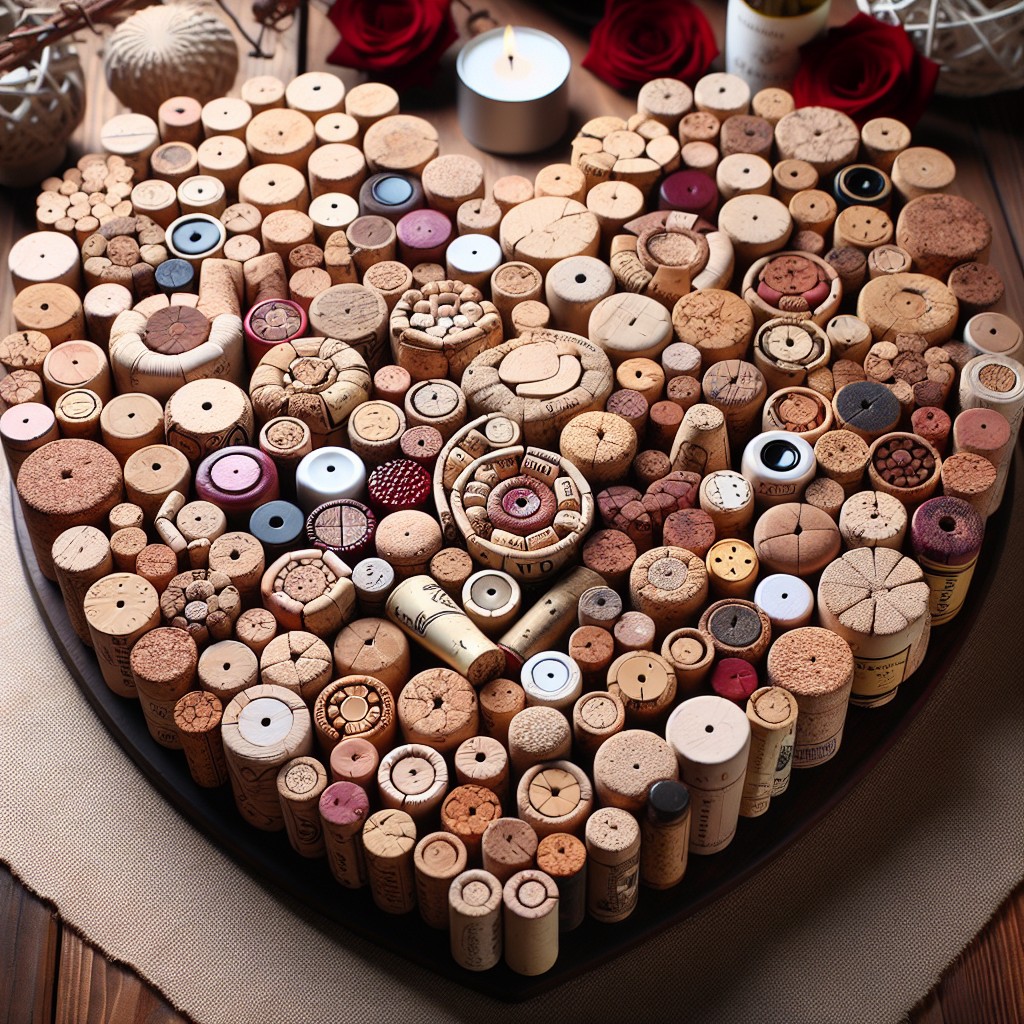
Creating a wine cork heart-shaped display adds a touch of upcycled charm to your Valentine’s centerpiece. Gather a collection of wine corks, ensuring you have enough to form a substantial heart shape. You’ll also need hot glue, a piece of cardboard as a base, and optionally, paint or embellishments.
- Outline the heart shape on your cardboard base for guidance.
- Begin gluing the corks side-by-side along the outline.
- Build upon each layer, ensuring corks are tightly packed.
- For a more dynamic look, vary cork orientation and height.
- Consider shades of cork; alternate between darker and lighter ones to create depth.
- Once the heart shape is filled, you may paint it red or pink for a more traditional Valentine’s look or leave it natural.
- Embellish with a ribbon, glitter, or attach faux flowers for added texture and interest.
Remember to exercise caution when using hot glue and to work on a protected surface. This centerpiece thrives on the simple beauty of reused materials coming together to form a symbolic and eco-friendly decoration.
Valentine’s Day Lantern Centerpiece
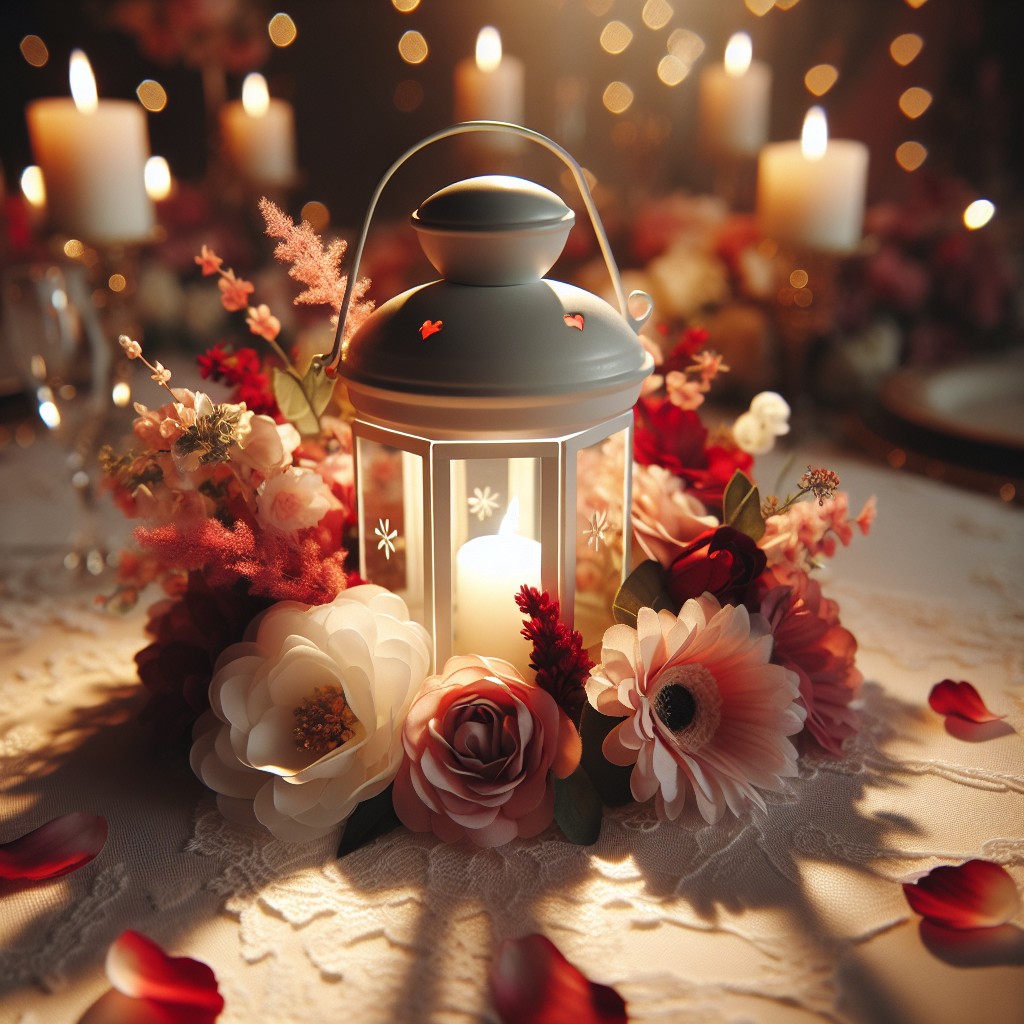
Transform an ordinary lantern into a romantic Valentine’s Day focal point using these simple steps:
- Select a lantern – Choose a style that matches your decor; a vintage lantern lends a cozy, rustic vibe, while a metallic one offers modern elegance.
- Fill with themed items – Bundle fairy lights with pink, red, or white roses inside the lantern for a soft, glowing effect. Add Valentine’s themed trinkets such as heart ornaments or Cupid figurines to amplify the theme.
- Surround with additional decor – Flank the lantern with smaller tea lights or votive candles to create a layered lighting effect. Sprinkle rose petals or heart-shaped confetti around the base for added charm.
- Personalize – Tie a ribbon or a hand-written love note to the lantern’s handle to make the centerpiece uniquely yours.
This simple yet elegant project quickly elevates your Valentine’s Day table setting and sets the tone for a romantic evening.
Heart-Shaped Fruit Basket Display

Transform an ordinary fruit basket into a charming Valentine’s Day centerpiece by crafting a heart-shaped arrangement. Choose a selection of vibrant red and pink fruits, such as strawberries, watermelon slices, cherries, and raspberries, to stick to the color theme. Utilize small cookie cutters to create heart-shaped pieces from larger fruits for added whimsy.
Presentation is key – arrange your fruits by color and size to create a visually appealing gradient effect. Another tip is to incorporate some greenery, such as mint leaves or a sprig of rosemary, for contrast and to add a fresh scent to your display.
Finally, consider placing your heart-shaped fruit arrangement on a beautiful serving platter or in a clear glass bowl to elevate the centerpiece’s look. This simple yet effective idea not only serves as a decorative piece but also offers a healthy snack for your guests.
Romantic Tea Light Holder Centerpiece
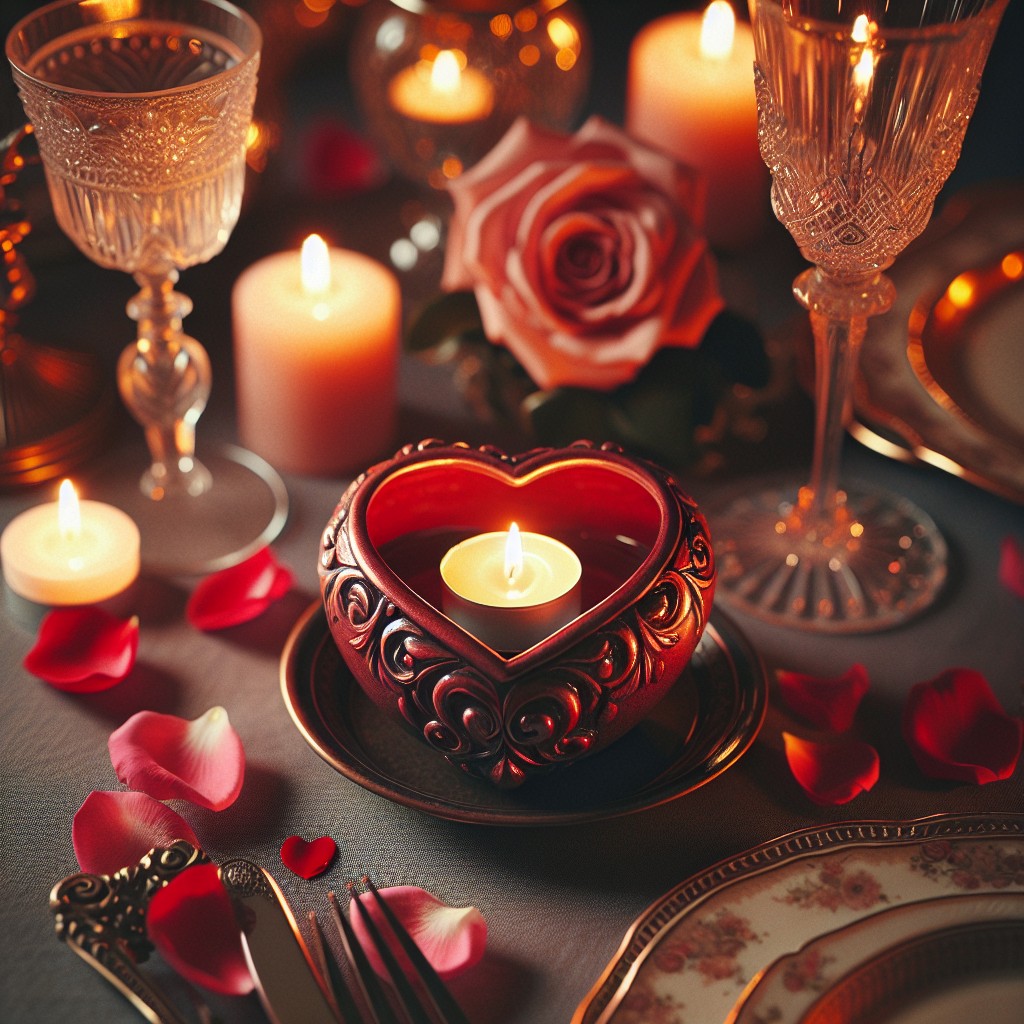
To construct your Romantic Tea Light Holder Centerpiece, you’ll need:
- Clear glass jars or votives
- Mod Podge or a suitable craft adhesive
- Red and pink tissue paper
- Scissors
- Paintbrushes
- Tea lights
Steps:
1. Cut your tissue paper into heart shapes of various sizes.
2. Apply a thin layer of Mod Podge to the outside of your glass jar.
3. Place the heart cut-outs onto the glass, layering them at different angles for a dynamic look.
4. Seal the hearts with another layer of Mod Podge.
5. Allow the jar to dry completely, which may take a couple of hours.
6. Once dry, place a tea light inside the jar.
Variations to consider:
- Intertwine thin wire or twine around the top of the jars for a rustic feel.
- Mix in white or gold tissue paper for a more sophisticated look.
- Use colored glass jars for a tinted glow effect.
- For a scented centerpiece, opt for aromatic tea lights like vanilla or rose.
Whimsical Stacked Teacups Centerpiece
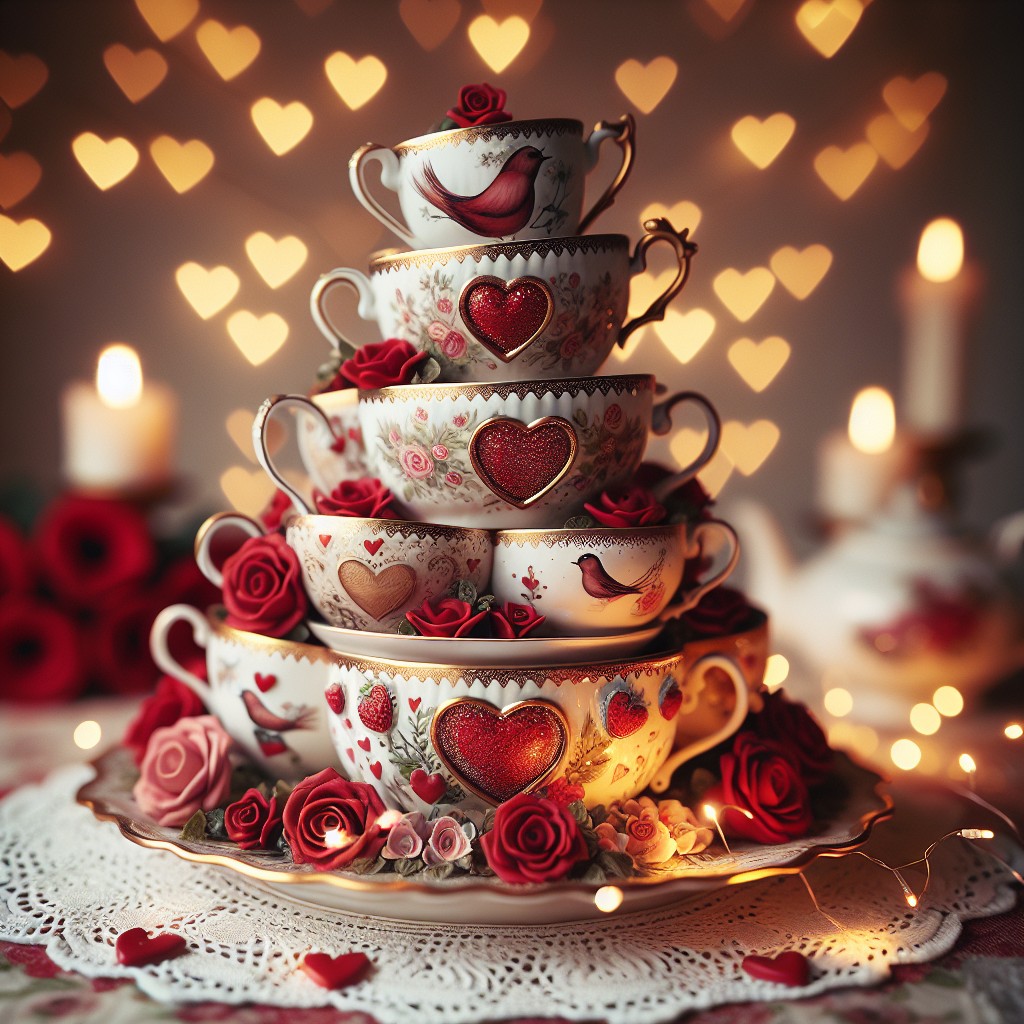
Begin with a selection of vintage teacups, which you can often find at thrift stores for budget-friendly prices. Choose a variety of patterns and sizes to contribute to the playful charm of the centerpiece.
Next, use a strong adhesive suitable for ceramics to stack the teacups. Apply the glue to the bottom of a cup and press it firmly onto the saucer or another cup. Alternate the direction of the handles for a more dynamic look. Allow ample dry time as directed by the adhesive manufacturer to ensure the cups are securely bonded.
Once your teacups are stacked and dry, fill them with lightweight items that won’t topple your creation. Silk flowers, paper hearts, or colorful wrapped candies are excellent choices.
For added whimsy, drape a string of small pearls or a thin ribbon down the stack. This simple touch brings a sense of movement and elegance, enhancing the playful yet romantic nature of your centerpiece.
Heart-Shaped Succulent Pot Centerpiece
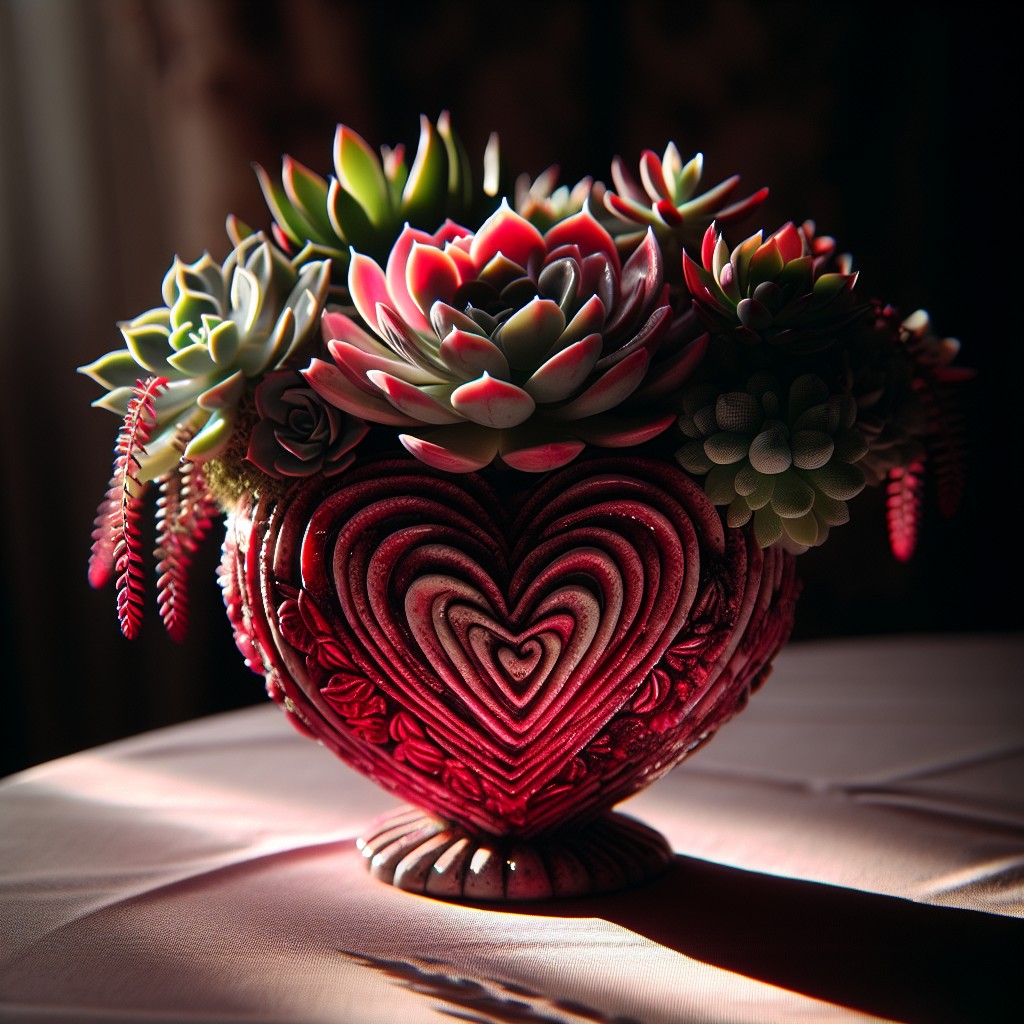
Succulents, with their variety and resilience, are ideal for a long-lasting centerpiece. Select a heart-shaped container or fashion one from wire and mesh as a start.
Fill it with succulent potting mix and choose a range of small-scale succulents and cacti for contrast in texture and color. Plant the succulents densely to create an impression of abundance.
This living centerpiece not only adds a touch of greenery to your Valentine’s table but also can be a delightful gift for your guests to take home.
For an added romantic effect, nestle some small red or pink decorative stones among the plants, and voila – you’ve married natural beauty with Valentine’s Day charm.
Remember, the key is in the simplicity and love you put into creating it.
Red and White Love Letters Centerpiece

Create a charmingly romantic tableau with a nod to classic Valentine’s Day hues and epistolary romance. Begin with gathering various sizes of wooden blocks or boxes, which will serve as the “love letters.” Paint them in alternating shades of red and white, adding a distressed finish if desired for a vintage look.
Once they’re dry, use stencils or freehand to embellish with romantic phrases, your initials, or significant dates.
For an additional layer of detail, wrap a few blocks with twine and slip in faux flowers or sprigs of greenery. Position these love letter blocks at varying heights to add depth to your centerpiece.
Intersperse with tea lights in small glass holders to cast a warm, inviting glow. The result is a personalized, stylized centerpiece that not only evokes the warmth of handwritten love letters but also serves as a visually striking homage to affection and nostalgia.
Heart-Motif Lacy Candle Lantern
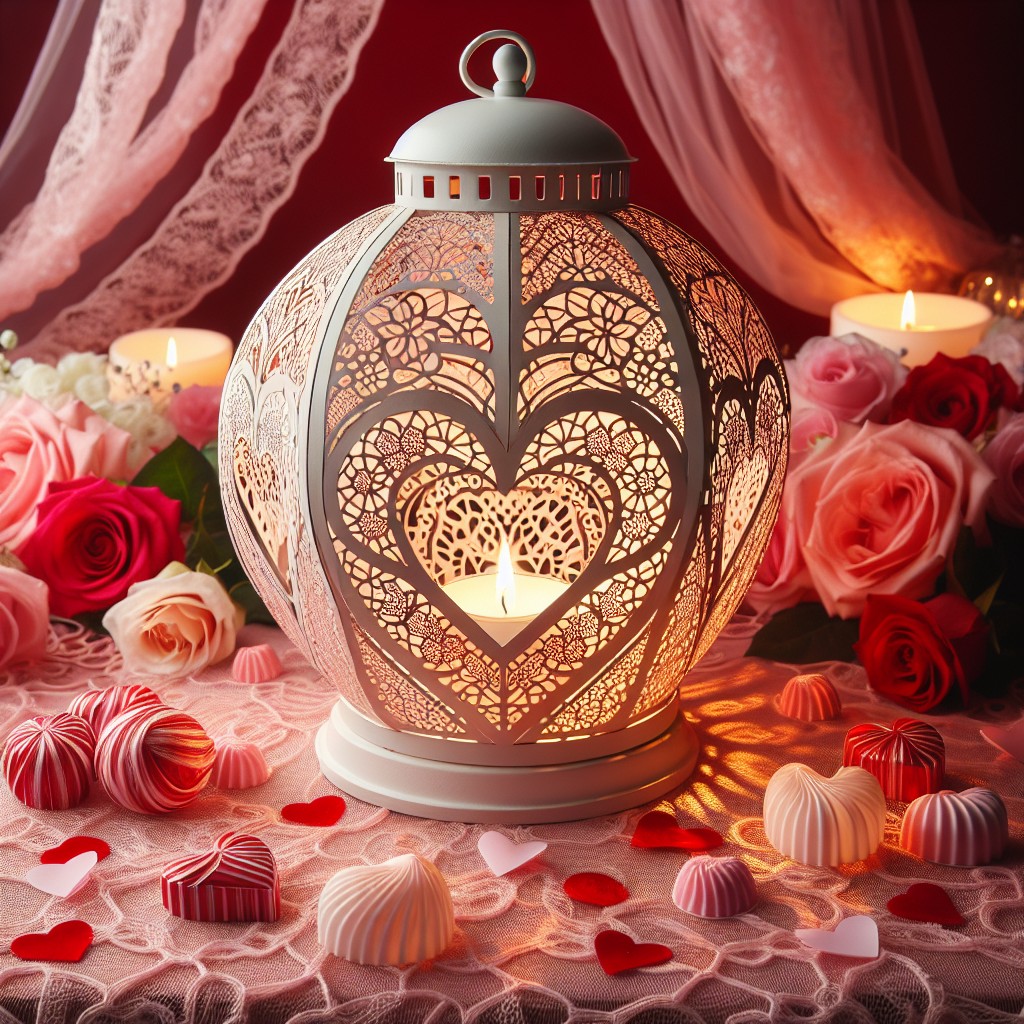
Transform a simple glass jar into an enchanting luminary with lace and a heart motif, perfect for setting a romantic mood.
- Select a clean, clear glass jar of any size that suits your table.
- Wrap the jar with a piece of lace or open-weave fabric featuring hearts; secure with a discreet dab of hot glue.
- Trim any excess fabric from the top and bottom for a neat finish.
- Place a battery-operated tea light inside to illuminate the intricate patterns.
- For extra charm, tie a red or pink satin ribbon around the neck of the jar.
This centerpiece casts a delicate glow that dances through the lacy design, creating an atmosphere of warmth and love.
Love Struck Arrow-In-Heart Centerpiece
Craft a bold statement with items you likely have around the house. Gather a foam heart, a wooden dowel, feathers, paint, and a glue gun.
Coat the foam heart in a vibrant hue – think classic reds or pinks for a traditional Valentine’s palette. While it dries, wrap your dowel in ribbon or paint it gold for an opulent touch.
Attach feathers to one end of your ‘arrow’ and either a pointed tip or small heart to the other. Once dry, diagonally insert the arrow through the heart, allowing it to protrude from both sides.
This whimsical centerpiece channels the immediate visual impact of Cupid’s arrow hitting its mark, symbolizing love’s swift strike.
To enhance stability, consider anchoring the heart to a base, like a decorated wood slice or a small box wrapped in coordinating paper.
Add this show-stopping piece to your table to spark conversations and a playful, love-filled atmosphere.
Valentine’s Day Twine Woven Baskets
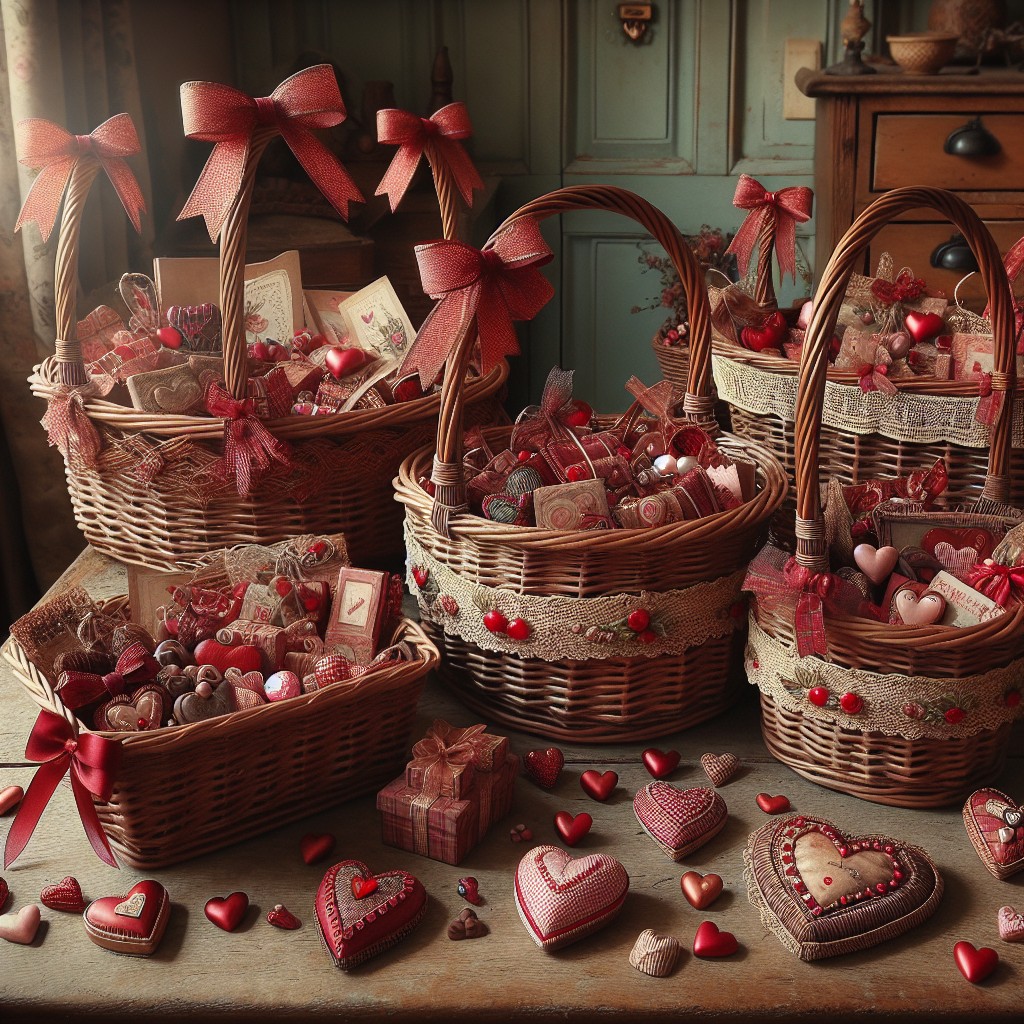
Create these charming twine baskets to add a rustic touch to your Valentine’s Day decor. With a simple process of weaving twine around a balloon base, you can bring an organic and cozy feel to your centerpiece arrangement.
Here are key points to guide you through creating your twine baskets:
- Inflate small balloons to your desired basket size. The rounder the better for a more basket-like shape.
- Coat the balloons with crafting glue or mod podge.
- Carefully wrap twine around the glued balloons, crisscrossing to form a basket weave.
- Once dry, pop the balloons to reveal a perfectly hollow twine basket.
- Paint or spray the twine baskets with a sealant to hold their shape and add durability.
- Fill the baskets with a layer of floral foam if anchoring floral arrangements.
- Nestle small treats, fresh flowers, or scented potpourri inside for a sweet surprise.
- For added Valentine’s flair, weave in some colorful ribbon or attach decorative hearts to the exterior.
This handcrafted element not only underscores a love for DIY but introduces texture and dimension to your Valentine’s decor.
Inspired Heart Shaped Mirror Centerpiece

Create a reflective statement piece that combines charm with simplicity using an inexpensive mirror and some creativity. Begin with a basic heart-shaped mirror, which you can find at dollar stores or craft shops. Embellish the perimeter with faux pearls or glass beads—adhesive strips optimize both time and convenience for this step. Opt for a monochromatic scheme with white and cream, or add pops of red and pink to align with traditional Valentine’s color palettes.
Consider placing the mirror flat on the table, allowing it to double as a tray. This offers a base for additional decorative elements like votive candles, a scattering of rose petals, or a variety of small vases with single blooms. To cater to different heights, add stackable elements below such as books with romantic titles or covers, ensuring they’re covered in coordinating paper or fabric for a cohesive look. If vertical drama is desired, prop the mirror up against a central support or wall, and drape delicate fairy lights or a fine garland around it to create an intimate ambiance.
Always secure the mirror well if choosing to elevate or angle it. Use double-sided tape or temporary adhesive hooks for stability. This centerpiece isn’t just visually appealing but also boosts the perceived spatial dimension of your table setting, making it perfect for cozy, intimate Valentine’s dinners.
DIY Heart String Art Table Display

Kickstart this project by selecting a piece of wood as your base; a wooden slab or an old chopping board works well. Sand it down if necessary to create a smooth surface. Paint or stain your base in a color that complements your Valentine’s décor scheme—perhaps a soft white to make the string colors pop.
Next, print a heart template to fit the size of your board. Secure it in the center and begin to hammer small nails along the heart’s outline, spacing them about a half-inch apart. Maintain even spacing for a cohesive look.
Once your nail outline is complete, remove the paper template. Choose string or yarn in colors that match your Valentine’s palette—reds, pinks, or purples are perfect for the occasion.
Tie the end of your chosen string to a starting nail. Weave and wrap the string from nail to nail, crisscrossing across the heart, until you’ve filled the inside with a dense web of string. The pattern doesn’t need to follow any order; the random crossing of strings adds to the visual interest.
Finish by tying off the string and trimming any excess. Your heart string art is now ready to be displayed! It adds a unique handmade touch to your Valentine’s Day table and can serve as a conversation starter among guests.
Miniature Valentine’s Gift Box Display
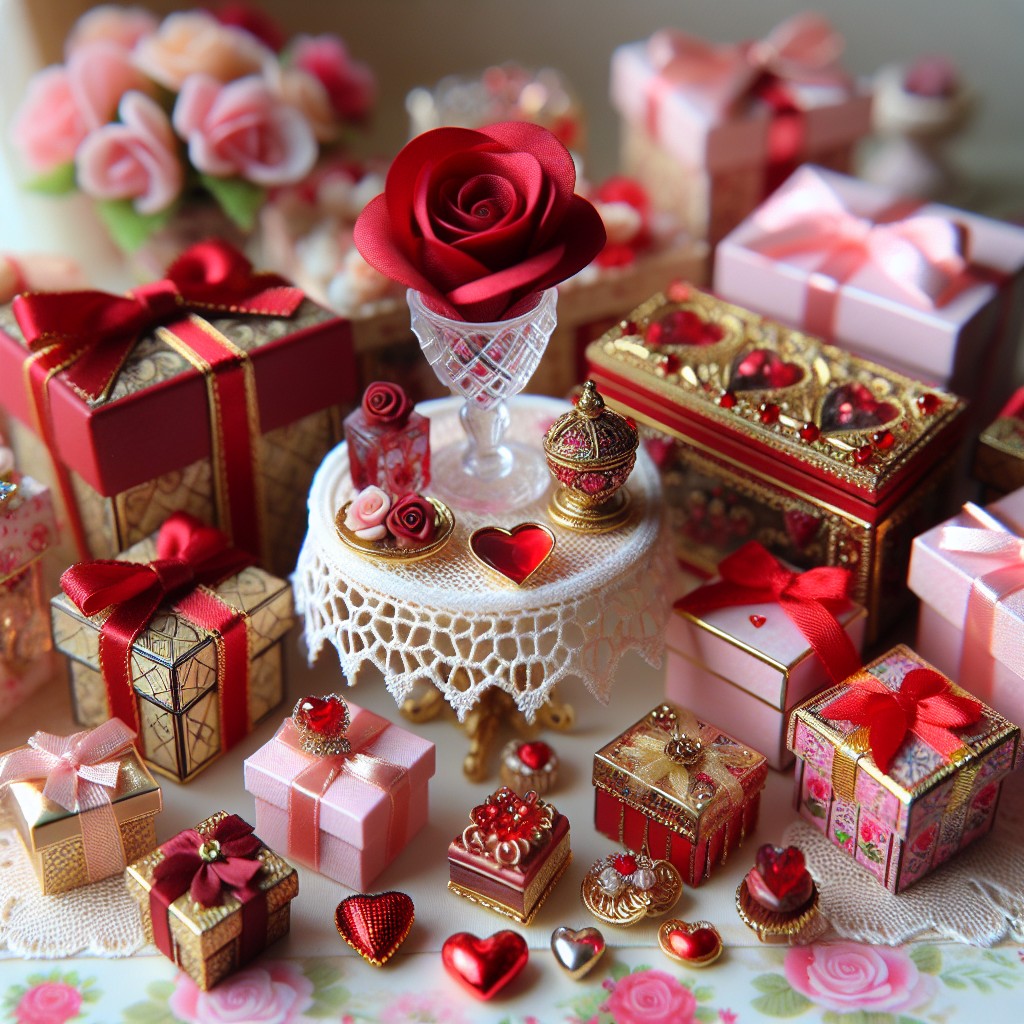
Transform small gift boxes into an endearing centerpiece by wrapping them in Valentine-themed paper or fabric. Stack them artfully or arrange them symmetrically around a central item, such as a candle or a floral arrangement. Vary the heights for visual interest by using boxes of different sizes or placing them atop inverted bowls or books. Add finishing touches with ribbon, lace, or twine, and consider hiding sweet notes or tiny treats inside each box for guests to find. This display not only serves as festive decor but also as a conversation starter and interactive element for your Valentine’s Day table setting.
Handmade Yarn Heart Centerpiece

Transform simple yarn and wire into a charmingly rustic centerpiece. Begin by shaping a piece of sturdy wire into a heart. This will serve as the foundation. The size is adjustable; make it as large or as small as desired to suit your table’s dimensions.
Once the heart shape is formed, select yarn in Valentine-themed colors—think reds, pinks, and whites. Begin wrapping the yarn tightly around the wire, covering the entire frame. The wrapping doesn’t have to be perfect. Some overlapping and texture add a homemade touch. To secure the yarn, tie small knots at both ends of the heart.
Embellish the yarn heart with additional decorations if you wish. Consider adding small faux flowers, glitter, or ribbons to enhance its visual interest. Finally, place the completed yarn heart upright in a low vase, or lay it flat at the center of your table. Surround it with votive candles or a string of fairy lights for a warm, festive glow.
Valentine’s Day Themed Terrarium
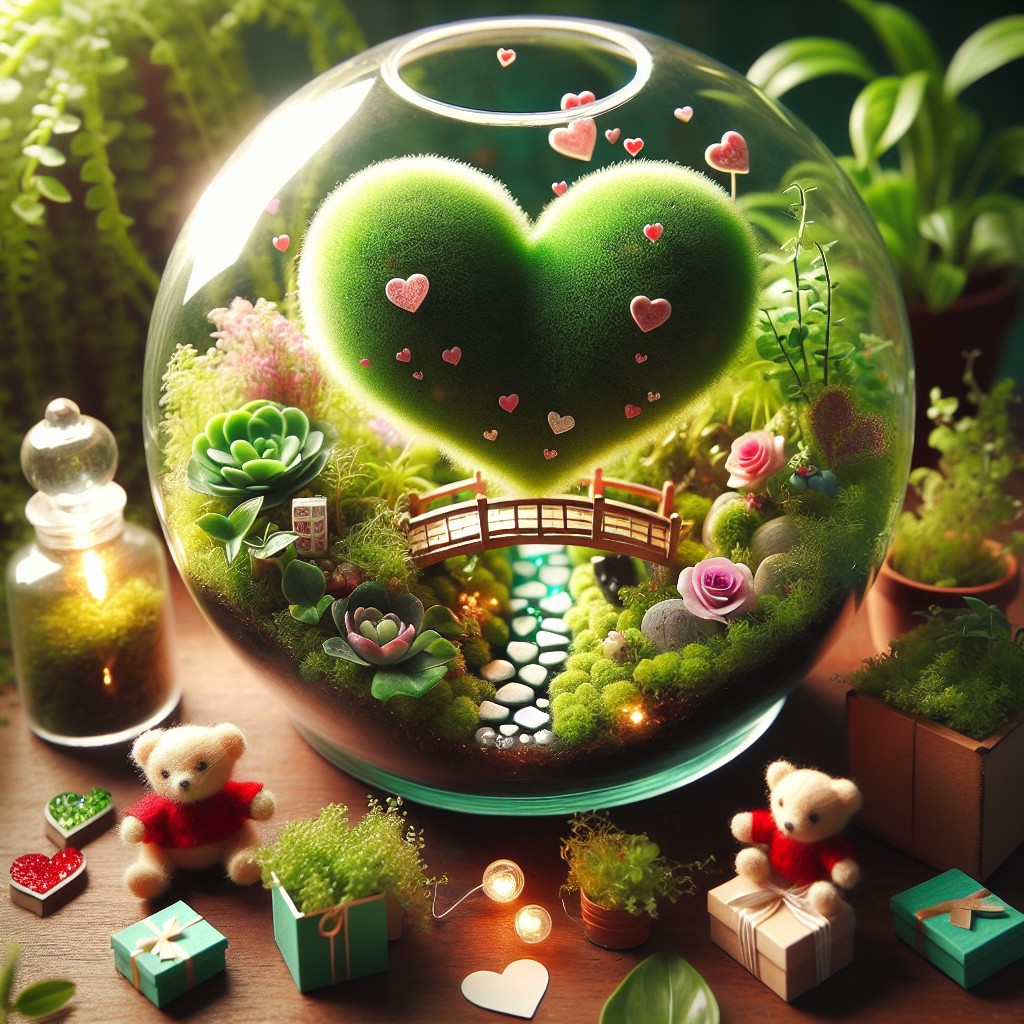
Creating a Valentine’s Day themed terrarium adds an enchanting and natural element to your centerpiece. Select a clear glass container, preferably one with a wide opening to easily arrange your materials. Fill the bottom with a layer of pebbles or decorative stones for drainage, topping it with a thin layer of activated charcoal to keep water fresh and then add potting soil.
Choose small, hearty plants like succulents or moss that will thrive in the terrarium environment. Arrange these plants, leaving spaces to nestle in Valentine’s accents. Consider miniature red or pink flowers, heart-shaped decorations, or figurines that complement the love theme.
For a personalized touch, you can create tiny flags attached to toothpicks with sweet messages or quotes and place them throughout the terrarium. To finish, a handful of pink or red sand sprinkled on the soil can highlight the color scheme, and a few strategically placed stones with words like “Love” or initials carved into them give a bespoke feel.
The key is not to overcrowd the terrarium; simplicity often speaks volumes. This living centerpiece can last well beyond the holiday, serving as a lasting reminder of love and care.
Fairy Lights in Glass Jars Centerpieces
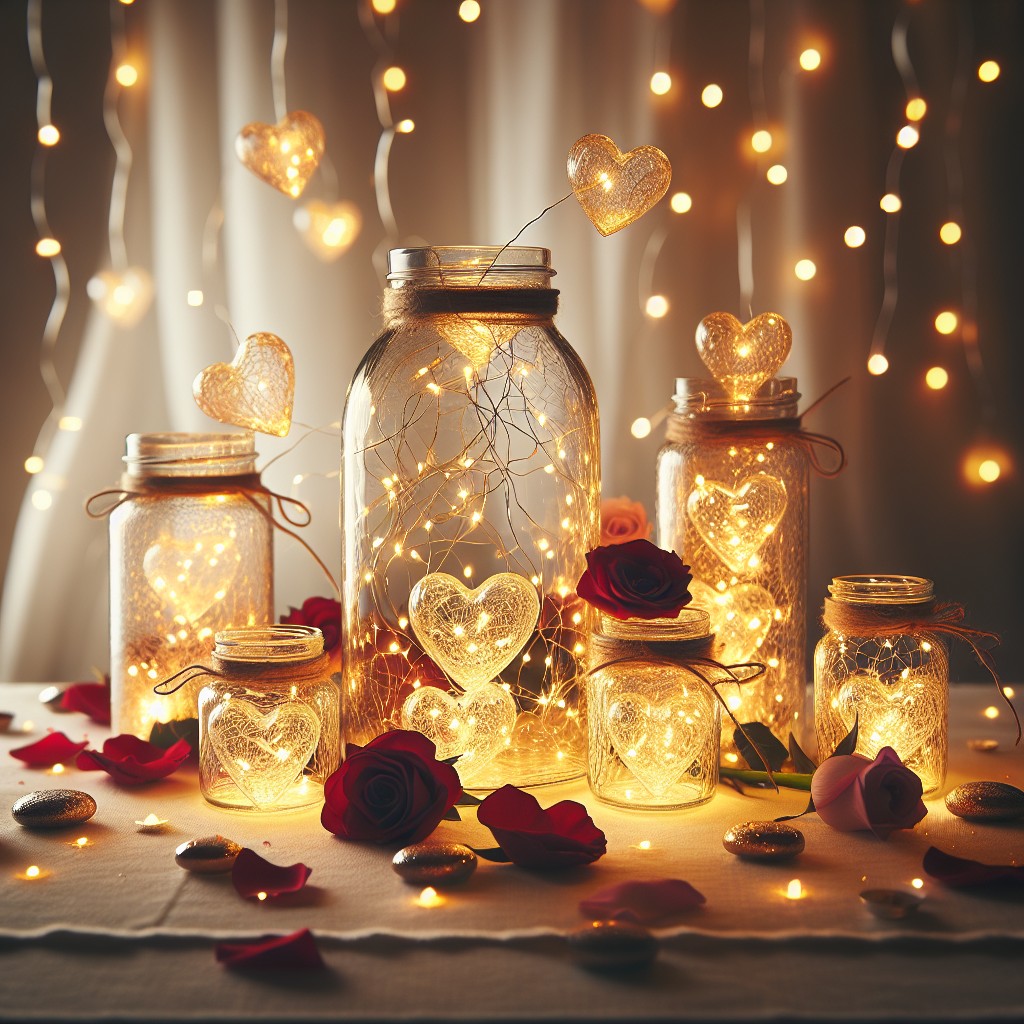
Transform everyday glass jars into an enchanting spectacle with the soft glow of fairy lights, ideal for setting a romantic Valentine’s Day ambiance.
Follow these simple steps to create your magical centerpiece:
- Begin by selecting jars of various sizes for a diversified look or keep them uniform for a streamlined design.
- Fill the bottom with a thin layer of natural or colored sand to anchor the lights and add a textural element.
- Carefully arrange LED fairy lights inside, allowing some to spill over the rim for a whimsical effect.
- Intertwine thin wire or sprigs of greenery around the mouth of the jar to enhance its fairy tale feel.
- Customize the jars by wrapping them with lace, burlap, or ribbon in Valentine’s-themed hues for an extra touch of charm.
- Place the jars strategically around your centerpiece area, varying the height or clustering them together to serve as a radiant focal point.
By leveraging everyday materials and a sprinkle of creativity, you can create a cost-effective yet breathtaking centerpiece that illuminates your table with the magic of the season.
Paper Crafted Love Birds in Nest Display
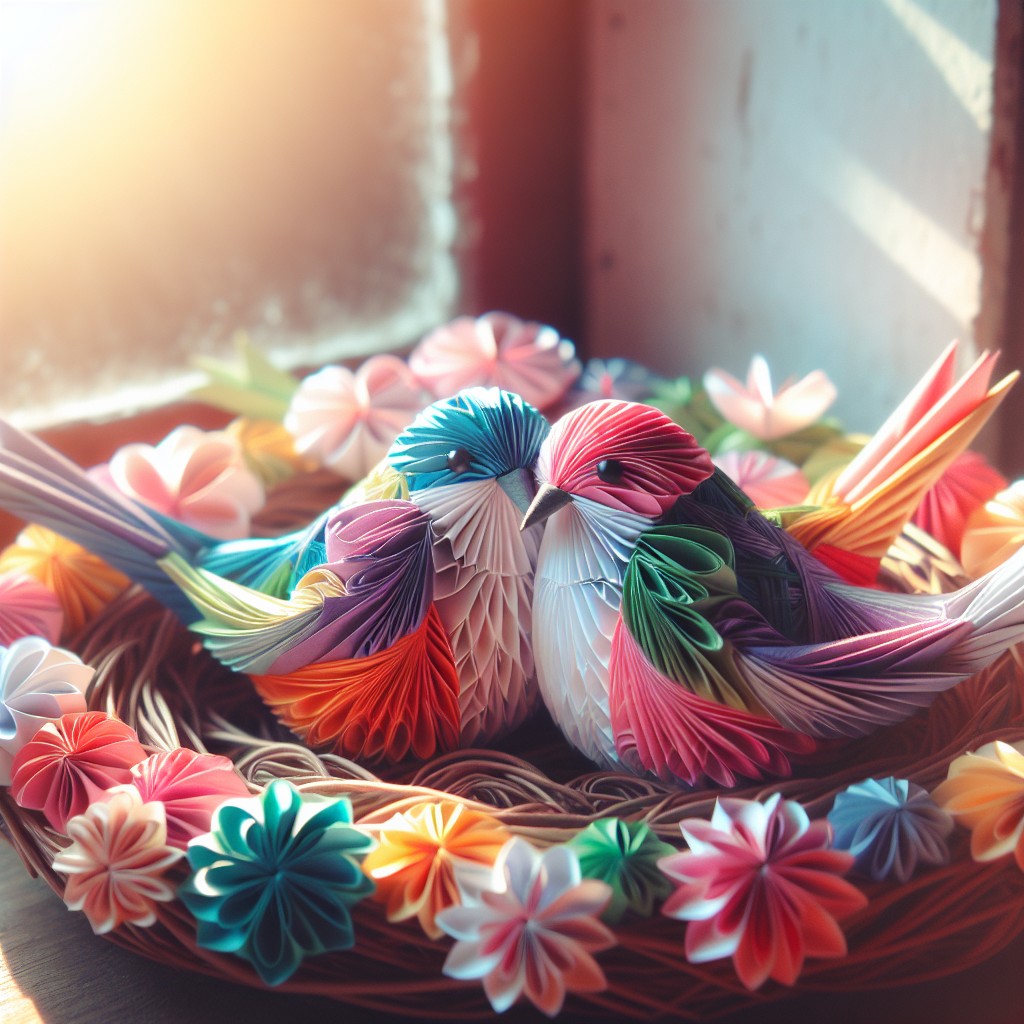
Create this charming display with just a few materials you likely have at home.
- Trace and cut out love bird shapes from cardstock, choosing colors that complement your Valentine’s theme.
- Fold a piece of paper to form a three-dimensional bird’s nest shape and secure it with glue.
- Position your love birds on or near the nest. Consider adding a small heart cut-out between them to symbolize their affection.
- Embellish the arrangement with faux grass or shredded paper to add texture to the nest.
- Use this centerpiece to anchor a romantic tablescape or as a standalone romantic vignette on a mantel or shelf.
This craft brings an element of nature indoors and symbolizes the warmth and comfort of love, perfect for celebrating Valentine’s Day.
Sequin Filled Champagne Flutes Centerpiece

Transform ordinary champagne flutes into sparkling displays with this easy project. Begin by selecting sequins in shades of red, pink, gold, or silver to complement the Valentine’s theme.
Consider various sizes for an added textural effect. Fill each flute halfway to avoid overcrowding and enable the sequins to catch the light beautifully.
To add height and dimension to your table, invert additional flutes and place pillar candles on top, crafting an elegant multi-level arrangement. Ensure the flutes are stable and the candles are safely secured.
This centerpiece not only dazzles but also serves as a conversation starter, reflecting the romantic atmosphere of Valentine’s Day.
Ideas Elsewhere
- https://www.thepioneerwoman.com/home-lifestyle/crafts-diy/g35155196/valentines-day-decorations/
- https://ahundredaffections.com/valentines-day-table-decor-centerpieces/
- https://www.wineandsprinkles.com/blog/2016/2/1/easy-valentines-centerpieces
- https://www.countryliving.com/diy-crafts/g2971/valentines-day-decorations/
- https://thediymommy.com/7-simple-valentines-day-decor-ideas-for-a-cozy-home/
More Like This
 22 Mini Zen Gardens to Conquer Your Inner Chaos
 22 Mini Cactus Garden Ideas That Prickle with Delight
 20 Fairy Houses With Natural Materials That Will Make You Believe In Magic
 20 Cheap Walkway Ideas DIY Benefits
 15 Ingenious DIY Pantry Cabinet Ideas
Recap