Last updated on
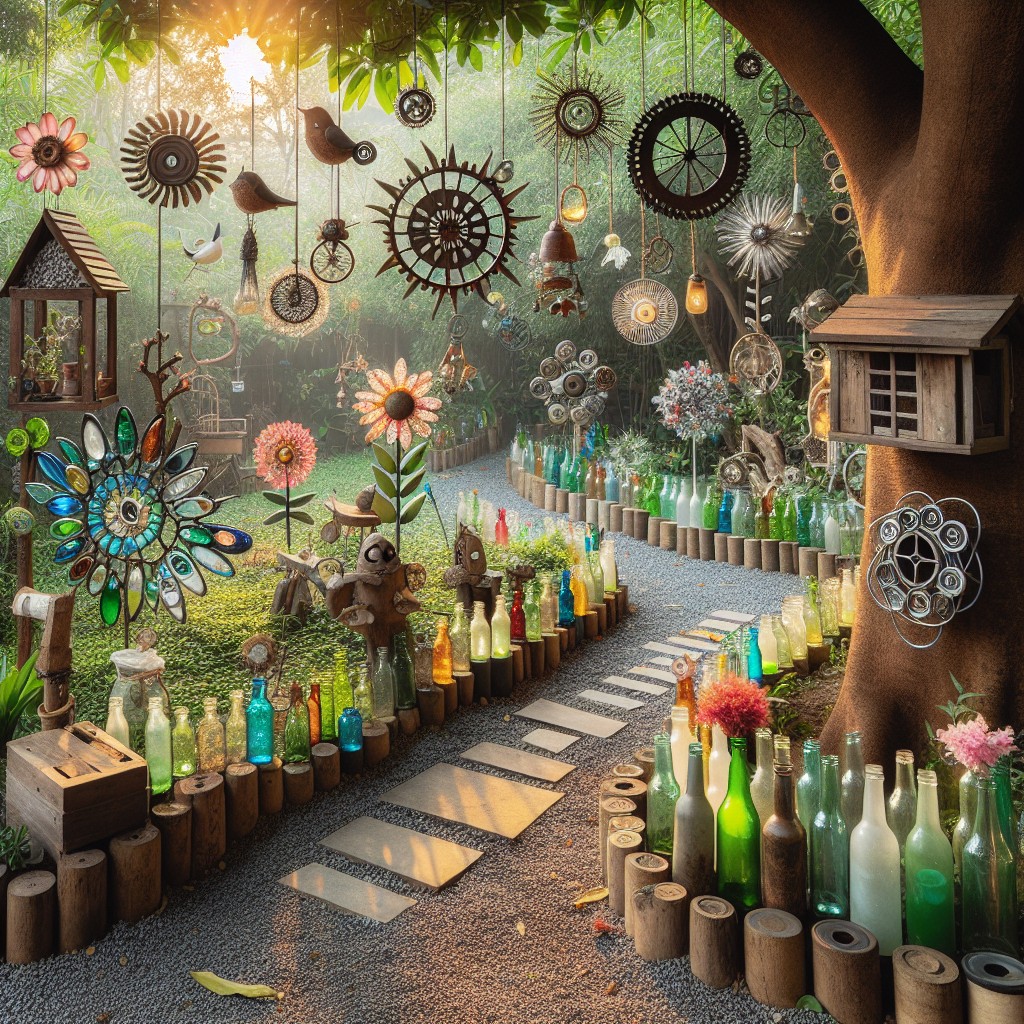
Unlock your garden’s potential for whimsical beauty because these DIY garden art projects can transform your outdoors into a vibrant living gallery.
Creating captivating garden art doesn’t have to cut deep into your wallet. In fact, with some creativity and readily available materials, you can transform your yard into an artistic outdoor oasis.
This article is crafted to guide you through several DIY garden art projects. If you fancy decorative birdhouses, dazzling garden globes, or rustically charming garden signs—this slice of content is spot-on.
We cover various cost-effective, eco-friendly projects, each detailed with step-by-step instructions and necessary materials. But that’s not all! We also offer tips on how to enhance the longevity of these pieces and keep them looking fresh all year round.
Delve in and let’s brighten up that garden!
Key takeaways:
- Use painted rocks, wooden spoons, and recycled materials for DIY garden markers.
- Repurpose terra cotta pots for whimsical garden sculptures and bird feeders.
- Transform everyday items into unique planters for added character.
- Get creative with concrete, pebbles, and beads to make garden art.
- Incorporate Japanese-inspired elements like bamboo and kokedama for a peaceful retreat.
DIY Garden Markers
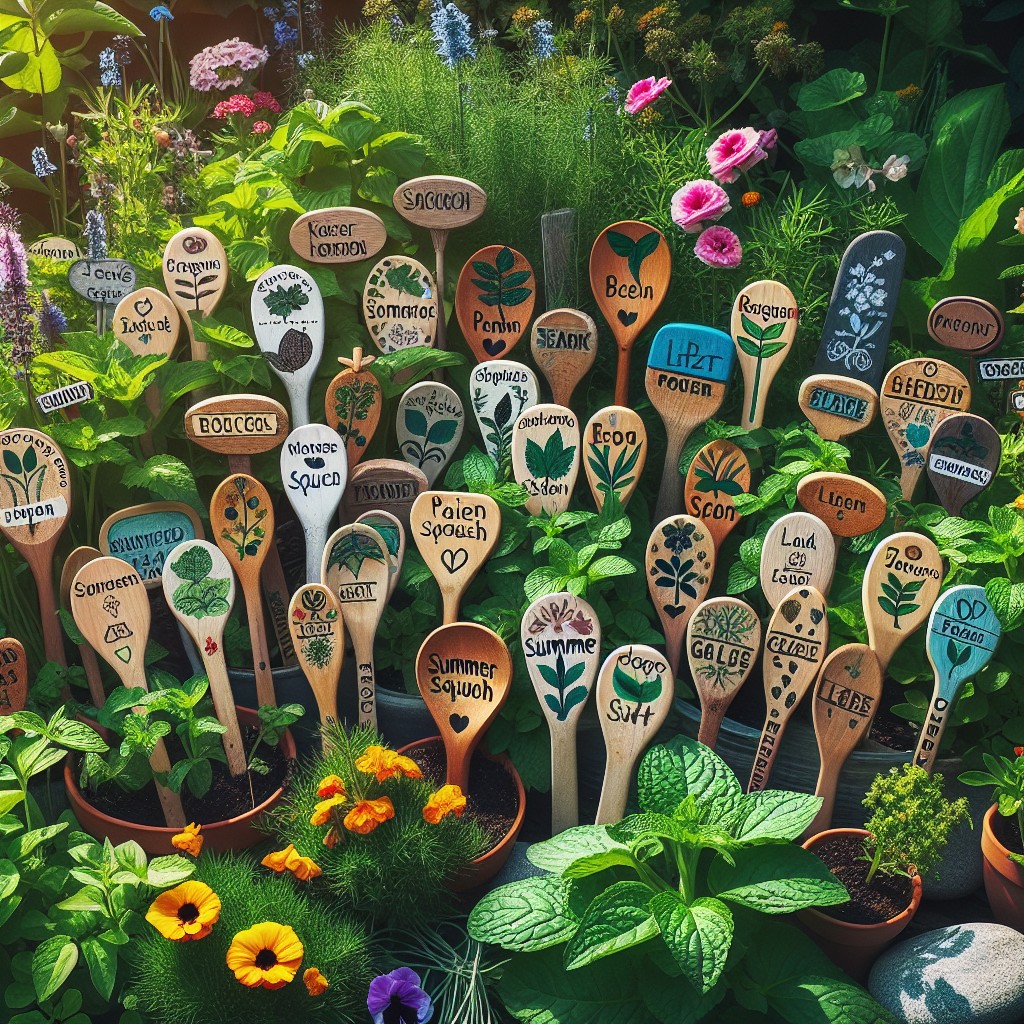
Garden markers offer a practical and aesthetic addition to any garden. They help identify plants while also adding charm.
Here are some creative ideas for making your own:
- Painted Rocks: Select smooth stones and use acrylic paint or paint pens to write the names of herbs and vegetables on them. Sealing them with a clear coat will ensure they withstand weather.
- Wooden Spoons: Repurpose old wooden spoons by painting the handles and writing the plant names on the spoon part. They can be stuck in the ground next to corresponding plants.
- Cork and Skewer: Attach wine corks to the tops of skewers or dowels. Write the plant names on the corks with a permanent marker for an easy and sustainable option.
- Clay Tags: Shape air-dry clay into small tags, imprinting the names with stamps or improvised materials like toothpicks. Once dry, attach wire or string to hang these from plant stakes.
- Recycled Can Lids: Using metal can lids, flatten them out and inscribe plant names with an awl or nail. Attach to stakes for a rustic look.
- Brick Book: Paint a brick to resemble a book spine, with the plant name as the ‘title’. These can be set at the end of rows or next to plants as sturdy markers.
Always consider the longevity of materials and inks used outdoors to ensure your garden markers last throughout the growing season.
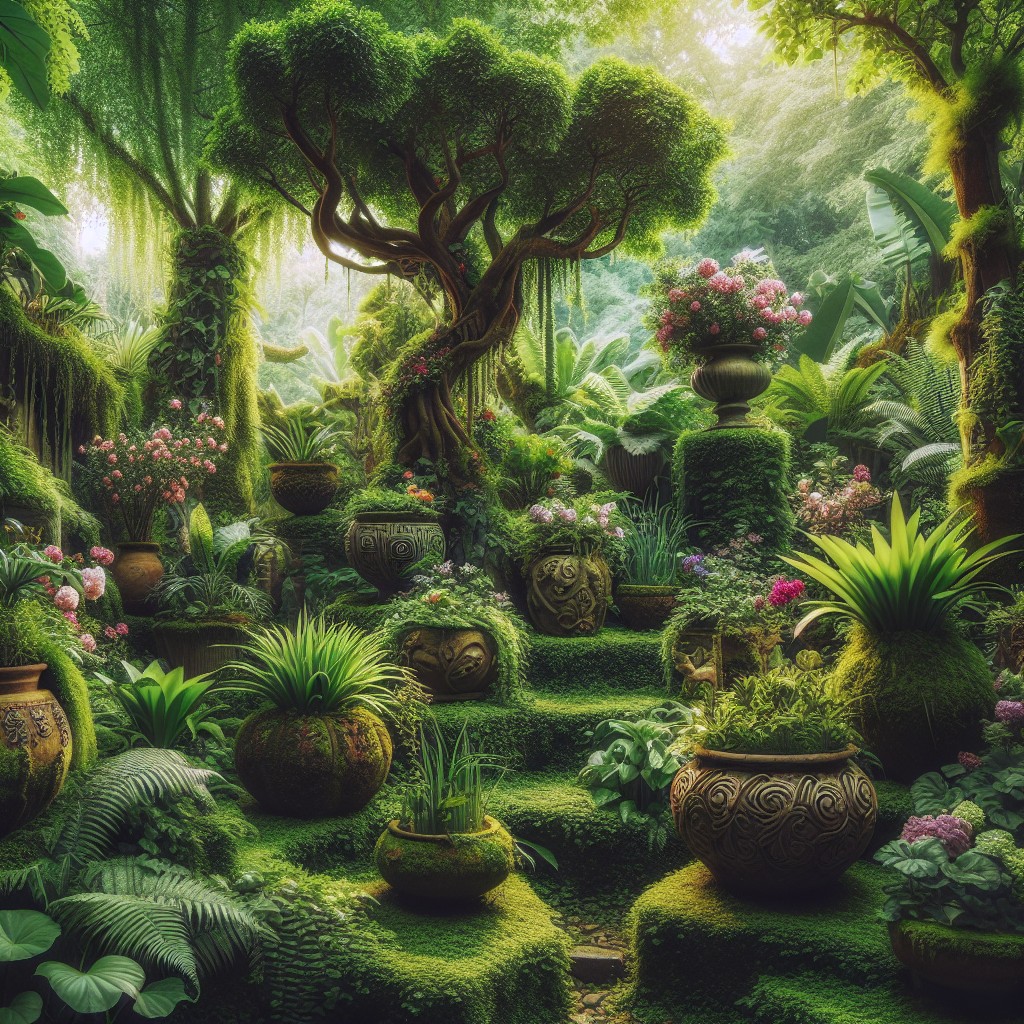
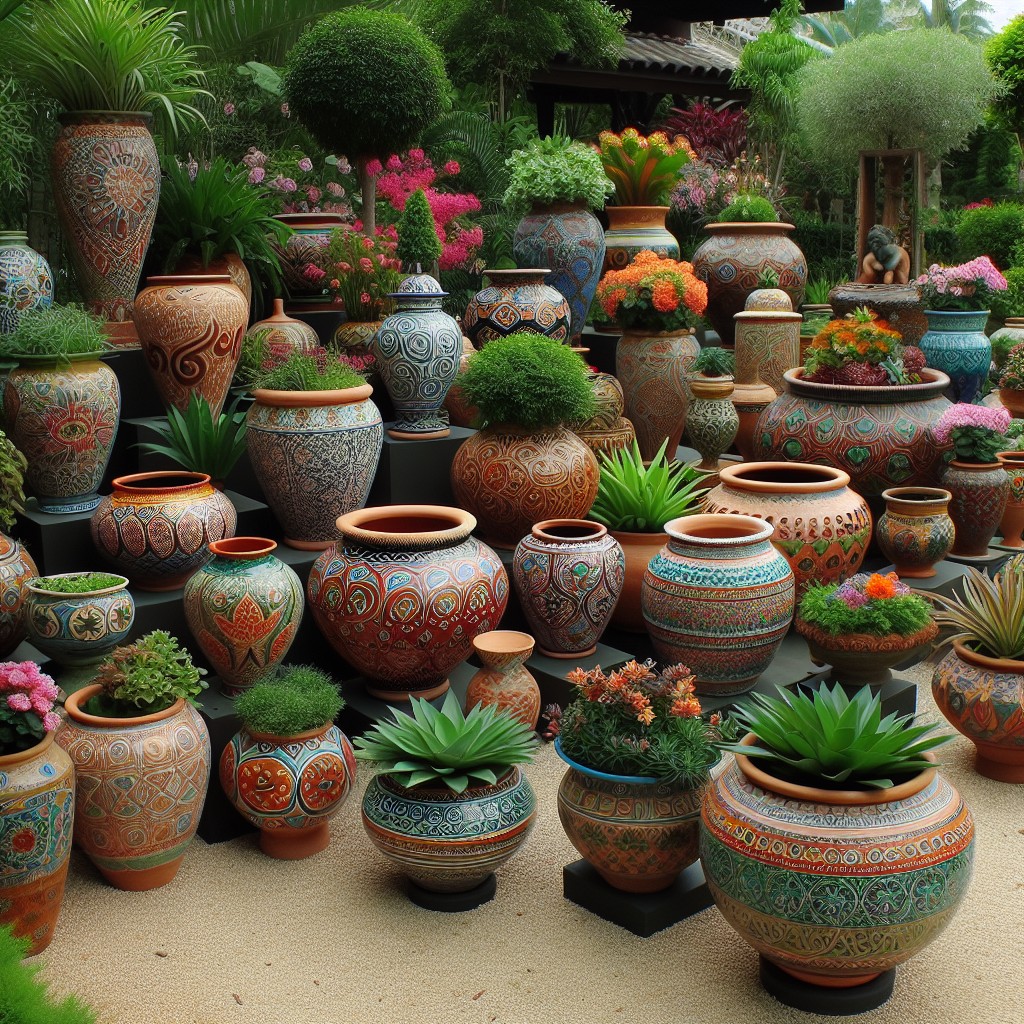
Terra Cotta Garden Art
Transform old terra cotta pots into whimsical garden sculptures with a touch of paint and creativity. Stack pots in varying sizes to craft totem-like structures or glue them together for a unique garden feature.
Unleash your inner artist by painting detailed designs, patterns, or even garden scenes directly on the pots. For a functional twist, invert terra cotta saucers to use as bird feeders or birdbaths.
Drill holes and add rope or wire to hang your creations, inviting an aerial dimension to your garden art. By repurposing these clay staples, you not only highlight their earthy charm but also promote sustainability through upcycling.
DIY Planters
Transform everyday items into unique containers for your plants, adding character and vibrancy to your garden space. Here are some pointers to guide you:
- Look for materials like old boots, wheelbarrows, or even kitchen colanders. Their unexpected shapes lend a whimsical touch.
- Ensure proper drainage by drilling holes if necessary, preventing root rot and extending the life of your plants.
- Personalize with paint or accessories to match your garden theme, turning the planter into a reflection of your creativity.
- Consider stacking pots for a tiered effect, creating a vertical display that saves space and adds dimension.
- Use environmentally friendly materials like biodegradable pots or reclaimed wood, marrying sustainability with style.
- Mix and match plants of varying heights and textures for a visually striking arrangement that provides depth.
Concrete, Pebble & Bead Garden Art
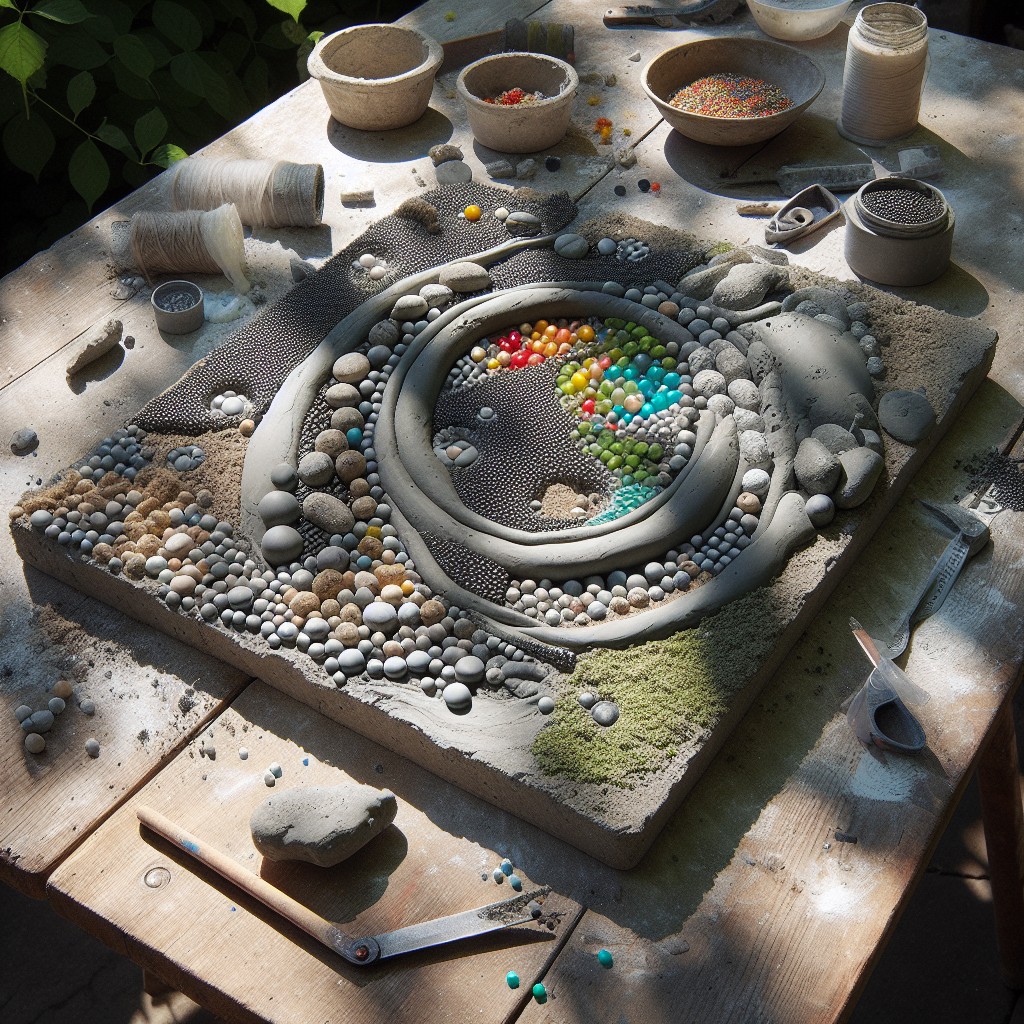
Transform ordinary concrete, pebbles, and beads into imaginative garden art with these project ideas:
1. Step Stones with Character: Pour concrete into molds – think cake pans or pizza boxes – then press colored pebbles or glass beads into it to create unique stepping stones.
2. Beaded Garden Orbs: Cover old bowling balls or lamp globes with waterproof adhesive, then meticulously place glass beads for a dazzling sphere.
3. Pebble Mosaic: Lay a pattern of pebbles into a fresh concrete walkway or as standalone art pieces, adding a touch of whimsy underfoot.
4. Concrete Leaf Impressions: Use large leaves like rhubarb or hosta as molds for concrete, creating textured, organic-shaped garden accents.
5. Beaded Wind Chimes: String beads onto thin wire or fishing line to craft delicate wind chimes that produce a mesmerizing symphony.
Remember, when combining materials, ensure durability by using outdoor-safe adhesives and sealants to protect against the elements.
Japanese Inspiration in Garden Art
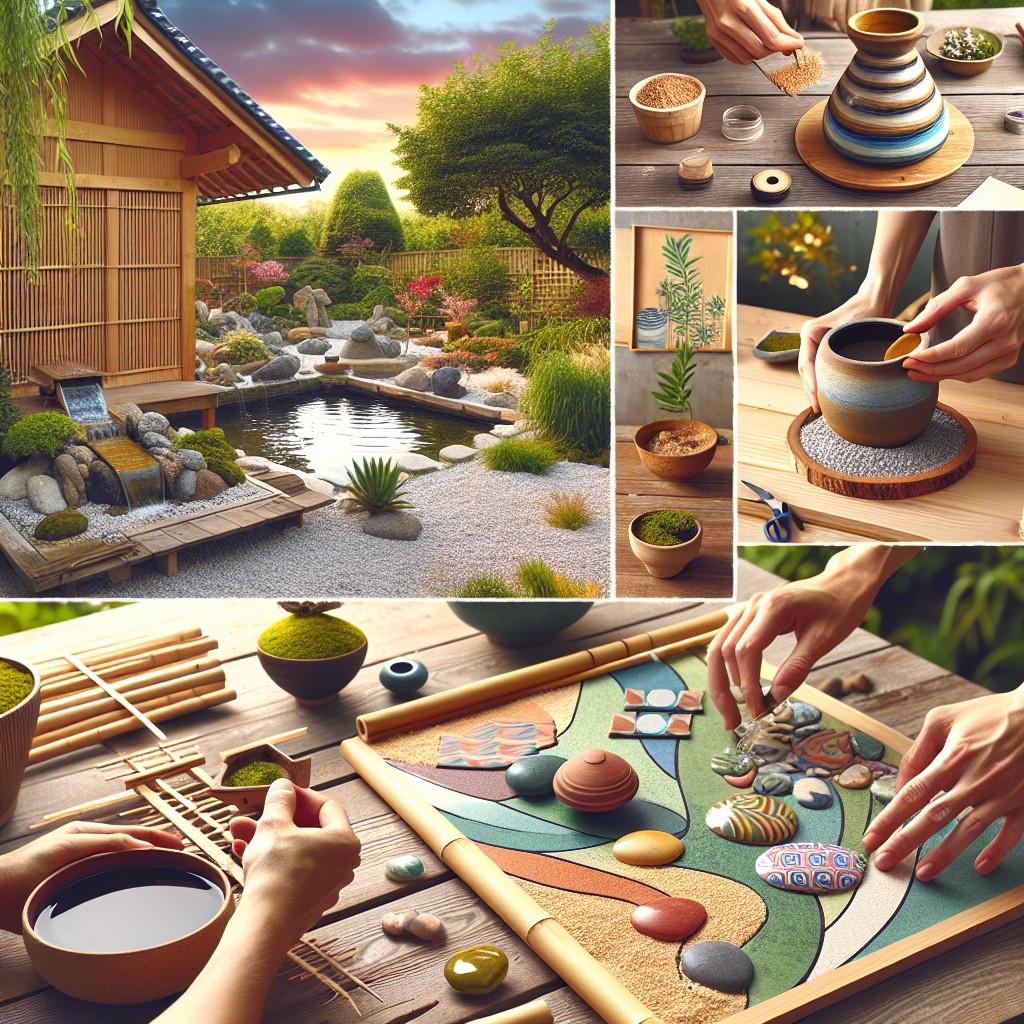
Draw from the serene elegance of Japanese gardens to create your own zen-like retreat. Incorporate elements such as bamboo, which can be fashioned into water features or wind chimes, to infuse a sense of tranquility. Kokedama, the art of creating hanging moss ball planters, is another Japanese trend easily replicated with peat soil and moss. For a symbolic touch, use stones to represent islands, raking sand or gravel to mimic the flow of water, providing a peaceful, meditative aspect to your garden art.
Embrace the wabi-sabi philosophy by repurposing aged materials in your garden, celebrating the beauty of imperfection and the natural cycle of growth and decay. Consider a DIY Zen garden for a tabletop, using simple materials like a wooden tray, fine sand, and stones. This miniature landscape brings the ethos of Japanese art to your outdoor space and doubles as an interactive piece for relaxation and contemplation.
Decorating Sheds With Art
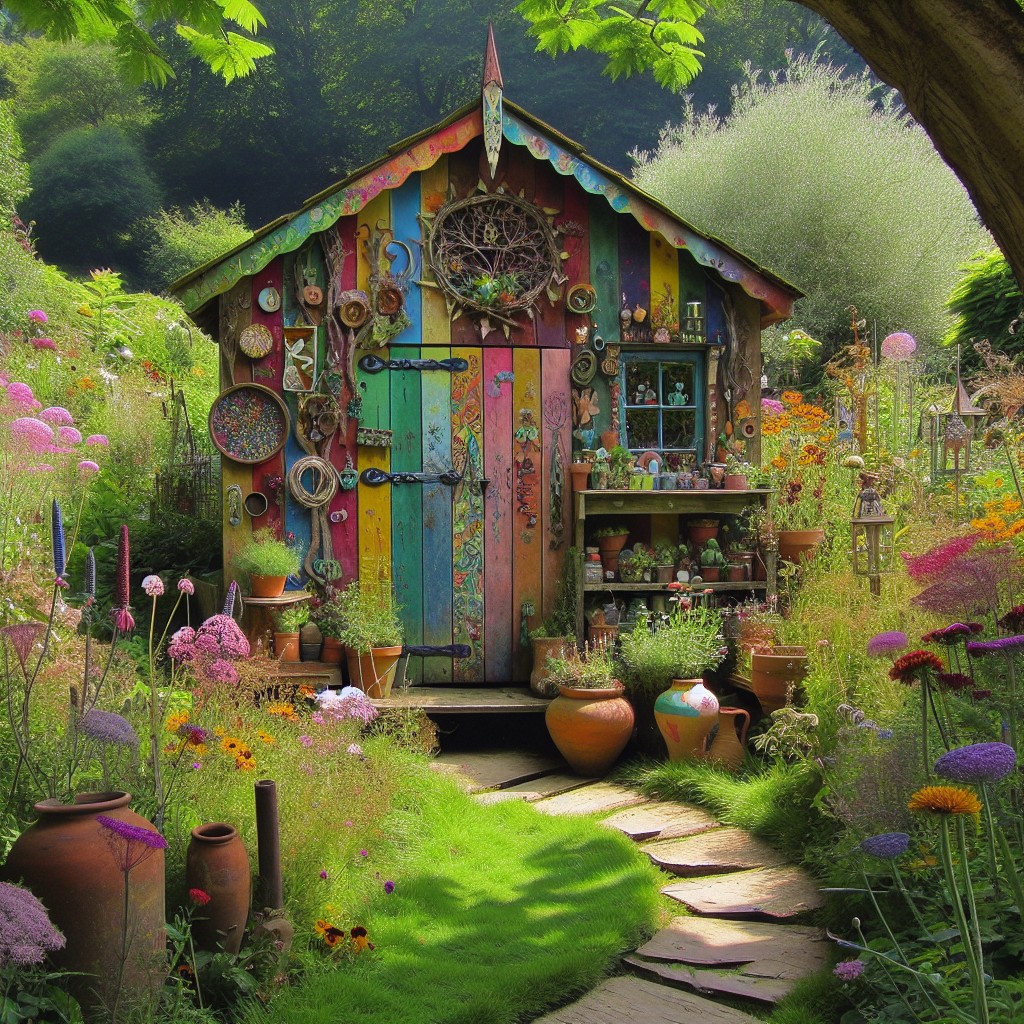
Transform your garden shed from a purely functional space into a charming focal point by adorning it with art. Freshen up the exterior with a coat of paint; soft greens, blues, or pastels blend seamlessly with the natural surroundings. Use stencils or freehand a mural, perhaps depicting a serene garden scene or whimsical creatures, to create a conversation piece.
Incorporate vintage window frames or mirrors to add depth and interest. Hanging old tools, such as rakes or watering cans, can serve as planters or simply as rustic decor. Repurpose wooden pallets into a lattice to support climbing plants, providing a living tapestry over time.
Inside, attach wire or string to create a display area for your garden-themed artwork or photographs of your favorite plants. Consider installing shelving to feature potted plants, gardening books, or found nature treasures, such as shells or rocks, which can become art pieces in their own right.
Remember, the shed is an extension of your garden; whatever creative touches you add should celebrate your personal style and love for the outdoors.
Salvage Style Garden Art
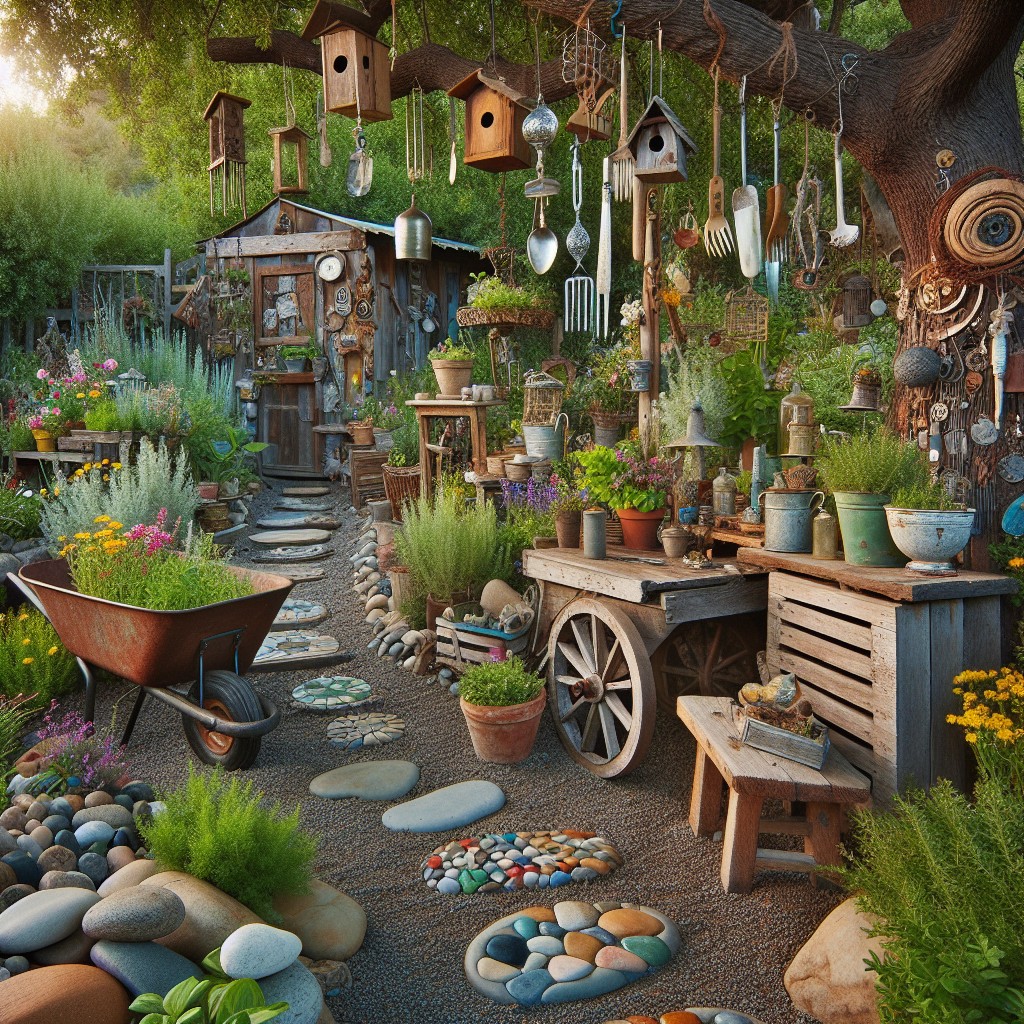
Harness the charm of vintage pieces by incorporating them into your garden as unique focal points. Scout for old farm equipment, metal wheels, or window frames at flea markets, thrift stores, or garage sales. Such items add a rustic appeal when nestled among plants or hung on a fence.
Transform a discarded bicycle into a whimsical planter by filling its basket with vibrant blooms. An old ladder can serve as an ivy trellis or a vertical garden to display a collection of pots. These creative uses not only save items from the landfill but also tell a story and give your garden a personalized touch.
Remember, surface rust on metal adds character but ensure the structural integrity is sound for safety. For wooden items, a coat of exterior paint or sealant will protect them from the elements. Experiment with placement, letting your garden evolve as a living gallery of past and present.
Creating Mosaic in Garden
Mosaics add a unique splash of color and personal flair to any garden. To start, choose a base for your mosaic, such as a stepping stone, tabletop, or pot. Select broken tiles, plates, or glass in various colors for your materials; these can often be found at thrift stores or salvage yards.
Arrange your pieces in a pleasing design, leaving space for grout.
For outdoor durability, use a waterproof adhesive to secure your shards onto the base. Once the adhesive sets, apply grout to fill the gaps. Wipe off excess with a damp sponge before it dries. Seal your masterpiece to protect it from the elements and enhance its longevity.
Finally, display your mosaic art in a spot that captures the sunlight, creating a dazzling reflection that animates your garden.
Garden Art From Old Chairs
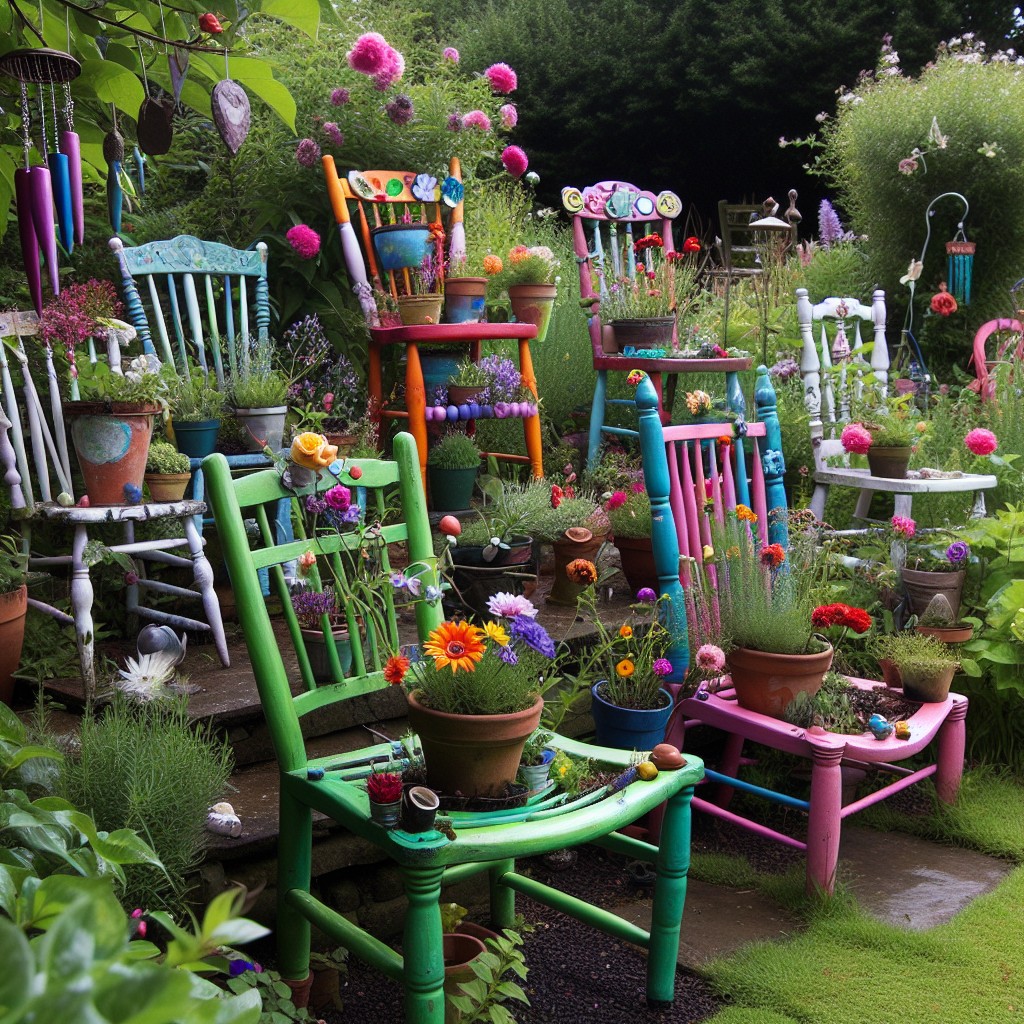
Transforming an old chair into a piece of garden art is a creative and sustainable way to add charm to your outdoor space. Start by selecting a solid, weather-resistant chair. If it’s wooden, consider a fresh coat of exterior paint or a weatherproof stain to protect it from the elements. For a metal chair, rust-resistant paint is key.
Remove the seat to create a frame for a new purpose – perhaps a planter or a bird bath base. Alternatively, you can weave a new seat from outdoor-friendly materials like burlap or macramé for a boho touch.
Incorporate climbing plants to use the chair as a trellis, allowing greenery to envelop it artistically. This method works particularly well with intricate chair backs, as they provide a natural lattice for vines.
To create a focal point, place the revamped chair in a garden nook or along a pathway. It can serve as both a decorative piece and a functional plant stand or rest area. Consider embellishing the chair with hanging pots or weaving fairy lights through the chair’s framework for added visual interest in the evenings.
Remember, the goal is to highlight the chair’s design while integrating it into its new garden setting seamlessly.
Garden-themed Art As Per Your Interests
Personalize your green space with art that reflects your hobbies and passions.
For music lovers: Create a wind chime using old CDs or vinyl records. Hang them from tree branches to catch the sunlight and produce melodies when the breeze comes through.
Avid readers: Stack weather-resistant books, real or faux, to craft a whimsical stand for potted plants or to serve as a unique garden sculpture.
Sports enthusiasts: Transform old balls or bats into flowerpots and garden markers.
Nautical aficionados: Design a mini sailboat pond feature or use ropes and anchors as garden decor elements.
Culinary artists: Grow a garnish garden complete with thematic markers shaped like cutlery or your favorite dishes.
Incorporating these elements allows you to celebrate and meld your interests within the natural beauty of your garden.
Decorative Garden Door
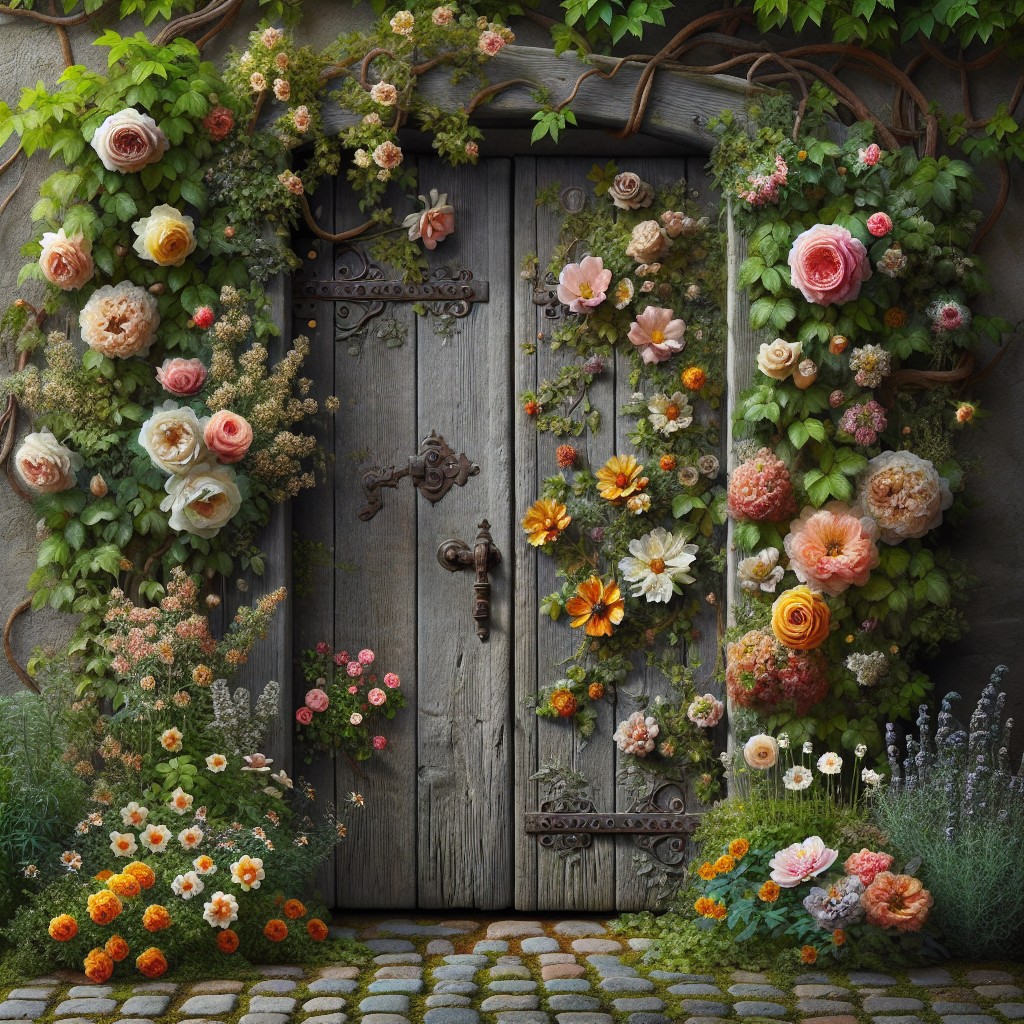
Transform an old door into an enchanting garden feature with a touch of paint and creativity. Consider these points to maximize its whimsical impact:
- Choose a door with character: Look for unique designs, vintage knobs, or textured glass panels for added charm.
- Play with color: Painting the door in a bright hue can create a focal point, while a pastel shade can blend seamlessly with the tranquility of your garden setting.
- Install it artfully: Position the door to appear as a portal to another section of the garden or lean it against a fence or wall for a touch of whimsy.
- Accessorize: Attach planters, wind chimes, or ironworks to the door for extra personality and detail.
- Surround with greenery: Flank the door with lush plants or climbing vines to give it a sense of belonging within the natural landscape.
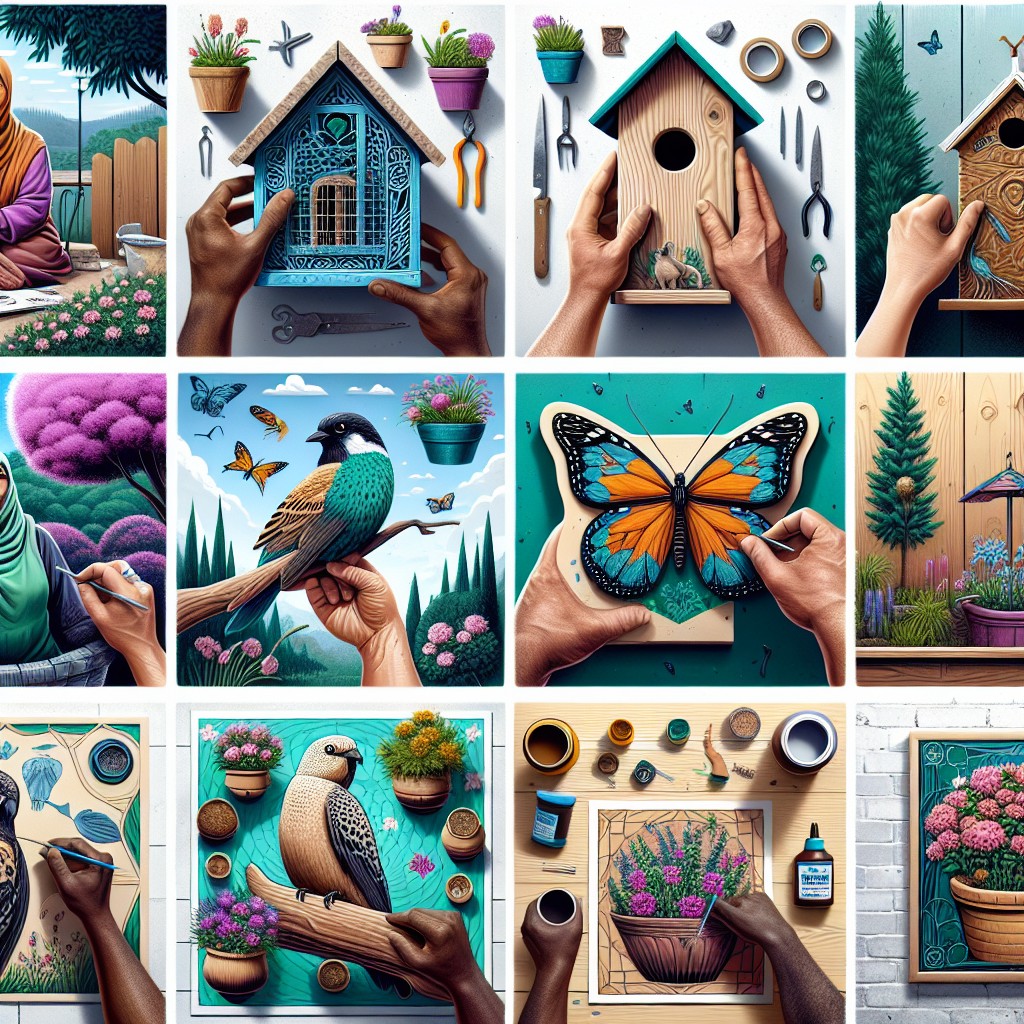
Garden Birdhouses As Decor
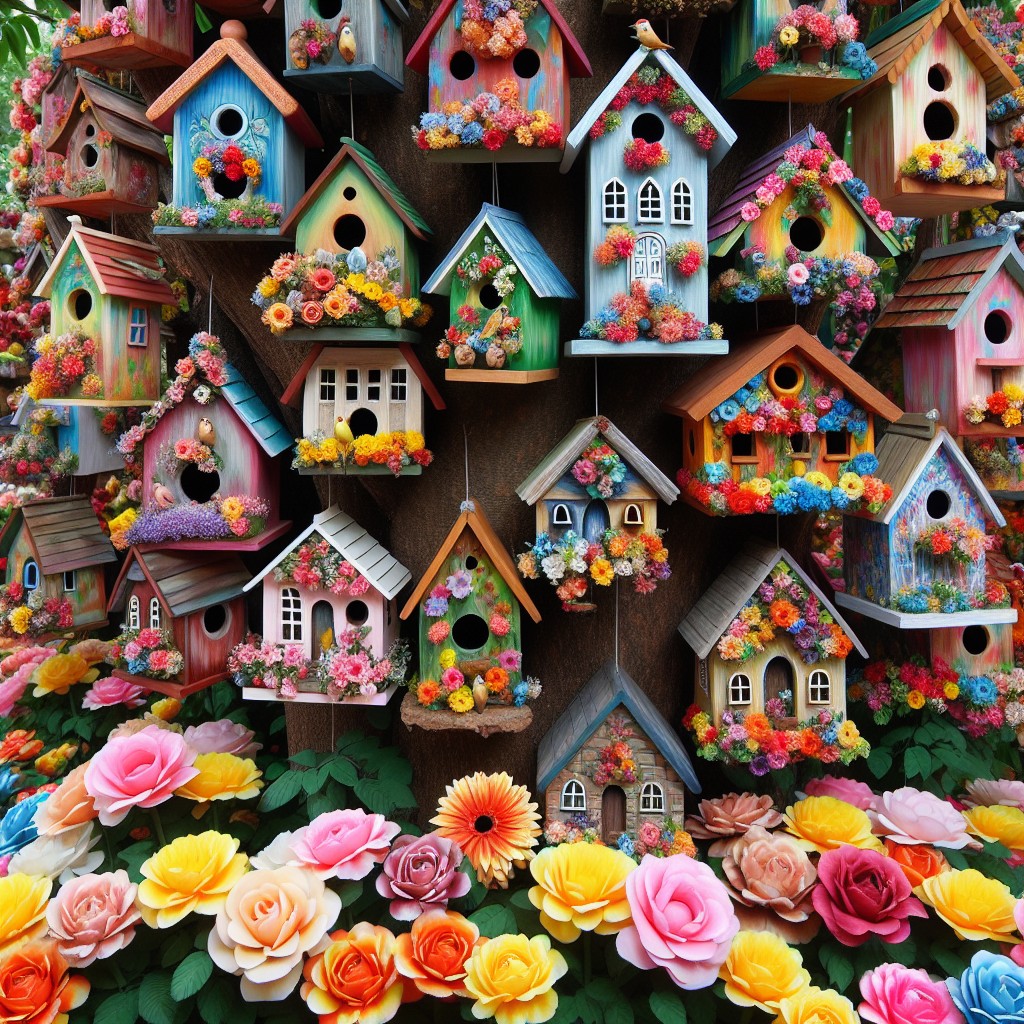
Transform a yard into a vibrant haven for feathered friends by incorporating birdhouses as charming focal points.
Choose natural materials like untreated wood or repurposed items for an eco-friendly approach.
Paint with weather-resistant colors to add a pop of visual interest while ensuring durability.
Integrate varying sizes and styles to cater to different bird species, and consider height positioning to provide safety from predators.
Not only do these structures offer shelter to birds, but they also invite the calming presence of wildlife into your garden, enhancing the overall aesthetic and creating a lively atmosphere.
DIY Birdbath Planter
Revamp an old birdbath into a flourishing planter with this simple project. Start by ensuring your birdbath is clean and stable. Create drainage by drilling holes if necessary; a few pebbles at the bottom can also aid water management.
Select plants suited for the depth and width of your birdbath; succulents can be a good choice due to their low water needs and varied textures. Arrange them in a visually appealing way, keeping taller plants in the center and cascading or spreading varieties towards the edges. Use potting mix to secure plants in place.
This dual-purpose piece will not only add intrigue to your garden but also benefit from the existing birds that visit. Remember to water regularly, and protect against extreme weather to maintain your living artwork.
Blending Art and Landscape
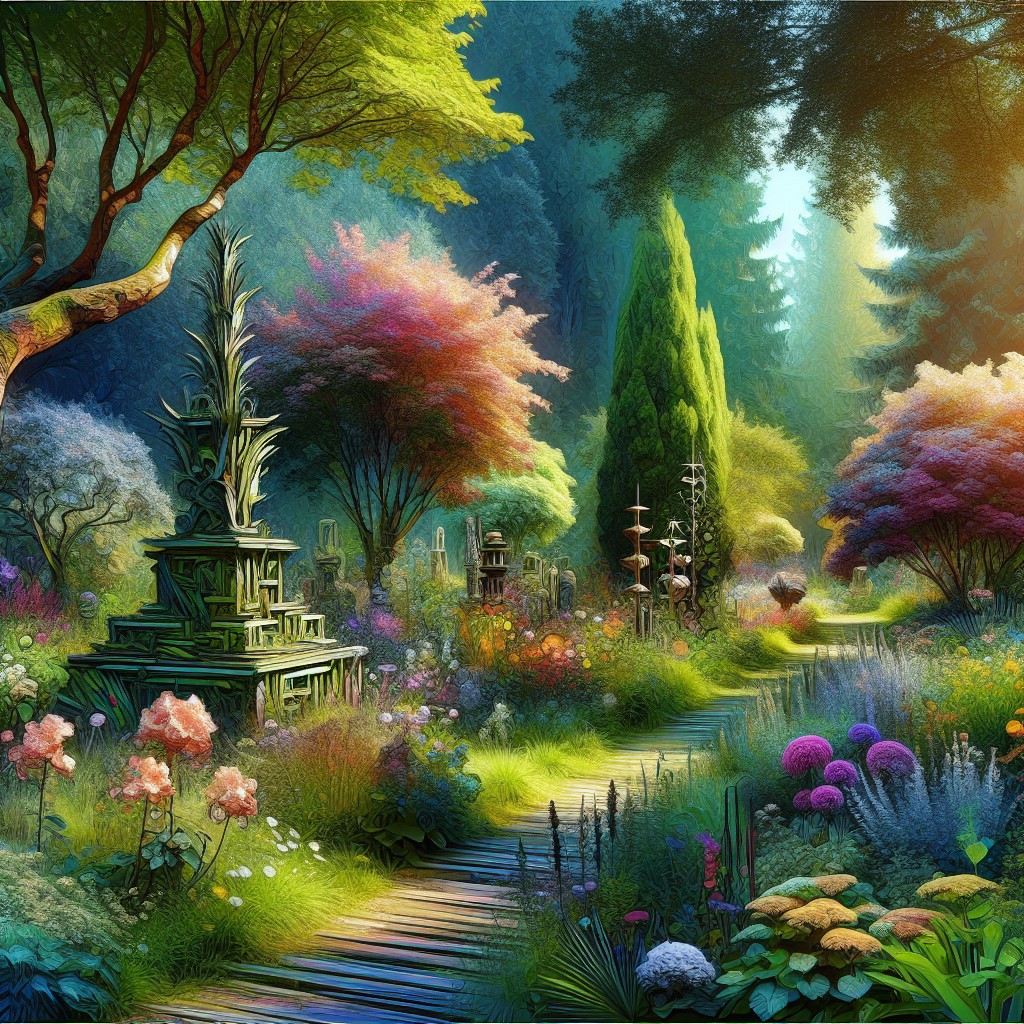
Incorporating art into your landscape goes beyond simple decoration; it’s about creating harmony between natural and man-made elements. Start by observing the color palette of your existing plants and blooms. Choose garden sculptures and art pieces that complement or contrast these hues effectively. For instance, a bright blue ceramic bird can stand out beautifully against the green backdrop of a garden.
Consider the style and theme of your surroundings. A serene Buddha statue could enhance a Zen garden space, while a whimsical windspinner might be perfect for an informal flower bed. The scale is crucial; ensure that your chosen art is proportional to the outdoor area. A small figurine may be lost in a vast garden, whereas a large installation could overwhelm a tiny courtyard.
Use materials that resonate with the environment. Recycled glass or metal sculptures can reflect the light and colors of the garden, while stone or wooden pieces may blend more organically. Finally, think about the interplay of light and shadow. Strategic placement of your art can leverage the changing daylight to cast intriguing shadows, adding a dynamic layer to the static display.
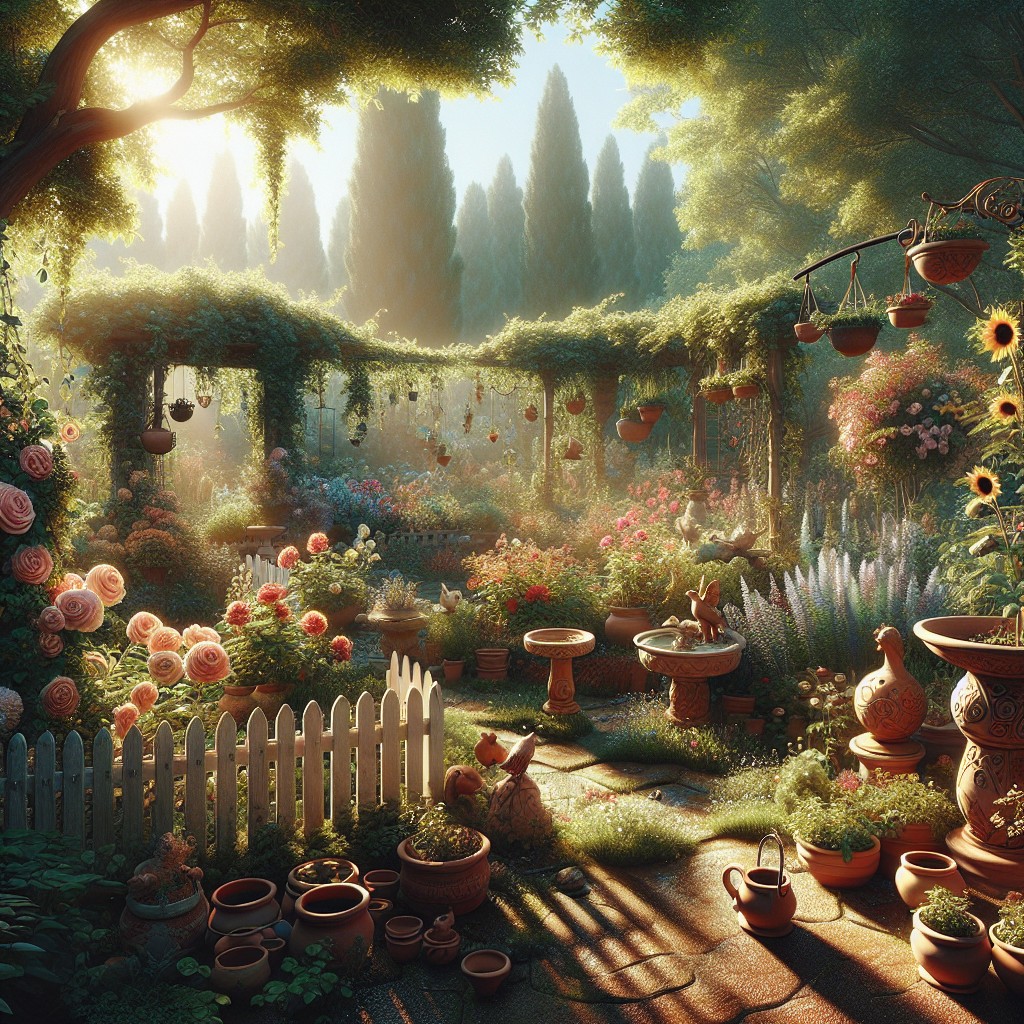
Sprucing Up Garden Pots & Planters
Refresh your outdoor space by giving old pots a new lease on life. Start by cleaning them thoroughly.
For a fresh look, apply a coat of weather-resistant paint—think bright pastels or earthy tones. Try stenciling designs or patterns for added character.
Consider wrapping pots with rope or fabric for texture. Alternatively, create a mosaic on the exterior using broken tile or glass pieces.
Integrating various sizes and pot styles can offer depth to your garden arrangement. Remember, even minor embellishments, like attaching small figurines or adding a lace trim, can transform a mundane container into a captivating focal point.
Garden Stones Art
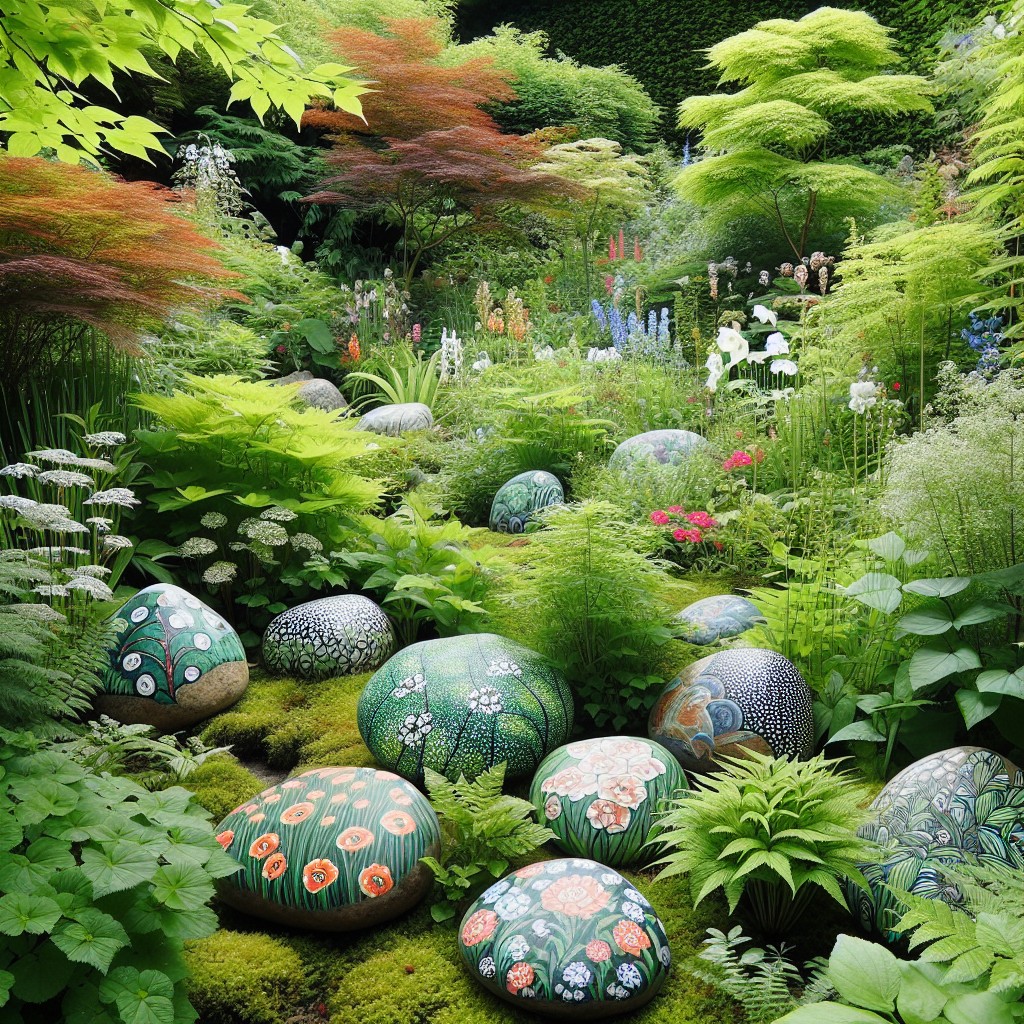
Transform ordinary rocks into eye-catching accents with a touch of paint. Begin by selecting smooth stones, ideally flat, for ease of painting.
Clean them thoroughly and let them dry. Choose acrylic or outdoor paints to ensure longevity. Opt for designs that complement your garden’s theme: ladybugs for a whimsical touch, geometric patterns for modern appeal, or colored stripes for a playful vibe.
Employ a sealer to protect your artwork from the elements. Position your creations along pathways, nestled in flowerbeds, or as centerpiece on patio tables. Remember, less is more – a few well-placed painted stones can have a significant visual impact.
DIY Garden Sign From Pallets
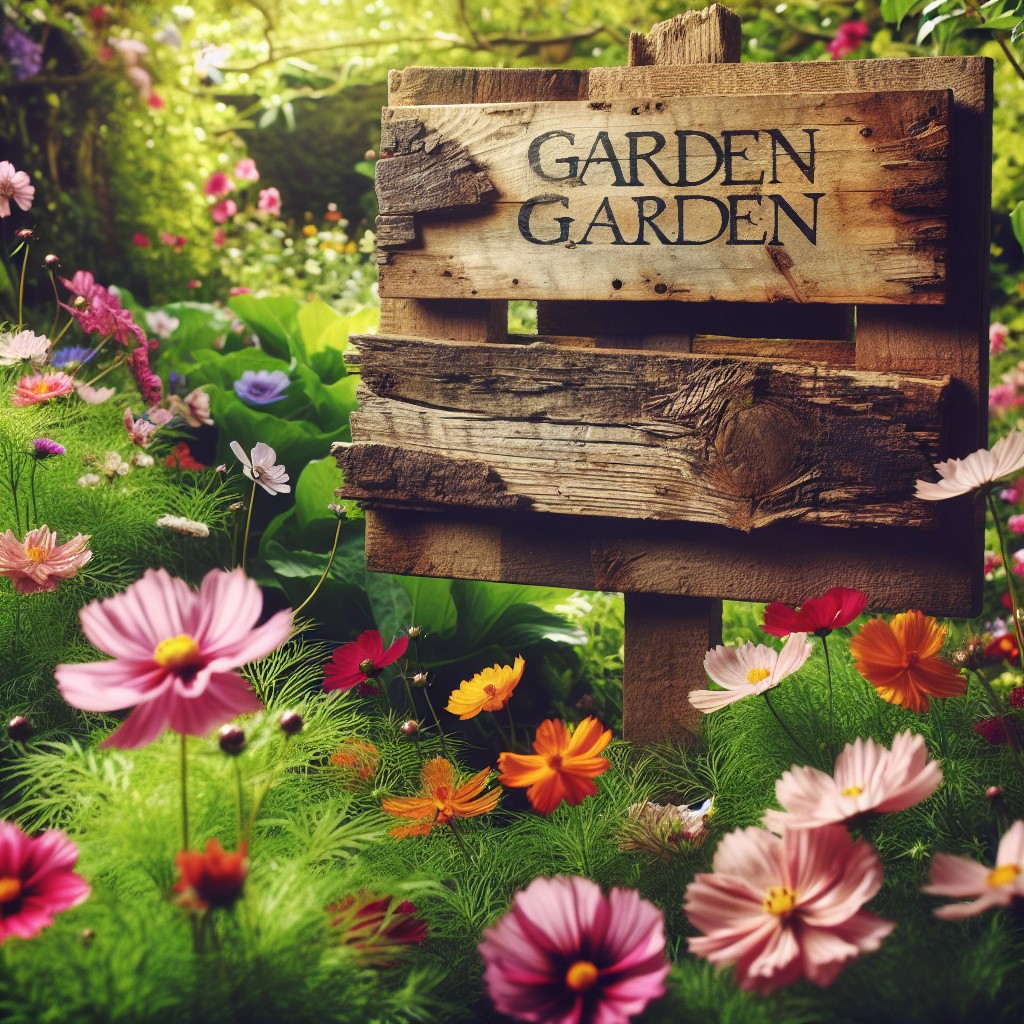
Transforming pallet wood into rustic garden signs is a budget-friendly and creative way to add personality to your outdoor space. To begin, dismantle the pallet and remove any nails. Choose straight pieces for ease of painting and assembly. Sand down the wood to prevent splinters and create a smooth surface for your artwork or text.
Select a garden-themed quote or phrase that resonates with you. Use stencils for a neat finish or hand-paint for a more whimsical touch. Consider weather-resistant paint to ensure longevity. Once dry, attach the boards horizontally or vertically onto two supporting stakes, securing with screws.
For a finishing touch, consider a protective sealant to shield against the elements. Plant your sign among flowers or at the entrance of your garden for a charming welcome. Remember, imperfect wood adds character—embrace the quirks for a genuinely unique garden sign.
Planter Creation From Old Tires
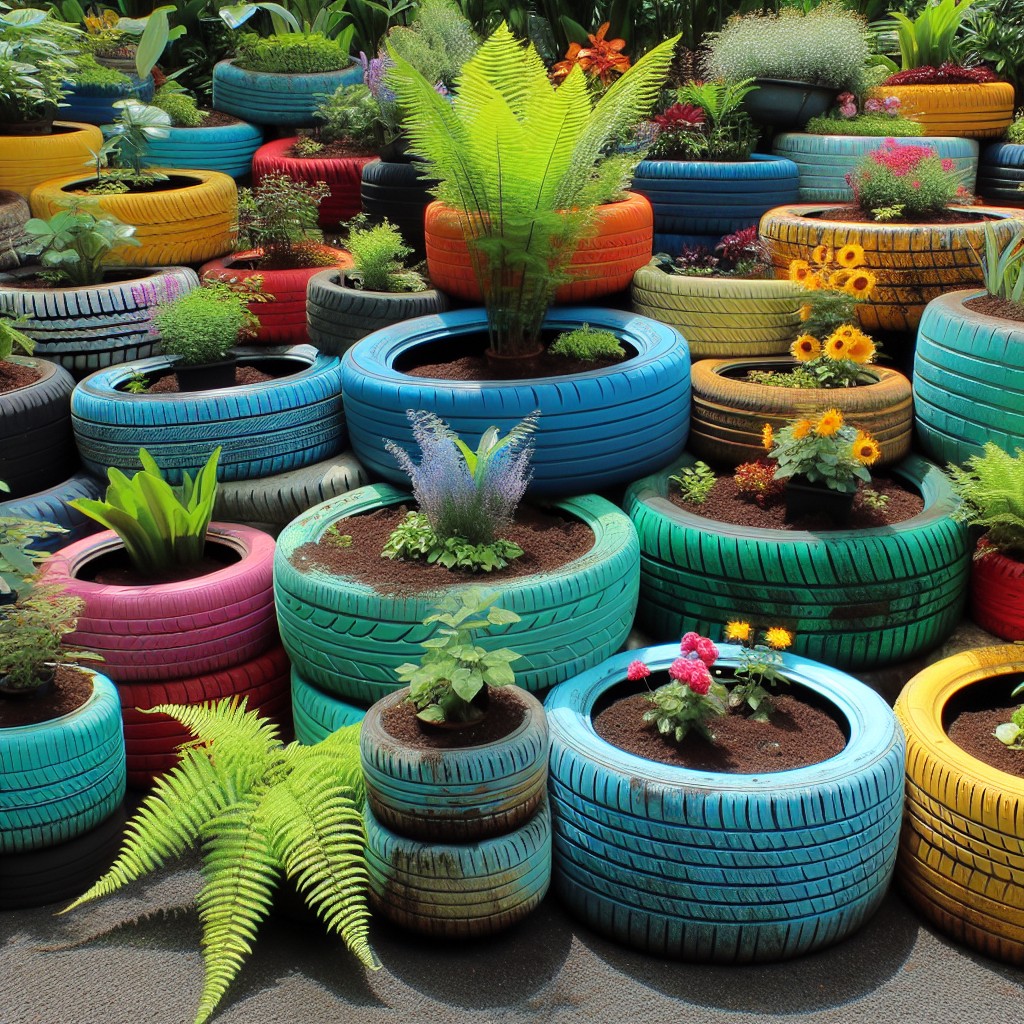
Transforming old tires into striking planters is not only eco-friendly but also a creative way to add a unique touch to your garden space. Begin by selecting tires that are no longer safe for road use. Clean them thoroughly to remove any grime, ensuring the paint adheres correctly.
Choose a vibrant outdoor paint color that will withstand the elements and make your tire planter pop against the greenery. Apply a few coats for a bold, even finish. Once dry, you can cut the tire into an appealing pattern for an artistic edge, although this step is optional.
After prepping your tire, fill it with a suitable potting mix. Remember to drill drainage holes at the bottom if you’re placing it directly on the ground to prevent waterlogging. Nested tires of decreasing size can create tiered planters, perfect for an eye-catching floral display.
Finally, select plants that complement your tire planter’s size and shape. Cascading greenery creates a waterfall effect over the sides, while bright annuals can offer a changeable color palette through the seasons. This project not only repurposes waste but also adds an eclectic charm to your garden décor.
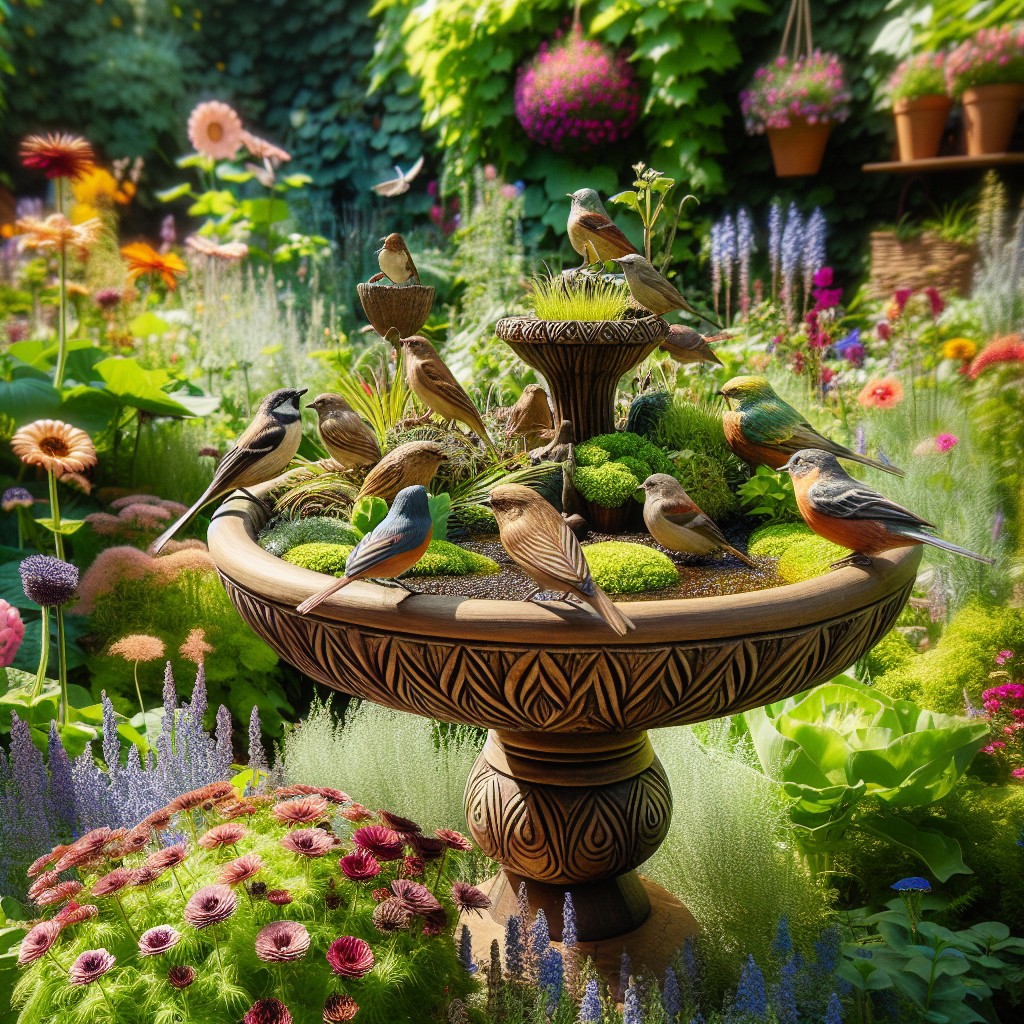
Garden Bird Art Projects
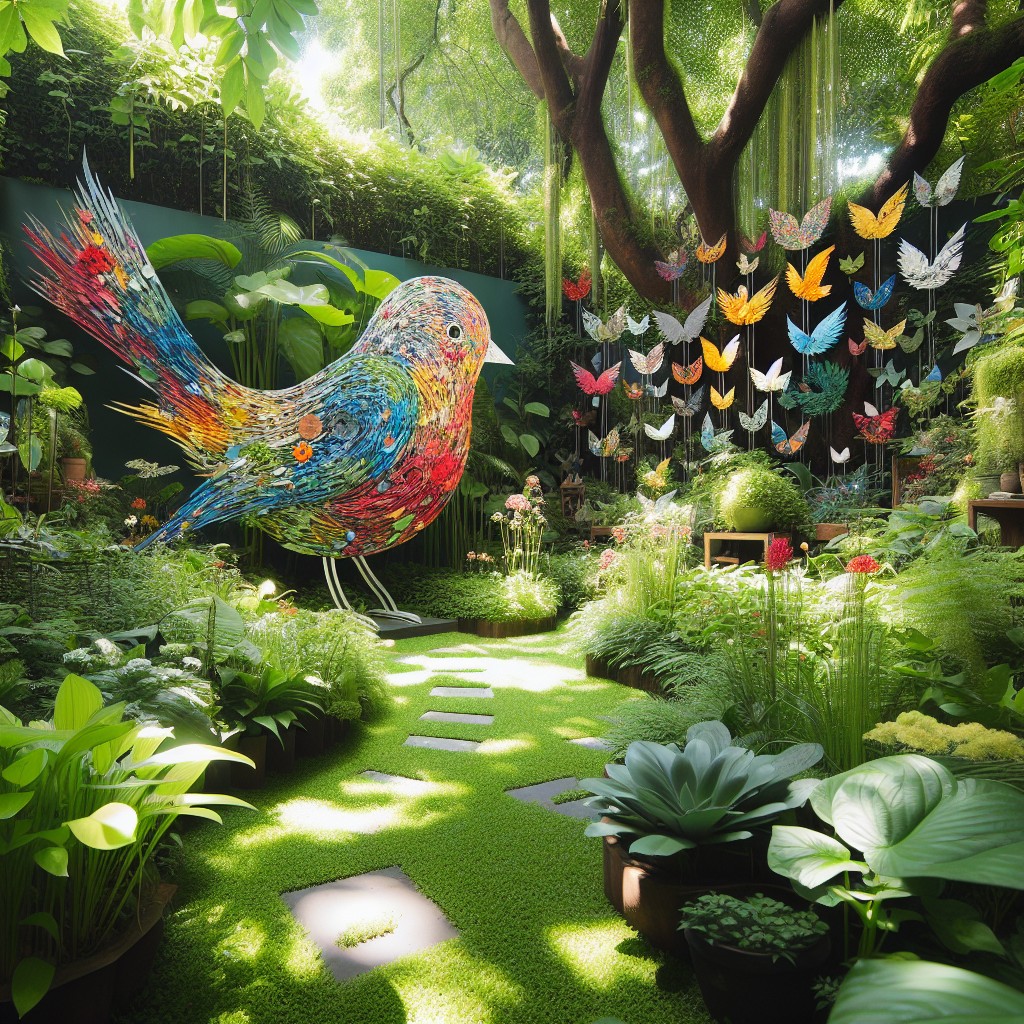
Transform your outdoor space into a haven for feathered friends with creative bird art projects. Repurpose old dinnerware by gluing a cup to a saucer, filling it with birdseed, and attaching it to a garden stake for a charming bird feeder.
Delve into whimsy by painting stones with vibrant colors and bird designs, scattering them throughout flower beds as playful accents.
Explore your carpentry skills by constructing a birdhouse from scrap wood. Customize with non-toxic paint, then mount it on a wall or tree.
For a simple project, create hanging bird baths using shallow bowls and sturdy twine. Encouraging local birds to visit your garden not only adds life but also helps with pest control naturally.
Incorporate these elements thoughtfully within your garden, considering visibility from indoor vantage points to enjoy your handiwork and the birds it attracts from the comfort of your home.
Protecting Your Outdoor Crafts
Ensuring the longevity of your garden art requires some protective measures, given their constant exposure to the elements. Apply a sealer, such as polyurethane or a clear acrylic spray, to your projects to guard against moisture and sun damage.
For metal pieces, using a rust-preventative spray is crucial to prevent deterioration. If possible, bring delicate items indoors during harsh weather, especially freeze-thaw cycles which can crack or spoil your creations.
For fabric elements, opt for outdoor-grade materials that are designed to resist fading and mildew. It’s also wise to position art pieces under sheltered areas to provide added defense against wear and tear.
Remember to periodically inspect your garden art, touching up paint or sealant as needed to maintain their condition.
DIY Rain Chain
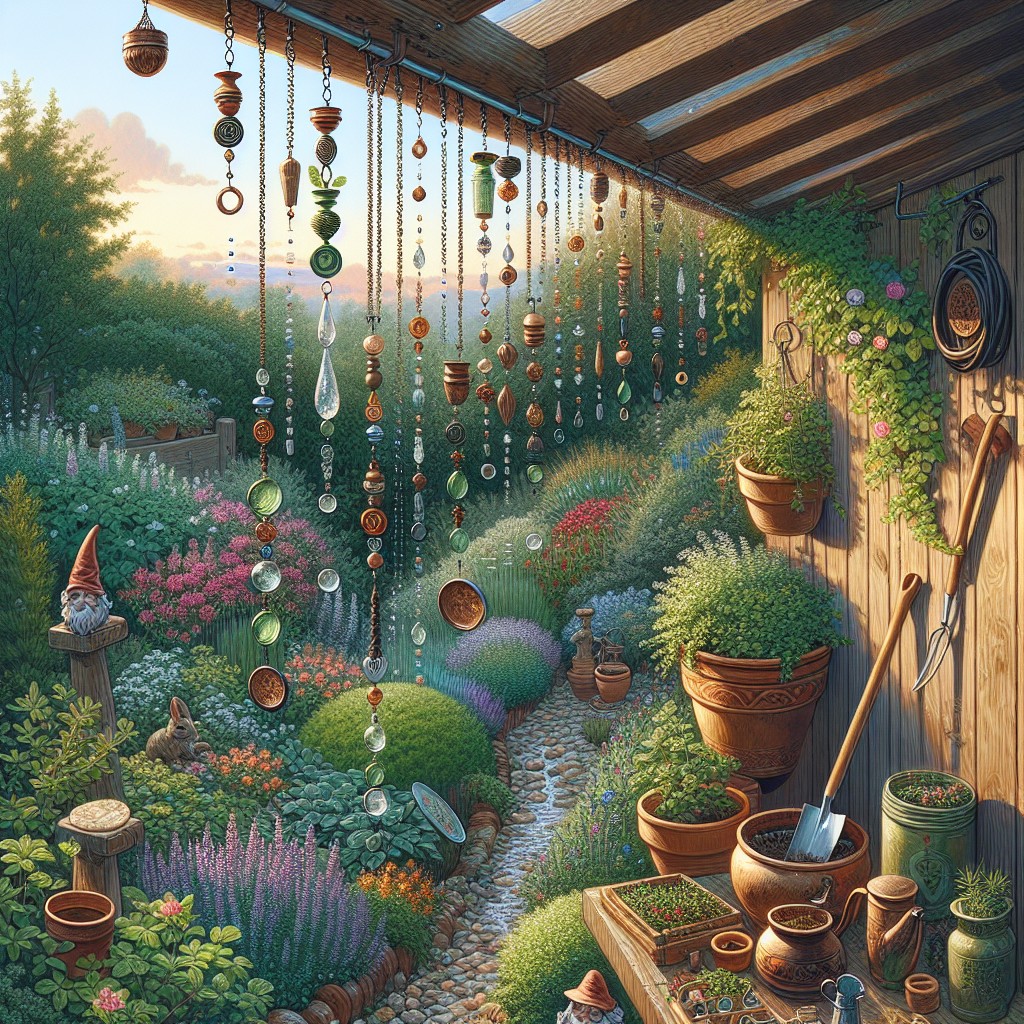
Transform a functional element into a piece of visual poetry by crafting a DIY rain chain. As water descends from gutters to the ground, it dances along a series of decorative links, each designed to guide the flow with grace and emit soft, soothing sounds.
– Start by selecting materials that complement your outdoor space, such as copper cups, small metal buckets, or chains with attached ornaments.
– Consider the overall length needed and ensure it reaches from the gutter down to a catchment system or directly into your garden.
– Assemble your chain, spacing elements evenly to create a harmonious look and to optimize water flow.
– Attach a sturdy hook to your gutter and secure the top of your rain chain.
– Choose a basin or decorative stones for the water to collect at the bottom, preventing erosion and enhancing the aesthetic appeal.
– Regular maintenance, such as cleaning and checking for rust if not using rust-proof materials, will ensure it remains a delightful garden feature year-round.
DIY Garden Stepping Stones
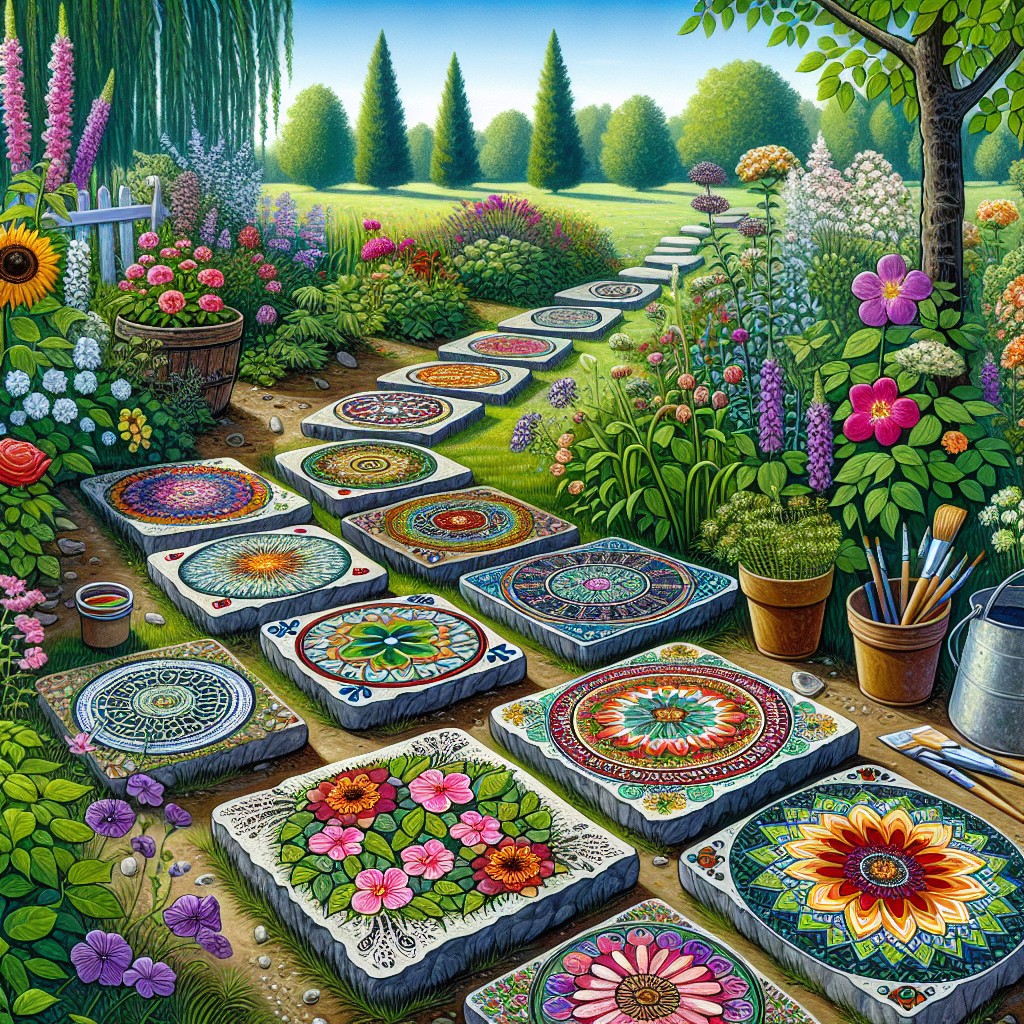
Transform a simple walk through your garden into a whimsical journey with personalized stepping stones. Select a mold—the bottom of a pizza box or a plastic cake pan works great. Mix quick-setting concrete according to package instructions, then pour it into your chosen form.
Before it dries, imprint with leaves, shells, or handprints for a bespoke touch. For a pop of color, press in small tiles, glass beads, or even vibrant broken china pieces. Once set, place your creations along your garden path, ensuring they’re evenly spaced for comfortable stepping.
This engaging project not only adds charm but also guides visitors through your garden’s highlights, combining functionality with artful flair.
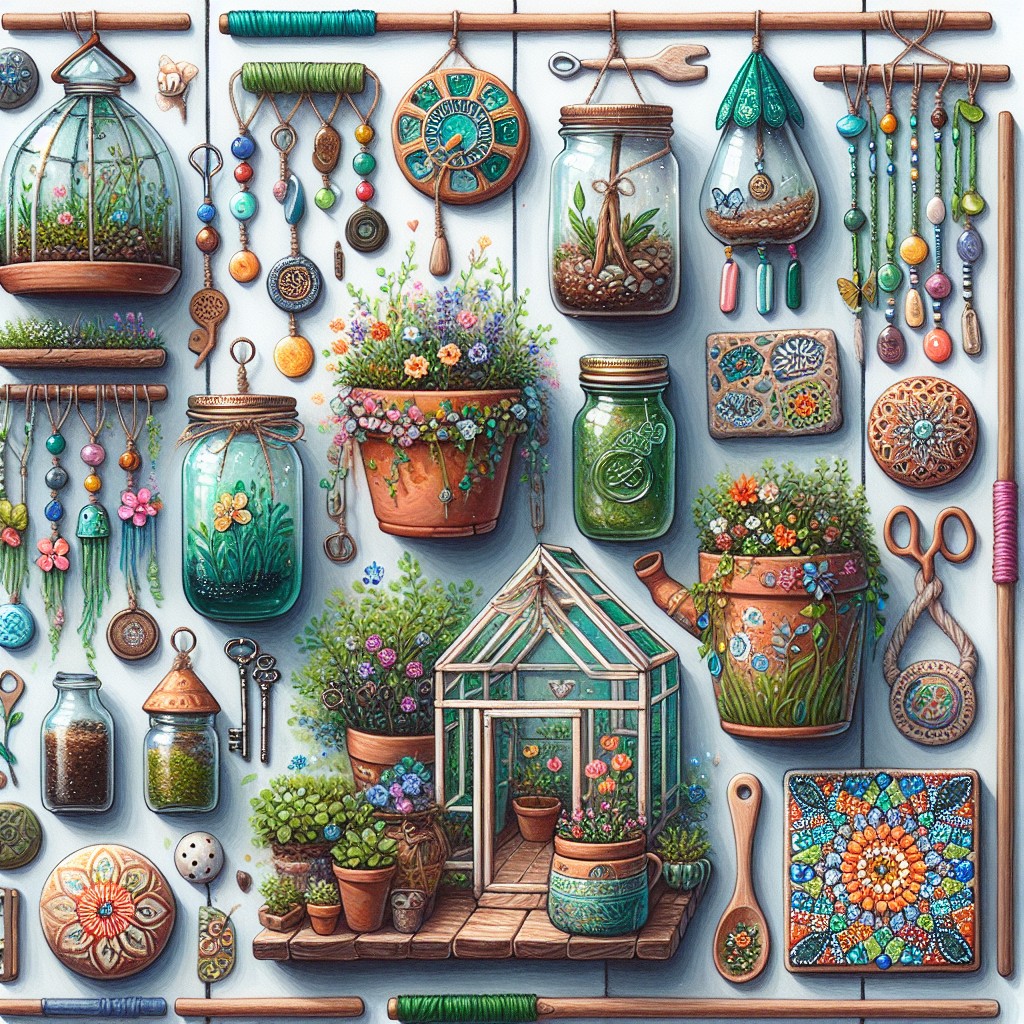
Mason Jar Herb Garden

Transform unused mason jars into a charming indoor herb garden. Begin by filling each jar with a layer of pebbles for drainage, followed by potting soil and your chosen herb seeds. Basil, cilantro, and parsley are excellent starters due to their compact size and low maintenance.
Maximize space by installing a hanging structure or using a wall-mounted rack to arrange the jars in a sunny spot. Remember to label each jar with the herb’s name either by tying tags around their necks or writing directly on the glass with a chalk marker. Regular watering is essential, but be cautious not to overwater, as herbs dislike soggy roots.
These verdant jars present the dual utility of culinary convenience and aesthetic appeal. Enjoy the process of watching your herbs grow, knowing they will soon add fresh zest to your dishes.
DIY Decorative Garden Art Balls
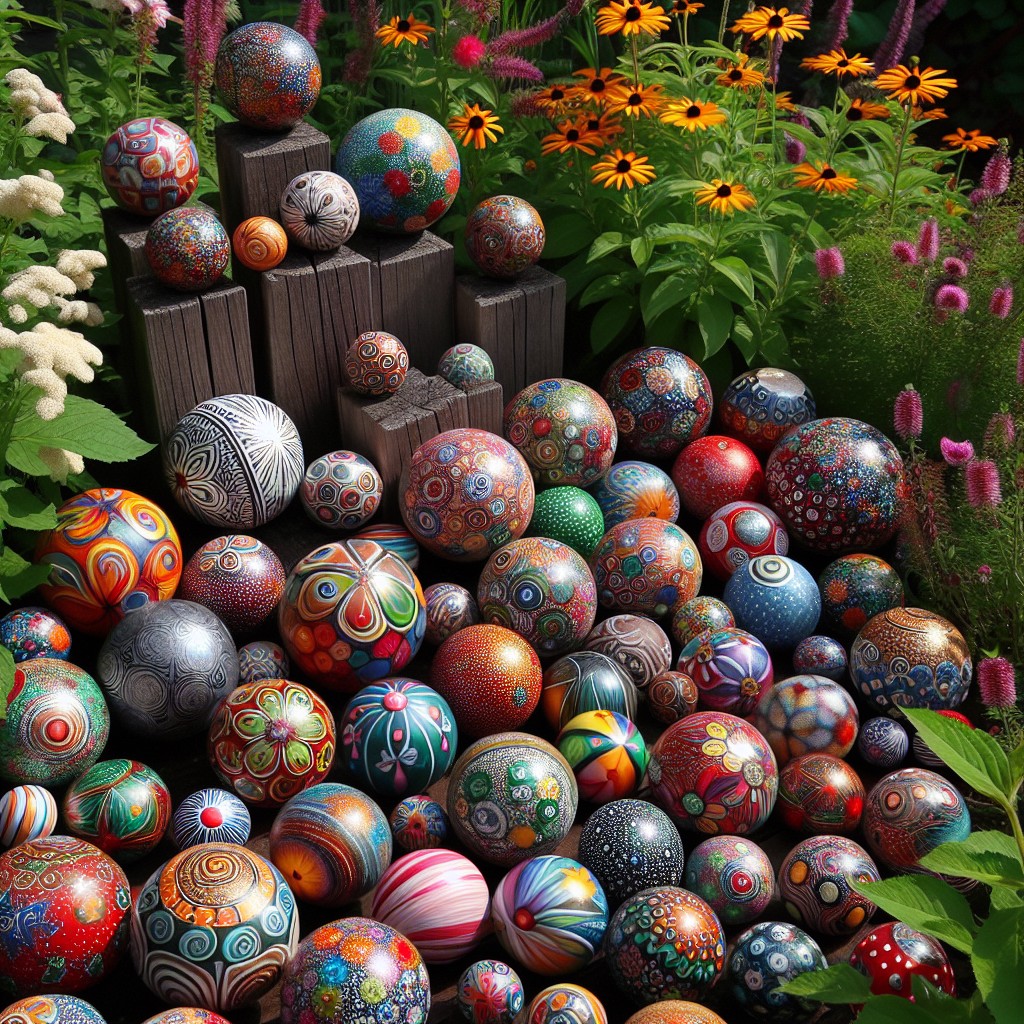
Crafting these spherical beauties adds a surprising element to any garden. They reflect light and create focal points amidst your foliage. Here’s what you need to know to get started:
- Gather Materials: Old bowling balls, styrofoam spheres, or lamp globes serve as perfect bases. For embellishments, consider pennies, pebbles, sea glass, or broken tile pieces.
Prep the Base: If using bowling balls, wipe them clean. For styrofoam spheres, you may want to paint them first to ensure a uniform background color that complements your adornments.
Adhesive Selection: Use a weatherproof adhesive like silicone or Liquid Nails. Apply in sections to prevent premature drying.
Design Time: Lay out your design before you begin. Symmetry can be visually pleasing, but random arrangements have their charm too.
Attaching Pieces: Press your chosen materials firmly onto the adhesive-coated base. For heavier items, additional support might be required until the adhesive sets.
Grouting (Optional): If you’re using tiles or creating a mosaic pattern, filling in the gaps with grout can give a professional finish.
Remember, these art spheres can remain outdoors year-round but consider bringing them in during extreme weather to preserve their integrity.
Upcycling for Garden Art
Transforming unused items into garden features not only saves money but also reduces waste. Consider repurposing an old bicycle by painting it and using the basket to hold colorful flowers.
Old kitchen utensils like colanders can be turned into unique hanging planters with a coat of bright paint and some sturdy string. An unused ladder may serve as a vertical garden stand, perfect for small spaces.
Wine bottles can be converted into water drippers for plants, while a broken watering can work beautifully as a plant holder, lending a quaint, rustic charm. Remember, with a bit of creativity, almost any discarded object has the potential to enhance your garden’s aesthetic.
Scrap Metal Flowers for Garden
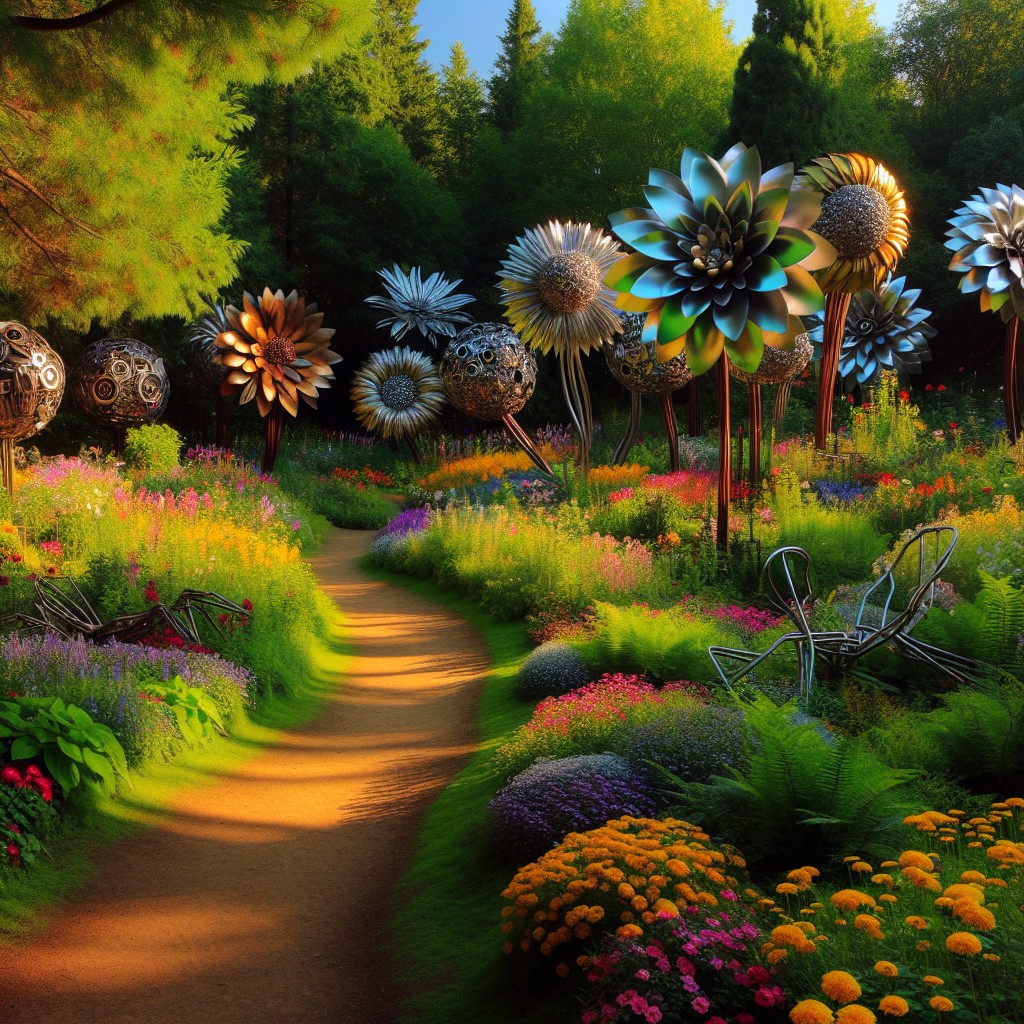
Transform your garden into a whimsical oasis with scrap metal flowers—sturdy and weather-resistant decor.
To begin, gather discarded metal items such as old spoons, forks, tin snips, or automotive parts.
These materials can serve as petals, stems, and leaves.
Use a metal file to smooth any sharp edges ensuring safety.
Welding equipment can attach parts together, but for a solder-free alternative, a strong adhesive suitable for bonding metals will also work.
Design individual flowers or create a bouquet installation by clustering several metal blooms together.
Experiment with spray paint to add pops of color or leave the metal bare for a rustic appeal.
For an evening glow, intertwine string lights around the metal structures.
Anchor your metal flowers securely into the ground or in sturdy containers to keep them upright and to prevent them from being blown over by the wind.
This recycled art merges sustainability with beauty—each unique piece contributes to your garden’s story.
Water Gardens Art Projects
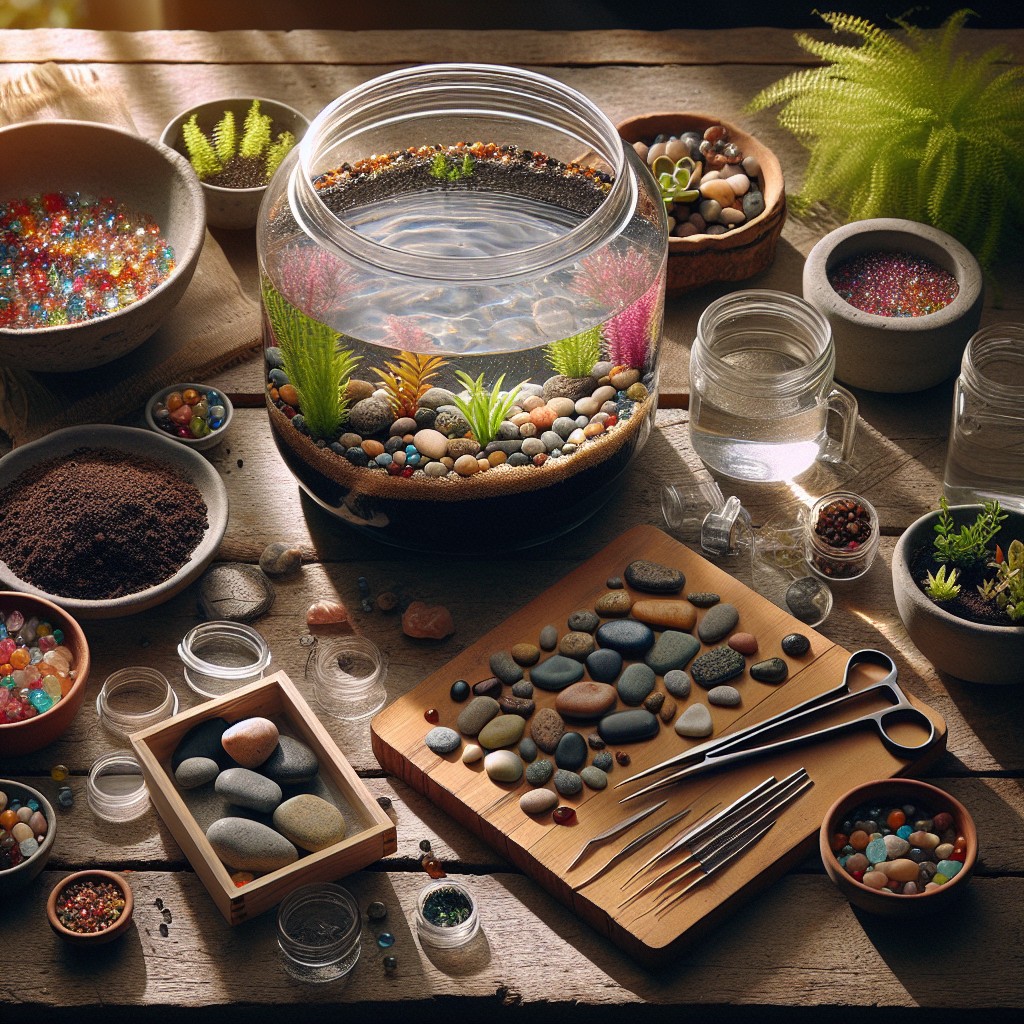
Transform your garden into a tranquil oasis with a DIY water garden. Start by selecting a waterproof container or digging a small depression in the ground to serve as the base.
Add a liner to ensure your feature retains water. Choose a variety of aquatic plants, considering different heights and blooming cycles for visual interest.
A small fountain or bubbler not only adds a soothing sound but also oxygenates the water, benefiting plant health. Introduce fish like goldfish or koi for a dynamic element but remember they need proper care and seasonal consideration.
Accent the edges with smooth pebbles, and for a whimsical touch, include miniature bridges or fairy garden accessories. Illuminate the scene with waterproof LED lights for a striking nighttime effect.
With creativity and basic maintenance, a water garden project can provide a serene focal point in your outdoor space.
Garden Crafts for Kids

Engaging children in creating garden art not only fosters creativity but also instills a love for nature. Simple, child-friendly projects include painting rocks to create colorful garden markers or assembling DIY wind chimes using old utensils. Getting kids involved in building fairy gardens can spark their imagination, while something as straightforward as decorating plant pots with paint and stickers can keep younger children entertained.
These activities offer a double reward: the enjoyment of crafting together and the lasting enjoyment of seeing their creations displayed in the garden. For added educational value, creating a habitat for wildlife, such as a bug hotel or a bird feeder, can teach children about the ecosystem. Always ensure materials are safe for use by children and suitable for outdoor display.
Colored Glass Garden Votives

Transform ordinary glass jars into enchanting luminaries with a touch of paint. Select glass-safe paint, preferably one that can withstand outdoor conditions.
Apply in a thin coat to achieve a stained-glass effect, allowing natural light to shine through. To catch the sunlight, hang your creations in varying heights using sturdy wire or mount them on fence posts or tree branches.
For evening allure, place LED candles inside to illuminate your garden with a gentle glow. This project not only recycles what you might already have but also adds a magical ambiance to your outdoor space at minimal cost.
Remember to arrange the votives strategically – some placed along pathways for guided lighting, others clustered for a charming focal point.
Bubble Fountain As Garden Art
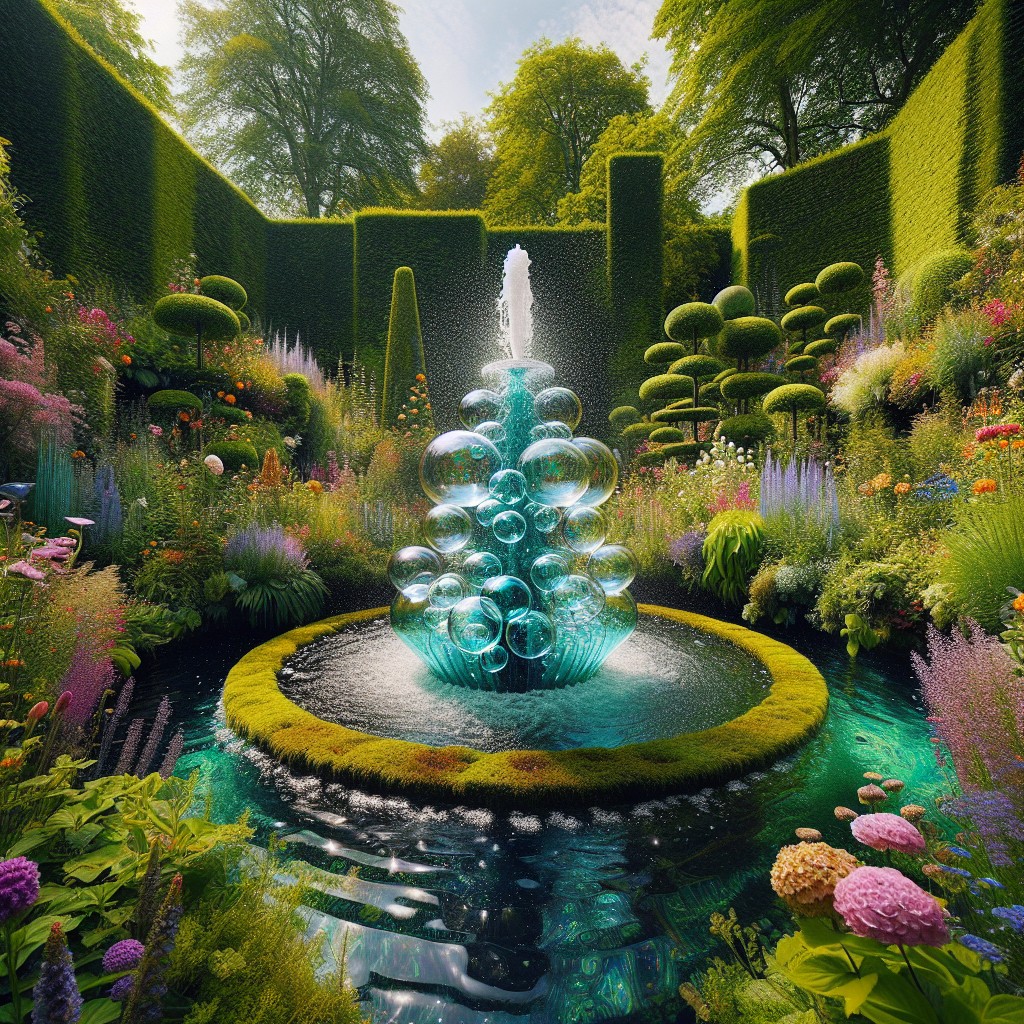
Transforming a corner of your garden into a serene oasis is simple with a bubble fountain. The gurgling sound of water can provide a peaceful backdrop, inviting birds while repelling noise pollution.
To create one:
- Use a submersible pump and attach it to a fountain kit, typically found at your local hardware store.
- Opt for a large ceramic pot or a stacked stone column as the base to suit your garden’s design theme.
- Position a mesh or grating just above the water reservoir to support decorative elements like pebbles or glass beads.
- Ensure the pump’s tubing extends to just below the surface, creating the soft bubbling effect.
- Add LED lights for a glowing ambiance during evening hours.
Regular maintenance involves checking the water level and keeping the pump clean. This simple project does not require elaborate plumbing skills and can be an afternoon’s work, culminating in a charming focal point for your garden space.
FAQ
How do you display garden art?
Display garden art by strategically positioning it near particular areas of your garden that you wish to highlight, such as clusters of attractive plants, to create visual ‘vignettes’ that draw the viewer’s attention.
What are some budget-friendly materials you can use to create DIY garden art?
Budget-friendly materials for DIY garden art include reclaimed wood, repurposed glass bottles, old car tires, broken ceramic pieces, and inexpensive solar garden lights.
How can you incorporate upcycled items into your garden art projects?
Incorporate upcycled items into your garden art projects by converting old ladders into plant stands, transforming weathered doors into garden gates, or repurposing chandeliers into bird feeders.
What are the best DIY garden art projects suitable for beginners?
For beginners, the best DIY garden art projects are making mosaic stepping stones, painting pots with weather-resistant acrylics, creating decorative birdhouses, or styling a homemade trellis from bamboo sticks tied with garden twine.
More Like This
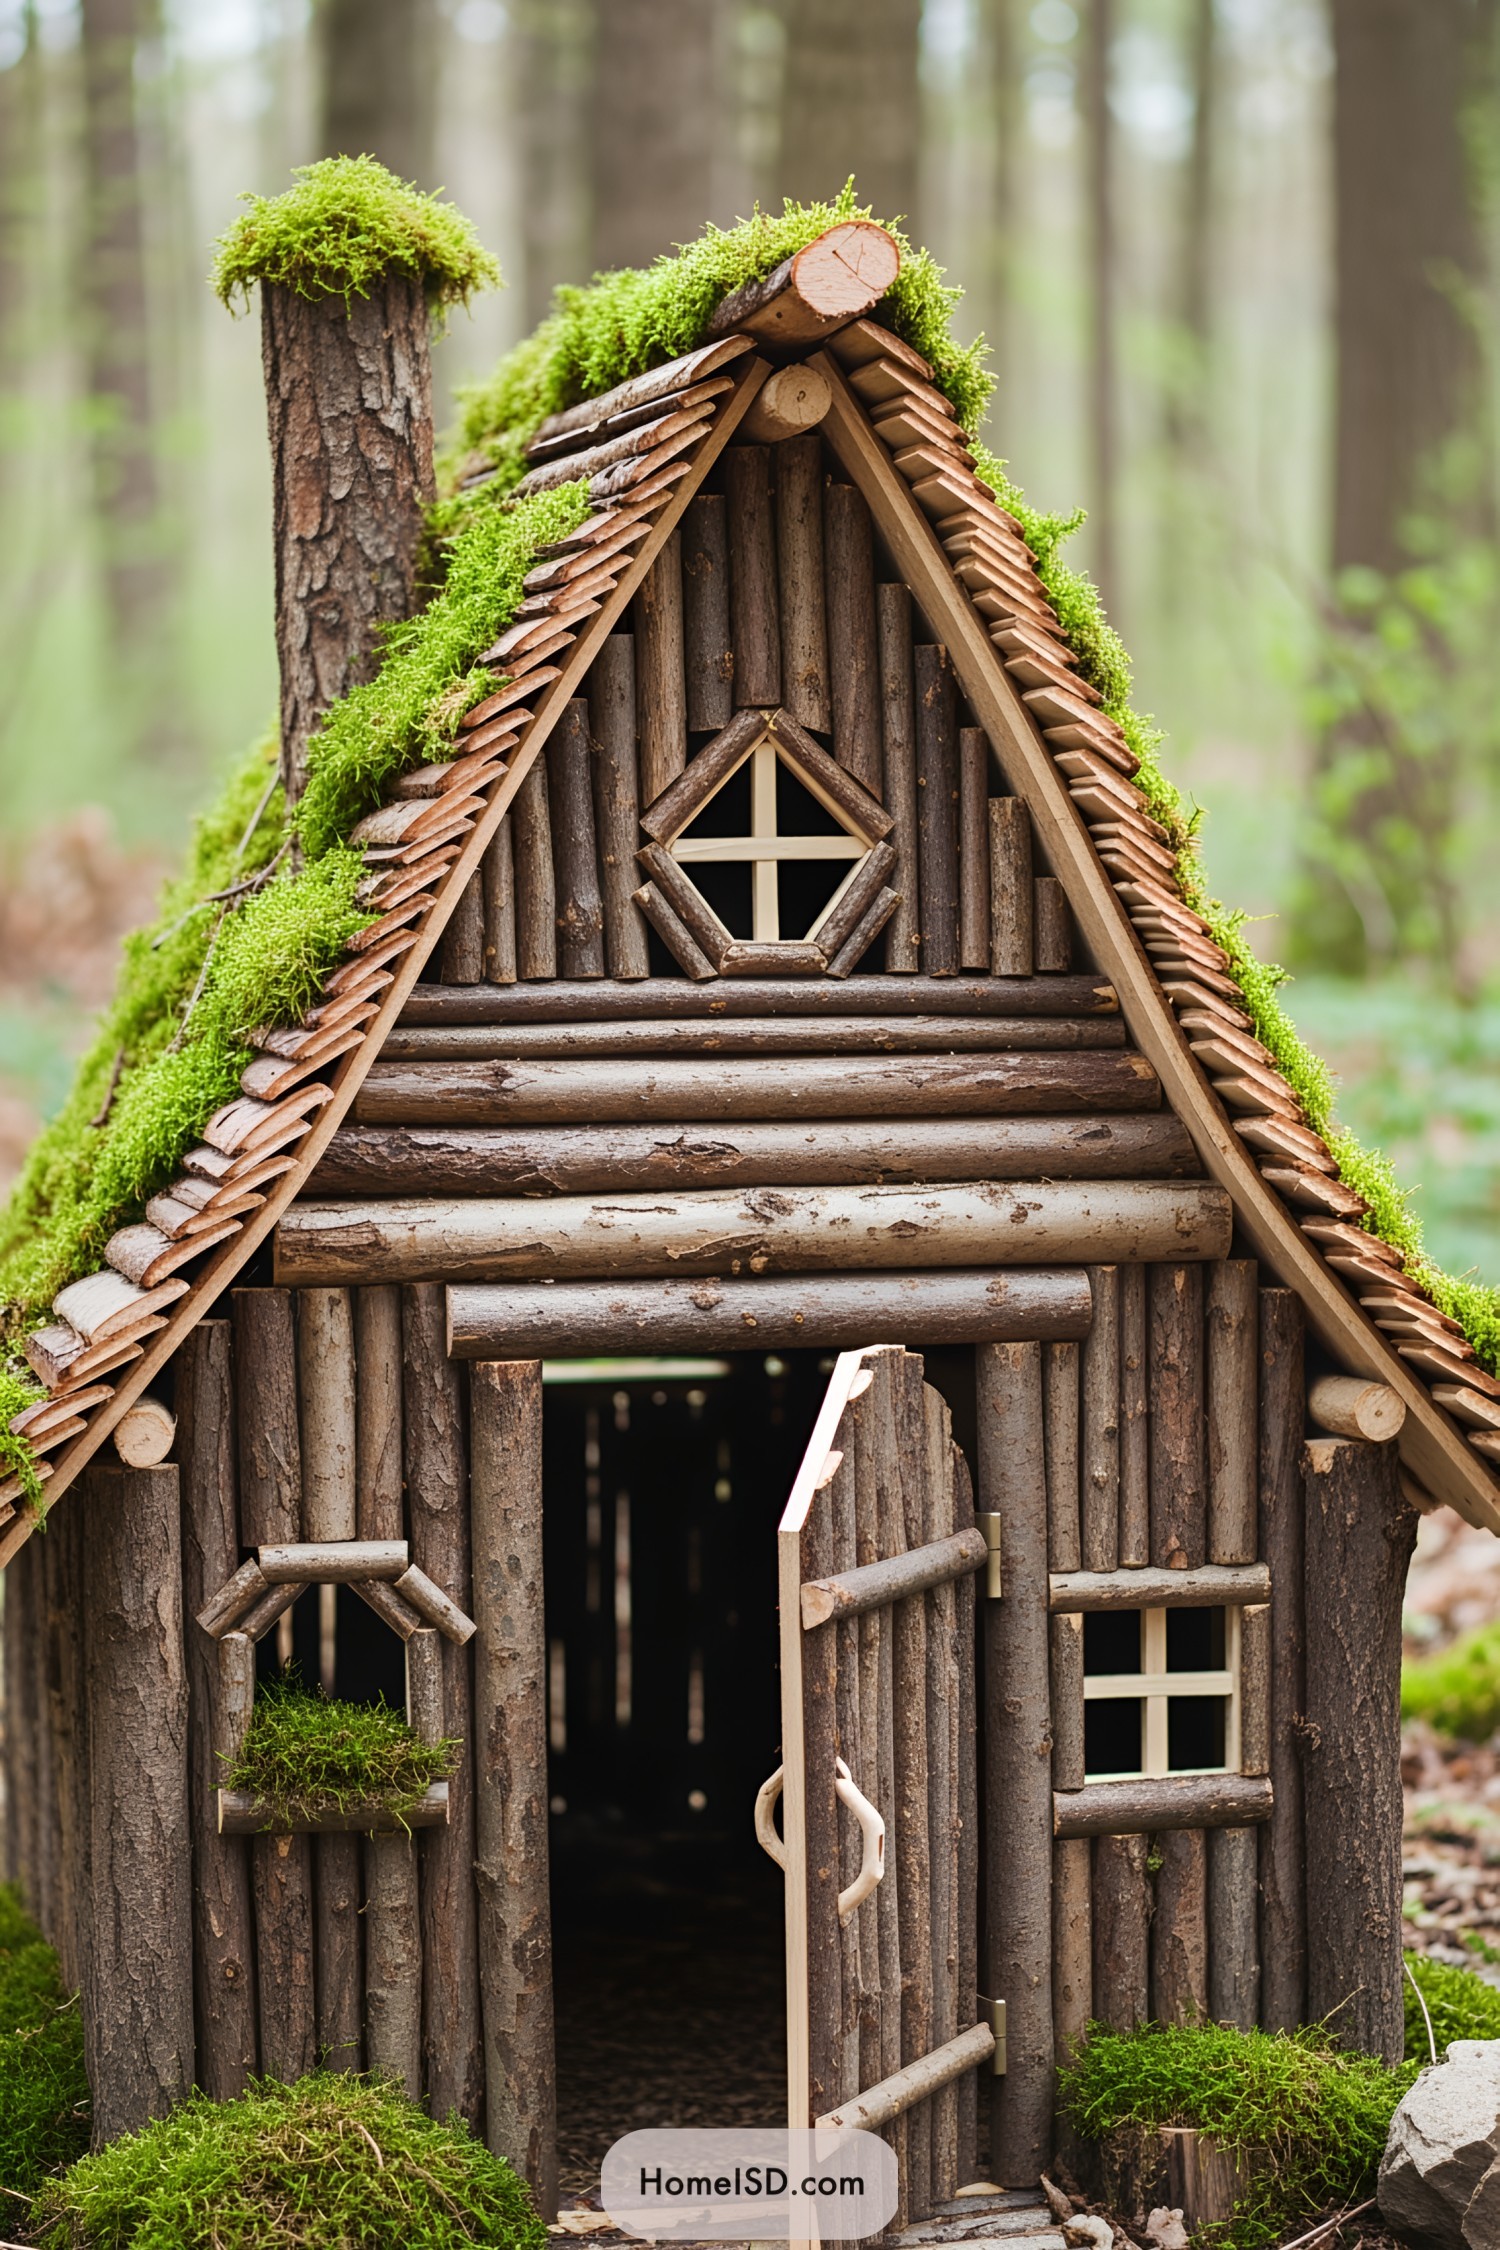 20 Fairy Houses With Natural Materials That Will Make You Believe In Magic
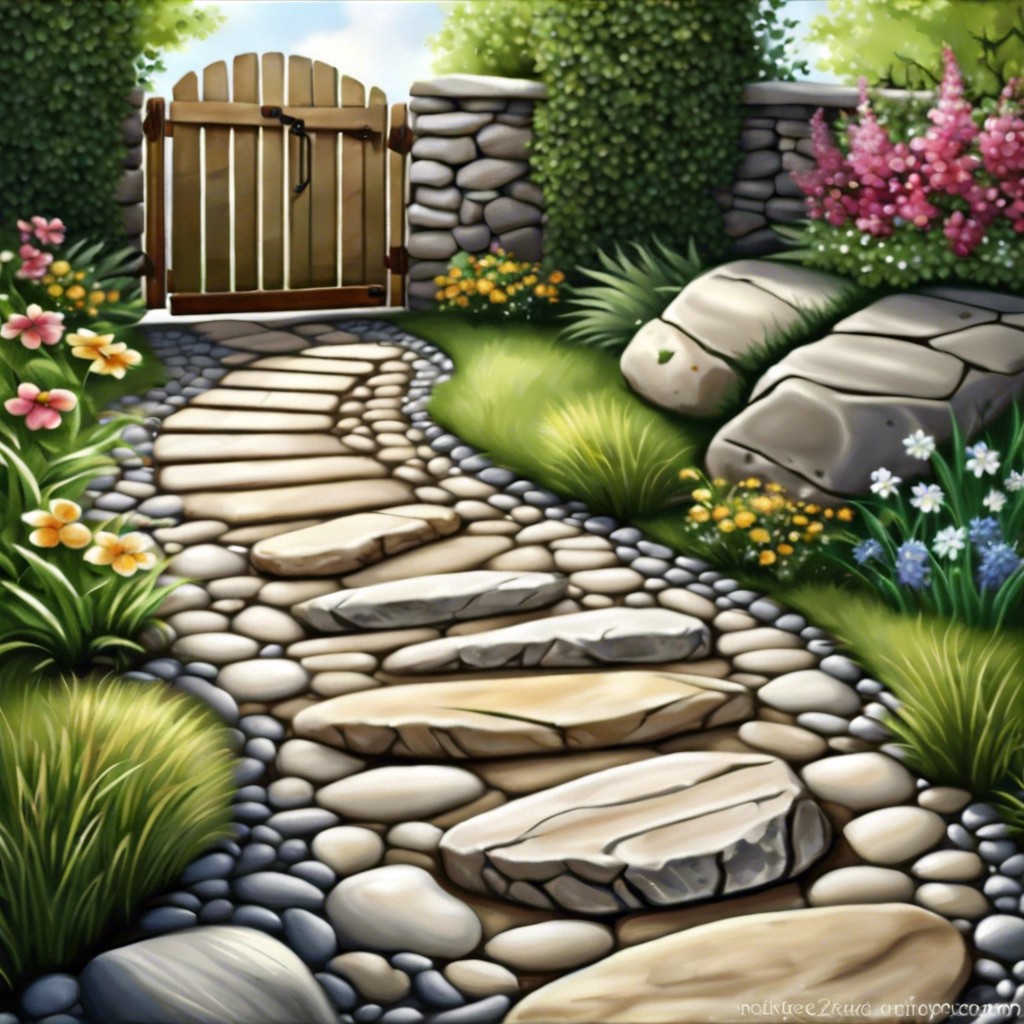 20 Cheap Walkway Ideas DIY Benefits
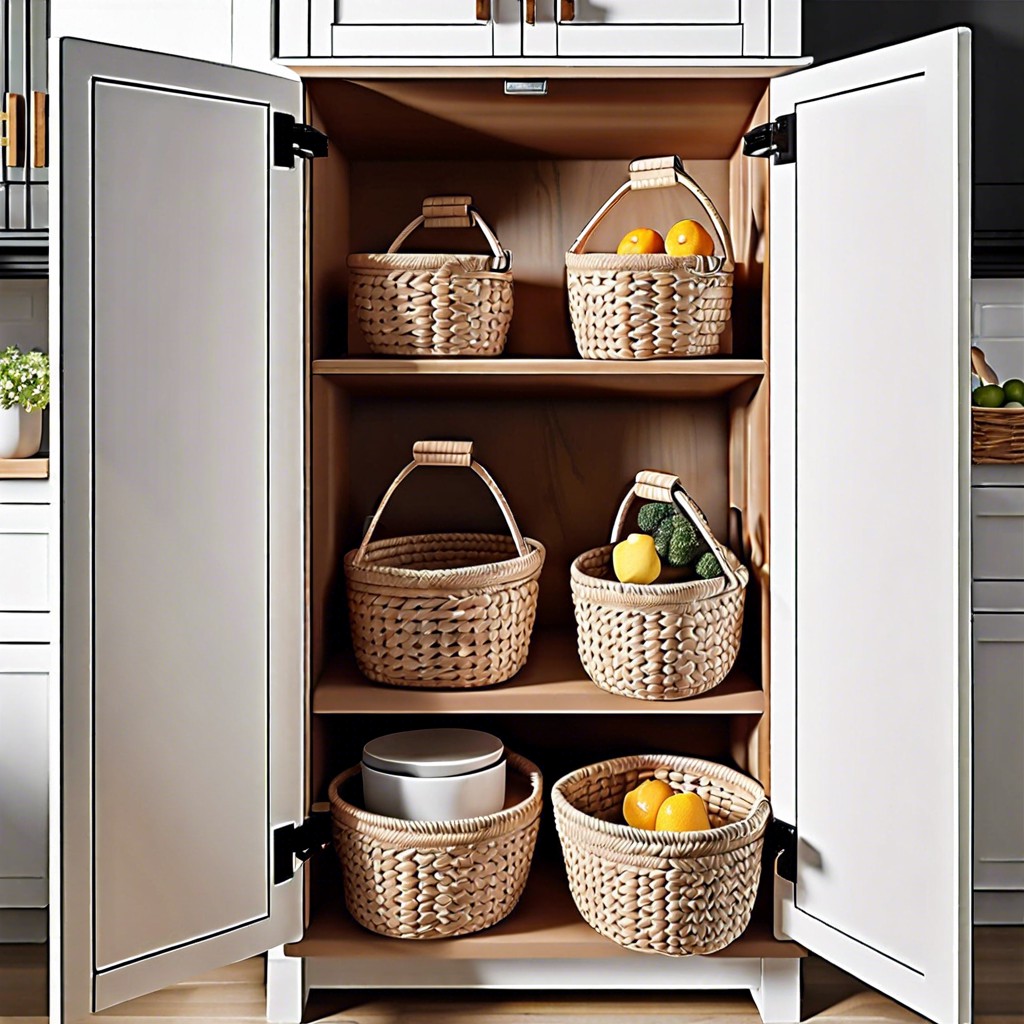 15 Ingenious DIY Pantry Cabinet Ideas
 15 Creative DIY Buffet Table Ideas for Your Next Gathering
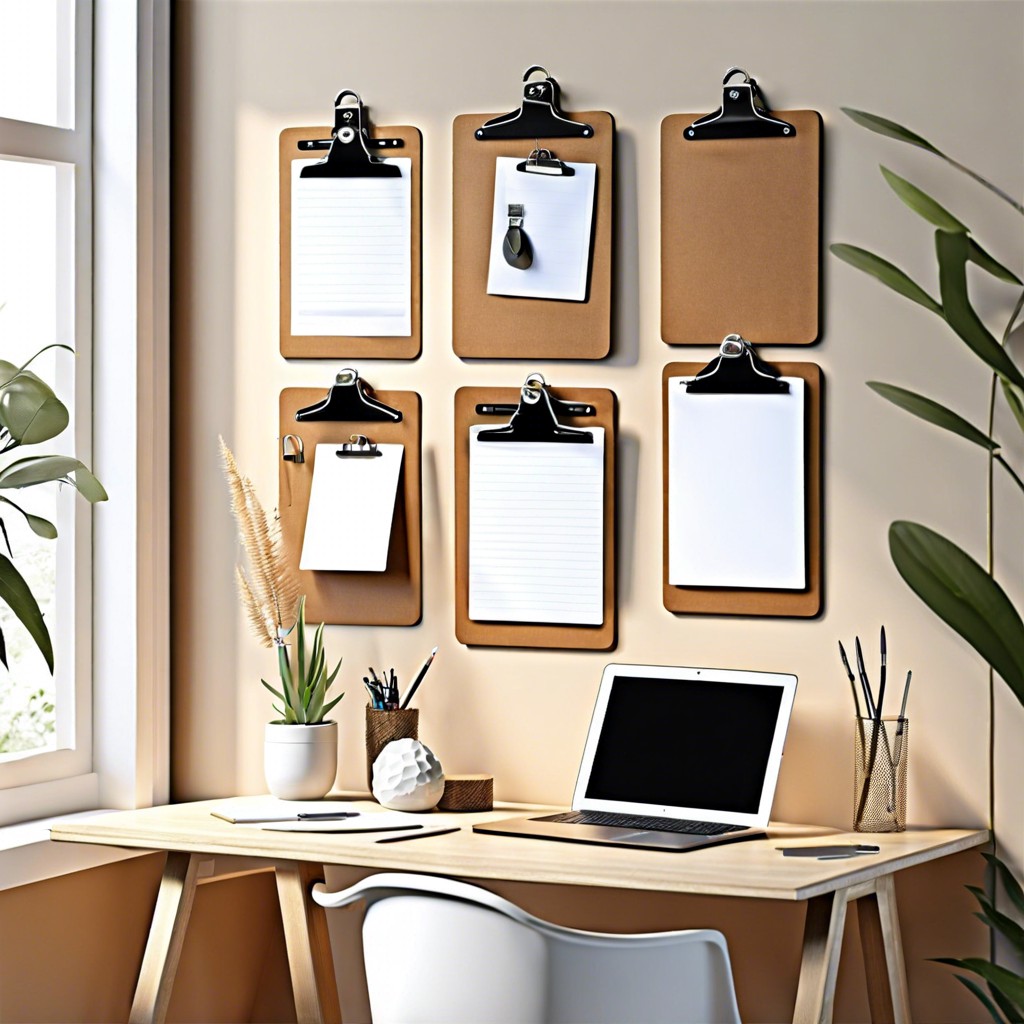 15 Genius Office Supply Storage Ideas to Boost Your Productivity
Recap