Last updated on
Here are tutorials with step-by-step instructions for making a beautiful butcher block dining table, perfect for a rustic or farmhouse-style kitchen.
Building a new table with a butcher block top from scratch can be a daunting task, but with the help of these DIY butcher block dining table tutorials, you can easily complete the project.
These tutorials will walk you through the process step-by-step, from choosing the right wood to cutting and assembling the pieces. With their help, you’ll be able to create a beautiful, sturdy, and heavy-duty tabletop that will last for years to come.
Useful things to know:
- The easiest way to add legs to a butcher block tabletop is using hairpin legs.
- But you can easily use wooden legs and attach them with pocket holes and screws.
- Try thrift shops to find reclaimed butcher blocks for a cheap project.
- You can join two or more boards and use wood filler to hide the seams.
- Make sure to coat the table with a food-safe finish (such as mineral oil.)
- Expect to pay $100 to $400 for the materials depending on the table’s size.
DIY Butcher Block Dining Table
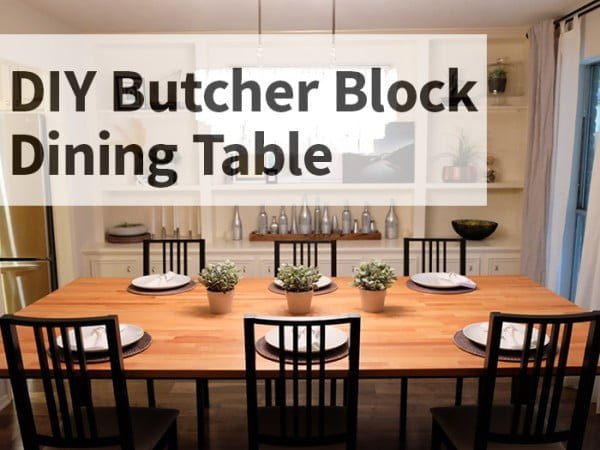
Tutorial: evanandkatelyn.com
Expected cost: $100-$200
Supplies:
- Solid wood
- Carpentry tools
This project involves building a new tabletop for a dining table using solid wood. It is not difficult to complete, but it does require some basic carpentry skills.
DIY Kitchen Table with Metal Legs
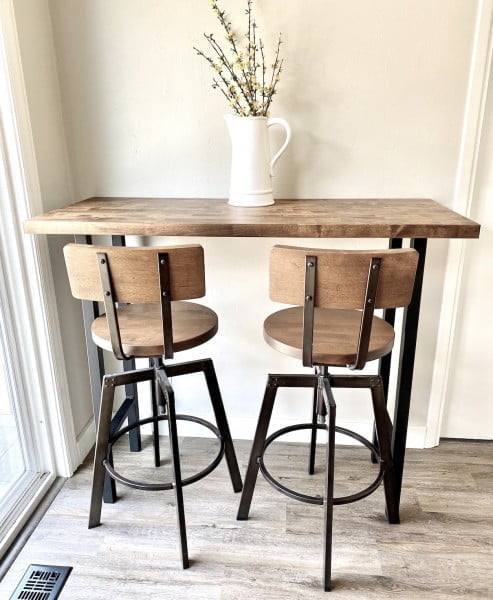
Tutorial: welshdesignstudio.com
Expected cost: $50-$100
Materials:
- 1×4 lumber (8 ft long)
- 1×6 lumber (8 ft long)
- 2×4 lumber (8 ft long)
- Kreg Jig
- 1 1/4 inch pocket hole screws
- 2 inch screws
- Wood glue
- Stain
- Polyurethane
This project is a great way to add a unique touch to your kitchen. It is a relatively easy project that can be completed in just a few hours.
The most difficult part of this project is attaching the legs to the table top, but as long as you pre-drill the holes it should be no problem.
How to Build a Farmhouse Dining Table
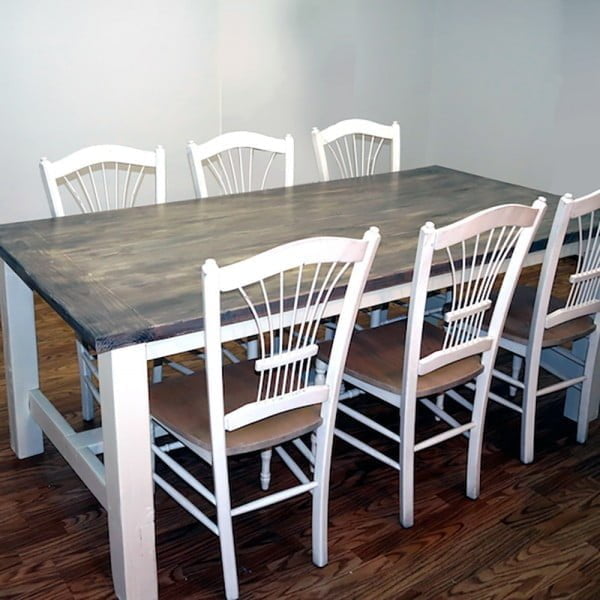
Tutorial: homedepot.com
Expected cost: $200-$300
Materials:
- 1×4 lumber
- 1×6 lumber
- Circular saw, or table saw
- Wood glue
- Nail gun or hammer and nails
- Sandpaper
- Stain or paint (optional)
This project is a bit more difficult than some of the others, but it is still doable for most people. It involves cutting wood pieces to size, attaching the frame pieces, and then attaching the center slats and tabletop pieces.
You will need to have a circular saw or table saw to complete this project.
Kitchen Table with Butcher Block IKEA Hack
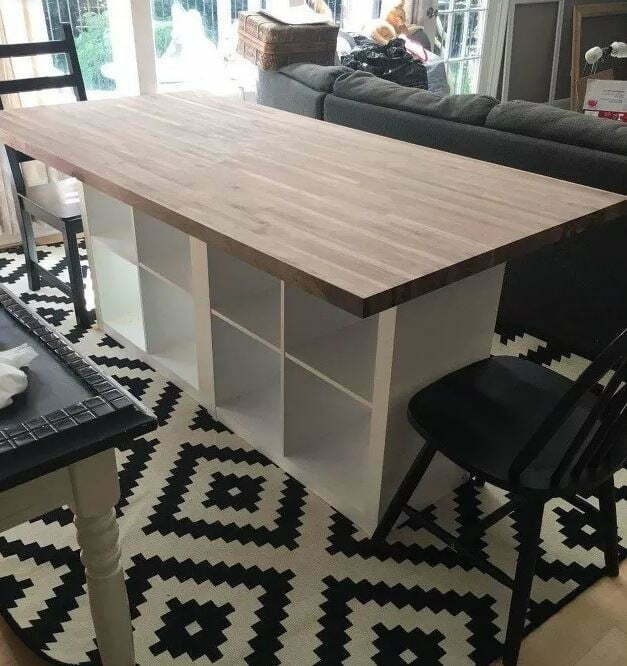
Tutorial: hometalk.com
Expected cost: $300-$400
Materials:
- Plywood
- Wood screws
- Paint or stain
- Cabinet hardware
This project is a great way to add extra storage and prep space to your kitchen. It’s perfect for small spaces and can be completed on the weekend.
The most difficult part of this project is attaching the top to the units, but with some patience and careful measuring, it can be done!
DIY Butcher Block Dining Table with Hairpin Legs
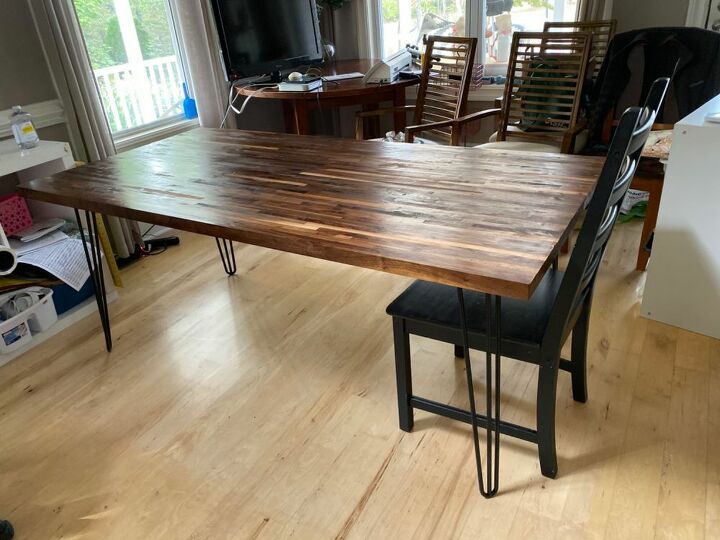
Tutorial: hometalk.com
Expected cost: $350
Materials:
- Tabletop
- Hairpin legs
- Drill
- Screws
- Tape measure
- Pencil
This project is a great way to add some personality to a plain tabletop. It is a very simple project that anyone can do in just a few minutes.
The only difficulty might be drilling the holes for the hairpin legs, but other than that, it is very straightforward.
FAQ
Yes, you can use any type of hardwood to build a butcher block dining table. You can also find butcher blocks at home improvement stores.
It depends on what kind of surface you want. If you are looking for a durable surface, a butcher block will work well. However, if you want something soft like laminate, you may want to look into another material.
Depending on how thick the block is, it can hold up to about 50 pounds. The reinforced tabletop will hold more.
Any type of hardwood will work well for making a butcher block dining table, but we recommend oak because it is durable and has a nice finish.
A typical butcher block top is about 2 to 12 inches.
The easiest method is to drill pocket holes through the legs and into the top. Then simply screw the legs into place.
Recap
