Last updated on
Here are some great tutorials for creating a DIY laptop wall mount. You’ll find step-by-step instructions, photos, and tips.
Most people can build a DIY laptop wall mount with the help of these tutorials. You will need some basic woodworking skills and access to a saw and drill.
The project should take approximately 1-2 hours to complete. These tutorials can help you save money and create a custom wall mount that is perfect for your needs.
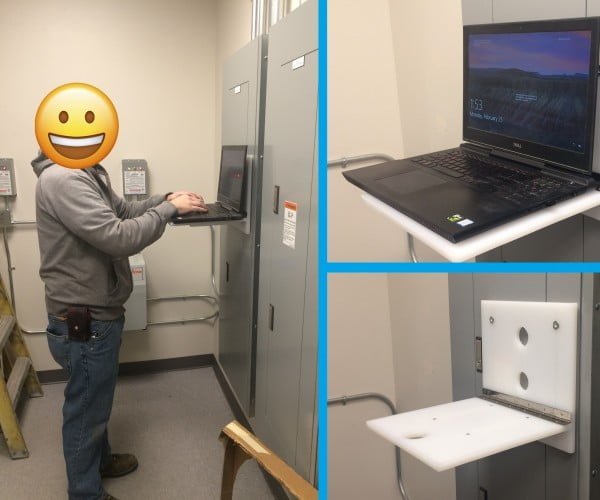
You can do this in one of two ways — use a special wall mount and fix your laptop to it, or build a small shelf (or a wall mounted desk) to place your laptop on it.
Here are the tutorials to do it either way.
Laptop Wall Mount

Tutorial: instructables.com
Expected cost: $50
Materials:
- 1/2 inch plywood
- 1×2 lumber
- wood glue
- wood screws
- stain or paint
- saw
- drill
This project is a bit more difficult than some of the others, but it is still doable for most people. It involves cutting the parts out of wood, assembling the platform, applying wood finish, and then assembling the wall mount.
You will need to have access to a saw and drill to complete this project.
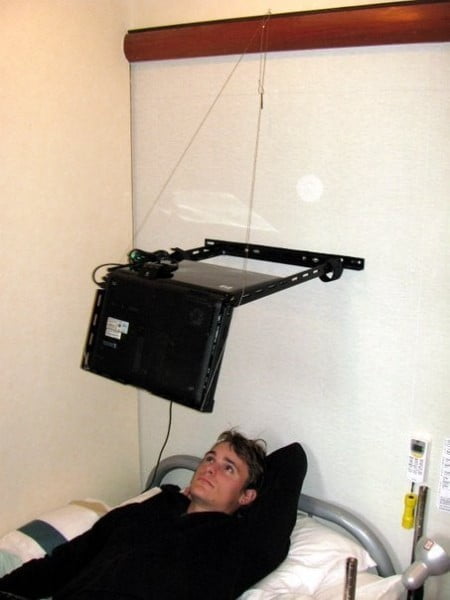
Laptop Mounted on Wall Above Bed

Tutorial: instructables.com
Expected cost: $100
Materials:
- Wooden frame
- Plywood
- Metal brackets
- Screws
- Nuts and bolts
- Wire
- LEDs
- Battery pack
This project is a bit more difficult than the average person might think. It requires some basic understanding of woodworking, metalworking, and electronics.
The most difficult part is probably mounting the frame to the wall. Other than that, it’s a pretty straightforward build.
Magnetic Laptop Mount

Tutorial: instructables.com
Expected cost: $30-$40
Materials:
- 1/4″ plywood
- 1″ x 2″ lumber
- 1/2″ dowel
- Neodymium magnets
- Drill
- 1/8″ drill bit
- 1/4″ drill bit
- Jigsaw
- Sandpaper
- Paint or stain
- Polyurethane
This project involves building a magnetic laptop mount from scratch. It is not difficult to complete, but it does require some basic woodworking and drilling skills.
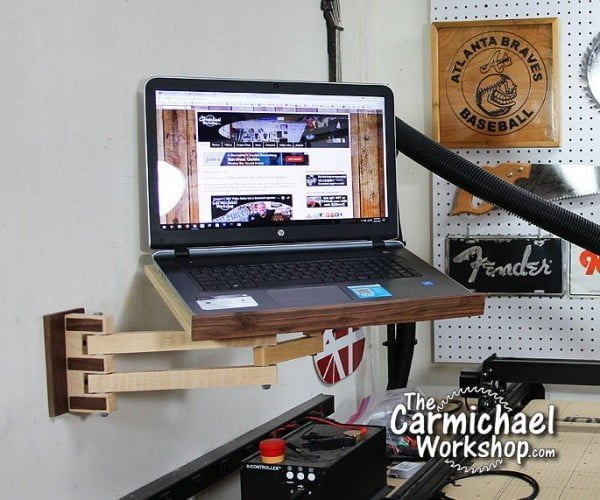
Make a Laptop Wall Mount with Articulating Arm

Tutorial: thecarmichaelworkshop.com
Materials:
- 1/2 inch plywood
- 1×2 lumber
- 1/4 inch dowel
- Paint or wood stain
- Drill
- 1 inch hole saw
- Jigsaw
- Saw
- Ruler or measuring tape
- Pencil
- Sandpaper
This project is a tutorial on how to make a laptop wall mount with an articulating arm. It is a relatively simple project that requires basic woodworking skills and tools.
The project should take approximately 1-2 hours to complete.
How to Mount a Laptop to a Wall
Tutorial: linuxhint.com
Expected cost: $20-$30
Materials:
- Wall mount
- Drill
- Screws
- Anchors (if needed)
This project entails mounting a laptop to a wall using either a fixed or moveable mount. It is not difficult to complete, but it does require some basic knowledge of tools and drilling.
FAQ
Yes, you can mount a laptop to a wall much like you would a TV. For this, you need suitable anchors and fixtures for the laptop.
You should elevate your laptop either with a laptop stand or a wall fixture to raise the screen to your eye level.
One way to increase your laptop’s ventilation is to use a wall mount. That way, the laptop itself is hanging in the air, which improves air circulation.
Recap


