Last updated on
Breathe new life into used candle jars because transforming them into winning DIY crafts is not only eco-friendly, but also a budget-friendly decor solution.
This article includes my original designs. Some of them may be exaggerated to make a point — that’s my style. Enjoy them for your inspiration!
Candle jars don’t have to collect dust after the wick has worn down. There are countless ways to upcycle these containers into charming DIY crafts, and while the internet swarms with popular ideas, this article aims to light your creative spark in a whole new way.
Blending tried and true methods with a fresh spin, you’ll discover unique and budget-friendly projects that transform the humble candle jar into something truly spectacular.
Resources for top existing ideas will be conveniently provided at the close of this article, but buckle up for a journey through innovative crafting territory to find original inspirations that will enrich your decor like never before!
Key takeaways:
- Turn Used Candle Jars Into Spice Holders
- Create Homemade Bath Salts Container
- DIY Jewelry Organizer From Wax Candle Jars
- Decorative Button Storage Using Candle Jars
- Organize Craft Supplies With Candle Containers
Turn Used Candle Jars Into Spice Holders
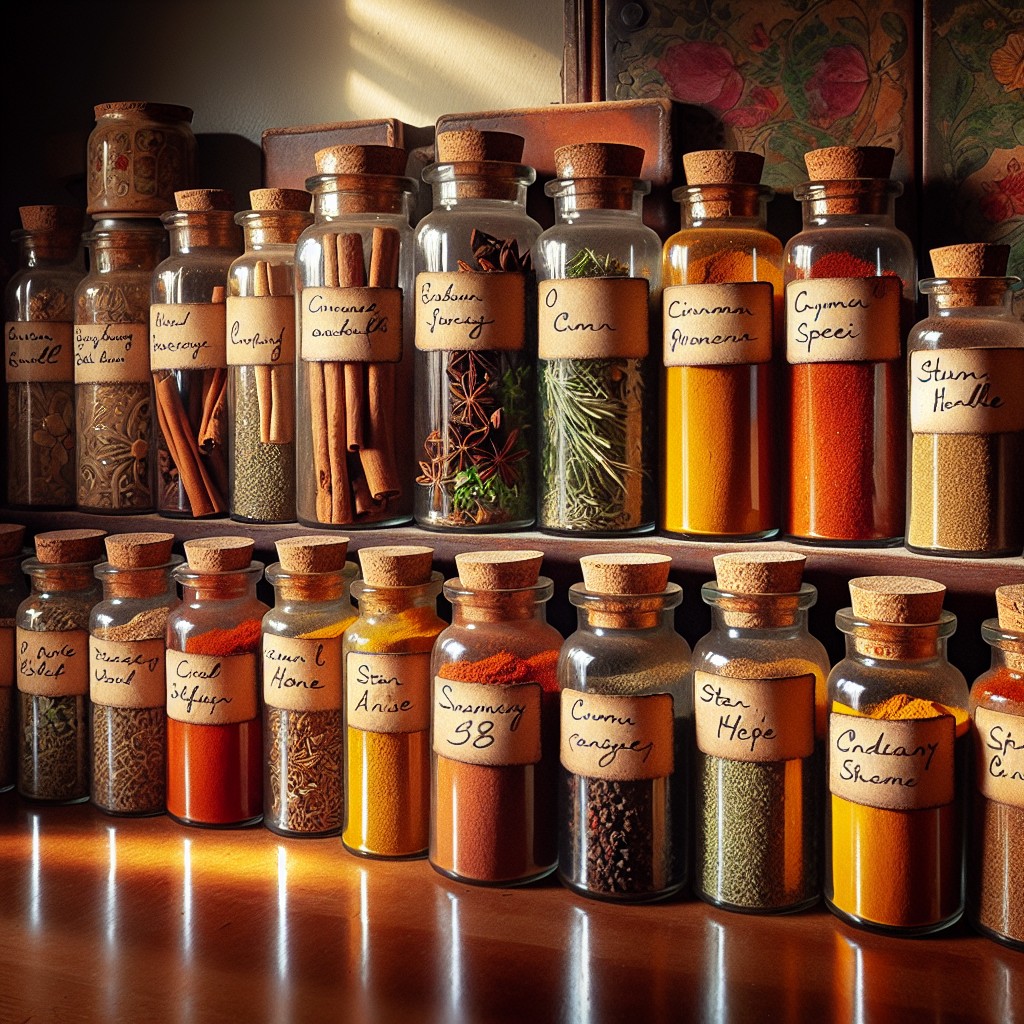
Begin by thoroughly cleaning out any remaining wax from the jars. To do this, pour hot water into the jar, which will soften and lift the wax, making it easy to remove. Peel off labels and any sticky residue with a mixture of baking soda and cooking oil, applying it and letting it sit before scrubbing away gently.
Next, select your spices. Funnel your most frequently used spices into the jars for easy access. Consider grouping spices by cuisine or usage to streamline your cooking process.
Customize the jar lids for a charming touch. Paint them with chalkboard paint so you can easily label and re-label the spices inside. Alternatively, you can also create labels using adhesive paper or a label maker for a clean, uniform look.
To maximize space and maintain visibility of your spices, install a small rack inside your cabinet or pantry and arrange the spice jars so they are easily reachable. This innovative reuse not just tidies up your kitchen but also injects a touch of personality into your space.
Create Homemade Bath Salts Container
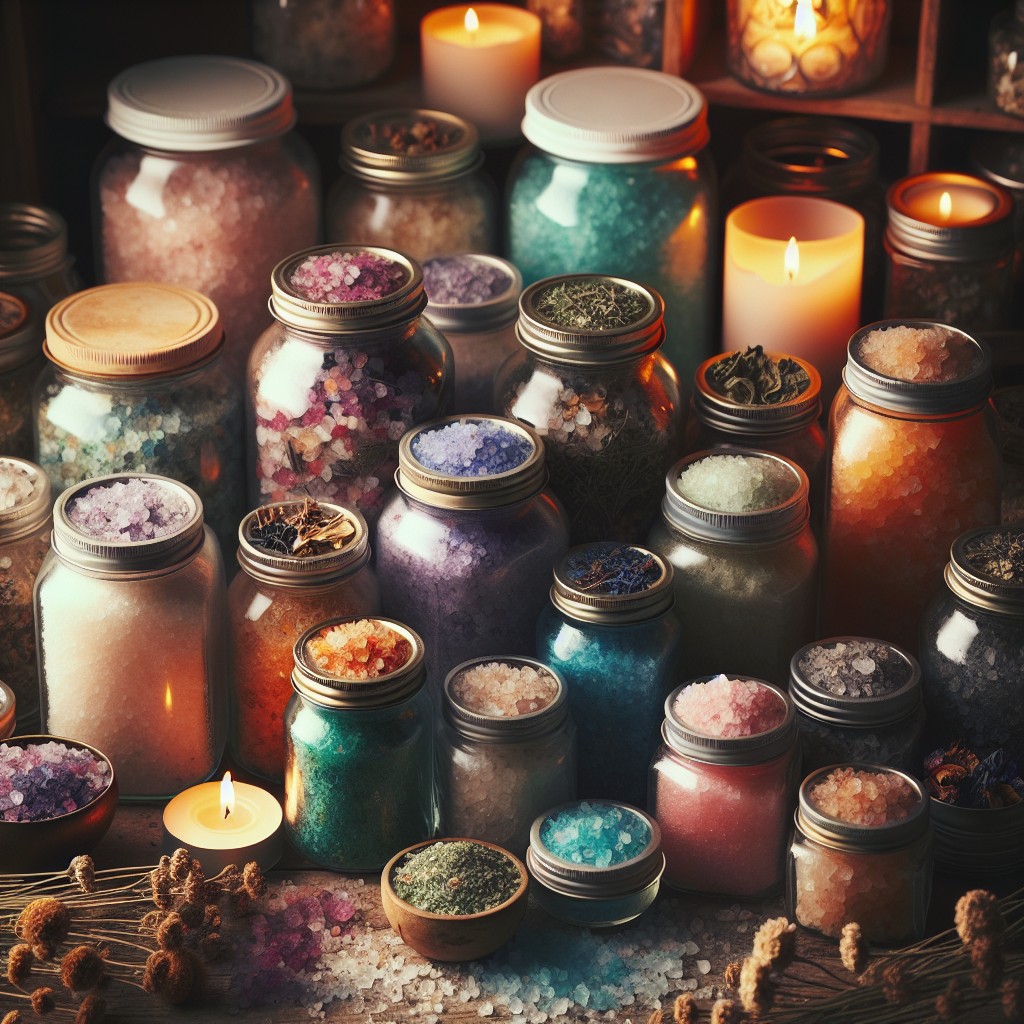
Once your candle jar is clean and the wax is removed, you’re just a few steps away from having a chic container for your homemade bath salts.
To start, simply mix together Epsom salt with a few drops of your favorite essential oil and a natural dye if desired.
Then, pour the scented salt into the jar.
The clear glass showcases the texture and color of the salts, while the lid keeps moisture out.
For a decorative touch, wrap a piece of twine or ribbon around the neck of the jar, and consider attaching a handmade label or tag indicating the scent or ingredients of the bath salts.
Not only does this make a lovely addition to your bathroom decor, but it also serves as a thoughtful handmade gift.
DIY Jewelry Organizer From Wax Candle Jars
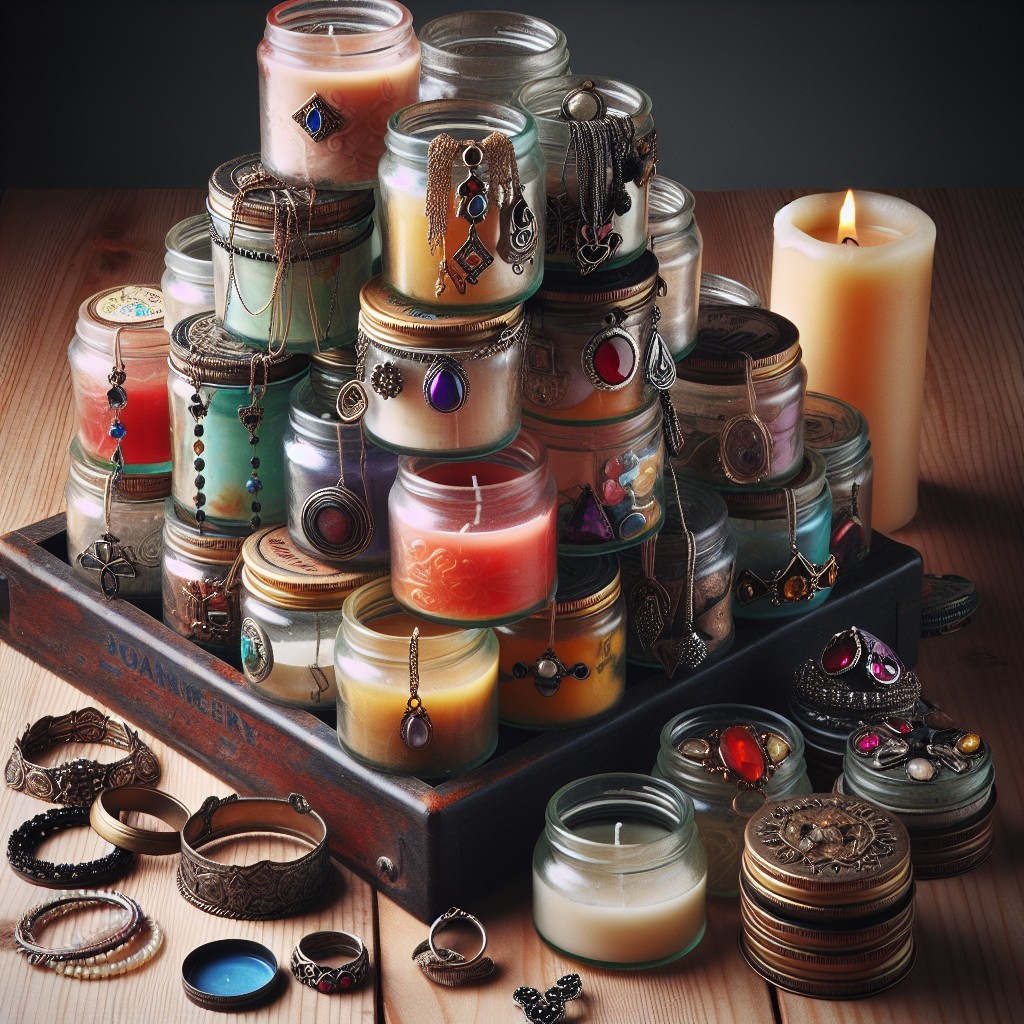
Start by thoroughly cleaning out any leftover wax and removing labels from your jars. Opt for jars of varying sizes to accommodate different pieces of jewelry and give visual interest to the setup.
Place a small piece of adhesive felt on the inside bottom of each jar to provide a soft cushion for your jewelry and prevent it from sliding around.
For earrings and rings, fill the bottom with a thin layer of decorative sand or small pebbles. This not only adds a chic touch but also allows for easy anchoring of stud earrings.
For necklaces and bracelets, consider attaching small hooks to the inside of the jar lid. When you screw the lid onto the jar, your pieces will hang neatly and remain untangled.
To add a pop of color or match your room’s decor, paint the outside of the jars or wrap them with twine or fabric. Embrace creativity – use metallic paints for a glam look, chalkboard paint for labeling, or glass etchings for a frosted effect.
Arrange the jars on a tray or shelf within easy reach. Not only does this method keep your accessories organized, but it also turns them into a piece of display art.
Decorative Button Storage Using Candle Jars
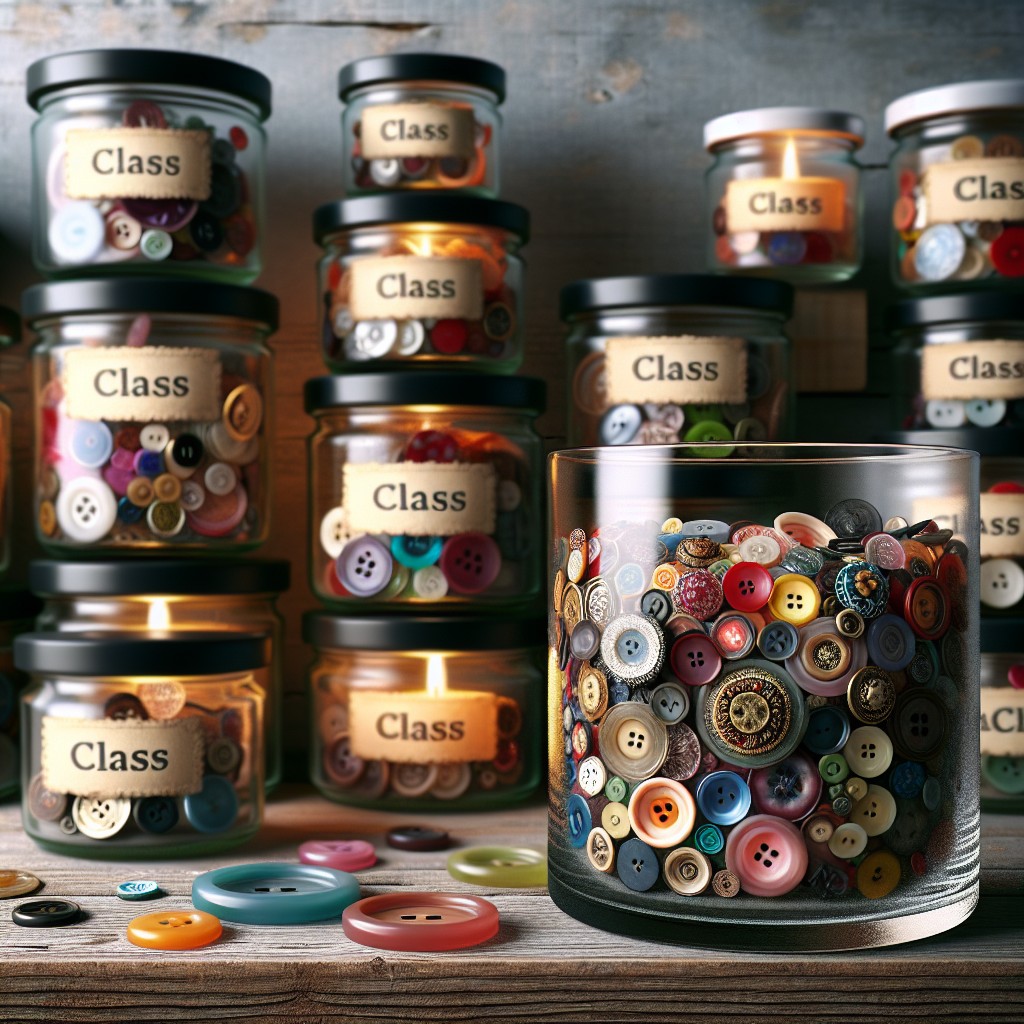
Embrace the charm of visibility and organization by transforming your cleaned-out jars into a home for your button collection. Sorted by color, size, or material, the clear glass showcases your buttons beautifully, turning a simple storage solution into a decorative piece on your craft shelf.
Lids keep dust away and allow for easy stacking, maximizing space efficiency. Consider enhancing the display by tying a ribbon around the neck of the jar or painting the lids to match the contents for an extra touch of personal style.
This practical approach not only declutters your workspace but also inspires creativity by keeping your array of buttons in plain sight, ready for your next project.
Organize Craft Supplies With Candle Containers
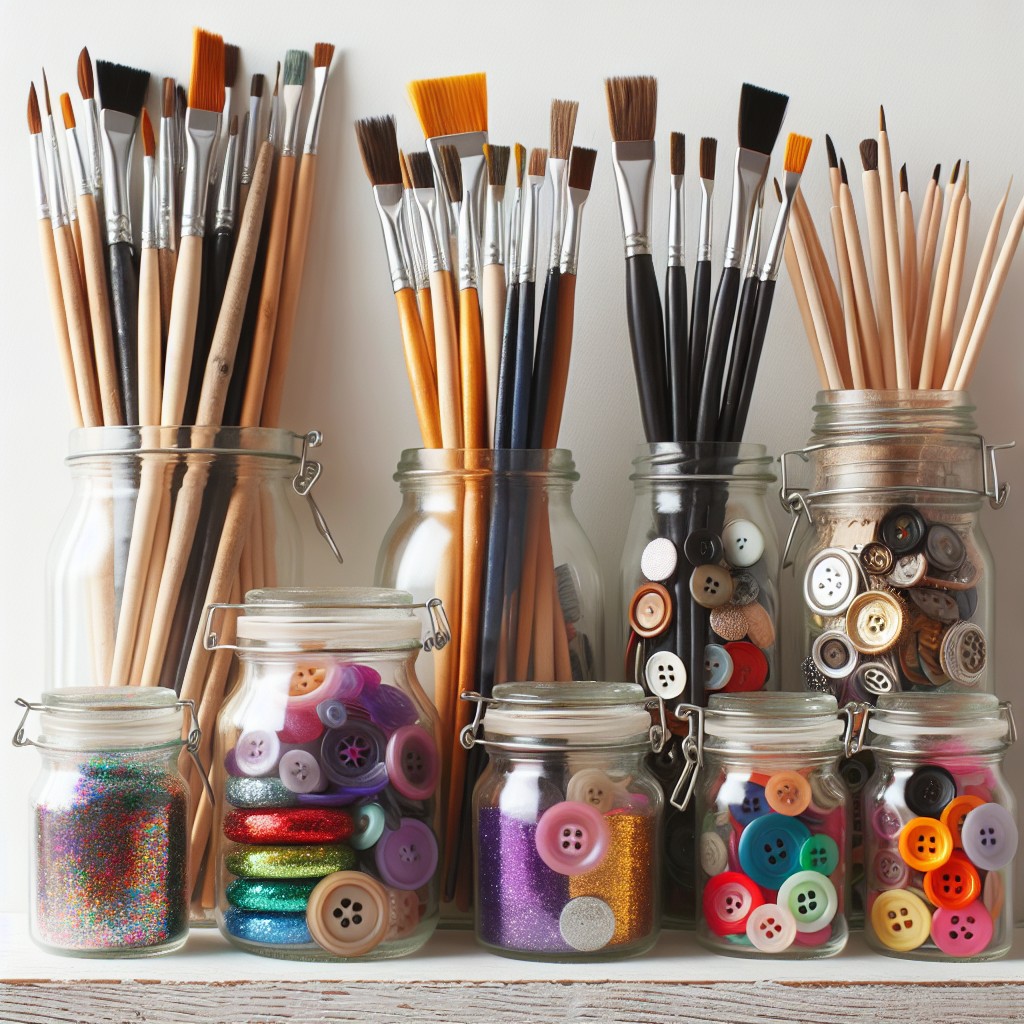
Transforming candle containers into craft supply organizers is a clever way to keep your creative space tidy and visually appealing. With their transparent or frosted glass, these jars allow you to see your supplies at a glance, reducing the time spent searching for items when crafting.
Here’s how to repurpose them effectively:
- Use small jars for organizing beads, buttons, or sequins. The see-through nature of the jars makes it easy to spot the colors and sizes you need.
- Wide-mouth jars are ideal for storing washi tapes, ribbons, or threads. Line them up for a colorful display that doubles as functional decor.
- Glue magnets to the lids and stick them under a metal shelf for a space-saving solution to store pins, paper clips, or small metal tools.
- For paintbrushes or markers, taller candle jars provide the perfect upright storage. Fill them with sand or rice to keep tools standing straight and accessible.
- Personalize your jars with paint or labels to make your organization system even more intuitive. Plus, it adds a charming touch to your creative nook.
With a little creativity, repurposing candle containers can enhance both the organization and aesthetics of your craft space.
Repurpose Candle Tins As Mini Sewing Kits
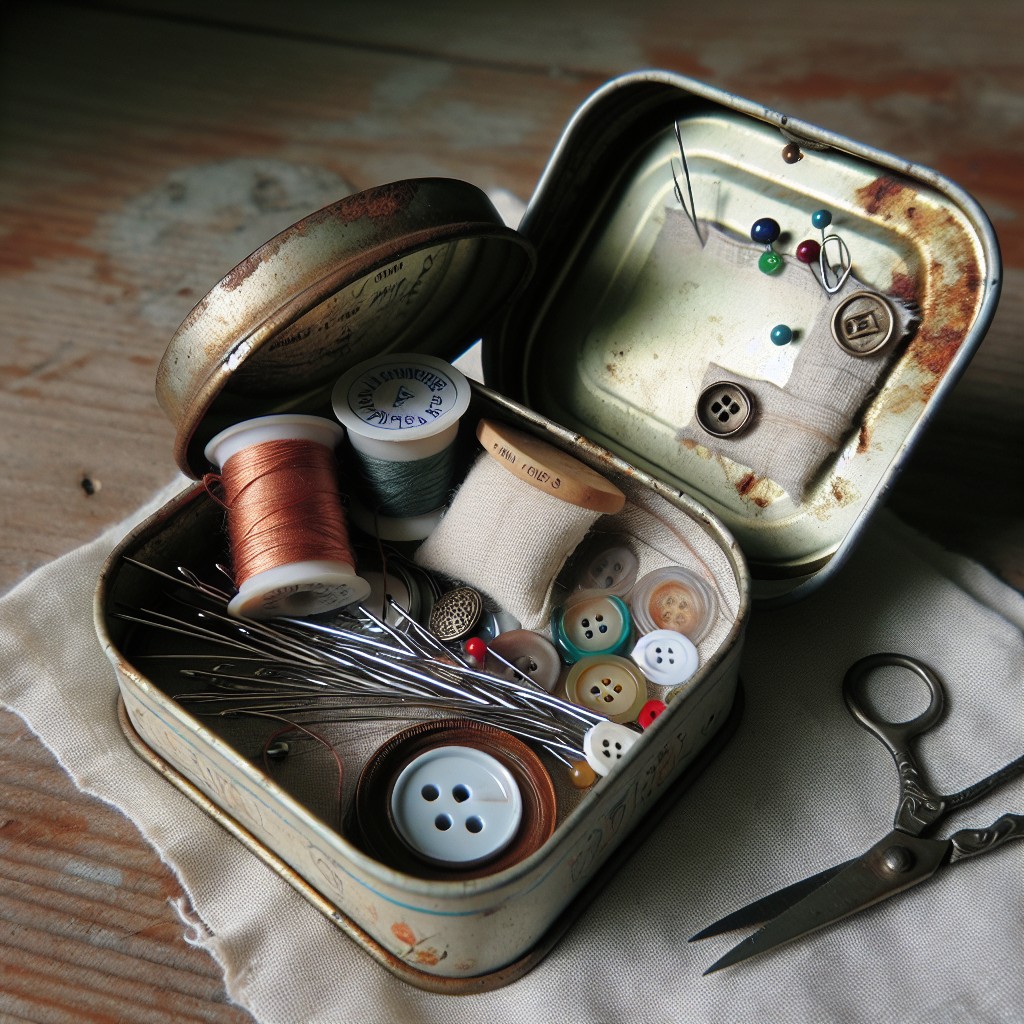
Transforming candle tins into mini sewing kits is a clever way to keep your sewing essentials organized and accessible. These compact kits are ideal for quick repairs or on-the-go needs.
- Start by cleaning the tin thoroughly, removing any wax residue.
- Insert small magnetic strips to hold needles and pins in place.
- Use the lid to store a couple of thread spools, securing them with a small rubber band.
- Cut felt to fit the bottom of the tin, creating a soft spot to rest thimbles or store buttons.
- Include a miniature scissors, ensuring it fits comfortably when the tin is closed.
- Add a few safety pins and a compact seam ripper.
- Consider using a small zip bag to keep small items, like snaps and hooks, organized inside the tin.
- Personalize with stickers or paint for a touch of creativity.
This approach keeps essential sewing items neatly together, making it perfect for stowing in a purse, car glove box, or desk drawer, ready for any minor fashion emergency.
Candle Jars As Picture Frames
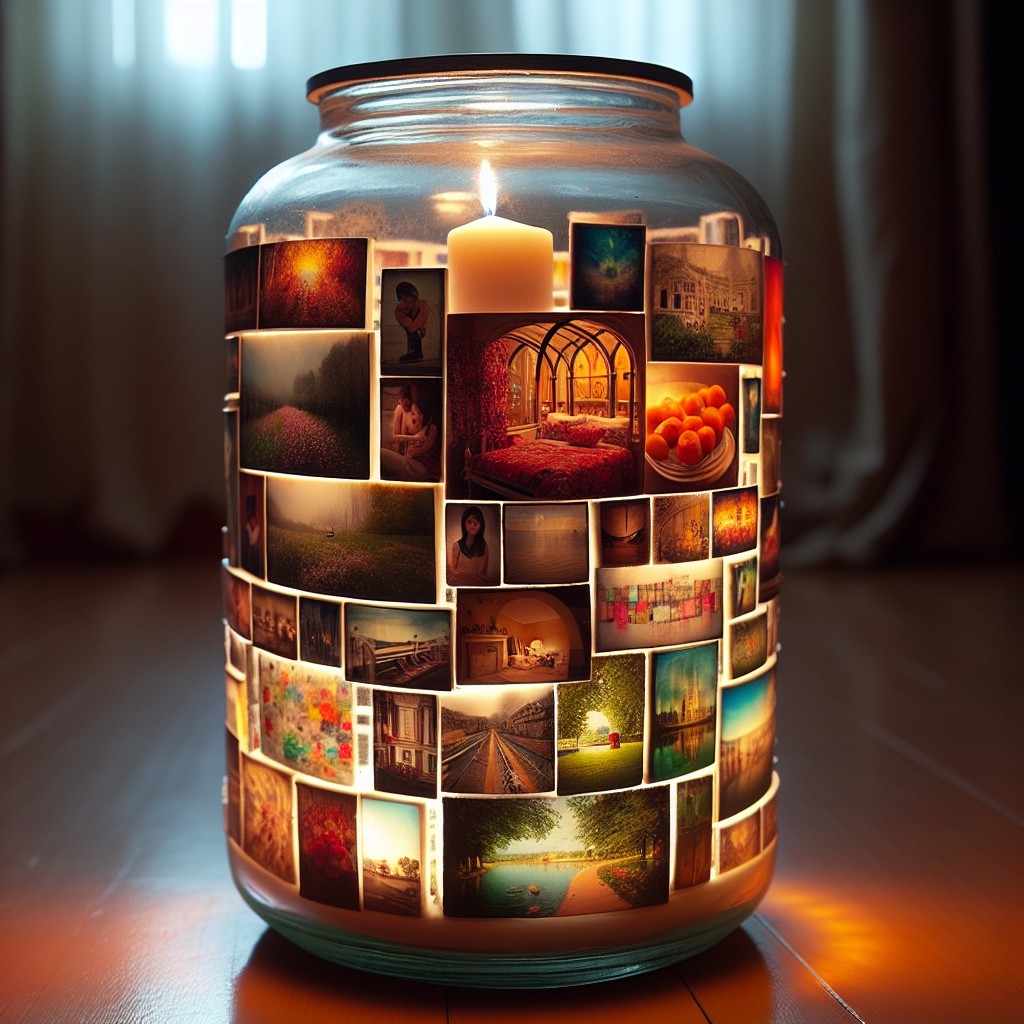
Create a visually appealing photo display by using old candle jars. To start, ensure the jars are clean and free from wax.
For a seamless look, opt for image sizes that match the jar’s dimensions. Adhere the photo inside the jar facing outward using double-sided tape.
Consider filling the bottom of the jar with sand, pebbles, or other decorative elements to add to the aesthetic. This novel framing method not only showcases your memories but also adds a touch of elegance to your decor.
Position these unique photo frames on mantels, shelves, or as part of a centerpiece for an eye-catching arrangement.
DIY Candle Jar Floating Candle Holders
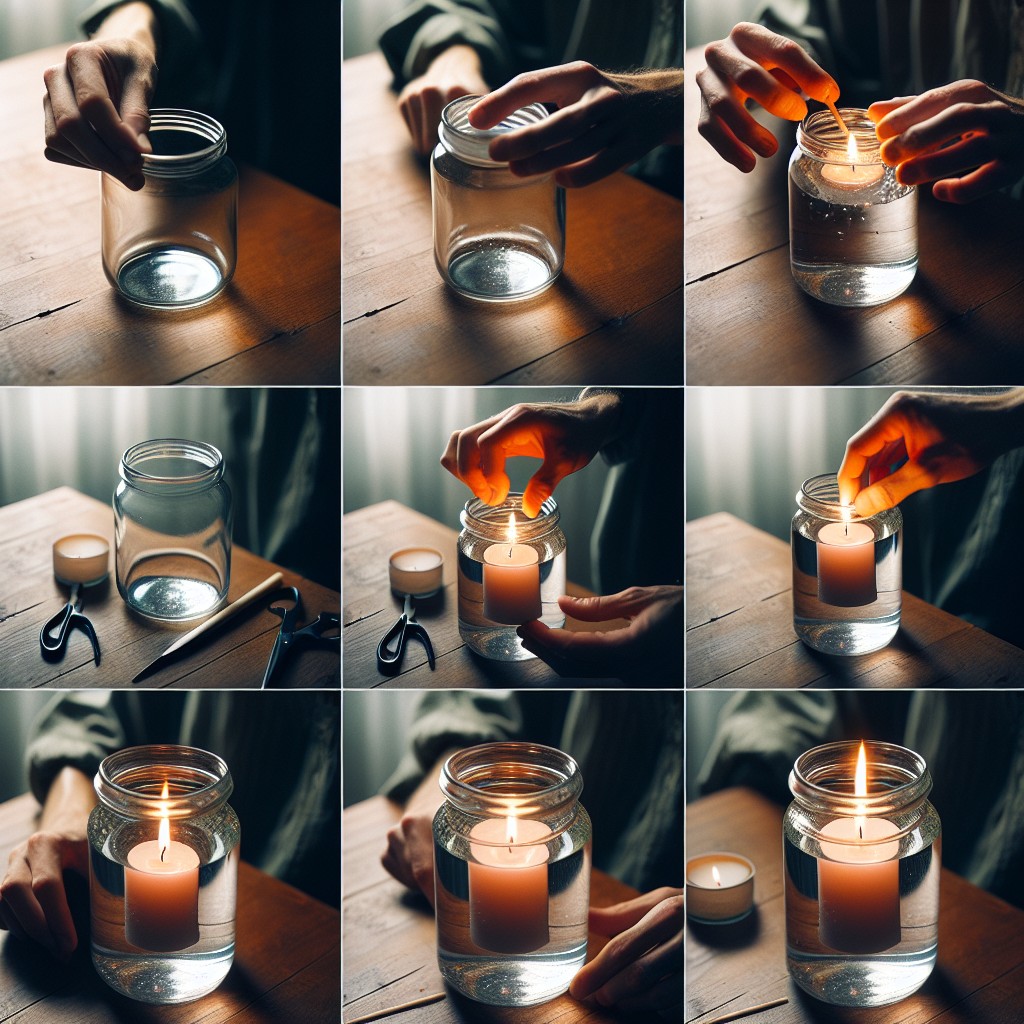
Create a serene ambiance with your old candle jars by crafting floating candle holders. Here’s how to do it:
1. Clean the jars thoroughly to remove any leftover wax and residue.
2. Fill the clean jar with water, leaving some space at the top to avoid overspilling.
3. Choose floating candles that fit nicely inside the jar without touching the edges.
4. Add decorative touches, such as food coloring to tint the water or submerging flowers and pebbles for a natural aesthetic.
5. Gently place the floating candles on the water’s surface and light them carefully.
6. Position your floating candle holders on a stable surface away from any flammable items.
With these simple steps, you can set the mood for a cozy evening or a special event.
Reuse Candle Jars As Christmas Ornament Storage
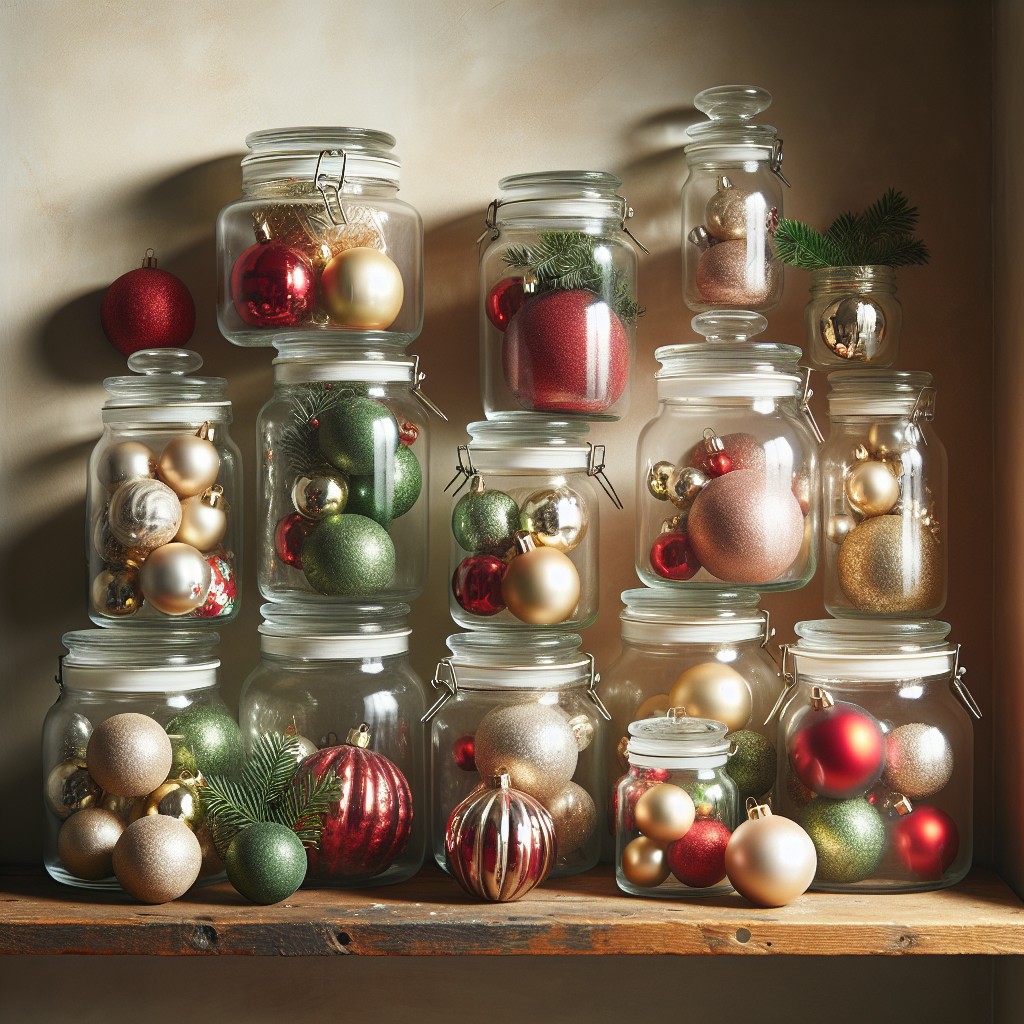
Safeguarding delicate Christmas ornaments off-season requires a gentle approach. Cleaned candle jars—with their robust structure and compact form—become perfect little guardians for your treasured trinkets.
Nestle each bauble in tissue paper and tuck it into the repurposed vessel. The clear glass offers the visual pleasure of seeing your festive pieces, and the screw-top lids keep out dust and moisture.
Stack these secure miniature storage solutions on closet shelves or in storage bins. As a bonus, their transparency enables easy identification, making decorating next year a simpler, more joyous occasion.
Create Your Own Terrarium in Old Candle Containers
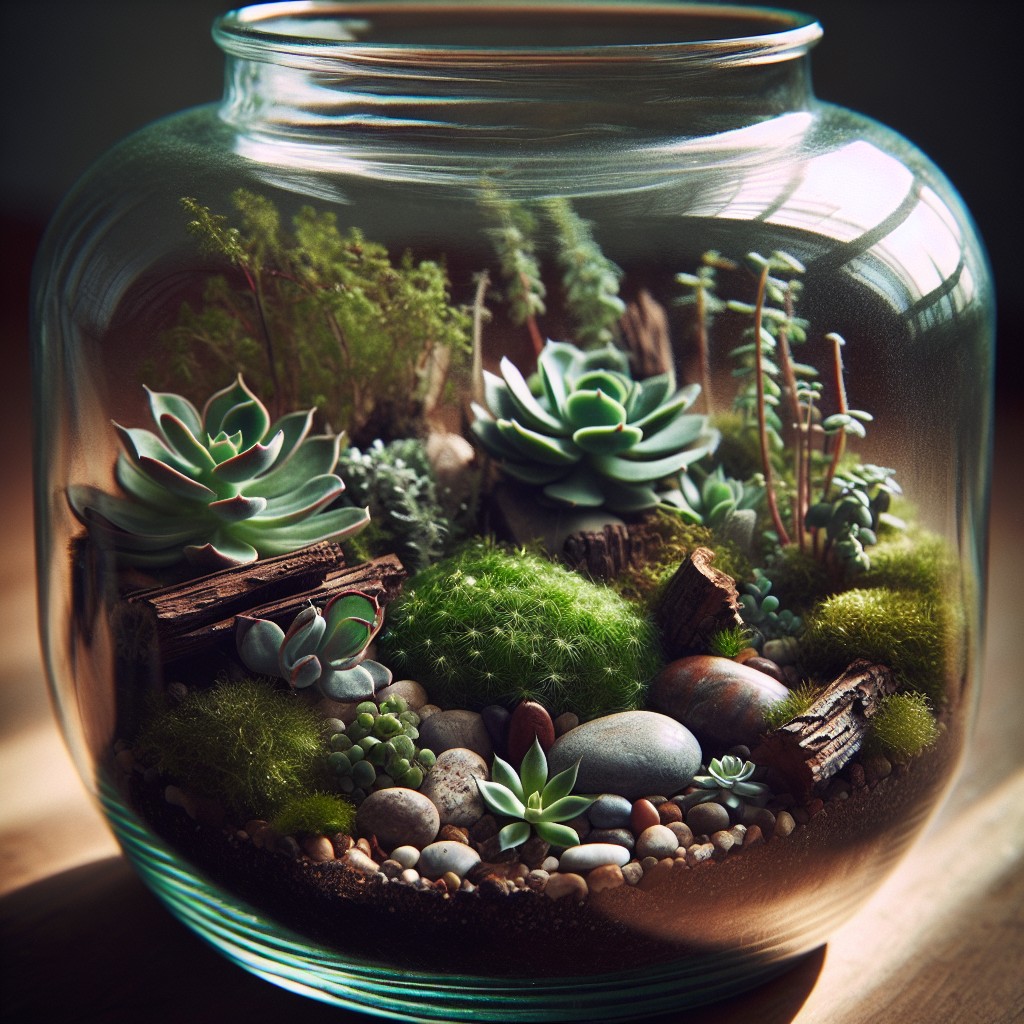
Crafting a terrarium from a spent candle container breathes new life into both your space and the glass. Begin by cleaning the vessel thoroughly to remove residual wax and scents.
A layer of pebbles at the base promotes drainage, ensuring plant roots aren’t waterlogged. Add a thin coating of activated charcoal atop the stones to keep water fresh and ward off bacterial growth.
Next, place a layer of potting soil, choosing a type suited for terrarium plants like succulents or mosses.
Select small plants that thrive in humid environments and arrange them within the soil.
Caring for your micro-garden involves placing it in indirect light and lightly watering when the soil looks dry.
This mini ecosystem not only showcases your green thumb but also adds a vivacious touch to your decor.
Repurpose Candle Jars for Loose Tea Storage
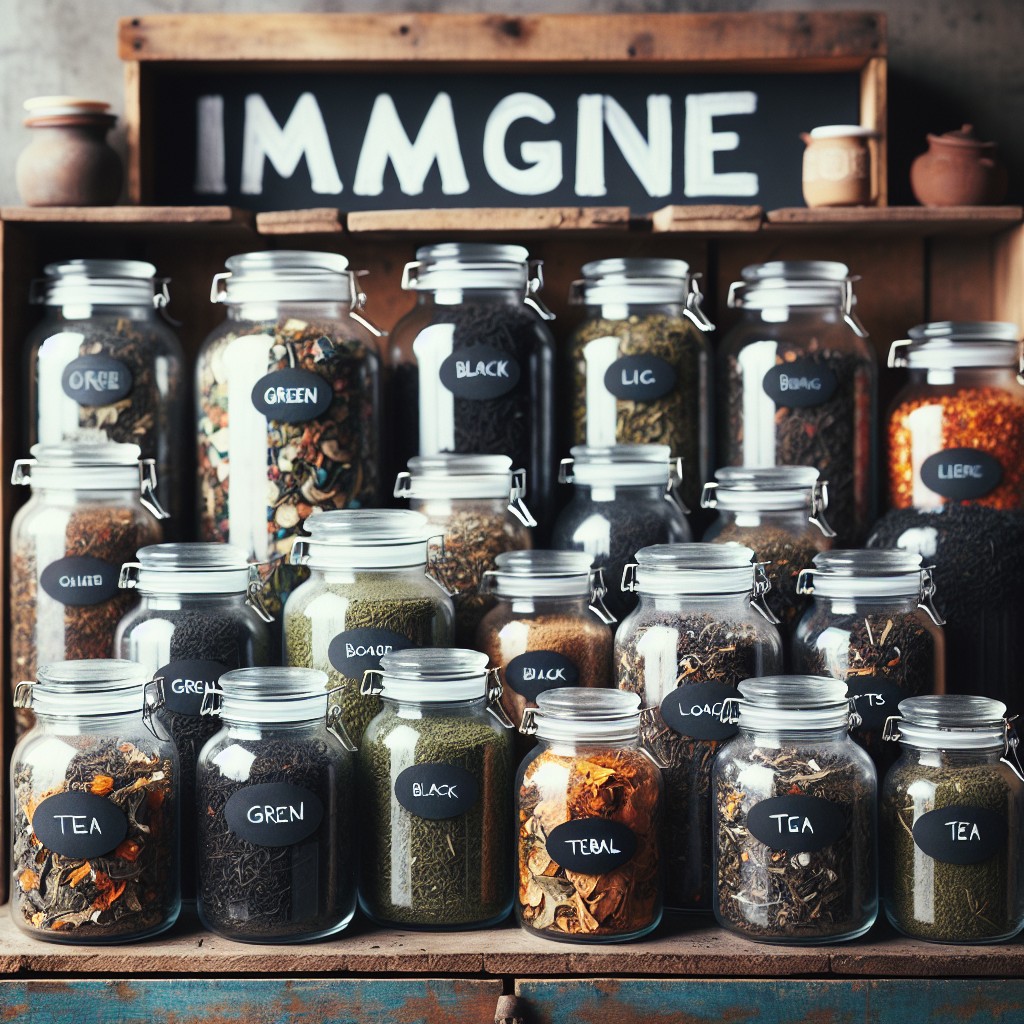
Embrace the charm of vintage-style storage with a practical twist by transforming cleaned-out candle jars into loose tea containers. The airtight seals of many jars are perfect for preserving the freshness and flavor of your favorite teas.
To start, remove any leftover wax by placing the jar in the freezer for a few hours—wax contracts and pops out easily. Peel off labels with the aid of warm, soapy water and a touch of baking soda for any stubborn residue.
Once sparkling clean, dry thoroughly to prevent moisture from affecting the tea. Scoop or funnel tea into jars for an attractive and eco-friendly display on open shelving or within your pantry. Consider labeling the exterior with chalkboard stickers or a paint pen for a personal, rustic touch that’s also highly functional.
This way you can easily identify the contents and enjoy the satisfying uniformity of your DIY tea canisters.
Create Bird Feeders Using Empty Candle Jars
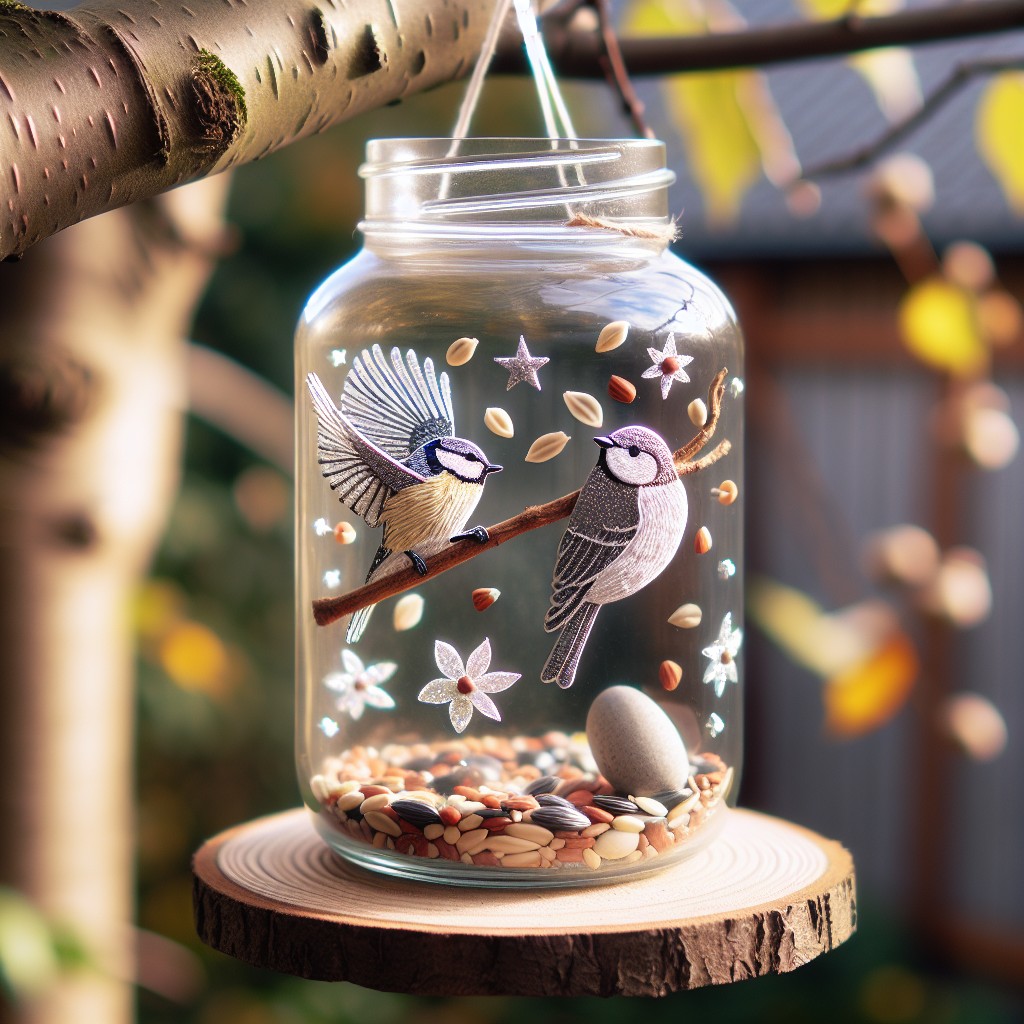
Transforming your spent candle jars into functional bird feeders is a delightful way to breathe new life into your home’s outdoor spaces while supporting local wildlife. To start, thoroughly clean the jar, removing any residual wax and wicks to ensure it’s safe for the birds.
Next, select a sturdy twine or wire for hanging. Wrap it securely around the lip of the jar or, if possible, feed it through pre-existing holes in the lid. Ensure it’s strong enough to support the weight of the jar plus the bird food.
Consider bird seed types appropriate for the feathered friends in your area. Fill the jar, leaving a bit of space at the top to mitigate spilling as birds perch. If your jar has a lid, cut a few openings for the birds to access the seed, or leave the lid off entirely for an open feeding tray.
Finally, find a tranquil spot in your garden to hang the feeder. Opt for a quiet area where birds feel safe to visit, away from high-traffic zones and potential predators. Watch as your upcycled candle jar becomes a bustling hub of avian activity, fostering a connection with nature right in your backyard.
Make Festive Lumières Out of Used Candle Tins
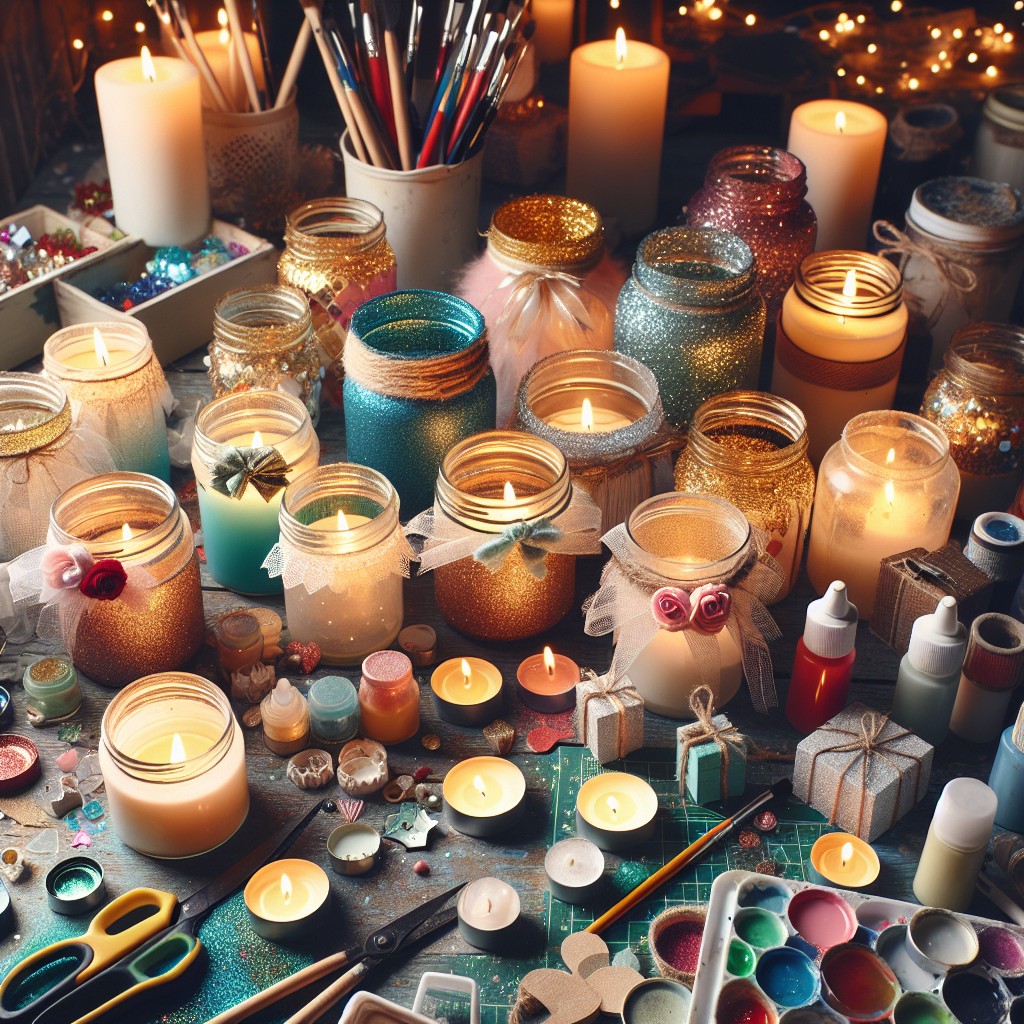
Transform your living space with a touch of magic. Gather those tins and pick out your favorite festive designs, like stars or snowflakes.
Use a nail and hammer to gently punch holes following your pattern. Safety tip: ensure the tin is secure and protect your hands with gloves.
Once your pattern is complete, place a tea light or battery-operated candle inside. The result? Enchanting patterns casting a warm, festive glow on your walls.
This simple craft not only recycles but also adds a unique, cozy ambiance to any celebration.
DIY Candy Dispenser From Candle Jars
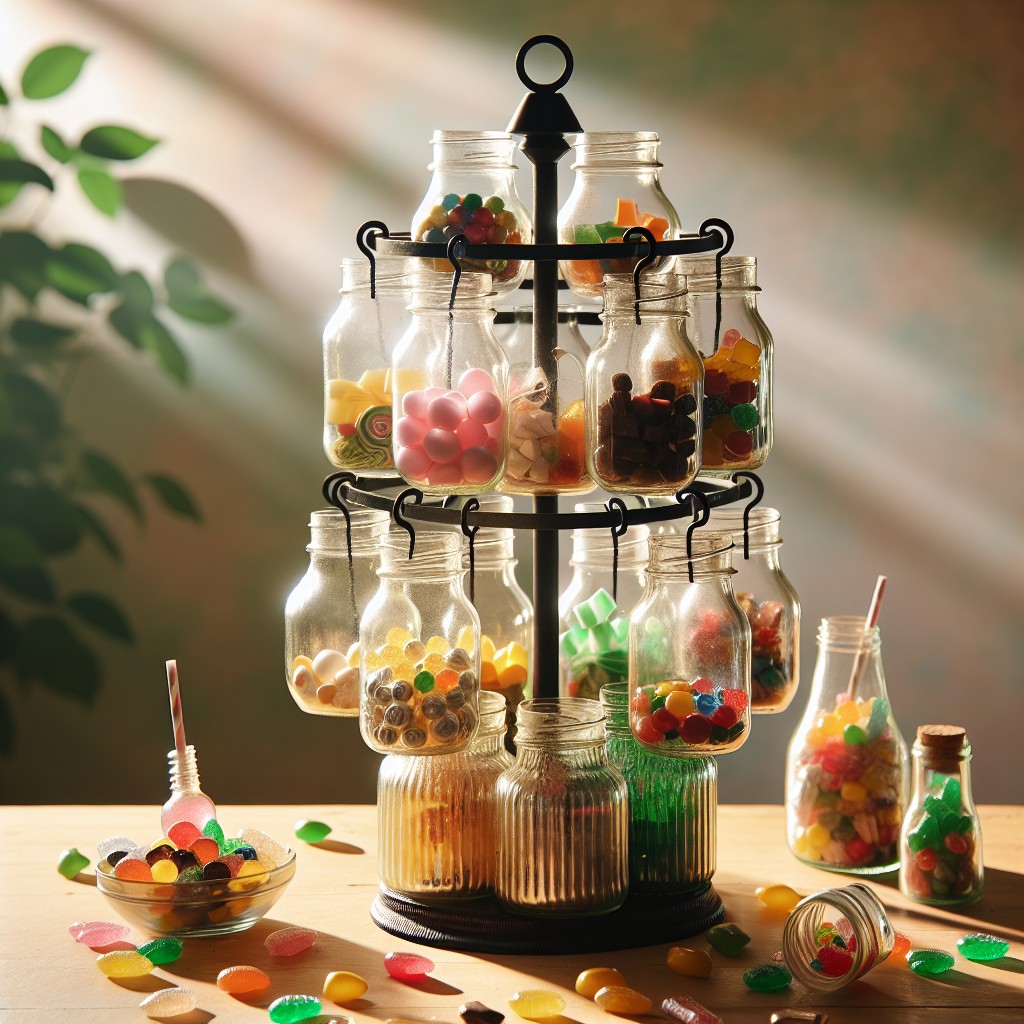
To create your own charming candy dispenser, start by selecting a jar with a wide mouth for easy access to sweet treats. Ensure it’s thoroughly cleaned to remove any residual wax—baking it in the oven at a low temperature helps to melt away wax, which can then be wiped out.
Next, find or purchase a small wooden circle from a craft store to serve as the lid. Drill a hole in the center and attach a cabinet knob for an easy lifting handle. If you prefer a snug fit, consider using a rubber gasket or seal from a hardware store.
For dispensing, you can simply leave the jar as is for a “grab-and-go” style. If you’re seeking a more traditional dispenser mechanism, hunt for an affordable plastic candy dispenser and creatively retrofit its spout to your jar, securing it with strong glue or epoxy.
Consider painting or varnishing the wooden lid for a finished look, and personalize your dispenser with glass paints, stickers, or etching for a delightful spin. Fill your new dispenser with colorful candies and place it on a counter or desk for an inviting treat station.
Make a Candle Jar Memory Box
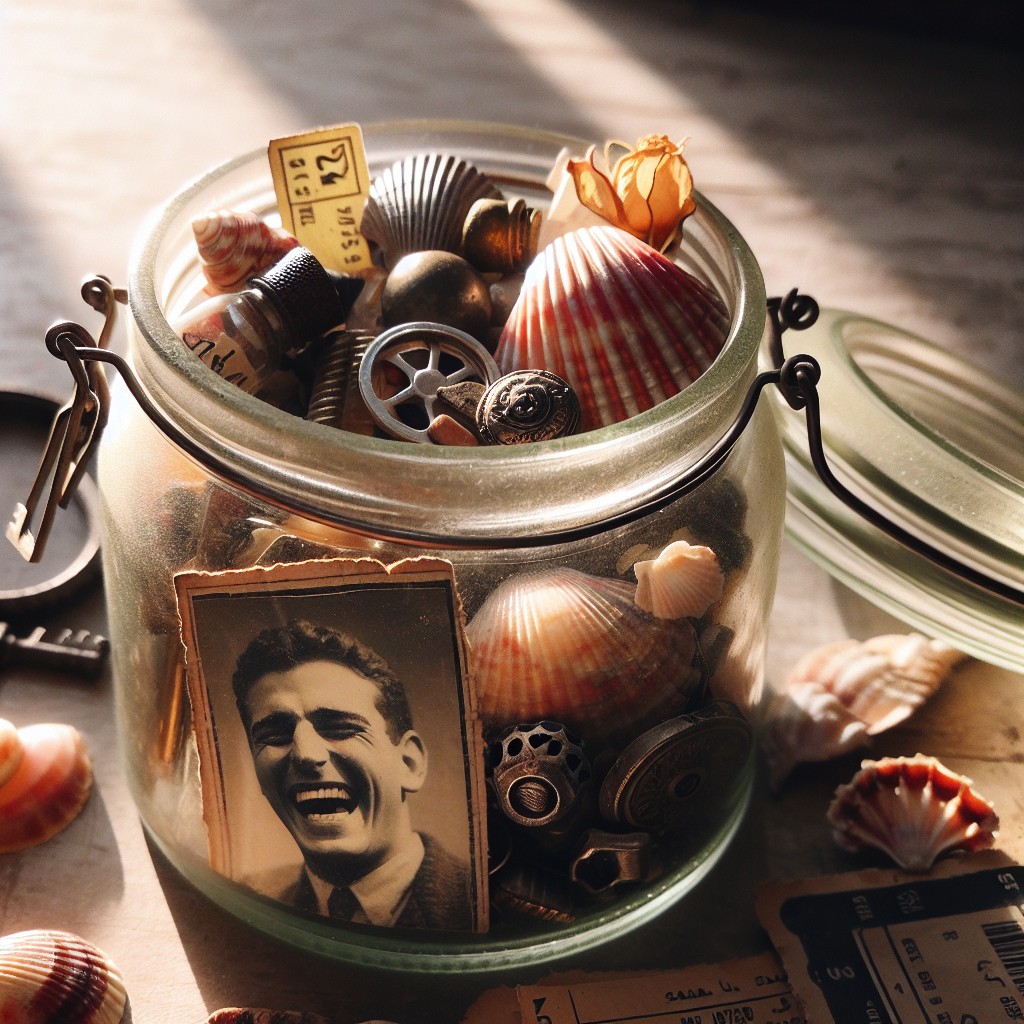
Transforming an empty candle jar into a memory box is a nostalgic way to preserve cherished moments.
First, clean the jar thoroughly, removing all wax residues.
Next, select keepsakes such as concert tickets, small photos, or handwritten notes.
Consider layering the items for a visually engaging arrangement.
Add texture and protect the contents by placing a layer of decorative sand or tiny pebbles at the base.
For a personal touch, paint or decorate the exterior of the jar, and, if desired, label it with a date or event name.
Position your memory jar on a shelf or desk where it can serve as a delightful reminder of past experiences.
Display Photos in Old Candle Jars
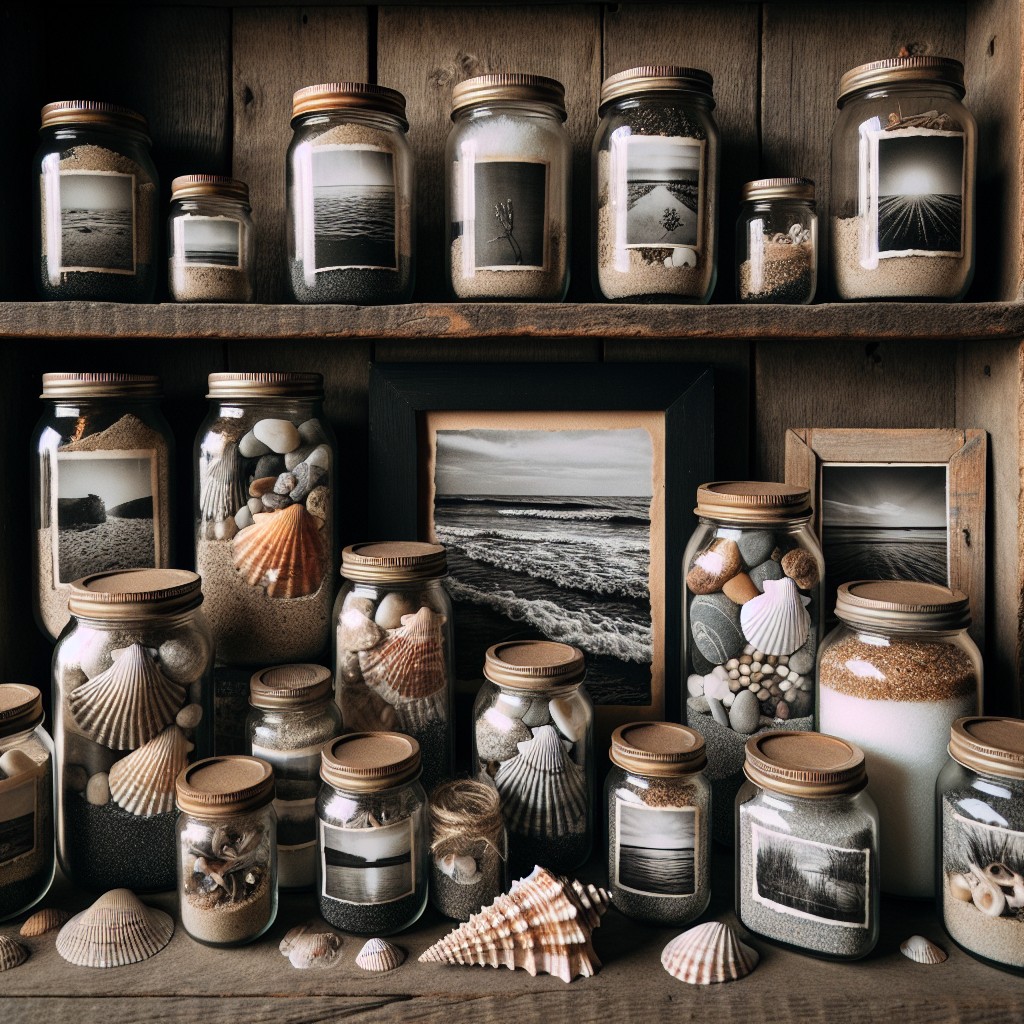
Transforming old candle jars into unique photo displays is both straightforward and charming. The transparency of the glass acts as an excellent medium to showcase your favorite memories while giving them a new and unexpected home.
- Begin by selecting jars of various sizes to add interest.
- Clean the jars thoroughly, ensuring no wax or residue remains.
- Choose photos that can be rolled and placed inside the jar. Consider using black and white prints for a classic look.
- Roll the photo slightly smaller than the jar’s opening and insert it. The glass will flatten the image, holding it in place.
- To add a dynamic element, place small trinkets or decorations related to the photo at the bottom of the jar.
- Consider back-lighting the jars by placing string lights behind them for a soft, glow effect.
These personalized photo jars serve as conversation pieces and can be regularly updated with new memories, keeping your decor fresh and meaningful.
DIY Candle Jar Snow Globe
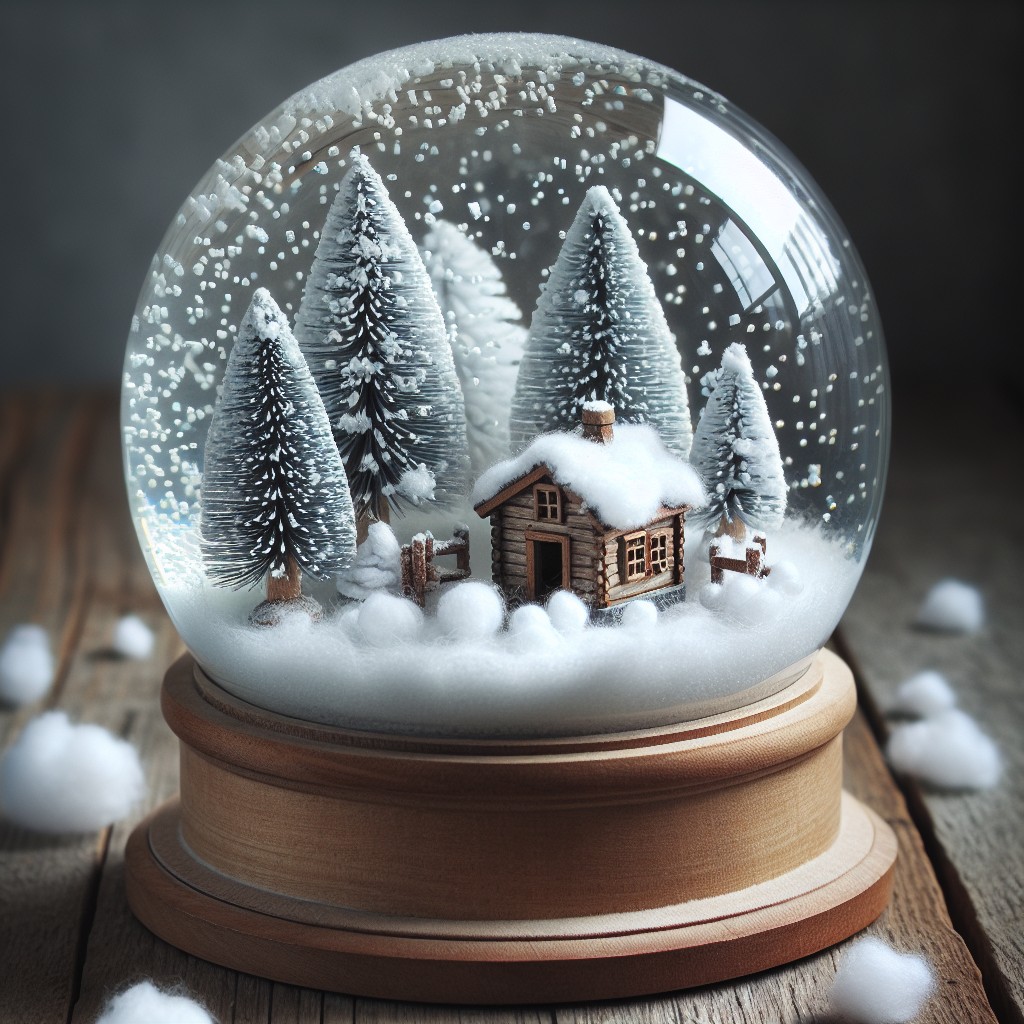
Transform an empty candle jar into a whimsical snow globe with a few simple materials. You’ll need a small waterproof figurine, glycerin or clear glue, distilled water, and glitter.
Start by gluing the figurine to the inside of the jar lid. Once dry, fill the jar with distilled water, add a dash of glycerin or clear glue to thicken the water, and sprinkle in your choice of glitter.
For an enchanting touch, experiment with different types of glitter or confetti that complement your chosen figure. Screw the lid back onto the jar tightly, and you’ve created a magical, snowy scene.
Turn it over and watch the glitter swirl like a gentle snowfall. This DIY project not only recycles but also adds a unique decorative element to your space.
Reuse Candle Jars for Makeup Brush Holders
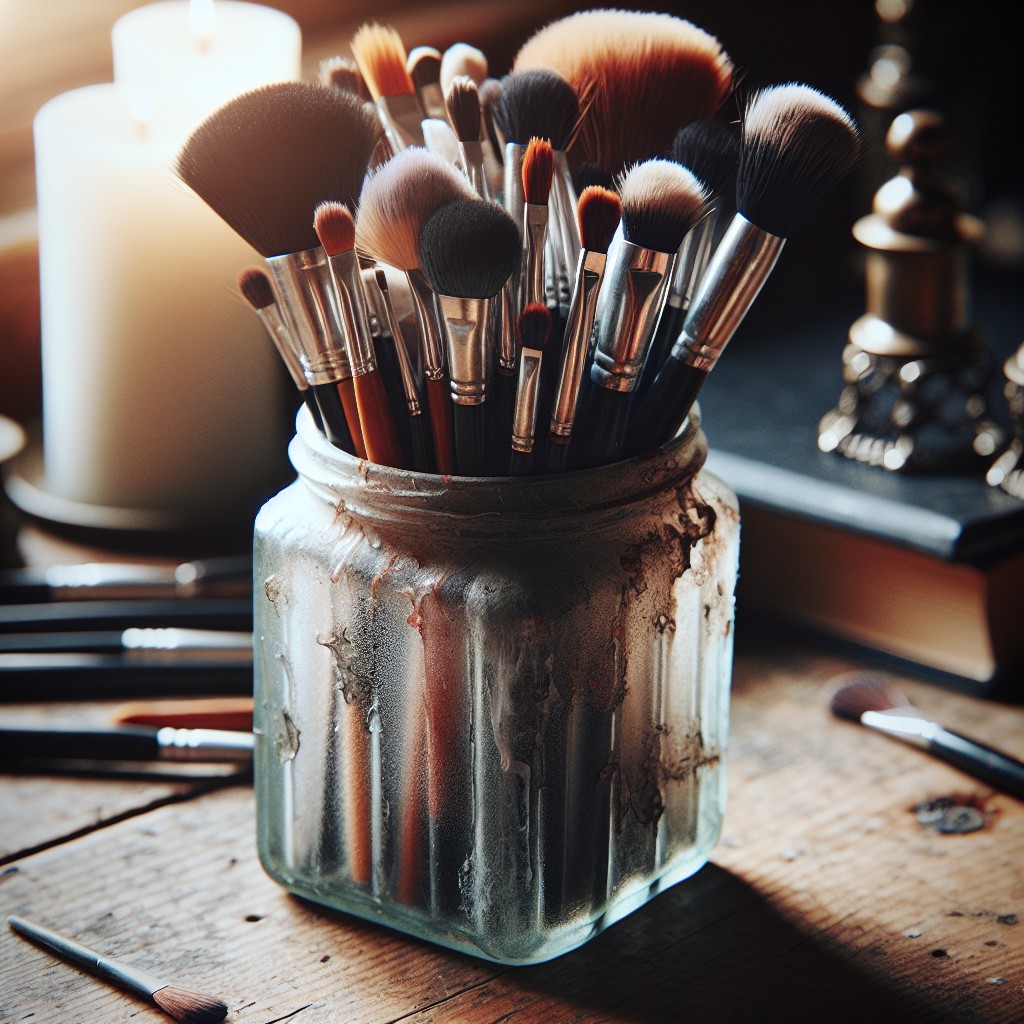
Empty candle jars offer an elegant solution for organizing makeup brushes on your vanity.
Clean the jars thoroughly, removing any wax residue with hot water and soap.
Consider customizing the exterior with paint, ribbon, or adhesive embellishments to match your decor aesthetic.
For extra flair, fill the bottom with decorative beads or sand to keep brushes upright.
This simple transformation not only adds a touch of sophistication but also ensures your favorite beauty tools are at your fingertips when you need them.
DIY Candle Jar Aquarium
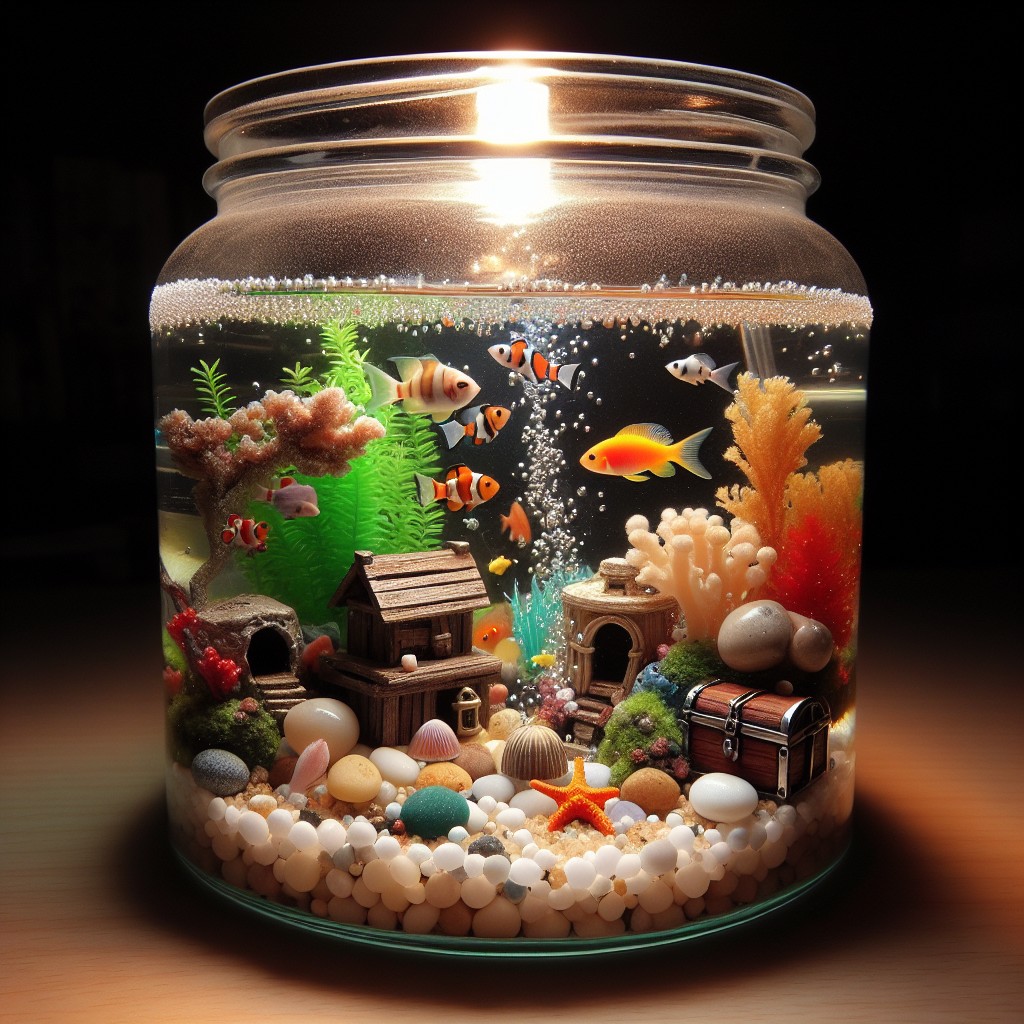
Creating your mini aquarium breathes new life into empty candle jars and adds a touch of tranquility to your space. Begin by thoroughly cleaning the jar to remove any residual wax and scent. Opt for a larger jar to give your aquatic display room to flourish. Layer the bottom with sand or fine gravel, which you can color-coordinate with the room’s decor for added aesthetic.
With your substrate settled, place small aquatic plants, like java moss or anubias, into the jar. These low-maintenance greens will be the backbone of your miniature ecosystem. For a splash of dynamic color, add miniature figurines or colorful stones that won’t alter the water chemistry.
Next, carefully pour in dechlorinated water to prevent harming any potential living elements. While traditional fish are not suitable for such small environments, consider adding shrimp or snails for an interactive aspect, ensuring that the species you choose can thrive in a small, unfiltered water body.
Finally, position your mini aquarium in an area with sufficient light and warmth to encourage plant growth, but avoid direct sunlight, which can lead to overheating and algae buildup. Keep a lid handy to prevent evaporation and dust accumulation, but ensure it’s not airtight – your aquatic friends need air exchange to stay healthy. Regular maintenance, including water changes and plant trimming, will keep your DIY aquarium thriving.
Repurpose Candle Jars As Plant Propagation Station
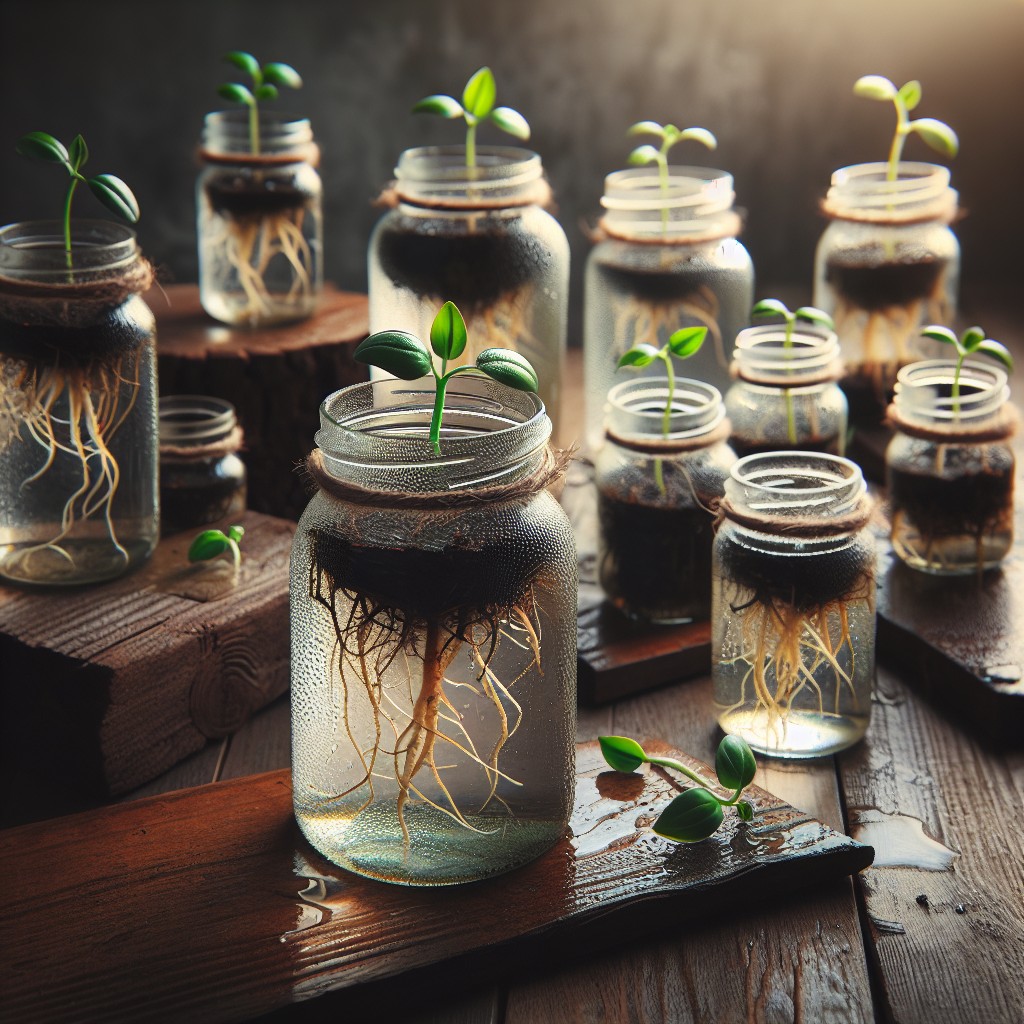
Embrace the beauty of greenery while giving new life to old candle jars by creating a plant propagation station. These clear vessels offer the perfect view to monitor root growth.
Start by thoroughly cleaning the jars, ensuring all wax residue is removed. Fill them with water, opting for room temperature, and place the cuttings of your preferred plants such as pothos, monstera, or herbs into the water.
The transparency of the glass provides an ideal window to watch the rooting process—a functional decor piece that not only adds a touch of botanical flair but also serves as an educational tool for plant enthusiasts.
Remember to change the water regularly and provide your budding plants with indirect sunlight. Once roots establish, you can transplant them into soil or continue to cultivate them hydroponically in the jars.
Reuse Candle Tins for Homemade Beeswax Polish
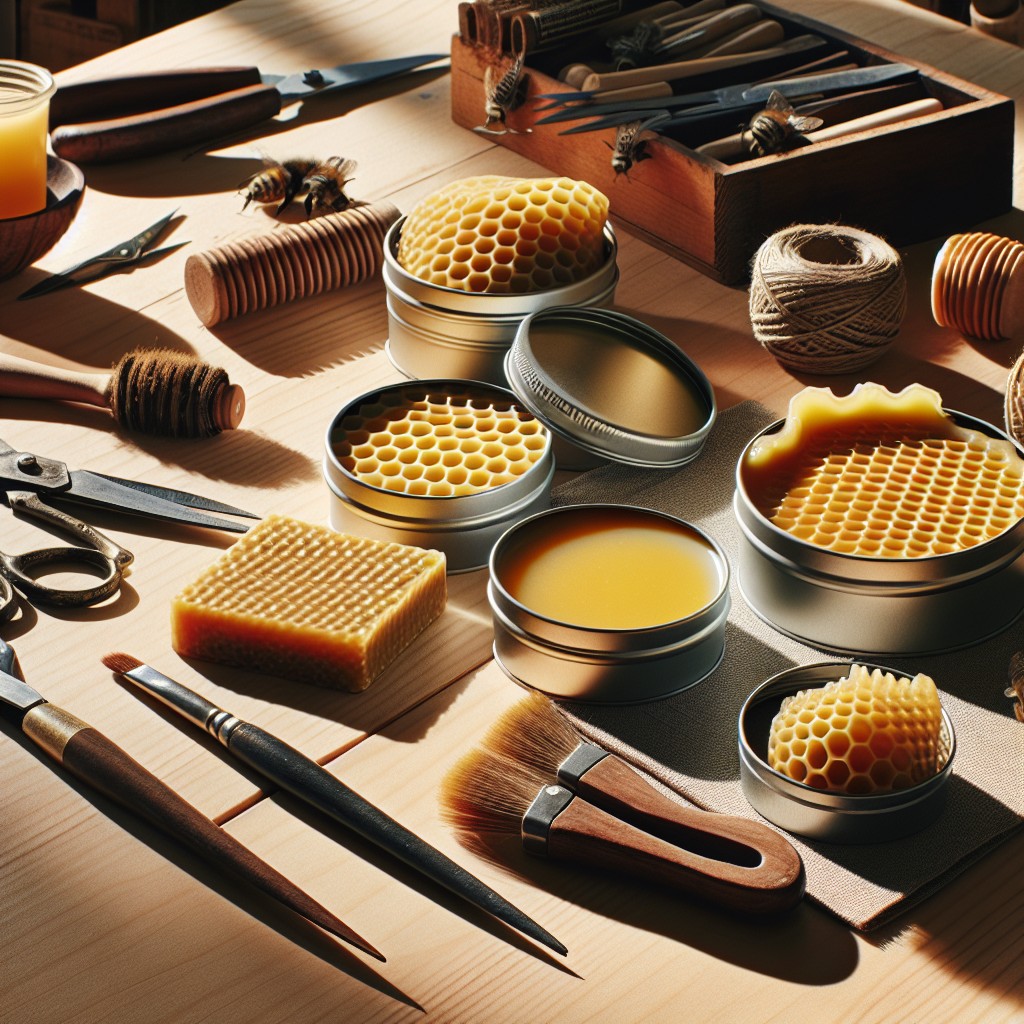
Transforming empty candle tins into containers for homemade beeswax polish is both eco-friendly and practical. Here’s how to make this idea work:
1. Clean the Tin: Start by removing any residual wax and cleaning the tin with soapy water. Let it dry completely.
2. Prepare the Polish: Melt equal parts of beeswax and carrier oil (like olive or coconut oil) in a double boiler. Once melted, add a few drops of essential oil for fragrance if desired.
3. Pour and Set: Carefully pour the melted mixture into the tin and allow it to solidify.
4. Label it: Create a custom label or simply write directly on the tin with a permanent marker to identify the contents.
5. Usage: Use a cloth to apply the polish to wood furniture, creating a natural, protective shine.
By choosing to reuse candle tins for homemade polish, you contribute to a zero-waste lifestyle while ensuring your furniture care products are stored in sturdy, spill-proof containers.
Use Old Candle Containers for Making DIY Lip Balms

Harness the charm of emptied candle containers to craft personalized lip balms. These glass or tin vessels are the perfect size for homemade lip care concoctions.
Begin by thoroughly cleaning the jar, removing any leftover wax and labels. Sterilize it to ensure it’s safe for cosmetics.
Melt beeswax, coconut oil, and shea butter in a double boiler, customizing your balm with essential oils or a pinch of lipstick for color. Pour the mixture into the container, letting it set until firm.
Not only does this give you control over the ingredients in your lip balm, ensuring they’re natural and soothing, but it also offers an opportunity to minimize waste. The jars can be effortlessly carried in a purse or stored in a desk drawer, ready to soothe chapped lips. Plus, they make thoughtful, handcrafted gifts for any occasion.
Embrace this eco-friendly approach to beauty, and enjoy your creation every time your lips need a hydrating boost.
Candle Jars for Dried Flower Display
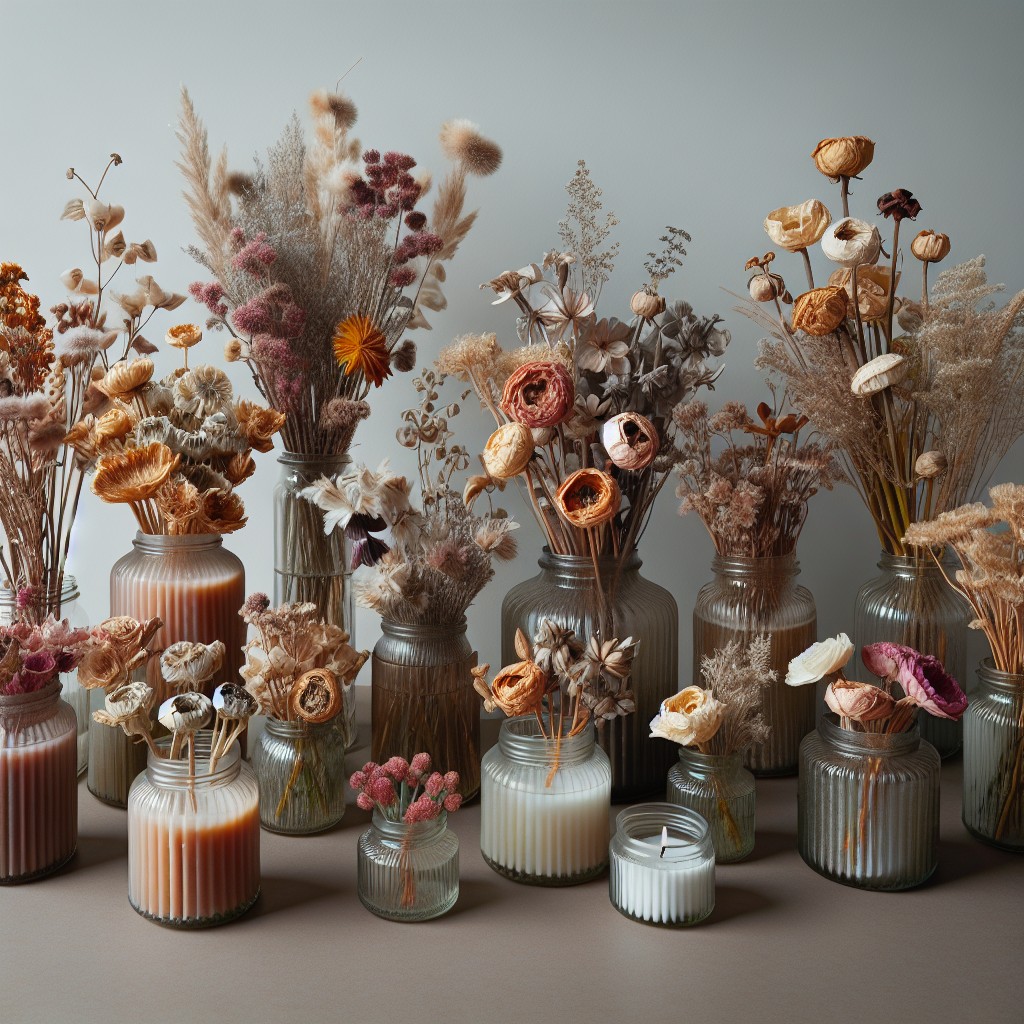
Transforming candle jars into displays for dried flowers is a simple yet elegant way to repurpose used containers. Start by thoroughly cleaning out any remaining wax and wick residue.
For an added touch, consider painting the exterior or wrapping the jar with twine for a rustic look. Select a variety of dried blooms, focusing on different textures and lengths to create visual interest.
Trim the stems to fit the height of the jar and arrange them inside. These displays can serve as centerpieces, add a natural element to shelving, or brighten up a windowsill.
To ensure stability, you may fill the bottom of the jar with decorative stones or sand, providing a sturdy base for your dried flower arrangement.
Create Candle Jar Vanity Storage
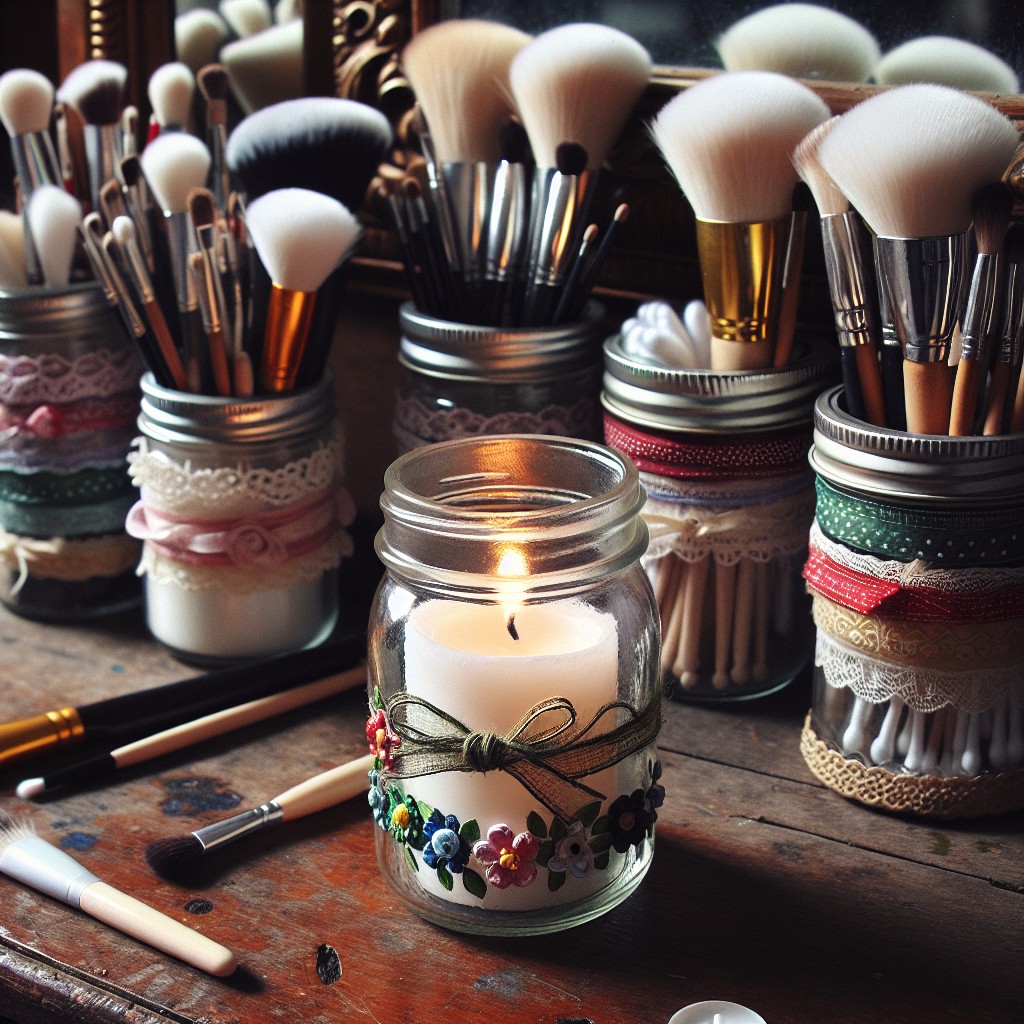
Elevate your vanity with a touch of elegance by repurposing old candle jars for storage. These glass vessels are ideal for containing small items that often clutter your space.
To start, clean out any residual wax with warm water and a bit of soap, ensuring a pristine container for your makeup brushes, cotton balls, or hair ties.
For an added flair, consider painting the jar or decorating with ribbons to match your decor. Not only do these upcycled jars keep essentials within reach, but they also add a personalized aesthetic to your daily routine.
To maximize functionality, sort items by type or frequency of use and label the jars accordingly with a stylish tag or permanent marker. This method ensures a seamless, elegant addition to your vanity, blending organization with beauty.
Repurpose Candle Containers As Fancy Soap Dispensers
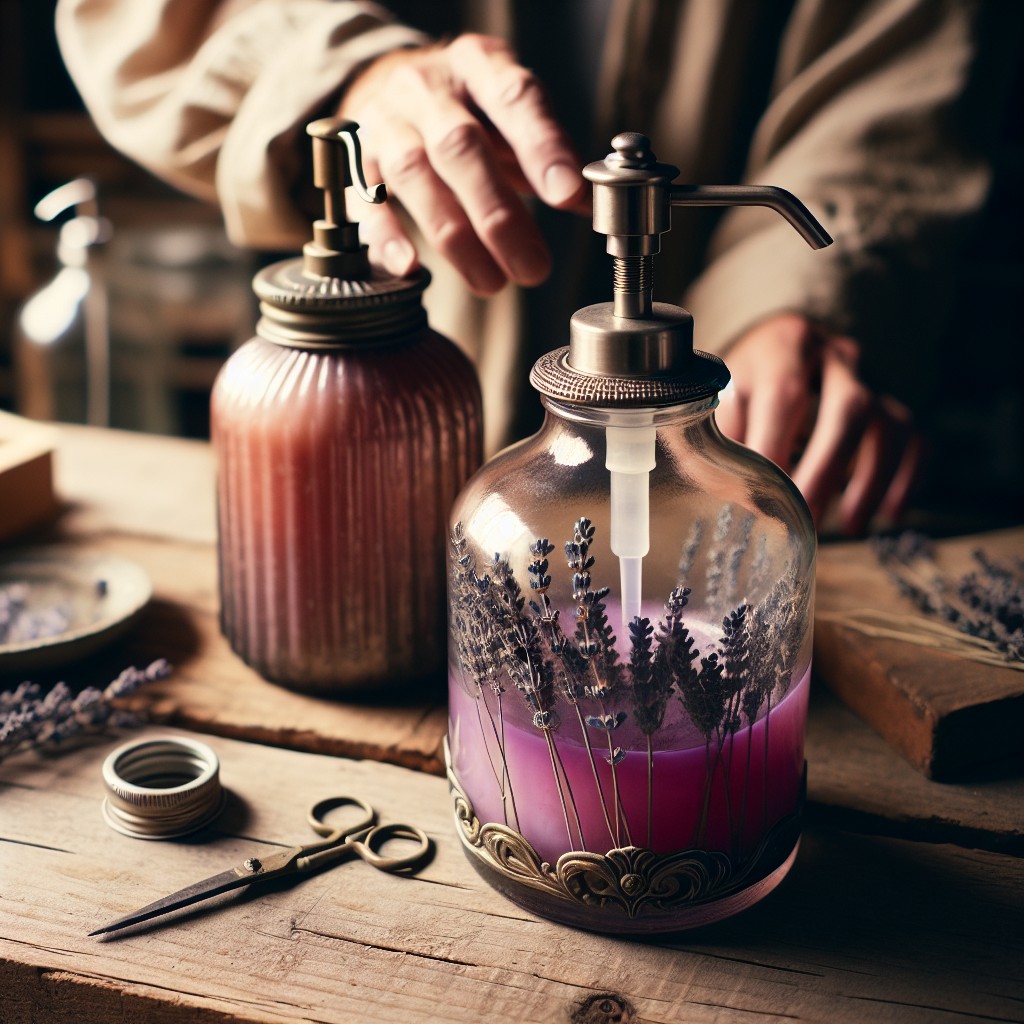
Upcycling empty candle containers into soap dispensers is a straightforward process that adds a touch of elegance to any bathroom or kitchen. Start by thoroughly cleaning out any remaining wax and wick residue. You can achieve this by freezing the jar to shrink the wax, scraping it out, and then washing it with warm soapy water.
Next, purchase a soap dispenser pump, which can typically be found at craft or hardware stores. Ensure the pump fits the jar’s opening; some may require trimming with strong scissors or a pump from an old dispenser could be repurposed.
Drill a hole in the jar’s lid, if necessary, to fit the pump’s width. If the lid is metal, use a drill with the appropriate bit; for plastic, a heated nail could suffice. Keep edges smooth to avoid any sharpness.
Secure the pump into the lid. Hint: some pumps may need gluing to ensure they stay in place. Choose waterproof and mold-resistant glue to withstand the moist environment of a bathroom.
Finally, fill the jar with your preferred liquid soap, screw the fitted pump lid back onto the jar, and voilà! You’ve crafted a unique soap dispenser that not only reuses a beautiful container but also serves as a stylish bathroom accent.
DIY Candle Jar Fairy Lights
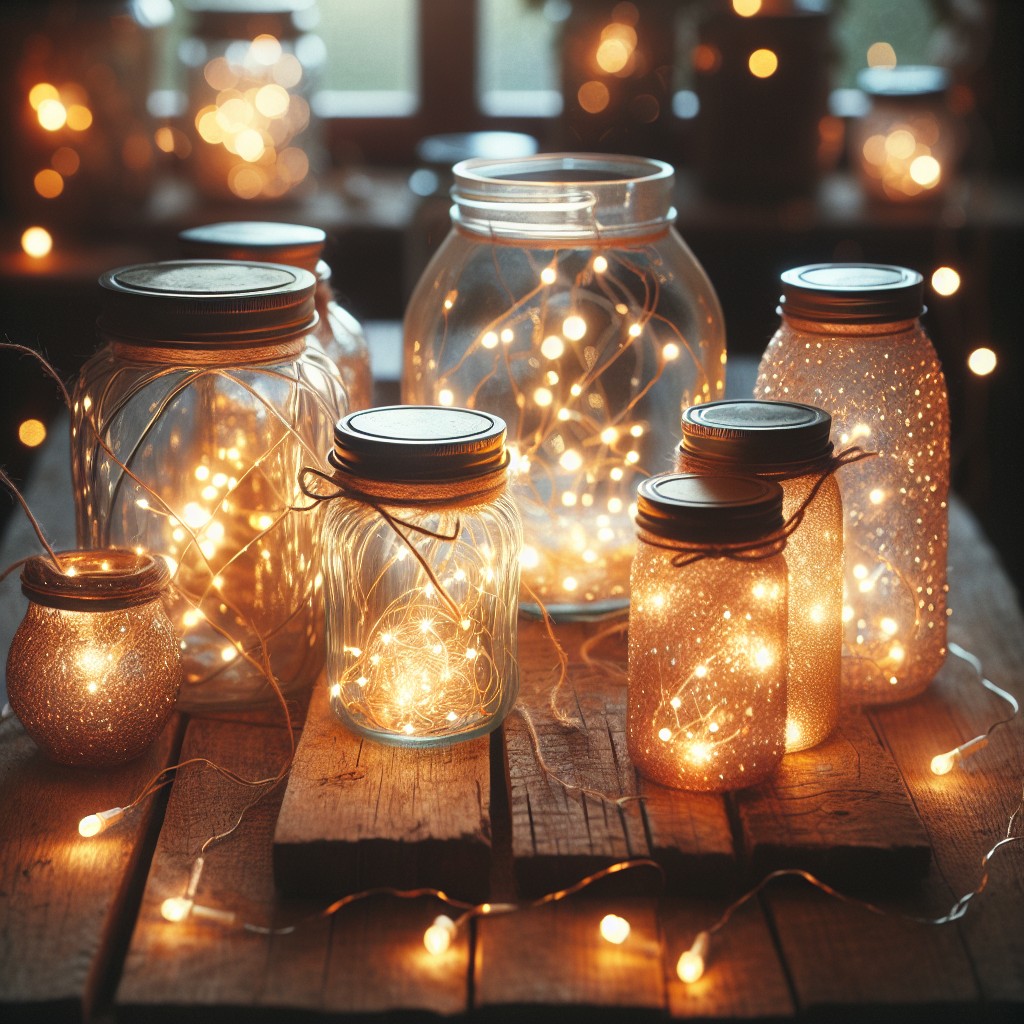
Transform your outdoor or indoor space into a magical twinkling haven with a string of fairy lights encased in your former candle jars. The transparency of the glass beautifully diffuses light, adding a warm, cozy ambiance.
To start, simply clean out the jars thoroughly, removing any residual wax and labels. Next, choose a string of LED fairy lights, considering battery-operated ones for areas without easy access to outlets.
Nestle a small bundle of lights into each jar, securing the battery pack or end of the string with a discreet piece of clear tape if necessary. Arrange the jars at varying heights using sturdy twine or shelving for a cascading lighting effect. A delicate ribbon tied around the neck of the jar adds a touch of elegance.
For outdoor gatherings, you can anchor the jars amidst foliage or along a garden path, ensuring they are not exposed to elements they aren’t designed to withstand. With soft illumination emanating from each jar, you’ve crafted a simple yet enchanting feature that enriches any occasion.
Make an Attractive Mini Aquarium With Candle Jars
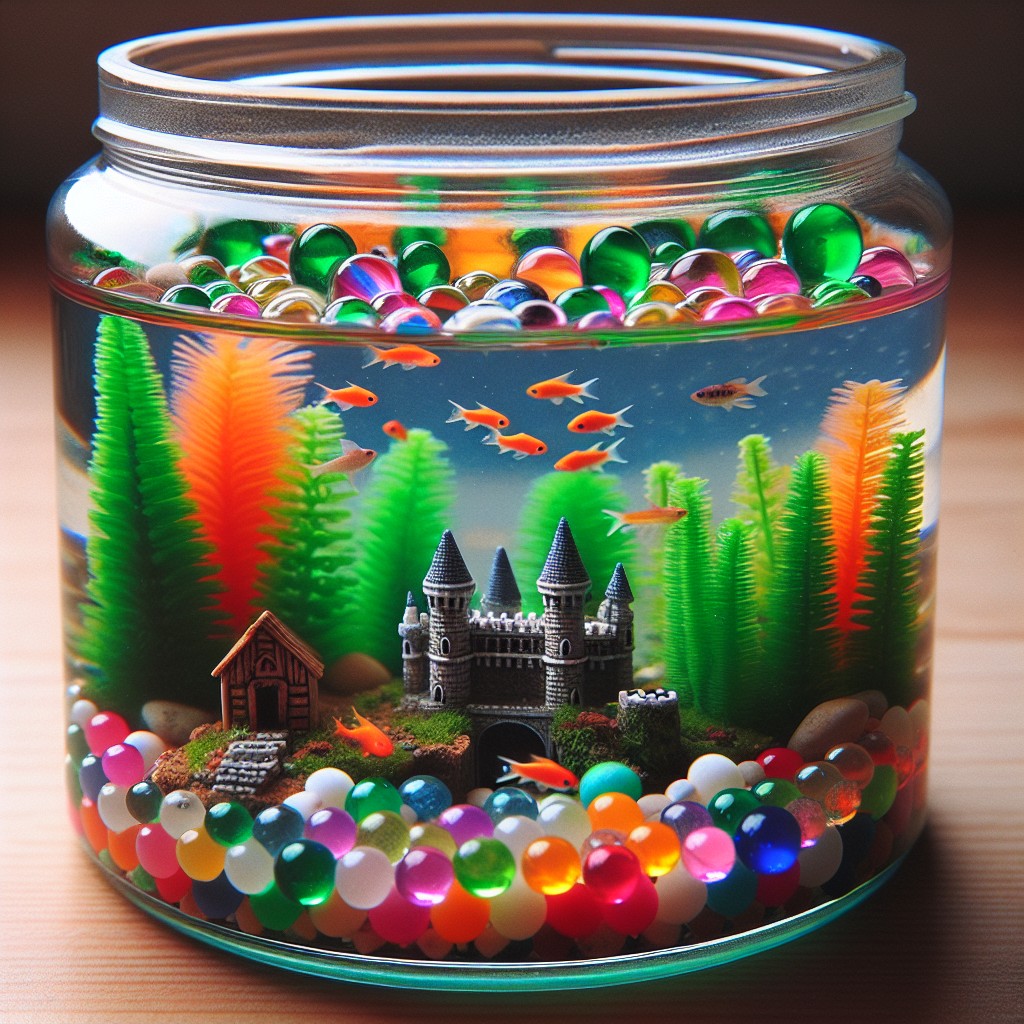
Begin by thoroughly cleaning your jar, ensuring all wax and residue are removed for a clear view of your miniature underwater world. Select small aquatic plants such as Anubias or Java Fern, which are hardy and require minimal care.
Choose a substrate like sand or fine gravel to line the bottom of the jar, providing a bed for your plants.
Add decorative stones or miniature ornaments for aesthetic appeal, ensuring they are safe for aquatic environments. Carefully fill the jar with dechlorinated water to protect the health of the plants. If opting for a jar that will host tiny shrimp or snails, research proper care and maintenance for these creatures, and acquire a suitable lid to prevent escape.
Position your mini aquarium in a spot with indirect sunlight to prevent algae growth while providing your plants with the light they need to thrive. Monitor water conditions regularly and change it partially every week to maintain a healthy ecosystem.
Enjoy the tranquility of your pint-sized aquatic haven!
Reuse Old Candle Jars As Kitchen Sponge Holders
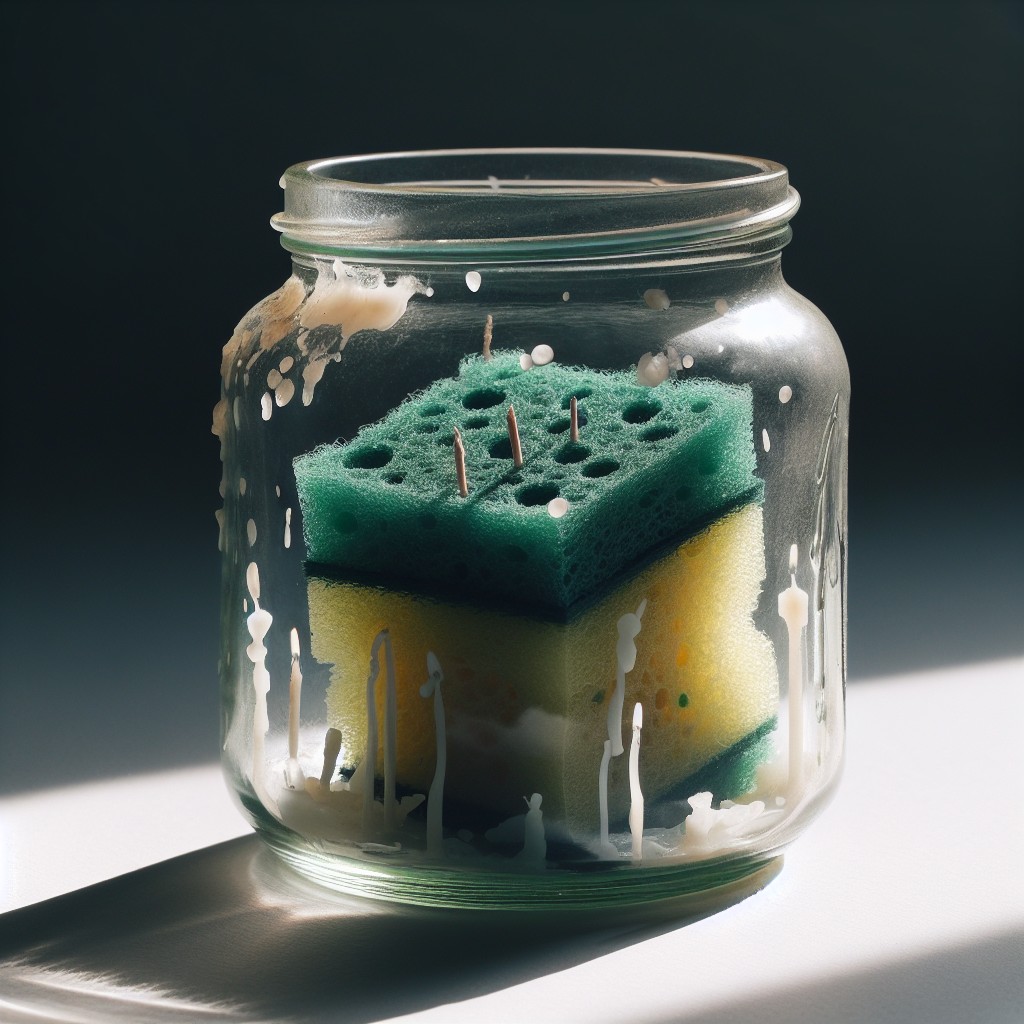
Transforming glass jars from finished candles into holders for kitchen sponges is a fantastic way to add a touch of elegance to your sink area.
Ensure the jar is thoroughly cleaned to remove any wax residue and the label.
Consider the size of the sponge and the jar opening; a wide opening is best to ensure the sponge dries properly and doesn’t develop mildew.
You can personalize the exterior with paint or ribbon to match your kitchen decor.
To prevent slippage and protect surfaces, place a small piece of rubberized shelf liner under the jar.
This easy, eco-friendly project not only upcycles but also keeps countertops clutter-free and stylish.
DIY Soup Ingredients Jar With Used Candle Vessels
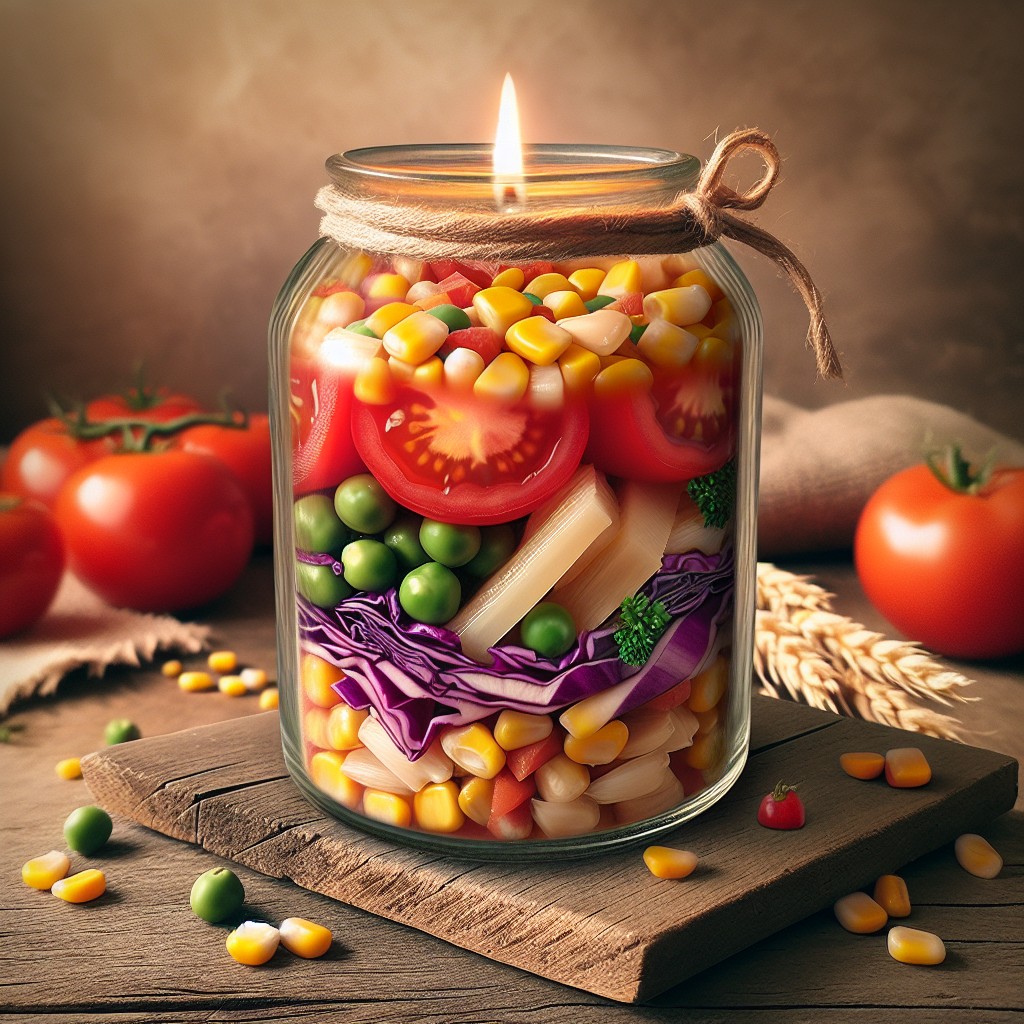
Start by thoroughly cleaning your candle jars, ensuring all wax residues are removed, and the jars are completely dry.
Select a variety of dehydrated ingredients such as beans, lentils, rice, pasta, dried vegetables, herbs, and spices.
Layer these ingredients artfully to create a visually appealing mix.
Each layer should represent an ingredient needed for the soup, with seasoning layers interspersed for flavor.
Include a tag or sticker on the jar with cooking instructions and additional ingredients needed, such as broth or canned tomatoes.
These jars not only serve as a handy meal prep solution but also make for thoughtful housewarming gifts or festive holiday presents.
Moreover, they can be a pleasing addition to your pantry, bringing a touch of homemade charm to your kitchen decor.
Remember to seal the jars tightly to keep the ingredients fresh and ready for use.
Transform Old Candle Jars Into Personalized Keepsake Holders
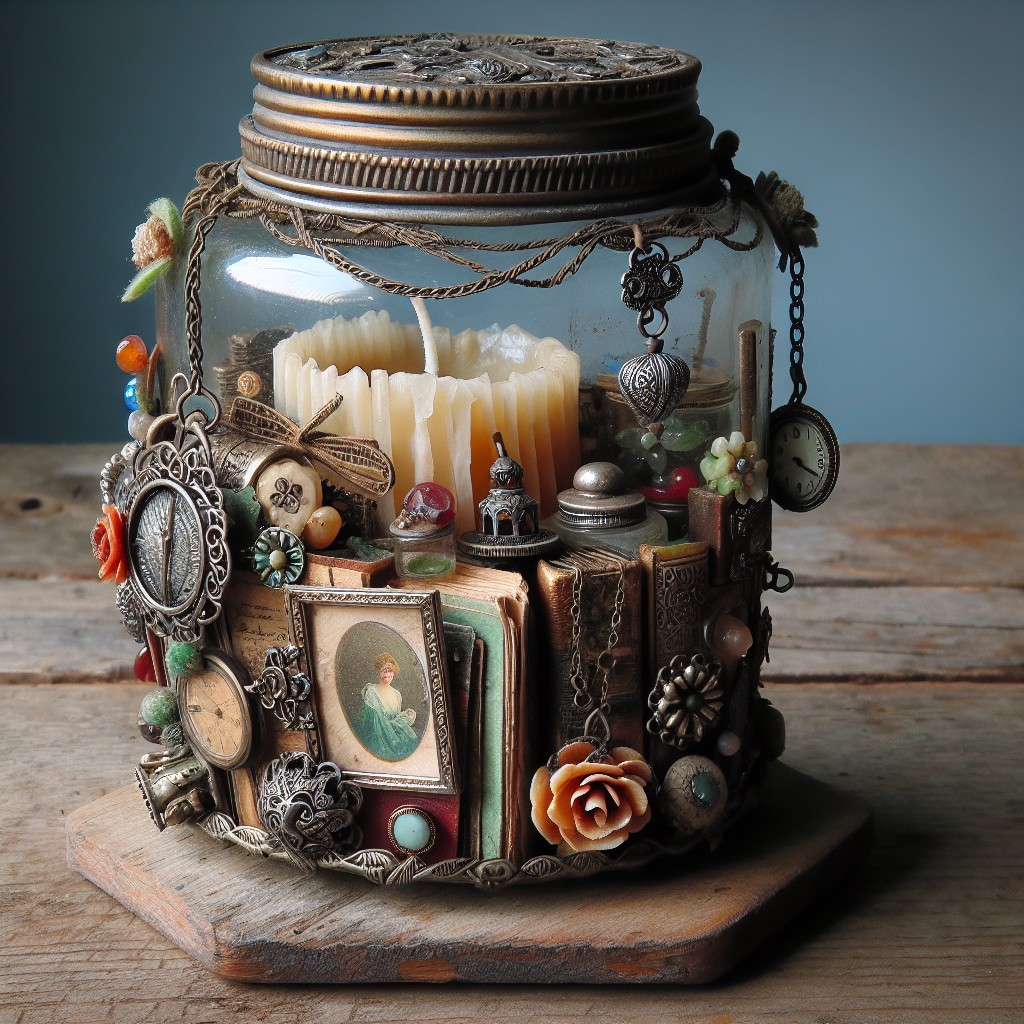
Transform your empty candle jars into unique treasure troves for safeguarding cherished mementos. The transparency of glass allows you to view keepsakes at a glance, yet it’s important to maintain a clutter-free aesthetic. Begin by thoroughly cleaning the jar, removing all traces of wax and labels for a pristine canvas.
Once clean, consider the theme of your keepsake holder. For example, a jar designated for concert tickets might benefit from a music-inspired ribbon around the rim whereas a container for baby’s first milestones could be adorned with soft, pastel embellishments.
Next, select items that don’t just fit physically but also align with the importance of the memories they represent. This could range from seashells collected on family vacations to vintage coins passed down as heirlooms. The objective is to curate, not overcrowd; each piece should be visible and valued.
Optionally, add a layer of personal touch with a handwritten label or date sticker on the bottom, acting as a silent storyteller of the jar’s contents. This creates a more meaningful display and helps organize multiple jars if you decide to create a collection.
Lastly, consider the placement. Position your keepsake holders on a sturdy surface away from high-traffic areas to preserve both the jar and its sentimental contents, making it a conversation piece that subtly showcases personal history.
Ideas Elsewhere
- https://www.lifenreflection.com/how-to-reuse-candle-jars/
- https://www.swoonworthy.co.uk/2019/04/10-clever-ways-empty-candle-jars-containers.html/
- https://cleanmyspace.com/20-things-to-do-with-recycled-candle-jars/
- https://www.insider.com/guides/hobbies-crafts/how-to-reuse-candle-jars
Recap
