Last updated on
Making your own DIY cutting board isn’t just a project for the kitchen anymore. It’s also a new way to decorate your kitchen.
Who says you can’t decorate your kitchen with useful items, even using a simple cutting board? The key is making it not just another plain simple utensil but putting your creativity and crafting skills into it. A well made cutting board can be just as easily turned into a display item.
So here are 20 terrific DIY tutorials that will show you many different ways on how to make a cutting board. Here you’ll find everything from the basic instructions to tips on how to make your own cutting board special!
DIY Homemade Cutting Board
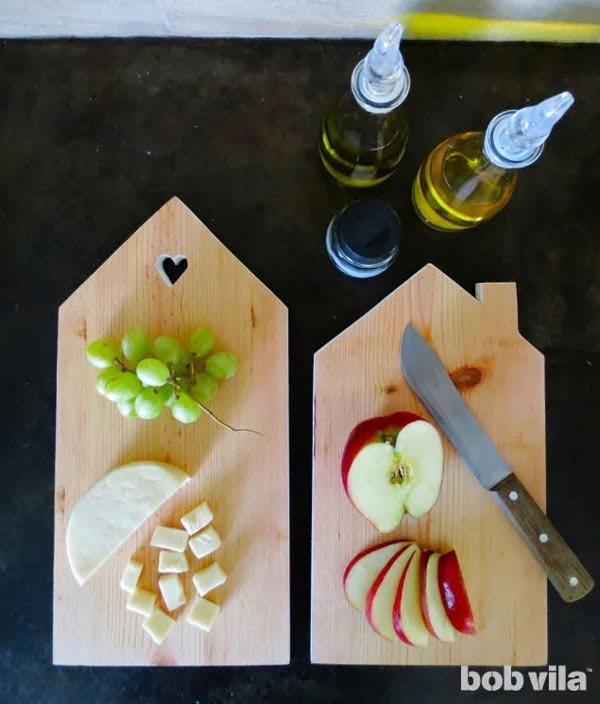
Kitchen supply lovers, let’s have some DIY fun! Here is a radiant cutting board idea to keep you busy for a day! Making it is fairly simple, but it still gives your kitchen a warm, fuzzy feeling. To create this design, you will need hardwood pieces, protractor, jigsaw, and a handsaw, among others. Now, you will certainly need some crafting skills to accomplish this cutting board, but nothing too hands-on. Draw a house-like shape on your plywood and drill a heart as a hanger right at the top. Then, complete the entire process, and in no time, you’ll create a beautiful and cheeky cutting board!
Appealing DIY Cutting Boards
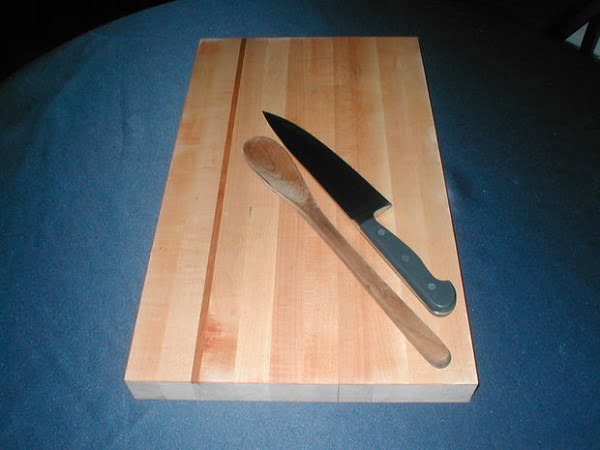
Elegant DIY projects never go unnoticed, and this precious DIY butcher block cutting board idea is the perfect weekend project to take on! These DIY cutting boards do require a bit of experience in sanding, cutting and a carpenter’s mindset, but with a bit of effort, you’ll complete it just perfectly.
Of course, having a working room is crucial when it comes to this project, so make sure you get the space you need. The idea itself allows creativity when it comes to kitchen supplies while introducing charms at the same time. With a detailed tutorial to follow, this project is a certain show-stopper!
Monogrammed DIY Cutting Board
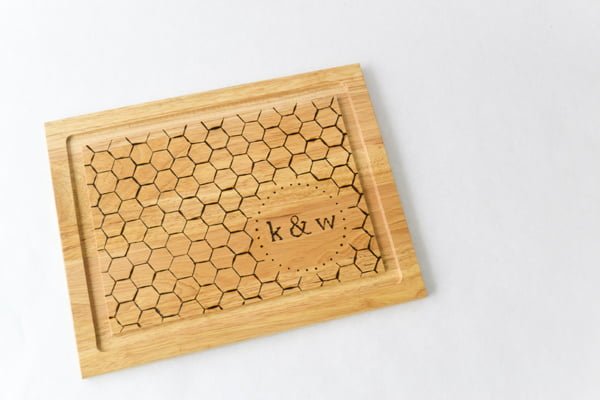
Get busy creating, and try out this fancy DIY cutting board idea by burning wood. Aside from being fun, this cutting board is fairly easy and affordable to do, and won’t waste your time a lot. So, if you already have your eye on it, you will need a few supplies, like a wood cutting board, wood-burning pen, graphite transfer paper, and painter’s tape.
First, choose the right wood for your project. One of the best wood choices for burning art is basswood (via Most Craft). Once you figure out your template, transfer it onto the board itself. From here, you will need to burn-trace the pattern itself, until it’s fully shaped. Once cooled off, you are ready to give your new cutting board a try.
Simple DIY Cutting Board

If you are a lover of simple DIY projects, here is one to get you excited! This wonderful idea uses a simplified, yet polished technique, creating a board that is both cool and practical to use. As you can see, you will need a large board to work with, and some imagination.
Keeping the board rectangular, you will need to cut, sand, paint and basically work on the board, following clear tutorial instructions. Yes, this project might require an entire workroom and a few tools to work with, but the end result is definitely worth it!
Rustic DIY Cutting Board
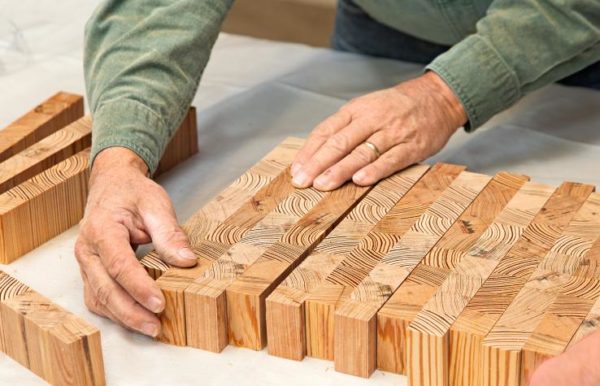
Cutting boards already have a rustic feel to them, but this particular DIY idea is a definite eye-catcher! Making this cutting board happen is not a complicated process, and you’ll only have to follow the detailed instructions on the process. As for the elements, you will need a thick piece of wood plank, a table saw, some glue and a circular saw as well.
The process includes cutting the wood in stripes, and them playing around with them, until you create a distinguishing pattern of your own. Sure, there are some ‘advanced’ tools involved, but hey, no great ideas ever came from comfort zones, right?
Etched DIY Cutting Board
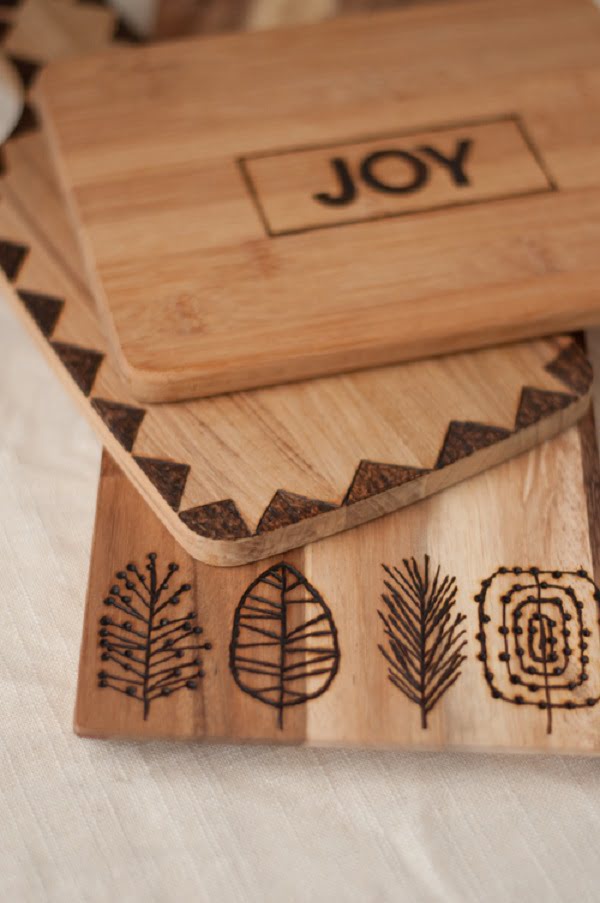
The thing about cutting boards, and why they make the perfect DIY project, is the chic simplicity in doing them. If you need a proof of that, have a look at this vibrant cutting board idea that takes wood to another level! To create it, you’ll need to have etching sills and basically create your favorite designs on wood. Go for simplistic, minimal and cheerful designs, which will certainly make your cutting board ultra-fancy!
This DIY idea is budget-appropriate as well and can be done whenever you feel like it. We love it already!
Vintage DIY Cutting Board
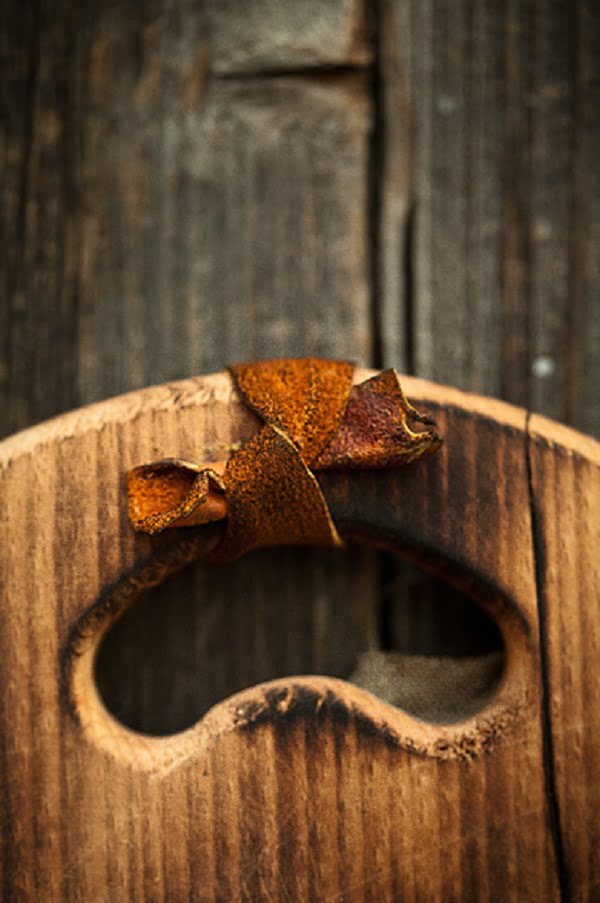
Nothing tops a cool vintage DIY& project, right?! Making your cutting board dreams come to life is this amazing idea you can easily recreate at home. If you also happen to be a sucker for all-things-retro, again, this is the perfect way to boost your DIY reputation! Creating this cutting board is simple, and only needs a few elements to make it right. You will need a wood stain and paint, a steel brush for your print and a knife. As you can see, this project doesn’t really revolve around technique as much as it does on aesthetics. Don’t you just love it?
Edgy DIY Cutting Board
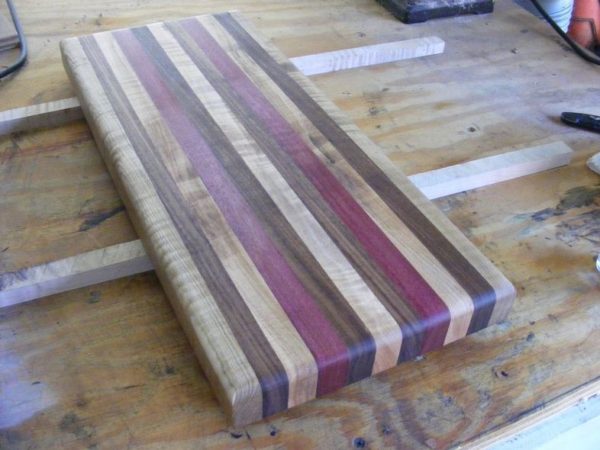
The perfect cutting board DIY project is just under $50 and waiting to happen. If you are up for it, let us introduce you two properly. This cutting board idea is clever, effective and beyond interesting to accomplish. What you will need for it includes a pile of hardwoods, in vivid patterns and colors. First, connect your board pieces with glue. Some sending is required as well, but if you have worked with wood before, you’re good to go. Last but not least, it’s time to coat your board and let it shine in all its fabulousness!
Trendy DIY Cutting Board
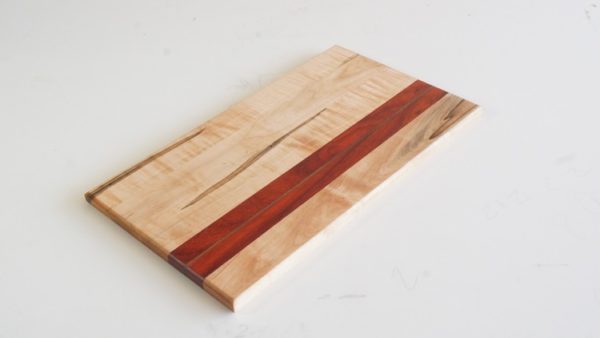
Everyone loves dynamics, and when it comes to DIY projects, it is fun creating something alike. For that, we are presenting a great cutting board concept to blow you away! The idea mixes and matches various types of wood, so you will need a few wood planks to work with. Assemble the pieces well together, and let glue help you keep it all in one place. The skills needed for this project include sanding, coating, and cutting, but if you ever dealt with wood, you know the drill! Effective, relatively affordable and adorably youthful, your new cutting board is ready to go!
Brick-Inspired DIY Cutting Board
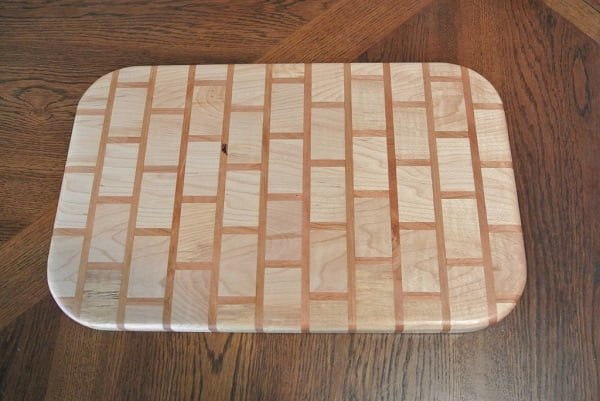
Who would have said that a brick pattern could look so good on a cutting board? Now, this fantastic DIY project is just bound to happen, and here is how you can recreate it. First, you will need a handful of supplies, such as wood pieces for the ‘bricks’ and ‘mortar,’ as well as some glue, a table saw, a Cross-cut sled, and a few others. Make sure your two types of wood contrast well, so you achieve the ‘brick’ design more effectively. With a bit of effort, time and dedication, you’ll create a great cutting board that simply craves attention!
Easy DIY Cutting Board
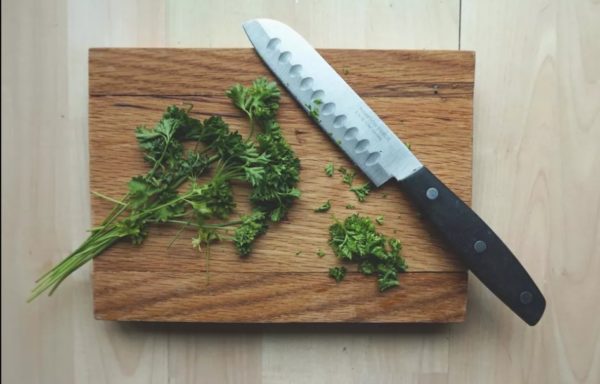
Not all DIY projects are meant to be complicated! Here is a great DIY cutting board idea that takes a very simplistic, yet practical outlook. Creating this concept is also easy to achieve. For this task, you’ll need an electric sander, a table saw, glue, and two wood or pipe clamps. After deciding on a wood pattern, play around and assemble your pieces as desired. Cutting, sanding and gluing the wood is part of the process, but the project is simple enough for anyone to try. The finishing touches revolve around giving your board a food-safe finish and of course, admiring your completed piece!
Effective DIY Cutting Board

This easy and inspiring DIY cutting board project is perfect for anyone who doesn’t have plenty of time, but still likes getting busy crafting. As simple as this design may look, it is even simpler to achieve, while preserving its functionality and purpose as well. Making it depends on a few essential supplies, like a large piece of wood, a saw and some inspiration.
This particular design focuses on a house-like shape, without overcomplicating it. What is more, if you have enough wood left to work with, you can easily create a set of these unique cutting boards, too!
Practical DIY Cutting Board
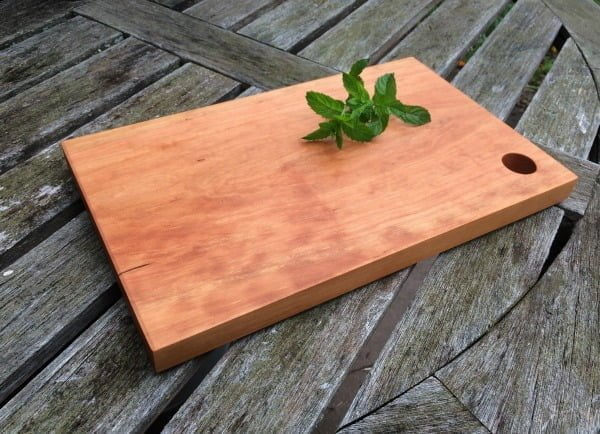
Want an efficient DIY cutting board project, completed in 7 easy steps? Read on. This ultra-chic idea offers everything you need out of a cutting board – practicality, usability, and aesthetics. For this idea, you’ll need some free extra time and lots of precision.
You will also need a wooden board, a crosscut sled, a drill, and a bit of experience in managing wooden surfaces. So, here we go: flatten your board, cut it right, drill a hole at the very corner of the wood, sand it, smooth out any sharp edges and boom – You made yourself a brand new and exciting cutting board!
Traditional DIY Cutting Board
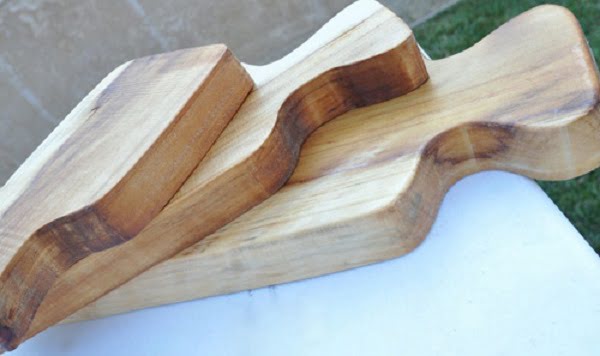
A traditional home vibe always comes highly recommended. For that, this next DIY project is a perfect weekend chore to take on. If you care to make it, you’ll need a variety of supplies, like a raw hardwood plank, a jigsaw, an orbital sander, mineral oil, rags, and some scissors and a pencil.
Begin by making a layout of your design and drawing it on your wood piece. Next, cut the shape out of your wood piece and sand it thereafter. Use your mineral oil to clean the surface well, and you know what? You just made a gorgeous new cutting board!
Purposeful DIY Cutting Boards
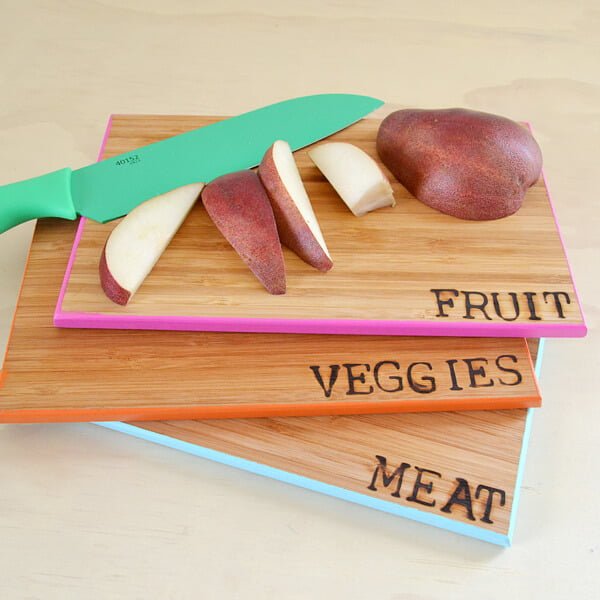
Here is a DIY project that stands out in a crowd! In fact, in a few simple steps, you’ll create a set of cutting boards, all intended for a different purpose.
For this idea, you will need bamboo cutting boards, a wood burning tool, letter wood stamps, pliers and a metal bowl. Use your letter cutouts and your burning tool to create ‘board purpose’ words, such as ‘meat,’ ‘fruit’ and more. To make matters easier, use masking tape to mark your boards accordingly. It’s safe it is safe to say that in under a day, you’ll accomplish a DIY project that puts practicality on the spot.
Reclaimed Wood DIY Cutting Board
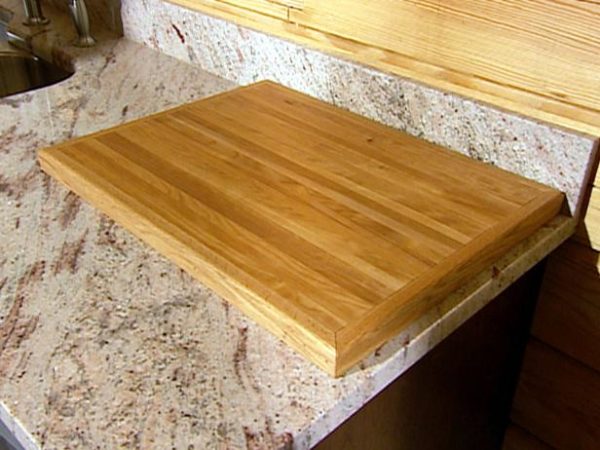
Reclaimed wood is always exciting to work with, and if you’re into it, this DIY project is just right for you! It all begins with a piece of lumber, which is to be rough cut and polished before further use.
Arrange all wood pieces to resemble a perfectly synchronized unity. Aside from gluing you will also have to nail the pieces together, so they depict a vivid and original cutting board. The project itself is very affordable to take on and isn’t a time-spender either. Also, with a great tutorial to follow, this project makes the ideal weekend challenge to experiment with!
Exciting DIY Cutting Board
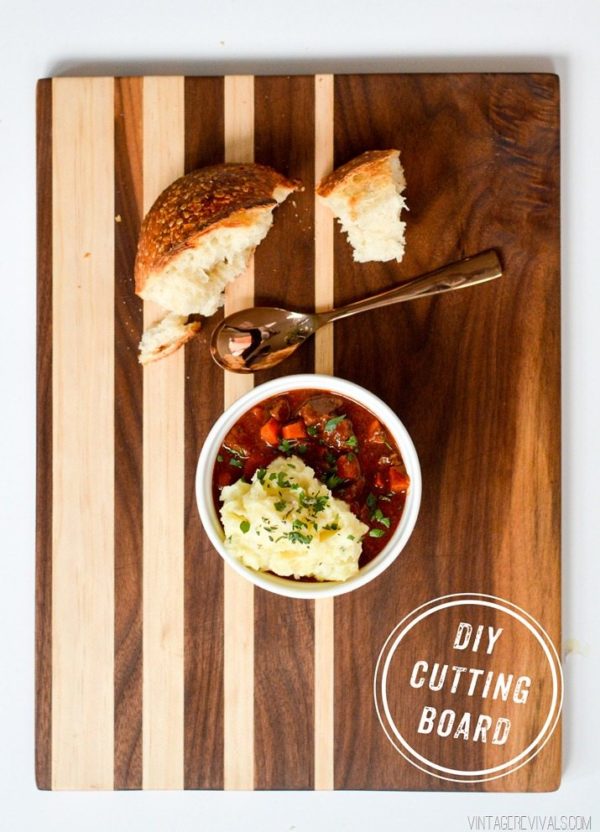
Pine and walnut woodwork well together, and if you always wanted to work with them combined, this is a great DIY project, to begin with. These cutting boards are cleverly intertwined and glued together, creating a great contrast in pattern and wood.
Once you glue all the pieces together, you’ll also need to sand and polish up the board as well. Have no fear of giving this project the shot, as both the time invested and your budget are pretty minimal to begin with! Oh, and once you stain your board to perfection, you’ll understand why this project is a summer ‘must!’
Round DIY Cutting Board
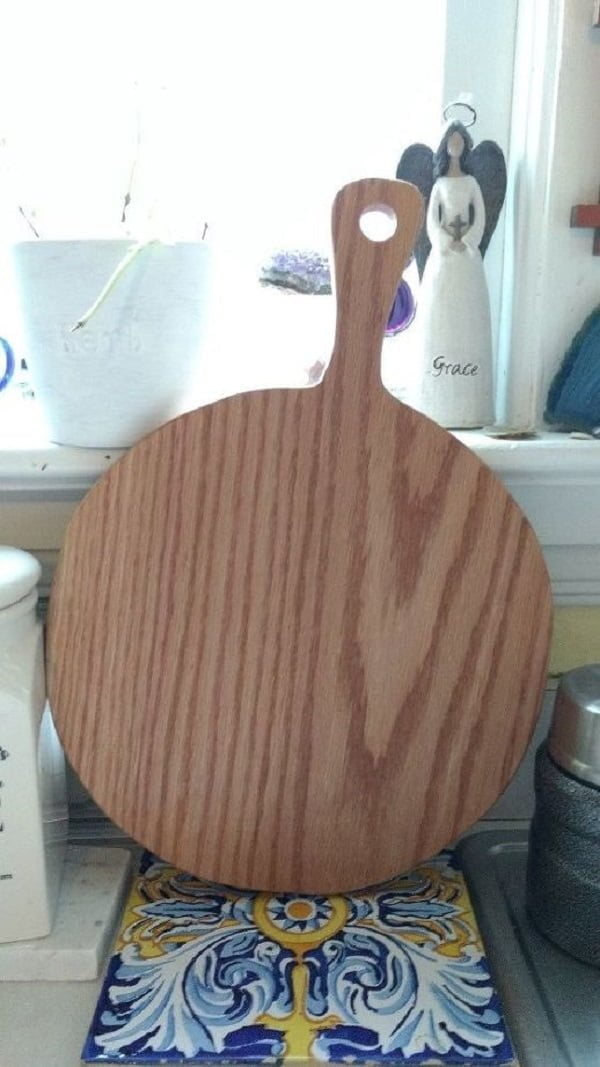
Cutting boards never looked as good as this one! Making this project won’t cost you too much in your pocket, but will certainly deliver the desired pop of design in your kitchen. Initially, cut a large wood plank into a cutting board shape you prefer. As you can see, this design uses a great handle idea that makes the board that more effective.
Some drilling is required as well, and it will allow you to hang your board anywhere it’s practical for you. Round-shaped and polished to perfection, this cutting board is certainly one to catch your eye!
DIY Cutting Board Out of a Tree
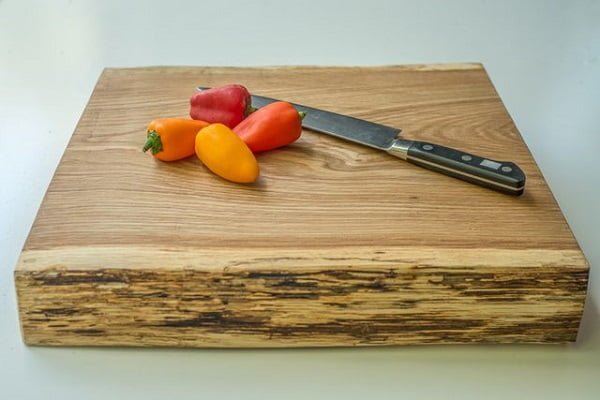
Yup, you can make a cutting board from a whole tree stump by following this tutorial. Using this technique to make it means you’ll get a piece of solid woodcraft. It makes a very sustainable board and you can use your creativity on how to finish it. It’s also pretty easy once you get your hands on it. So don’t be surprised if you’ll start making a few of these for yourself and as gifts.
Great weekend project to try!
DIY Cutting Board from Scrap Wood
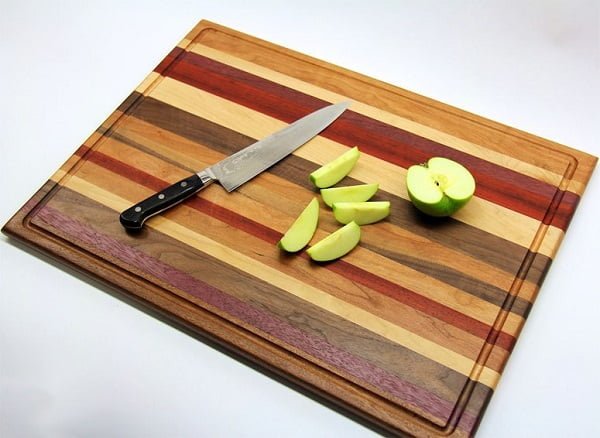
Making a cutting board from scrap wood is a surprisingly useful technique that results in a terrific piece. Grab pieces of wood in various colors and sized to put together a designer cutting board that just looks good in the kitchen. It’s actually a very easy project to do. Next time you’re in your workshop, look around for those pieces of scrap wood lying around that you can use.
Recap
