Last updated on
Selecting the perfect drywall for your bathroom is vital because it significantly impacts both the functionality and aesthetic appeal; this article offers a detailed guide on the various types available, their unique features, and the pros and cons to consider.
Key takeaways:
- Moisture-resistant drywall prevents mold and surface damage in bathrooms.
- Different types include greenboard, blue board, purple board, and paperless drywall.
- Greenboard is cost-effective but not appropriate for direct water contact.
- Blue board is ideal for veneer plaster finishes and has increased moisture resistance.
- Purple board offers superior moisture, mold, and mildew resistance.
Importance of Moisture Resistance in Bathroom Drywall
When selecting drywall for bathroom installations, understanding the pivotal role of moisture resistance is crucial. Bathrooms are high-humidity environments, which can lead to potential issues:
- Mold and Mildew Growth: Excess moisture creates ideal conditions for unsightly and harmful mold and mildew. Moisture-resistant drywall helps prevent this proliferation, ensuring a healthier space.
- Structural Integrity: Traditional drywall can absorb moisture, leading to swelling, disintegration, or warping over time. Moisture-resistant options are engineered to withstand these effects, maintaining their structure.
- Surface Damage: High moisture levels can compromise the surface of conventional drywall, causing paint or wallpaper to peel. Specially designed bathroom drywall maintains a more durable surface for finishes.
- Long-term Cost Efficiency: While moisture-resistant drywall may come at a higher initial cost compared to standard drywall, it can save money on repairs and maintenance due to its enhanced durability in damp areas.
Selecting the right moisture-resistant drywall is a proactive measure to uphold aesthetics and fortify the bathroom’s integrity for years to come.
Regular Drywall Vs. Moisture-Resistant Options for Bathrooms
When renovating a bathroom, selecting the right type of drywall is critical due to the high humidity and moisture levels. Regular drywall, while cost-effective and suitable for other parts of the house, isn’t designed to withstand the constant exposure to moisture that is typical in a bathroom environment.
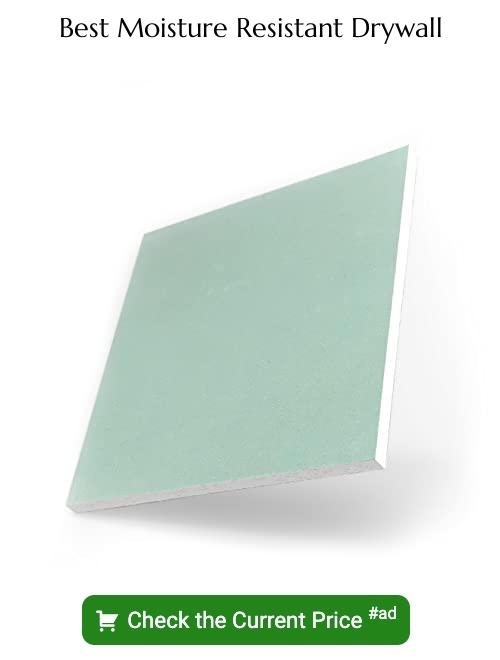
Moisture-resistant drywall, often identified by its green covering, is fortified with a water-resistant core, making it a smarter choice for bathroom walls. The surface paper is also treated to resist mold and mildew, which are common concerns in damp areas.
Beyond greenboard, other moisture-resistant options like blue board and purple board come with additional features. Blue board is ideal for plaster veneer finishes and has moisture resistance, while purple board offers superior resistance to moisture, mold, and mildew.
The key difference lies in their ability to handle moisture:
- Regular drywall can absorb water, leading to damage and potential mold issues.
- Moisture-resistant drywall is engineered to repel water, significantly reducing the risk of deterioration and fungal growth.
For areas directly exposed to water, such as shower or tub surrounds, a cement backer board is recommended over any type of drywall, due to its robust water resistance and support for tile adhesion.
Choosing between regular and moisture-resistant drywall hinges on the specific needs of bathroom areas, balancing budget considerations with long-term durability and maintenance.
Detailed Comparison of Bathroom Drywall Types
When you’re ready to choose drywall for your bathroom, knowing your options helps make an informed decision. Here’s a quick rundown:
– **Greenboard:** An upgrade from standard drywall with a waxed paper face that repels moisture. It’s great for damp areas but isn’t meant for direct water contact. Ideal for non-shower walls. – **Blue Board:** Similar to greenboard but designed specifically for veneer plastering. It has a special absorbent paper surface that bonds well with plaster and provides additional water resistance. – **Purple Board:** This is the heavy hitter in moisture, mold, and mildew resistance. Engineered for superior performance in wet environments, it’s an excellent choice for shower enclosures and areas of high humidity. – **Paperless Drywall:** Crafted with fiberglass-mat facings instead of paper, this material offers a robust defense against mold and moisture damage. It’s a sound choice for those with health concerns about mold growth.Each type of drywall comes with its particular strengths and is suitable for different bathroom areas and conditions. Match your drywall to anticipated moisture exposure for the best longevity of your bathroom finish.
Greenboard (Moisture Resistant)
Greenboard is often the go-to choice for moisture resistance at a lower cost than more advanced options. Recognizable by its characteristic green facing paper, this drywall variant is treated to withstand increased humidity and exposure to moisture.
While not waterproof, Greenboard’s gypsum core incorporates a wax-like substance that repels water better than traditional drywall.
It’s a suitable choice for areas with indirect, intermittent exposure to moisture, such as bathroom walls outside the shower enclosure. However, it’s not recommended for areas that are in direct contact with water.
When using Greenboard, it’s important to ensure proper installation to maximize its effectiveness. This includes using moisture-resistant joint compound and sealant to protect the edges and fastener locations which are potential weak points for moisture penetration.
Here’s what to keep in mind:
- Ideal for non-wet areas, like bathroom ceilings and walls not directly adjacent to baths or showers.
- Requires good ventilation to prolong its lifespan and prevent moisture from lingering.
- Cost-effective compared to more heavy-duty options, making it a sensible choice where budgets are a concern.
- Needs to be painted or tiled over as a finishing layer to enhance its moisture resistance.
Consider Greenboard a solid, intermediary option — more robust against humidity than regular drywall but less so than more advanced, mold-resistant boards or cement backer boards.
Blue Board (Moisture Resistant for Veneer Plastering)
Blue board stands out in the moisture-resistant drywall family, designed specifically to be used with a veneer plaster finish. This combination provides a sumptuous, smooth surface that is not only aesthetically pleasing but also highly resistant to moisture, making it ideal for bathroom environments.
Here’s a closer look at its features:
- The core of the blue board is treated with special additives to repel moisture, decreasing the likelihood of water damage.
- Its surface is engineered to allow plaster to adhere firmly, creating a durable bond that enhances the wall’s integrity.
- Unlike regular drywall, it doesn’t require additional taping and finishing, which can be time-consuming and labor-intensive.
- The veneer plaster finish over blue board dramatically reduces the risk of mold growth, a common concern in humid bathroom settings.
- For projects seeking a refined finish coupled with moisture defense, this type of drywall offers a high-quality solution.
Purple Board (Moisture, Mold, and Mildew Resistant)
Purple board elevates the standard of drywall for bathrooms, offering enhanced protection against moisture, mold, and mildew. This is due to its specially treated core and the purple-colored paper facing that is moisture-resistant. It’s ideally suited for high-humidity areas like showers and bathtub surrounds.
Here are some key points about purple board:
- Integrated Moisture Resistance: The board’s core material undergoes a treatment process to repel water, significantly reducing the likelihood of moisture damage.
- Mold and Mildew Defense: Antimicrobial properties are built into the board, guarding against fungal growth and ensuring a healthier bathroom environment.
- Improved Indoor Air Quality: By preventing mold and mildew, the board contributes to better air quality, a crucial aspect in enclosed spaces such as bathrooms.
- Application Versatility: It can be used for both wall and ceiling installations in a bathroom, offering a consistent and reliable moisture defense throughout.
- Comparable Installation: Installing purple board is similar to installing regular drywall, allowing for a seamless transition for those familiar with drywall work.
- Finish Compatibility: It readily accepts a variety of paints and wallpapers, making it a versatile option for bathroom aesthetics.
By selecting purple board for your bathroom renovation or build, you’re investing in long-term protection and quality for your bathroom’s walls and ceiling.
Paperless Drywall (Moisture-Resistant)
Paperless drywall has become a preferred choice for bathroom remodels and repairs where moisture is a concern. This type of drywall uses fiberglass on its surface instead of the traditional paper, offering superior resistance to moisture and mold growth. The fiberglass surface is highly durable, reducing the potential for damage that can occur in the high-humidity environment of a bathroom.
Here’s what you need to know:
- 1. Fiberglass-Faced: The key feature is the fiberglass mat covering, which repels water more effectively than its paper-based counterparts.
- 2. Mold Resistance: The inorganic nature of the fiberglass surface inhibits mold growth, ensuring a healthier bathroom environment.
- 3. Installation: The process resembles regular drywall; however, cutting fiberglass drywall requires a sharper blade, and it’s advisable to wear protective gear due to the potential for irritation from the fiberglass.
- 4. Joint Treatment: You’ll need setting-type joint compound for better adhesion and robust protection against moisture.
- 5. Compatibility: It pairs well with moisture-resistant purple board and regular drywall, allowing for a balanced use based on bathroom areas’ exposure to moisture.
Given its qualities, paperless drywall is particularly suitable for areas directly exposed to moisture, such as around showers and sinks. When installing, keep in mind that the rougher texture of the fiberglass mat may require a bit more effort during the finishing stage to achieve a smooth surface ready for paint or tile.
Cement Backer Board As an Alternative for Bathroom Walls
Cement backer board stands out as a stellar choice for bathroom walls due to its robust composition, which resists moisture and mold growth, key concerns in any bathroom environment.
This material, a blend of cement and reinforcing fibers, offers a sturdy foundation for tile installations.
It doesn’t swell or break down in humid conditions, giving it an edge over standard drywall in areas of high moisture exposure, such as shower enclosures or bathtub surrounds.
The installation process, while more labor-intensive than that for drywall, follows a similar framework: measure, cut, and secure to the studs.
However, it’s crucial to seal the joints and use a waterproof membrane to ensure a watertight seal.
With these steps, you create a robust barrier against moisture intrusion, safeguarding the bathroom against water damage and maintaining its structural integrity over time.
Despite being a heavyweight in moisture defense, it’s worth noting the increased weight and rigidity of cement backer board, which may require a bit more muscle or an extra pair of hands during installation.
Also, its surface is uniquely suited for tile adhesion, making it a preferred substrate in tiled bathrooms for a professional, long-lasting finish.
When planning for bathroom renovations or new builds, incorporating this material can be a proactive move towards longevity and maintenance ease, effectively managing moisture concerns that are inherent to bathroom settings.
Assessing Durability and Longevity of Different Drywall Types for Bathroom Use
When evaluating various drywall types for their durability and longevity in a bathroom setup, it’s crucial to analyze their resilience in the face of common bathroom conditions.
Moisture Exposure: Bathrooms are high-humidity areas. The presence of a tub, shower, or sink means walls are frequently exposed to moisture. Some drywall options have a special coating or feature built-in moisture resistance that helps prevent water absorption and combats warping or deterioration over time.
Mold and Mildew Resistance: Warm, damp environments are breeding grounds for mold and mildew, which can weaken the structure and surface of drywall. Look for materials that have anti-microbial properties to maintain both the cleanliness and integrity of your bathroom walls.
Surface Integrity: Bathroom walls face frequent cleaning and scrubbing. Drywall that resists surface abrasion will stand up better to the regular maintenance required in these spaces.
Core Strength: Consider the core composition of the drywall. Options like cement backer boards that have a stronger, non-gypsum core are less likely to crumble under the weight of bathroom-specific fixtures like towel racks and medicine cabinets.
Understanding the extent to which each drywall type embodies these characteristics will guide you to the most suitable choice for a durable and long-lasting bathroom.
Weighing the Pros and Cons of Drywall in Bathroom Settings
When considering drywall for bathroom installations, it’s critical to balance the benefits and potential drawbacks:
Pros:
- Drywall is cost-effective compared to many other materials, which makes it an excellent option for budget-conscious renovations.
- It’s relatively easy to cut, fit, and install, making it a favorite among DIY enthusiasts.
- With a variety of moisture-resistant options available, selecting the right kind of drywall can provide ample protection against the high humidity levels typical in bathrooms.
Cons:
- Even moisture-resistant drywall isn’t waterproof. If there’s direct water exposure, such as around showers or bathtubs, it may deteriorate over time.
- Improper installation or insufficient waterproofing can lead to mold and mildew growth, negatively affecting air quality and potentially causing health issues.
- Regular maintenance is required to keep moisture-resistant drywall in good condition, which might involve repainting or resealing every few years.
Choosing drywall for your bathroom means weighing these factors to ensure a balance between practicality, durability, and overall cost.
Pros of Using Specialized Drywall in Bathrooms
Moisture-resistant drywall, known as greenboard, brings peace of mind by reducing the risk of water damage over time. The specially treated core and paper face impede moisture penetration, essential in the damp bathroom environment.
Mold and mildew can quickly become foes in bathroom spaces. Options like purple board not only resist moisture but also stave off these unwelcome guests, keeping your bathroom walls cleaner and healthier.
Durability is a key advantage with these specialized materials. They stand up to the high humidity levels and frequent temperature shifts inherent to bathroom use, ensuring a longer lifespan for your walls.
Ease of installation ensures that whether you’re a DIY enthusiast or a professional, working with these specialty boards is similar to installing regular drywall. You won’t need to invest in new tools or learn new techniques.
The upgrade to specialized drywall in bathrooms does initially cost more than standard drywall, but it can save money in the long run. The reduced maintenance and potential for costly water damage repairs make it a savvy investment.
A smooth finish is well within reach even with these sturdier materials. Specialized drywall boards can be painted, tiled, or wallpapered, leaving no compromise on the aesthetic appeal of your bathroom sanctuary.
Cons of Using Drywall in Humid Bathroom Environments
Understanding the potential drawbacks of utilizing drywall in a bathroom’s high-moisture milieu is crucial for making an informed decision. Here are some cons to consider:
- Susceptibility to Moisture Damage: Even moisture-resistant drywall can falter if constantly exposed to high humidity, potentially warping or deteriorating over time.
- Mold Growth: Bathrooms are breeding grounds for mold, and when moisture penetrates drywall, it creates an ideal situation for mold to flourish which can undermine air quality and require costly remediation.
- Difficulty in Repairs: Once moisture has compromised the integrity of drywall, repairing it can be more challenging compared to simply replacing tile or other waterproof surfaces.
- Limitation in High Splash Zones: Around showers and sinks, even the best moisture-resistant panels aren’t impervious to direct water contact and may not adequately protect against the effects of consistent splashing.
These considerations emphasize the necessity of proper installation techniques, including waterproofing measures, to mitigate the inherent disadvantages of using drywall in bathroom environments.
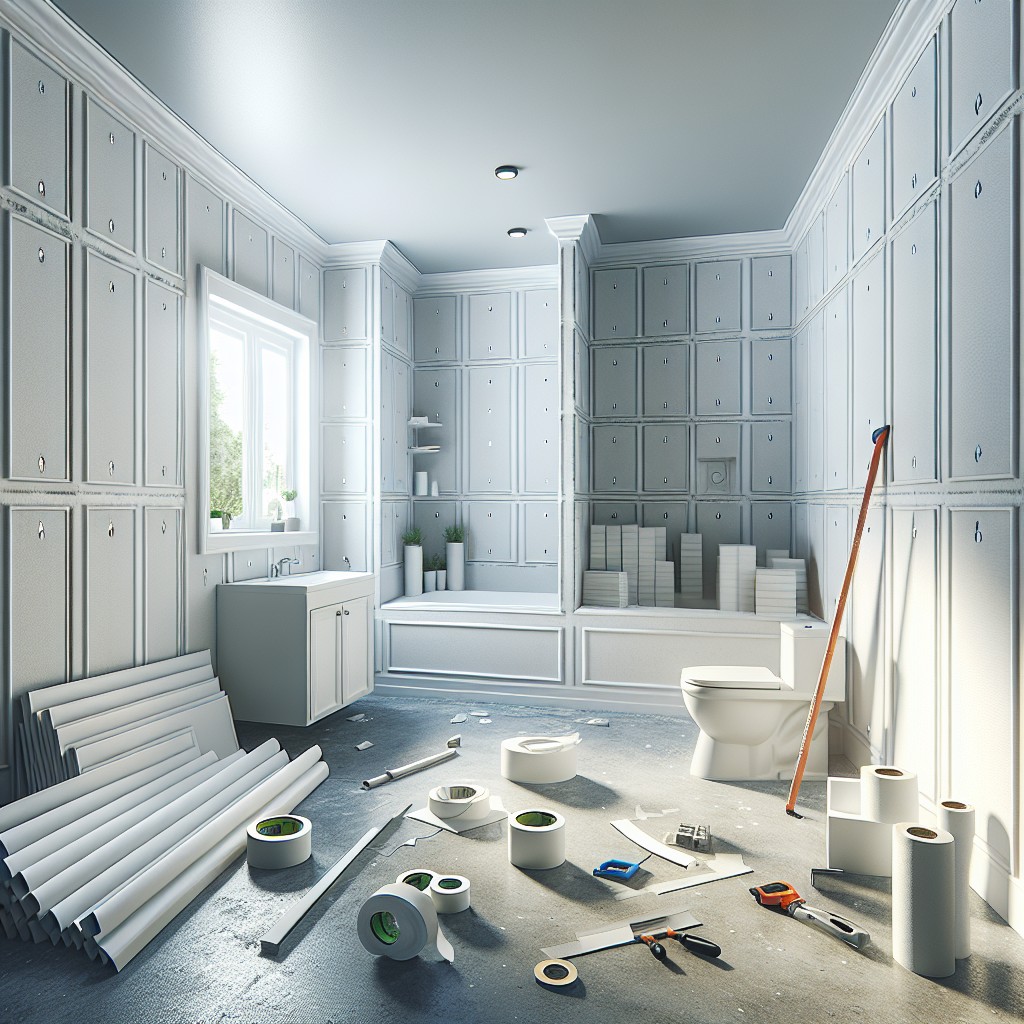
Installation Tips for Drywall in Bathrooms
When tackling installation, begin with precise measurements to reduce waste and ensure that panels fit snugly. Use moisture-resistant drywall screws, typically longer than regular ones, to secure panels firmly to the studs. Keep screws at least 1/2 inch from the edges to prevent crumbling.
Seal joints and corners with fiberglass mesh tape, which offers better resistance to moisture compared to paper tape. Employ a moisture-resistant joint compound for bedding the tape and for subsequent coats. Wait for each coat to dry fully before sanding and applying the next.
In areas with direct water exposure, such as shower enclosures, consider a cement board instead of drywall for optimal moisture defense. Complete the installation with a waterproofing membrane over the board before tiling to assure maximal water resistance.
Finally, maintain a gap of about 1/4 inch between the bottom of the drywall and the floor. This prevents wicking of any standing water which can cause damage over time. Fill this gap with silicone caulk to create a flexible and water-resistant seal, thus finishing your drywall installation process.
Waterproofing and Vapor Barriers: Essential Considerations
Waterproofing and vapor barriers are vital in preventing moisture from penetrating walls and causing damage. Here’s what you need to know:
- Waterproofing Membranes: Apply these coatings directly onto drywall to create a water-resistant seal.
- Vapor Barriers: This plastic sheeting blocks water vapor from seeping into the framing and insulation.
- Correct Placement: Vapor barriers should be installed on the warm side of the wall insulation to avoid condensation buildup.
- Sealant Use: Ensuring all joints and seams are sealed is essential to maintaining the effectiveness of the vapor barrier.
- Building Codes: Always check local codes for exact requirements since they can dictate the type and placement of barriers needed.
- Integration with Tiles: When tiling, a waterproofing membrane is often more suitable than a vapor barrier to handle direct exposure to water.
Remember, meticulous application of waterproofing and vapor barriers can extend the lifespan of your bathroom walls and prevent costly moisture damage.
Finish Options for Bathroom Drywall
After installing the appropriate drywall, the next step is choosing the right finish to ensure durability and aesthetic appeal:
1. Paint: Opt for high-quality semi-gloss or satin paint designed for bathrooms. These finishes resist moisture well and make cleaning easier.
2. Tile: A popular choice for wet areas like showers and backsplashes. Ensure a waterproof membrane is installed underneath to prevent moisture penetration.
3. Textured Finishes: Apply knockdown, orange peel, or other textures to add character and hide imperfections, but remember they can be challenging to clean.
4. Wallpaper: Select vinyl-coated or specifically designed bathroom wallpapers that can withstand moisture.
Remember, before applying your finish, always prime your drywall to protect against moisture and create a smooth base for your chosen finish.
Estimating Drywall Needs: Rule of Thumb
Calculating the quantity of drywall needed for a bathroom is simplified by considering the size and layout of the space. To start, measure the height and width of each wall in feet. Multiply these numbers to determine the square footage for each wall. Sum up the totals for all walls to find the total square footage.
Next, take into account the size of drywall sheets. Standard sheets are typically 8 feet tall by 4 feet wide, or 32 square feet. By dividing the total square footage of the bathroom walls by 32, you can estimate how many full sheets you’ll need.
Remember to subtract the square footage for any doors and windows from the total wall square footage. Doing this ensures you’re not overestimating the amount of drywall necessary, preventing excess costs and material wastage.
Lastly, it’s wise to purchase an extra 10% of materials to account for any cutting mistakes or damages. This ensures you have enough drywall to complete the project without unplanned trips back to the store.
What Is Wet Sanding Drywall?
Wet sanding is a dust-free alternative to traditional sanding used particularly in sensitive areas like bathrooms. It involves using a damp sponge or sanding pad to smooth the surface of drywall. This process minimizes airborne dust, which is essential in a bathroom to prevent mold growth from excess moisture. It’s suitable for small projects or the final stages of smoothing.
Here’s how to wet sand your bathroom drywall effectively:
- Begin by dipping a sponge or sanding pad into clean water. The water acts as a lubricant to avoid damaging the drywall surface.
- Gently rub the wet sponge over the drywall joints, feathering out any joint compound. Work in a circular motion for an even finish.
- Rinse the sponge frequently to wash away accumulated drywall dust and prevent surface scratching.
- After sanding, wipe the wall with a damp cloth to remove any residue, ensuring the wall surface is ready for priming and painting.
This method offers a cleaner work environment by keeping dust levels to a minimum, which is particularly valuable in a bathroom setting where ventilation may be limited.
More Like This
 33 Luxury Bathroom Designs with Spa-Like Elegance
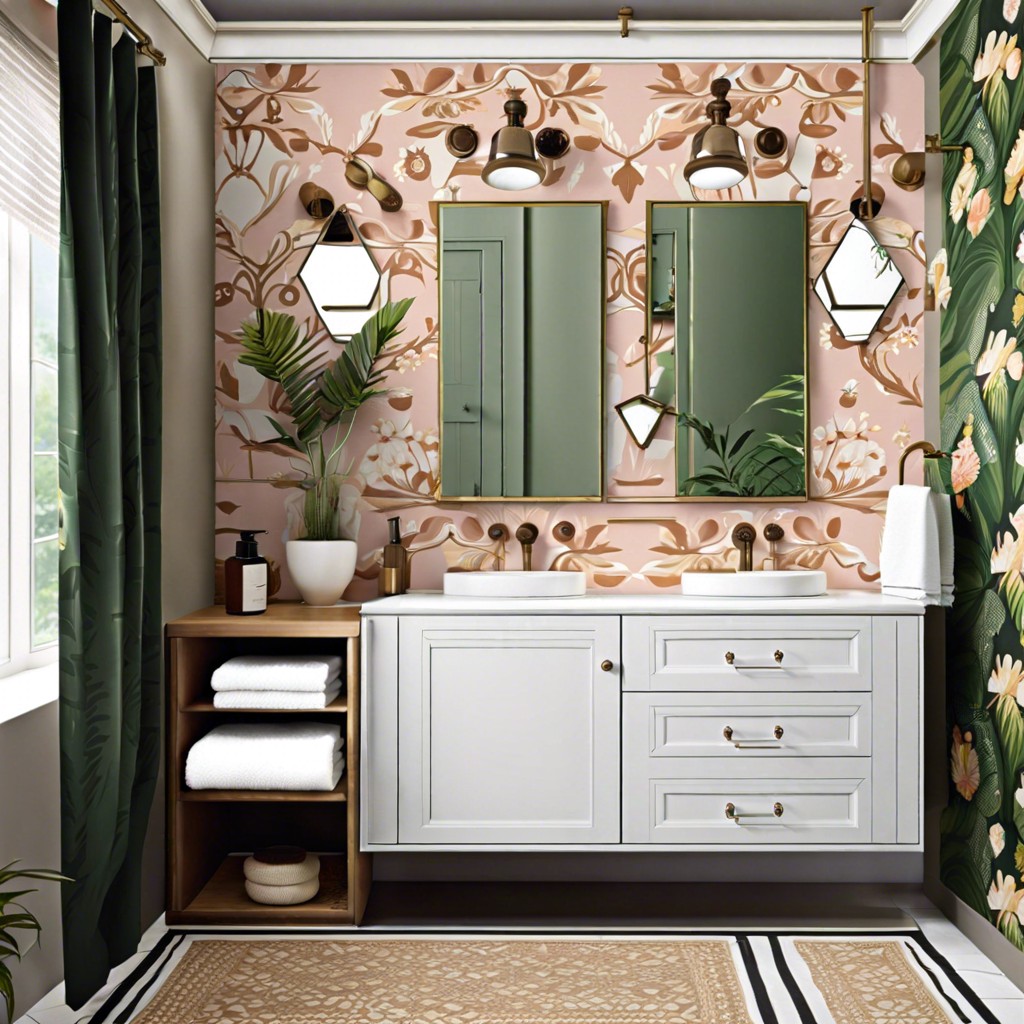 15 Bathroom Cabinet Inspiration Ideas for a Stylish Space
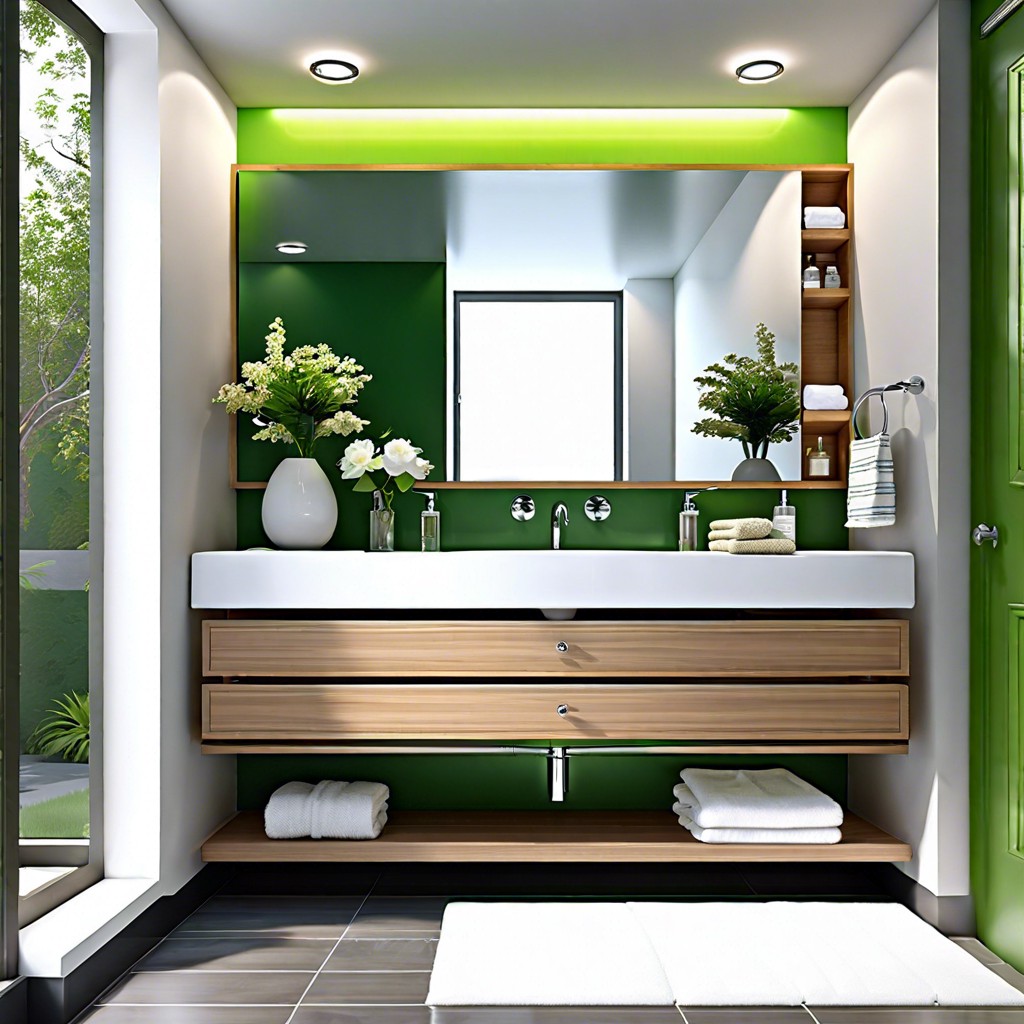 15 Stunning Green Vanity Bathroom Ideas
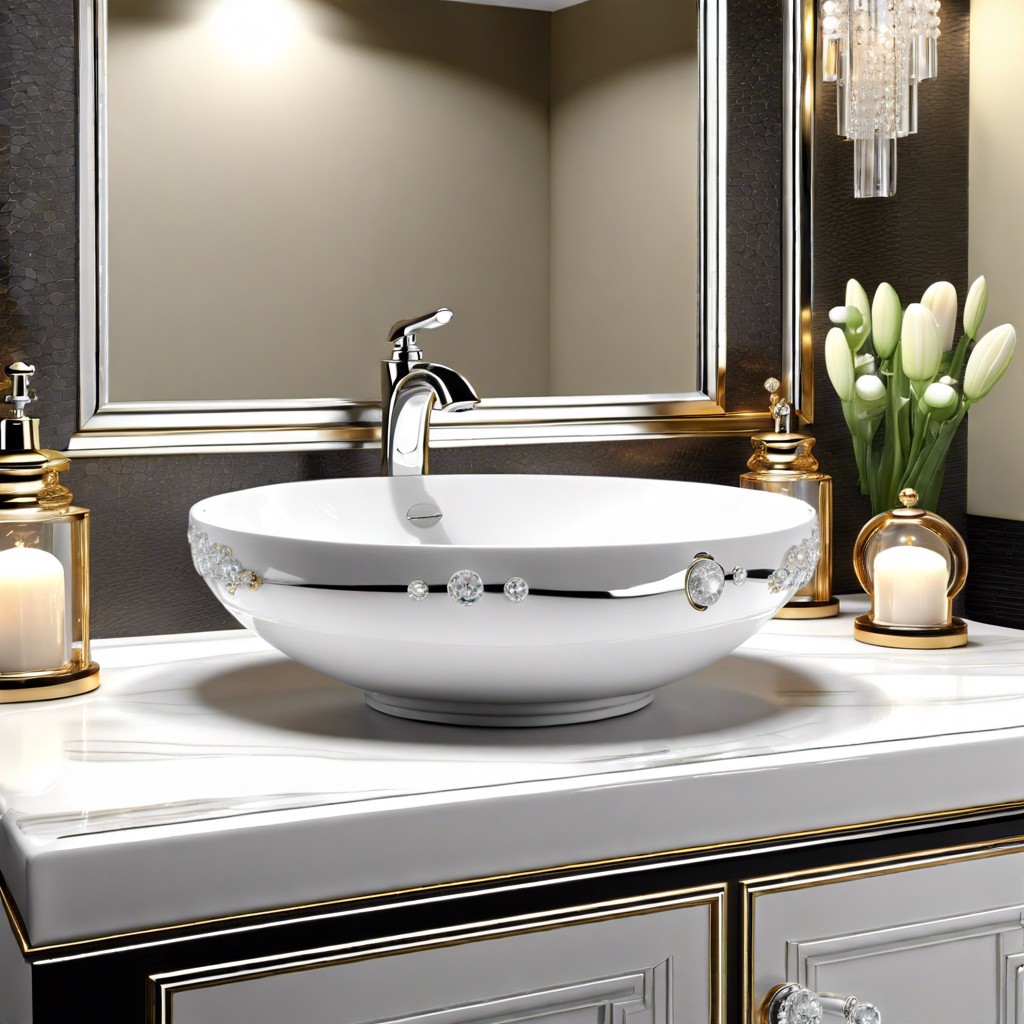 15 Bathroom Sink Decor Ideas That Elevate Your Space
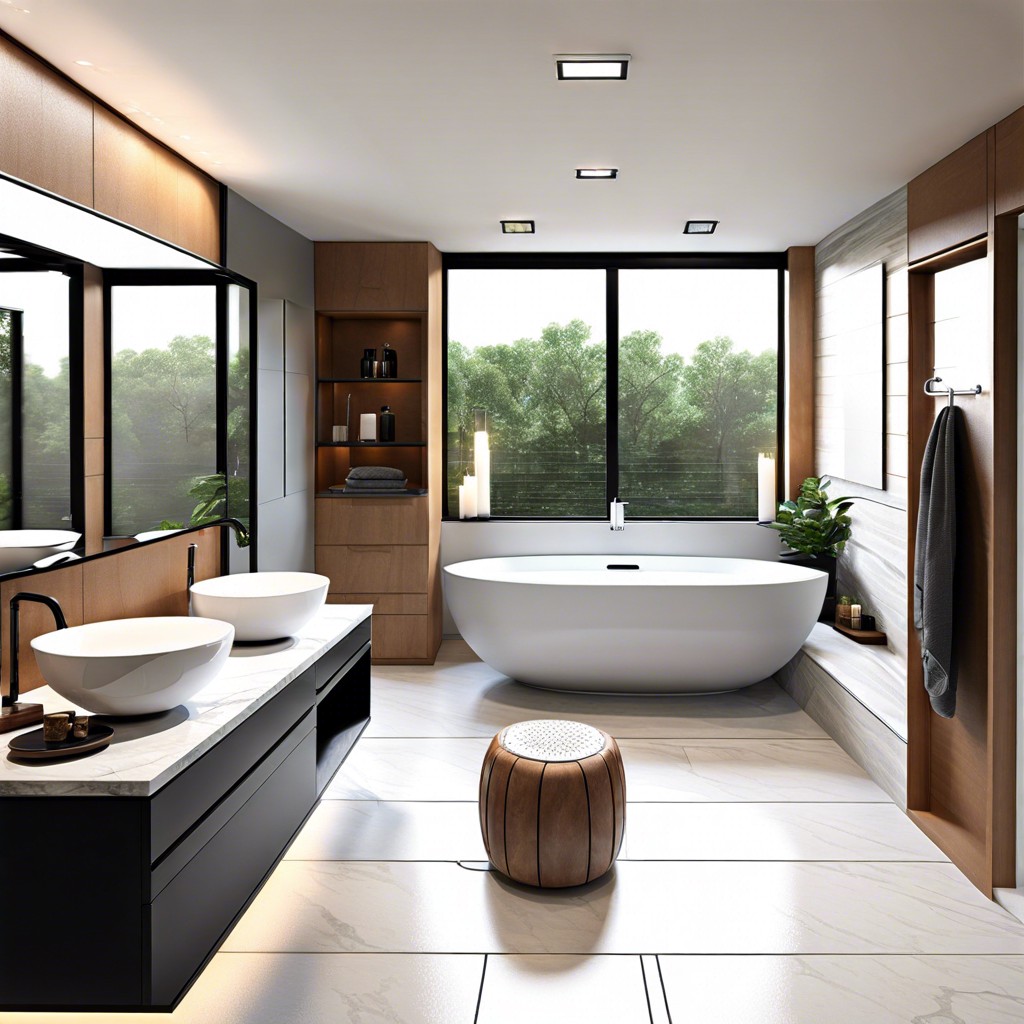 15 Master Bathroom Cabinets Ideas for a Luxurious Upgrade
Recap