Last updated on
Choosing the right caulk for baseboards is crucial because it affects the final look, longevity, and maintenance efforts of your home improvement projects.
Key takeaways:
- Caulking baseboards prevents water damage and mold growth.
- Caulk improves the appearance of baseboards, creating a polished look.
- Choose the right caulk based on material compatibility and paintability.
- Prepare the area by cleaning and using painter’s tape for neat lines.
- Apply caulk smoothly, then smooth and clean up any excess for a professional finish.
Why Caulking Baseboards Is Important
Caulking fills gaps between baseboards and walls, sealing out moisture that can lead to damage such as rot or mold.
It provides a clean, finished look, eliminating unsightly cracks and ensuring a polished appearance.
Moreover, caulk acts as an insulator, blocking drafts and contributing to the energy efficiency of your home.
By preventing the intrusion of pests and dust, it also aids in maintaining a cleaner indoor environment.
Prevent Water Damage
Sealing the gap between your baseboards and the wall helps block the pathway through which water could potentially seep in. This is crucial in areas like bathrooms or kitchens where moisture is frequently present.
Water that makes its way behind baseboards can lead to swollen wood or worse, create a thriving environment for mold and mildew. By choosing a high-quality, water-resistant caulk, you not only safeguard your baseboards but also protect the structural integrity of your walls and flooring.
To further ensure a watertight seal, always clean the area thoroughly before application and allow adequate drying time once the caulk is applied.
Avoid Rot and Mould Growth
Sealing baseboards with the appropriate caulk prevents moisture seepage, which can lead to wood rot and harmful mold. Here’s how this works:
- Moisture Barrier: Caulk acts as a seal between the baseboards and wall, blocking water and humidity from creeping behind the wood.
- Healthy Home: By keeping areas dry, you reduce the risk of mold spores that can cause health issues and degrade air quality.
- Structural Integrity: Preventing water ingress helps maintain the wooden material’s strength and shape, avoiding costly repairs.
In essence, using caulk is not just an aesthetic choice but a proactive measure in safeguarding your home’s interior from moisture-related deterioration.
Improves Home’s Appearance
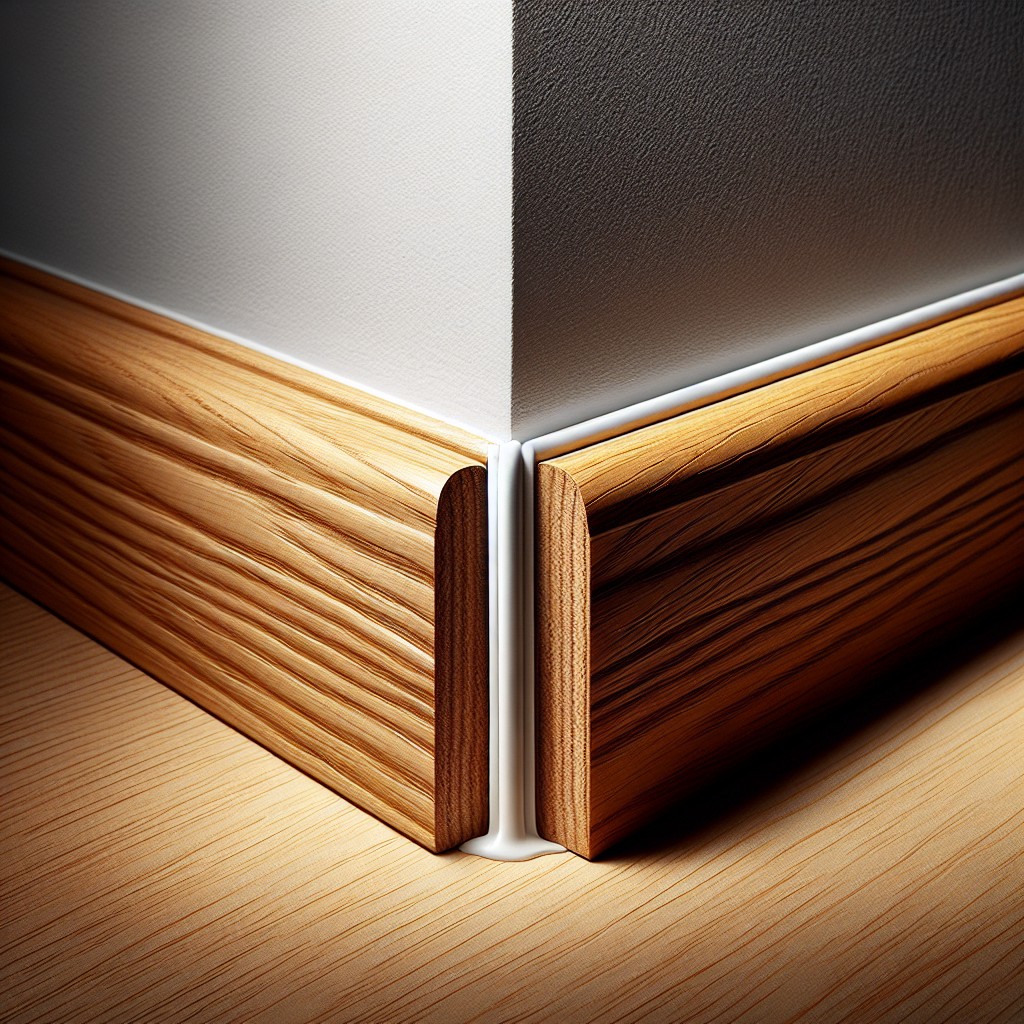
Caulking baseboards not only seals gaps to protect against damage, but it also delivers a polished, refined look to a room. A seamless transition between baseboards and walls contributes to a neat, cohesive design, enhancing both modern and traditional aesthetics.
When paint is applied over a smooth caulk line, the finished appearance is significantly more professional and visually pleasing. This attention to detail can elevate the overall feel of a space, making it appear well-maintained and carefully crafted.
Additionally, caulking can cover any unsightly cracks or crevices resulting from house settling or previous installations, ensuring your home looks its best.
Choose the Right Caulk
Selecting the appropriate caulk for your baseboards is critical for a seamless and enduring finish. Acrylic latex caulk is a popular choice due to its ease of application and flexibility, making it ideal for filling gaps where walls meet baseboards. It is also paintable, which means you’ll be able to match it to your walls for a cohesive look.
For areas with higher moisture, such as bathrooms or kitchens, a silicone or siliconized acrylic blend is preferable due to its water-resistant properties. If you’re working in a historical home or with particular wood trim, a solvent-based caulk might be necessary for compatibility. Always ensure that the product you choose can adhere to both surfaces it will be in contact with, typically wood and drywall or plaster.
For energy efficiency, look for caulks that offer additional insulation properties.
Baseboard Caulk Selection
When selecting caulk for baseboards, the primary consideration should be the material of the baseboard. For wood or MDF baseboards, a paintable latex or acrylic latex caulk is often preferred due to its ease of application and cleanup, as well as its flexibility, which allows it to endure slight movements. These types come in a variety of drying times and qualities, ranging from basic painter’s caulk to higher-end options with added silicone for increased durability.
For bathrooms or areas with higher moisture, a silicone-based caulk might be the better choice, because of its water-resistant properties. However, keep in mind that pure silicone isn’t paintable, so if you intend to paint your baseboards, look for a silicone blend that accepts paint.
Additionally, consider the color of the caulk. While white is common and can usually be painted over, clear caulk is available and can be a suitable option if you’re looking for a seamless appearance without painting.
Lastly, factor in the ease of application and cleanup. Water-based caulks can be cleaned with soap and water and are generally easier for beginners to apply smoothly.
Remember, the right caulk will not only seal gaps effectively but also contribute to a finished, professional look upon completion of your project.
Gather Your Supplies
Before embarking on the caulking process, having the right supplies on hand ensures efficiency and quality results. Here’s a quick checklist:
- Caulk: Choose a silicone or latex caulk that’s paintable and suitable for indoor trim work.
- Caulking Gun: A reliable caulk gun allows for better control and smooth application.
- Painter’s Tape: Use this to mask off areas to keep lines neat and ensure professional-looking edges.
- Utility Knife: A sharp knife is essential for opening the caulk tube and cutting the tip to the desired size.
- Rag or Paper Towels: Keep these close for quick clean-up of any excess or spills.
- Caulk Tool or Plastic Spoon: A caulk finishing tool or a simple plastic spoon helps in smoothing out the bead for a clean finish.
- Rubbing Alcohol or a Cleaning Solution: The baseboards should be clean and free of dust or debris before application for the caulk to adhere properly.
With these items prepared, the caulking process can proceed smoothly, ensuring a neat seal and a polished look.
Prepare the Area for Caulking
Before applying caulk, ensuring a clean and receptive surface is crucial. Dust, dirt, or old caulk will compromise the new caulk’s adherence and longevity. Begin by using a putty knife or a caulk removal tool to scrape away any remnants of previous caulking material. Next, wipe down the baseboards and adjoining wall area with a damp cloth to remove any residual particles and let it dry completely.
If there are gaps or cracks larger than 1/4 inch, consider using a backer rod to fill in the space. This foam rod not only provides a backstop for the caulk but also saves on the amount you’ll need to use. It’s essential not to skip this step as it provides a solid foundation for the new caulk to adhere to, ensuring a smooth, professional finish.
Once the surface is prepped, take the time to apply painter’s tape along the edge of the baseboards to protect your walls and floors and to create a straight, clean line for the caulk to follow. This step doesn’t just aid in keeping the job tidy; it also helps in achieving that precise, crisp edge that elevates the overall quality of your work. Trim any excess tape with a utility knife, and with the area fully prepped, you’re now set for a straightforward caulking application.
Load the Caulking Gun
Inserting the tube into the caulking gun correctly is crucial for even application. Start by cutting the tip of the caulk tube, aiming for a slight angle and a small opening to control the flow. Pierce the inner seal with a stiff wire or the puncture tool found on most guns.
Once the tube is prepared, pull the trigger mechanism back on your caulking gun to make room for the tube. Place the tube into the gun with the nozzle at the front and the flat bottom resting in the cradle. Push the trigger forward until it’s firm against the tube, ensuring it’s secure.
Test the flow on a piece of cardboard first to ensure it’s consistent and easy to control before moving to the baseboards.
Apply the Caulk
Ensure the caulking gun’s tip is cut at a 45-degree angle for a precise application. Press the gun’s trigger and move steadily along the seam between the baseboard and wall. Keep the gun at a consistent angle and speed to ensure a smooth bead. If the caulk oozes out too fast or too slow, adjust the pressure on the trigger accordingly.
For long stretches, release the trigger near the end of a stroke and start at the stopping point to maintain uniformity. Avoid stopping mid-length as this can create an uneven look. If an air bubble appears, simply smooth it out with a caulking tool or your finger. Remember to work in sections that are manageable to ensure a clean, professional finish without rushing.
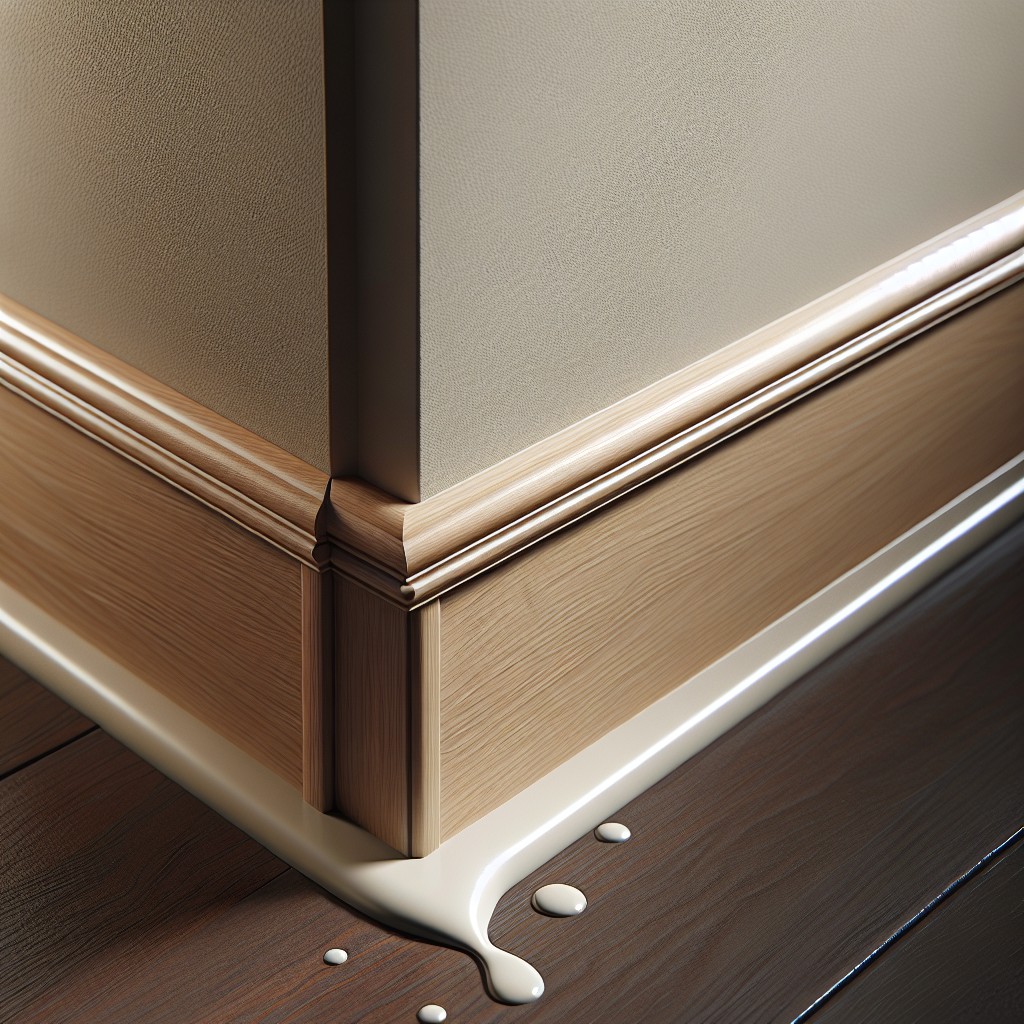
Smooth the Bead Line
After applying the caulk, it’s crucial to create a clean, professional finish by smoothing out the bead. This process not only masks application imperfections but also helps the caulk to adhere better and seal properly.
- Wet your finger or a caulk finishing tool with soapy water to prevent sticking.
- Gently drag it along the caulk line, pressing down slightly to push the caulk into the joint.
- Wipe away excess caulk from your finger or tool frequently on a damp cloth to avoid uneven lines.
- For tighter control and a more professional look, consider using a caulk smoother or a plastic spoon.
- If excess caulk spreads onto the wall or floor, clean it up swiftly with a damp cloth before it dries.
A smooth bead line not only ensures a secure seal but also delivers a visually pleasing finish that enhances the overall look of the room.
Mastering Drywall Installation: Overcoming Common Challenges for a Flawless Finish
Achieving a perfect finish on drywall installation requires attention to detail and patience. Here are some challenges you may encounter and how to address them:
- Inconsistent Seams: Ensure your wall studs are straight before installation. Use a long level or straightedge to identify any variances. Shimming may be necessary to achieve a consistent plane for your drywall sheets.
- Screw Pops: These occur when screws aren’t set correctly. Drive screws so the heads are just below the surface without breaking the paper. This will prevent pops and bumps after finishing.
- Imperfect Corners: Use a corner trowel to align compound smoothly along both sides of a corner. For outside corners, a metal or plastic bead provides a straight edge and protects against chipping.
- Excess Sanding: Apply joint compound in thin, even layers to minimize sanding. Excessive sanding can damage the drywall face and lead to uneven textures. Sand with light pressure and check your work with a work light at an angle to reveal imperfections.
- Drywall Dust Management: Reduce airborne dust with a vacuum-assisted sander or wet sanding techniques. Always wear a dust mask for personal protection.
Remember, patience in filling, sanding, and finishing the joints is key to a smooth wall ready for baseboard installation and caulk application.
DIY Vs. Hiring a Professional: Making Informed Choices for Drywall Installation
Deciding between tackling a drywall installation yourself or enlisting professional help is pivotal. Consider your skill level; if you’re a novice, a professional’s precision can prevent costly mistakes. For seasoned DIY enthusiasts, a well-executed self-installation could offer savings and a sense of accomplishment.
Factor in the project’s scale; extensive installations might be overwhelming solo. Evaluate the tools you own versus what the job requires—renting or buying can add up. Lastly, time is a currency. Weigh the value of your time against the cost of hiring a pro to ensure your decision aligns with your lifestyle and budget constraints.
Balancing these considerations will guide you toward a choice that matches your comfort level and project goals.
How We Chose the Best Caulk for Baseboards
In curating our top caulk selections for baseboards, we emphasized variety and effectiveness. We focused on options that deliver airtight seals and flexibility to accommodate seasonal movement.
Our evaluation criteria included:
- Adhesion: The product’s ability to bond with a variety of surfaces, ensuring a secure seal.
- Flexibility: Qualities that allow the caulk to expand and contract without cracking.
- Durability: Resistance to wear, ensuring the seal lasts for years.
- Ease of Use: A smooth application process and minimal need for touch-ups.
- Curing Time: The period required before the caulk fully sets, impacting project timelines.
- Paintability: The capability of the caulk to hold paint, a crucial aspect for finish work and aesthetics.
By thoroughly analyzing user experiences and technical specifications, we ensured each product meets the needs of both DIY enthusiasts and professional installers.
Our Top Picks
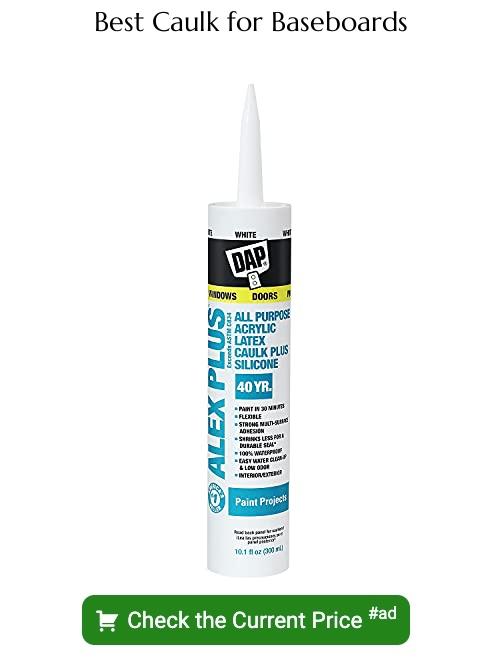
DAP Alex Plus Acrylic Latex Caulk Plus Silicone is a top contender for its versatility and ease of use. Its strong adhesion and easy soap and water cleanup make it suitable for both professional and homeowner use.
Loctite Polyseamseal All-Purpose Adhesive Caulk offers an excellent bond, serving as both a sealant and an adhesive. This feature is especially beneficial when securing baseboards to uneven walls where extra adhesion is needed.
GE Silicone 2+ Window & Door is a waterproof, all-weather option that’s perfect for areas with high moisture. It’s permanently flexible, which means it won’t crack or shrink, ensuring a durable seal over time.
Red Devil’s SPEED DEMON Acrylic Caulk is a fast-drying option for projects on a tight schedule. Its quick-dry formula allows for painting just 30 minutes after application, speeding up the finishing process.
Gorilla White 100 Percent Silicone Sealant Caulk stands out for its mold and mildew resistance. It’s a smart choice for bathrooms or kitchens where moisture levels are consistently high.
Each product offers specific benefits tailored to different needs—whether it’s the need for speed, moisture resistance or multi-purpose use. It is recommended to choose based on the unique conditions and requirements of your project.
What to Consider When Choosing a Caulk for Baseboards
Selecting the right caulk for your baseboards hinges on several factors that will ensure both aesthetic appeal and longevity:
1. Material Compatibility: Match the caulk to your baseboard material. Acrylic latex caulk is flexible and easy to clean, ideal for wood and drywall. Silicone caulk, on the other hand, is perfect for moisture-prone areas due to its water-resistant properties.
2. Paintability: If you plan to paint over the caulk, ensure it’s paintable. Most acrylic latex caulks can be painted over, but silicone caulks usually cannot, potentially clashing with your decor.
3. Flexibility: Look for a product with adequate flexibility to absorb the natural expansion and contraction of the baseboard material without cracking.
4. Ease of Application: Consider the ease of application, especially if you are a DIY enthusiast. Some caulks come in easy-to-use tubes that fit in standard caulk guns, while others require more professional tools.
By focusing on these key aspects, you’ll find a caulk that not only seals gaps efficiently but also contributes to the finished look of your room.
Types of Caulk
Selecting the ideal caulk begins with understanding the primary varieties available on the market:
- Latex Caulk: Also known as painter’s caulk, this type is easy to use and cleans up with water, making it ideal for indoor baseboards where flexibility isn’t a major concern.
- Silicone Caulk: Highly durable and flexible, silicone is perfect for areas with high moisture or where temperature changes frequently. However, it can be more difficult to work with and requires mineral spirits for cleanup.
- Acrylic Latex Silicone Blend: Combining the ease of latex with the durability of silicone, this caulk is generally easy to apply and offers a balance of flexibility and easy use. It adheres well to a variety of surfaces and is suitable for most interior baseboards.
- Polyurethane Foam: This type is less common for baseboards but worth mentioning for its high flexibility and excellent sealing properties. It is often used for filling larger gaps and insulating, but its expansion properties can be overkill for standard baseboard sealing tasks.
Each type has its own application techniques and optimal use cases. Consider the conditions and location of your baseboards to make the best choice.
Quality and Durability
The longevity of your caulking job greatly depends on the quality and durability of the caulk you choose. A high-performance product will resist shrinking, cracking, and discoloration, ensuring that your baseboards remain neatly finished and protected over time.
Look for a caulk that boasts flexibility, as this will accommodate the natural expansion and contraction of the materials due to temperature changes. Furthermore, a durable caulk should adhere well to both the baseboards and wall surfaces without peeling away.
When scrutinizing products, consider those that offer a longer warranty, which can be a good indicator of a manufacturer’s confidence in their product’s ability to stand the test of time. Also, check for caulk that is labeled for both interior and exterior use. Even if your project is indoors, an exterior-grade product can provide superior resistance to moisture and temperature variations typically found at the perimeter of floors.
Ultimately, investing in a quality and durable caulk means fewer touch-ups and repairs in the future, maintaining the crisp, clean look of your baseboards for years to come.
Curing Time and Paintability
Selecting a caulk with the right curing time is crucial for ensuring a seamless finish and project efficiency. A caulk that cures too quickly might not give you enough time to smooth it out, leading to a less than perfect finish. Conversely, if the curing time is too long, it can delay the painting process.
Paintability is another key factor. To avoid a mismatched appearance, choose a caulk that can be painted. Some siliconized acrylic latex caulks are excellent for baseboards as they combine flexibility with paintability. Check the label for terms like “paintable” to ensure compatibility with your finishing plans.
- A quick 1-2 hour curing caulk is ideal for fast-track projects.
- A 24-hour curing product might be better suited for intricate work that requires more time.
- To test paintability, apply caulk to a small section, let it cure, and then paint it.
- Always follow the manufacturer’s guidelines on curing times and recommended paint types.
- Keep in mind that temperature and humidity can affect curing times.
By considering these points, you will achieve a polished look and ensure the longevity of your baseboard’s finish.
Tips On How to Caulk Baseboards
Begin with a clean slate by ensuring the baseboards and wall are free of dust and old caulk for optimal adhesion. For a uniform bead, cut the caulk tube tip at a 45-degree angle, matching the gap width.
When applying caulk, maintain a steady hand and consistent pressure for a smooth flow. Avoid excess by only applying caulk to gaps, not on the baseboard’s surface. To achieve a professional finish, dip your finger in soapy water and glide it smoothly along the fresh caulk line. This step will press the caulk into the gap and remove excess.
If you make a mistake, quickly clean it up with a damp cloth before the caulk dries. Remember, practice makes perfect. Don’t hesitate to peel off and reapply if the first attempt isn’t satisfactory – fresh caulk is forgiving if addressed promptly.
More Like This
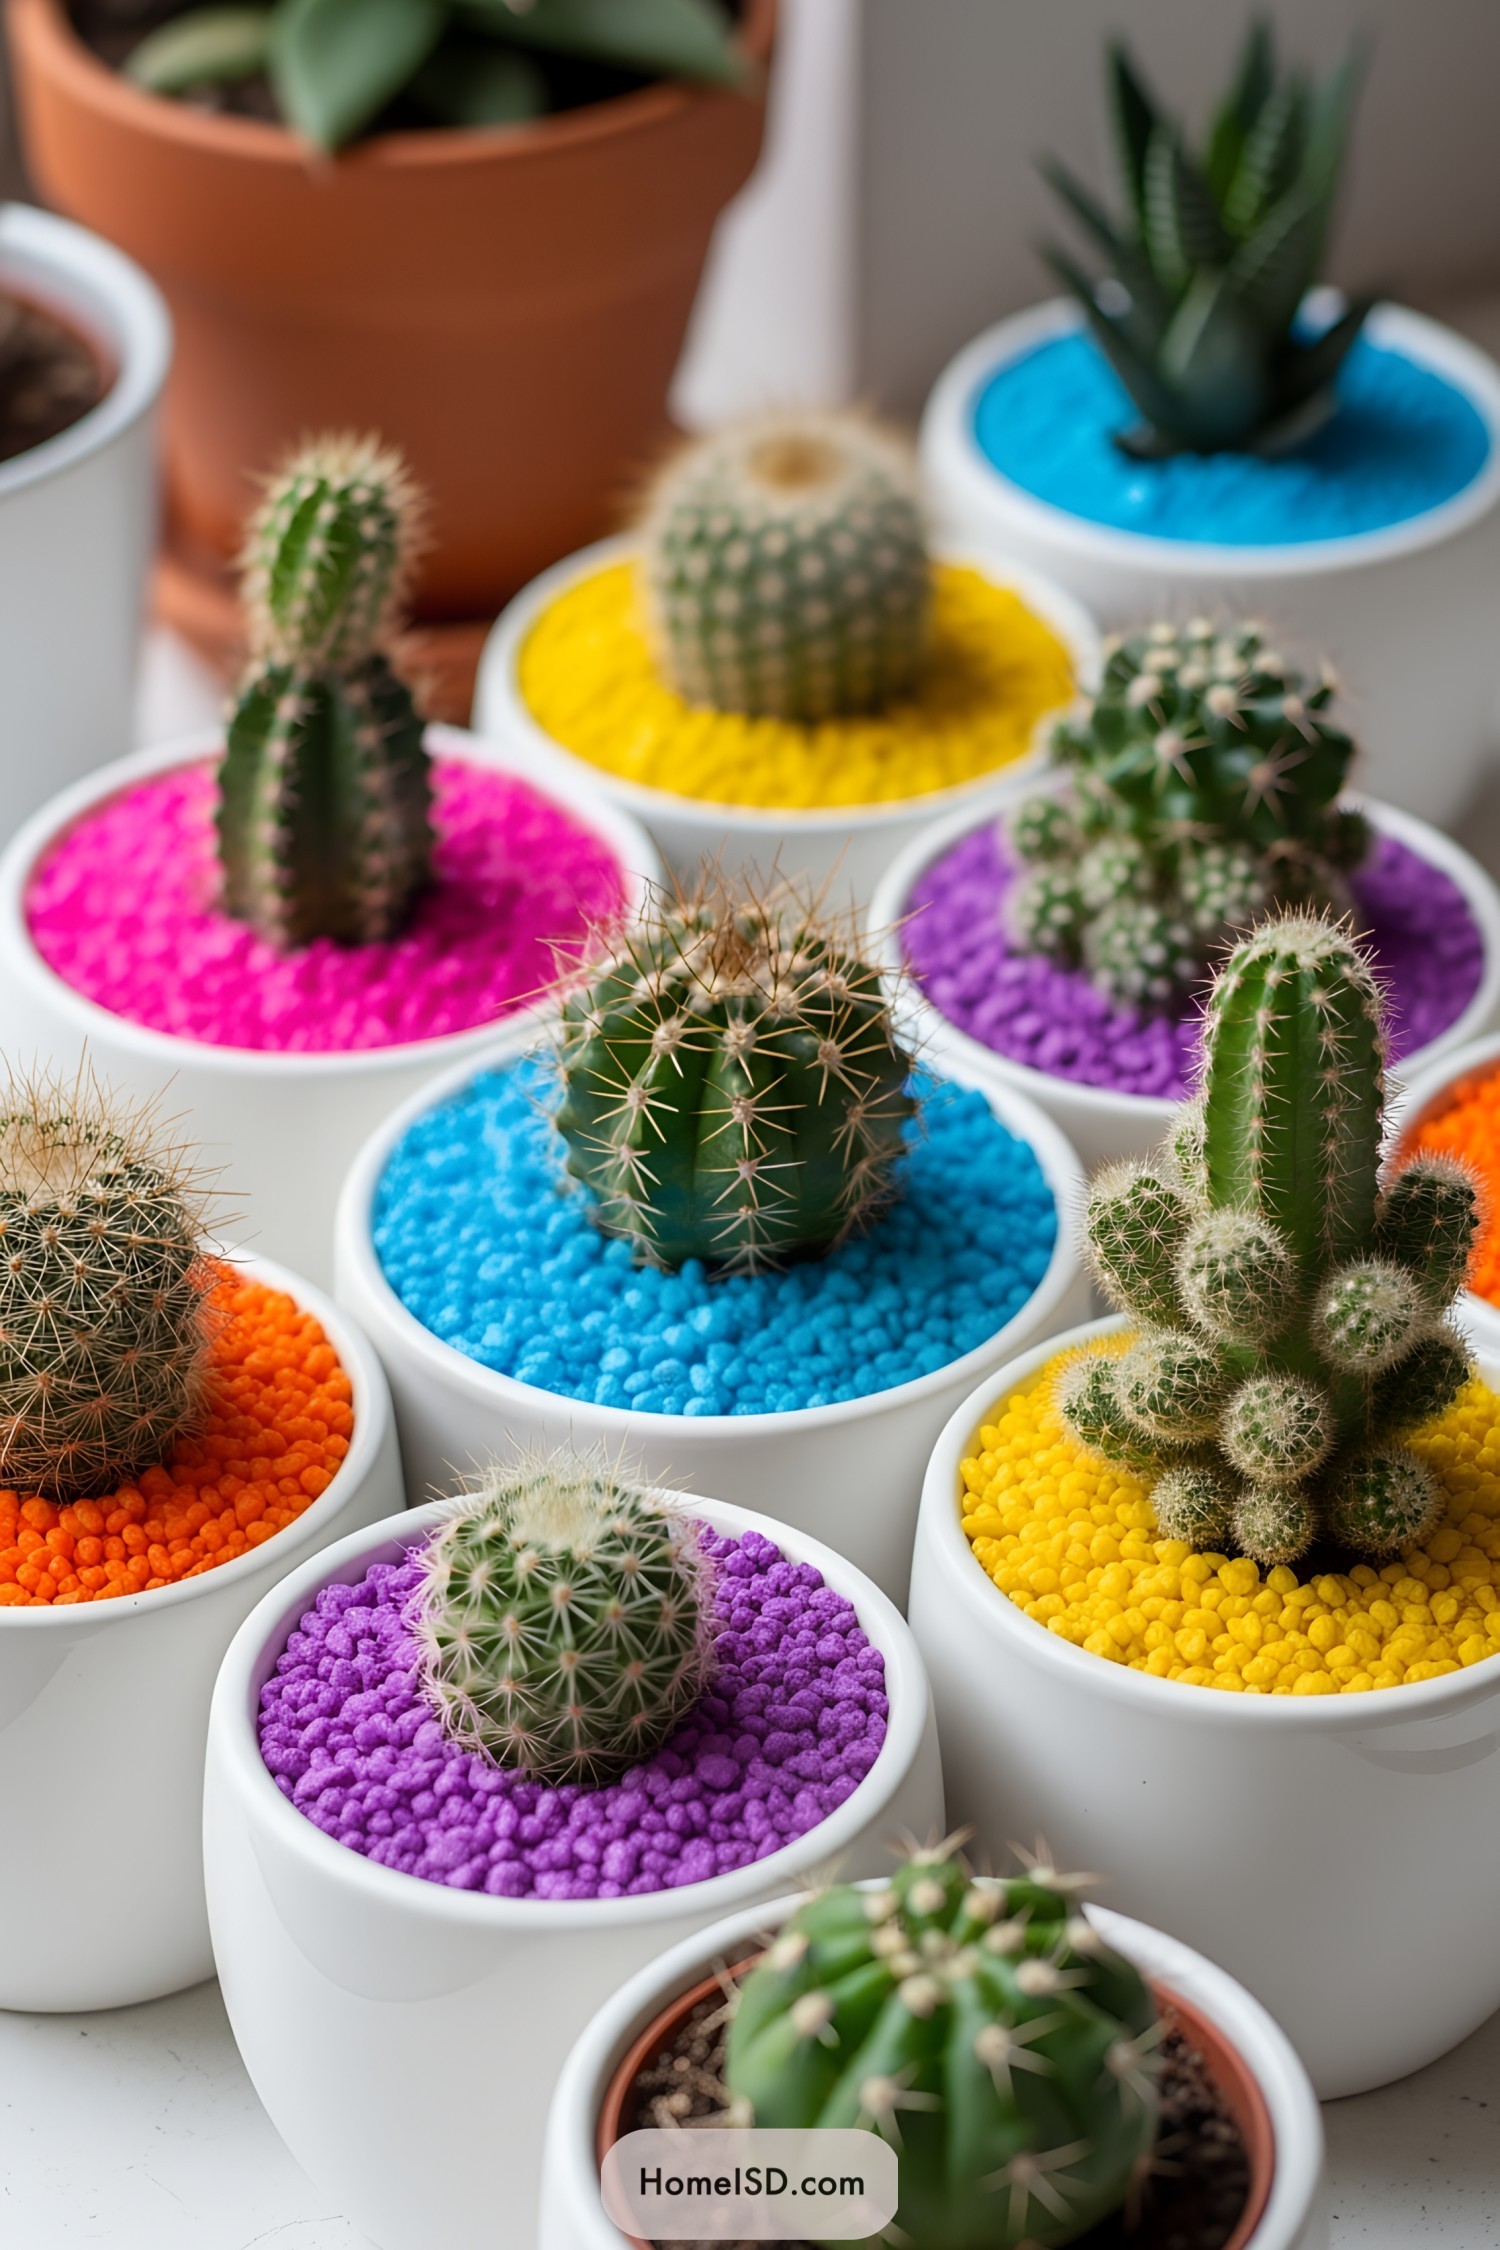 22 Mini Cactus Garden Ideas That Prickle with Delight
 20 Fairy Houses With Natural Materials That Will Make You Believe In Magic
 20 Cheap Walkway Ideas DIY Benefits
 15 Ingenious DIY Pantry Cabinet Ideas
 15 Creative DIY Buffet Table Ideas for Your Next Gathering
Recap