Last updated on
Use these tips and tricks to paint your ceiling and get the texture effect you want. Read on!
Aside from your walls and furniture, one way to make your house look luxurious, welcoming, and relaxing is your ceilings. Texture painting is a ceiling technique that can pull a stylish and beautiful room.
Here are some of the best ceiling texture painting tips and tricks to make your house look charming and your ceilings durable and dent-free.
Prepare the Materials You Need
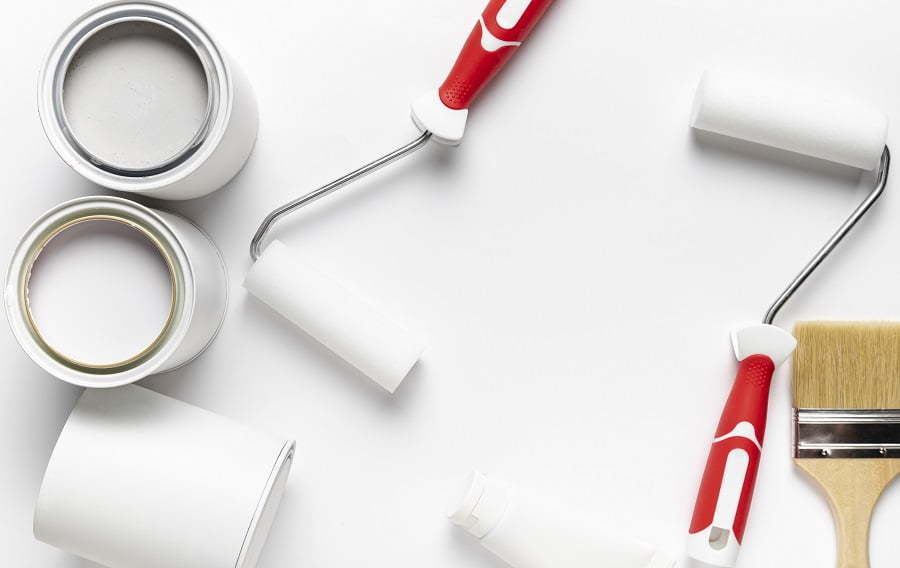
Tools and Materials
- Desired paint
- Primer
- Paint roller (textured and non-textured)
- Painter’s tape
- Drop cloth
- Drywall mud
- Ladder
Empty the Room
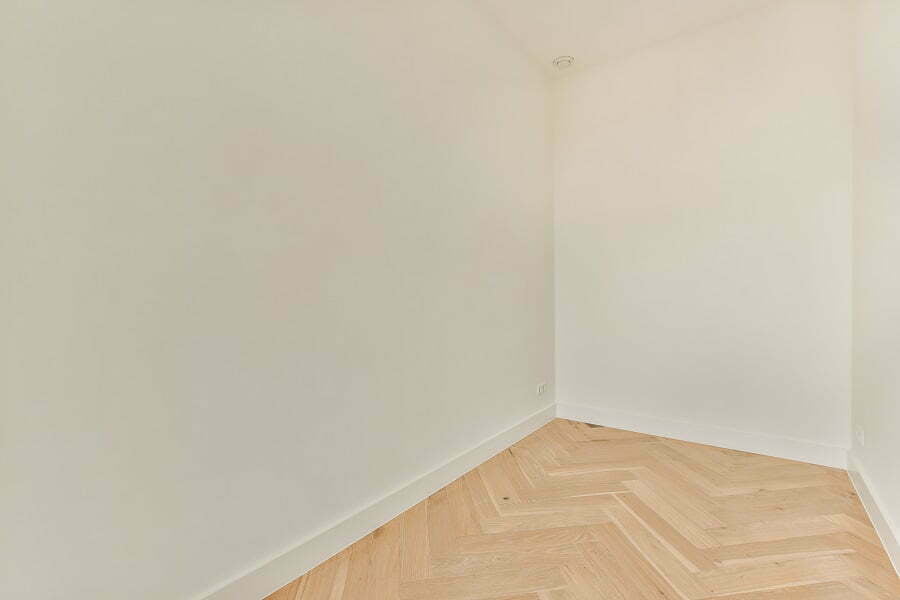
An empty room will allow you to move around without worrying that the paint may drip into your favorite furniture. Also, it will lessen any fall accidents.
Protect Your Furniture and Floor with a Drop Cloth
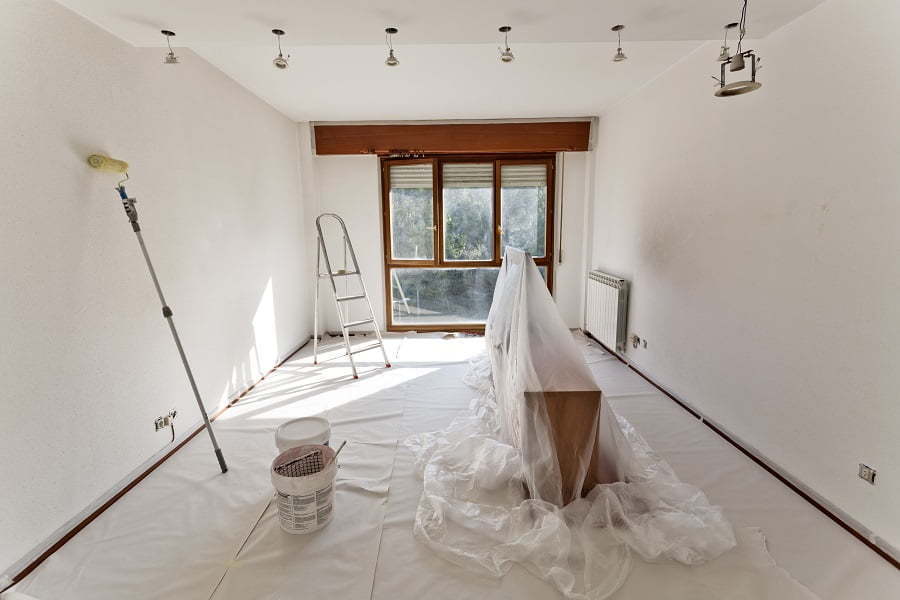
Since you will be painting your ceiling, there is a high chance that the paint may either splatter or drip. Avoid these paint drippings as they may cause extra work afterward. Cover your favorite furniture with a drop cloth. Use paper or tarps if you do not have any drop cloth available to use.
Clean Your Ceiling
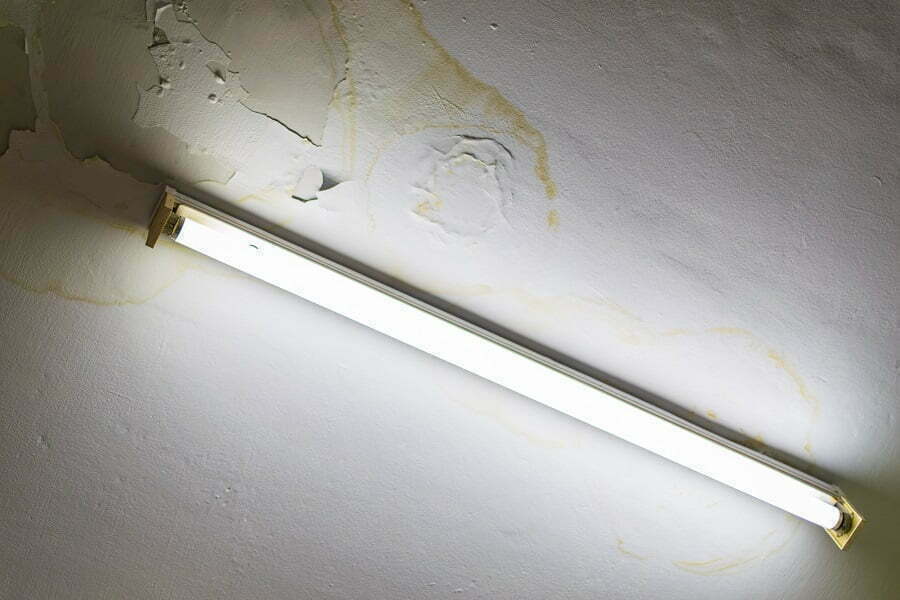
Clean the area as much as possible and remove all those things that may hinder you from texture painting it. If you have faceplates, vent system covers, light fixtures, and ceiling and attic access doors and panels, gently remove them and secure them from the paint splatters.
Make Use of Painter’s Tape

For a clean edge finish, you need painter’s tape to ensure that the lines at the edges are straight. The masking or painter’s tape also covers areas you do not need to paint. Make sure the masking tapes stick entirely to the ceiling and wall. Otherwise, the paint may scatter.
Apply a Primer
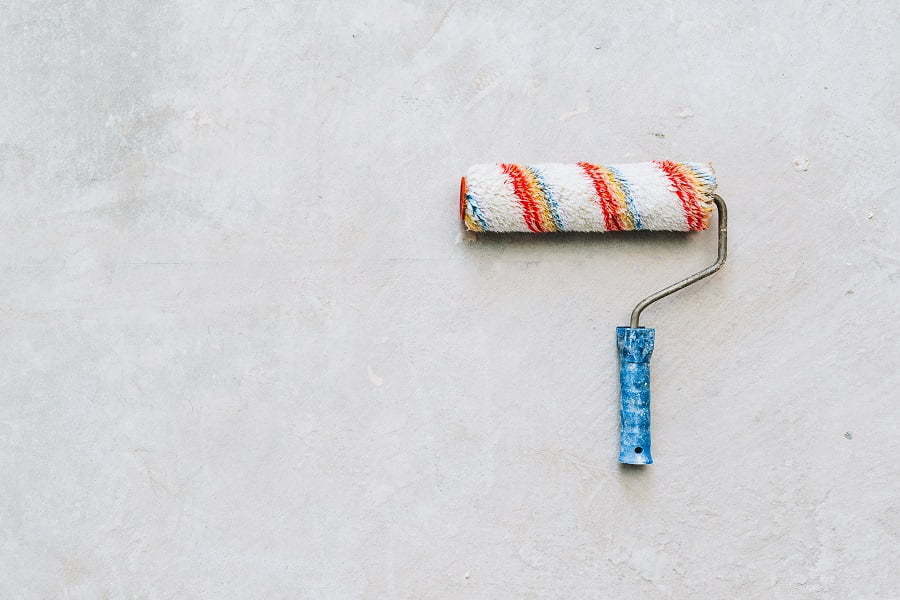
You must apply a primer to the ceiling before texture painting as it prepares the area and makes it easier for you to paint the ceiling. However, for a lasting result, you must apply the right consistency of the primer. Apply a thin layer and ensure that the primer is evenly spread.
Prepare the Paint
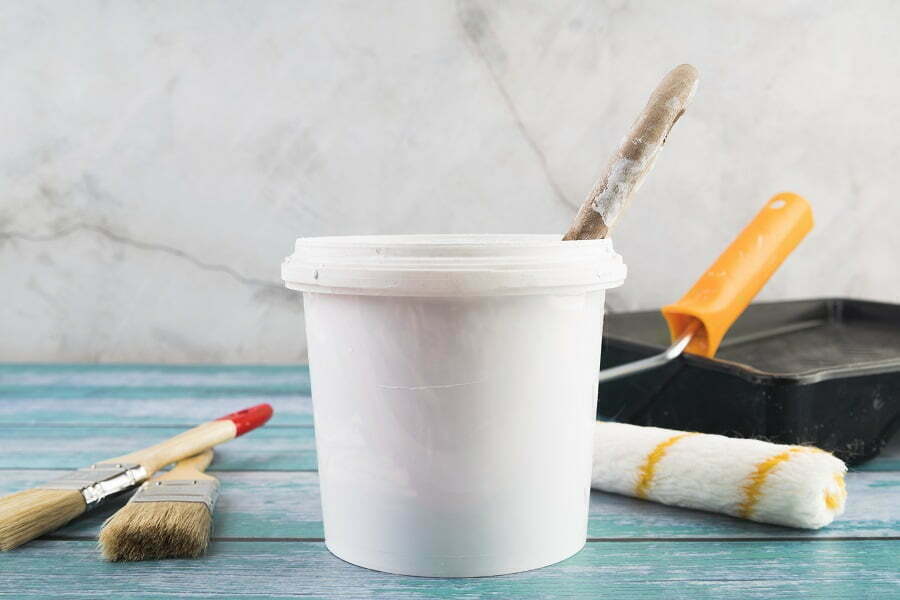
Depending on how and what finish you want, you may use a premixed textured paint or mix your desired paint color with drywall mud. But the latter will let you play with the paint’s hue, consistency, and mixture depth for some special effects.
Start Texture Painting the Ceiling
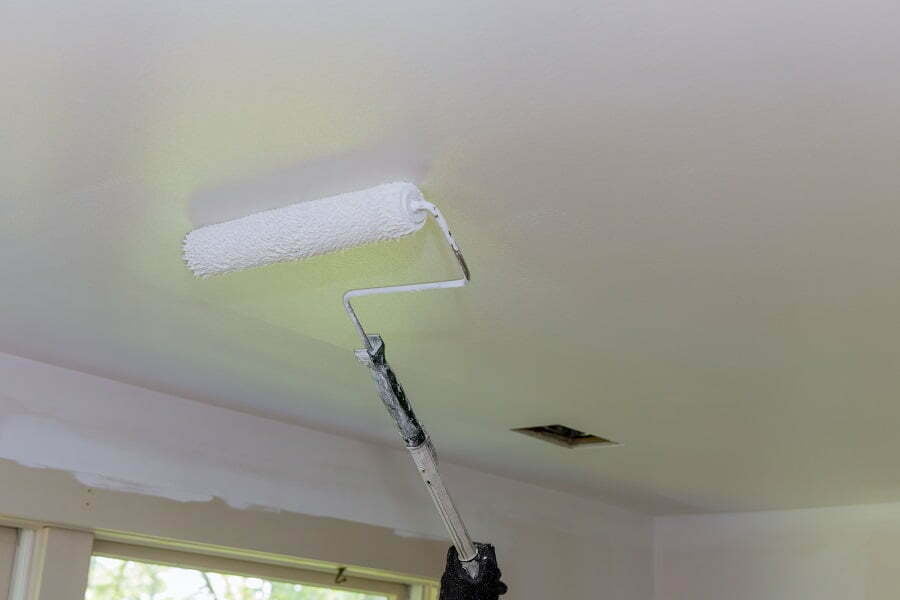
Some painters have preferences on the start point, but the ideal way to apply the first texture paint is to start working on the darker and inconspicuous area towards the other end.
The Classic Subtle Finish
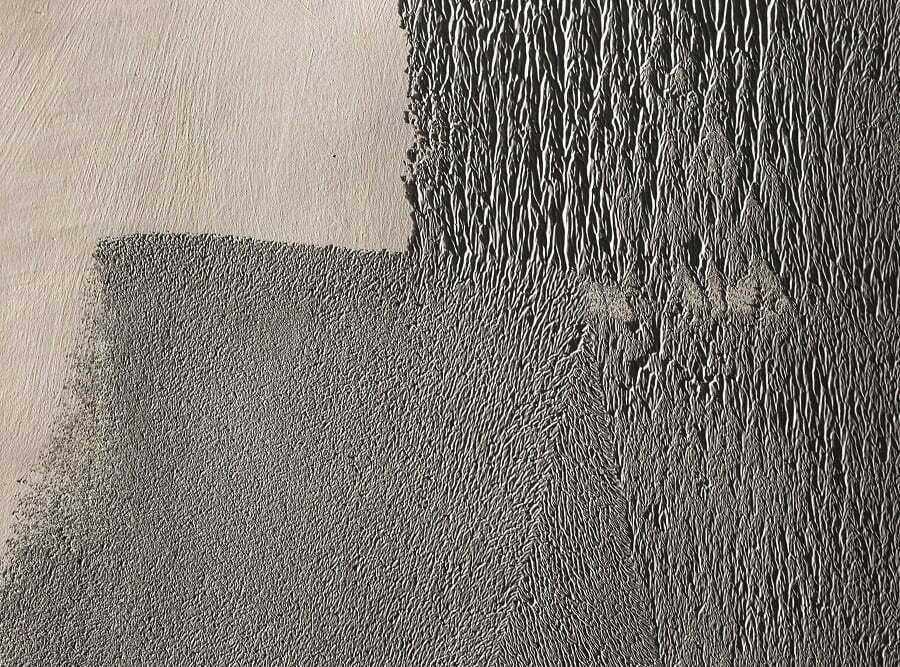
To do this trick seamlessly, you need to apply the textured paint mixture as regular paint, but you should use a unique roller to get the texture effect that you want.
The Stucco Effect
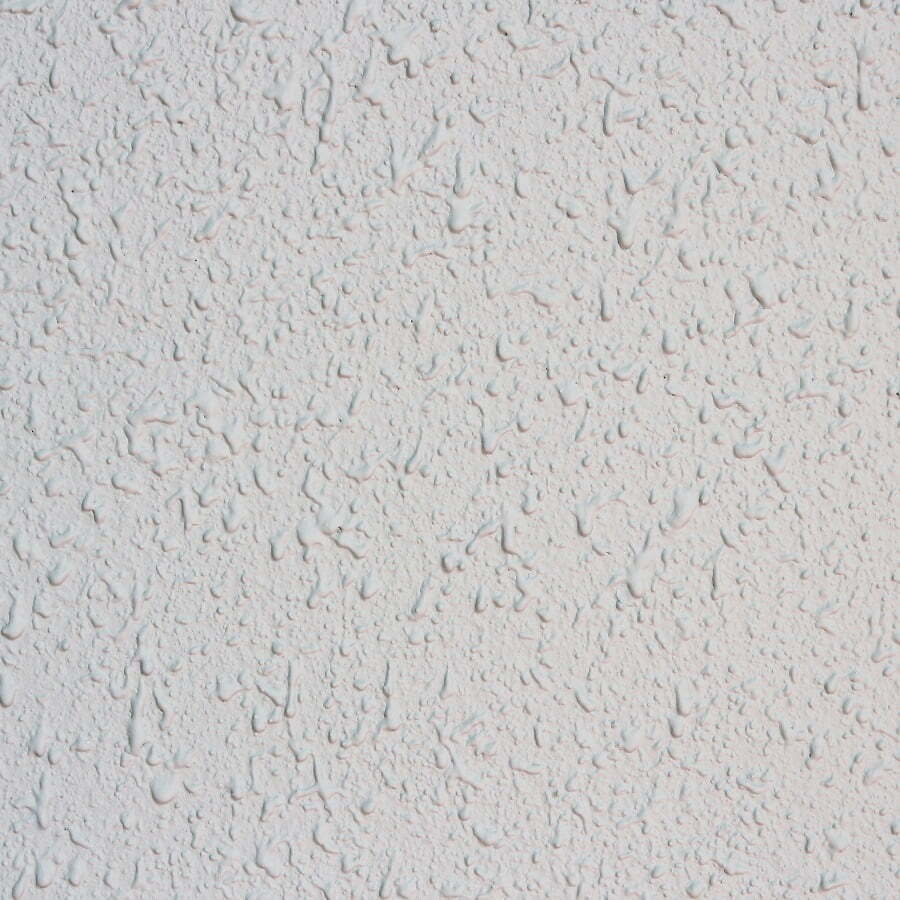
Compared to the first trick, the stucco effect might need a little work and a compound knife, a trowel, and a sponge to achieve it. If you opt to have this effect, you need your creativity, which requires you to manually pull off the stucco effect.
Start applying the textured painting to the ceiling using a compound knife or a trowel. After applying the mixture, gently dab the damp cloth or sponge to mimic the stucco’s texture.
The Retro Popcorn Finish

The popcorn finish is one of the most common textured ceiling looks, as it is known to hide your ceiling’s defects. This finish only takes a popcorn texture, water, and a large nozzle spray gun.
After mixing the popcorn texture and the water, the polystyrene chips expand. Use the spray gun to sprinkle the mixture onto the ceiling, which must look like small popcorn.
Make the texture paint pattern as spontaneous and natural as possible unless you have a specific design. But before doing the tricks, follow the tips and cover the floor and your furniture to prevent getting paint splatters and achieve your desired textured paint finish.
Recap
