Last updated on
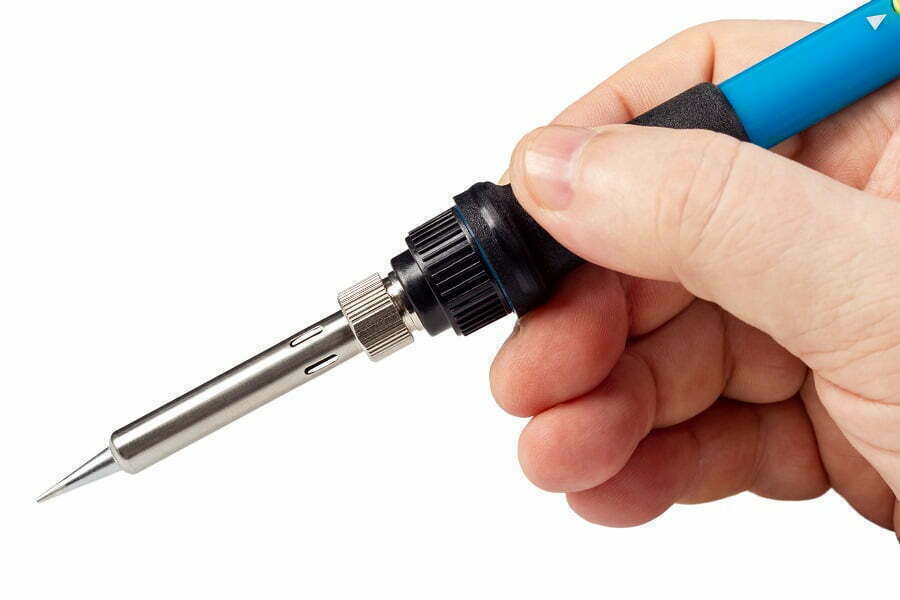
Some DIY home projects will require you to solder wires. It’s a nice skill to have even if you’re a beginner. So here’s how to do it correctly.
Soldering wires may require a helping hand if you are new to it. Even if you are seasoned, some ‘do it yourself’ projects require more than two hands. Some of these projects might require a device or a tool.
However, we are going to assume you are a newbie so that you can learn to solder a wire to a connector like a pro!
Soldering Guide for Beginners
Soldering isn’t a challenging task. Soldering is a joining process used to attach a metal part to another with the help of a solder. Solder is a tin and lead alloy, which holds the two metal parts together like an adhesive. It is different than welding, which melts the two parts at a joint. Anyone can solder metals as it only requires application of the solder and pressing down the two surfaces that need to be joined.
Any beginner needs to know that the soldering alloy has a melting point lower than other metals, and once it is in liquid form, it can hold the two surfaces you need to connect, and the work is done upon cooling! Many techniques are learned through experience only, and soldering is one of them too. We also made a few rough joints before mastering the process! You must give it a try with a soldering gun so that you can improve. Once you get the required finesse, you can connect wires to connectors even!
What Is a Connector?
For all beginners, an electrical connector or solder connector is an electromechanical device that joins electrical components to create a circuit! These connectors are the jack plugs, banana plugs, sockets, and space plugs that you use with various electrical devices like speakers, sound systems, televisions, and even lamps and electric devices around the house.
Connectors can be board-to-board, wire-to cable connectors, and cable-to-board connectors. Whichever one you want to use, a soldering job may make it easier to get that circuit going!
We have explained basic soldering for beginners, and you will be able to understand how to solder the wire to a jack plug or a banana plug. Once you know how it works, you can solder all kinds of cables to various connectors and even correct faults. Follow the steps below and become the master of fixing small connectors to wires and making things work for you!
How to Solder Wires to a Connector
When you decide to solder wires to a connector, it is better that you use a tool and not two more hands of another person! The reason is that this soldering process makes wired jumpy, and of course, they turn hot. A tool that can hold the wires together is a great idea, and a soldering gun is a must.
Soldering wires to a connector is attaching wires in the right places so that the circuit begins to work smoothly. The wire has to be stripped first so that the metal can connect correctly. You can do this by scoring the rubber insulation with a knife around the copper wires and then slightly bending the wire to take off the rubber/plastic sleeve.
While scoring, be sure not to go through the covering to the copper wire as that would only mean shorting the wires. The shield is under the plastic covering, which you will have to unravel. Uncover the shield a little with a screwdriver to reveal the insulated core. You do not need to remove a large part. In fact, the lesser the core is exposed, the better the results!
Now twist the wire ends and tin them. This step means that you apply the soldering to this part of the wire. Now twist the unraveled shield and tin it too.
Use a clip to hold the jack plug, unscrewed at the point where the wire will be attached. Place the stripped cable on the jack plug and then place the other end of the jack plug. Do not forget to join the screw back to the point where the wire is connected. No fun in dismantling the whole job only because you forgot to put the other half of the plugin place.
You will have to hold the other half of the plug and place the shield and core wires to the respective connections of the plug. You are applying the soldering iron to the metal tag at the point where the tinned sleeve wire touches the pin.
The molten blob will connect the cable and melt. Be sure not to move the cable or plug as the cooling process may take a few seconds.
You will need to apply heat to the metal part of the plug as that takes the longest to melt the solder. If you solder the cable and tag simultaneously, the wire insulation would have melted away by the time the metal melts!
You can solder the core in the same way, as it has a small metal area that will not take long to heat and melt. You can put the wire through the hole in the tag and bend it inwards, so it does not touch the screw or the body of the plug. Some connector plugs might have PVC insulation to keep the wire from touching the metal body of the plug.
Some plugs have a metal tip, but the length of the connector is insulated from inside to keep the body of the plug electricity-free. However, if the pin does not have insulation inside, putting the wire through the tag and bending it keeps it from getting a short circuit with the metal body.
This technique can be helpful in soldering wires to connectors of all types.
Soldering Banana Plugs
Soldering a banana plug is more manageable than two-connection audio as it has just one connection, and there are no screened cables that require stripping. Hold the wire with the crocodile clip of any other tool while you tin it, so it does not move.
The end of the banana plug is a half-cylinder, and you can skip tinning that and place it properly to the soldered tip of the wire. Now all you have to do is heat this part of the plug and apply the solder again to ensure a good fix.
The Takeaway
The soldering technique is the same: whether you have a spade connector, a banana socket, a banana plug connector, or a jack plug! All you do is remove the insulation from the wire, solder it to the inside of the plug while ensuring there will be no electricity ‘leakage’ and that the wire is connected to the connector entirely. A perfect solder joint requires careful application and complete stillness. Using a clip to hold the connector or wire as you solder is an excellent idea.
More Like This
 Buying Stylish and Trusted Wholesale Cabinets in San Diego: Expert Tips for Quality and Value
 How to Design a Home Inspired by Dubai’s Waterfront Architecture
 How Designers Can Hide Vents, Ducts, and HVAC Units Without Compromising Performance
Recap