Last updated on
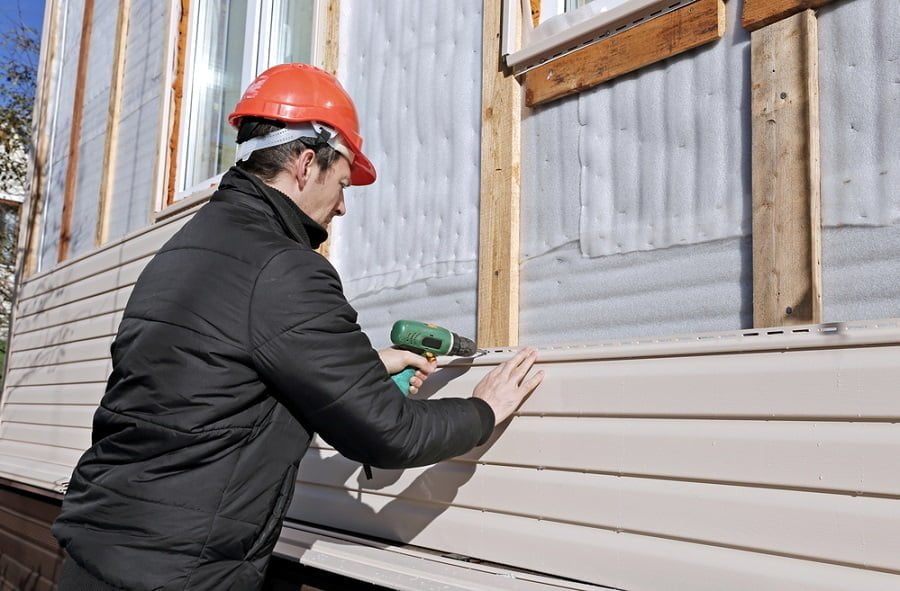
Want to make your own home siding? Here’s how to do it the easiest possible way. Read on to find out how to turn it into a DIY project.

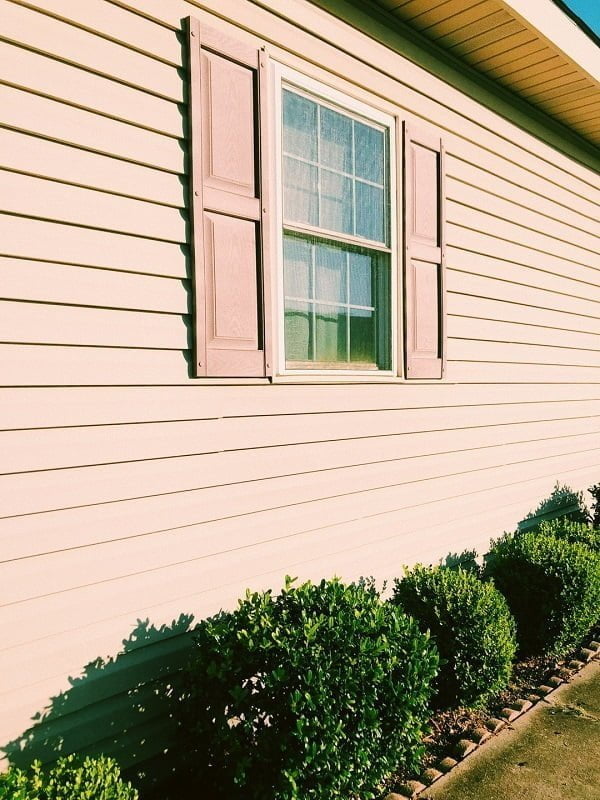
Siding protects your home from damage caused by weather elements, mildew, and woodpeckers. Also, new siding will make your home more attractive. Plus, it also makes your home more appealing.
This article is for the DIYers. It covers when to choose DIY siding over hiring a contractor, how to make wooden siding, and siding installation.
DIY Versus Contractor
Installing or replacing siding is one of those that can be a DIY project. However, before deciding on the DIY route, there are several factors you need to consider:
Time: Installing siding is a time-consuming project. Professional builders take several weeks to complete a siding project. You will take much longer than that, considering first you have to learn a few things about siding.
Material: Siding materials include fiber cement, vinyl, and wood. A vinyl siding or cement siding project is not something you can handle yourself. Wood is arguably the only siding the typical DIYer can handle. Wood siding can be as durable as vinyl siding and fiber cement if treated and installed correctly.
Experience: A siding project looks pretty easy on paper. However, it involves working around corners and eaves and trimming openings for windows and doors. You’ll also have to saw and nail down the siding boards in a way that they overlap. The overlap helps reduce openings where moisture can seep to your walls.
Ideally, DIY is cheaper than hiring a contractor. However, considering time, material, and the experience of the DIY, hiring a contractor might be the more viable option.
Making Your Own Wooden Siding
The first step of DIY siding installation is cutting the siding planks. Alternatively, you can buy ready-made siding boards at a home improvement store.
There are two main options for wooden siding; rough-sawn lumber siding and clapboard siding.
How to Make Rough-sawn Lumber Siding
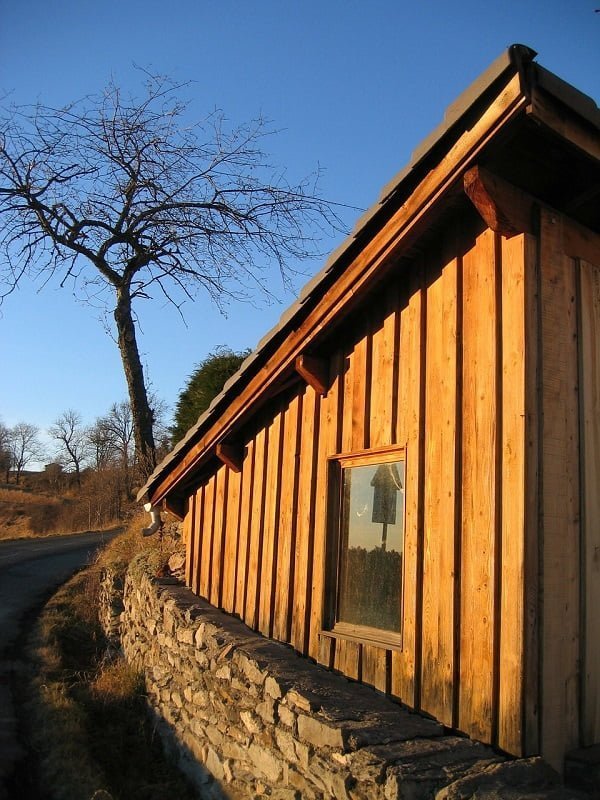
Rough-sawn lumber provides a house a rustic look. Plus, its thickness provides additional insulation to your exterior walls. The challenge is turning a tree trunk from the sawmill into an attractive siding.
The sawmill will have rough-sawn lumber with a thickness of about 1 to 2 inches with a width of 12 inches.
Note that these slabs have inconsistent dimensions and the rough surfaces left by the large sawing machinery. So, you need carpentry techniques to turn these slabs into an attractive siding.
First, focus on the rough edges. Use a saw to make clean 90-degree cuts all ends. When cutting the edges, pay attention to measurements. Generally, siding boards should be 1-inch thick and 12 inches wide.
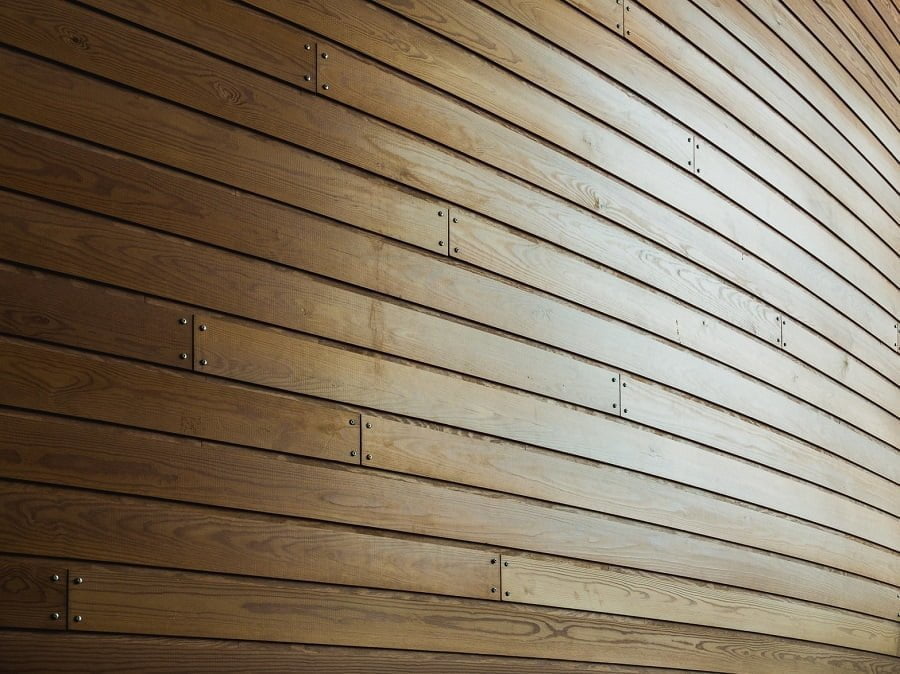
You can install the rough-sawn lumber vertically or horizontally. Vertical installation is more convenient, especially if the boards are long enough to cover the entire height of your walls. If you choose vertical installation, you will need to use 45-degree bevel cuts where two boards meet. The 45-degree angle makes it difficult for moisture to seep through to the wall frame.
Remember, wood shrinks as it sheds moisture. So, include battens – thin strips of woods that cover the gaps that open up between two adjacent boards.
Horizontal installation can cause serious moisture problems. For that reason, horizontal boards should be installed with overlapping edges (shiplap). Alternatively, you could order lumber with tongue-and-groove edges.
How to Make Clapboard Siding
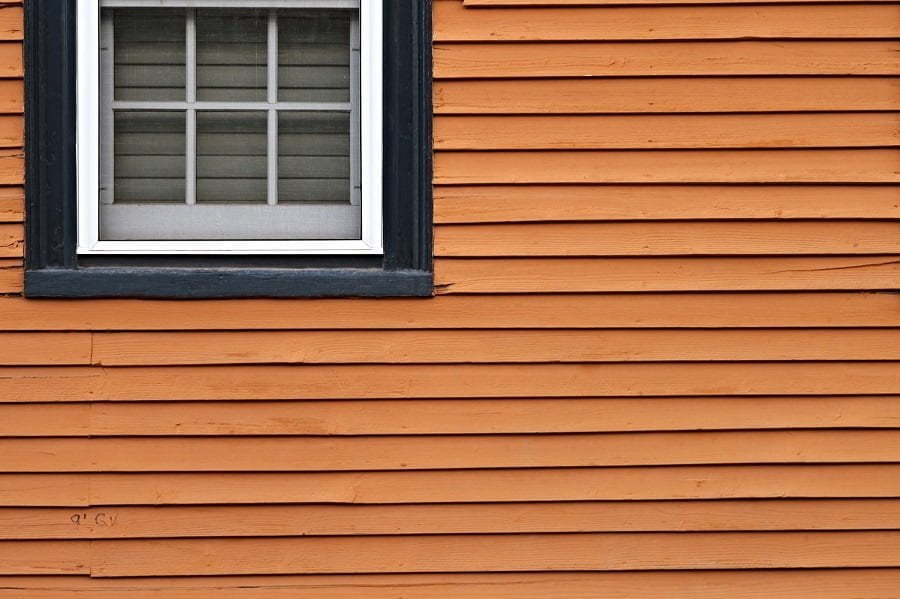
Clapboard refers to a series of wedge-shaped overlapping wood strips. Clapboard house siding, installed correctly, can last for more than a century.
When choosing lumber for clapboard siding, consider softwood options such as fir and pine. These types of lumber, compared to others, are less likely to warp and swell. Also, make sure you use well-dried lumber to avoid gaps when the boards dry.
Work with ¾ inch thick wood with no splits, checking, or open knots. The width of clapboard siding should be 6 or 8 inches. The overlap is typically 1.5 to 2 inches. So, purchase 1 by 8 or 1 by 6 lumber.
You will need to cut a bevel along the length of the wood strips. For that, set the table saw blade as high as possible. You are aiming for a 10-degree bevel for 1 by 8 boards, or 15-degree bevel for 1 by 6 boards. You could round the edges using a ¼-inch round over bit. Then, smooth the ridges and the surfaces using 15-grit sandpaper.
After you have prepared enough boards for the intended area, start the installation from the bottom. Remember, the top board should overlap the bottom one by 1.5 inches.
Siding Installation Steps
Regardless of the type of siding you are installing on your house, follow the following steps:
Step 1: Measuring
Take measurements to figure out the amount and size of siding boards needed. Aside from walls, measure openings, like doors and windows, to figure out the trims and channels.
Step 2: Prepare your walls
Make sure to install adequate plywood sheathing before installing siding. After sheathing, install foam insulation – for energy efficiency and to protect your walls from weather elements.
Step 3: Begin siding installation from the bottom
Start with a properly installed starter row at the bottom. It should be level along the whole length. This way, all subsequent levels will be straight too.
Step 4: Overlap succeeding rows
A 1.5-inch overlap between horizontal strips protects against moisture seeping into the wall frame.
Step 7: Trimming
Start with the walls before trimming. Door and window trimming, as well as corner pieces, come after wall siding is complete.
More Like This
 18 Thanksgiving Wreaths to Wow Your Door for the Festivities
 13 Thanksgiving Trees to Spruce Up Your Holiday Decor
 21 Thanksgiving Party Decorations That Gobble Up the Festivities
 25 Thanksgiving Centerpiece Ideas That Steal the Show
 25 Thanksgiving Tablescapes That Wow
Recap