Last updated on
Dive into this article because it’s charged with unique garden sign ideas that breathe vibrancy and personality into your garden.
Garden signs add a personal and whimsical touch to your outdoor space, transforming it from ordinary to enchanting. Whether you’re looking to guide guests around your garden, add some humor, or simply express your gardening enthusiasm, DIY garden signs are a superb idea.
Harnessing materials you might already have at home, this article will disclose all the steps in creating budget-friendly, eye-catching tags that elevate your garden’s charm. From choosing materials, developing designs, to painting and installation, everything you need to unfold your creativity is at your fingertips!
Key takeaways:
- Metal garden signs: choose weather-resistant materials, reflective finishes, and artistic cutouts.
- Wood signs: use weather-resistant wood, hand-paint with outdoor-grade paint, and maintain with regular sanding and sealant.
- Customized signs: work with artisans, personalize designs, and consider durable materials like stone or metal.
- Flower garden signs: choose whimsical quotes, plant markers with elegant script, and materials that enhance the garden.
- Herb and vegetable garden signs: incorporate playful puns, utilize chalkboard paint, and carve or burn names into wood slices.
- Fall garden signs: incorporate harvest themes and colors, choose durable materials and reflect nature, and consider lighting options.
- DIY/homemade signs: gather basic supplies, design your sign, use lettering techniques, add color and protection, and install securely.
- Choose weather-resistant materials that complement your garden’s style for durability.
- FAQ: tips for making garden signs, creative materials to use, weatherproofing, and budget-friendly customization.
Metal Garden Sign Ideas for Your Garden
Opting for metal garden signs adds a touch of elegance and durability to your outdoor space. These can range from sleek, industrial-looking pieces to more whimsical and artistically cut designs.
Consider these concepts:
- Weather-resistant materials: Choose aluminum, stainless steel, or powder-coated metals to ensure your signs can withstand the elements.
- Reflective finishes: A glossy or reflective surface can catch the light, creating a visible marker even in the dim evening hours.
- Artistic cutouts: Look for signs with intricate laser-cut designs that cast beautiful shadows and add a layer of interest to your garden.
- Stake or hang: Decide whether you want your metal sign to be staked into the ground or hung from a post or tree. Each style offers a different aesthetic and practicality.
- Rustic charm: Aged, rusted metal signs can bring a vintage or rustic feel, blending organically with the garden environment.
- Personalization: Many metalworking artists can customize signs with your family name, favorite quotes, or garden themes, adding a personal touch to your space.
Remember, while metal garden signs come at a price, their longevity and timeless appearance make them a worthy investment for a budget-conscious decorator.
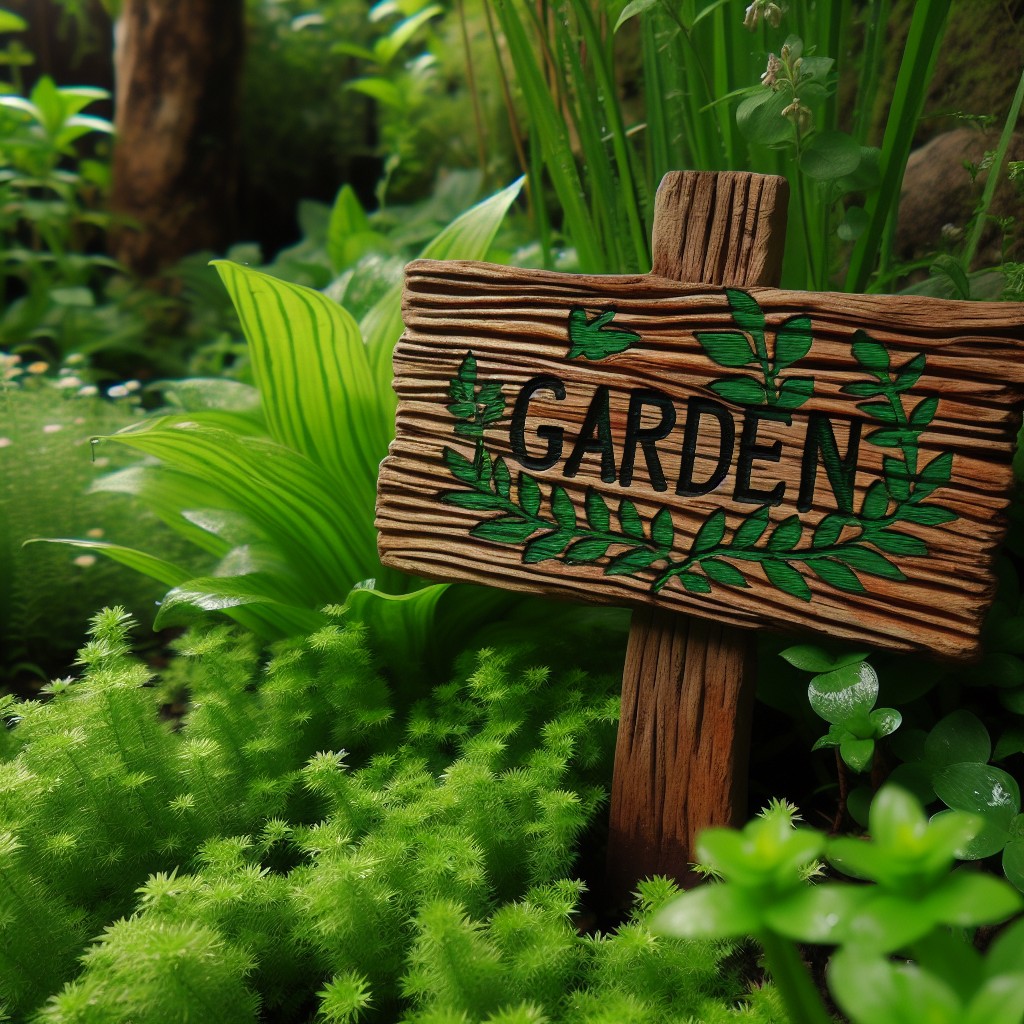
Wood Signs for Your Garden
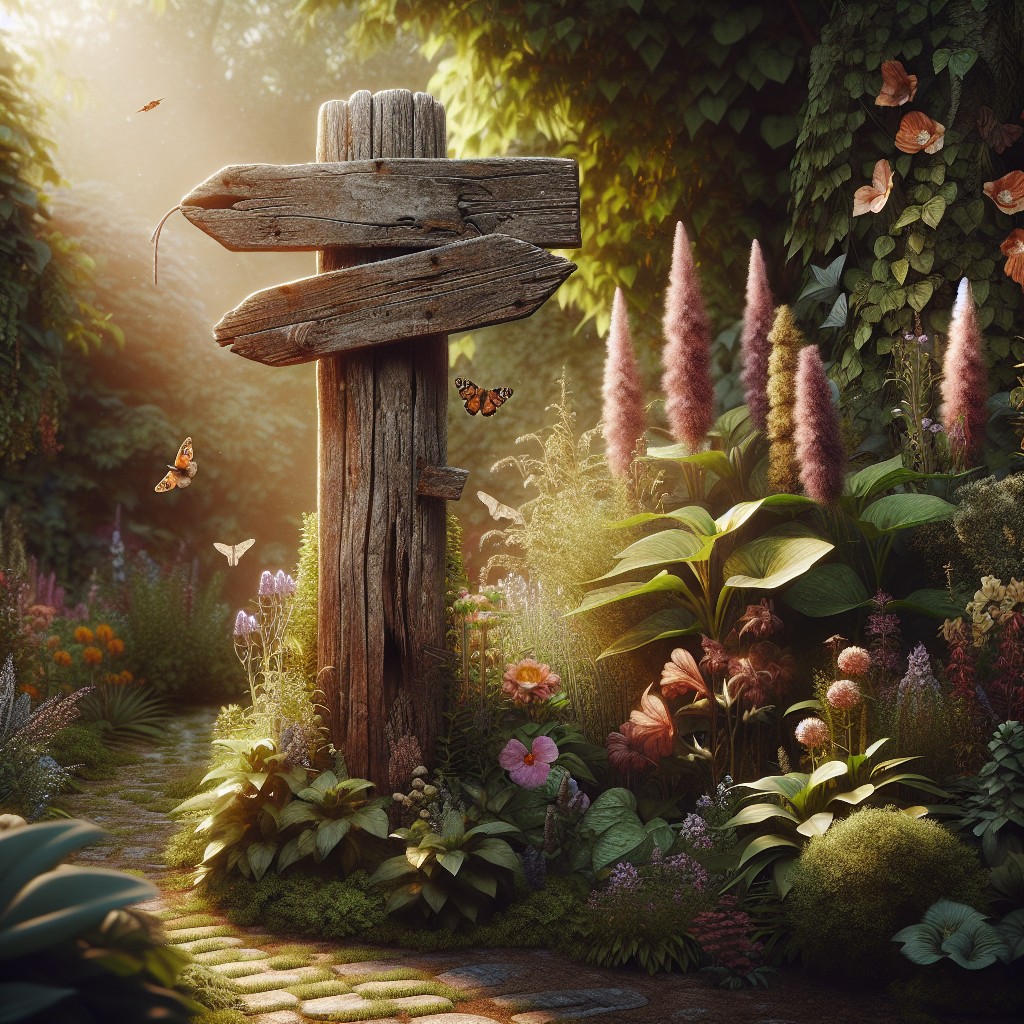
Wooden signs add a warm, natural touch that complements the organic beauty of your garden. They can range from rustic to polished, depending on the finish and wood type employed.
To ensure longevity, select weather-resistant wood such as cedar, redwood, or treated pine. These materials withstand the elements, preventing decay and keeping your message clear for years to come.
For a personalized effect, hand-paint your garden’s name, a favorite quote, or plant labels onto the wood. Use outdoor-grade paint or a protective sealant to safeguard your artwork from the sun and rain.
To install, consider attaching the sign to a stake or hanging it from a garden post for visibility among the blooms and foliage.
Regular maintenance with a light sanding and fresh coat of sealant can keep your wooden garden signs looking fresh season after season.
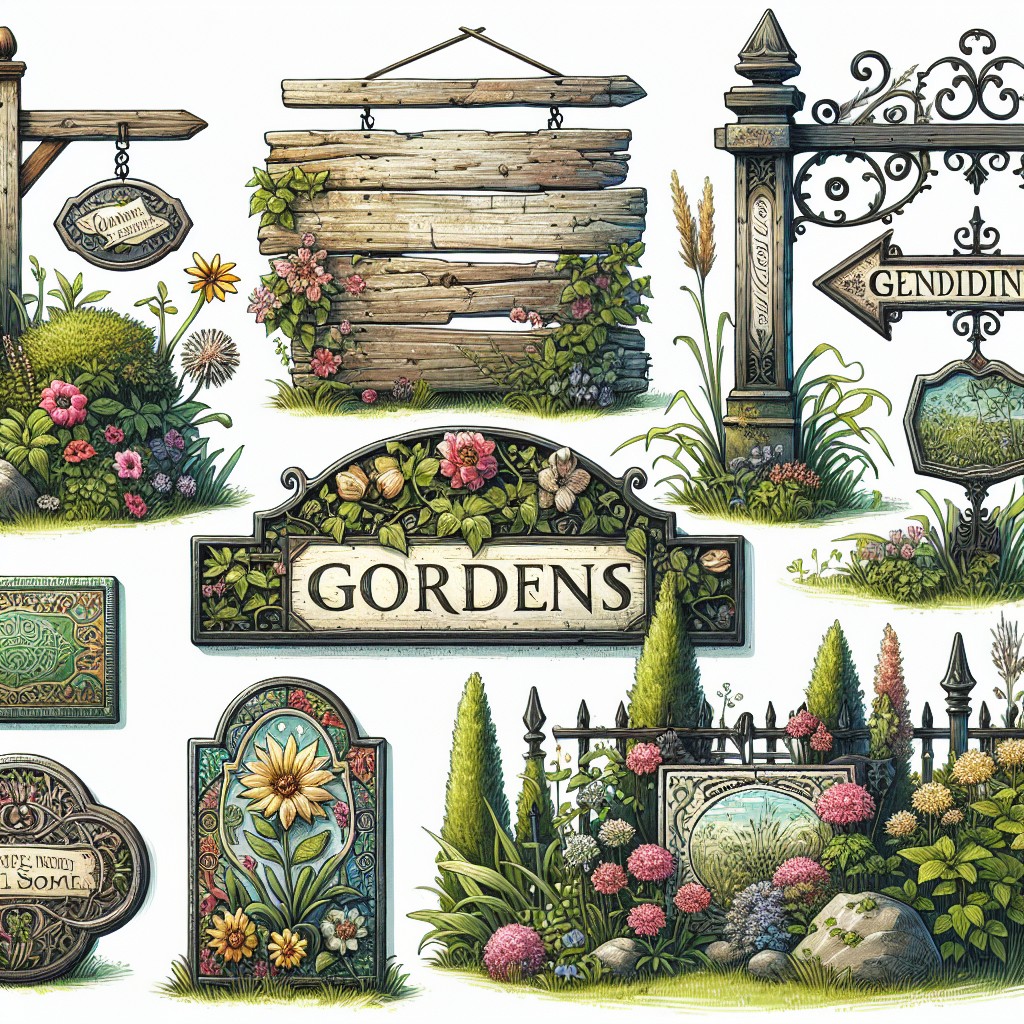
Customized Garden Signs
Transform your garden into a unique oasis with personalized touches. Opt for customized signs that reflect your personality, showcase plant names, or display witty quotes.
- Bespoke Design: Work with artisans or use online services to tailor the colors, fonts, and motifs on your signs.
- Personalization: Engrave or print your family’s name, the garden’s establishment year, or a meaningful message to make it distinctly yours.
- Material Choices: Consider durable materials like engraved stone or etched metal that can withstand weather while maintaining their bespoke look.
- Interactive Signs: Incorporate chalkboard surfaces or magnetic boards, offering a fun way to change messages or label plants throughout the seasons.
- Gift Idea: Personalized garden signs make thoughtful gifts for gardening enthusiasts, providing a special touch to their green spaces.
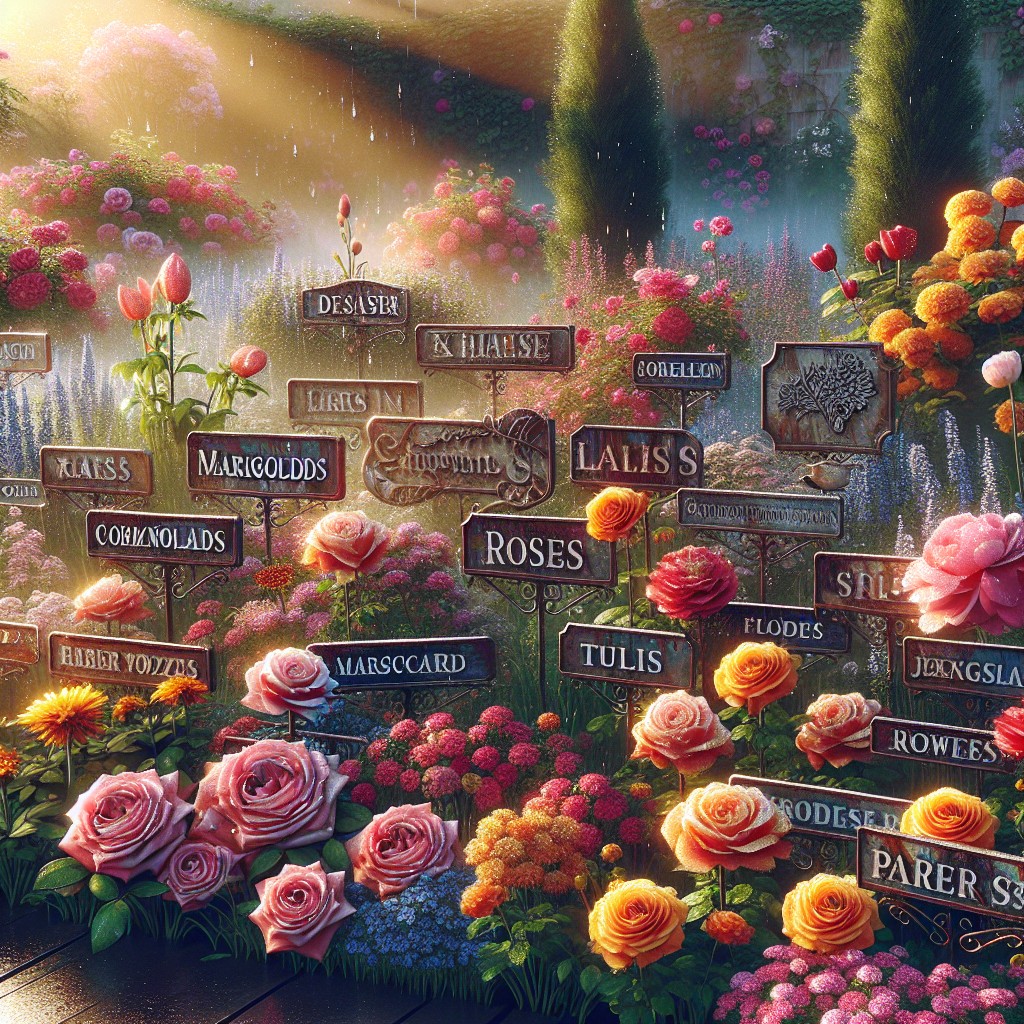
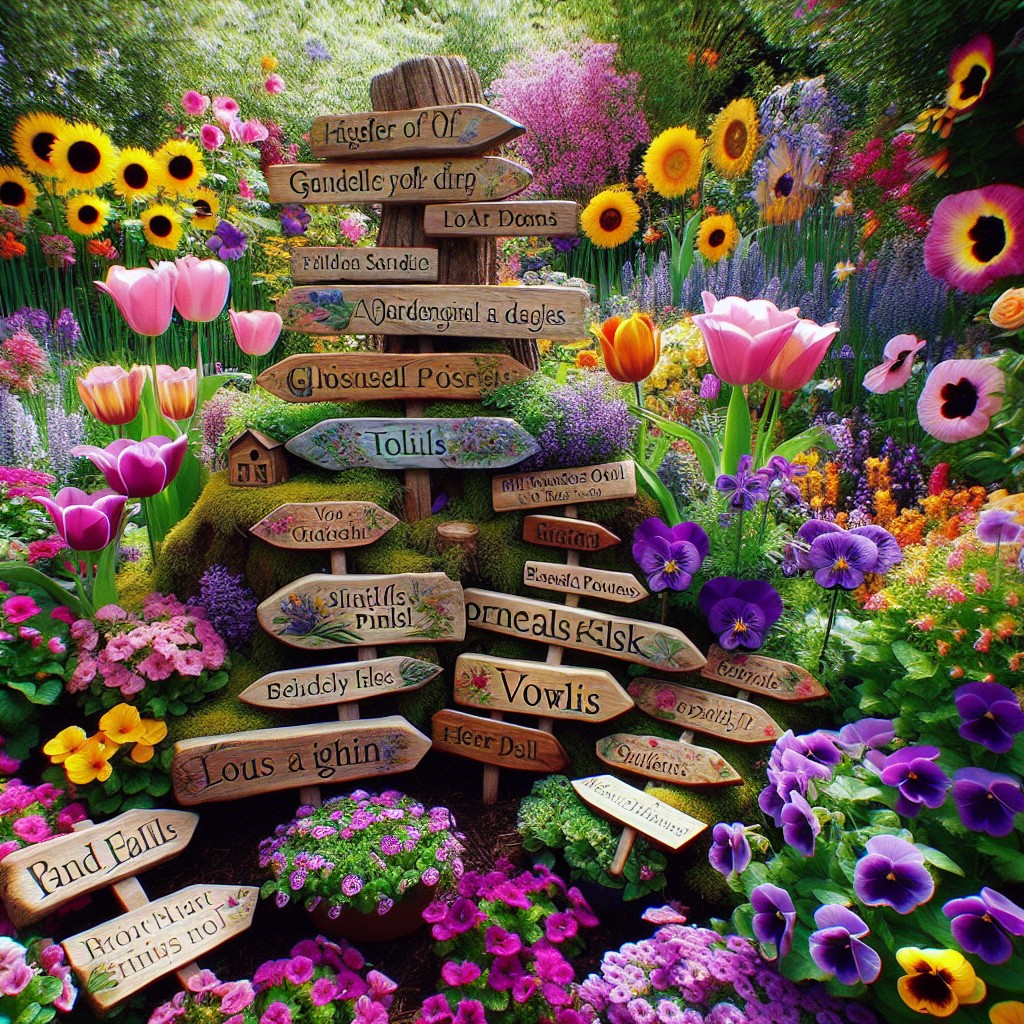
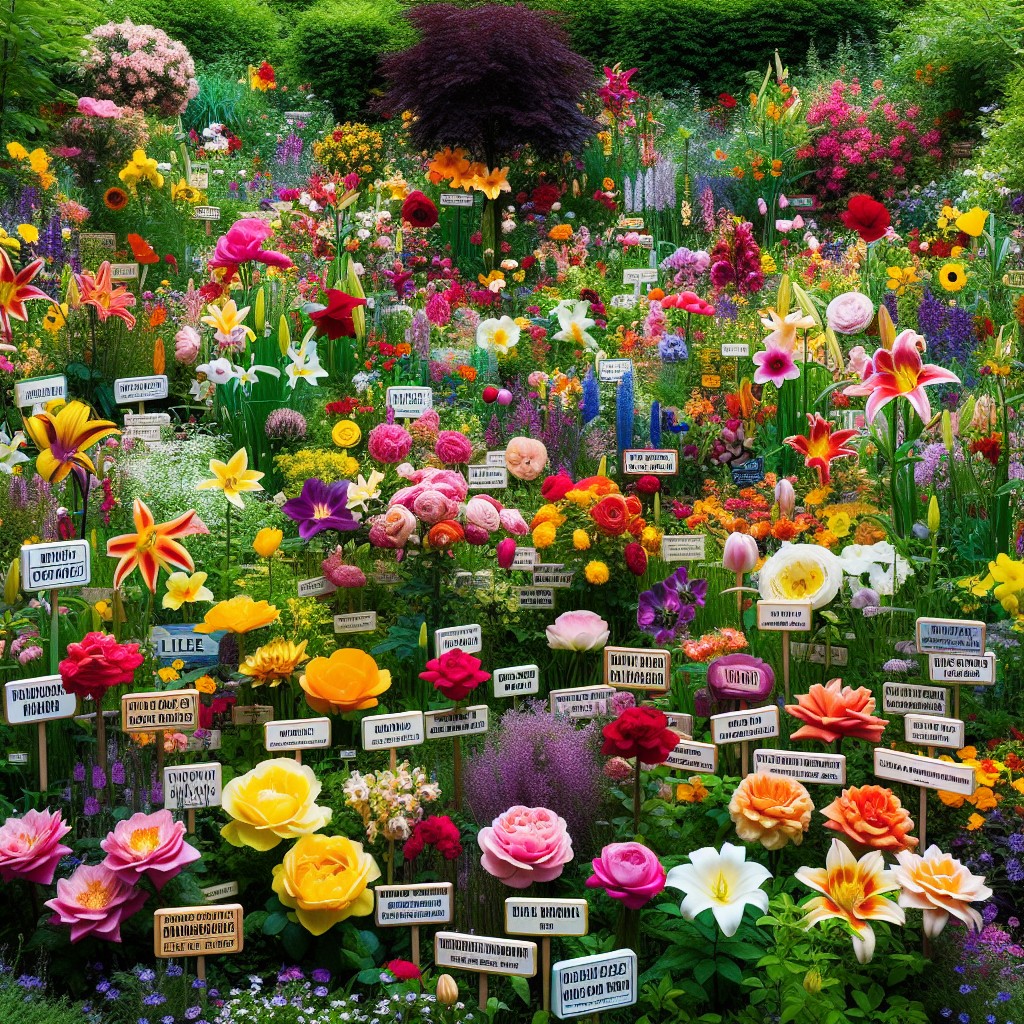
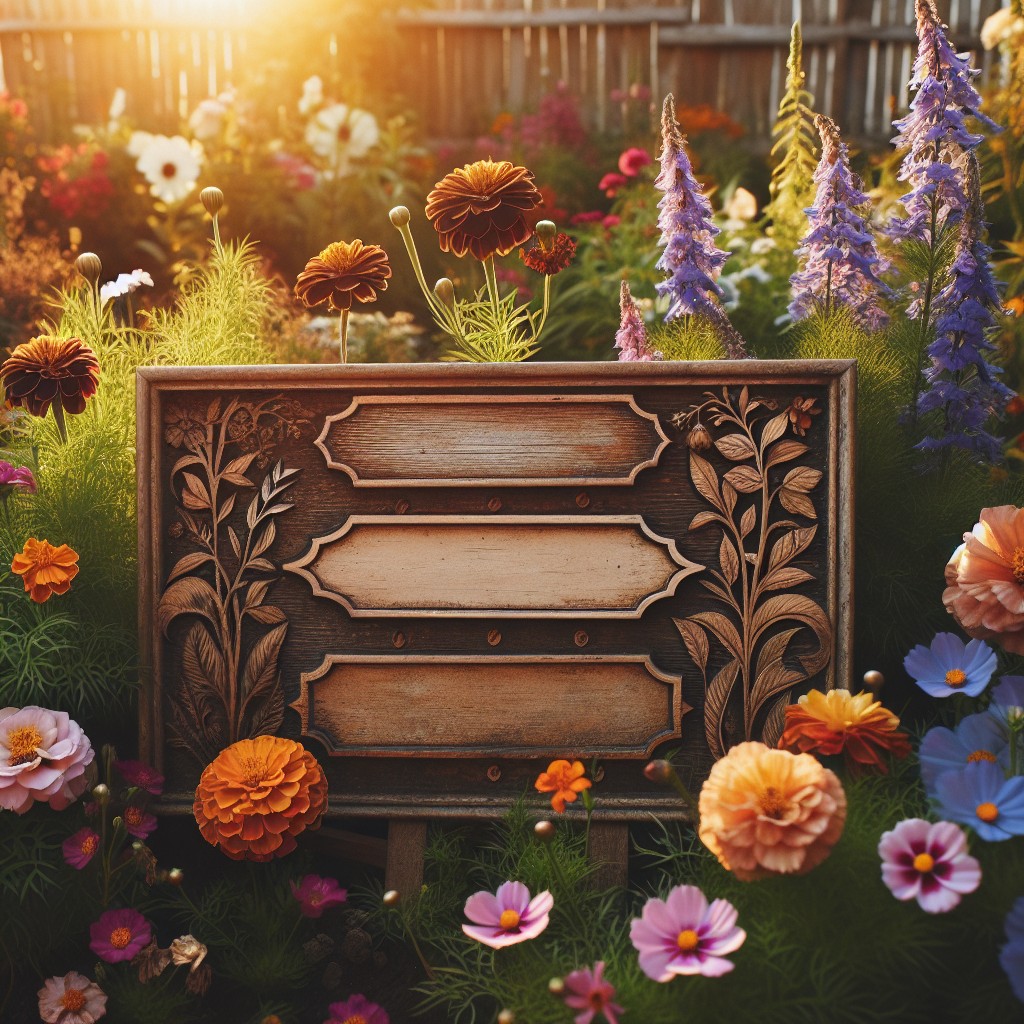
Garden Sign Ideas for Flower Gardens
Choose whimsical quotes that resonate with the joy flowers bring, like “Bloom where you are planted.”
Opt for plant markers with the names of the flowers in elegant script to help identify the different varieties.
Incorporate images of the specific flowers next to their names for a visual and informative touch.
Experiment with color coordination; match sign colors with the predominant hues of the surrounding blooms to create a harmonious look.
Select materials that enhance the natural beauty of the flower garden, such as rustic wood or painted ceramic.
Repurpose vintage items like old metal watering cans or wooden pallets into custom signs for an eco-friendly and character-rich addition.
Use stakes with adjustable height to keep the sign visible even as the flowers grow.
Consider the use of reflective or glow-in-the-dark paint for a sign that’s more visible and enchanting in the evening.
Make sure the size of the sign is proportional to the space; larger signs can serve as a focal point, while smaller tags can complement without overwhelming.
Creative Signs for Herb and Vegetable Gardens
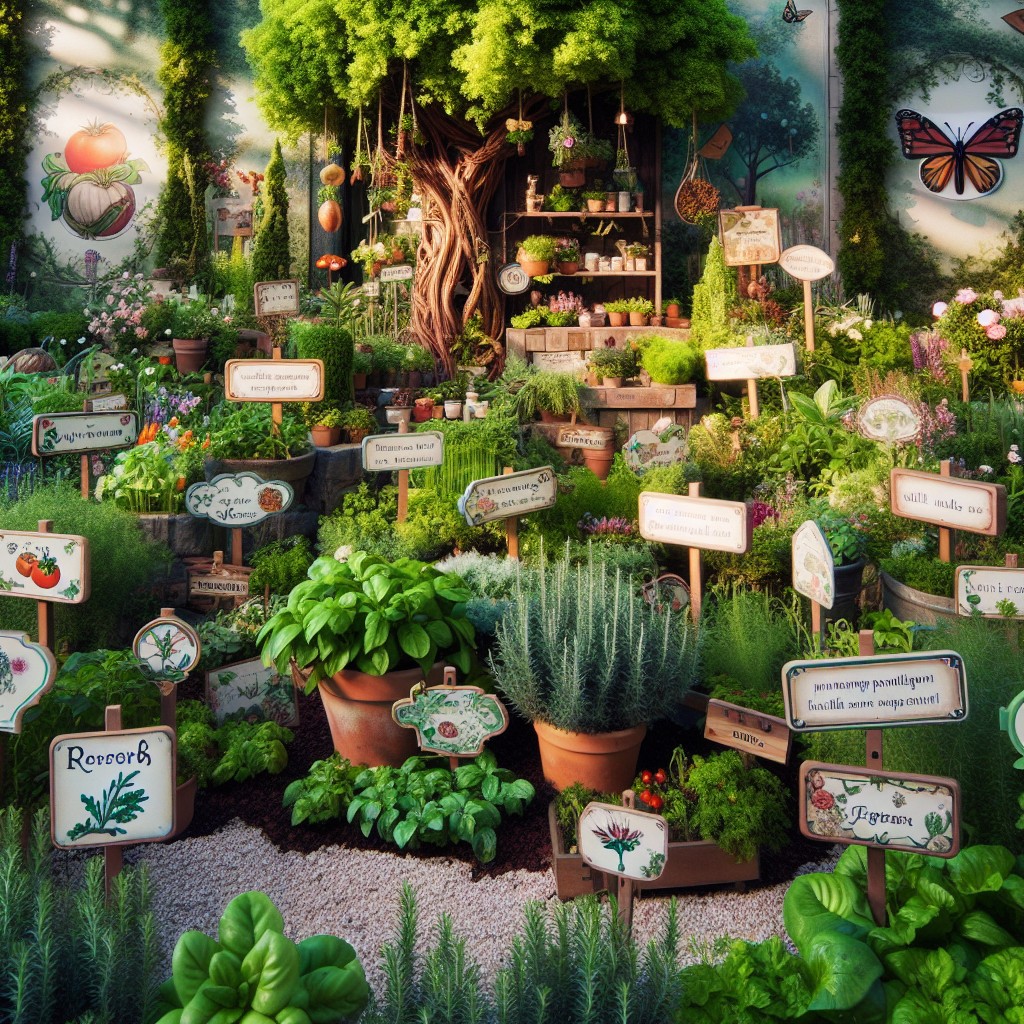
Incorporate playful puns or plant-related jokes to add a touch of humor to your herb or vegetable beds. Think phrases like “Lettuce Eat” or “Thyme to Harvest” on small stakes next to each plant.
Utilize chalkboard paint on flat stones or wooden planks, allowing you to write the names of your plants and add simple drawings or icons. This approach is especially useful for those who rotate crops seasonally.
Carve or burn the names of vegetables and herbs into wood slices for a rustic touch. These natural markers blend seamlessly into the garden environment and weather beautifully over time.
Enhance educational value, particularly in children’s gardens, by including interesting facts about each plant, such as its origin or health benefits. This transforms your garden into an interactive learning space.
Experiment with shape and color by crafting plant markers in the form of the vegetables and herbs they represent. A red tomato sign for tomatoes or a green basil leaf sign for basil adds whimsical elements to the garden design.
Fall Garden Signs
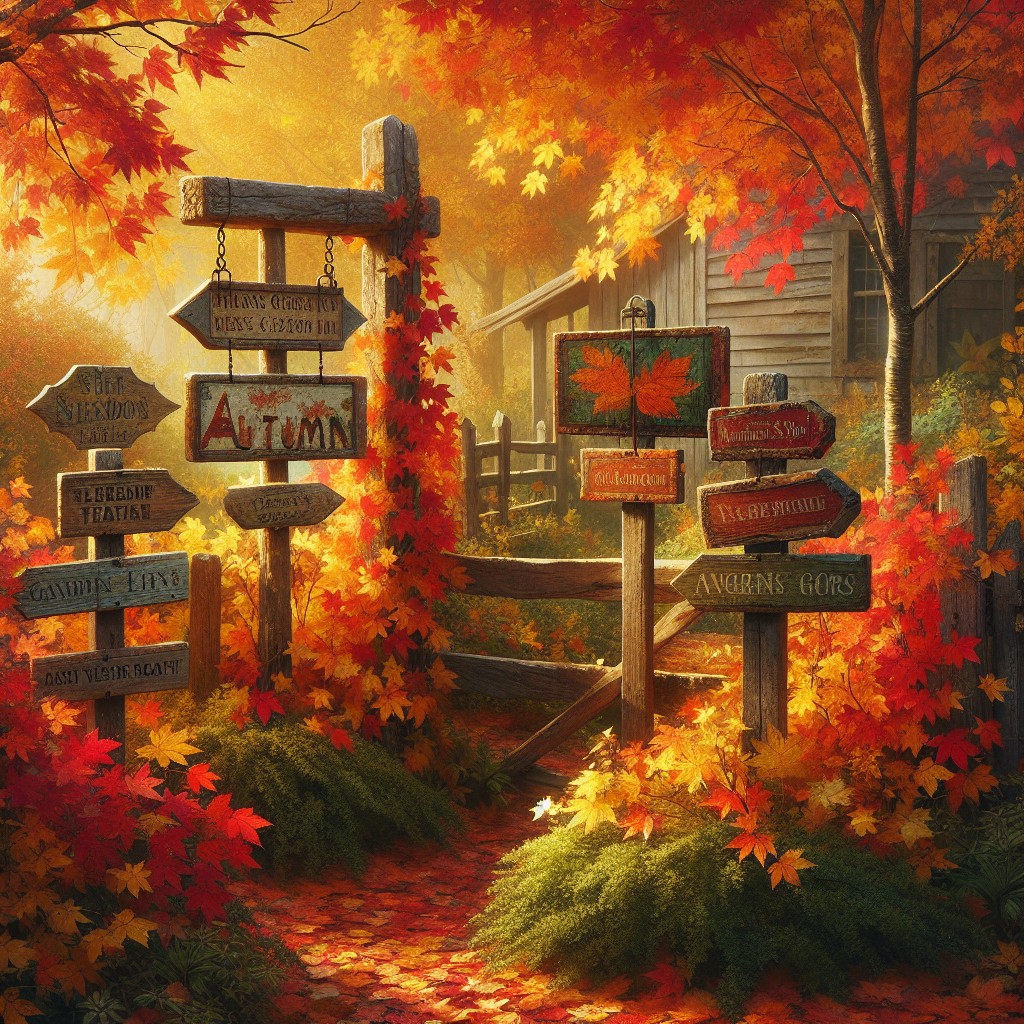
As the autumn leaves begin to fall, it’s the perfect time to update your outdoor space with seasonal flair. Here are some key ideas:
- Harvest Themes: Incorporate signs that feature pumpkins, cornstalks, or phrases like “Happy Harvest” to embody the essence of fall.
- Color Palette: Opt for signs in warm oranges, reds, and yellows to mirror the changing foliage.
- Material Matters: Choose durable materials like treated wood or rust-resistant metal to withstand the weather.
- Reflect Nature: Draw inspiration from wildlife by including imagery of squirrels, deer, or birds migrating south.
- Lighting: With days getting shorter, add signs with reflective paint or solar-powered lights so they’re visible and welcoming even as the evening draws in early.
- Festive Phrases: Embrace the holiday spirit with signs that say “Give Thanks” or “Trick or Treat” to cover the whole autumn spectrum.
A well-placed sign can act as a charming focal point and infuse your garden with the coziness of fall.
DIY or Homemade Garden Signs
Transforming basic materials into personalized garden accents adds a unique touch to your outdoor space. Here’s how you can get started with DIY garden signs:
1. Supplies You’ll Need:
- Gather materials such as reclaimed wood, old pallets, paint, weather-resistant sealant, brushes, and markers.
2. Design Your Sign:
- Sketch out your design on paper first. Consider the theme of your garden and choose fonts and imagery that complement it.
3. Lettering Techniques:
- Use stencils or freehand for lettering. For a rustic look, a wood-burning tool can etch words into your sign.
4. Add Color and Protection:
- Paint and decorate your sign as desired. Apply a sealant to protect it from weather elements.
5. Installation:
- Attach a stake or hang your sign. Ensure it’s securely placed to withstand wind.
By following these steps, you can create aesthetic and lasting garden signs that showcase your creativity and enhance your garden’s charm.
Supplies for a Homemade Garden Sign
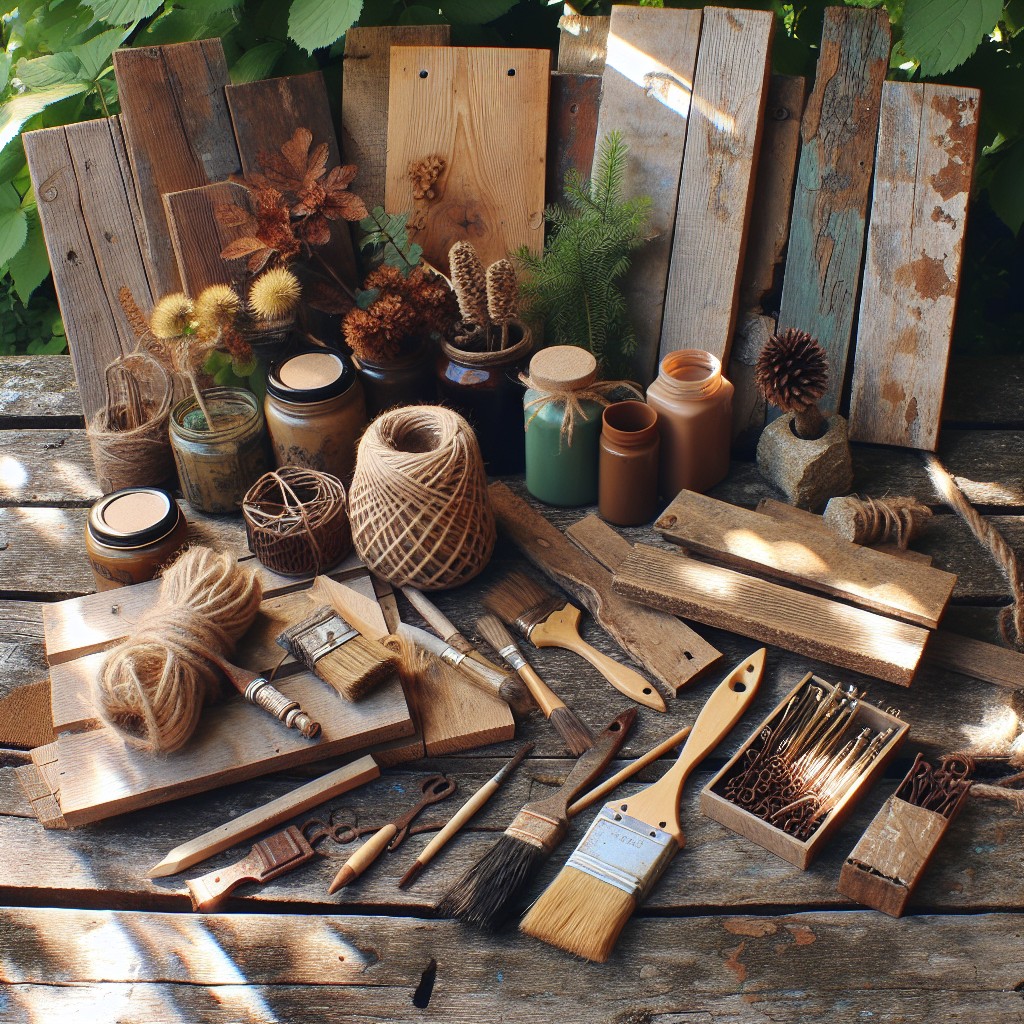
To craft a charming homemade garden sign, you’ll need a few basic supplies. Start with a sturdy base; reclaimed wood, acrylic, or metal sheets offer longevity.
Paint or permanent markers are crucial for adding text and designs; choose weather-resistant varieties for outdoor durability.
Protective sealants like polyurethane or a clear acrylic spray will shield your artwork from the elements.
For assembly, gather screws or nails if you’re attaching your sign to a stake or nearby fence. Alternatively, consider durable twine or wire for hanging options.
Don’t overlook embellishments—stencils, decals, or even pressed flowers can add a personalized touch to your creation.
Instructions for a DIY Garden Sign
Begin with choosing your material—wood planks are popular for their rustic appeal and ease of handling. Ensure the wood is sanded smooth to prevent splinters and allow for a cleaner paint job. For longevity, consider pressure-treated or cedar wood that resists rot.
Apply a base coat of exterior paint or sealant to protect the wood from the elements. This also provides an even background for your design.
Sketch your sign’s message or design with a pencil directly on the wood or use stencils for a more controlled look. Remember to keep the text size large enough to be readable from a distance.
Select outdoor or acrylic paints for the lettering and decoration to ensure your sign withstands weather conditions. Use a variety of brush sizes to fill in the design accurately and add fine details.
After painting, let the sign dry completely, then apply a clear sealant over the entire surface to preserve your artwork. This step is crucial for outdoor durability.
Attach a stake or hanging hardware to the back of the sign. For stakes, screws and weather-resistant wood glue will provide stability. For wall-hanging signs, D-rings or sawtooth hangers are effective.
Place the sign in your garden, pushing the stake firmly into the ground or hanging it securely on a wall or fence. Position it where it complements your plants and is easily visible to admirers.
Material
Selecting the right materials is crucial when crafting a homemade garden sign. Here are some considerations to guide you:
- Weather Resistance: Choose materials that can withstand the elements. Treated wood, galvanized metal, or acrylic are reliable options.
- Aesthetics: Pick materials that complement your garden’s style. Rustic wood suits a cottage garden, while sleek metal works for a modern look.
- Weight and Stability: Ensure the material is light enough to install but heavy enough to avoid toppling over. Consider attaching stakes or a base for support.
- Sustainability: If eco-friendliness is a priority, look for recycled or repurposed materials such as old pallets or reclaimed metal.
- Maintenance: Decide on the level of upkeep you’re willing to commit to. Some materials may require regular sealing or painting, while others are virtually maintenance-free.
Choosing wisely can result in a durable, beautiful garden sign that reflects your personal touch.
Durability
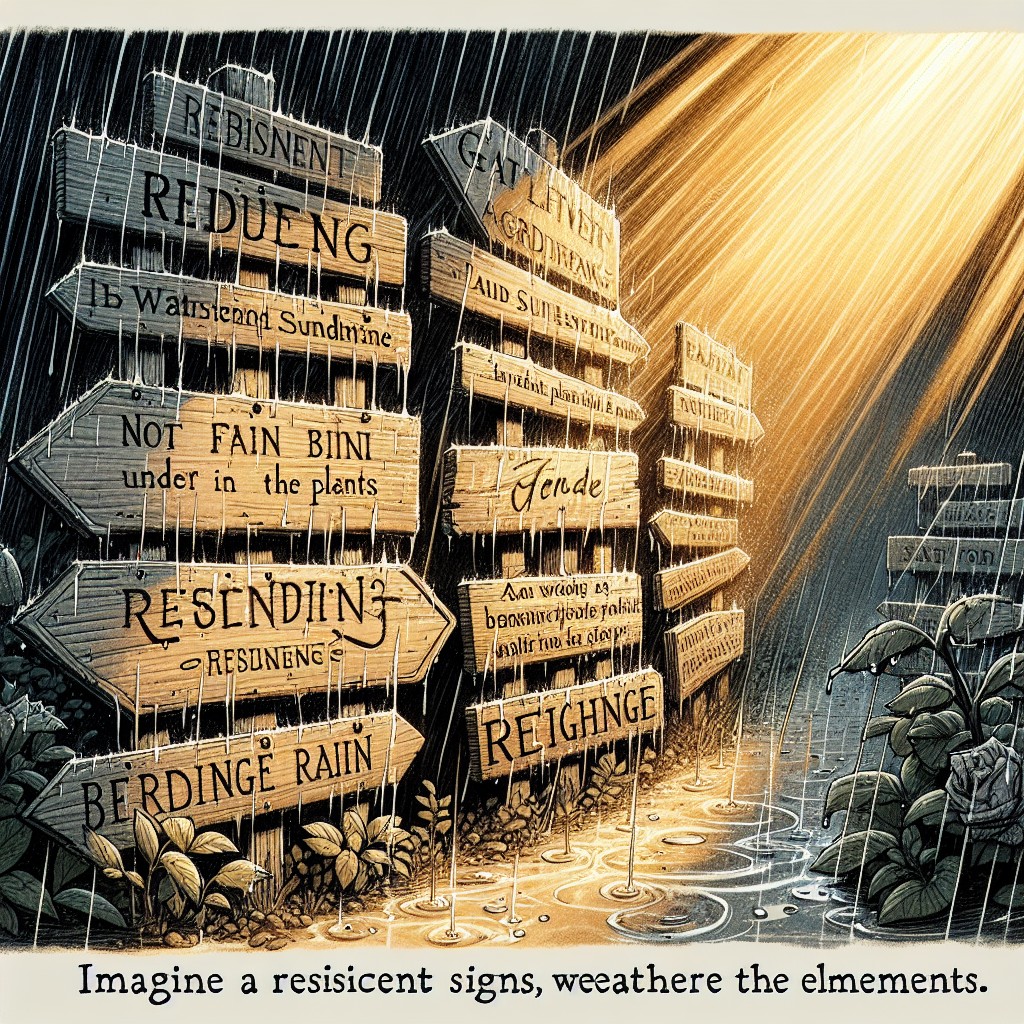
Selecting materials that can withstand the elements is essential for your garden sign’s longevity. Opt for weather-resistant woods such as cedar or treated lumber to prevent rot and decay.
Likewise, if you’re going the metal route, ensure it is either stainless steel, aluminum, or coated with a rust-inhibitor. For paint, choose exterior grade products that provide UV protection to maintain the color and detail of your sign.
Sealing your finished sign with a waterproof sealant offers an additional layer of defense, keeping your message clear and vibrant through the seasons. Remember to check fastenings and supports yearly to ensure they haven’t weakened or corroded, securing your sign firmly in place.
FAQ
How to make garden signs?
To make garden signs, prepare a wood board, large popsicle sticks or wood shims, a wood burning tool, metal stamps (optional), a ruler, a pencil, and design the wording of your sign using a simple font through a word processing program for easier tracing.
What are some creative materials you can use for DIY garden signs?
For DIY garden signs, you can utilize creative materials such as reclaimed wood, colorful paint, repurposed ceramics, metal signage, chalkboards, or durable fabric banners.
How can you weatherproof your garden signs to increase longevity?
To increase the longevity of your garden signs, apply a layer of clear acrylic sealer which will weatherproof them from the elements.
What are some budget-friendly ways to customize garden signs?
Inexpensive ways to customize garden signs include using recycled materials like wood pallets, chalkboard paint for changeable messages, stencils for neat lettering, or even a simple wood burning tool for a rustic effect.
More Like This
 23 Splashy Small Pool Design Ideas
 22 Natural Swimming Pool Ideas to Dip Into
 21 Mini Vegetable Gardens for Any Space
 21 Mini Japanese Gardens That Will Make You Feel Zen-tastic
 24 Unique Garden Art Ideas That Will Make Your Neighbors Jealous
Recap