Last updated on
Discover how fluted trim amplifies the visual appeal of your home since it elegantly blends with various design aesthetics.

Fluted trim, a decorative trim featuring a series of semi-circular grooves, can add a touch of elegance and architectural interest to any room. Whether you’re enhancing doorways, windows, or baseboards, fluted trim can be a budget-friendly way to elevate your home decor.
This article will delve into a variety of creative and cost-effective ways to utilize fluted trim. From traditional to modern styles, you’ll discover how this versatile trim can transform your space.
Stay tuned for detailed ideas, tips, and tricks to make the most of fluted trim in your home decor.
Use Fluted Trim On Door Frames
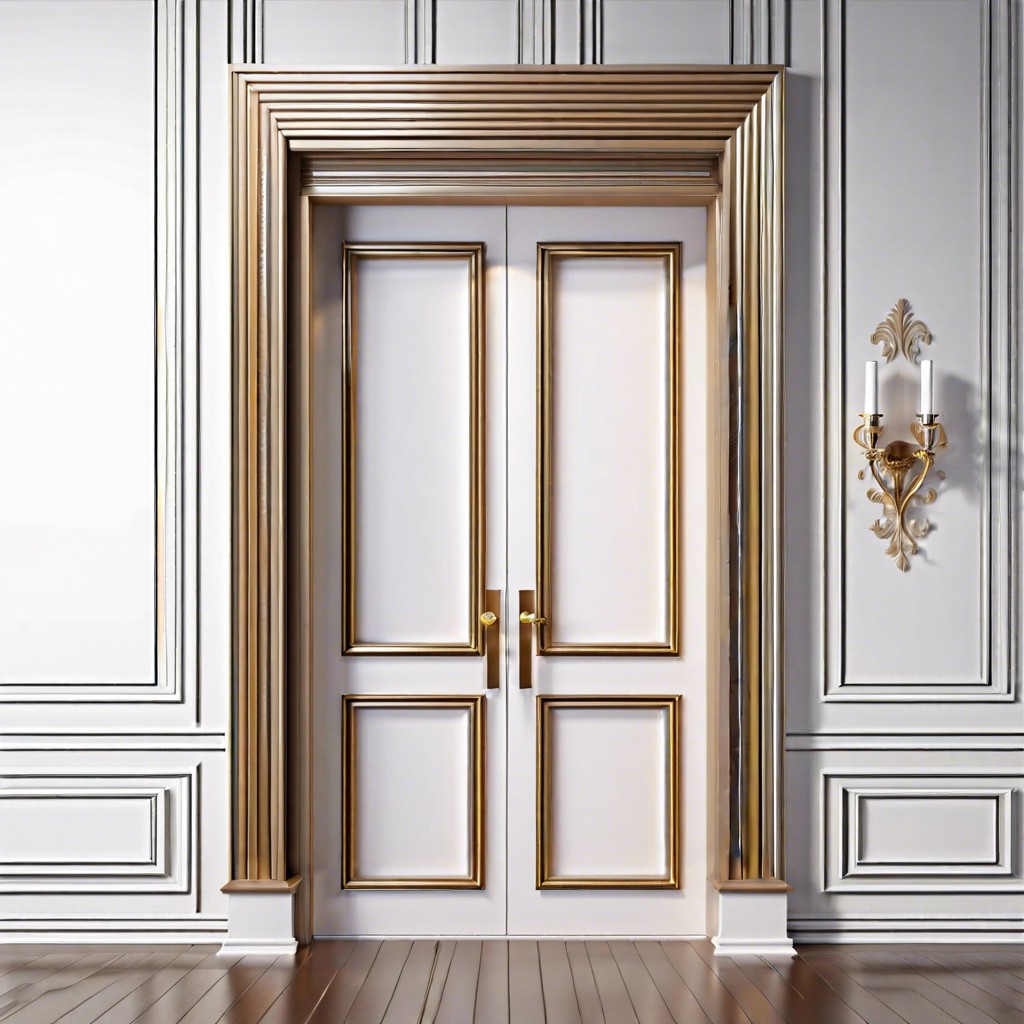
Starting with your front door, fluted trim can create a magnificent entryway and first impression. When planning the trim design, consider matching the style of your home. In a traditional setting, a classic Corinthian fluted design adds a touch of elegance. For a modern home, a simple straight fluted design offers a neat and stylish look.
Installation can be straightforward. Attach fluted trim on either side of the door frame, making sure the edges are flush and even. Use a high-quality adhesive or nail to secure. To create contrast, consider painting the fluted trim a different color than the door or matching it to other trim colors in your home.
The beauty of this design lies in the intricate flutes, which draw the eye vertically, broadening the appearance of the door. Finally, don’t forget to measure accurately to ensure a perfect fit and seamless look.
This cost-effective adjustment to your door frames can make a significant impact on your home’s overall aesthetic. It’s an excellent way to bring definition and depth to otherwise basic door frames.
Finish Fireplace Mantels With Fluted Trims
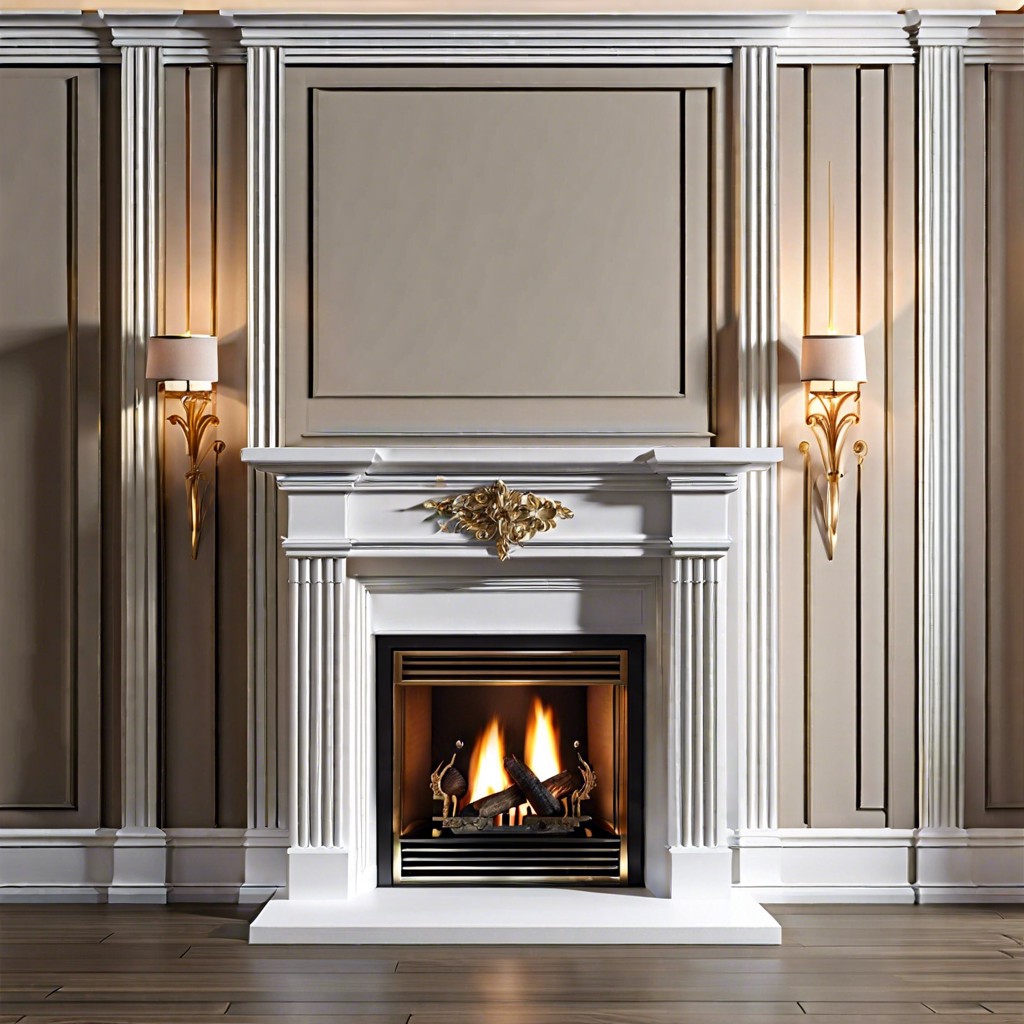
Fluted trims act as stunning enhancement to a fireplace mantel, giving your living space a striking focal point. Opt for a wood finish that matches the room’s color scheme for a harmonious aesthetic, or consider a striking contrast to make the fireplace truly stand out.
Here are a few factors to consider for making the best choice:
- 1. Measure: Start with accurate measurements, considering both the mantel width and height to ensure the trim fits perfectly.
- 2. Material Choice: While wood is the common choice, consider materials like MDF or PVC if budget is a concern. These are less expensive and offer excellent durability.
- 3. Style: Choose a style that complements the room’s decor. A Victorian-style room might demand ornate fluted trims while a minimalist modern living space could benefit from simpler designs.
- 4. Attachment: Secure the trims with wood glue or nails depending on the material and weight of your chosen pieces. Adhering to the manufacturer’s instructions is critical.
- 5. Finishing: The trims can be left bare, painted, or stained to match the decor.
Remember, it’s all about making that cozy evening by the fire even more delightful with a strikingly adorned mantel.
Enhance Window Frames With Fluted Trim
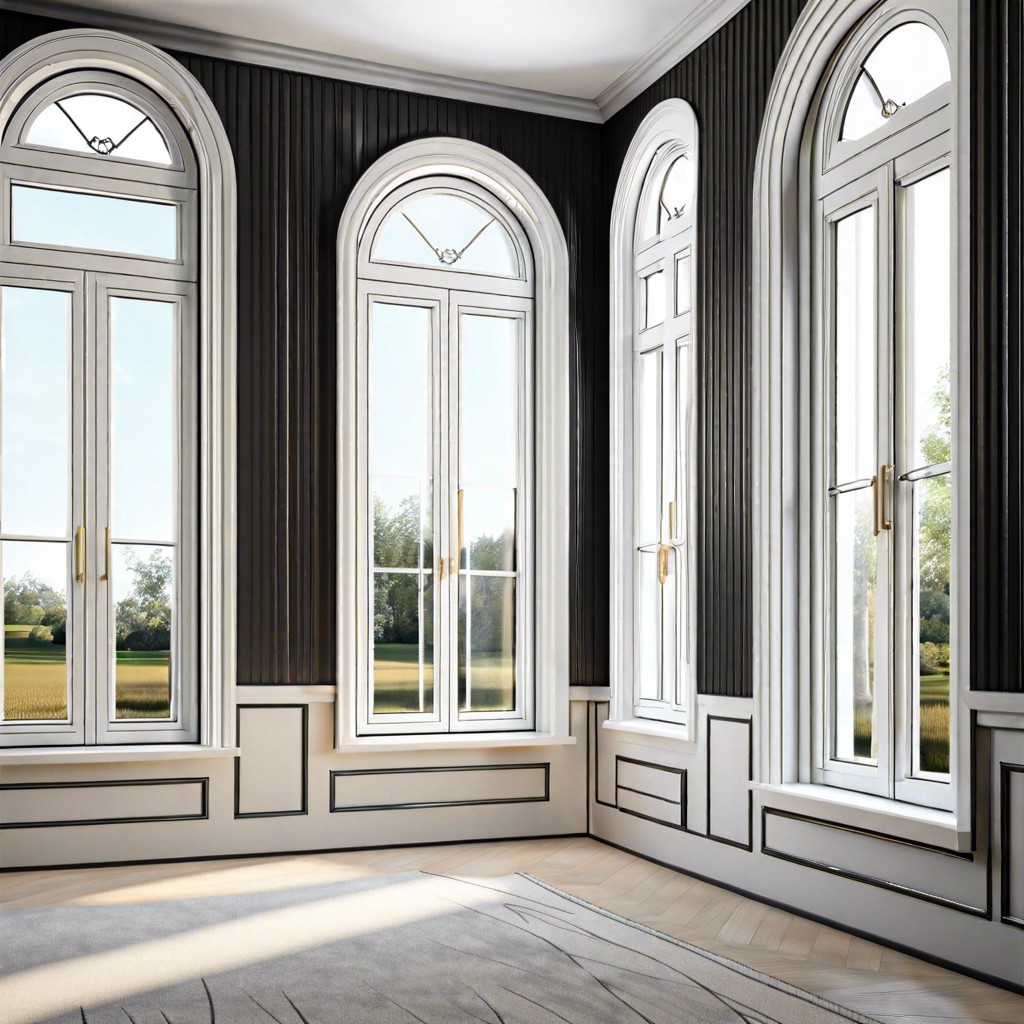
Incorporating fluted trim around the periphery of your window frames can dramatically uplift their aesthetic appeal. Consider these tactics for an upgraded design:
1. Material Choice: Opt for durable materials like hardwood, vinyl, or polyurethane resistant to warps and cracks.
2. Contrast is Key: Select a trim color that contrasts well with the wall around the window to make it a statement element.
3. Advanced Detailing: Add rosettes, curved architraves, or corner blocks at the corners of the fluted trim for an extra ornate touch.
4. Sizing Matters: Fit the scale of the trim to your window size. Do not overwhelm smaller windows with overly broad trim or leave larger windows looking bare with narrow trim.
5. Consistency: For a coherent look, align the depth of fluted trim with other trims in the house.
Remember, fluted window trims not just about style but also efficiency. Good-quality trims can help seal the windows better, improving insulation. So, it’s a double win!
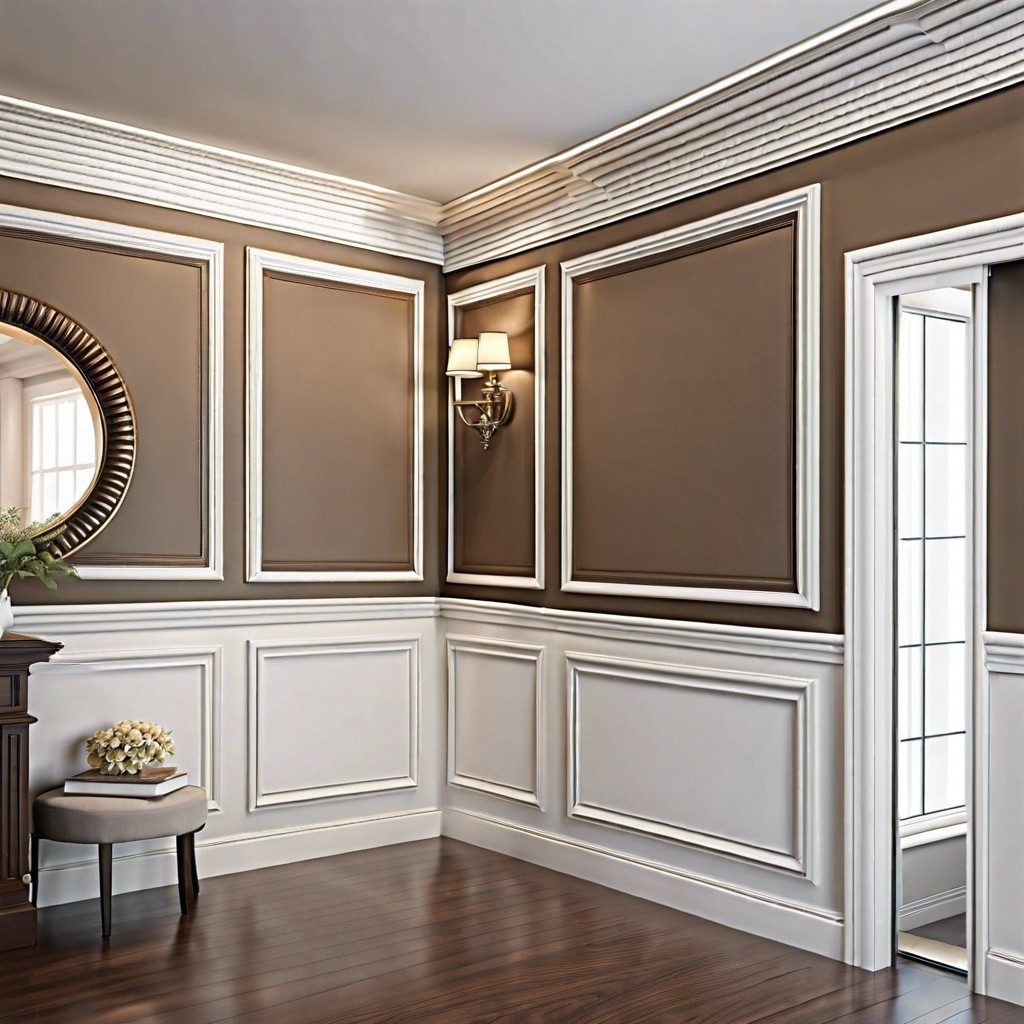
Use Fluted Trim As a Chair Rail
Opting for fluted moldings can work wonders for your chair rails. Despite its classical roots, it brings a chic, contemporary vibe to the room. Here’s how you can utilize it effectively:
1. Height: Proper placement is key. Aim for about a third of the room’s height from the floor, which usually means 32 inches up.
2. Paint: To create an appealing contrast, use a different color above and below the molding. Whites and off-whites are usually a safe bet for the molding itself.
3. Consistency: Continue the trim around the entire room in a straight line regardless of any interruptions such as windows or doors.
4. Match: Consider matching your chair rail trim with your door and window trims. This creates a harmonious flow throughout the room.
5. Texture: Enhance the trim’s visual appeal by pairing it with textured wallpaper or a contrasting paint finish.
Remember, the simplicity of fluted trim allows it to meld with any decor style seamlessly. Be it modern, rustic, or traditional, fluted chair rails only add to the charm.
Implement Fluted Trim On Kitchen Cabinets
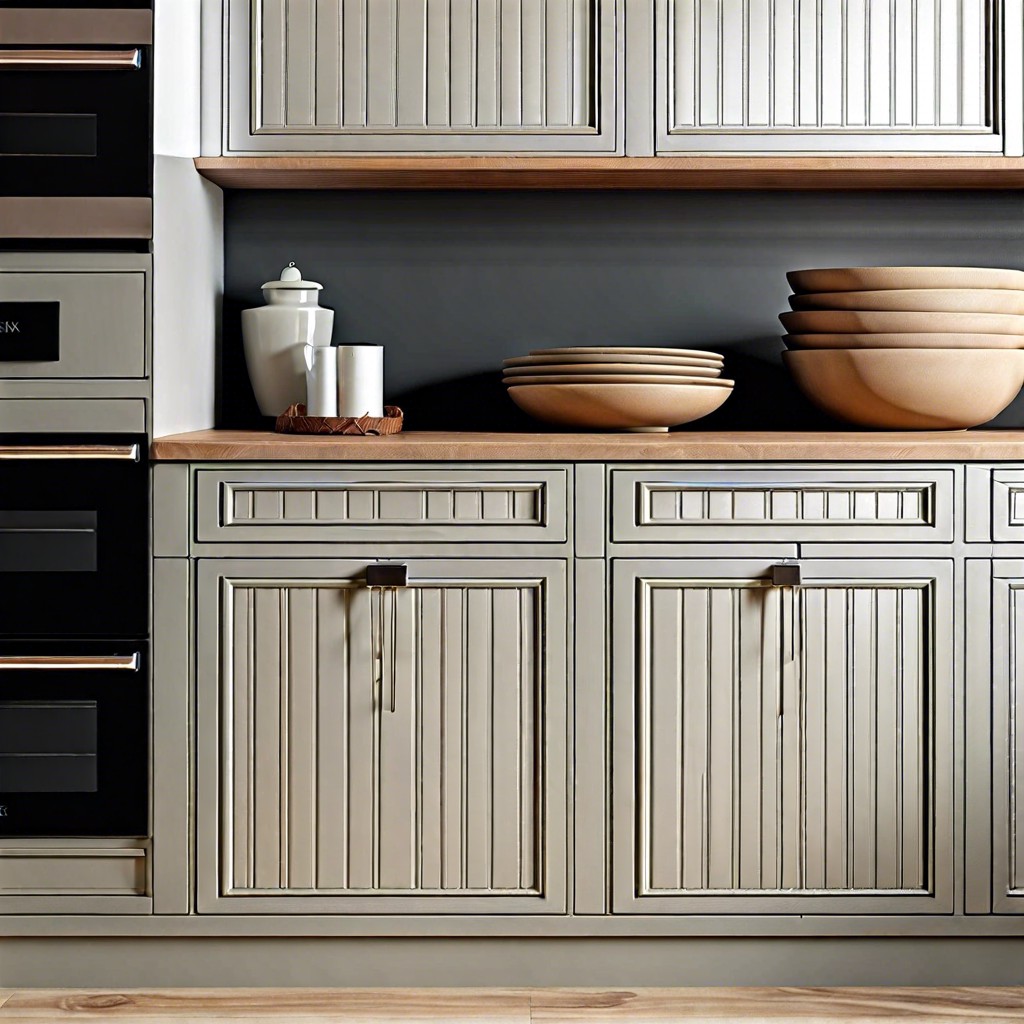
Transforming the aesthetic of your kitchen cabinets is achievable with minimal investment. Switching out old, bland trim for the elegant, column-like design of fluted trim significantly enhances their appearance. Not only is this a cost-effective method, but also holds an easy DIY approach.
1. Choose high-quality, sturdy fluted trim: Make sure the material complements your cabinet style. It’s available in various widths to suit different cabinet sizes.
2. Proper measurement: Accuracy is key for a perfect fit. Measuring twice before ordering or cutting the trim ensures no costly mistakes.
3. Paint or Stain: Customize the fluted trim color to match or contrast, depending on your decor theme. Whether you go for a rustic finish, distressed look or sleek glossy finish is up to you.
4. Secure well: For a professional finish, ensure the trim is well-secured with no visible nails. Wood glue will also hold the trim in place without leaving unsightly marks.
5. Regular Maintenance: Regular dusting and occasional wipe with a clean, damp cloth will keep the shine and smoothness intact, prolonging the life and look of the fluted trim.
Remember, precision and creativity are your best friends in this endeavor. Let the unique grooves and ridges of the fluted trim make a style statement in your kitchen.
Add Sophistication to Bookshelves With Fluted Trim
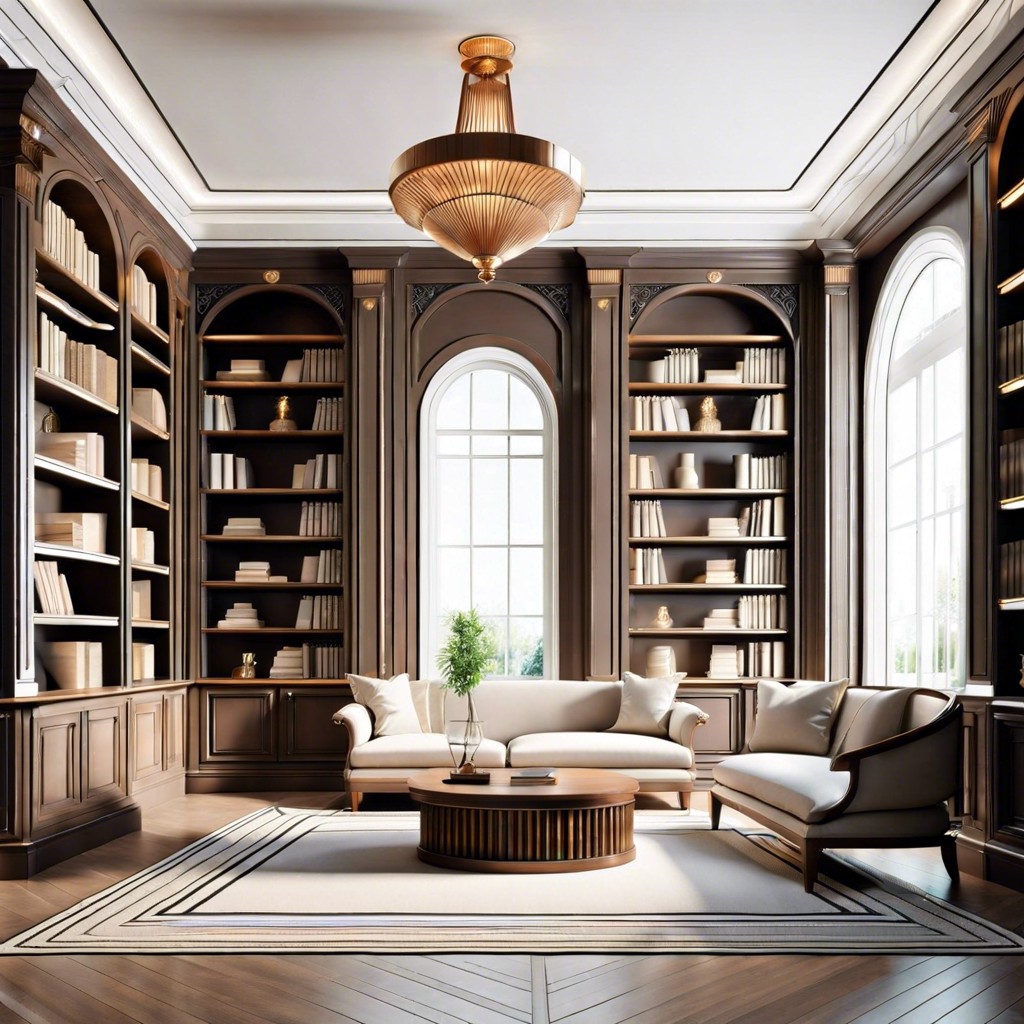
Incorporating fluted trim on a bookshelf brings elegance without needing extensive effort or hiked expenses. Here’s how this simple touch can turn your average shelving into a work of art:
1. Employs Curvature: The semi-circular grooves on fluted trim beautifully contrast with the generally straight lines of most traditional bookcases, giving them an instant aesthetic uplift.
2. Eye-Catching Detail: Small as it may seem, fluted trim offers a tasteful detail that attracts attention and adds an air of sophistication to the bookshelf.
3. Easy Installment: Fitting fluted trim to a bookshelf is a straightforward, DIY-friendly task. All it requires is precise measurements, a level to ensure alignment, and a sturdy adhesive or nails.
4. Variety of Designs: Fluted trims come in a host of designs and sizes. You can choose a design that complements the rest of your room decor or opt for a standout piece that draws attention.
5. Economical Enhancement: This quick addition adds value to your shelving unit, creating variation in design and texture without substantial cost.
Remember, whether it’s a towering display or a cozy reading nook, the grace of fluted trim can enhance it all. Enjoy the process of transforming a simple bookshelf into a stylish showpiece!
Apply Fluted Trim to Crown Moulding
Imagine the crown moulding in your home as a blank canvas, with fluted trim being the artist’s brush giving the final touches that instantly elevate the room’s elegance.
Here’s how to go about it:
1. Select the design: Fluted moldings come in a variety of styles, from traditional to contemporary. Select a design that complements your room’s decor.
2. Measure and cut: Carefully measure your moulding, and then cut the fluted trim to fit perfectly. Precision is key here.
3. Install: Use a quality adhesive and small nails to secure the fluted trim to your crown moulding. It’s crucial to properly align each piece for a seamless look.
4. Paint or stain: Depending on the look you’re going for, you may choose to paint or stain your fluted trim. Alternatively, you can leave the wood natural for a rustic feel.
5. Enjoy: The addition of fluted trim to your crown moulding creates a sophisticated, luxurious aesthetic that’s sure to impress guests and make your home feel more upscale.
Remember, patience is essential during this process, and the result is more than worth the extra effort. Feel free to experiment with different fluted trim styles until you find the one that perfectly suits your space and your design vision. Happy decorating!
Install Fluted Trim On Stairway Railings
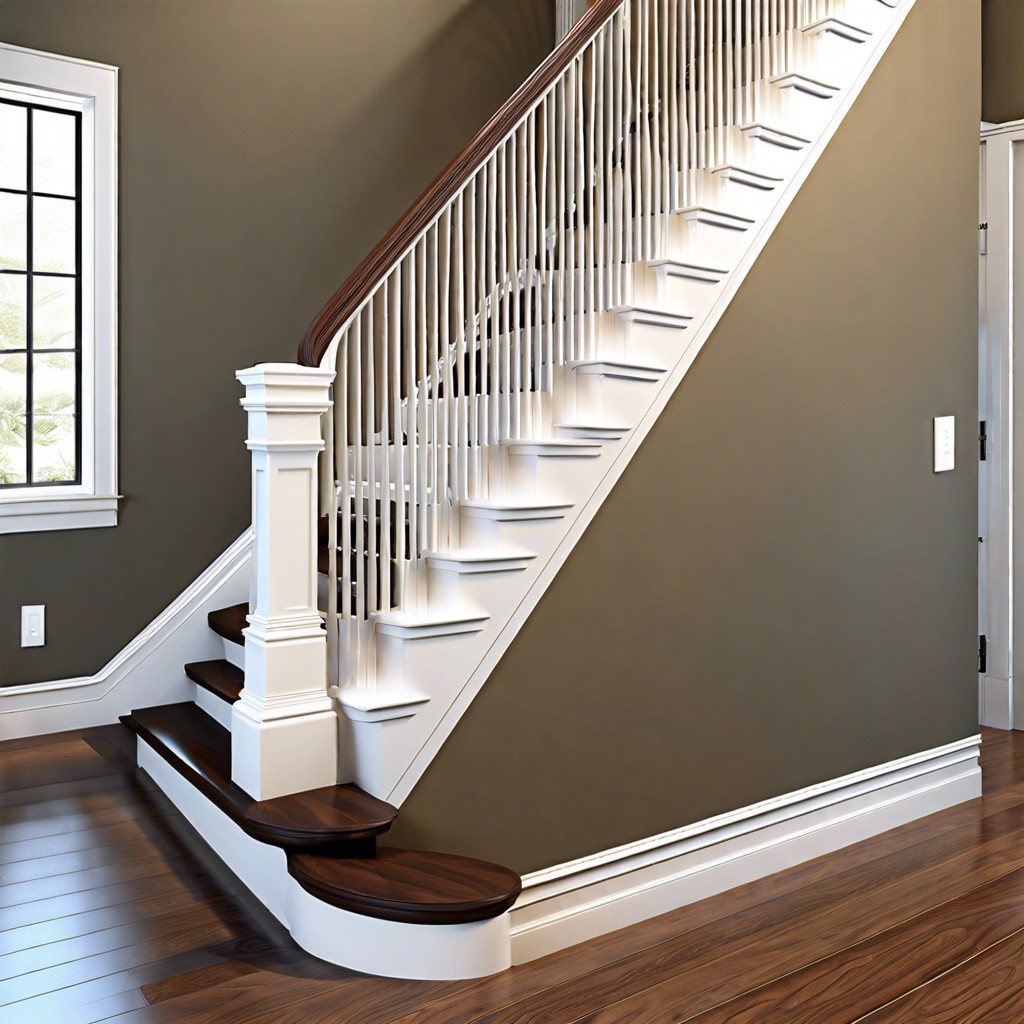
Incorporating fluted trim on stairway railings adds an immediate touch of elegance to your home. Here’s a brief guide on how to achieve this:
1. Selection: Choose the right width and style that fit your stairway railings. This trim type comes in a variety of sizes and designs.
2. Preparation: Thoroughly clean your railings, remove any old paint or varnish. Grab some sandpaper to prepare the surface for better adhesion of the trim.
3. Installation: Cut the trim to size and use a high-quality adhesive to secure it. Remember to align it properly before it dries to ensure symmetrical placement.
4. Finishing: Once the trim is firmly set, feel free to paint over it to match or contrast with your existing decor.
This simple yet transformative addition uplifts your staircase, making it a focal point that complements your overall interior aesthetic.
Use for Decorating Bathroom Mirrors
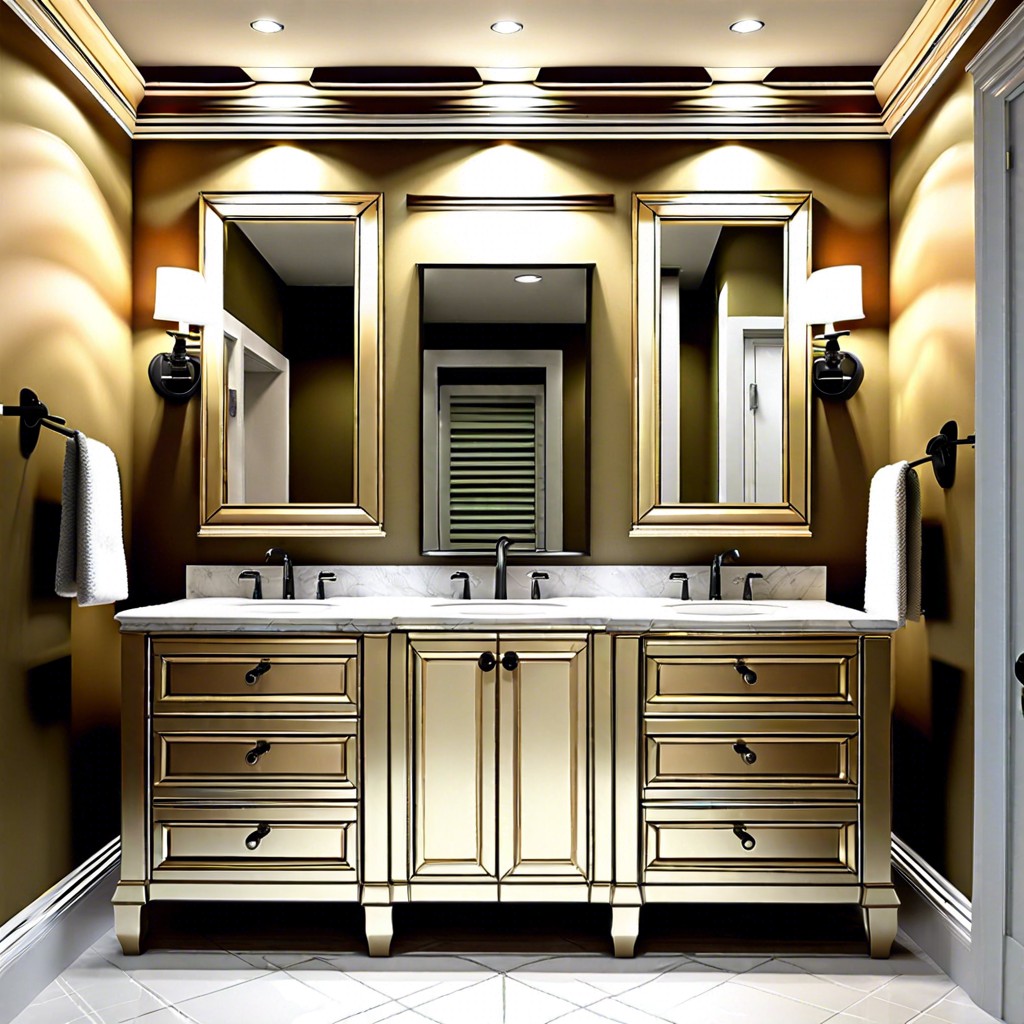
Fluted trim can elevate ordinary bathroom mirrors into stylish, customized pieces. Firstly, choose the perfect fluted trim that matches your bathroom’s aesthetic. Measure the mirror and cut the trim accordingly. Bear in mind, you can either choose to frame only the sides or all around the mirror. The latter gives a more striking, finished look.
Secondly, consider painting or staining the trim to match or contrast your bathroom’s interior design. Light colors can provide a calming effect, while dark colors give depth and can bring out the mirror’s beauty.
To install, secure the trim with either adhesive or small nails, ensuring it’s aligned properly. It’s advisable to have a small level tool handy to check alignment before fully securing the trim to the wall.
It’s a quick, budget-friendly update that will give your bathroom a unique, elegant touch! Just imagine the stunning reflection in your chic, fluted-trimmed mirror!
Apply Fluted Trim Around the Home Entryway
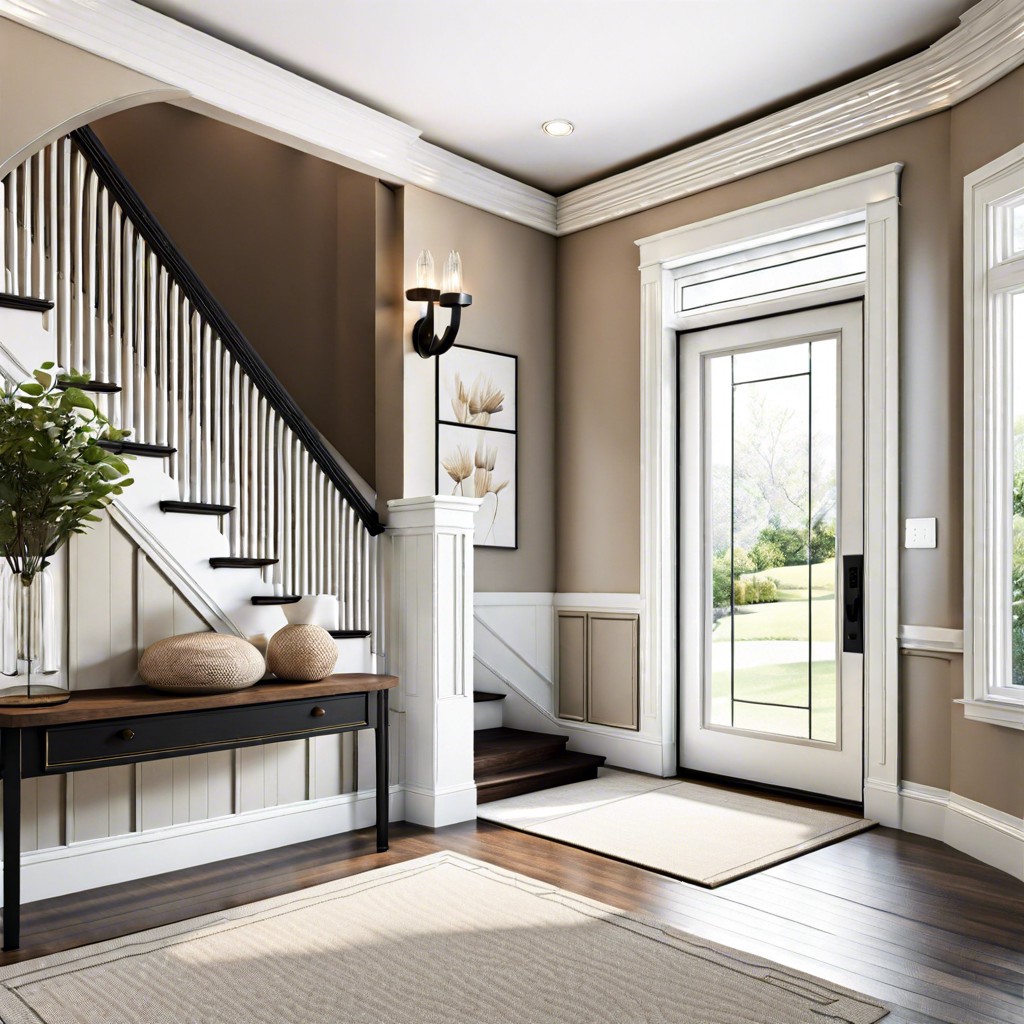
Transforming your entryway is as simple as adding an innovative touch with fluted trims. Their unique grooved detailing can make the doorway appear taller and more pronounced while adding depth and visual interest.
Here are a few key tips to pull this off effectively:
- Choose Proportional Size: The size of the fluted trim should match the entryway’s scale. Too small may seem insignificant, while too large might overwhelm the space.
- Materials Matter: Trim materials can vary significantly, from softwood, hardwood, to medium density fibreboard (MDF). Balance considerations of durability, cost, and aesthetic when deciding.
- Paint or Stain: Painting your fluted trim the same color as your door can make it appear larger. Staining can add contrast and highlight the trim’s unique fluted details.
- Symmetry is Key: When applying, ensure the trim is aligned symmetrically on both sides for a balanced, pleasing look.
Keep these points in mind, and your entryway will boast a fresh, eye-catching design that sets the tone for the rest of your home’s interior style!
Implement On the Edges of the Kitchen Island

Fluting on your kitchen island edges can act as an enriching element, lending a refined touch to often overlooked spaces. It is simple yet impactful; here are a few concepts behind it:
1. Visually Pleasing: It adds an interesting texture, making your island a visual magnet.
2. Elevates Simplicity: Even the simplest islands become ornate fixtures.
3. Customization: According to your tastes, you can choose wide, narrow, deep, or shallow fluting.
4. Coordination: If your kitchen already features fluted trimmings, adding it to your island connects the design.
Installing it is fairly straightforward and needs only basic tools. Attach it firmly, keep it level, then paint or stain to match your kitchen’s aesthetics.
Remember that a small step like adding fluted trim to your kitchen island edges can deliver noticeable sophisticated style. Give it a try!
Use As a Decorative Trim On the Roof Eaves
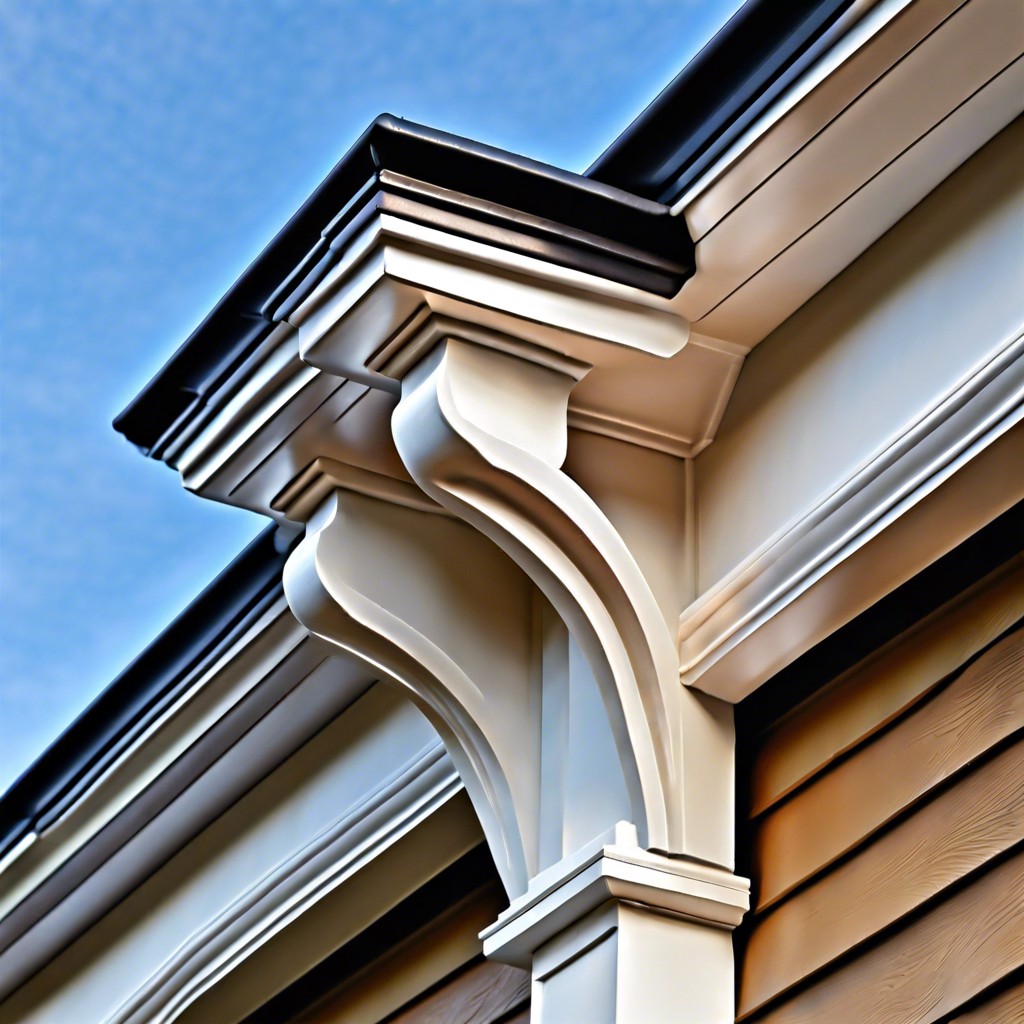
Adding architectural detail to roof eaves with fluted trim can significantly increase the aesthetic appeal of your home exterior. This technique brings an instant classic and elegant touch. It’s noteworthy, however, that this application involves exterior installation. Therefore, choose fluted trim materials specifically designed for outdoor use to ensure durability and weather resistance. Popular choices include vinyl and treated wood.
It’s preferable to match the trim color with the rest of your house’s exterior for a seamless blend. Alternatively, a contrasting color can create a substantial visual impact. Hire a professional for proper installation, or if you’re a DIY enthusiast, familiarize yourself with the correct procedures prior to installation.
Lastly, regular maintenance, including painting and cleaning, is crucial to preserving the appearance and function of the fluted trim on your roof eaves. Such upkeep ensures a refined, polished look that invariably contributes to your home’s overall curb appeal.
Decorate the Ceilings With Fluted Trim
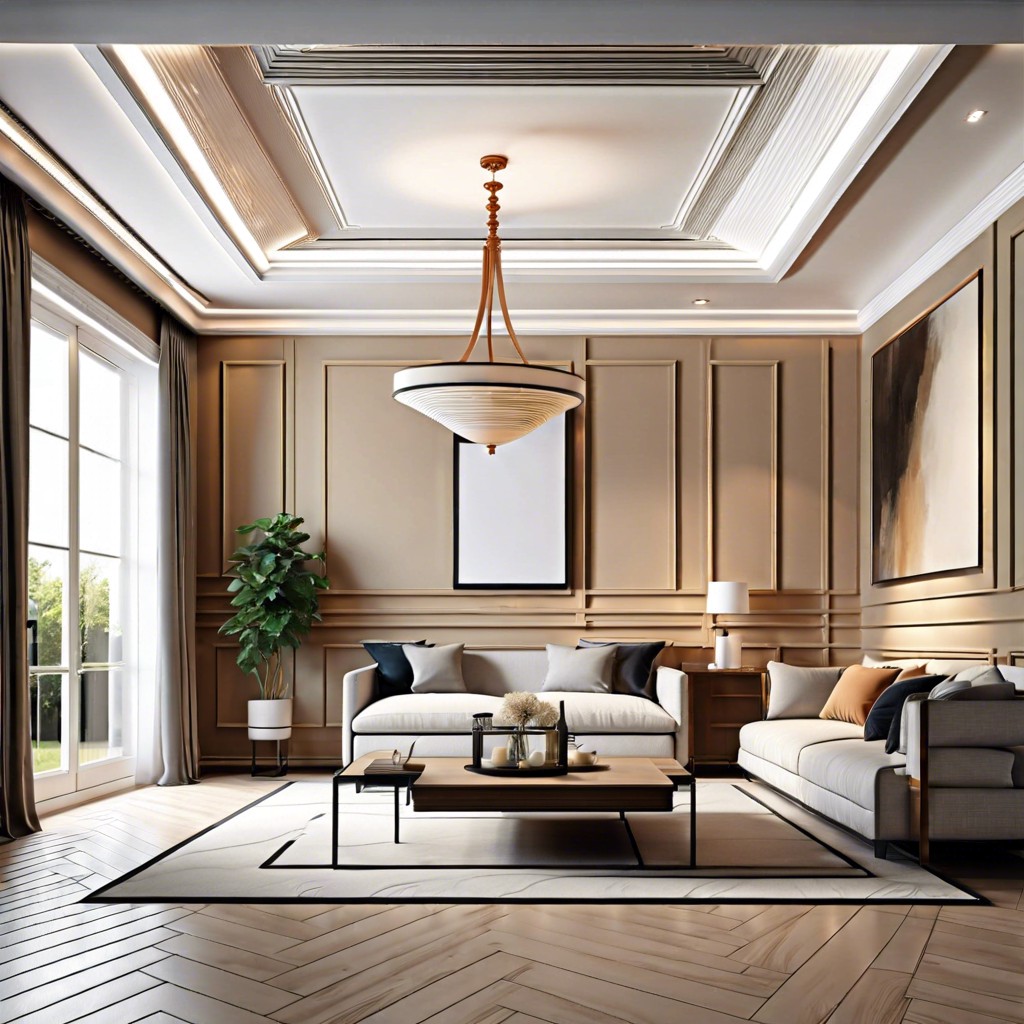
Incorporating this style into your ceiling design can add a unique and eye-catching element. A decorative border running along the edge of a room can bring definition and class, but for a more dramatic effect, consider creating a grid pattern.
You can also accent chandeliers or light fixtures by crafting a fluted trim ‘frame’ around them on the ceiling. Carefully planning and spacing patterns can create an illusion of higher ceilings, making your space seem larger and more luxurious.
Lastly, remember to opt for the right color to complement your existing color palette. Light hues typically work best on ceilings as they can make the room appear brighter and larger. Just ensure the trim paint contrasts enough to make your beautiful fluting stand out.
Fluted Trim As a Decorative Feature in Bedroom Furniture
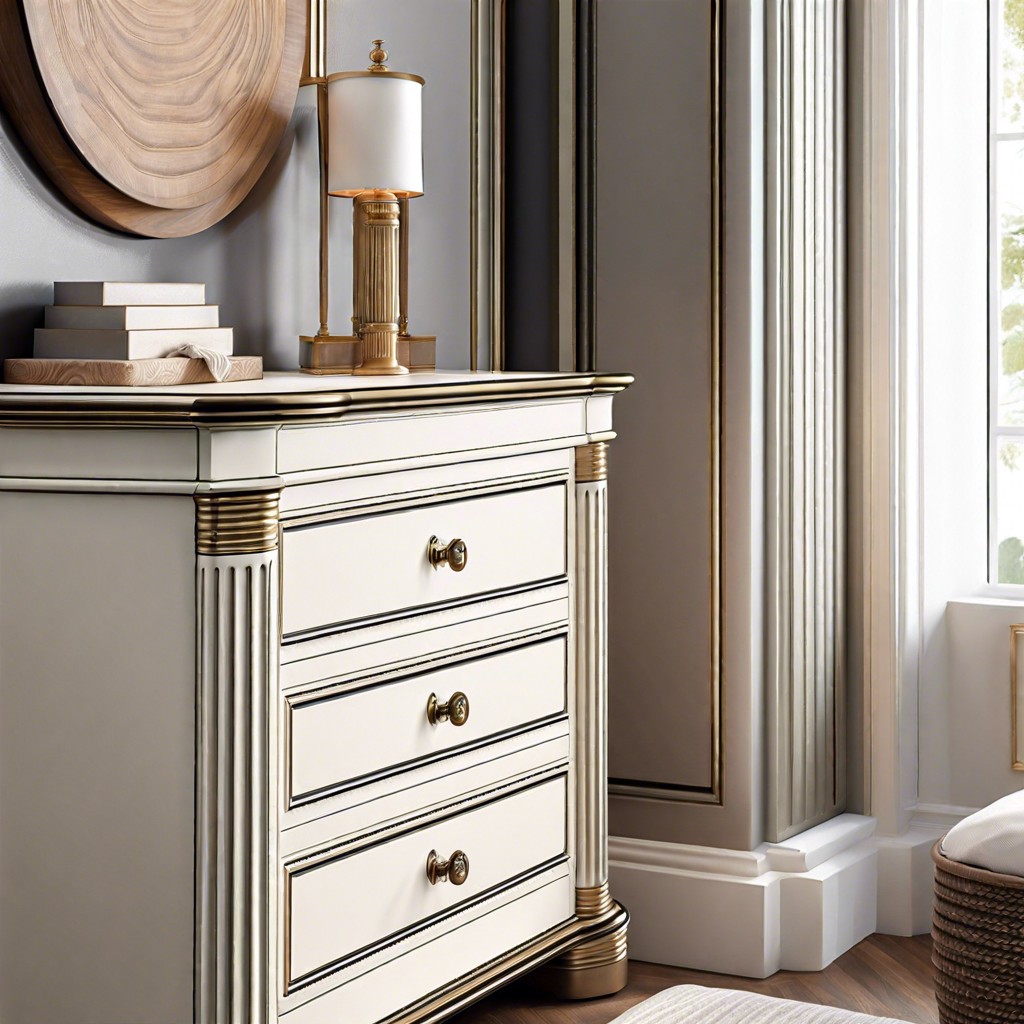
Craftsmanship in bedroom furniture can truly shine with the aid of fluted trim. Incorporating this decorating concept transforms ordinary pieces into elegant feature items. Bed headboards and footboards, along with dressers and side tables, all can be enhanced with fluted trim detailing.
– Create a rich design aesthetic on headboards and footboards, demonstrating intricate carpentry skills.
– Side tables and other smaller furniture pieces can gain from mild fluted details, infusing a subtle touch of luxury.
– Standalone or built-in wardrobes adorned with fluted trim can instantly become the room’s centerpiece.
– Dressers can transform from minimalist to neo-classical with the thoughtful placement of fluted trims.
All these applications showcase the design versatility associated with fluted trim. It’s a cost-effective way of elevating bedroom furniture, giving your space a tailored and custom feel.
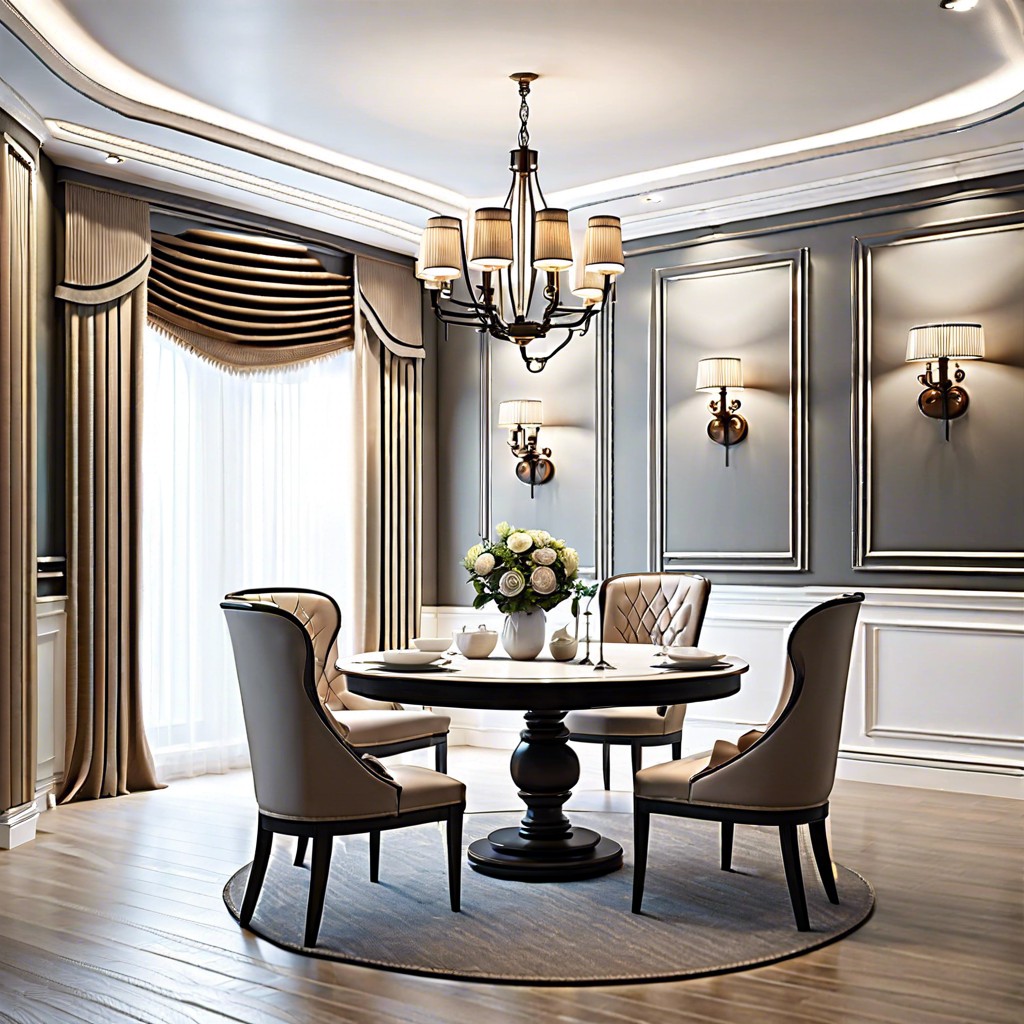
Upgrade the Dining Room With Fluted Trim Wall Panels
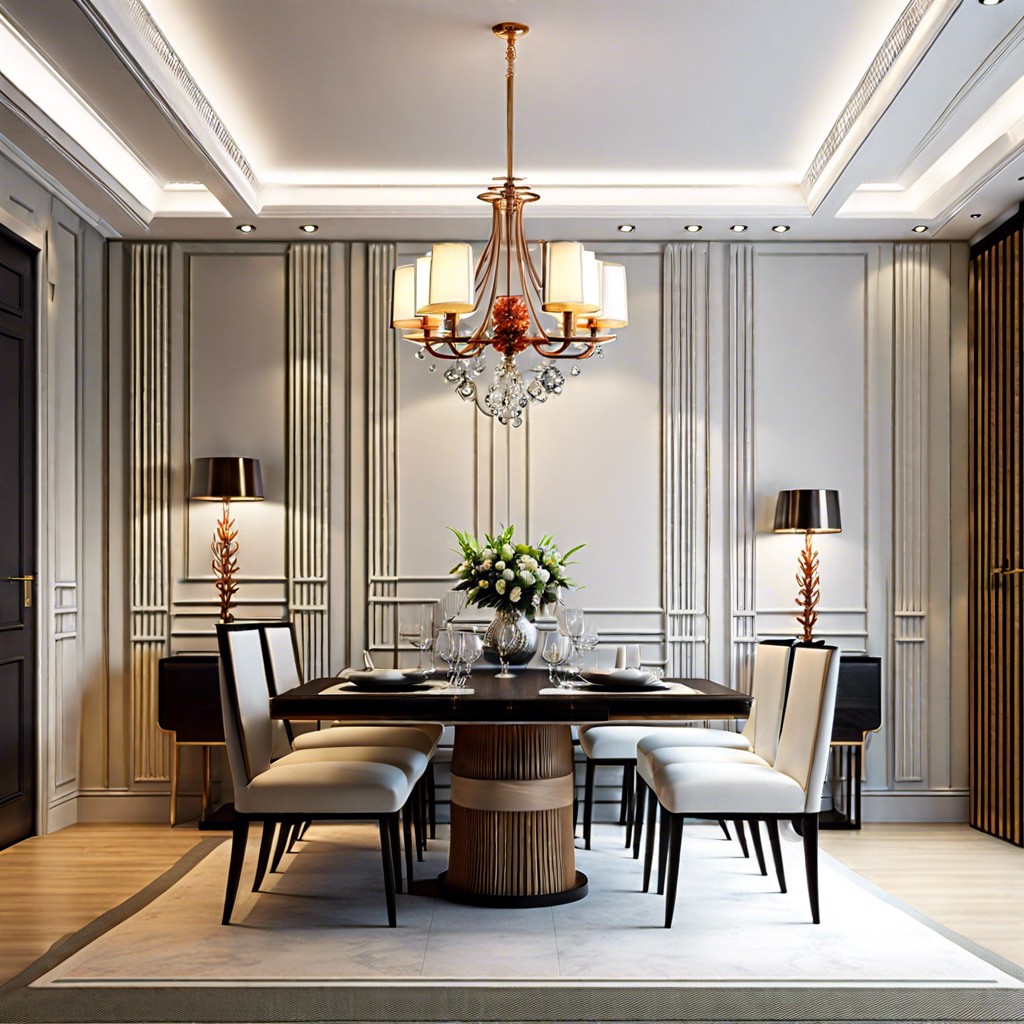
In the dining room, fluted trim wall panels are an absolute game-changer; they add a touch of elegance and sophistication! Here are a couple of ideas on how to implement them:
- 1. Use them to highlight specific areas like a buffet or dining set.
- 2. Consider a full wall installation for maximum impact.
- 3. Experiment with narrower panel spacing for a modern look, or wider for a more traditional vibe.
- 4. Paint them a contrasting color to highlight the panel texture and design.
- 5. Elegant finishes like antique white or dark walnut can add depth to your dining space.
- 6. Combine horizontal flutes on the bottom half, and vertical on the top for a unique approach.
This addition brings a level of unique charm to your dining space – it’s an affordable luxury everyone will notice!
Apply Fluted Trim On Built-in Wardrobes
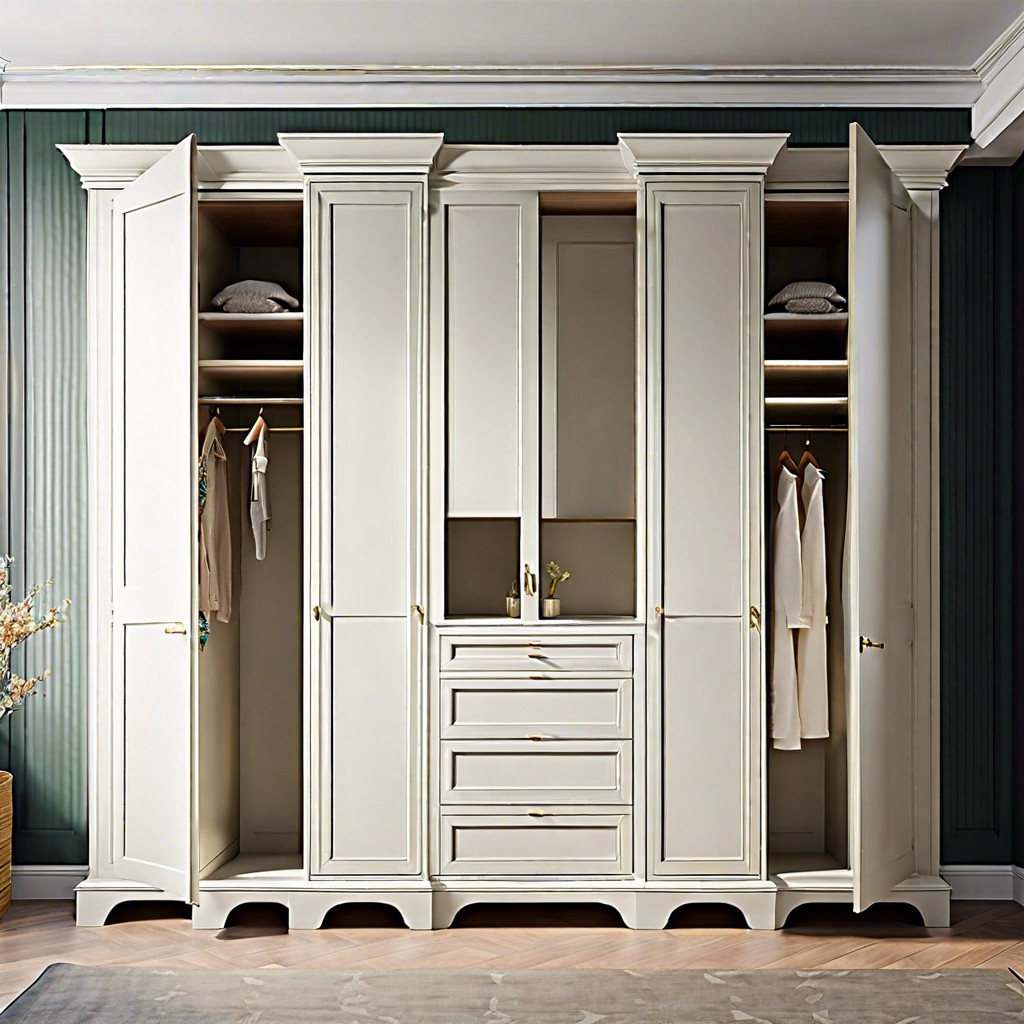
Jumping straight into the details, when it comes to built-in wardrobes, there are a few points to keep in mind. First, ensure the depth is suitable for easy installation of the fluted trim. To make an impactful statement, consider placing the trim vertically along the sides of the wardrobe, complementing the height and creating an illusion of more space.
Another variant is to incorporate fluted trim horizontally on wardrobe doors, akin to barton detailing, for a sophisticated feel. Pair it with unique handles or knobs for the complete look. The choice of paint can also make a significant difference. While white exudes elegance, picking a color that matches your room decor could blend in the piece seamlessly.
Remember that placement is key. It can be fitted within the frame, or allowed to overlap for a more pronounced effect. One might also opt for wider fluted trims for a bold look, particularly in larger rooms. Remember, even a small addition of fluted trim can deliver intrigue to an otherwise simplistic built-in wardrobe.
Use for Decorating Closet Doors
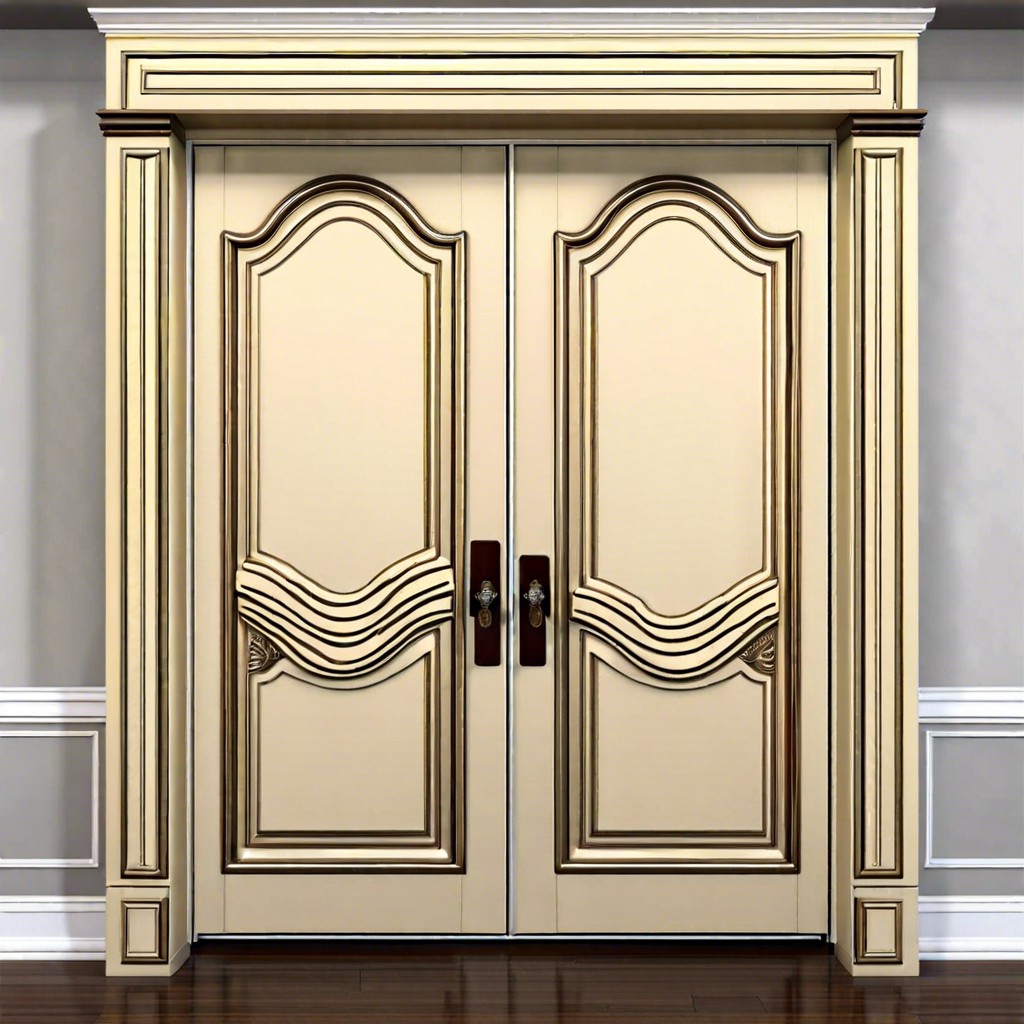
Choosing the right décor can transform a simple closet door into a stunning statement piece, lending a refined elegance to your bedrooms and hallways. Here’s how we can get started:
1. Select a fluted trim that suits the style and color scheme of your space. This will harmonize the look and unify the style throughout the room.
2. You could opt to apply trim vertically along the edges, creating an appealing contrast against the smooth surface of the door.
3. Consider adding horizontal sections, creating rectangular or square panels for a majestic touch.
4. To make a bold statement, integrate thinner fluted trims with wider pieces. This will add depth and sophistication to the doors.
5. Finally, consider painting the trims in a contrasting shade to the door color. For a more subtle effect, use the same color but a different finish – perhaps matte trim on a glossy door. This simple technique will highlight the beautiful texture of the fluted trim, transforming your closet doors into an intricately designed masterpiece.
Apply Fluted Trim On the Baseboards
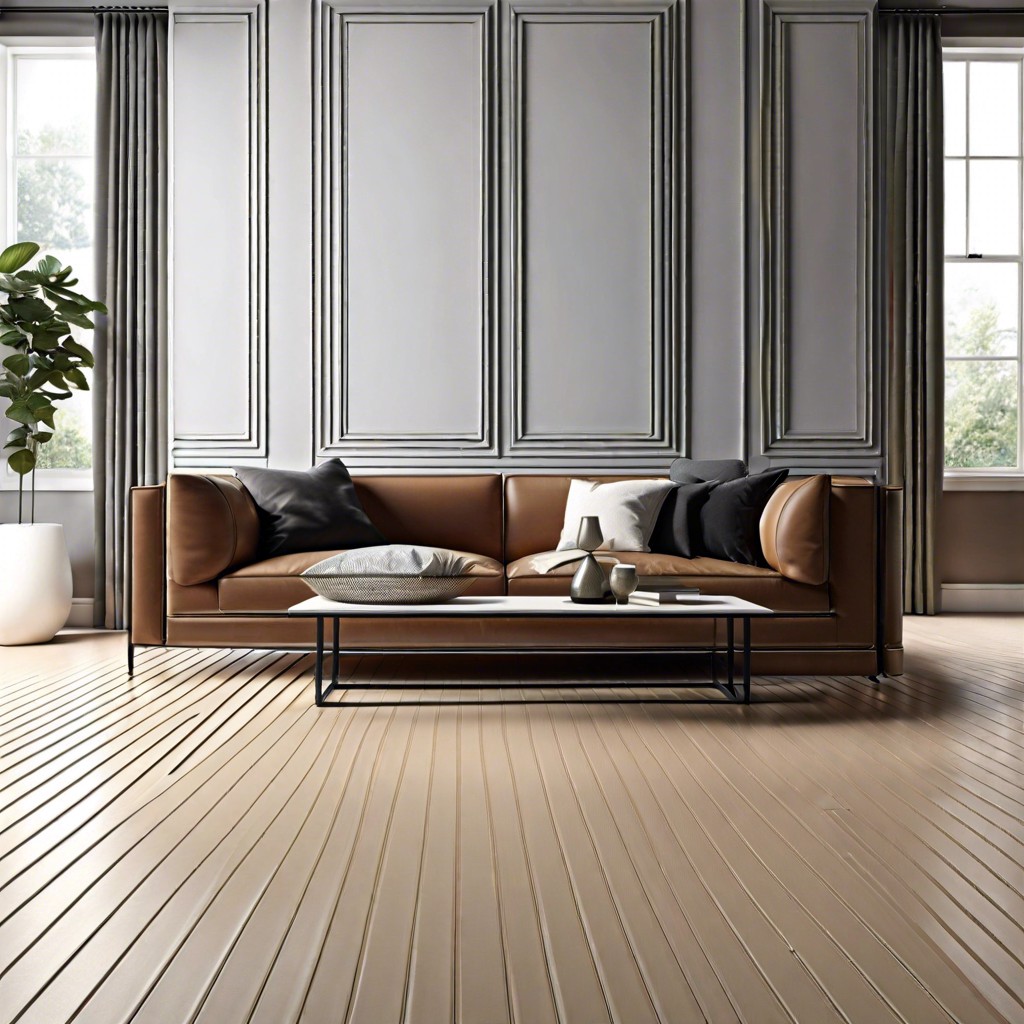
The baseboard may often be overlooked in terms of detail, but applying a fluted trim can transform it into a strong design element. A simple yet elegant solution that brings refined aesthetics to any room. The grooves in the fluted trim add a classic touch while also helping to hide any uneven walls.
1. Choose the Right Size: The baseboard fluted trim should be proportional to the room. In general, larger rooms can accommodate wider fluted trims.
2. Don’t Skimp on Quality: While sticking to a budget, it’s still recommended to invest in high-quality fluted trim for durability and a polished look.
3. Match Your Design Theme: There are varieties of fluted trims available, but ensure it suits your existing decor and design theme. Shades of white are most common, but you can opt for other colors or even stain to match with woodwork.
4. Installation: Use a miter saw for precise cuts, ensuring a seamless fit at corners. Nail the trim into place and finish with caulk to provide a smooth transition between the trim and wall.
5. Maintenance: Fluted trim is easy to clean – dusting and occasional wiping with a damp cloth should keep it looking sharp.
These points will help guide you in enhancing your baseboard with the timeless elegance of fluted trim.
Use Fluted Trim to Frame Wall Art Pieces

When your wall art is in place, consider adding a touch of elegance with fluted trim. Start by measuring the artwork to establish the dimensions required for the trim frame. Then select a trim style that aligns with the art piece and overall room decor.
Miter the corners of the trim at a 45-degree angle for a professional finish. Attach the fluted trim to the wall around the art with adhesive, ensuring to align it accurately for a centered and balanced look. This framing technique can highlight and accentuate your wall arts, creating an impactful focal point in any room.
Install Fluted Trim On the Edges of a Porch Railing
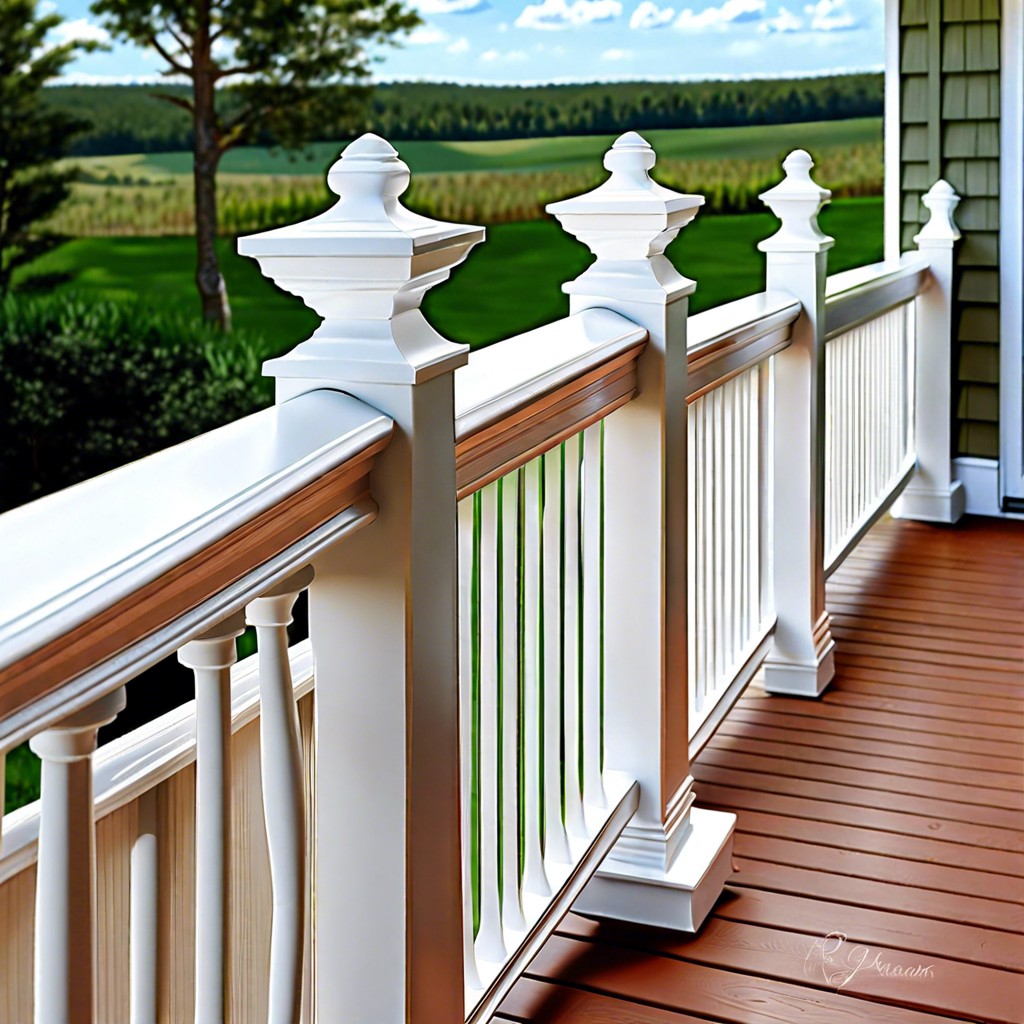
Fluted trims add an exceptional flair when installed on porch railings, thanks to their vertical lines that create an illusion of height and elegance.
First is the selection process. Opt for weather-resistant materials such as plastic or pre-painted or treated wood to withstand outdoor elements.
The installation process is quite straightforward. Measure and cut your trim to fit the edges of your porch railings. Coat with glue before securing with finishing nails for best results.
Caulk any seams where the fluted trim meets the railing and fill in nail holes for a flawless finish. Once dry, give the trim a final paint touch-up, matching your porch’s color scheme.
Incorporating fluted trim into your porch railing not only adds architectural detail but also elevates the aesthetic appeal of your outdoor space. Such an addition can indeed be an eye-catching focal point.
More Like This
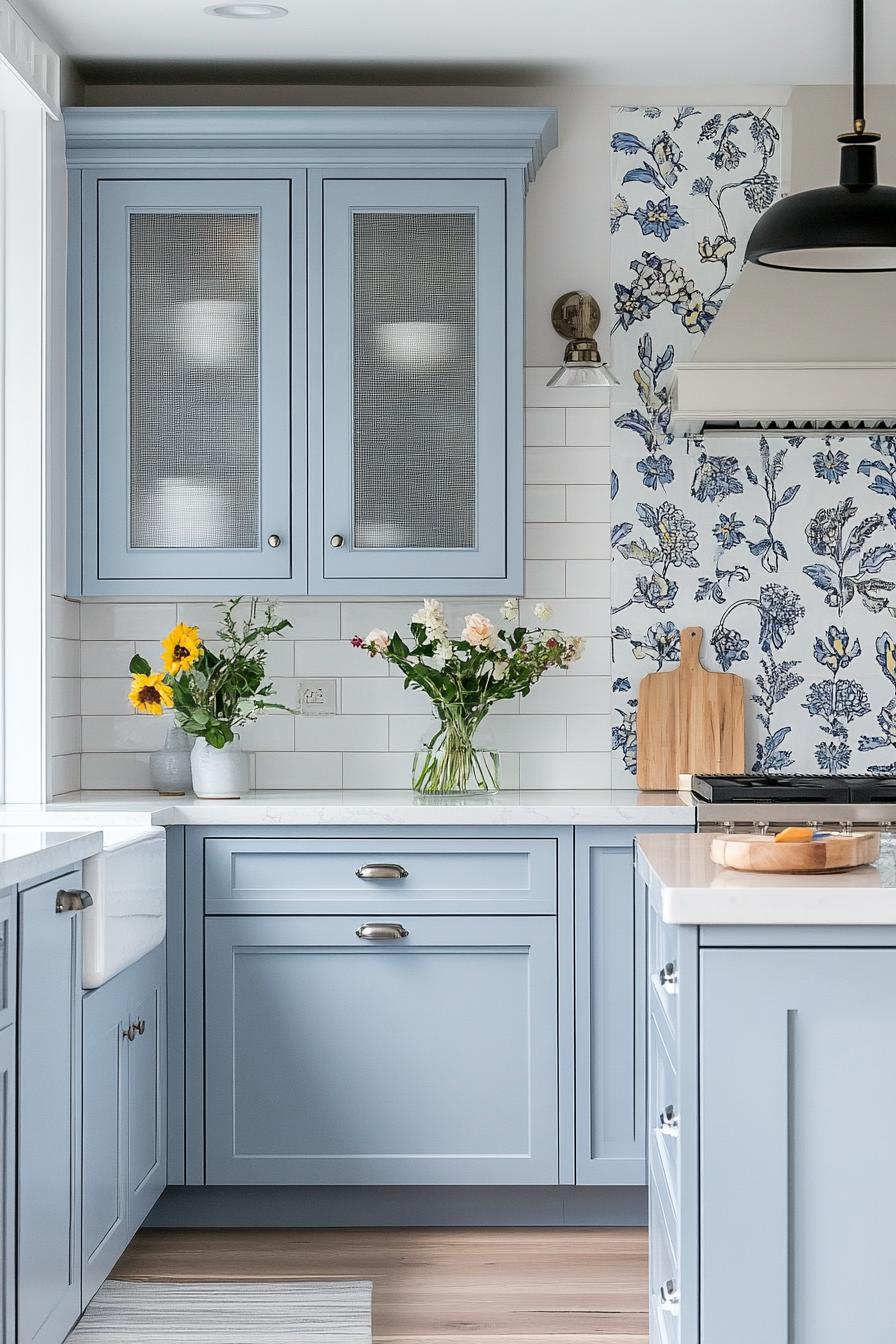 20 Chic Blue Kitchen Cabinets Ideas to Transform Your Space
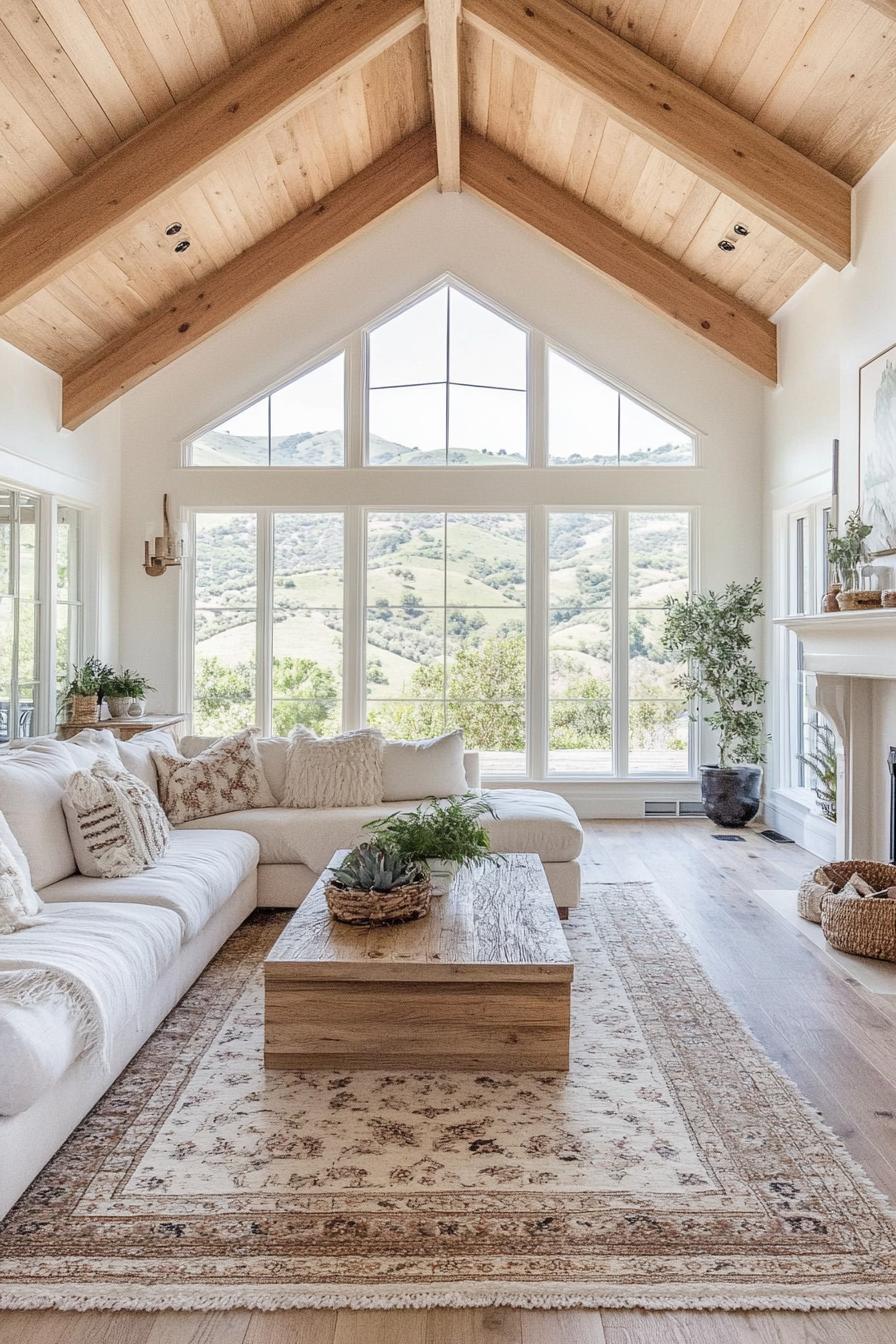 24 Charming Farmhouse Living Rooms That Are All the Rage
 29 Jolly Christmas Decor Ideas for Your Own Festive Wonderland
 40 Fall Table Centerpieces to Wow Your Guests
 36 Modern Fall Farmhouse Decor Ideas for a Cozy Autumn
Recap