Last updated on
These DIY lighting ideas for your home will help you create the right lighting in every room. You will not fail with these!
Lighting can make or break your home decor and interior design. You can spend a ton of money to buy fancy furniture and decor details, design and decorate your rooms according to the latest trends, but bad lighting can mess it all up in an instant.
How to Make Light Fixtures
Making light fixtures at home is not as simple as changing light bulbs. Proper lighting consists of a few layers and it can make a difference between a cozy room and badly lit uncomfortable space.
There are some important points to consider:
- Think in terms of three layers – ceiling, eye level, floor. Use different types of lighting for each layer. Ideally, you should complete all three of them.
- You will use different lights throughout the day, rarely all of them together.
- Consider the design appeal of the fixture – some of them may serve only the decorative purpose.
So if you’re going to make DIY lighting you better arm yourself up with plenty of good ideas. This is precisely what we aim to provide you with this article. The following is a categorized list of the top DIY lighting projects for the home. You can choose the type of lighting you want to make and continue with it.
So, what are you going to make next?
Chandelier

A chandelier makes the perfect decor statement and focal point in any room (usually the living room). Most often it’s the accent of luxury and classy interior design too. That’s why beautiful chandelier can cost a lot of money. But not if you make one yourself! It’s a great way to get a unique and personal piece for your home too. If you’re up for making it check out these DIY chandelier ideas to see what you can do. (32 ideas)
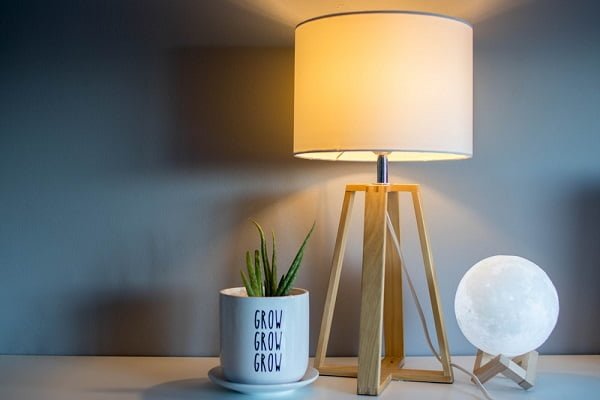
Lamps and Lampshades
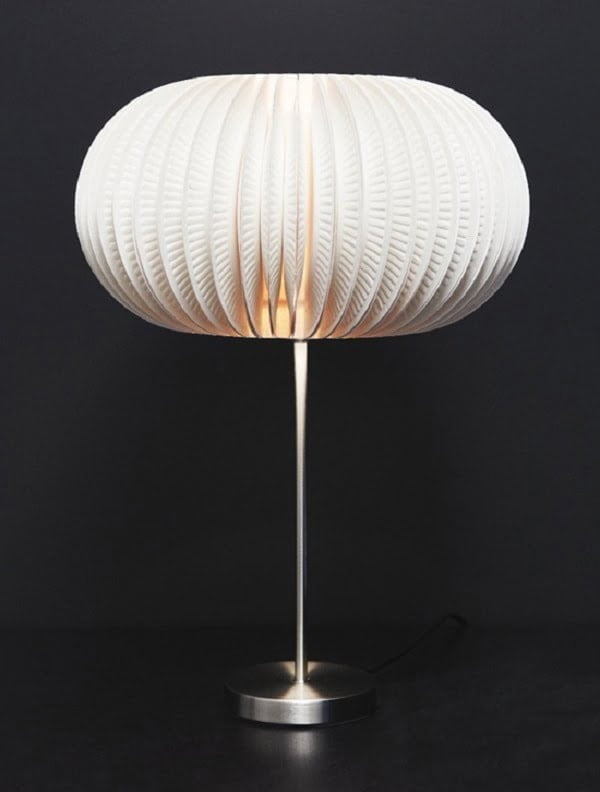
Anyone who dabbles at interior design and decor knows that to get the perfect look you need to layer your lighting. That means having more than recessed lights or a chandelier but other lighting fixtures too. The best way to achieve this on a budget is by making your own lamps. Check out these beautiful DIY lamp and lampshade ideas to proceed. (41 ideas)
Headboard Lights

Want to add an extra touch to your bedroom decor? A headboard with lights is not only a beautiful but a practical way to do it too. It’s a great way to add extra lighting, and if you do it yourself, it costs very little. You have to see these DIY headboards with lights. (15 ideas)
Pendants

Pendant lights make a great modern alternative to a chandelier. They help create spotlights around the home and spread the lighting more evenly. You can add an extra lighting level with a pendant too. So if a fancy chandelier is not your thing, how about a few pendants? You can do this on a budget by using these DIY pendant light ideas. (38 ideas)
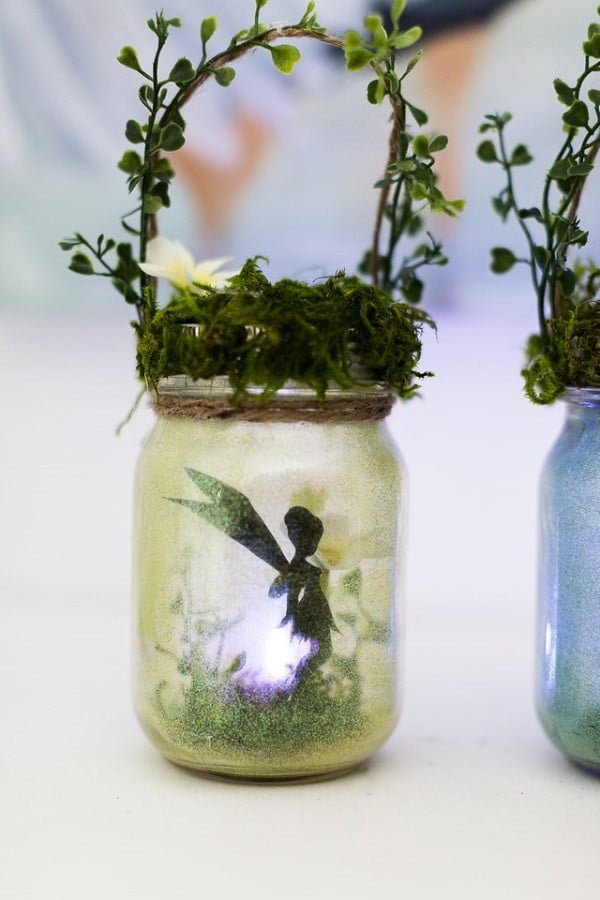
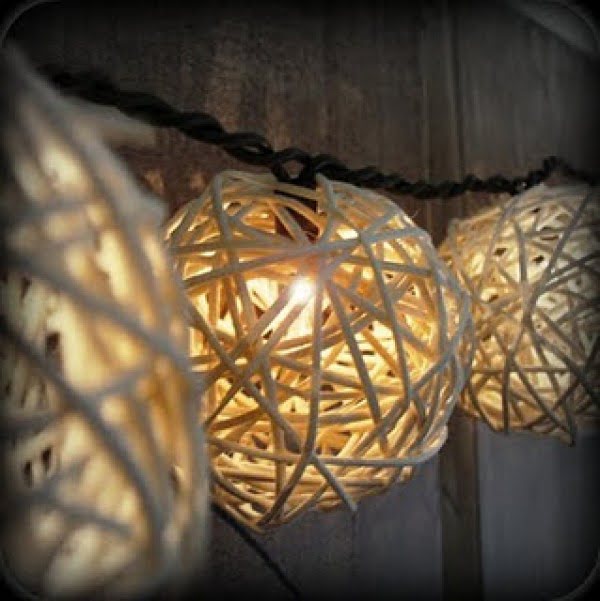
Fairy Lights
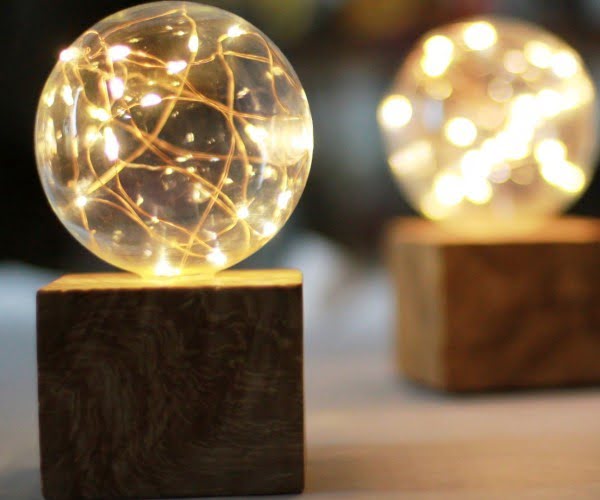
Use fairy lights outside of the Holidays for some magical home decor. This is a big trend that’s all the rage. Everyone can add some charm with just a few cheap string lights in any room. Check out these DIY fairy light decor ideas. (23 ideas)
Candle Lanterns
When it comes to candles, we don’t have to explain how romantic they are and how you can make cheap mood lighting with them. But you can step it up a notch and make beautiful lanterns that increase decor value ten-fold. You must see these DIY candle lantern ideas. (20 ideas)
Light Switch Covers
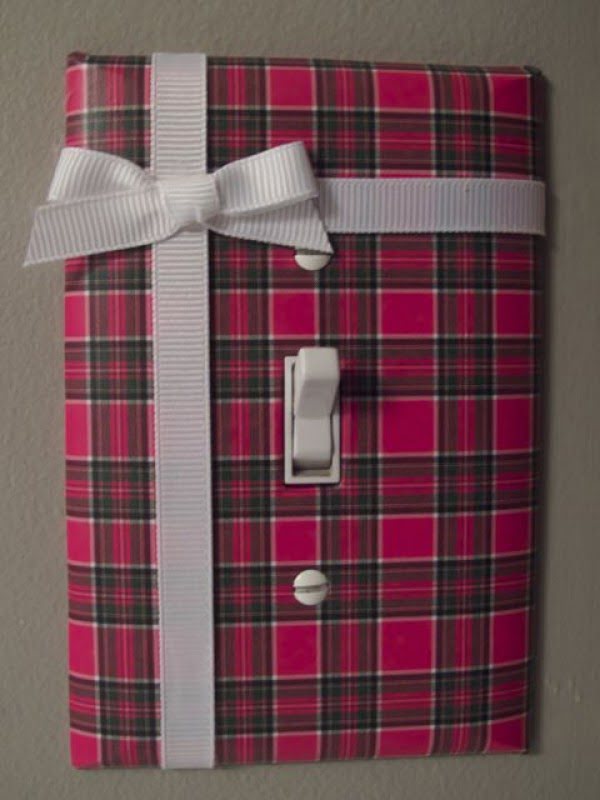
The idea of decorating light switch covers is highly overlooked and underestimated. But did you know that ugly switches are among the top home decor eyesores? If you’re taking care of your home lighting, you have to pay attention to this. Check out these fantastic DIY light switch cover ideas. (12 ideas)
Floral Chandeliers
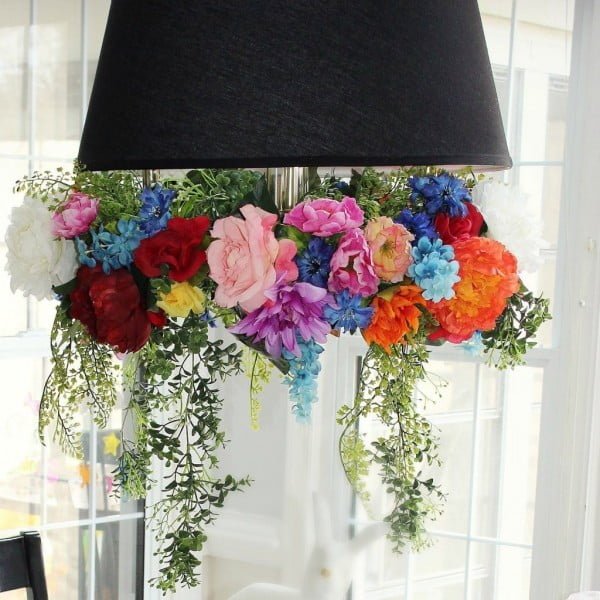
Floral chandeliers that used to be the centerpiece of wedding decor are now taking over home decor trends. And we are okay with that! Check out the things you can do with DIY floral chandeliers in your home decor. (23 ideas)
Outdoors
When the time of the year comes when we want to spend more time outside than we do outside, it’s natural that we want to light up outside spaces as well. It’s one of the top DIY projects for the outdoors too. Check out these DIY outdoor lighting ideas if you want to increase your outdoor space appeal. (15 ideas)
More Like This
![Wall-mount a TV or Put It on a TV Stand? [Solved]](https://homeisd.com/wp-content/uploads/2021/01/tv-spacing.jpg) Wall-mount a TV or Put It on a TV Stand? [Solved]
Wall-mount a TV or Put It on a TV Stand? [Solved]![What to Put Under the TV on the Wall? [12 Ideas]](https://homeisd.com/wp-content/uploads/2021/01/floating-shelves-under-tv.jpg) What to Put Under the TV on the Wall? [12 Ideas]
What to Put Under the TV on the Wall? [12 Ideas]![Where Should an Ottoman Be Placed? [14 Ideas]](https://homeisd.com/wp-content/uploads/2021/01/chair-with-ottoman.jpg) Where Should an Ottoman Be Placed? [14 Ideas]
Where Should an Ottoman Be Placed? [14 Ideas] 400+ Easy DIY Storage Ideas for a Neat Home in Every Room
 20 Best Modern Minimalist House Designs
Recap