Last updated on
Filling the bottom of a large planter can transform your plants’ overall health and growth because it enhances drainage, and this comprehensive guide will unveil the most effective materials for this job.
Key takeaways:
- Plastic Bottles: Clean, empty bottles for lightweight and airy base.
- Styrofoam: Featherlight filler that aids in drainage.
- Packing Peanuts: Biodegradable option enclosed in fabric.
- Old Potting Mix: Reuse lightweight soil to fill space.
- Lava Rocks: Excellent drainage option, lighter than traditional rocks.
Lightweight Filler for Pots
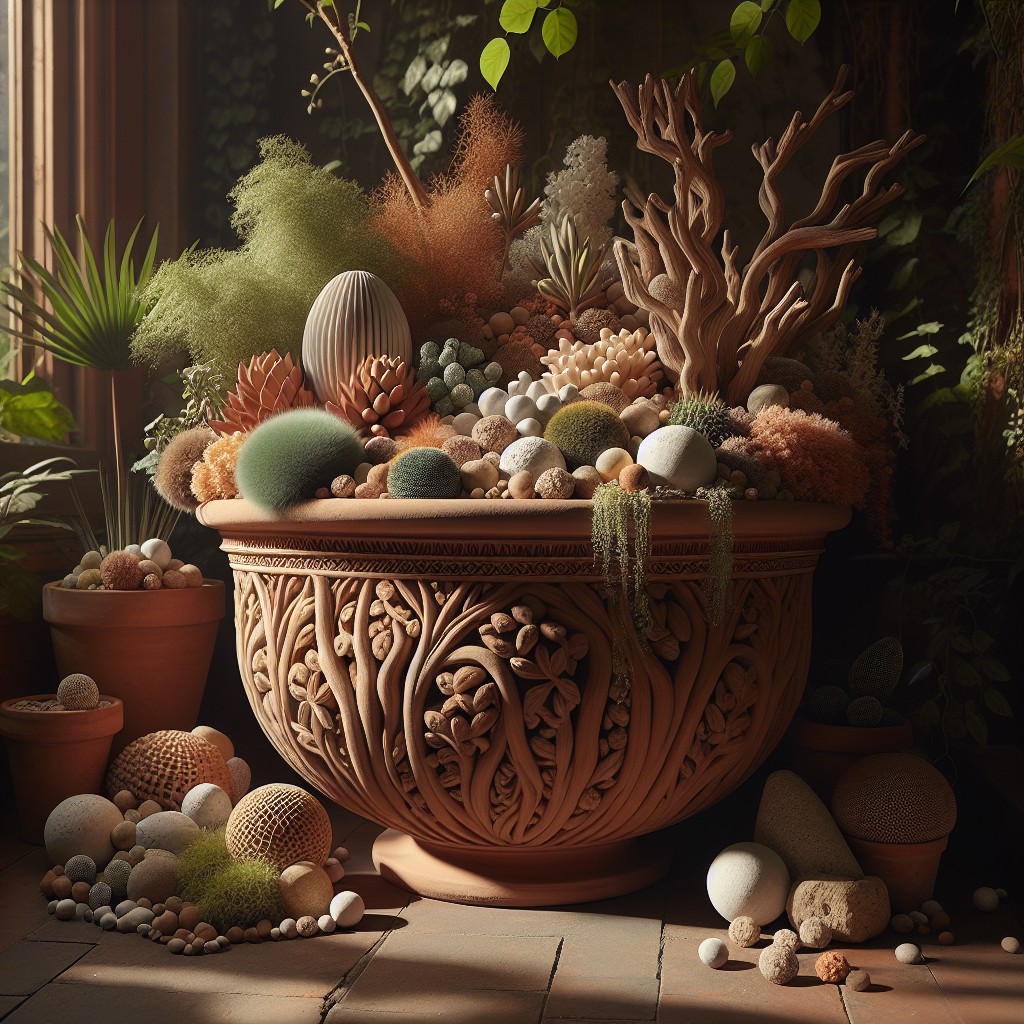
Expanding on the various options available, consider the following for a lightweight solution:
1. Plastic Bottles: Clean, empty bottles offer an airy base that minimizes planter weight, ideal for balconies or decks where load is a concern.
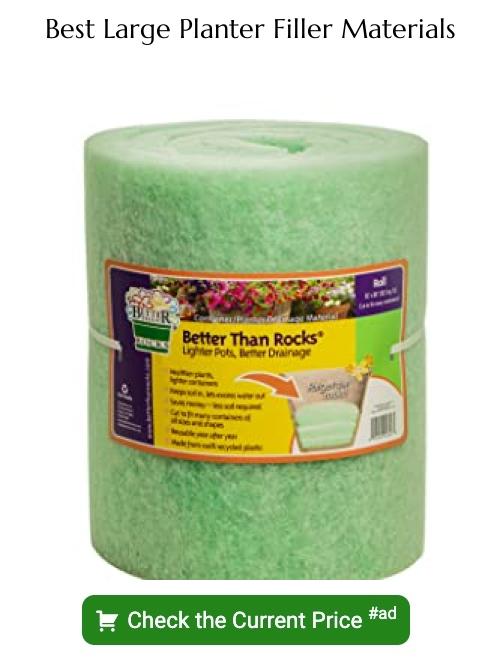
2. Styrofoam: Either in peanut form or larger pieces, Styrofoam serves as a featherlight filler that also helps with drainage.
3. Packing Peanuts: Opt for biodegradable ones to avoid environmental damage. These can be wrapped in a landscape fabric to prevent them from mixing with soil.
4. Old Potting Mix: Reuse spent, lightweight soil from previous plantings to fill space without adding much weight.
5. Lava Rocks: Although a bit heavier, they are still lighter than traditional rocks and offer excellent drainage.
The strategic use of these fillers can ease the burden of moving planters while ensuring healthy plant roots. It’s important to balance filler quantity with enough soil for root growth and nutrient access.
Options for Lightweight Pot Fillers
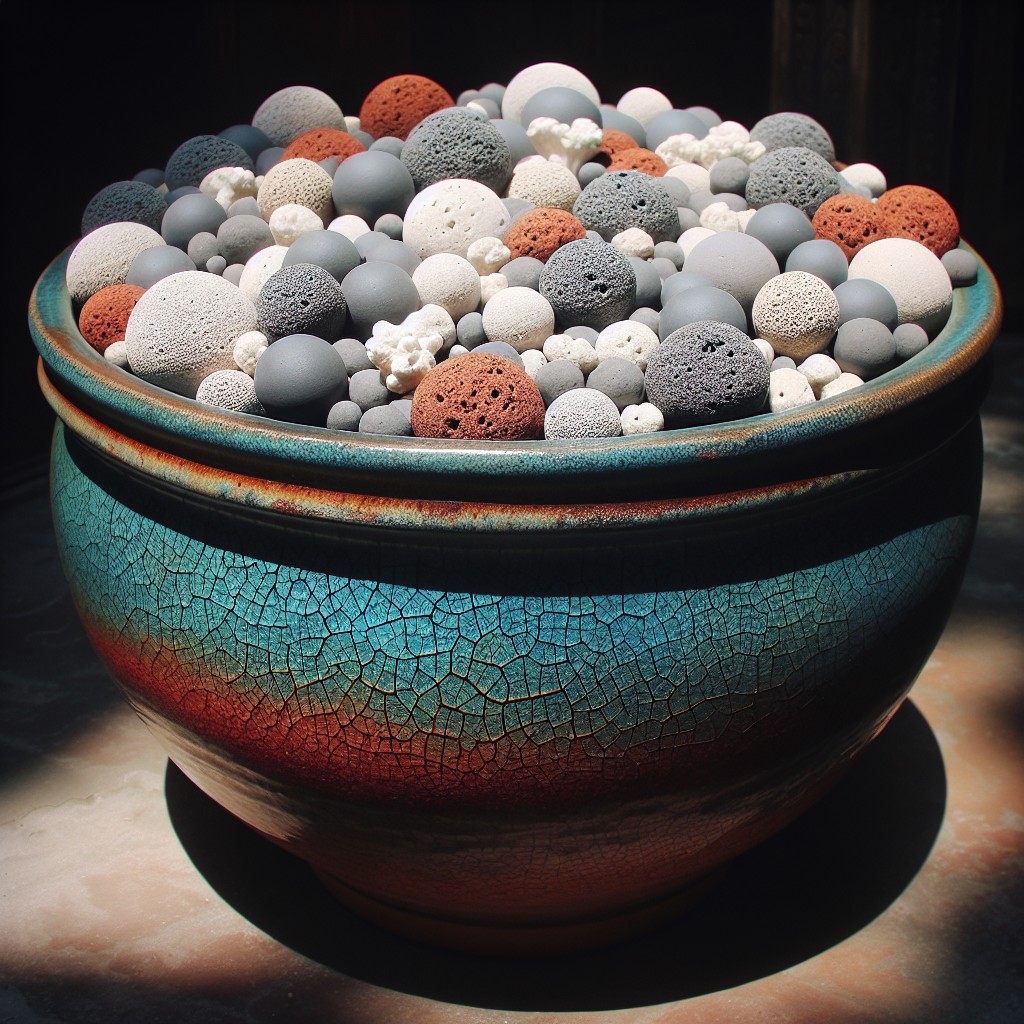
When considering lightweight materials to fill the bottom of a large planter, the goal is efficient drainage and reduced soil volume without compromising plant growth.
Expanded clay pebbles offer a hydroponic solution, favored for their porous nature, which facilitates good air and water flow.
Plastic bottles or nursery pots, clean and caps on, are a recyclable approach, suitably sized to create a non-compressible layer while trimming some weight off your planter.
Foam peanuts, specifically the non-biodegradable kind, act as a reliable alternative, though enclosing them in a landscape fabric prevents them from mixing with the soil.
Crushed lava rock, lighter than its basalt counterpart, also ensures excellent drainage, and it’s a natural byproduct that doesn’t add plastic to the environment.
Whatever filler you choose, be mindful of pests and chemicals – cleanliness and garden safety are paramount!
Heavy Pot Fillers
Stability is crucial for large planters in windy or high-traffic areas. Materials like gravel, rocks, and broken concrete pieces serve as hefty fillers that add heft to the planter’s base. These inert materials will not decompose over time, maintaining the necessary weight to keep the planter grounded.
Additionally, they provide a sturdy foundation for soil and plants, preventing the risk of tipping or movement. When using heavy fillers, layer the bottom followed by a landscape fabric to separate the soil from the fillers, ensuring unobstructed drainage and preventing soil compaction.
Remember to only partly fill the planter, leaving enough space for a sufficient amount of soil to nourish the plants’ root systems.
Options for Heavy Pot Fillers
Sand and gravel provide a sturdy base for large planters and are particularly suited for outdoor settings where weight adds stability against wind. Crushed stone serves a dual purpose, offering solid support for plant roots while aiding in proper drainage.
When using these materials, it is crucial to layer a landscape fabric between the soil and the fillers to prevent sediment mixing, which could impede water flow. Another option is using broken pottery or bricks which can add considerable heft to your planter and improve drainage.
Remember, these materials are best used when the planter will not require frequent moving due to their significant weight.
Ensure Adequate Drainage
When filling the bottom of a large planter, preventing waterlogged soil is crucial to plant health. To ensure excess water can escape, follow these points:
- Incorporate a layer of coarse gravel or pebbles at the planter’s base, which acts as a non-compressible layer, allowing water to flow through.
- Place a piece of mesh or landscape fabric atop the gravel layer to prevent soil from seeping down, which maintains clear pathways for water to drain.
- Regularly check and clean drainage holes to avoid blockages that can trap water inside.
- For indoor planters, consider a saucer underneath to catch any overflow, protecting surfaces from water damage.
Prioritizing drainage avoids root rot and fungal diseases, keeping your plants healthy and vibrant.
Recycled Materials As Pot Fillers
Harnessing the potential of recycled materials not only minimizes waste but also translates into an efficient and cost-effective means of filling your large planter. Plastic bottles, cans, and foam packing materials, often found in abundance in most households, are exemplary candidates.
Crushed plastic containers provide a sturdy base while ensuring the planter remains light enough for easy repositioning. Foam peanuts, frequently used in packaging, offer similar benefits without adding significant weight. However, consider wrapping these in a landscape fabric to prevent them from mixing with soil and to facilitate future plant changes.
Additionally, broken terra cotta pots or old bricks can be utilized to improve drainage, albeit increasing the heft of the planter. Always remember to clean any recycled materials before use to prevent introducing any contaminants into your planting environment.
Natural Materials As Pot Fillers
When looking to nature for pot fillers, consider materials that contribute to aeration and moisture retention while still being lightweight. Pine cones, for instance, can create large pockets within the soil, enhancing airflow and reducing the planter’s overall weight. Similarly, fallen leaves, when used as a base layer, decompose gradually, enriching the soil with nutrients.
Twigs and small branches serve a dual purpose of providing drainage support and utilizing yard waste efficiently. Coconut coir, an eco-friendly byproduct of coconut processing, offers excellent water retention and root support. Always ensure that natural materials are clean and free from pests or disease before using them as fillers.
Key Considerations for Choosing Pot Fillers
When selecting fillers for the bottom of your large planter, it’s wise to consider weight, drainage, and insulation.
1. Weight: A heavy filler adds stability to large outdoor planters, preventing them from tipping in strong winds. In contrast, lightweight fillers like perlite or plastic bottles make planters easier to move.
2. Drainage: Good drainage is essential for plant health. Certain fillers can improve or impede water flow. For example, gravel enhances drainage while plastic might retain too much moisture if not properly punctured or layered.
3. Insulation: Some materials, such as foam peanuts, provide insulation, protecting roots from extreme temperatures. This is especially important for perennials or plants in fluctuating climates.
Each of these factors plays a critical role in the longevity and well-being of your plants, so contemplate the specific needs of your foliage and setting before making a choice.
Steps To Get Your Large Planter Ready For Planting
Begin by cleaning the planter to remove any debris or residue from previous plantings, ensuring a fresh start for your new plants.
Next, cover the drainage holes with a layer of mesh or coffee filters to prevent soil from washing out while still allowing water to drain properly.
Then, add your chosen filler material to the desired height, keeping in mind the root depth of the plants you intend to use.
This will reduce the volume of potting soil needed and help prevent root rot by improving drainage.
After adding the filler, layer quality potting soil on top, leaving enough space to accommodate the plants without overflowing the pot.
Gently tamp down the soil to eliminate air pockets, providing a stable foundation for planting.
Now your planter is set to create a thriving environment for your greenery.
How Much Filler To Use For Your Large Container
Determining the right amount of filler for your large planter hinges on the type of plants you intend to grow. Deep-rooted plants like trees and large shrubs will need more soil depth compared to shallow-rooted annuals or perennials.
Plant Requirements: Check the root depth requirements for your chosen plants and aim to provide at least that much soil above the filler.
Filler-Soil Ratio: For most large containers, filling the bottom third with lightweight material creates a good balance, allowing enough room for soil and roots without making the planter too heavy.
Container Size: In exceptionally large planters (over 24 inches in depth), you may increase the filler portion to half the container depth, as very few plants require such extensive root space.
Settling: Remember, some filler materials may compact over time. Anticipate this by leaving a couple of inches at the top for additional soil if needed.
By tailoring the volume of filler to the needs of your plants, you optimize plant growth while conserving soil and reducing planter weight.
Pros and Cons of Different Pot Fillers
Selecting a pot filler is crucial to the health of your plants and the manageability of your planter. Lightweight options such as plastic bottles or packing peanuts promote easy mobility but may degrade over time. On the other hand, heavier fillers like rocks or broken terracotta pieces add stability to large planters, which is beneficial in windy conditions, yet they can make the planter difficult to move and may hinder drainage if not layered properly.
Organic materials like bark or coco coir can enrich the soil as they decompose, offering a boost in nutrients. Conversely, this decomposition may lead to a change in soil composition or structure over time, potentially affecting water retention and necessitating more frequent replenishment of the filler.
Recycled materials are an eco-friendly and cost-effective solution, but it’s important to ensure they are clean and free from contaminants that could harm plant health. With each type of filler, balance the benefits of weight, drainage, and sustainability to find the best fit for your planter and plants.
Maintaining Plant Health With Proper Filler Usage
Selecting the right filler at the bottom of your planter is not just a matter of convenience or weight management—it plays a crucial role in the health of your plants. Here’s how proper filler usage can help:
- Facilitates drainage: A well-draining filler prevents waterlogging, critical for preventing root rot and fungal diseases.
- Promotes aeration: Using a filler that allows air flow helps roots breathe, which is essential for nutrient uptake and plant vigor.
- Tailors water retention: Some fillers can help retain moisture in the soil, beneficial for thirsty plants while not suffocating them.
- Supports proper root growth: A stable base of filler can guide roots downward, fostering strong growth patterns and helping to anchor the plant.
Choose a filler that complements your plant’s needs to ensure it thrives in its large container.
Tips for Economical Pot Filling Methods
Opt for household items otherwise destined for recycling, such as plastic bottles, aluminum cans, or foam packaging materials, to serve as a base. This approach not only saves money but also contributes to environmental sustainability.
Seek out yard waste like small sticks, pinecones, or bark. These not only fill space but gently decompose over time, adding nutrients to the soil.
Connect with local businesses for free or discounted materials that can be used as fillers, such as broken ceramics from a pottery shop or old nursery pots from a garden center.
Purchase bulk materials such as lava rock or recycled glass in larger quantities to reduce overall costs. These can be stored and used as needed for multiple planters.
Explore garage sales or online marketplaces for second-hand items like old bricks or rubble that can double as a cost-efficient filler and add stability to large planters.
Recap
