Last updated on
Dive into the world of concrete kitchen countertops because they blend functionality and style, transforming a mundane space into a modern marvel.
Diving right into concrete kitchen countertops, an affordable and versatile choice for a stylish and modern kitchen. Easy to customize and sturdy, these countertops sure make the kitchen an aesthetic and functional delight.
This article illuminates how to incorporate concrete into your kitchen scheme, steps to DIY installation, and the art of maintaining their luster.
Stay tuned to explore the nitty-gritty of these hardy kitchen companions in depth.
Key takeaways:
- Durability and customization options make concrete countertops a versatile choice.
- Concrete countertops can be expensive, but offer a worthwhile return on investment.
- Maintenance involves regular sealing and cleaning with non-abrasive cleaners.
- Concrete countertops can be customized with unique shapes, colors, and finishes.
- DIY installation requires precision and patience, but can be cost-effective.
Pros and Cons of Concrete Countertops
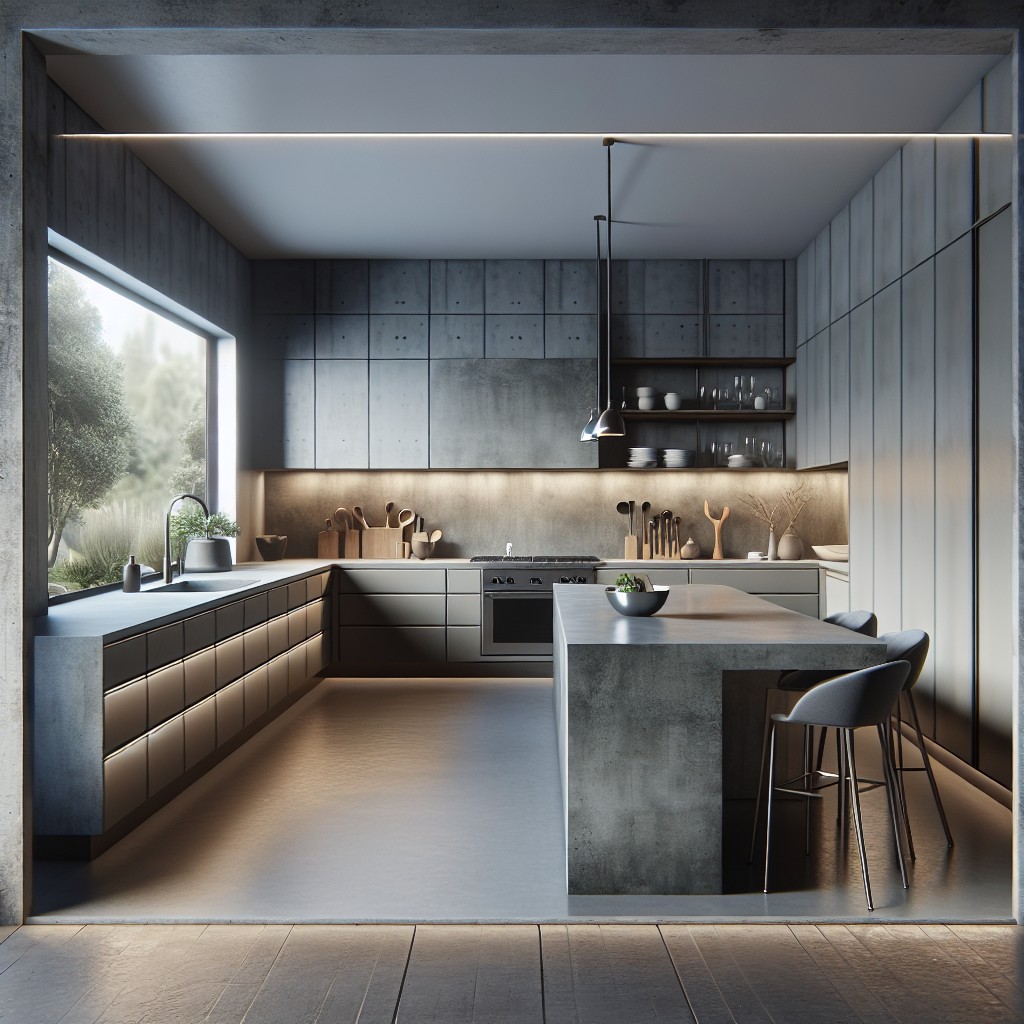
Concrete countertops offer a unique blend of versatility and aesthetic appeal. They can be crafted to fit any kitchen style, from modern to rustic, and can be colored or textured to suit personal taste. Moreover, they can be poured into any shape, allowing for customized edges and embedded items.
Durability is a strong point, with concrete being resistant to scratches and heat – an excellent characteristic for busy kitchens. However, without proper sealing, concrete can be prone to staining and may absorb liquids due to its porous nature. Regular maintenance is essential to prevent this.
An often-overlooked advantage is the eco-friendliness of concrete. Many concrete countertops are made from recycled materials, which reduces waste and often includes local products, lowering the carbon footprint.
On the downside, the weight of concrete necessitates strong support, potentially adding to installation costs. And while concrete is notable for its durability, any chipping or cracking that does occur may require professional repair.
With custom fabrication comes a higher price tag, and concrete countertops are often more expensive than prefabricated options. However, many find that the unique benefits and enduring nature of concrete provide a worthwhile return on investment.
Concrete Countertops Cost
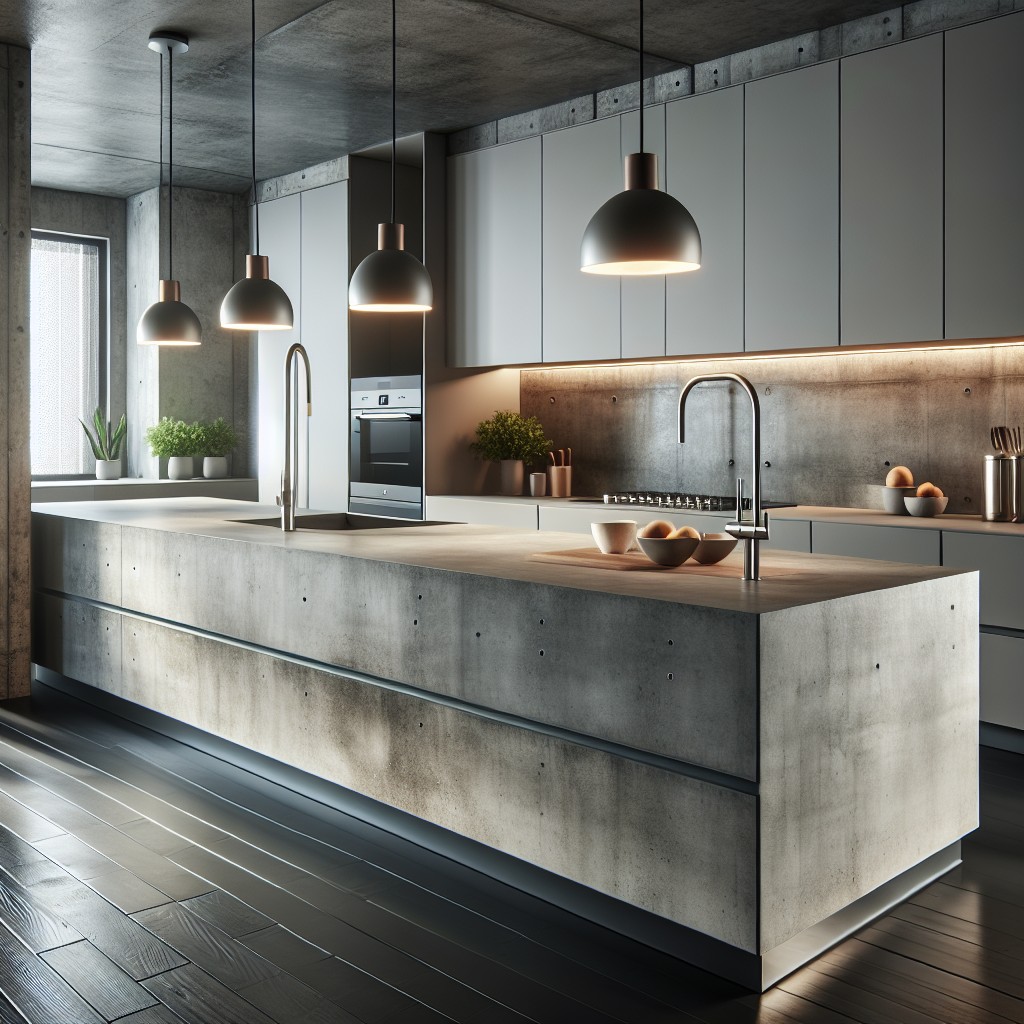
While the cost of concrete countertops may vary widely based on customization and size, they typically range from $65 to $135 per square foot, including installation. This price is often comparable to higher-end granite or quartz options.
Key factors influencing the cost include:
- Complexity of the design: Features like intricate edges, curves, or embedded items can increase the price.
- Thickness: Thicker countertops require more material and labor, thus raising the cost.
- Color and finish: Custom colors or specialized finishes add to the baseline price.
- Reinforcements: The use of structural reinforcements, such as wire mesh or rebar, can impact the final cost.
- Fabrication: Offsite pre-casting may be more expensive but usually results in a higher quality finish.
- Installation: Professional installation is recommended due to the weight and skill required, which contributes to the total expense.
By selecting a straightforward design and finish, you can keep costs on the lower end of the spectrum.
Maintenance and Repair

Maintaining your concrete countertops involves regular cleaning with non-abrasive cleaners and periodic sealing. Avoid acidic substances which can etch the surface. For daily maintenance, wipe spills promptly with a soft cloth or sponge and use a mild soap for cleaning.
If cracks or chips occur, they can often be filled with an acrylic filler or a color-matched epoxy. To address scratches, you can lightly sand the surface with fine-grit sandpaper, followed by resealing to protect against future damage.
For stain removal, create a paste with baking soda and water, apply it to the stained area, and cover with plastic wrap overnight. The next day, gently remove the paste and rinse the area thoroughly. Always test any cleaning method in an inconspicuous spot first.
Applying sealer every one to two years is essential to keep your countertops resilient against wear and tear. Select a sealer designed for concrete countertops, which offers protection against stains and enhances the longevity of your surfaces.
Design

Concrete countertops offer unparalleled versatility in design, allowing them to be cast in almost any shape and customized with unique textures, colors, and finishes. Consider embedding tiles, stones, or glass to create a one-of-a-kind mosaic that reflects your personal style.
Integral sinks, drainboards, and trivets are functional options that can also enhance the appearance. The surface can be polished for a smooth, glossy look or left raw for an industrial vibe. Edge details range from simple and clean to ornate. The tint of the concrete itself can be altered with pigments or stains, achieving everything from earthy naturals to vivid hues.
For a contemporary space, think about a minimalist design with straight lines and square edges. Experiment with inlays of contrasting materials for a touch of sophistication. Curved countertops work beautifully in organic or flowy interior themes. And, if you’re eco-consciously inclined, consider adding recycled materials into the mix for a green touch.
Keep in mind, the end result should align with the overall aesthetic of your kitchen, complementing cabinetry, flooring, and fixtures.
Concrete Countertops Installation

Installing concrete countertops requires precision and patience. It’s typically not a beginner DIY project, but with some building experience, it can be accomplished.
Here are the key points to understand:
- Support is Crucial: Ensure cabinetry is sturdy. Concrete is heavy, and the cabinets must bear the weight.
- Proper Measurements: Accurate dimensions are essential when creating the molds. Double-check measurements before pouring the concrete.
- Creating the Mold: Use melamine-coated particleboard for the mold’s base and sides for a smooth finish.
- Reinforcement Needed: Add wire mesh or rebar within the mold for structural strength.
- Mixing Concrete: Achieve a consistent, lump-free mix. Use a concrete mixer if possible.
- Pouring Technique: Pour concrete slowly to minimize air pockets. Use a screed to level the mix.
- Curing Time: Allow the concrete to cure as per manufacturer’s guidelines to ensure maximum strength.
- Finishing Touches: Sand the countertops to smooth any imperfections and seal for durability and stain resistance.
Are Concrete Countertops Right For You?
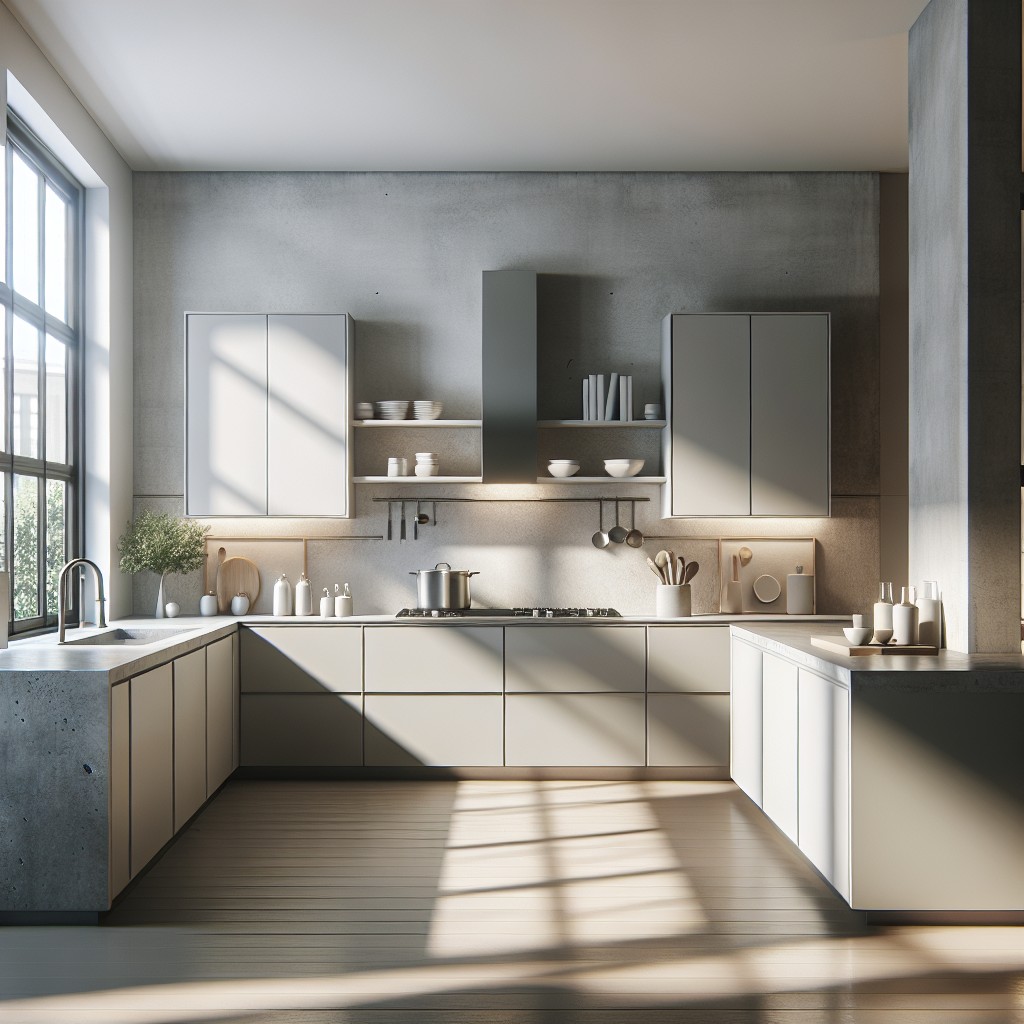
Deciding on concrete countertops involves weighing several factors to determine if they align with your lifestyle and design preferences. Here are some considerations:
- Aesthetic Preference: Appreciate the raw, industrial vibe or the potential for sleek, modern designs that concrete offers.
- Customization: Value a surface that can be tailored in color, finish, and shape to suit your specific taste and kitchen design.
- Durability Requirement: Require a hardy surface for your kitchen that can withstand heavy use.
- Budget: Ready to invest in a longer-term solution that might be more upfront than laminate but less than high-end granite or marble.
- Upkeep Willingness: Willing to commit to the regular sealing and conscious use to prevent stains and etchings.
- Eco-Friendly Consideration: Interested in using sustainable materials, as some concrete options use recycled components.
- Comfort with Variability: Embrace the natural imperfections and the possibility of the material evolving over time, which can add character to your kitchen.
Match your needs with these attributes to assess if a concrete countertop fits into your kitchen renovation plans.
Traditional Gray Slab
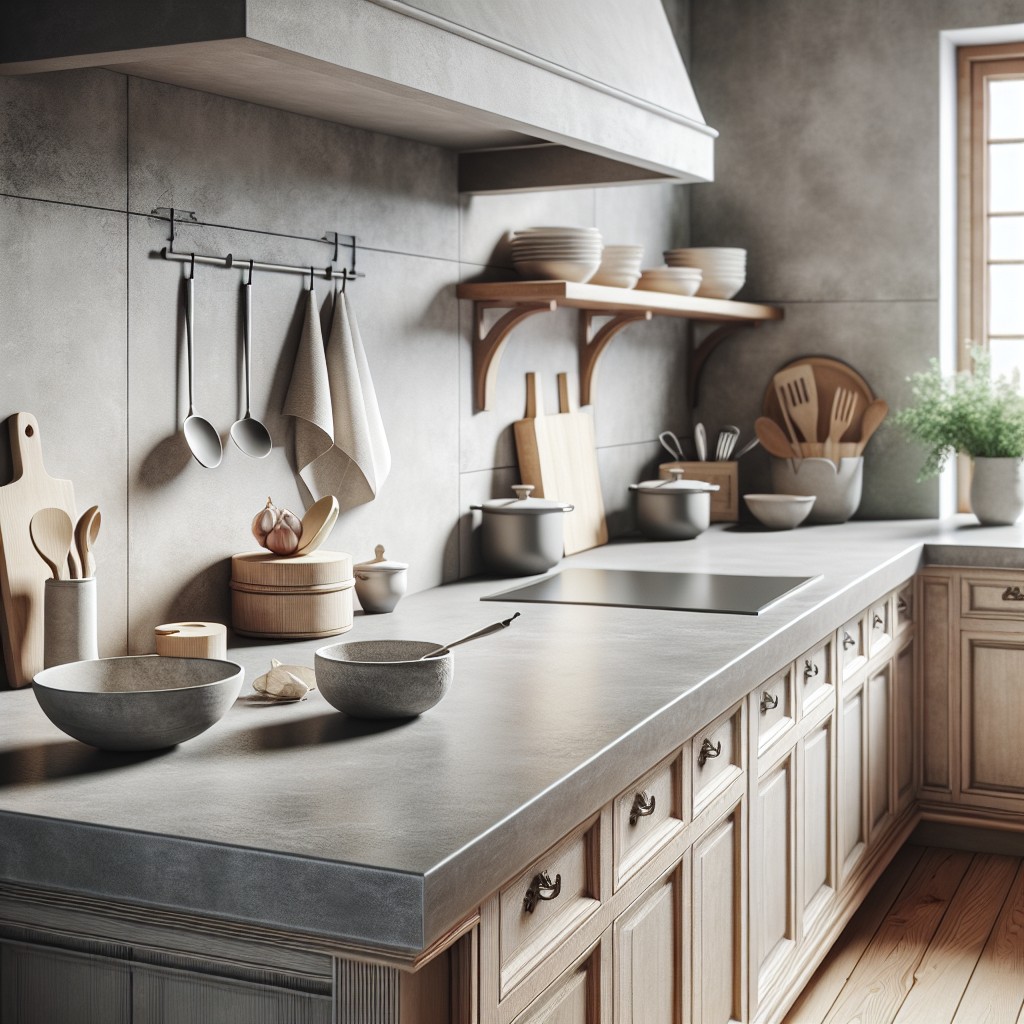
Embracing the classic look of concrete, the gray slab provides a neutral foundation that complements any kitchen style, from farmhouse to industrial chic. Its understated color highlights other design elements, allowing you to play with colorful accents and hardware.
- Versatility: Blends seamlessly with stainless steel appliances, wooden cabinets or bright backsplashes.
- Timelessness: Unlike trendy materials, a gray slab withstands the test of time in style.
- Cooler Tone: Offers a cool palette that can soften with warm lighting or accessories.
- Subtle Textures: Visible aggregates in the mix add depth and interest without overpowering.
- Minimalist Appeal: Ideal for creating a clean, uncluttered aesthetic in a modern kitchen.
Incorporate this classic option for a countertop that stands as a testament to enduring elegance while offering a practical work surface.
Dark Elegance
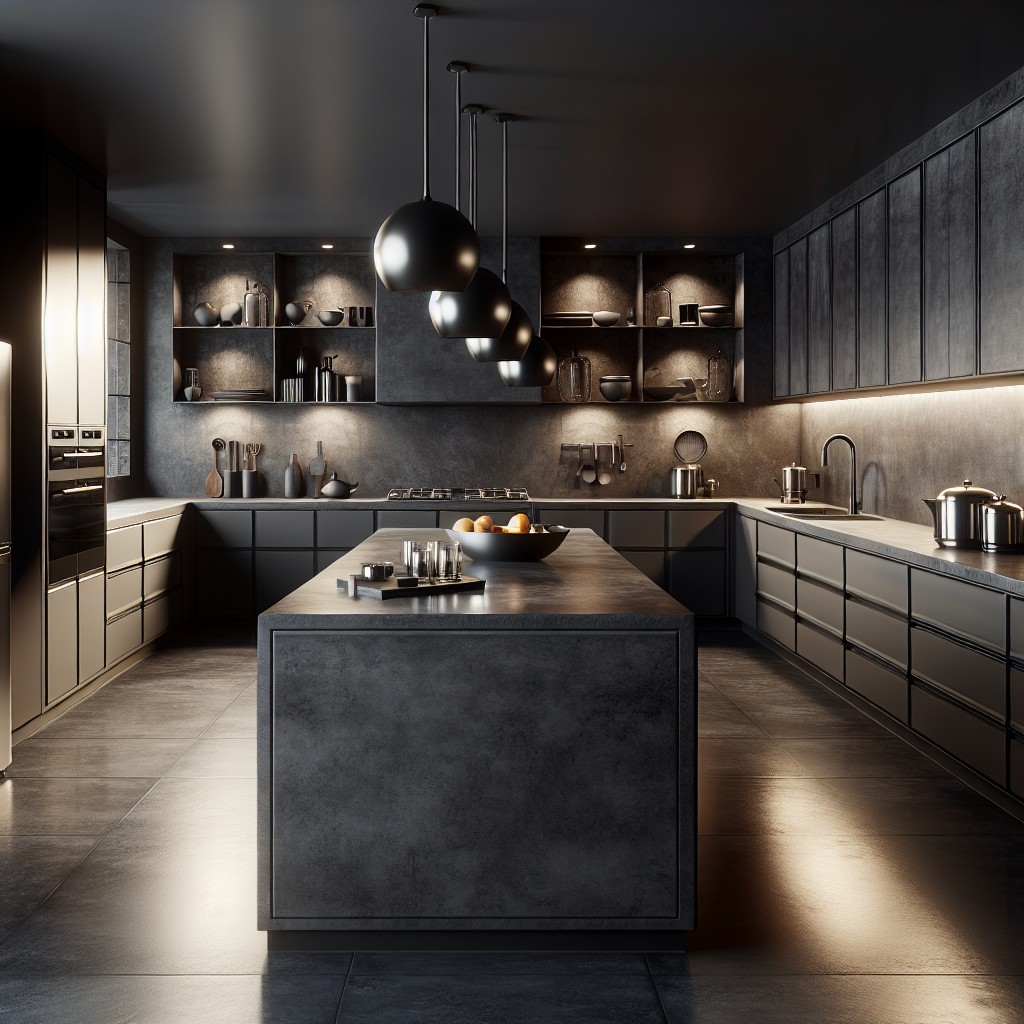
Embracing a dark color scheme in your kitchen can infuse the space with a sense of sophistication and modernism. To achieve such a rich, luxurious aesthetic with concrete countertops:
- Opt for charcoal or deep slate pigments to serve as a dramatic backdrop for your dishes and kitchenware.
- Accent these dark surfaces with metallic elements like brass or copper fixtures and hardware to add a touch of warmth and luxury.
- Consider embedding small flecks of glass or metal in the surface for a subtle sparkle that catches the light.
- Pair with elegant lighting, such as pendant lights with dimmers, to enhance the ambiance and showcase the depth of the countertops.
- Soften the bold impact with natural textures, for instance, by incorporating a wooden breakfast bar or woven bar stools.
Warming Up With Red
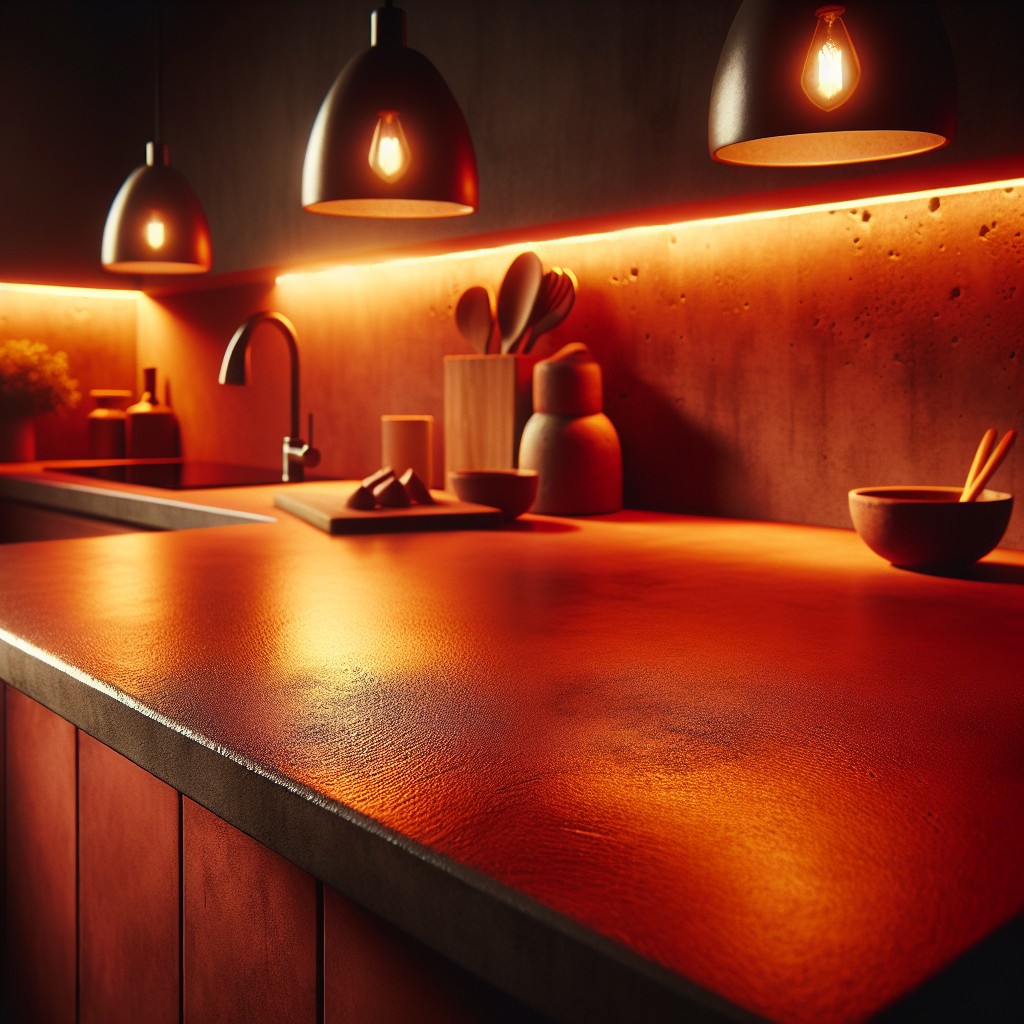
Incorporating red hues into your kitchen can transform the space, infusing warmth and vivacity. A rich terracotta or a fiery crimson tint in your concrete countertop instantly becomes the room’s focal point, encouraging appetites and conversation.
To achieve this, add integral colorants to your concrete mix for a consistent shade or use acid stains for a more marbled effect. Don’t shy away from matte or glossy sealants; each can complement the red tone while offering varying degrees of reflection and texture.
Pair with neutral cabinetry and subtle accessories; the red countertop should be the star. Remember, lighting plays a crucial role—under-cabinet lighting can accentuate the red, making it truly pop.
The Bold “Live Edge”
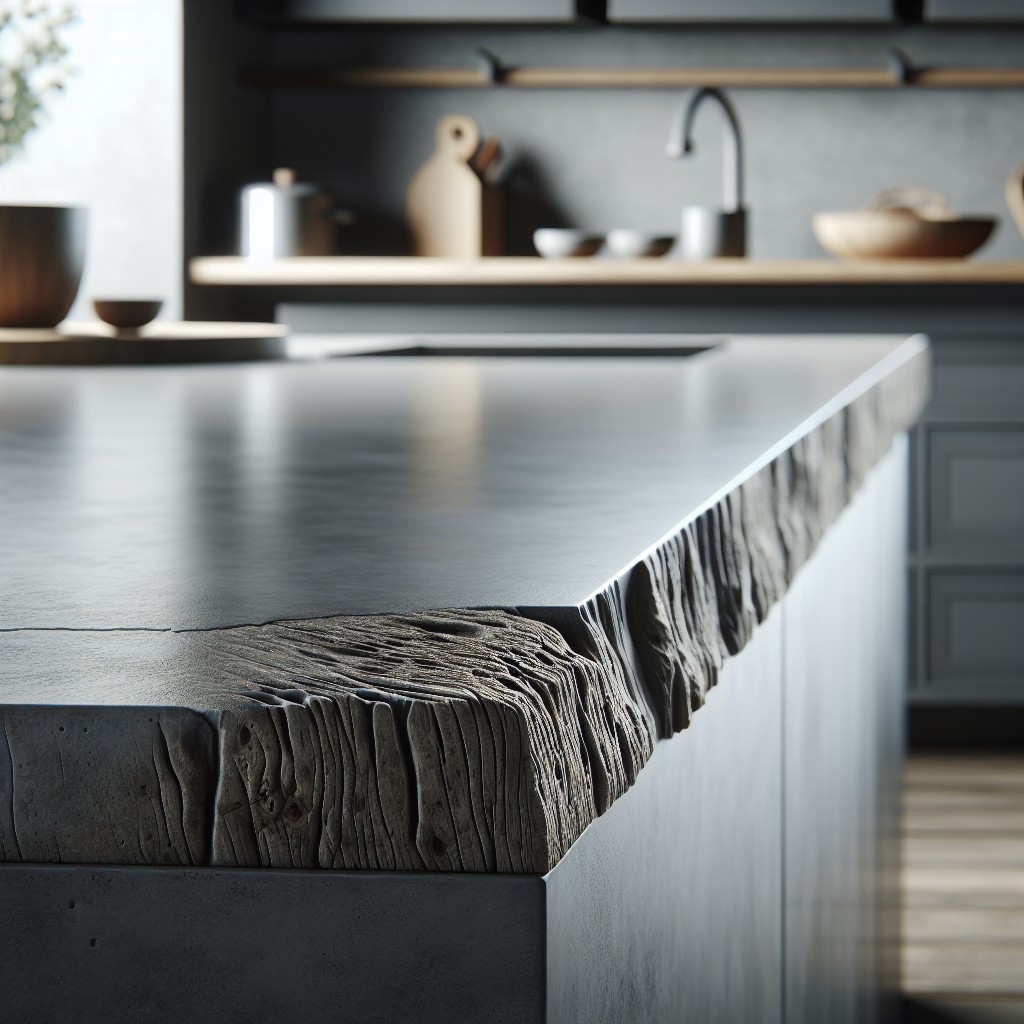
Embrace nature’s artistry by incorporating a live edge into your concrete countertop design. This rustic and unique touch mimics the raw edge of wood, showcasing an irregular and naturalistic silhouette. By leaving one side of your countertop intentionally unfinished, you can harness the textural beauty found in the uneven edges and organic lines. This approach creates a focal point that celebrates imperfections and brings an earthy, robust character to your kitchen space.
When going for this style, consider the following:
- Pair the organic edge with smooth, polished concrete surfaces to balance the overall aesthetic.
- Think about the placement; an island or breakfast bar with a live edge can enhance the visual interest in your kitchen.
- Coordinate with natural materials like wood or stone to harmonize the organic feel throughout your decor.
- Lighting is key – under-cabinet or pendant lights can accentuate the live edge’s unique features.
- Discuss the live edge detail with your contractor to ensure its practicality and compatibility with your kitchen’s layout and functionality.
Keep It Neutral
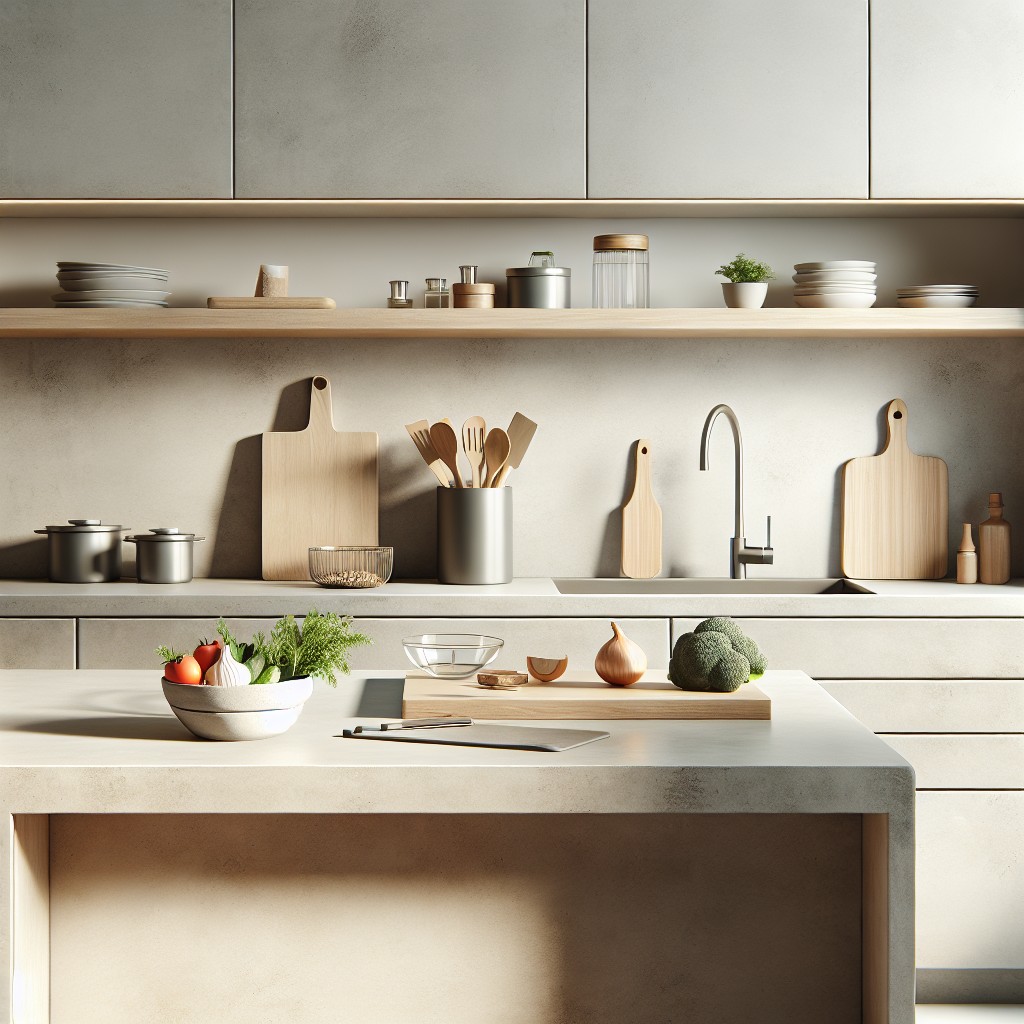
Neutral tones offer an understated elegance that complements a variety of design styles, from minimalist to rustic. Achieve this look by selecting a light gray or off-white pigment for your concrete mix.
These hues serve as a calm backdrop, allowing other elements in your kitchen, like bold cabinetry or vibrant backsplashes, to take center stage.
To maintain the serene aesthetic, consider matte finishes and simple, integrated sink options.
Accessorize with natural wood or metallic touches to add subtle warmth and texture without disrupting the tranquil vibe.
Feeling Tropical
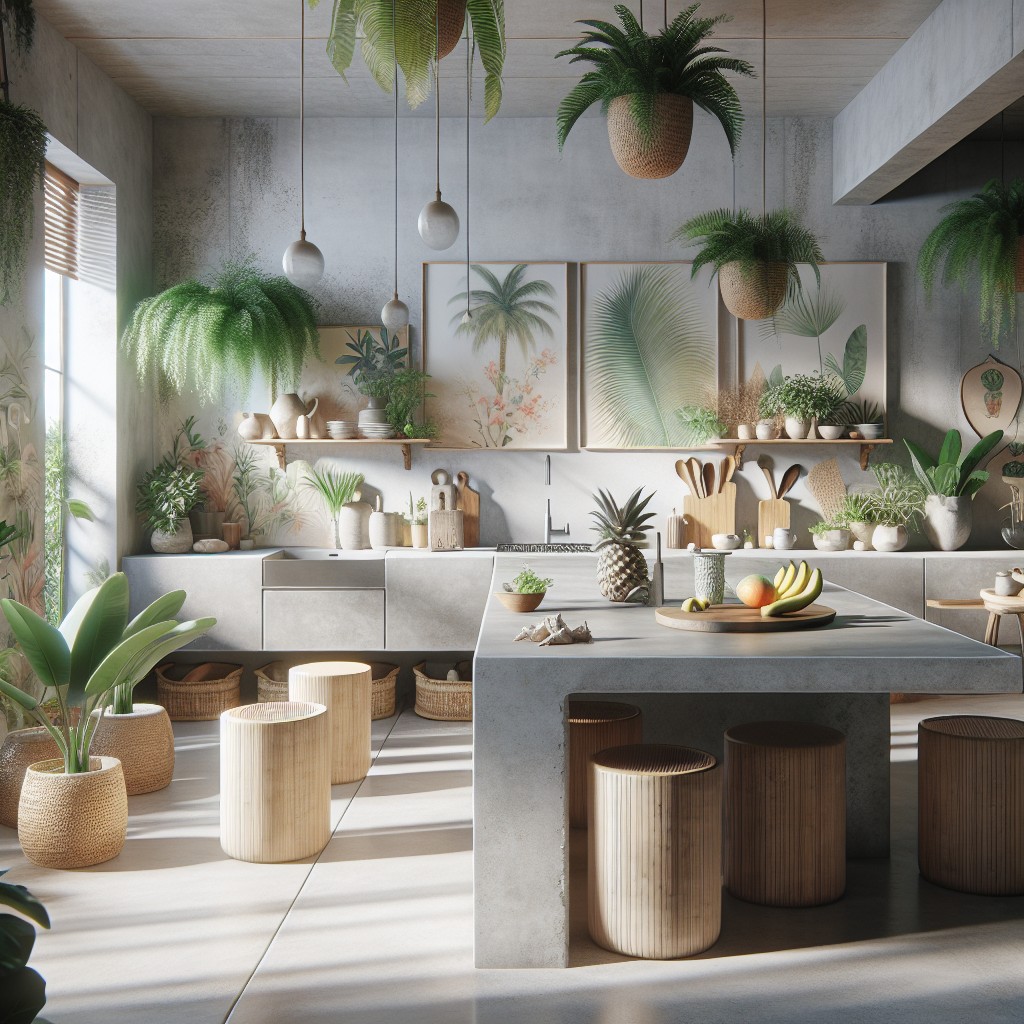
When injecting a touch of the tropics into your kitchen, think beyond the ordinary. To create that laid-back, sunny vibe, select a concrete countertop hue that mirrors the mellow warmth found in beachy environments. Sand tones or subtle yellows evoke feelings of sunny skies, while light greens can mimic the lush foliage of a tropical oasis.
To elevate the theme, consider incorporating inlays like seashells or beach glass into the surface, lending a unique and personal touch that accentuates the vacation-like ambiance. Texture plays a crucial role too; a lightly textured finish can simulate the feel of natural stone eroded by sea and sand—perfect for that relaxing island feel right in your own kitchen.
The Marbled Look
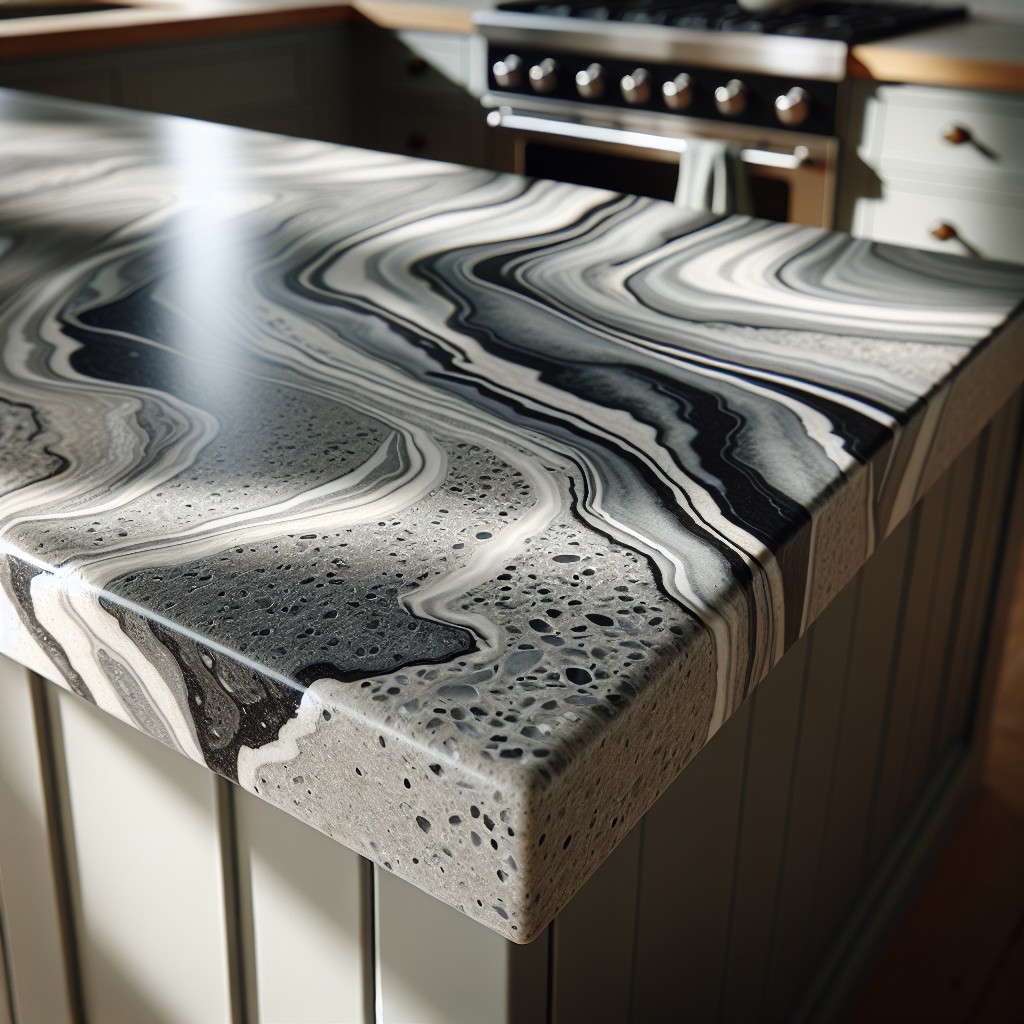
Achieving a marbled effect in concrete countertops involves a technique of mixing different colors of concrete. This design mimics the luxurious appearance of real marble at a fraction of the cost.
Here’s how you can get the look:
- Color Selection: Choose two or three concrete pigment colors that complement each other and the overall kitchen palette. Common choices include shades of gray, white, and black for a classic marble feel.
- Mixing: Prepare separate batches of concrete, each tinted with your selected pigments.
- Pouring Technique: Pour your primary color first, then swirl in your secondary colors. Use a tool, like a stick or trowel, to gently marble the different colors together without overmixing, as this creates the distinct veins characteristic of marble.
- Finishing Touches: Utilize concrete staining after the countertop has cured to accentuate the veins and add depth to the design. Seal with a food-safe sealant to preserve the look and protect against stains and etchings.
This technique requires practice to perfect; consider testing on small samples before tackling the entire countertop. The end result is a bespoke, artistic surface that adds a touch of elegance to any kitchen.
Mixed Shapes and Colors
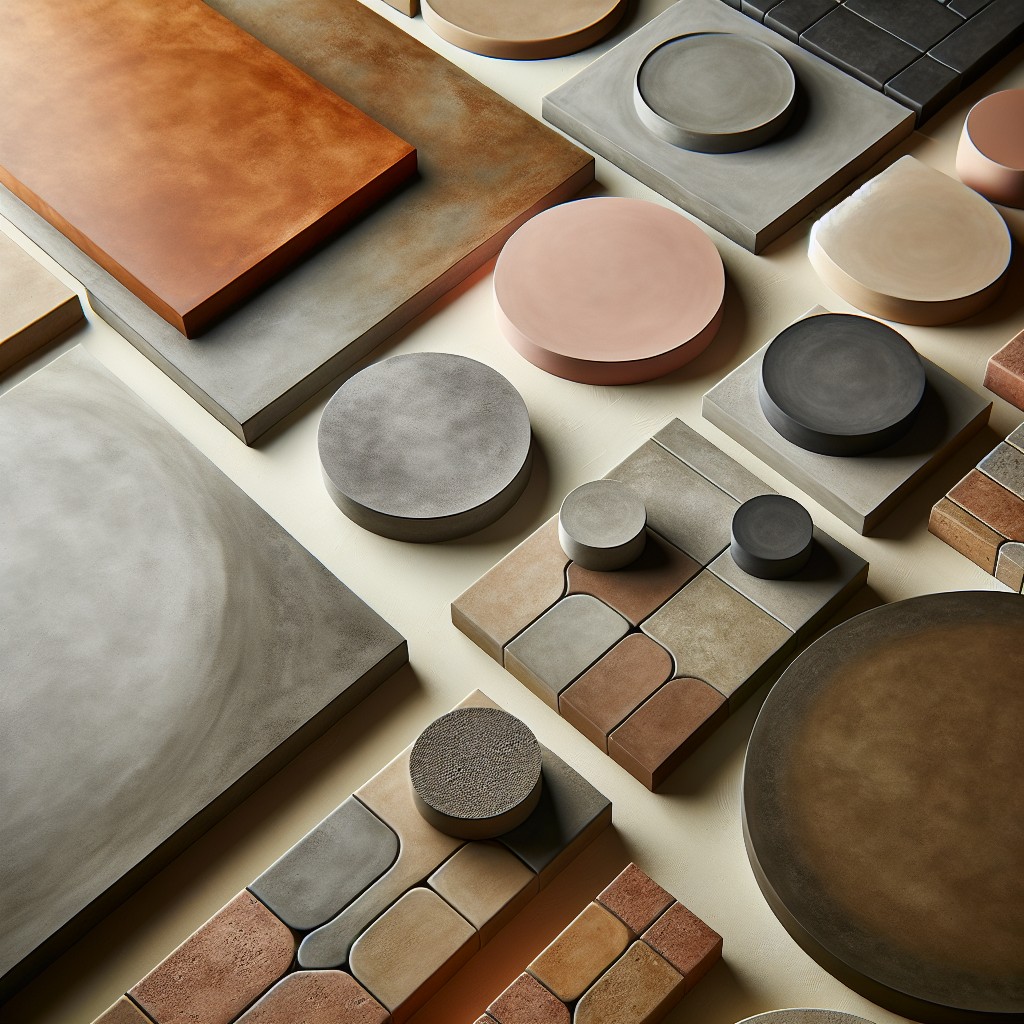
Experimenting with different forms and hues can transform a mundane kitchen into a showcase of creativity and style. Opt for geometrically diverse slabs, combining circles with squares or integrating unusual shapes for a playful, modern aesthetic. Introducing color pigments to the concrete mix can yield a spectrum of shades, from subtle pastels to vibrant tones, enabling a personalized touch that resonates with your kitchen’s palette.
Incorporate multiple colored inlays for an artistic flair, or strategically place contrasting colored sections to highlight specific areas of the kitchen, such as an island or breakfast bar. For those seeking a truly unique look, consider blending varying colors directly into the concrete before it sets for a marbled or speckled finish.
Remember, the key to successful implementation lies in moderation and a cohesive design vision; too many shapes and colors may overwhelm the space. Ensure each addition complements the overall kitchen theme to achieve a harmonious yet striking effect.
Concrete Bar That’s Out of This World
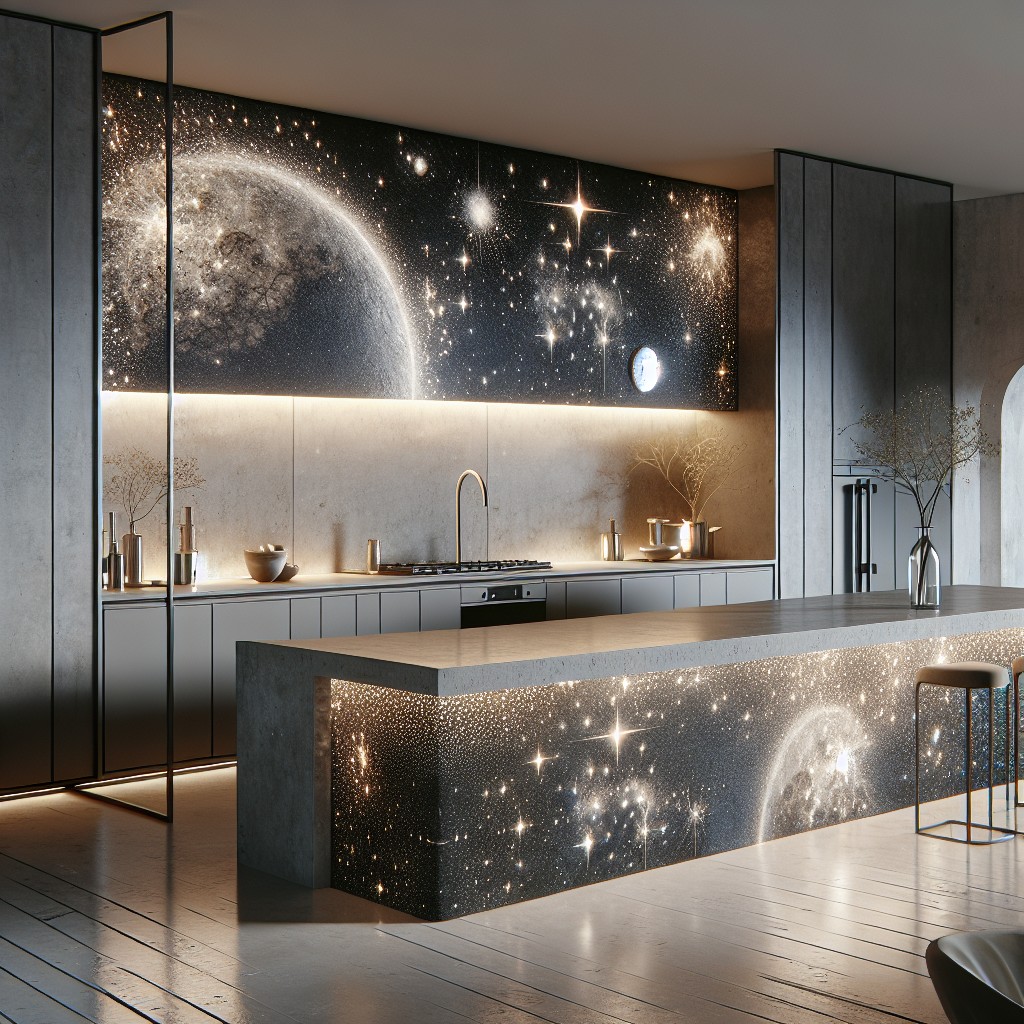
Transform your kitchen into a focal point with a concrete bar that defies traditional design. Utilize techniques like acid staining or embedding objects to craft a surface that mimics the cosmic beauty of a starry night sky.
Consider sprinkling in recycled glass or metallic flakes during the mixing process to achieve that celestial sparkle. For an otherworldly luster, a high-gloss sealant not only protects but also enhances the bar’s visual depth.
With creative lighting beneath or above, the glisten and gleam of your cosmic creation will truly make a statement. Remember, this feature becomes not just a functional space for hosting but also a stunning conversation piece that reflects a boundless imagination.
Research Decorative Concrete
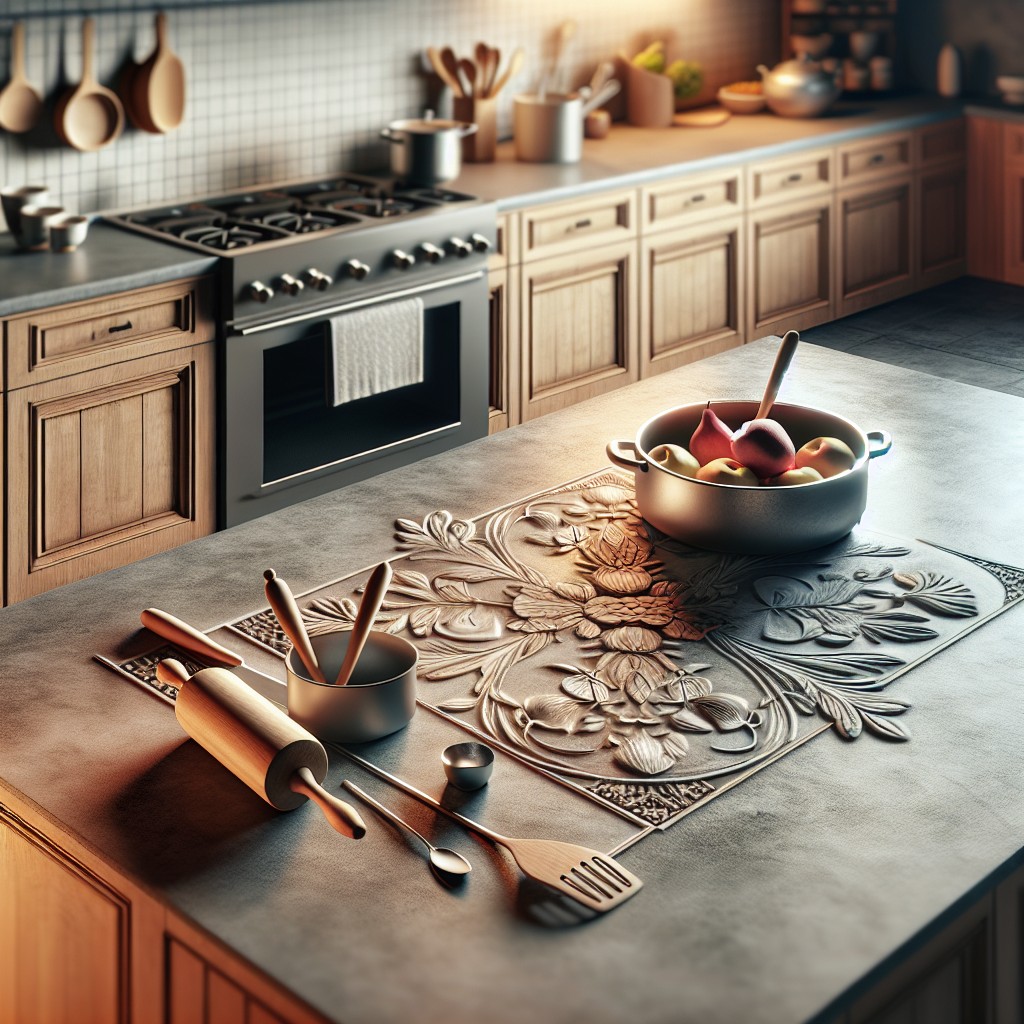
When considering decorative concrete for kitchen countertops, it’s essential to recognize the versatility it offers. Here are key factors to explore:
1. Finishes: Options reach beyond the raw, industrial look. Polished, troweled, and stamped finishes provide distinct aesthetics.
2. Color: Integral pigments, staining, and dyeing methods infuse concrete with hues ranging from natural earth tones to bold, vibrant colors.
3. Textures: Personalize further with textures like sandblasting or adding aggregates like glass or stone for a unique touch.
4. Embeds: Incorporate items such as shells, tiles, or metal pieces before the concrete sets to achieve a mosaic or inlaid effect.
5. Templates: Use stencils or engraving techniques for intricate patterns, logos, or custom designs.
6. Edge Details: Edge molds create shapes from classic bullnose to modern geometric lines, enhancing the countertop’s character.
Exploring these concepts helps you shape a countertop that not only reflects personal style but also fulfills specific design requirements.
Pros
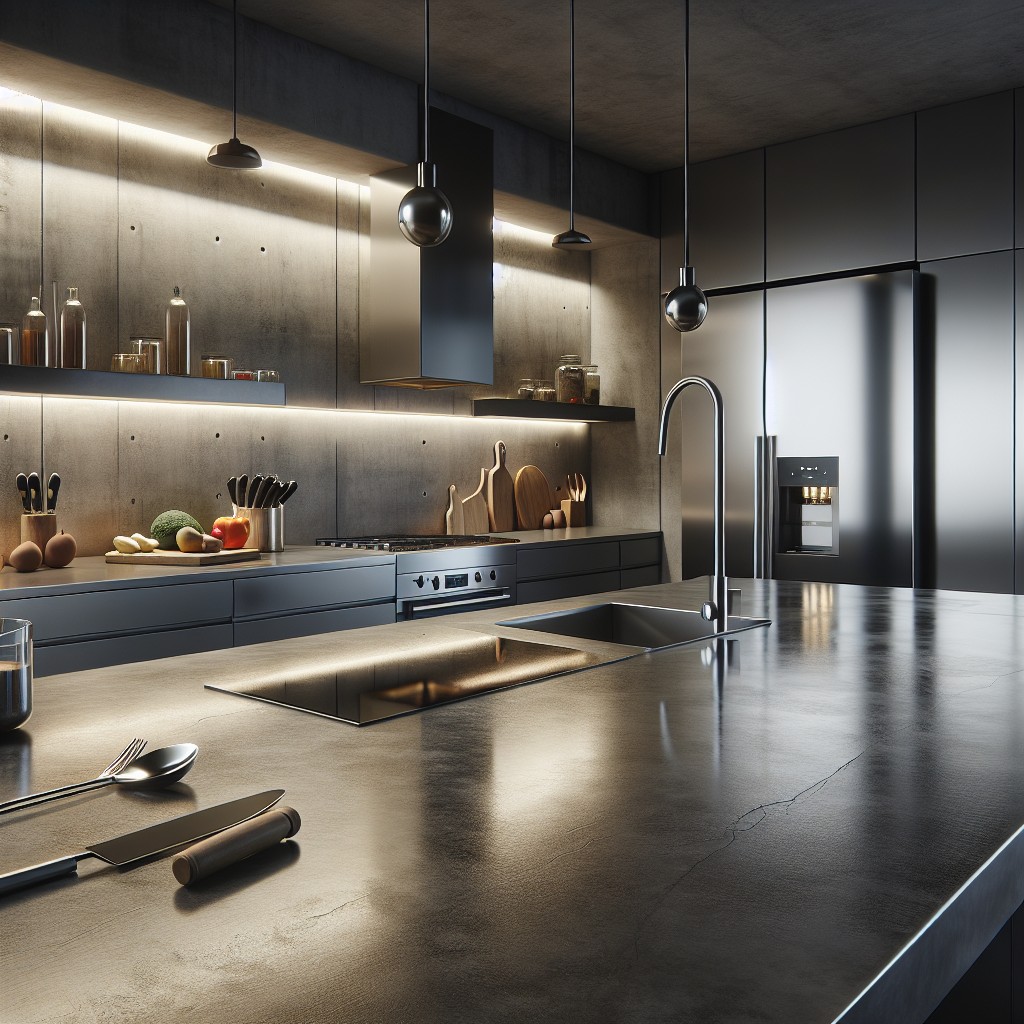
Concrete countertops offer unparalleled versatility and individuality. Every slab can be customized in a myriad of ways—shape, color, texture, and finish—making each one truly unique to your kitchen.
The thermal mass of concrete means it retains heat well, a practical feature for some cooking tasks. Additionally, it’s incredibly durable, with the ability to last the lifetime of your home if properly cared for.
Concrete’s sturdy nature means it can support heavy objects without buckling, so you can place your hefty kitchen gadgets on it without worry. It’s worth noting that concrete countertops can contribute to an industrial or modern aesthetic, adding a sleek, contemporary look to your kitchen design.
Customization
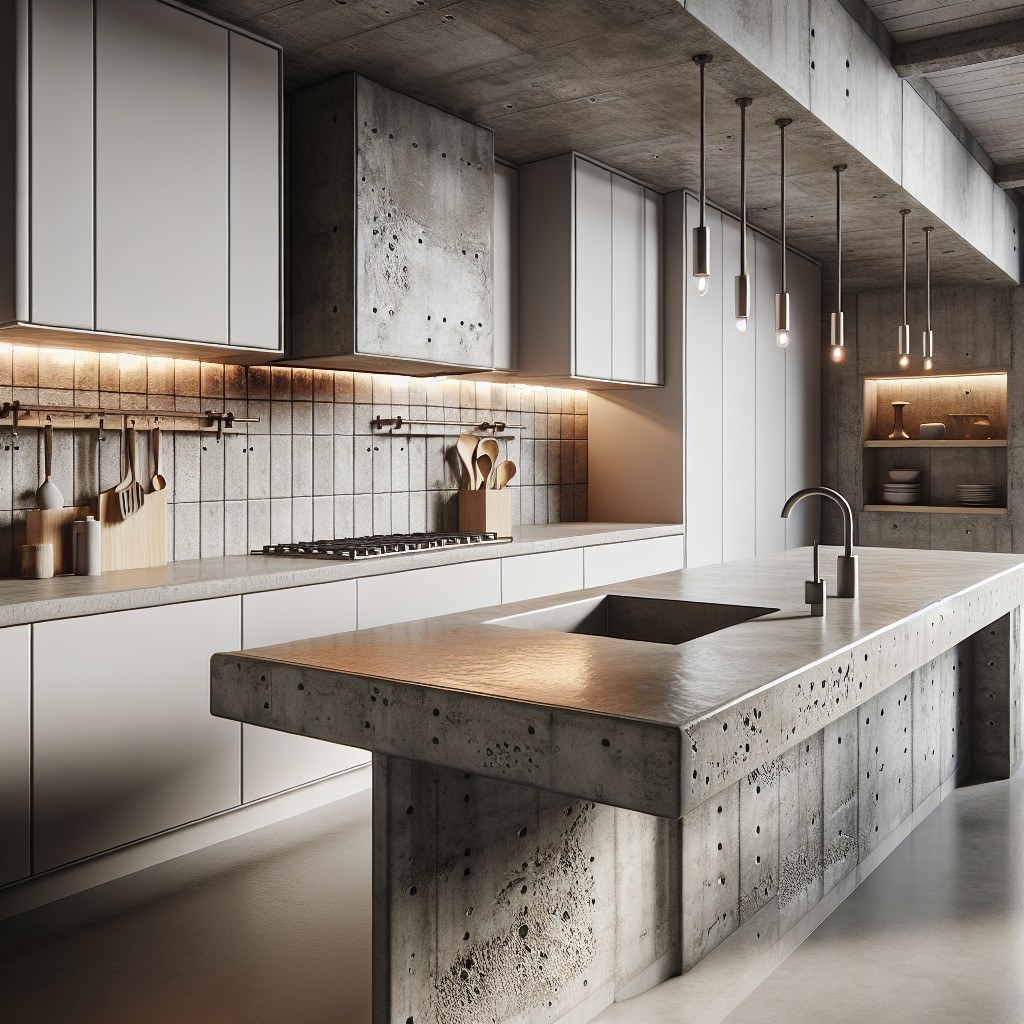
Tailoring your kitchen’s look with concrete countertops offers a high degree of personalization that other materials can’t match. You have the flexibility to choose from an array of colors, shapes, and finishes to complement your space.
Here are some ways you can harness concrete’s versatility:
- Color Integration: Through the use of stains or pigments, you can blend your countertops into your kitchen’s color scheme or make them stand out as a bold statement piece.
- Unique Shapes and Edges: Concrete can be poured into any shape, allowing you to design edges that are sleek and modern, ornate, or even naturally irregular to mimic the flow of stone.
- Embedded Objects: For a truly one-of-a-kind look, consider embedding items such as pebbles, recycled glass, metal pieces, or personal mementos into the surface before it sets.
- Finish Varieties: Opt for a polished surface for a glossy, high-end look, a honed finish for something more matte, or even a textured finish for added tactile interest.
- Thickness Customization: Unlike prefabricated options, the thickness of concrete countertops can be adjusted to create everything from chunky, substantial profiles to thinner, more minimalist slabs.
Remember, while customization is a major plus, it requires careful planning and a clear vision for the end result. Working with a skilled craftsman or even taking on a DIY project can be rewarding and result in a centerpiece worthy of your home’s aesthetic.
Durability
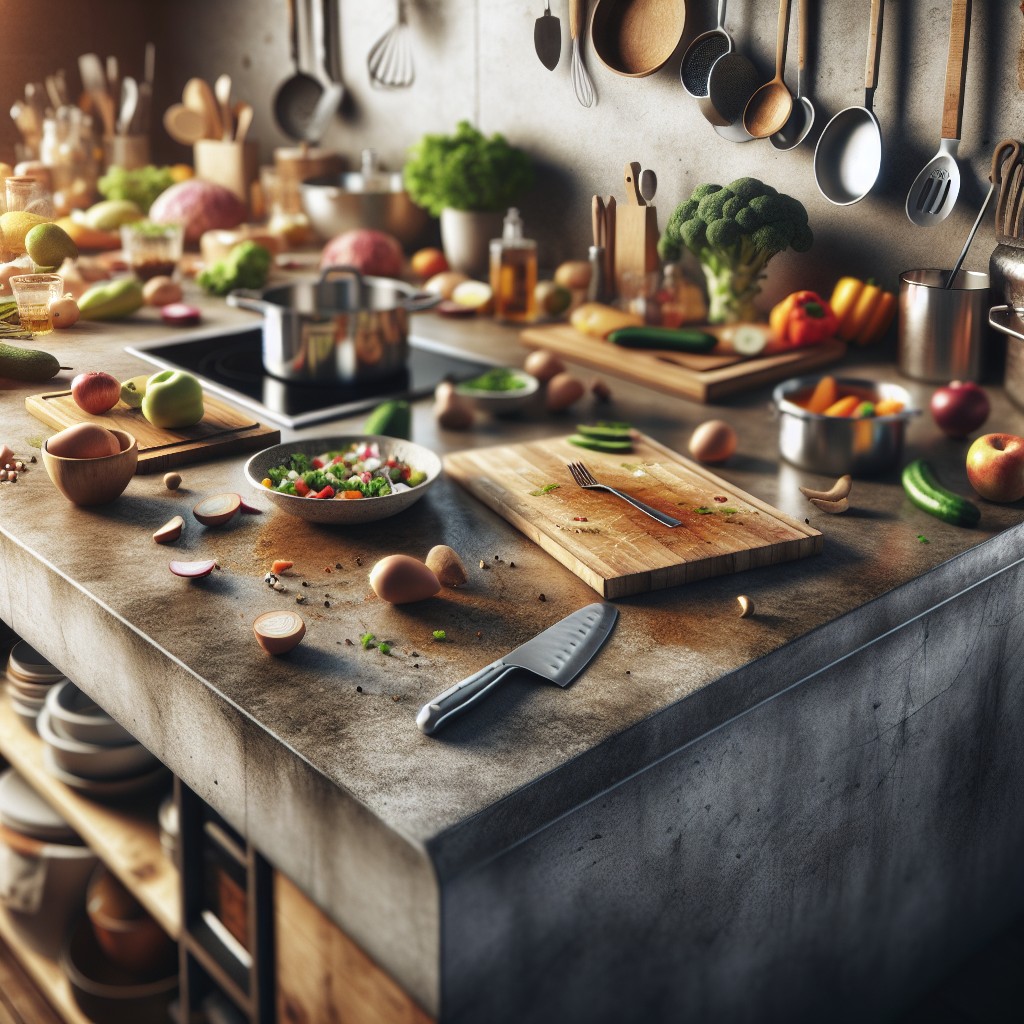
Concrete countertops handle heat and wear remarkably well. The material’s inherent strength means it’s resistant to scratches and chips from everyday kitchen activities. However, it’s not indestructible; dropping heavy objects can cause damage.
Concrete is also porous, so it requires sealing upon installation and regular resealing to prevent stains. While these surfaces may develop a patina over time, many homeowners appreciate the evolving character of their countertops, seeing it as an enhancement rather than a flaw.
Regular waxing can help preserve the appearance and protect against stains, ensuring the surface remains functional and aesthetically pleasing for years to come.
Cons
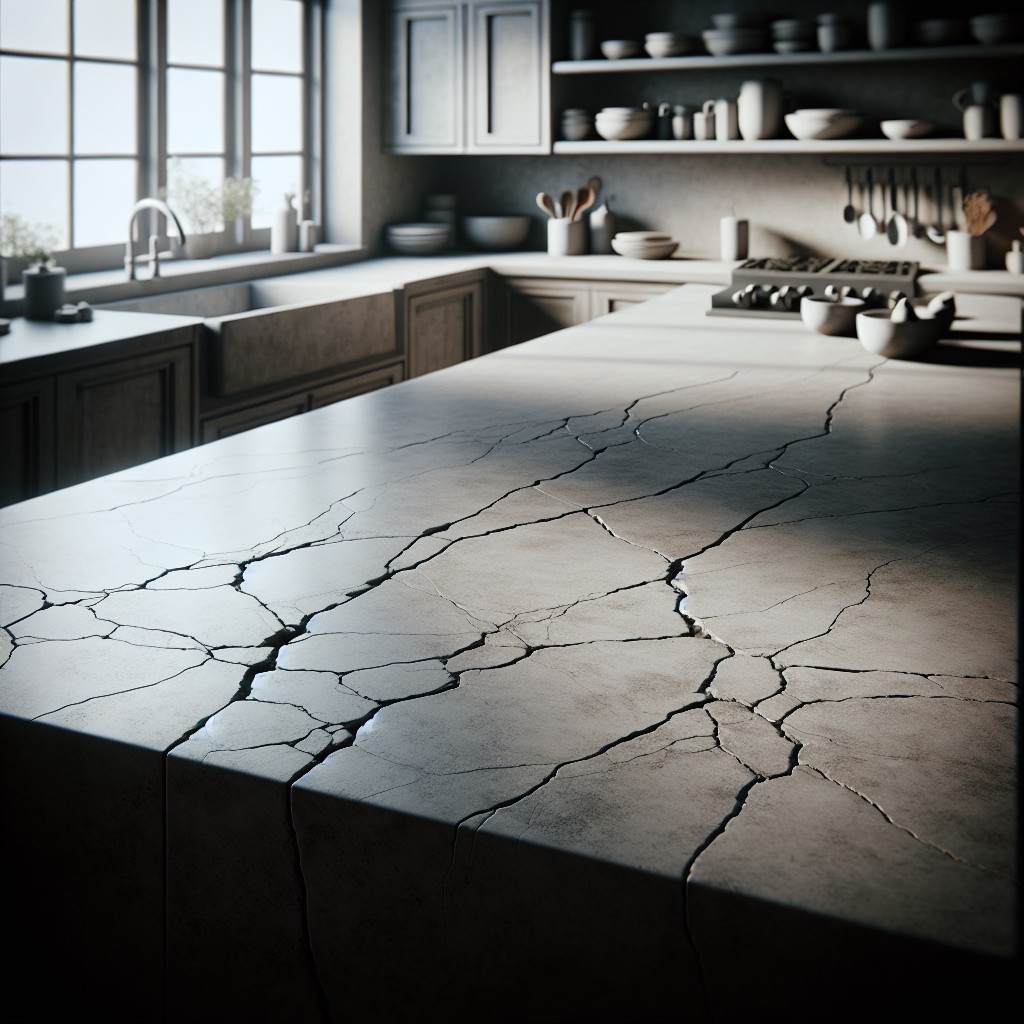
While concrete countertops are known for their durability and customization options, there are a few downsides to consider. They’re porous, which means they can absorb liquids and stains if not properly sealed. Additionally, they can develop hairline cracks over time due to settling or impact. The weight of concrete also demands sturdy cabinet bases and possibly additional support. Lastly, the installation process can be slow, as the concrete needs time to cure properly before it can be used.
Stains
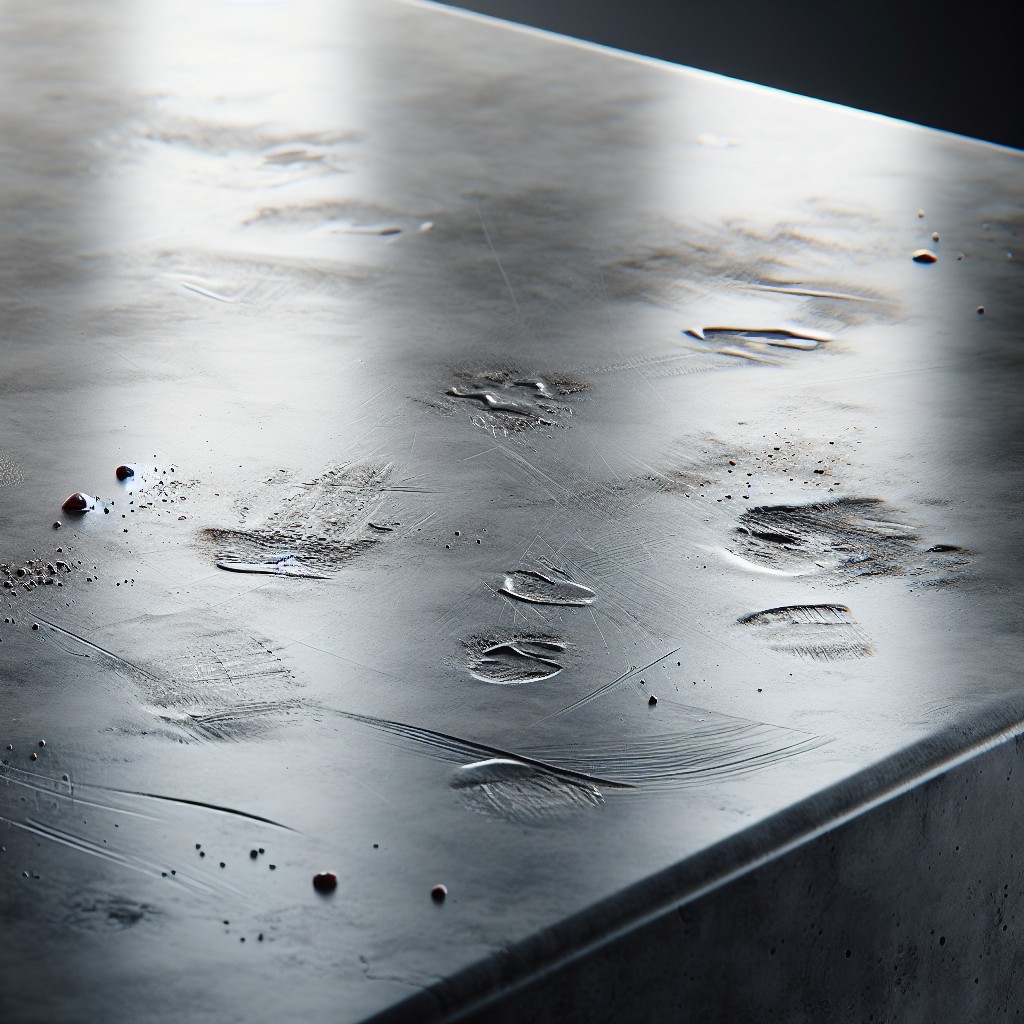
Concrete countertops, like any other porous surface, have a propensity to absorb liquids, which can lead to staining if not properly sealed and maintained. To minimize this:
- Wipe up spills quickly, especially those with strong pigments like red wine or beet juice.
- Apply a quality penetrating sealer upon installation and reseal as recommended, typically every one to three years.
- Consider a beeswax polish post-sealing for additional stain resistance.
- Use cutting boards and coasters to avoid direct contact with potential stain-causing agents.
- For stubborn stains, a paste of baking soda and water may help lift them without damaging the sealant.
Speed

One potential downside of choosing concrete for your kitchen counters is the time required for the project. Unlike pre-fabricated options, creating and curing concrete takes patience:
- Setting Time: Concrete countertops must be left to set properly after pouring, which can take several days.
- Curing Time: After setting, the concrete needs additional time to cure, often up to a week, before it can be polished and sealed.
- Additional Work: Depending on complexity, the inclusion of decorative elements or integrated features can add to the overall timeline.
- Installation: Once cured, the heavyweight nature of concrete typically necessitates professional installation, adding another scheduling factor to consider.
This extended timeline can be an important consideration when planning a kitchen remodel or building a new home.
Cost
When weighing the affordability of concrete countertops, consider both material and labor costs. The material for concrete is relatively inexpensive, typically ranging between $65 to $135 per square foot. However, due to the custom nature and craftsmanship required, labor can be a significant part of the expense. The complexity of your design also plays a role – adding colors, special finishes, or unique inlays will increase the cost. Moreover, if the installation process is intricate or the countertop design is elaborate, expect the higher end of the price spectrum. Remember to factor in the price of sealers necessary to maintain the durability and appearance of your countertops over time.
DIY Basics – How to Make a Concrete Countertop
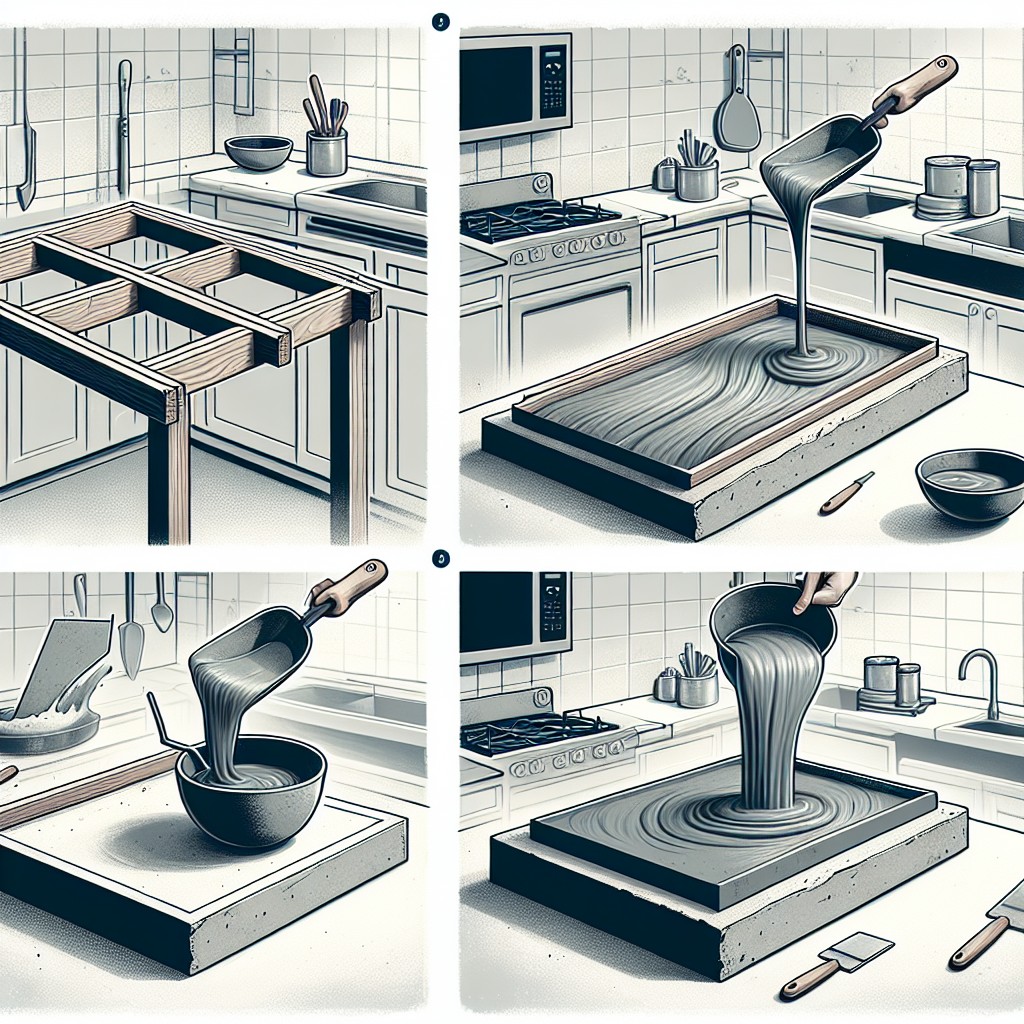
Embarking on a DIY concrete countertop project can be both cost-effective and rewarding. Begin by constructing a sturdy mold that matches your existing or planned cabinetry layout, using melamine-coated particleboard for ease of use and smooth finishes. Double-check dimensions to allow for concrete’s weight and thickness.
Ensure all corners and seams in the mold are sealed with silicone caulk to prevent concrete from leaking. For internal shapes like sinks or cooktops, create cutouts using foam or wood, securing them in place. This will leave voids in the concrete to accommodate fixtures post-curing.
Next, construct a support frame using rebar or wire mesh. This reinforcement is crucial to prevent cracking and should be suspended within the mold, not touching the bottom or sides.
When you’re ready to mix concrete, aim for a consistency similar to peanut butter. Pour the mix into the mold and spread evenly, taking care to press it into corners and against edges. Once filled, vibrate the mold with a rubber mallet or an orbital sander without the sanding pad to eliminate air bubbles and ensure a smooth surface.
After the concrete sets, usually after 48 to 72 hours, gently remove the mold. Hand sanding or a wet polisher can refine the surface. Seal the concrete with a food-safe sealer to resist stains and facilitate cleaning.
Be prepared for heavy lifting when installing the countertop, and consider enlisting help to maneuver these substantial pieces into place. Secure the slab onto your cabinet base using construction adhesive. Once installed, maintain your countertop by regularly applying sealant and cleaning up spills promptly to enjoy the fruits of your labor for years to come.
Concrete Countertop Maintenance

Maintaining your concrete countertops is straightforward and necessary to ensure their longevity. Regularly apply a pH-neutral cleaner to avoid surface damage.
For additional protection against stains and scratches, wax the surface every two to three months. Promptly wipe away any spills, especially acidic substances like vinegar or lemon juice which can etch the surface.
For minor scratches, a light sanding followed by resealing can often restore the original luster. Avoid placing hot pots directly on the surface; instead, use trivets or hot pads to prevent heat damage.
With these simple care steps, your countertops will retain their beauty for years to come.
Should I Apply a Sealer?
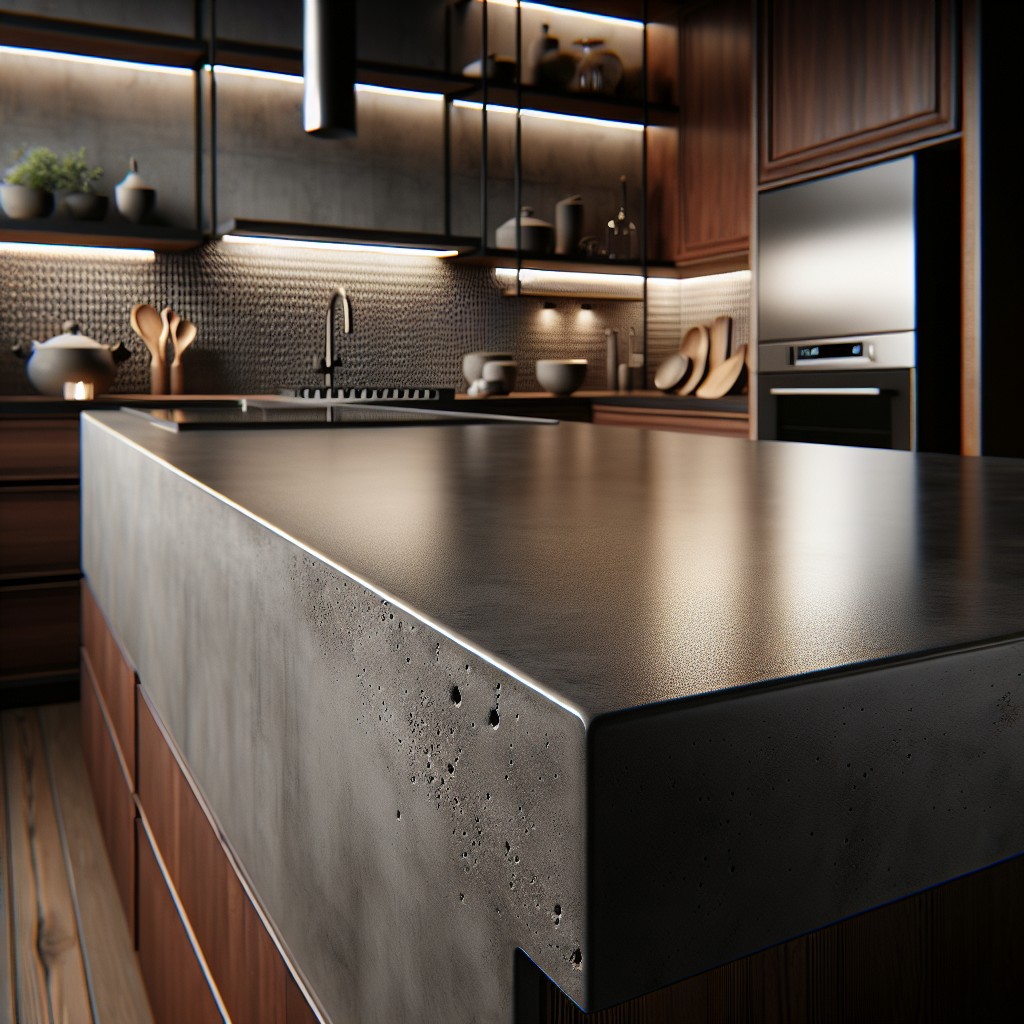
Yes, sealing your concrete countertop is essential to protect its surface from stains, etches, and heat damage. Unsealed concrete is porous and can absorb liquids quickly, leading to potential discoloration.
There are several types of sealers available, each offering different levels of protection:
- Penetrating sealers: These soak into the concrete to block liquids from seeping in, preserving the natural finish of your countertop.
- Topical sealers: These form a protective barrier on the surface of the concrete, which can enhance the color and provide a gloss or matte finish.
- Epoxy or urethane sealers: Known for their durability and resistance to heat and scratches, these sealers provide a thicker protective layer.
Consider your daily habits and maintenance preferences when choosing the right sealer. Whichever option you select, regular re-application according to the manufacturer’s instructions will keep your countertops looking great for years to come.
How Do I Hire the Right Contractor?
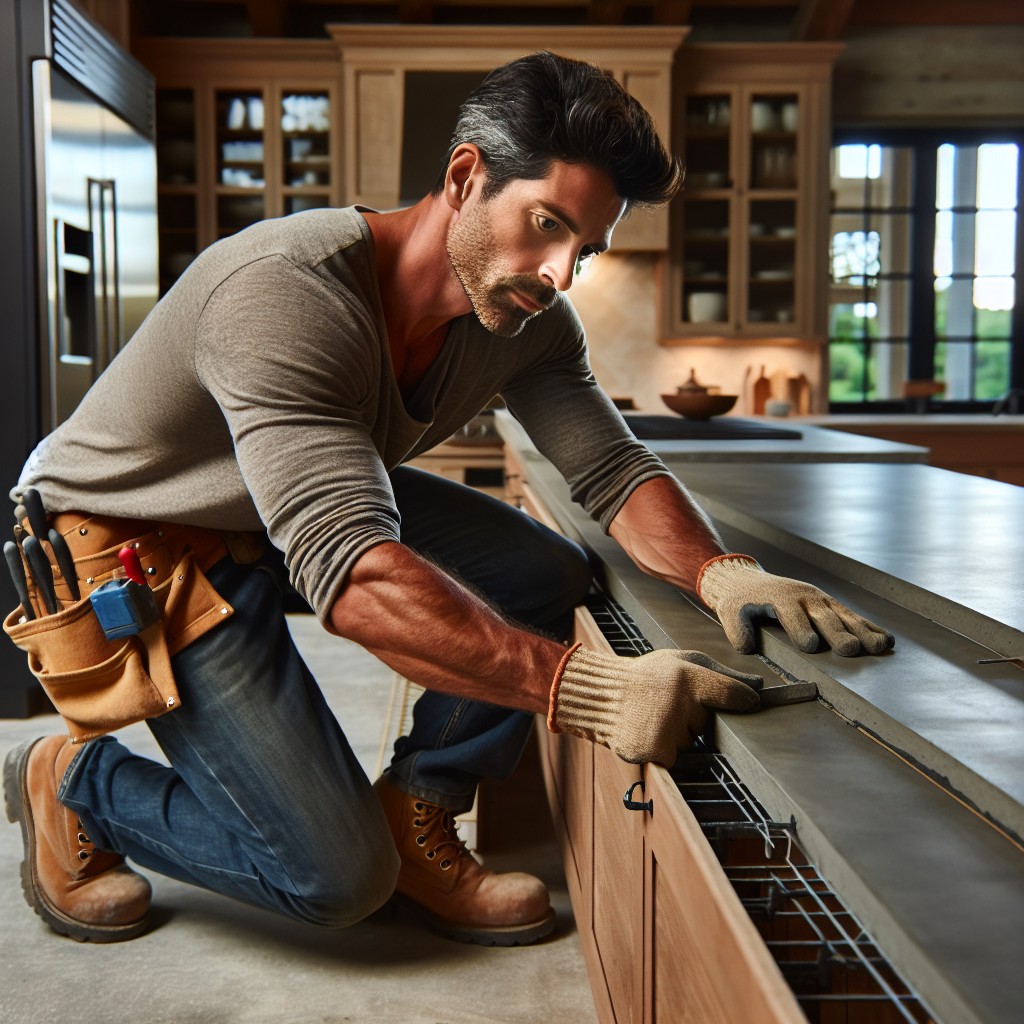
Selecting a skilled contractor is paramount to the success of your concrete countertop project. Begin by seeking multiple bids to compare costs and timelines. Check for a solid portfolio of previous work that showcases their craftsmanship and experience with concrete countertops specifically. Inquire about their process, from mold-making to installation, to ensure they adhere to the highest standards.
Verify the contractor’s credentials, including licensing and insurance, to safeguard against potential issues. Ask for references and reach out to their past clients to gauge satisfaction with the final product and the service provided. Clear communication about expectations and project details can prevent misunderstandings, so choose a contractor who listens attentively and responds thoughtfully to your ideas. Finally, a good contractor will offer a warranty on their work, providing additional peace of mind regarding the longevity of your investment.
Step 1: Build the Mold

When constructing your mold, precision is key. Use melamine-coated particle board for its non-stick properties, ensuring an easy release after curing. Measure and cut the sides and base to match the desired dimensions of your final countertop, including allowances for overhangs if required.
- Assemble the mold on a flat, level surface. This minimizes warping or misshapen sections in your countertop.
- Seal the joints of the mold with silicone caulk to prevent concrete from seeping through, which could lead to irregular edges.
- Smooth out the caulk lines with a caulk tool or your finger to create a tight seal and a clean edge on the finished countertop.
- Remember to create knockout forms for sinks or faucets. Secure them in place using hot glue or silicone, ensuring they are well-sealed and won’t displace during the pour.
- Apply a release agent to the mold’s interior to aid in demolding. Commercial products or a light coating of cooking spray will work.
By adhering to these steps, you’ll set the stage for a successful concrete pour.
Step 2: Make Cutouts
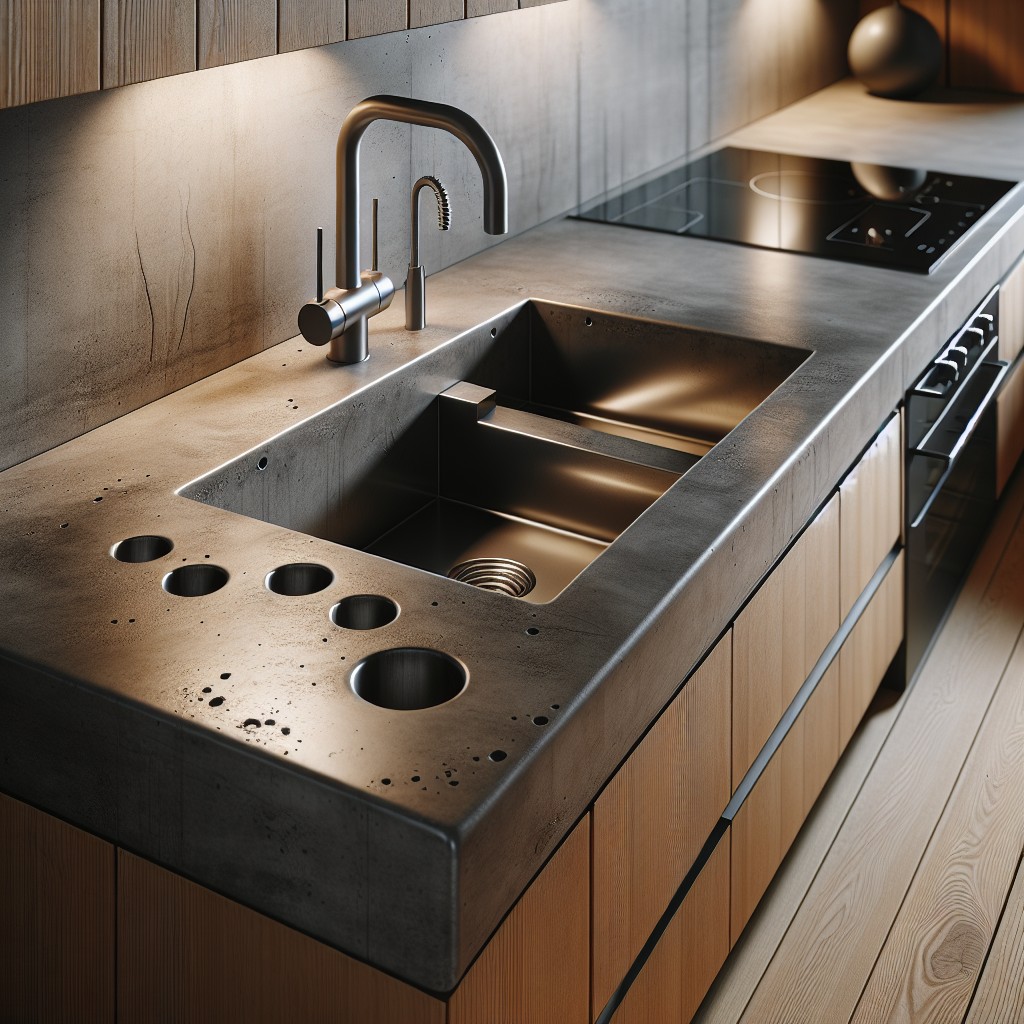
Before pouring your concrete, account for any sink, faucet or appliance installations. Mark their exact locations and dimensions on the mold’s base. Use a jigsaw to cut out these areas, ensuring the cuts are straight and clean for a precise fit. Remember to leave a slight overhang for the sink’s lip.
For more complex shapes or drop-in items, create knockouts with foam or wood that you’ll embed in the concrete and remove once it’s set. This method also prevents concrete from filling areas where you’ll need access for plumbing or wiring.
Double-check your measurements and placements; adjustments post-pour are difficult and can damage your countertop.
Step 3: Build Support Frame and Prep Wire

Constructing a robust support frame is critical for ensuring that your concrete countertop sets properly without warping or cracking. Use melamine boards or other stiff materials to create the frame, ensuring all corners are square to keep your countertop edges sharp and precise.
Reinforce your countertop with wire mesh or rebar, especially for larger designs, to minimize the potential for cracks over time. Cut the mesh to fit within the mold, keeping it at least an inch away from the edges to prevent it from being visible at the surface once the concrete is poured.
Secure the mesh in place by lifting it slightly off the base of the mold. This can be achieved by setting small stones or pieces of broken bricks underneath, just enough to keep it centered within the thickness of the countertop. This positioning is crucial for the mesh to serve its purpose of reinforcing the slab once it sets.
FAQ
Is concrete a good kitchen countertop?
Concrete is an excellent choice for a kitchen countertop due to its scratch resistance and heat resistance, although its high cost may deter some homeowners.
Are concrete countertops cheaper than granite?
While concrete countertops are a popular choice, they are generally not cheaper than granite, with concrete starting at around $65 per square foot, compared to basic granite which can be as low as $40 per square foot.
Is it expensive to do concrete countertops?
Concrete countertops generally cost between $50 and $150 per square foot, including installation labor, with the overall installation cost for an average kitchen ranging from $1,500 to $6,000.
How practical are concrete countertops?
Concrete countertops are a practical option due to their durability and nearly endless design customization possibilities.
How much maintenance do concrete countertops require?
Concrete countertops require sealing every 1 to 3 years and regular cleaning with mild, pH-neutral soaps to maintain their appearance and durability.
Can you DIY a concrete countertop for the kitchen?
Yes, you can DIY a concrete countertop for the kitchen using a concrete mix, a mold, and some basic tools for preparation and finishing.
What unique designs can be achieved with concrete countertops?
Concrete countertops can be uniquely designed by incorporating creative inlays, varying color pigments, and utilizing not-so-traditional shapes and edge details.
Recap

